

Installation & Testing
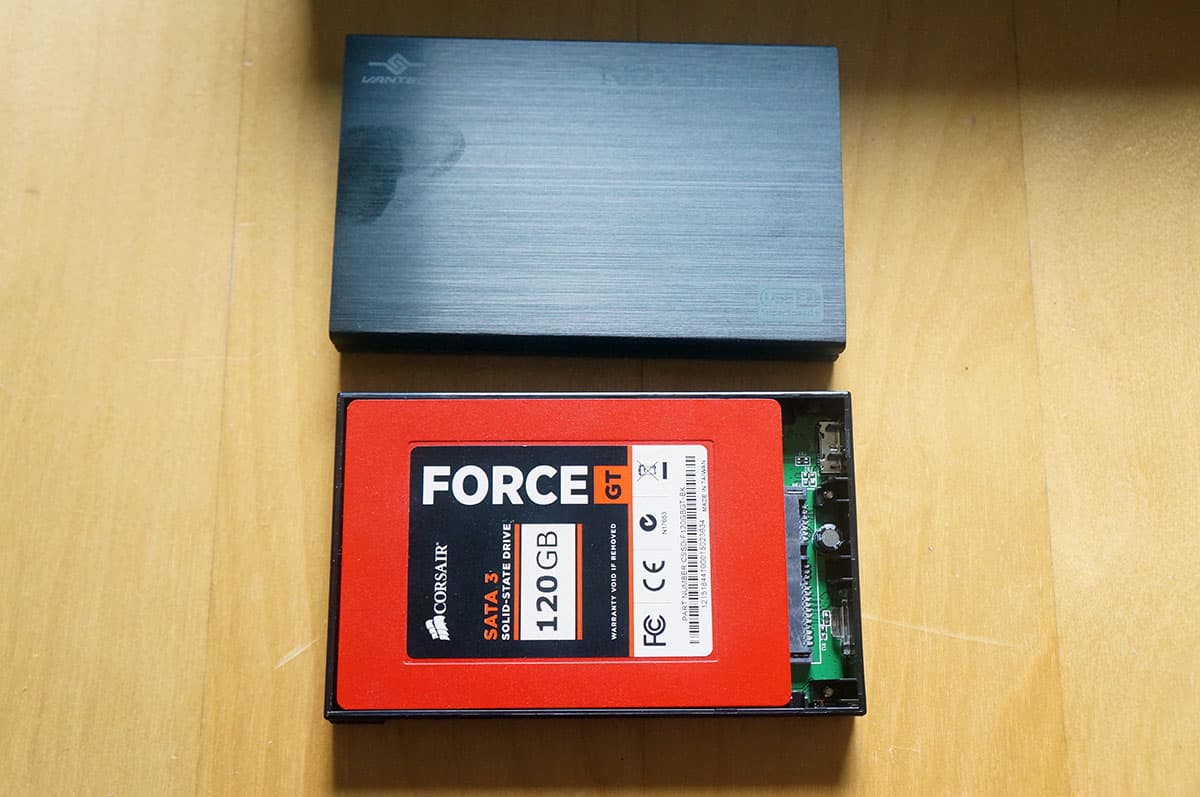
Getting a 2.5-inch hard drive inside the enclosure is quite easy. The drive supports both 7mm and 9.5mm hard drives. With the enclosure open go ahead and place your hard drive inside connecting it to the SATA connection.
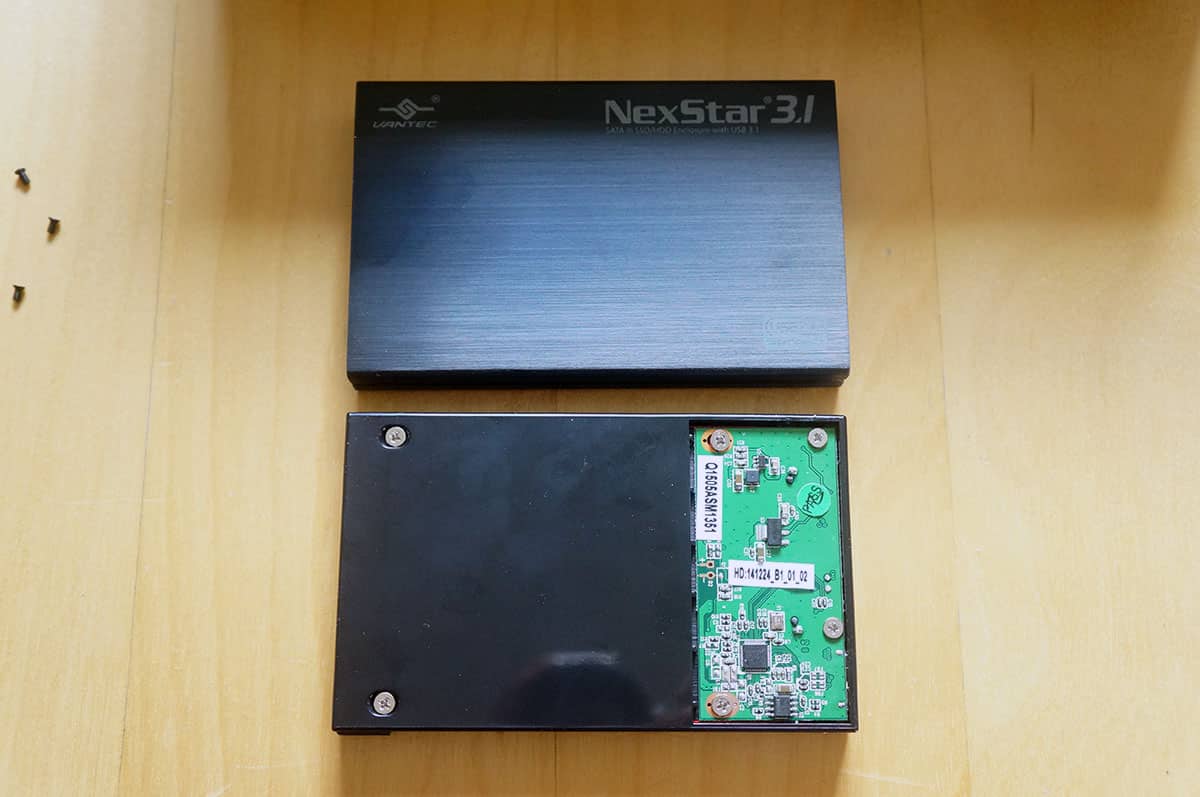
Now flip the enclosure over and secure the drive inside with the four included screws. Once you have the drive secured all you have to do is put the top part of the enclosure on and secure it on each side with a single screw. With the drive inside the enclosure is very sturdy and solid.
For testing we will be using a direct USB 3.1 connection on our ASUS Z170-A motherboard. No adapters or anything like that. Now you have to remember that our hard drive (Corsair Force GT) is limited to 555 MB/s read and 515 MB/s write. We should expect our USB 3.1 connection to completely max out this drive. Let’s see if that is the case! We will be testing this enclosure with HD Tune Pro, CrystalDiskMark, and ATTO Disk Benchmark. We will be testing the enclosure at USB 3.1, USB 3.0, and USB 2.0 speeds.

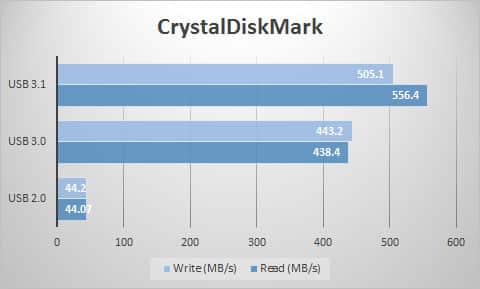
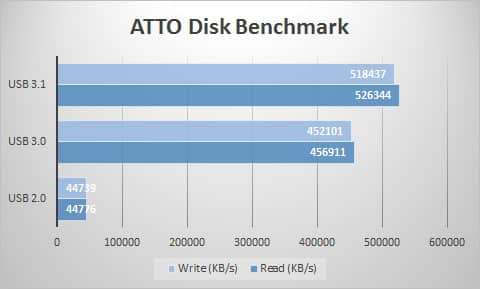
As you can see USB 3.1 is definitely faster than USB 3.0. With USB 3.1 were able to effectively max out our drive. If we had a storage device that has higher speeds I’m sure we would have reached them as well.