A Look Inside
To get inside the case just remove the two thumbscrews on the side panel. These are the type of thumbscrews that actually stay on the panel, which I really like. I always tend to lose these! Taking the side panel off and flipping it over we can see there is sound dampening material covering the whole panel.
With the side panel removed we can take a look inside. We have an all black interior and we can see there is quite a lot of room to work with.
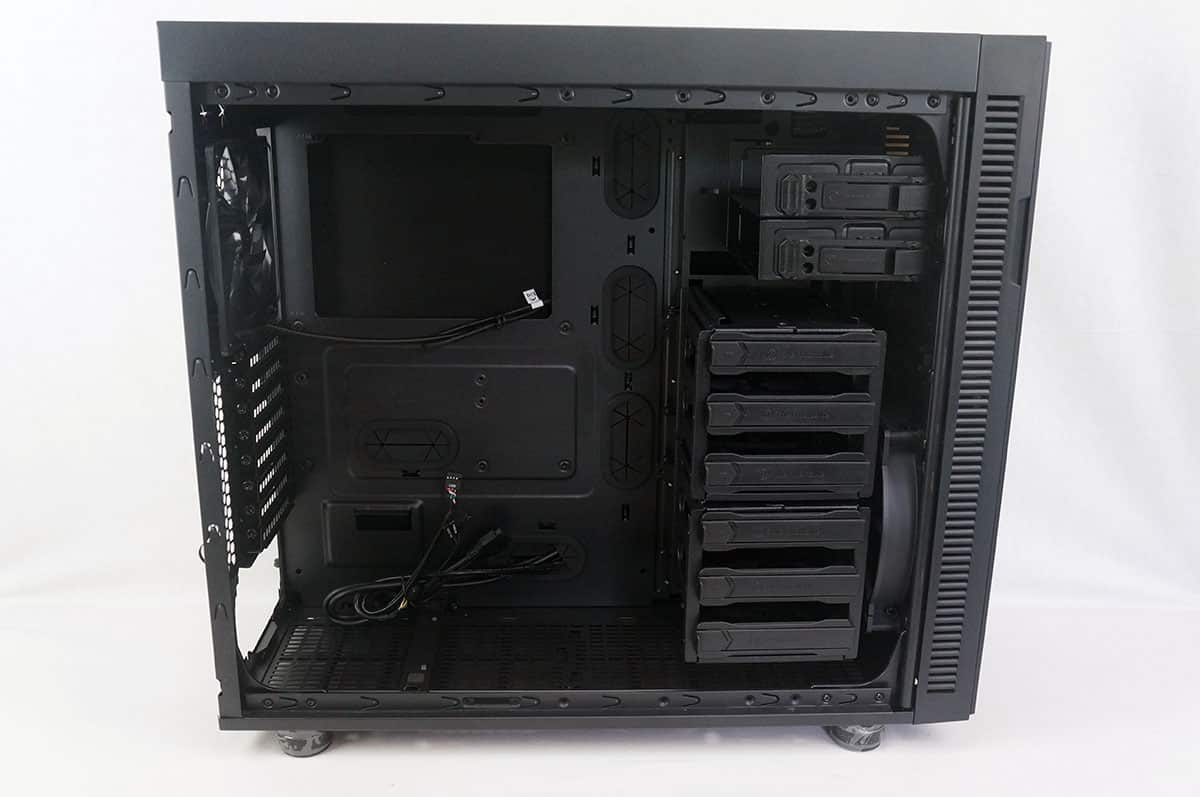
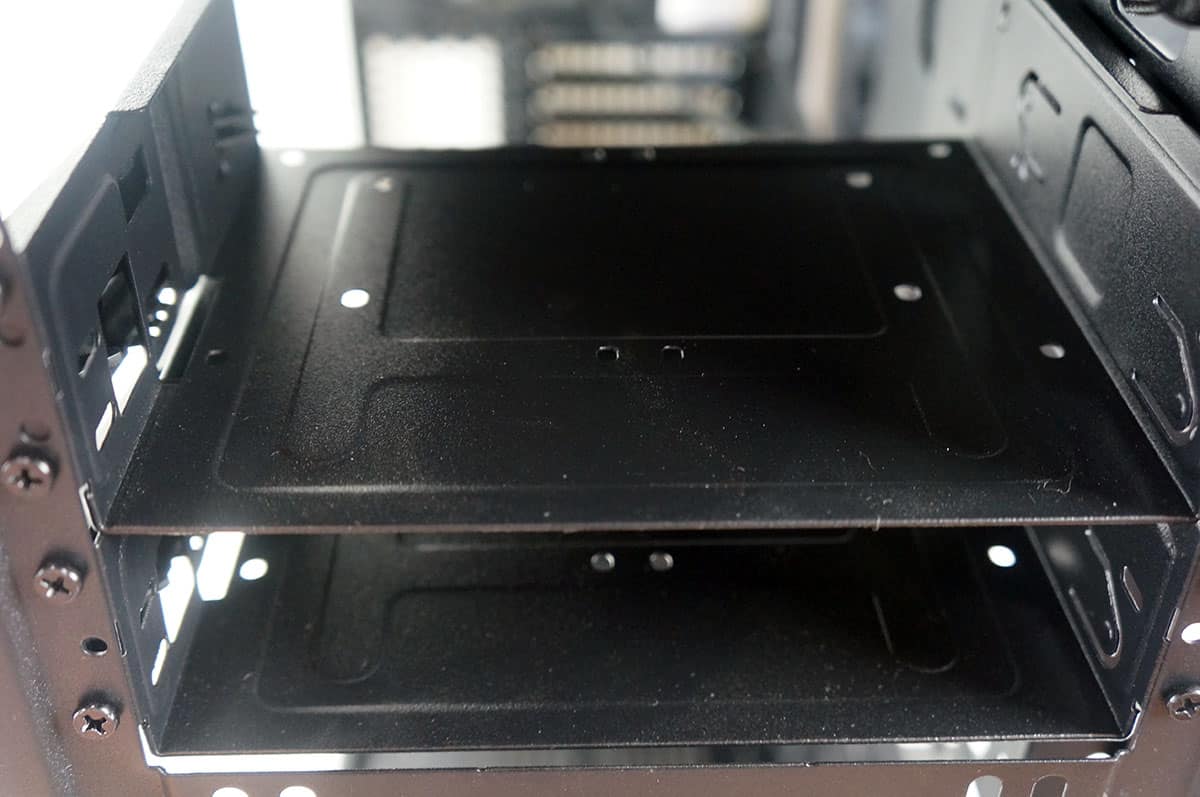
Starting at the front of the case we have the two 5.25-inch drive bays. These drive bays use a tool-less locking system.
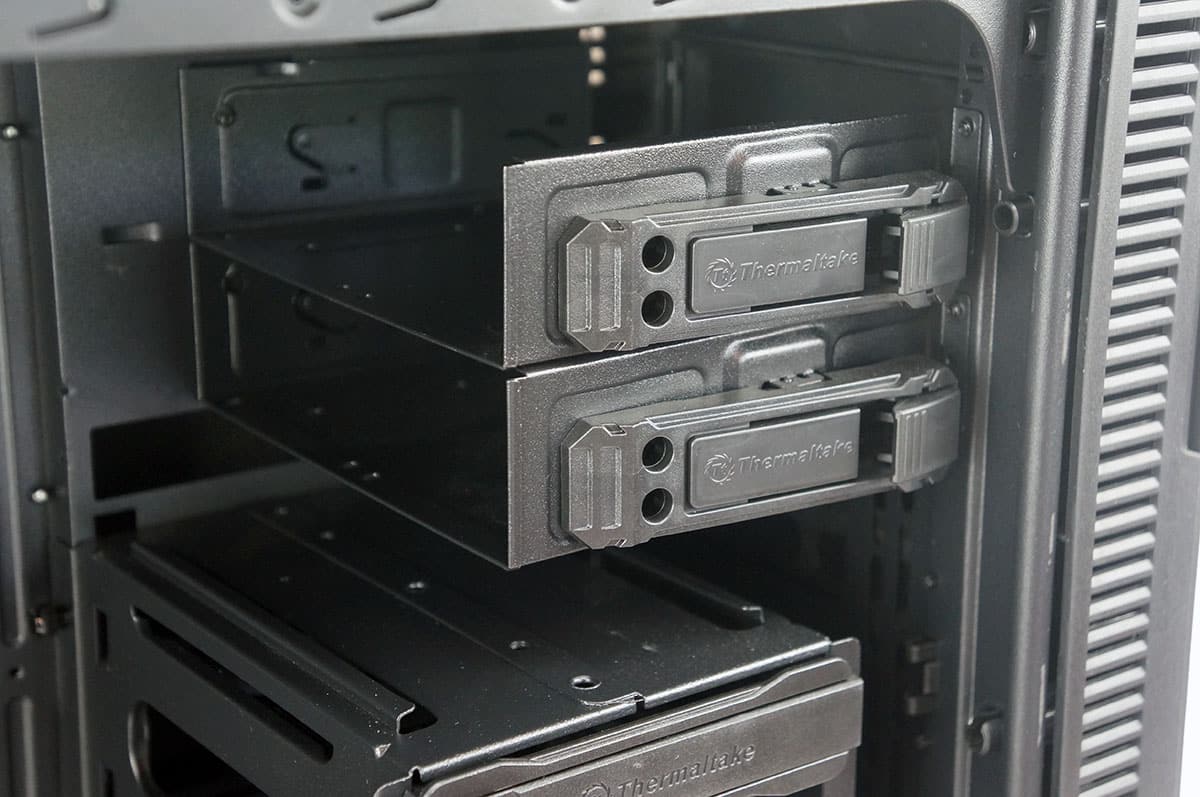
These drive bays can be completely removed from the case if you need to make room for watercooling or other components. The bays can also be used for extra storage, each will fit two 2.5-inch drives.
The rest of the hard drive storage is made up of two hard drive cages that hold three hard drive trays each.
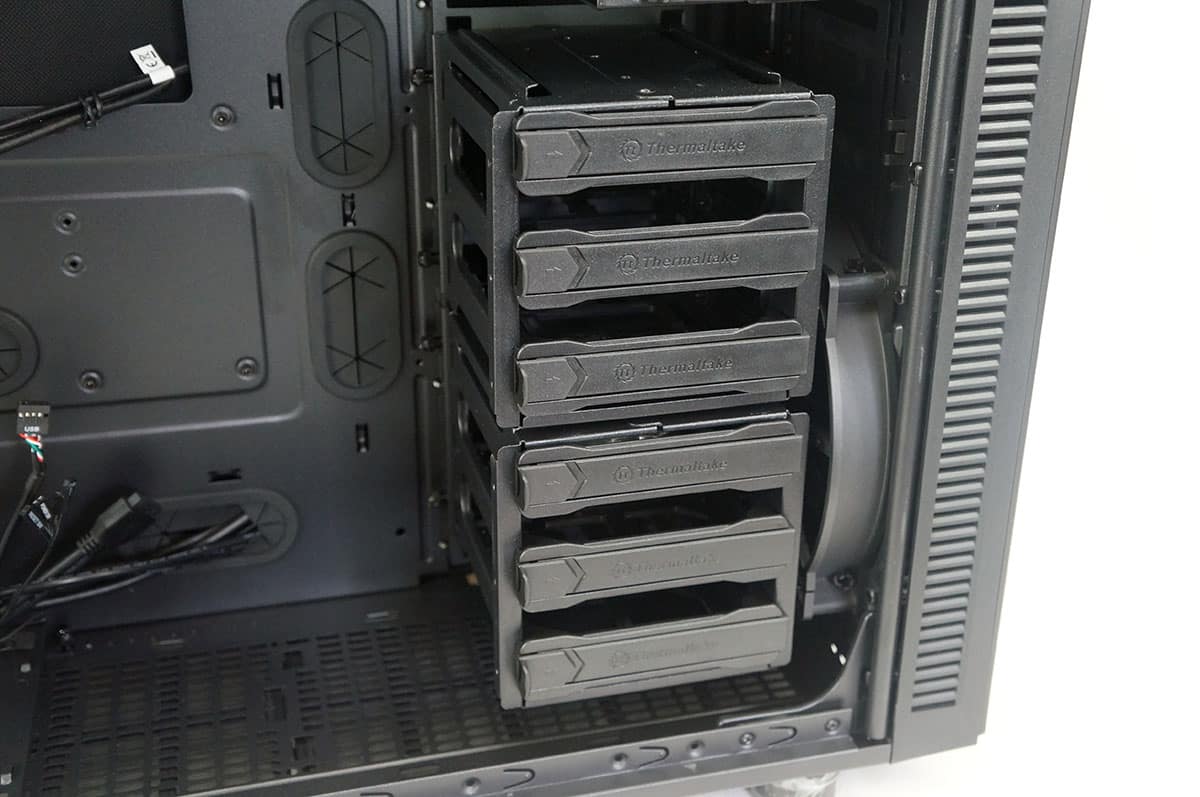
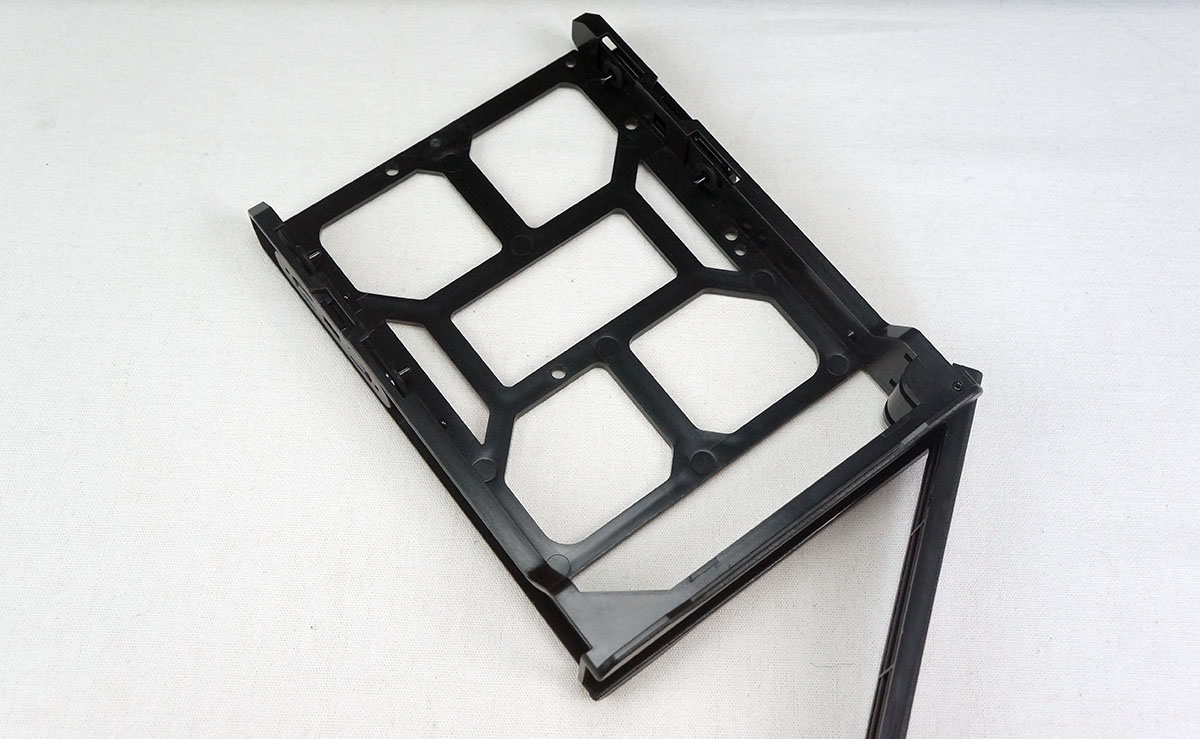
The trays themselves are made of plastic and support both 2.5-inch and 3.5-inch hard drives.
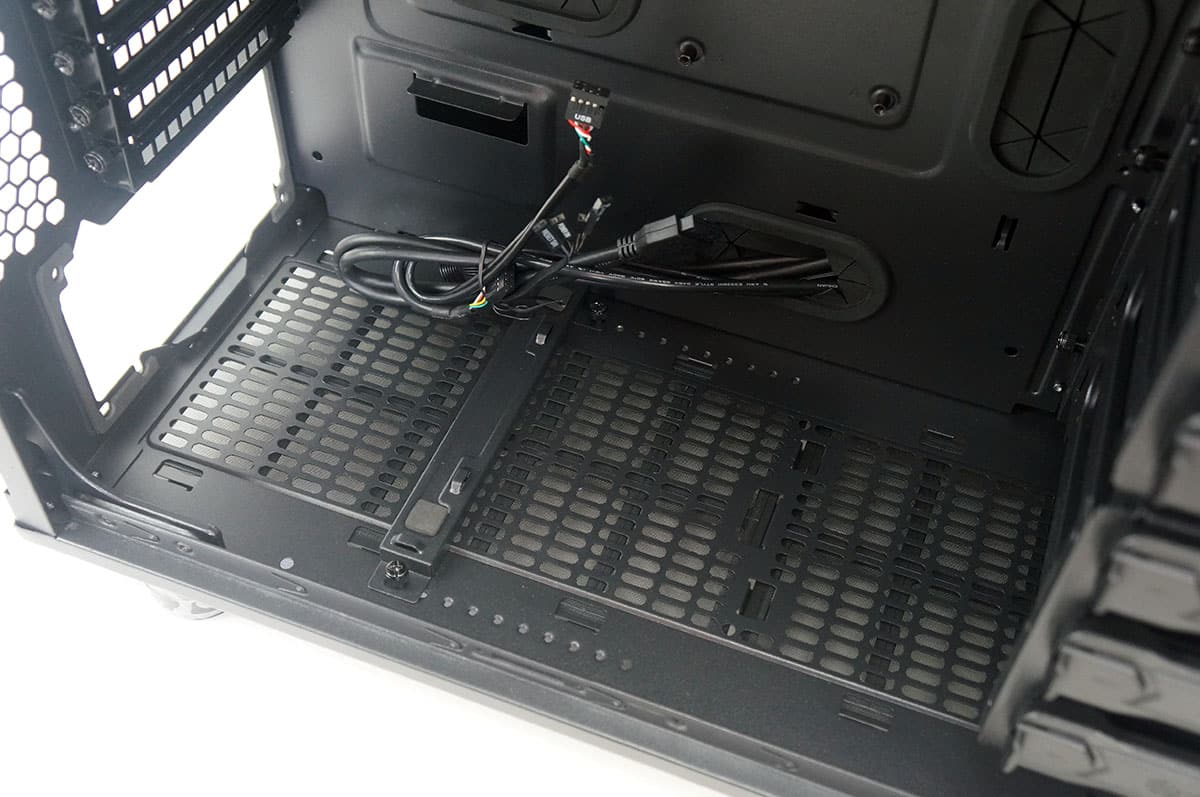
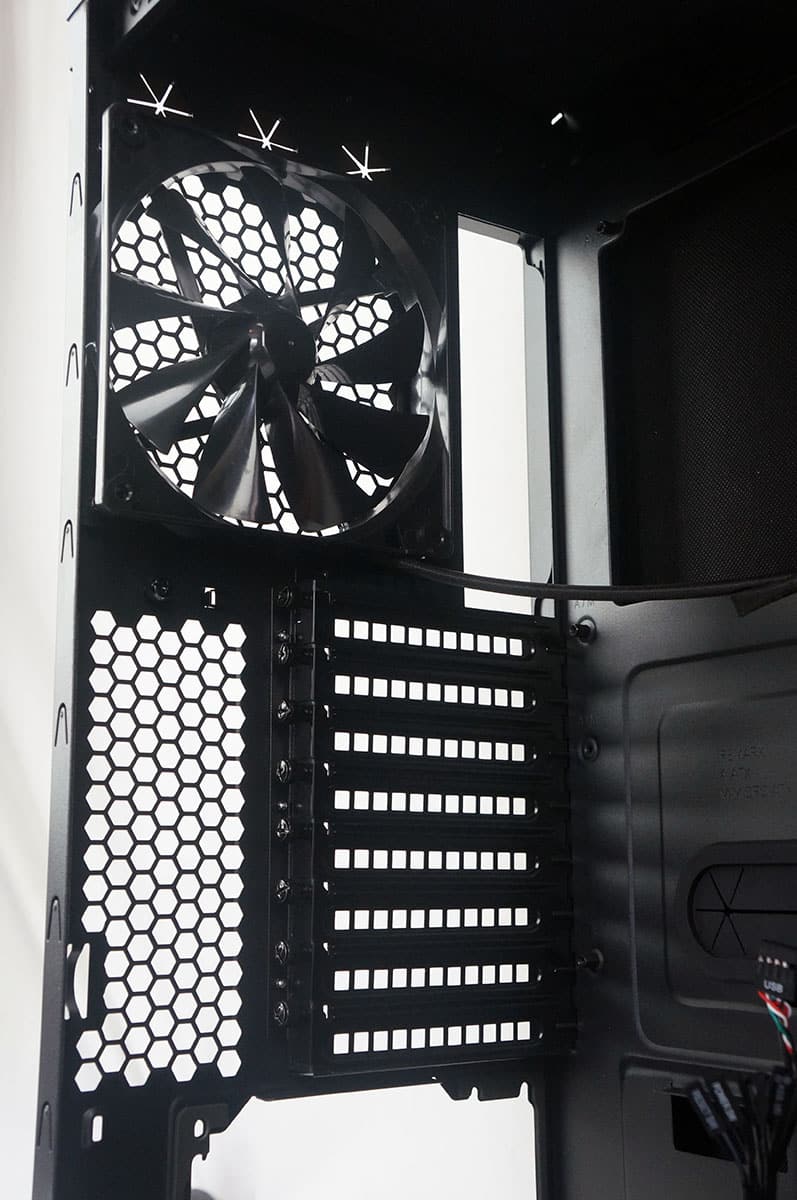
Both of the hard drive cages are completely removable. Each cage takes 4 thumbscrews to remove, two on the side and two on the rear. With the drive cages removed we can see the large 200mm intake fan.

The bottom of the case is fully ventilated and the power supply mount has sound dampening material pre-installed. There is also a little riser that is made to support your power supply and it can be moved if you happen to have a longer power supply.
Moving to the rear of the case we can see the 8 expansion slot covers, which all use thumbscrews and the rear 140mm exhaust fan.
At the top of the case we can see the sound dampening material we talked about earlier. It is actually thicker than the sound dampening material that is found on the rest of the case. I also like that is is split into three sections. This way if you are only using one or two you can keep the sound dampening properties for the rest of the top of the case.
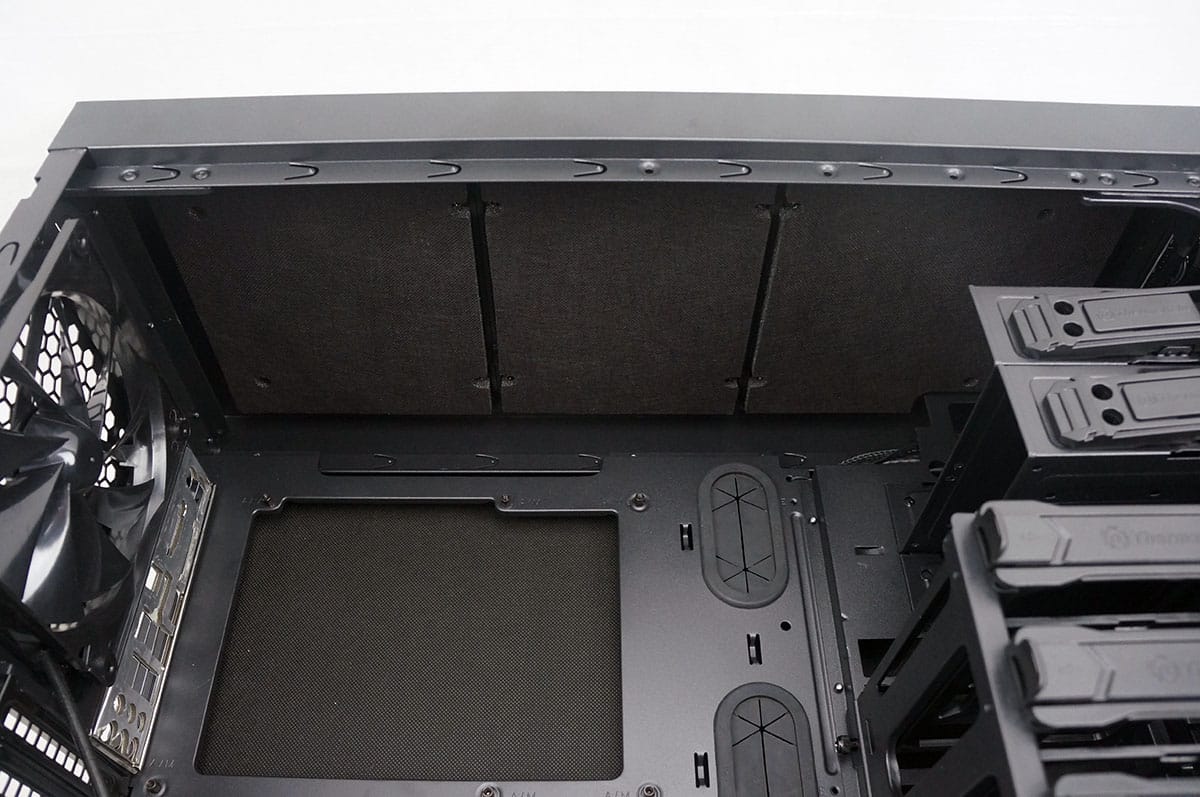
The inside of the case is actually quite large, large enough to fit motherboards up to E-ATX in size. There are five large cable routing holes with the rubber inserts installed and a 6th long routing hole at the top of the motherboard tray. You will also notice a large CPU cutout on the motherboard tray and Thermaltake has pre-installed the motherboard standoffs.

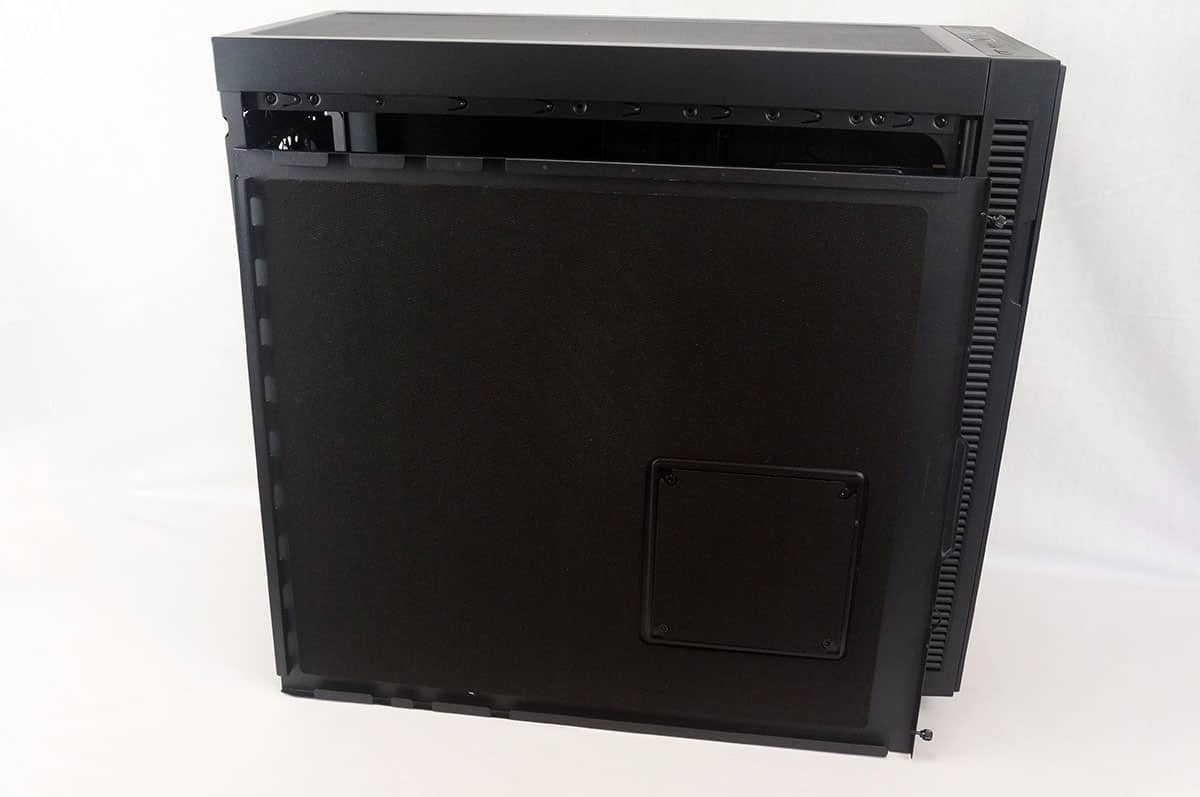
The rear side panel of the case has the same sound dampening material as the other side panel. So you have sound dampening material on both side panels, the front of the case and the top of the case.
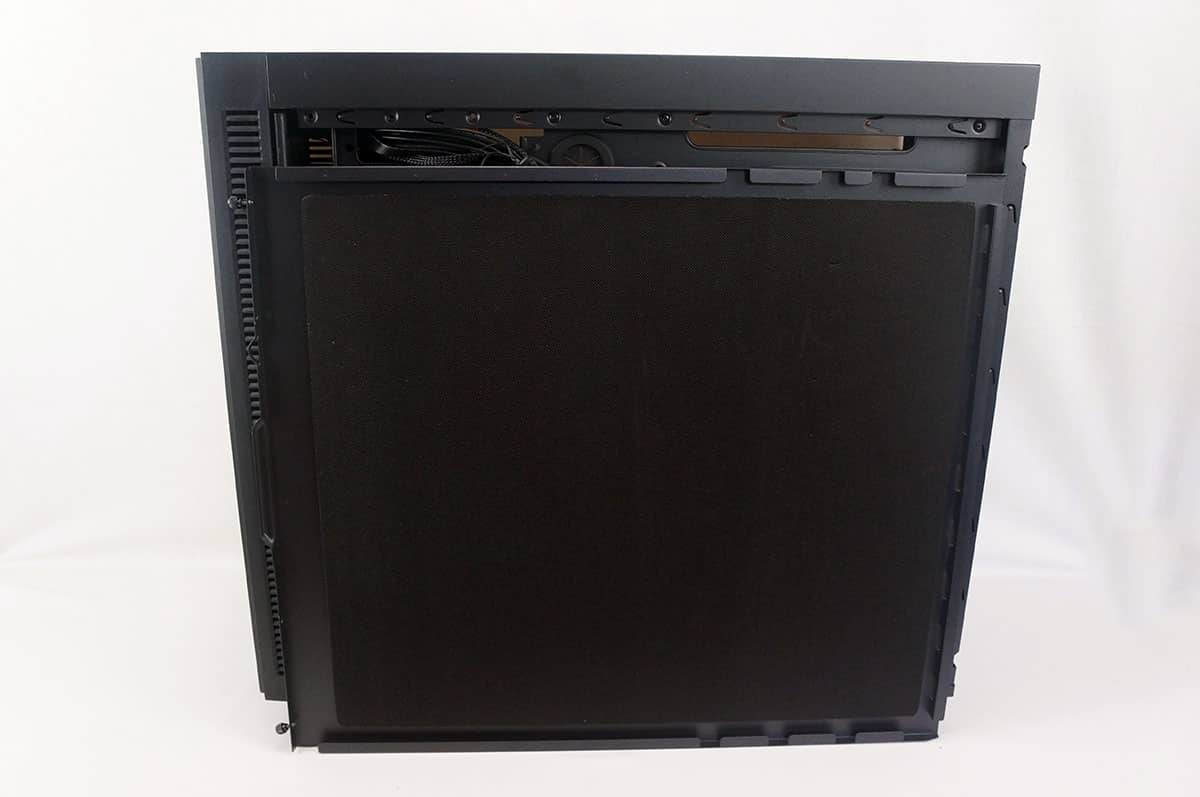
Taking a look at the back side of the case you can see how everything is laid out. There are quite a few cable tie-downs back here. Also on the far left you can actually install two of the hard drive trays. This gives you even more storage room if you happen to want to remove the hard drive cages from the other side of the case.

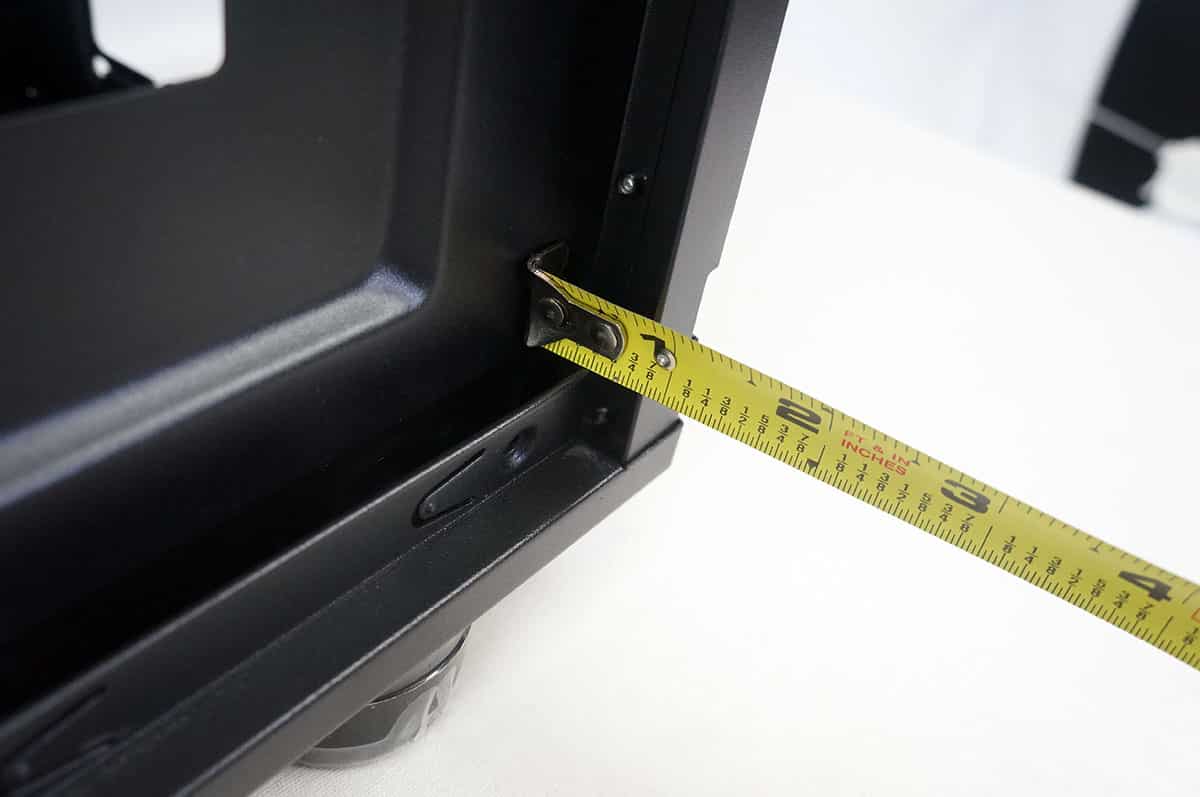
There is a little under an inch of space between the backside of the motherboard and the side panel. The should be more than enough room to route all of your cables and keep things nice and neat.
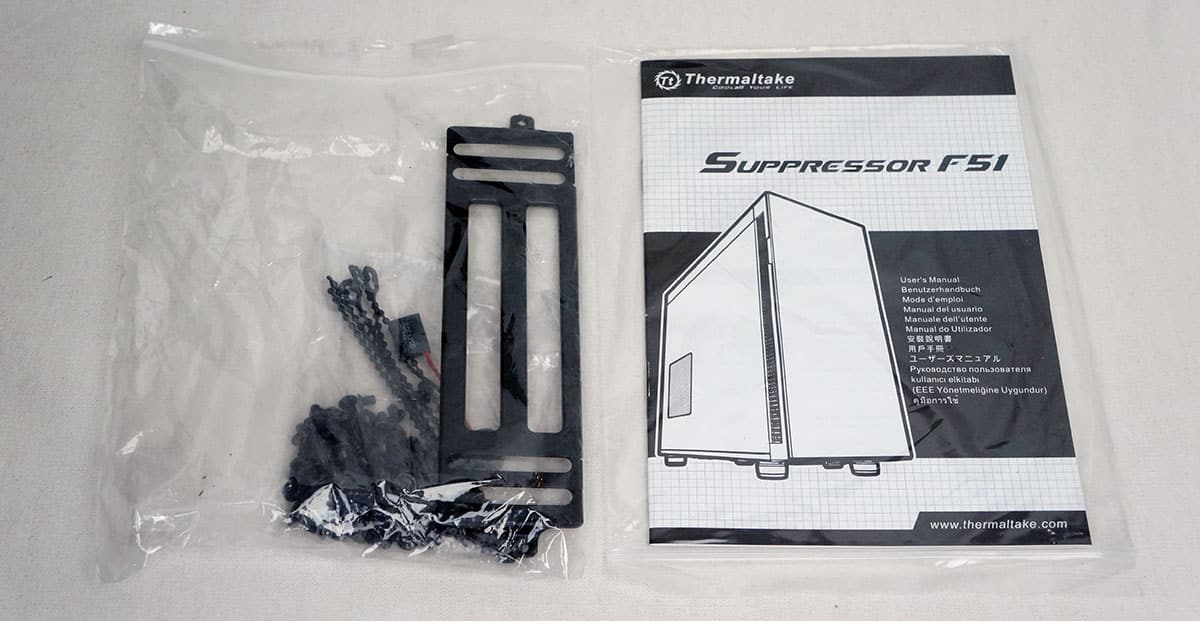
The case comes with a user’s manual, mounting screws, a set of cable organizers, and a radiator bracket if you happen to want to install large radiator in the front of the case by removing the 5.25-inch drive bays.