Installation
Getting everything installed in the Core X31 is extremely easy and Thermaltake makes easy installation one of their priorities when designing a case. Check out our time-lapse of the installation!
Now I did not read the directions when it came to the installation, but it is actually easier to install your power supply first, I did not do this. While you can still install your power supply after you install your motherboard, it is much easier to do first thing!
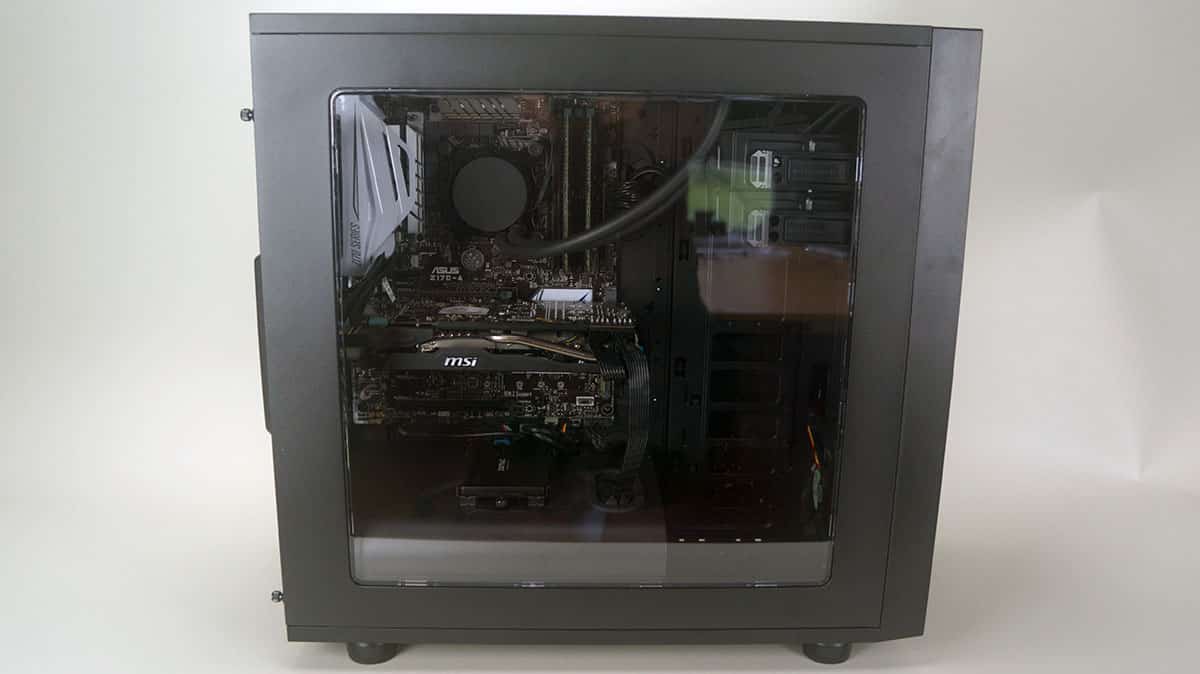
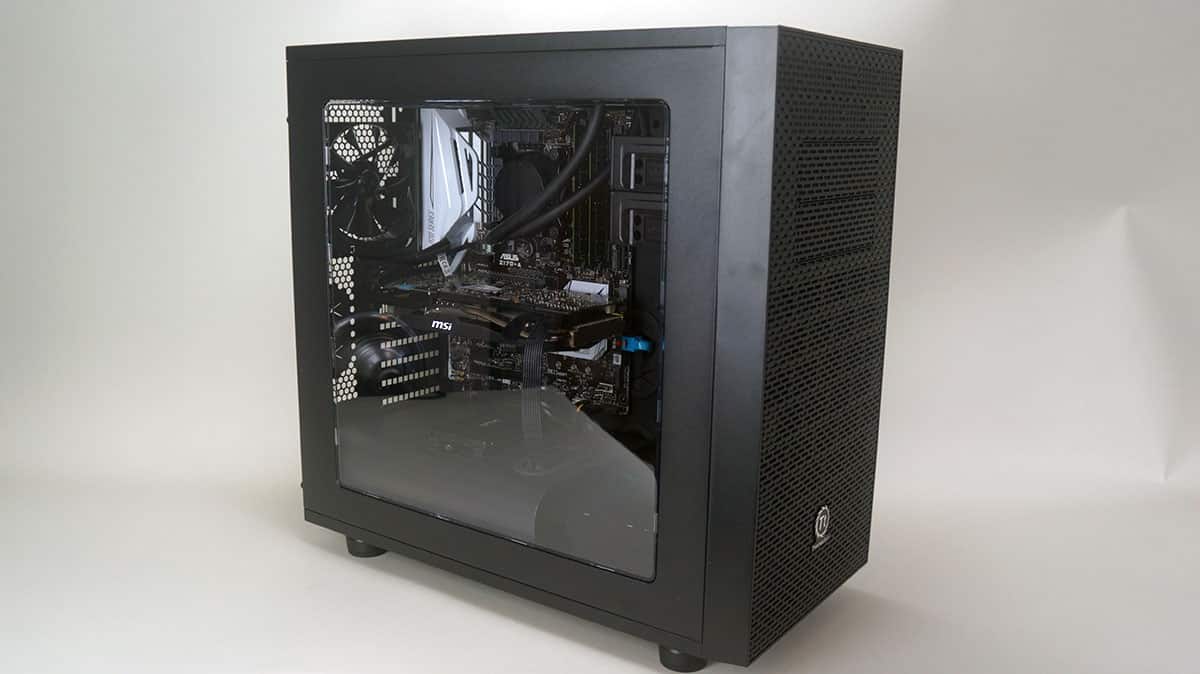
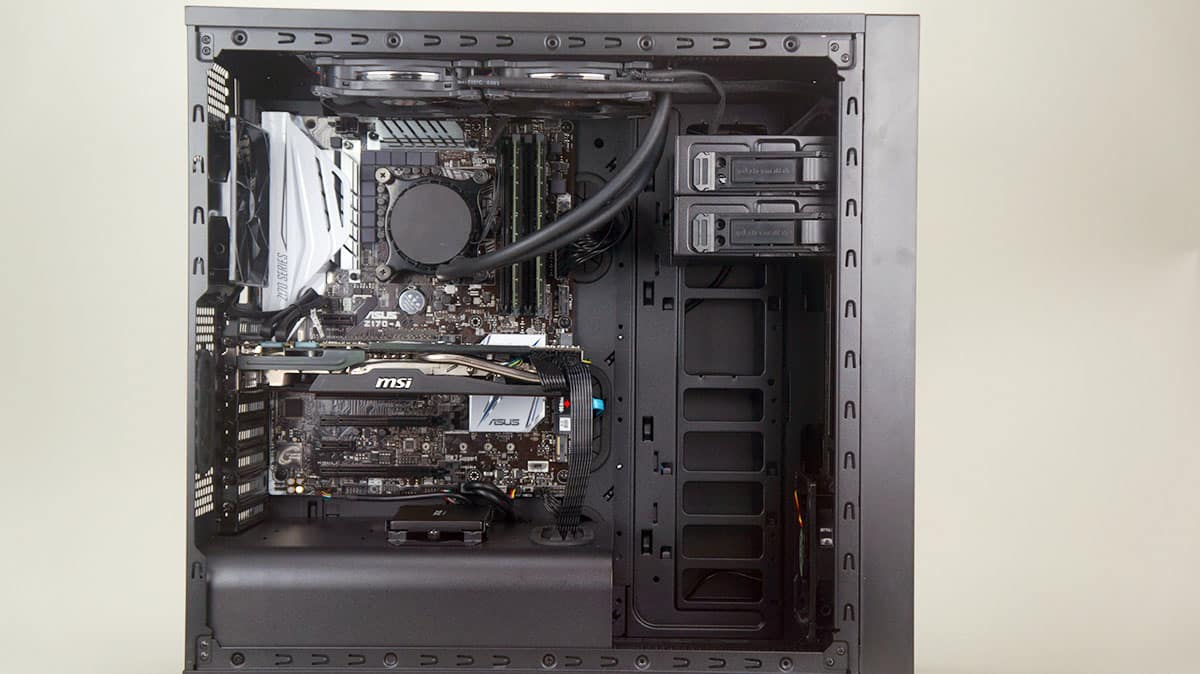
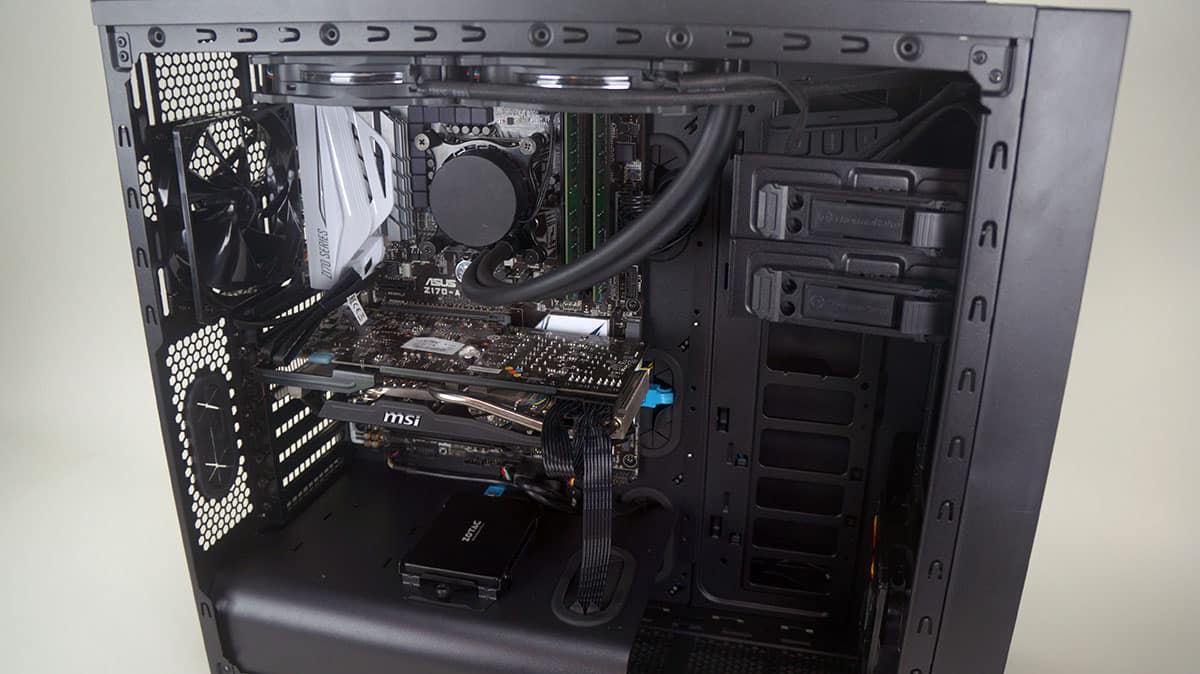
The first thing I did was install my motherboard, it went it quite easily. There is more than enough room inside to work with.

With the motherboard installed next up was our AiO water cooling unit, which is a 280 mm unit. It easily attaches to the top part of the case, and since the mounting is off center I did not run into any clearence issues with my motherboard.


To install the power supply you will need to remove the power supply cover. You can do this by removing 4 screws and carefully removing it. The motherboard does not sit right on top of the power supply cover so you can remove it quite easily. Go ahead and install your power supply and run all of your cables.

For my 3.5-inch hard drive I wanted to have it on the backside of the case. So I installed it in one of the main hard drive trays and mounted that tray in one of the three mounts on the backside of the case. I also went ahead and ran all of my cables, I do have to say the cable ties / organizers that Thermaltake includes are pretty bad, they are so weak they break when you are trying to tighten them. Even without things tied down you have more than enough room in the back of the case.
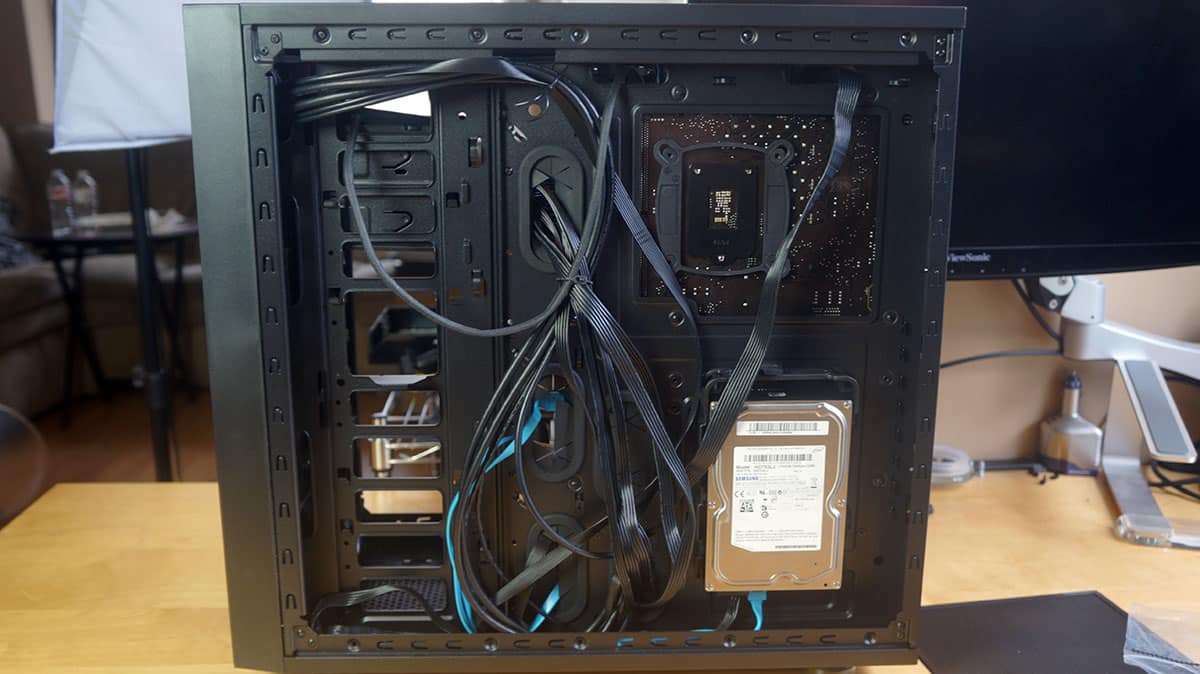
Go ahead and reinstall the power supply cover. I decided to mount my 2.5-inch hard drive here. It is nice that these mounts are removable so you can easily install your drive, connect it and then just reinstall it.

The last thing to install was my graphics card, which went in no problem at all. This case has room inside for graphics cards up to 420 mm! With everything connected we have a very nice and clean build! I could have even taken out the two 5.25-inch drive bays to make more room.
With the side panel back on the case you can see how much of our hardware can be seen. This is definitely a great case to show off hardware, although you will definitely want to put some lights in there.