Assembly
When we first saw how many pieces were needed to assemble the Zone Evolution, we were a bit worried. Thankfully the assembly process is very simple and we had no issues with any of the steps.
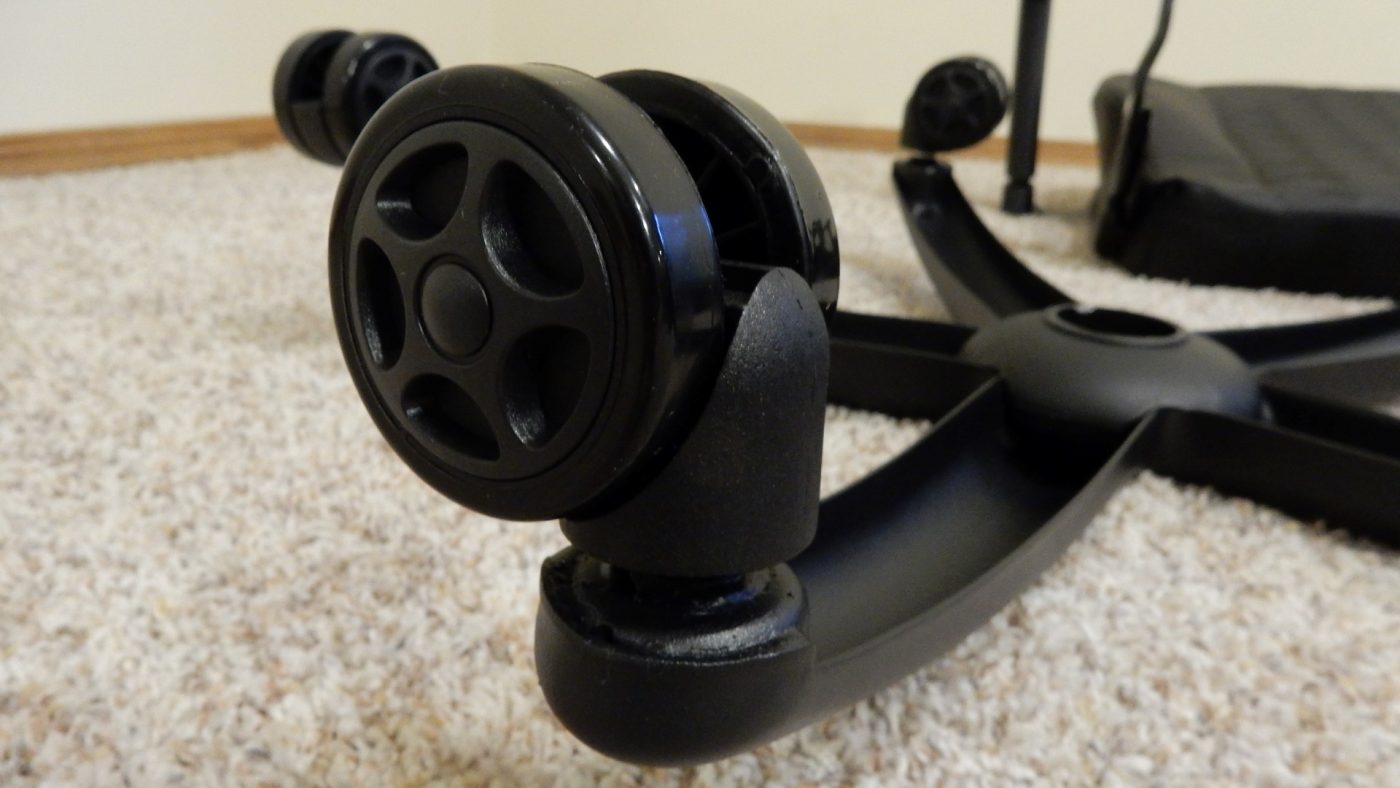
The first assembly step is outfitting the chair’s base with the five swivel roller wheels. These wheels snap into the bottom side of the chair base with a little force and require no tools to do so.
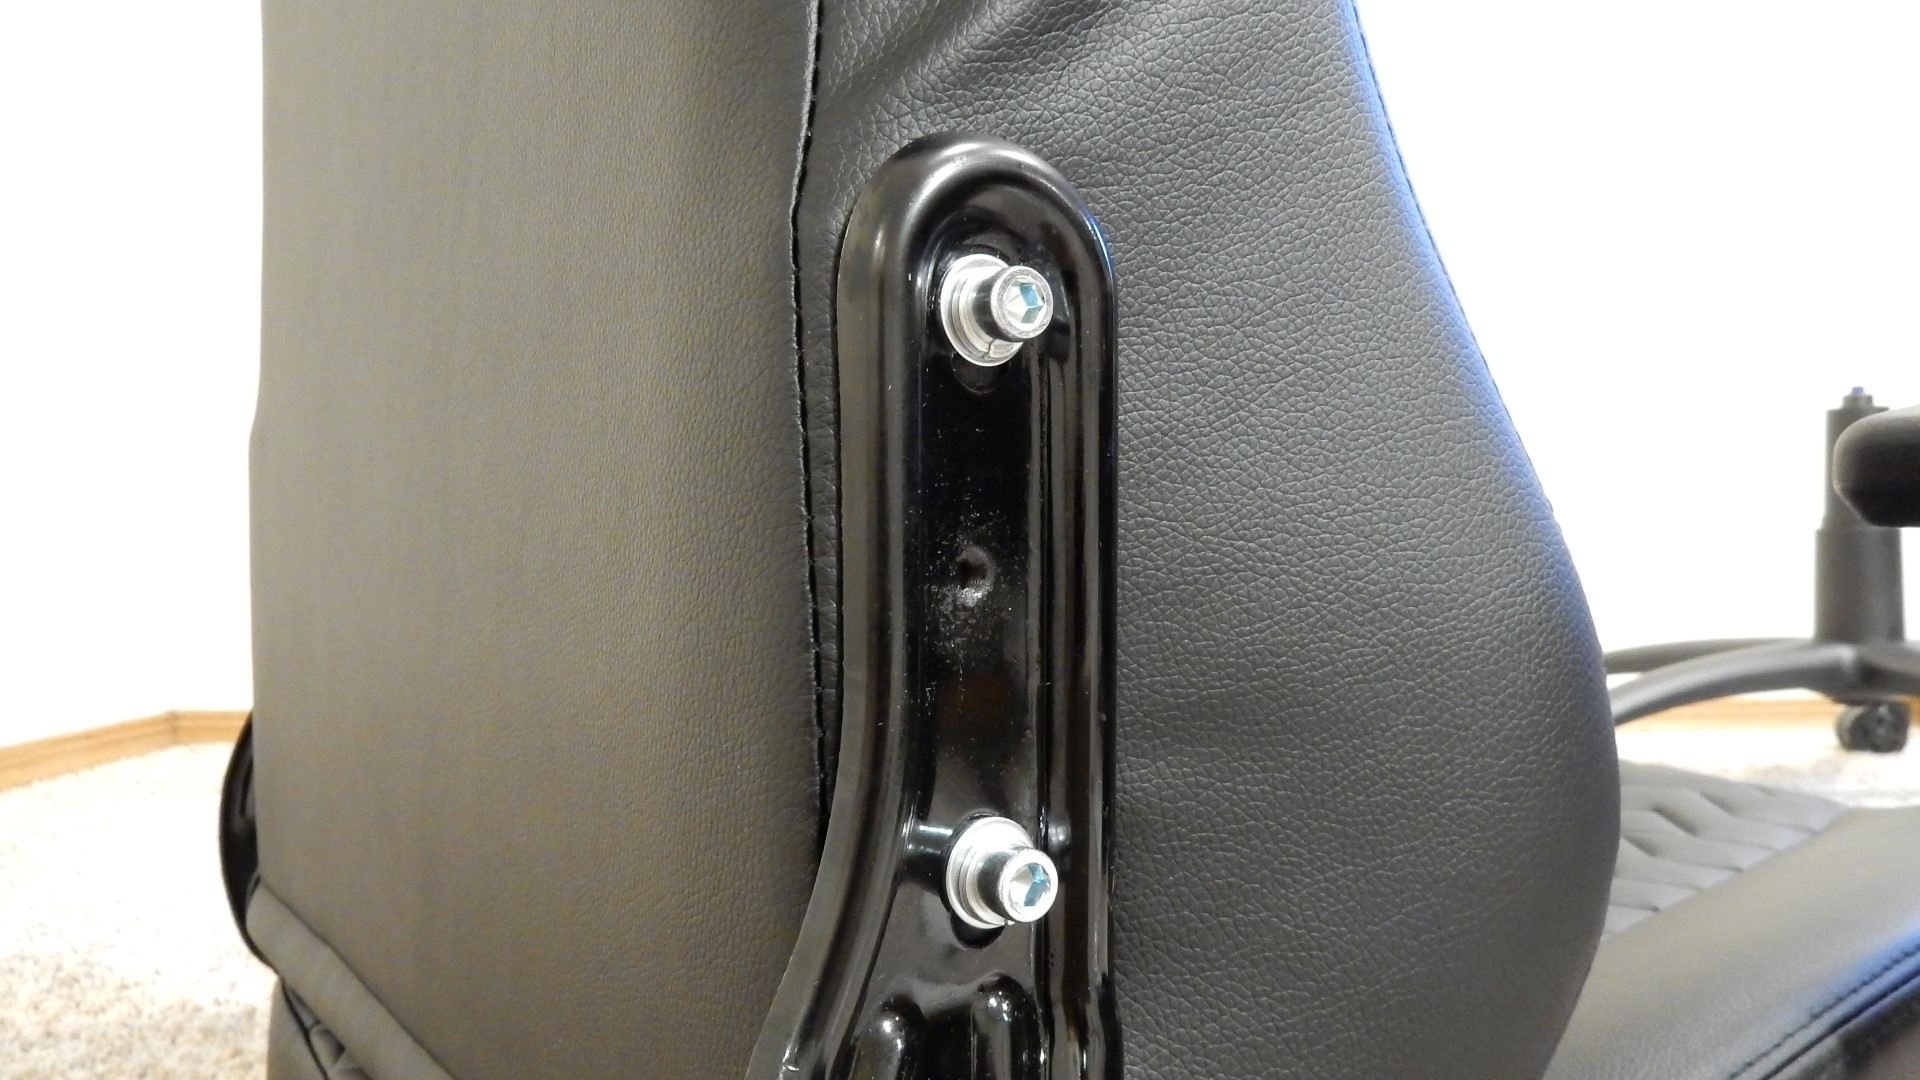
Next up is attaching the chair back to the chair seat using four of the included bolts. The chair back simply slides in between two upright metal arms and two bolts are used to secure the components on each side. With a few turns of the included wrench our components were starting to resemble a chair.
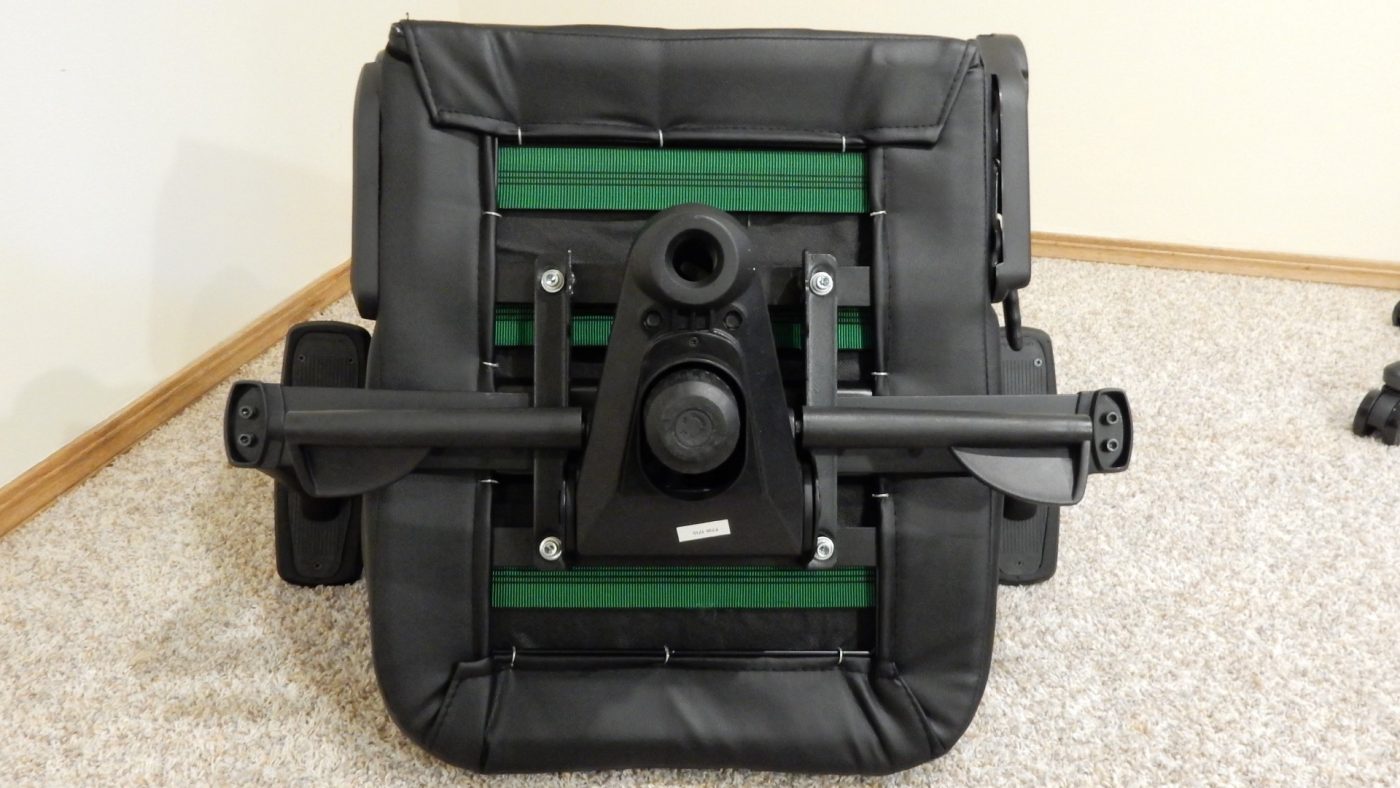
We next took our chair assembly and tipped it forward to gain access to the bottom of the chair seat. This gives us the ability to attach the reclining and height adjustment assembly to the chair. Again we used a few bolts and washers to secure the components, and at this point we were really impressed with just how easy assembly was going.
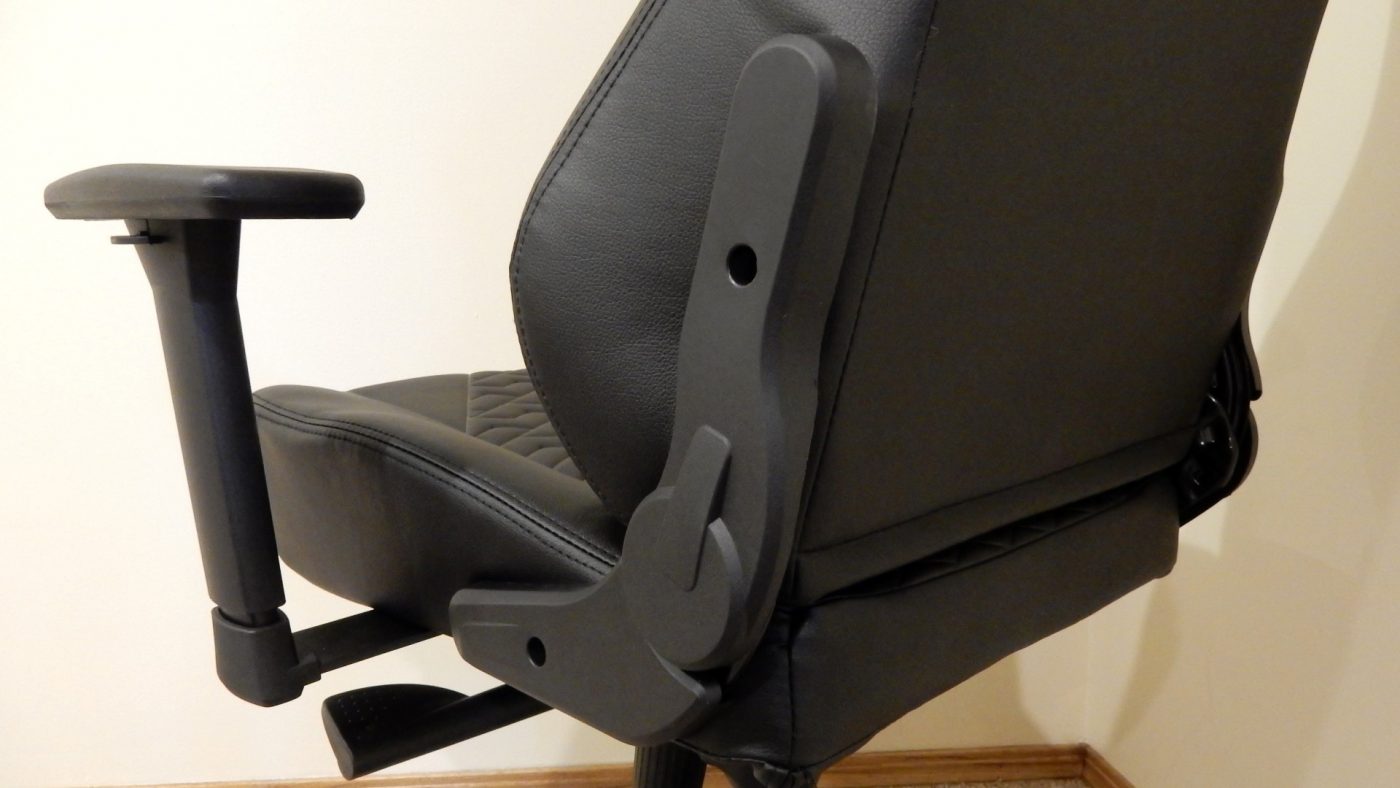
To clean up the looks of the reclining arm components, Tesoro includes a few plastic covers that simply screw into the Zone Evolution’s body. With these plastic panels in place, the fit and form of the chair was really coming around.
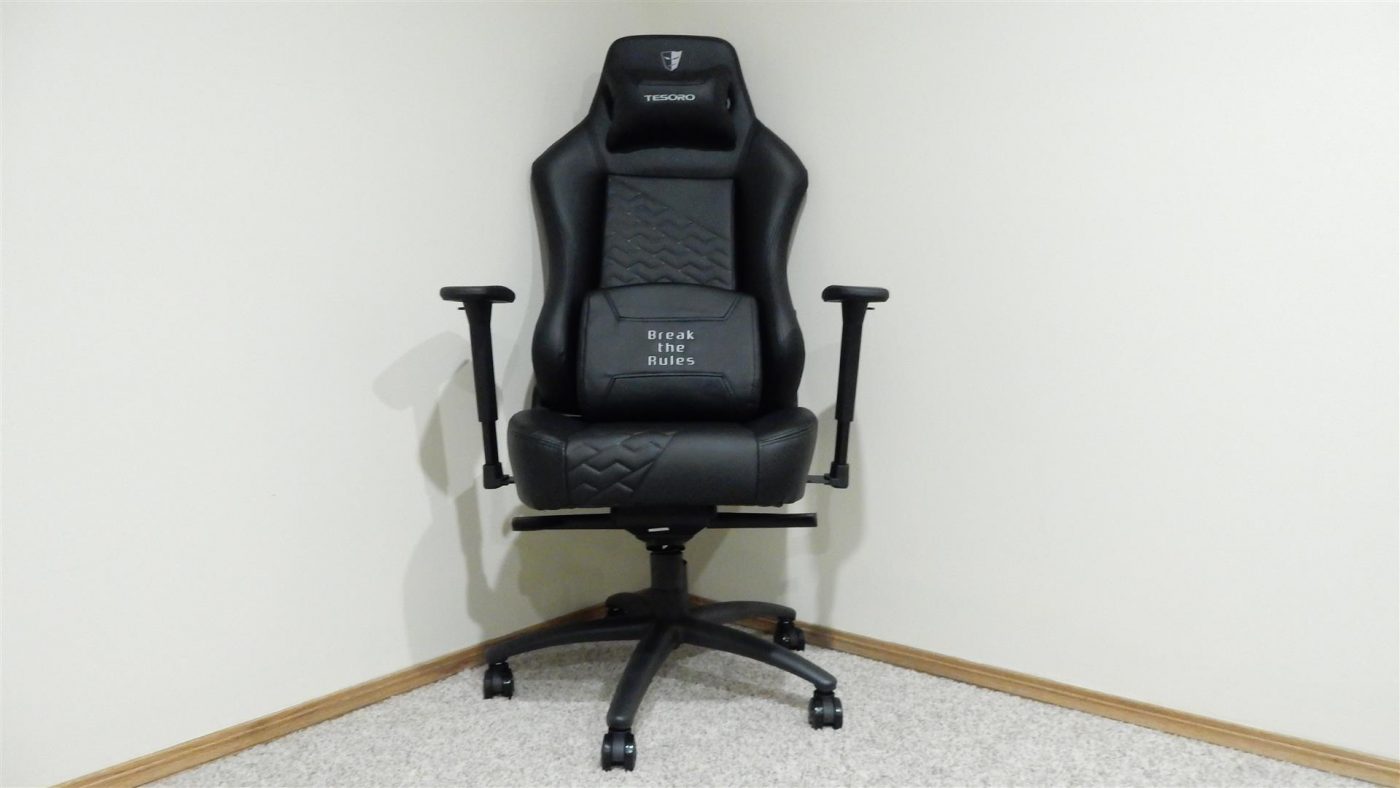
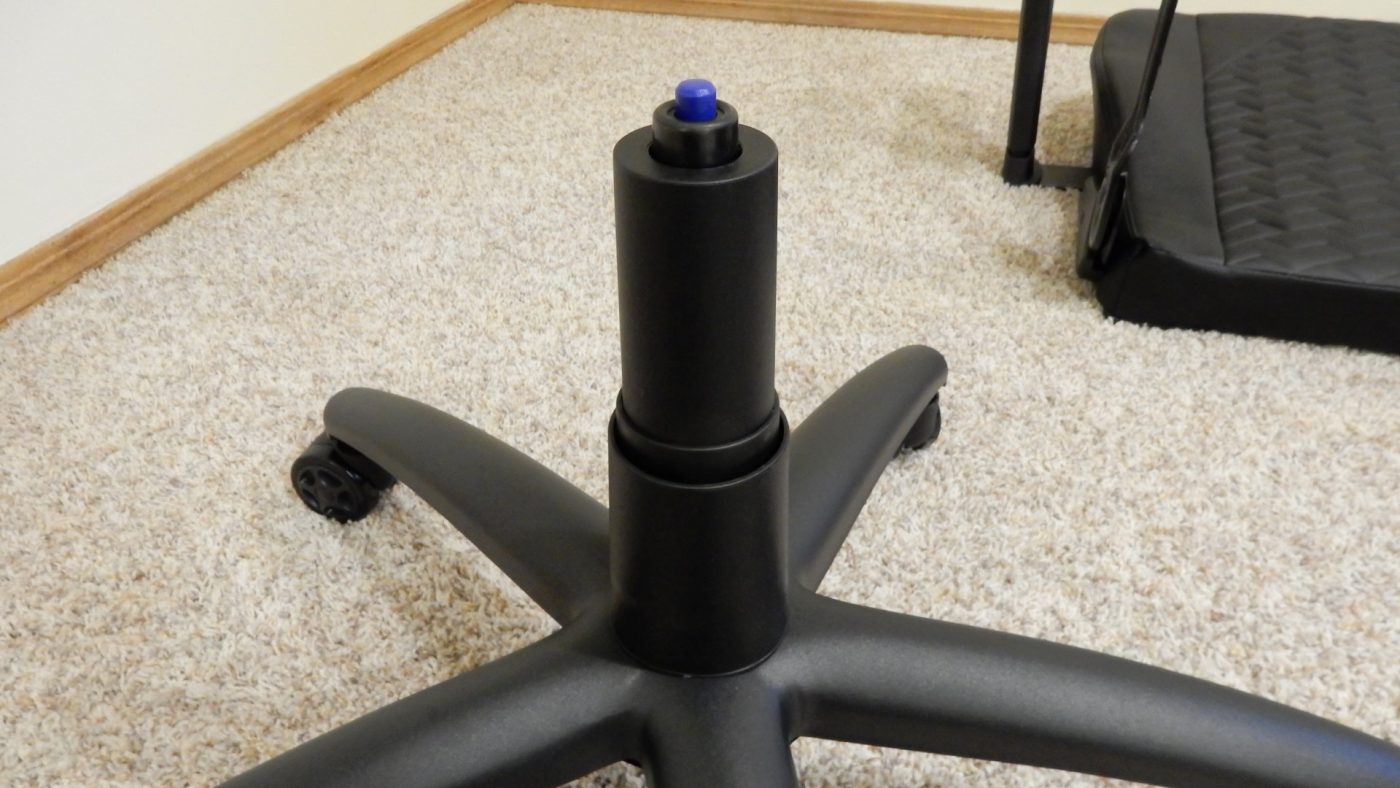
The last step was to attach the chair assembly to the base, and this couldn’t be any simpler. All that was required was to line up the height adjustment piston with the hole in the center of the base and apply some weight. This secures the chair to the base and serves as a nice way to wrap up chair assembly duties.
After what was a really easy assembly process, the Zone Evolution was ready for some action. The nearly all-black design of the chair really looks nice, and in our opinion looks a lot nicer than many of the other options out there.