Installation & Setup
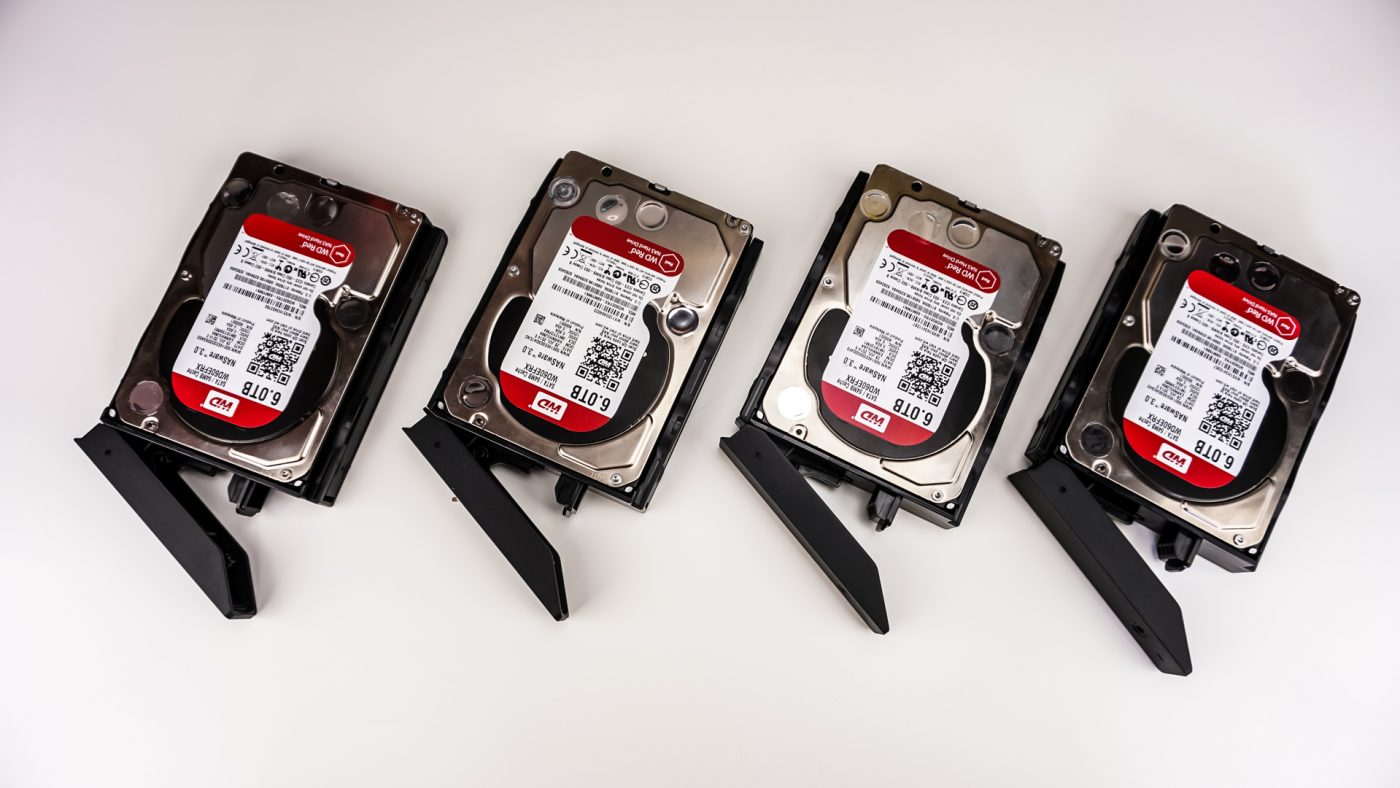
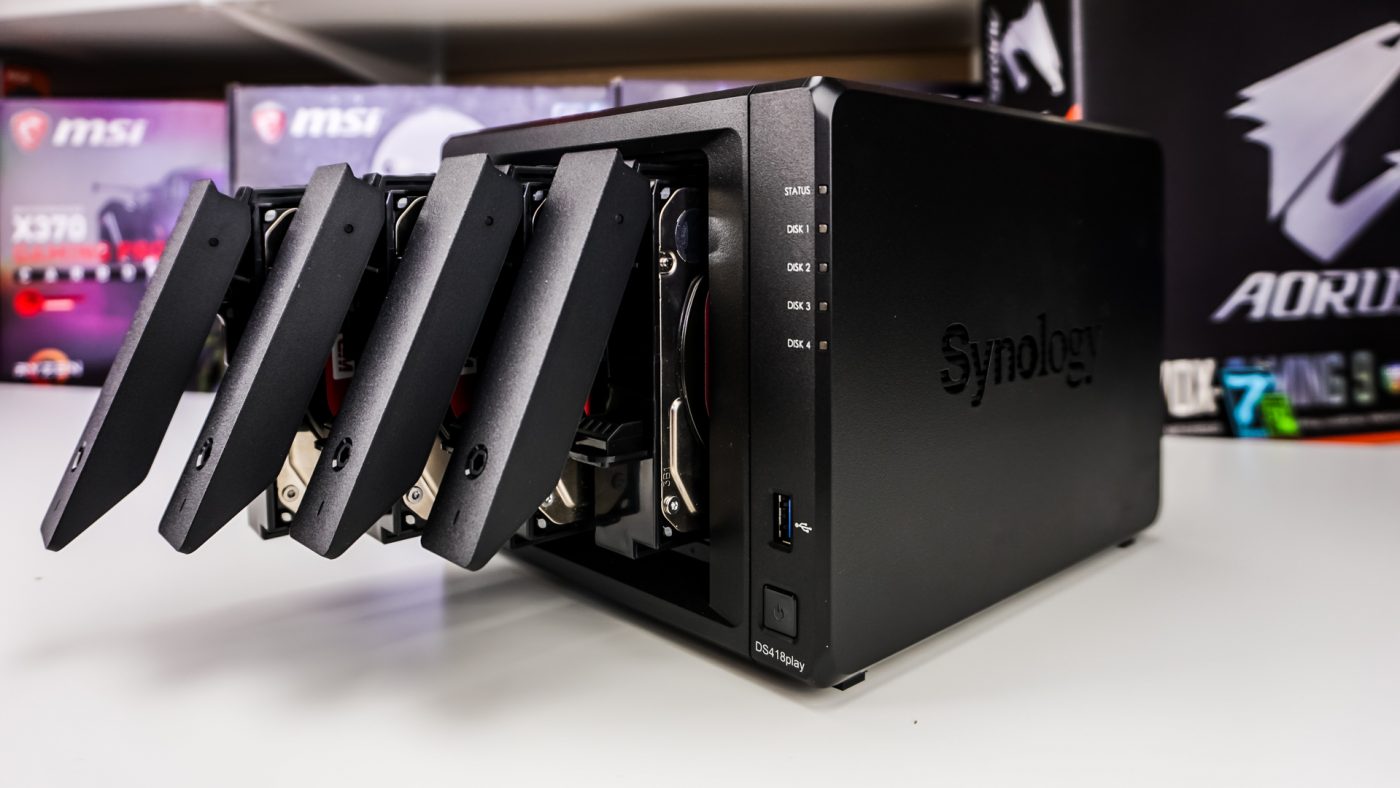
Before you can get going with the DS418play you will need to install your drives. We’ve gone with four WD Red WD60EFRX 6TB drives. If you are installing 3.5-inch drives there are plastic locks on each tray that you remove, then install your drive, then reinstall to lock your drive in place. If you do plan on installing 2.5-inch drives you’ll need to use screws, which are provided.
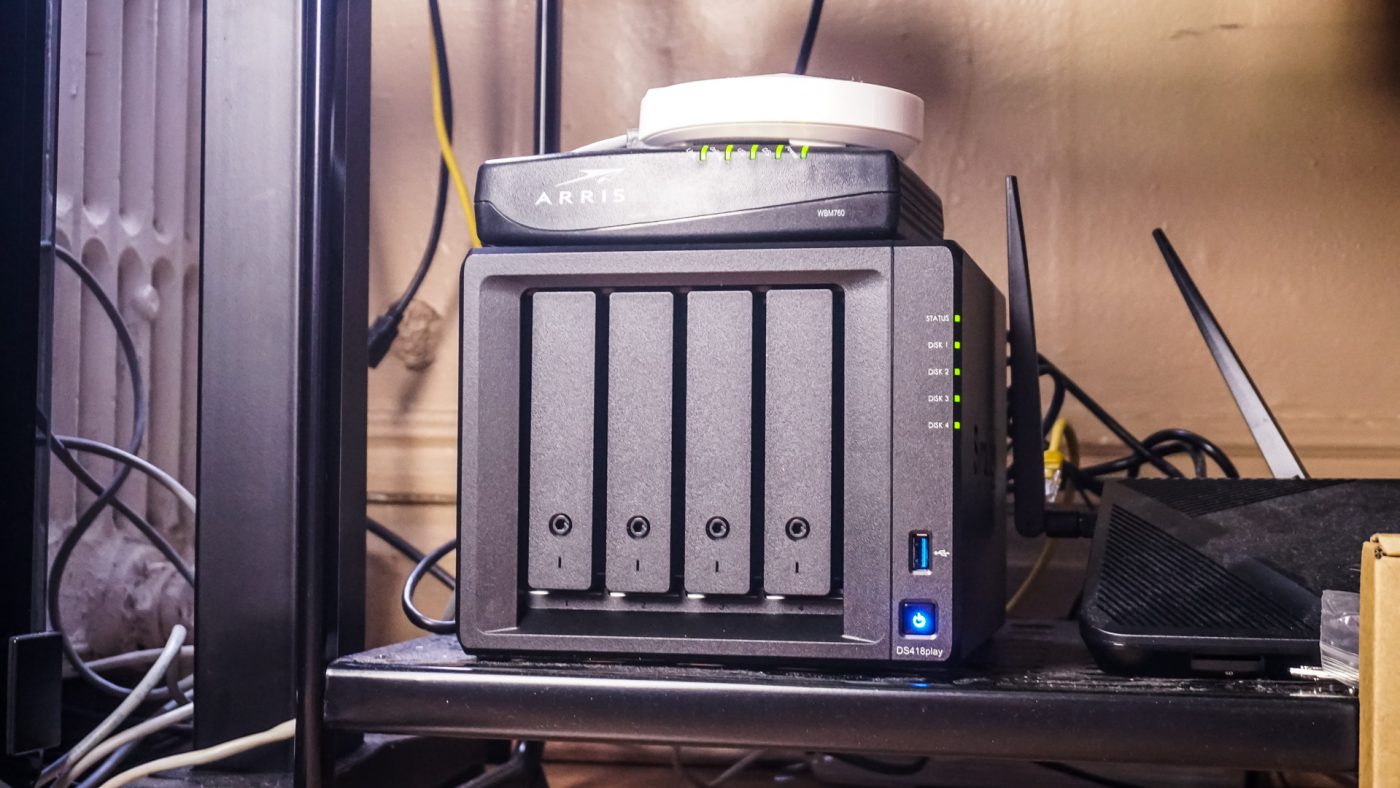
With your drives installed all just connect the DS418play to power and of course connect it to your network, Synology does include two Ethernet cables for each NIC.
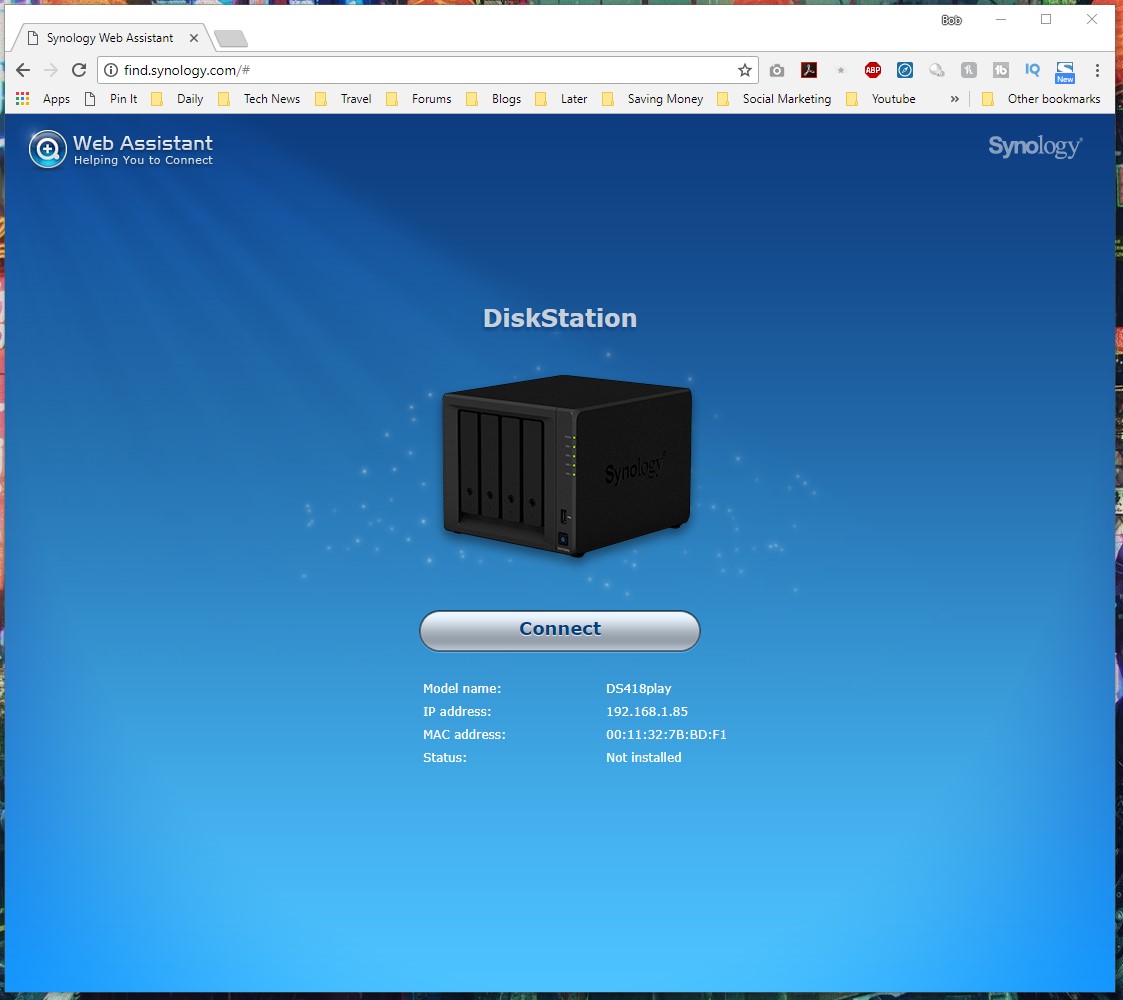
In the past getting a NAS setup and configured took a lot of technical know-how, but Synology makes it easy, even for a beginner to get their NAS products setup and configured. Once you have the DS418play powered on go to any PC on the network and open your web browser to find.synology.com. This will find the DS418play on the network and allow you to connect to it.
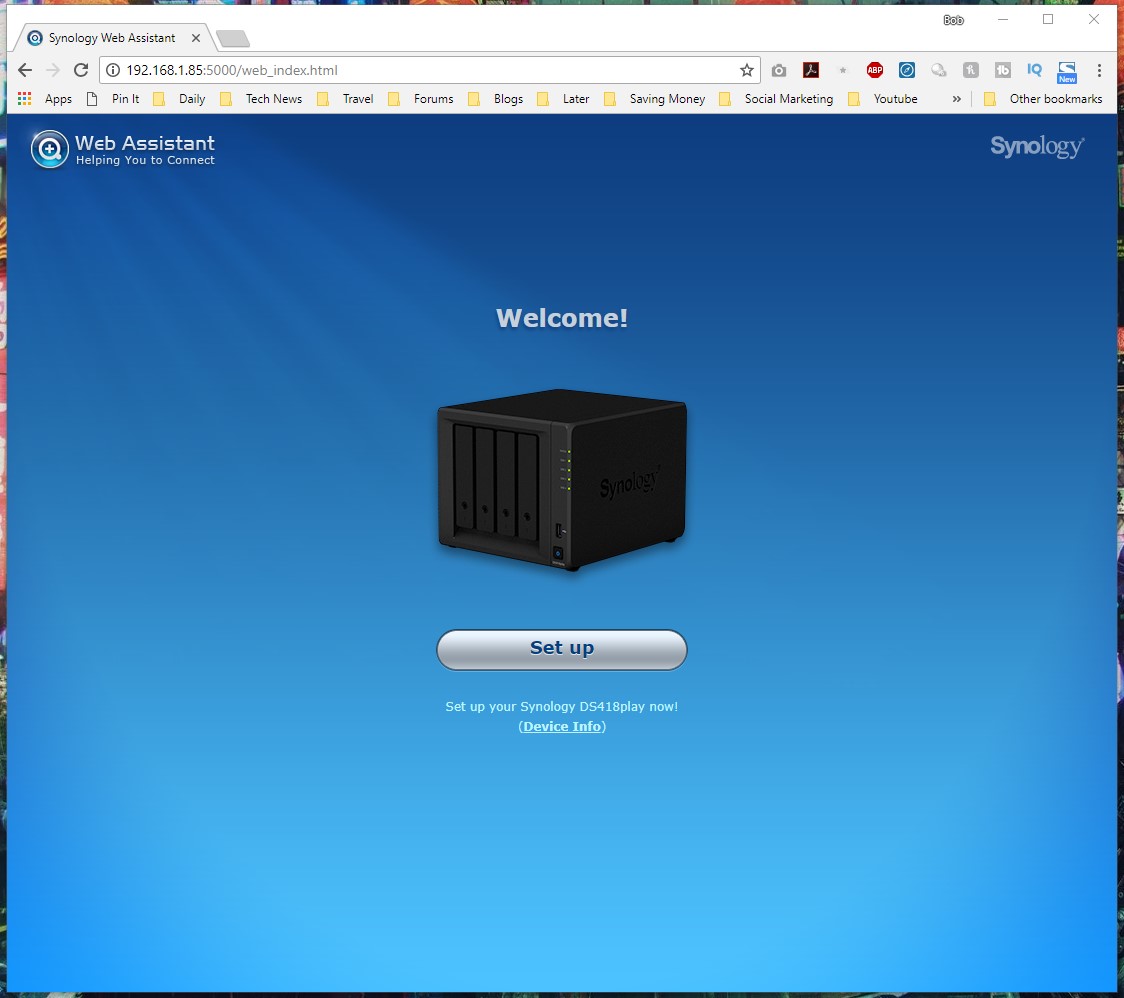
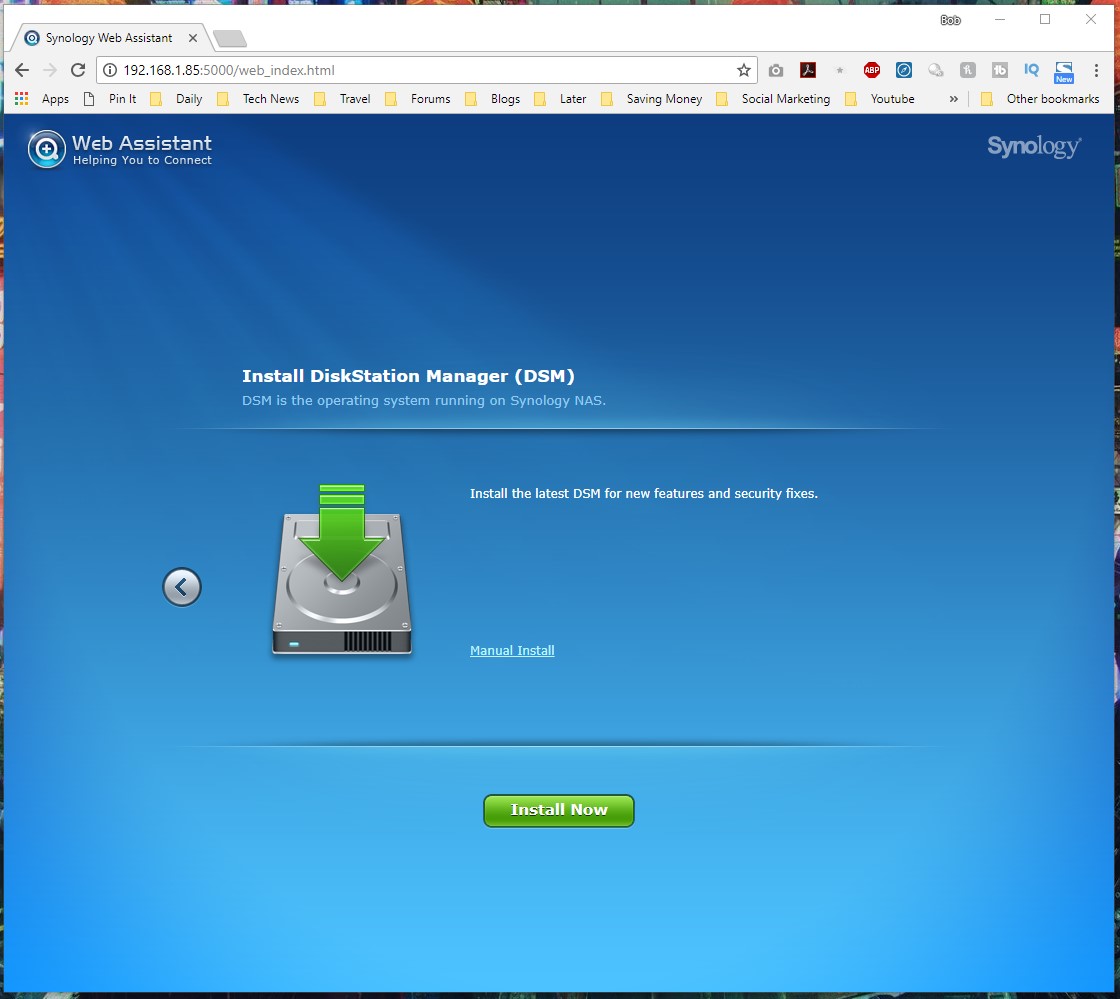
On initial setup you will be prompted to install DiskStation Manger (DSM), which is the operating system that will run the NAS. Once it is installed you create an administrator account.

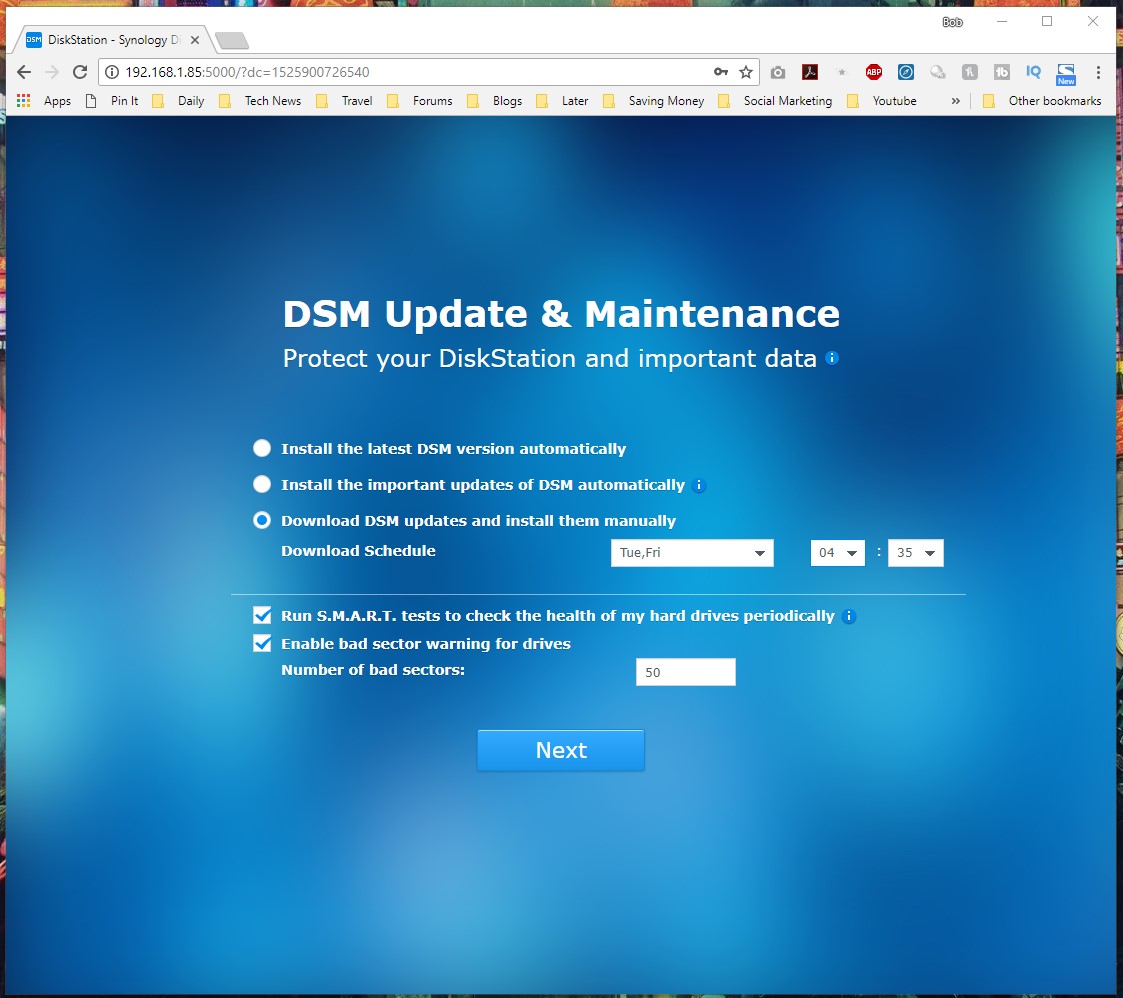
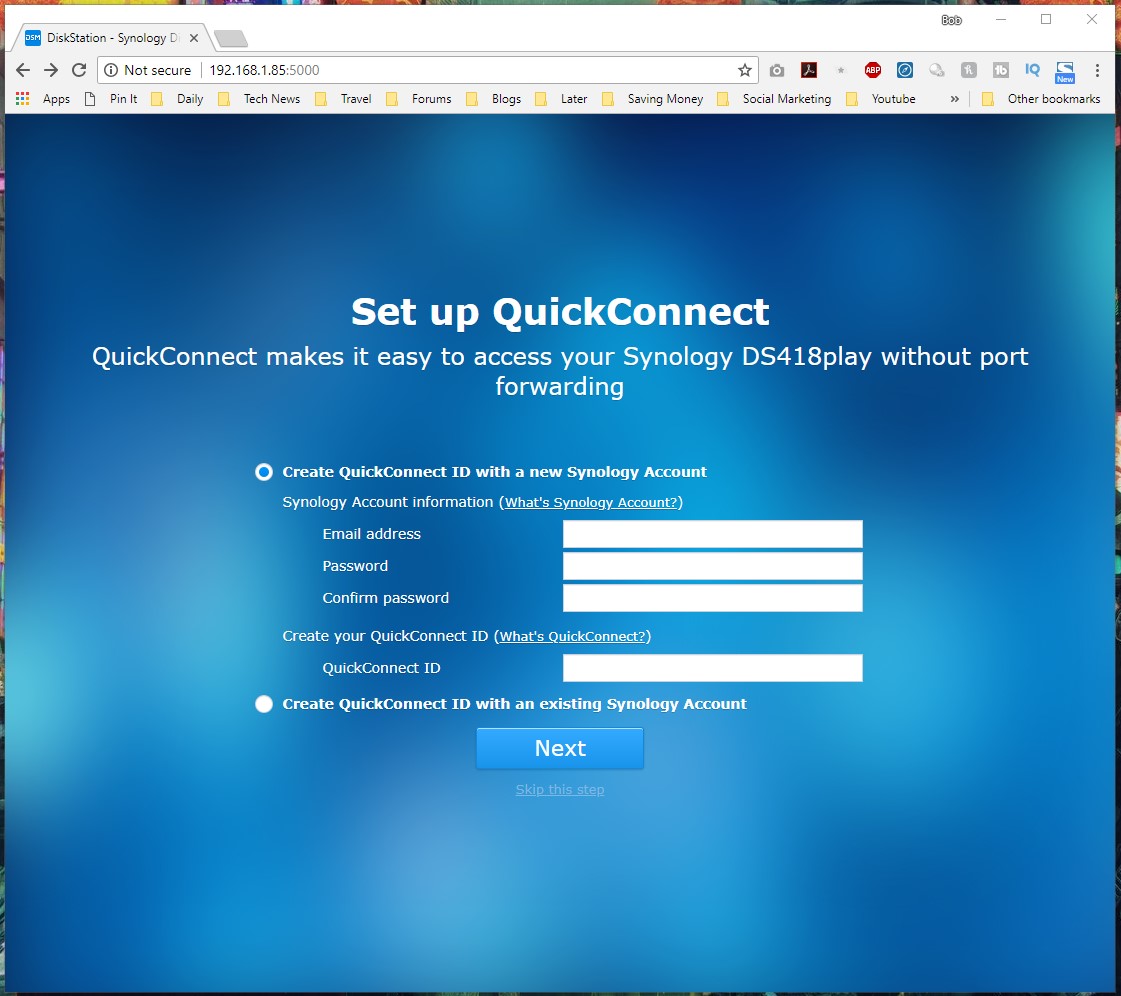
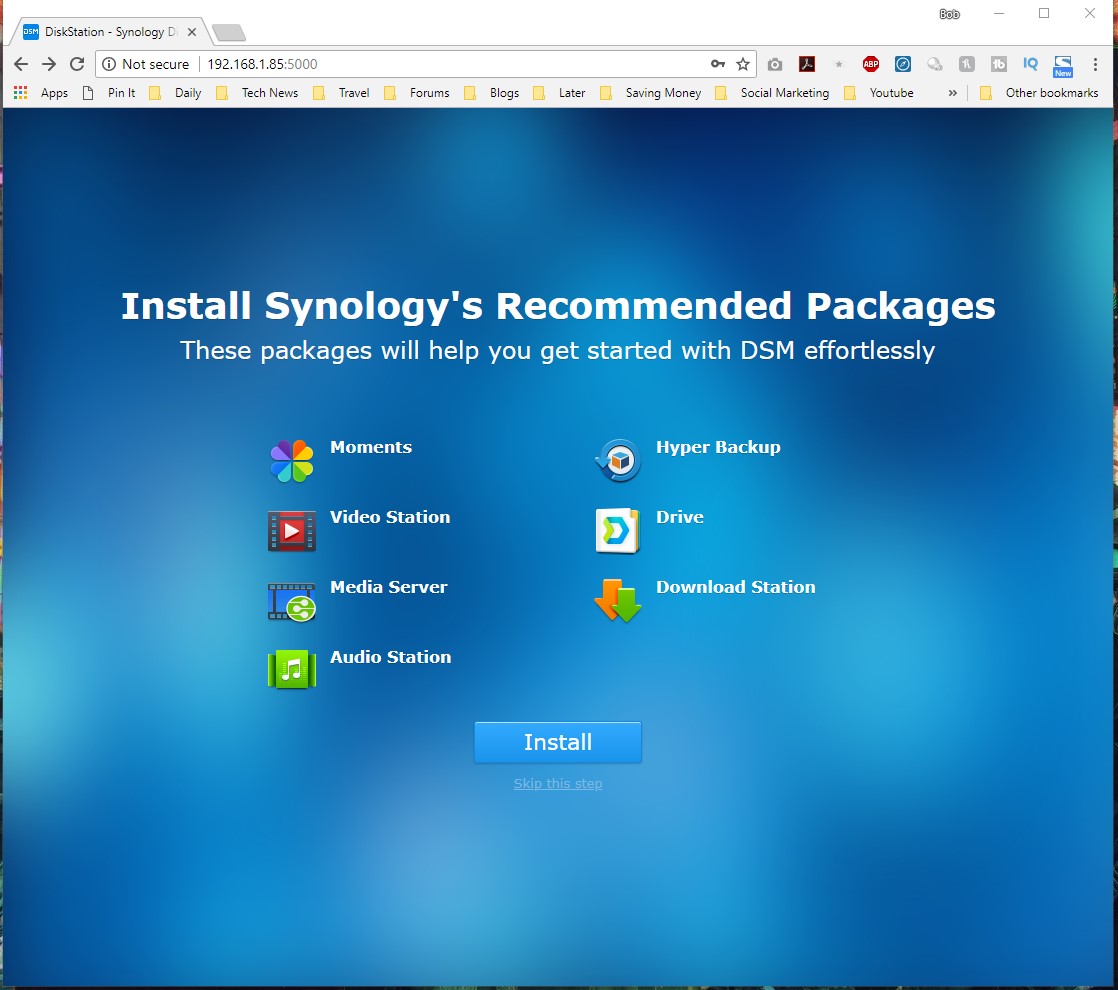
After the administrator account is created you are asked about DSM updates & maintenance, QuickConnect, and installing Synology’s recommended packages. QuickConnect is great as it allows you to access your NAS via the internet from anywhere in the world. I would suggest installing the recommended packages, although you can always install them later.