Installation
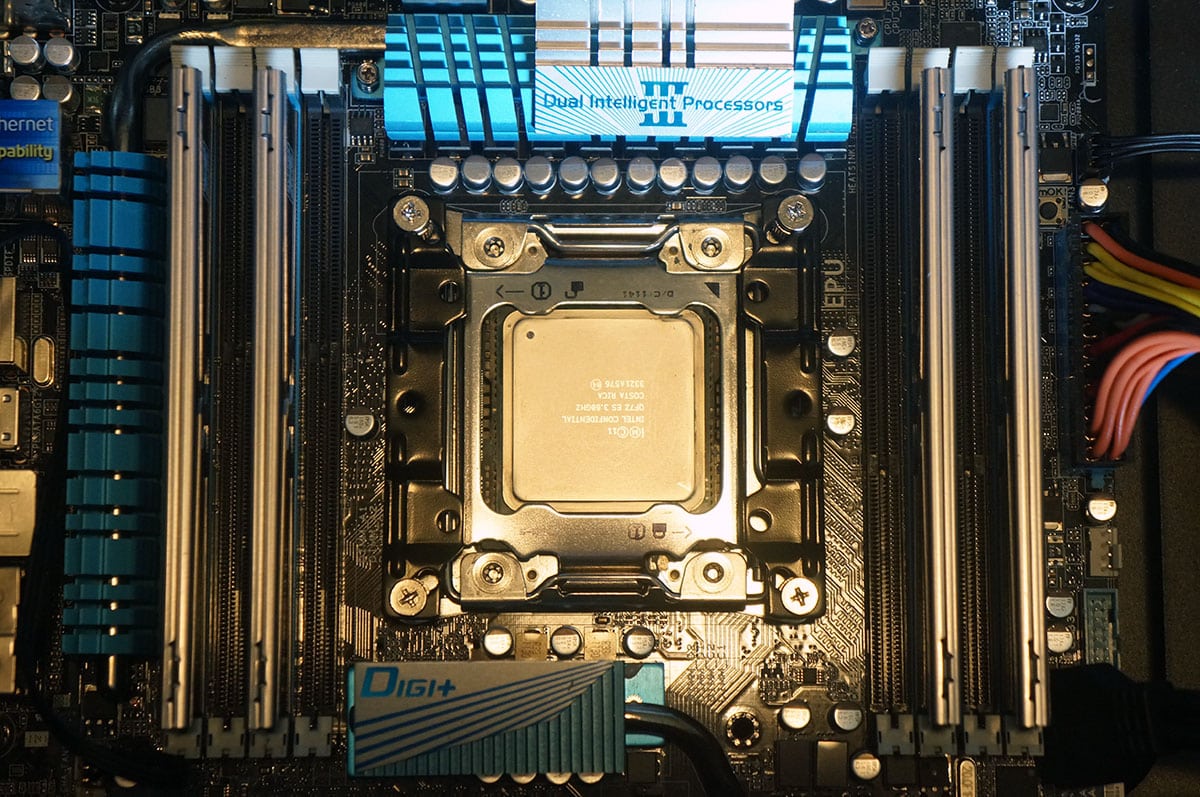
We will be installing the Tatsumi in our X79 system, which uses the LGA2011 socket. To get started find the socket 2011 mounting bolts and install them on your LGA2011 socket.
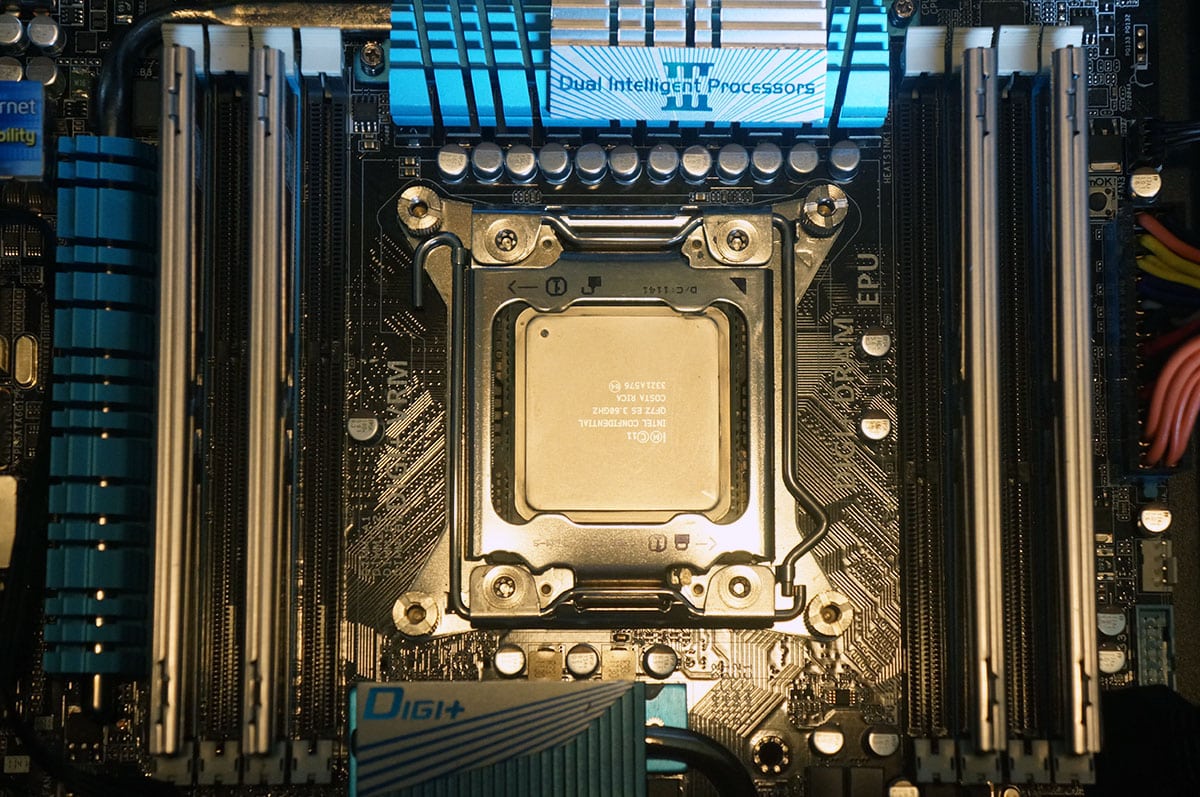
Now install the Intel mounting bars. You line them up with the mounting bolts and secure them with the included screws. For socket 2011 you will use the furthest mounting holes. Also our orientation of the mounting bars means that the cooler will be exhausting out the back of our case.
Take time to properly apply your thermal paste. Now take the main mounting bar in carefully install it on the base of the cooler. It simply fits into the grooves on the base. Also for some reason if the fan is installed on the cooler remove it.

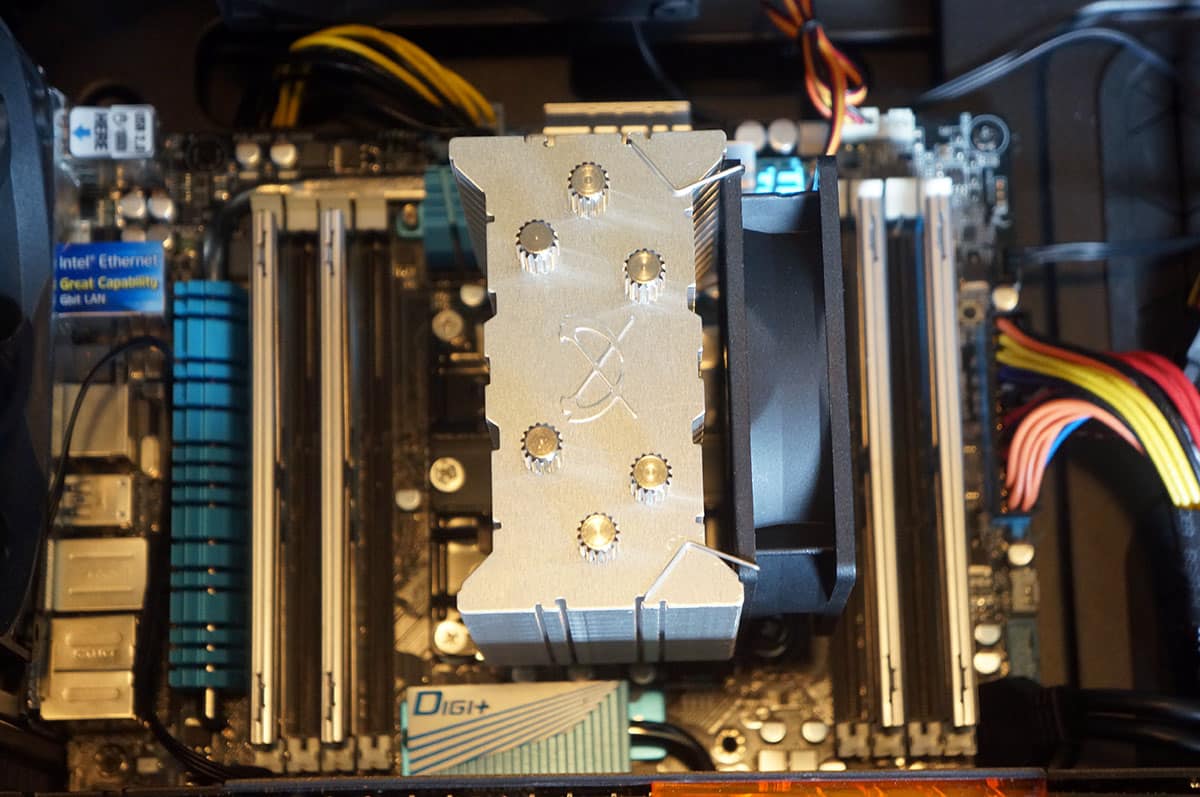
Now place the cooler on your CPU by lining up the holes on the main mounting bar with the holes on the two into mounting bars. Once you have the cooler on your CPU secure it on each side with the included screws.
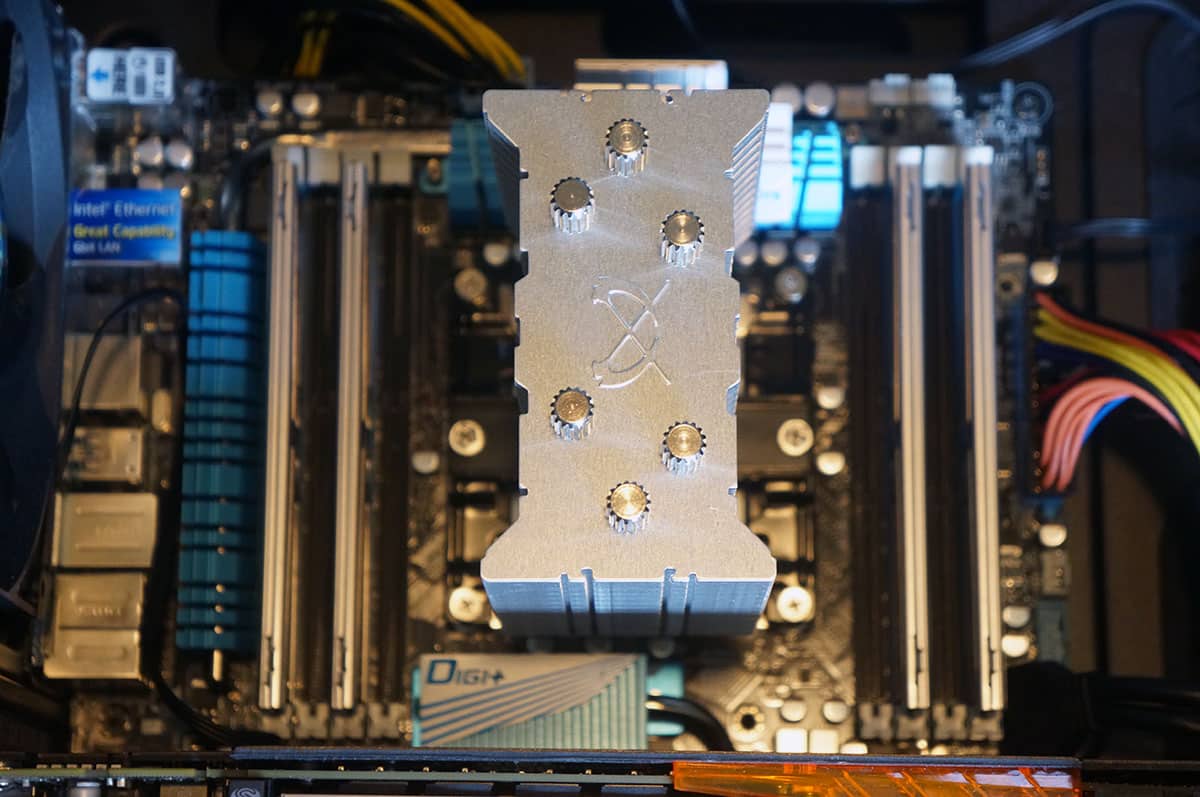
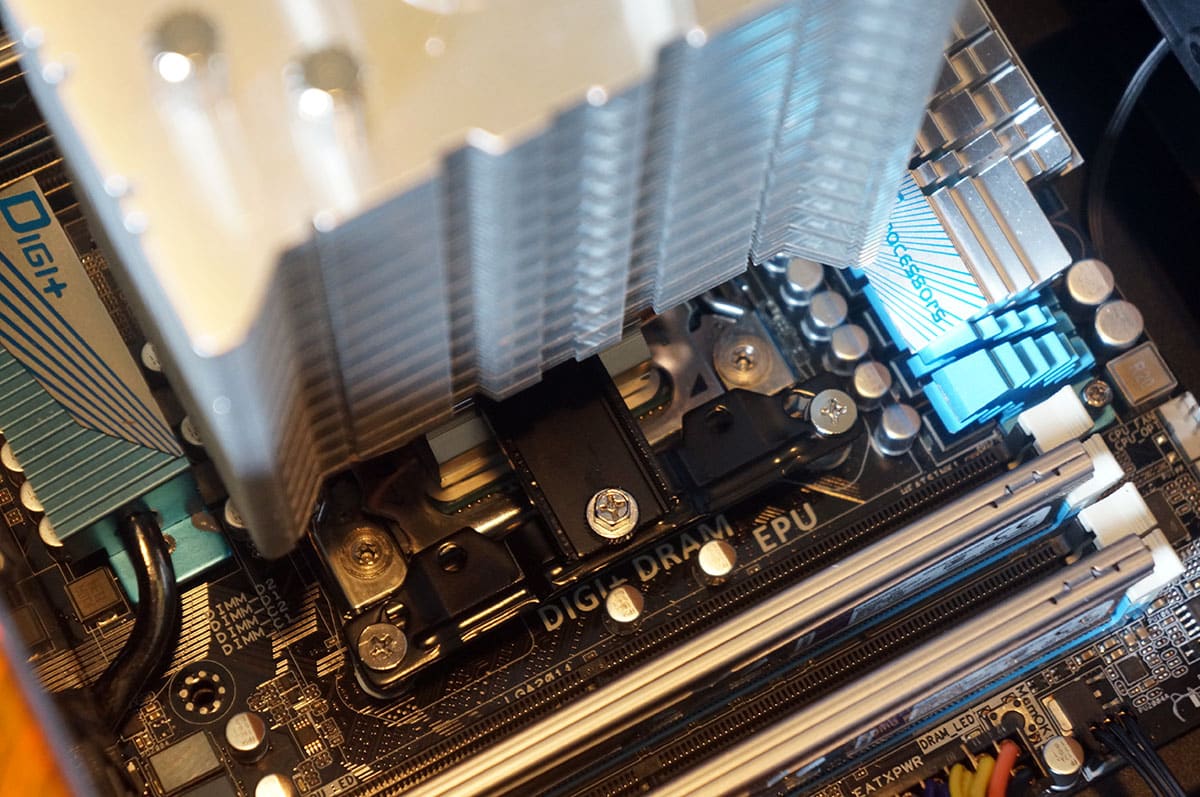
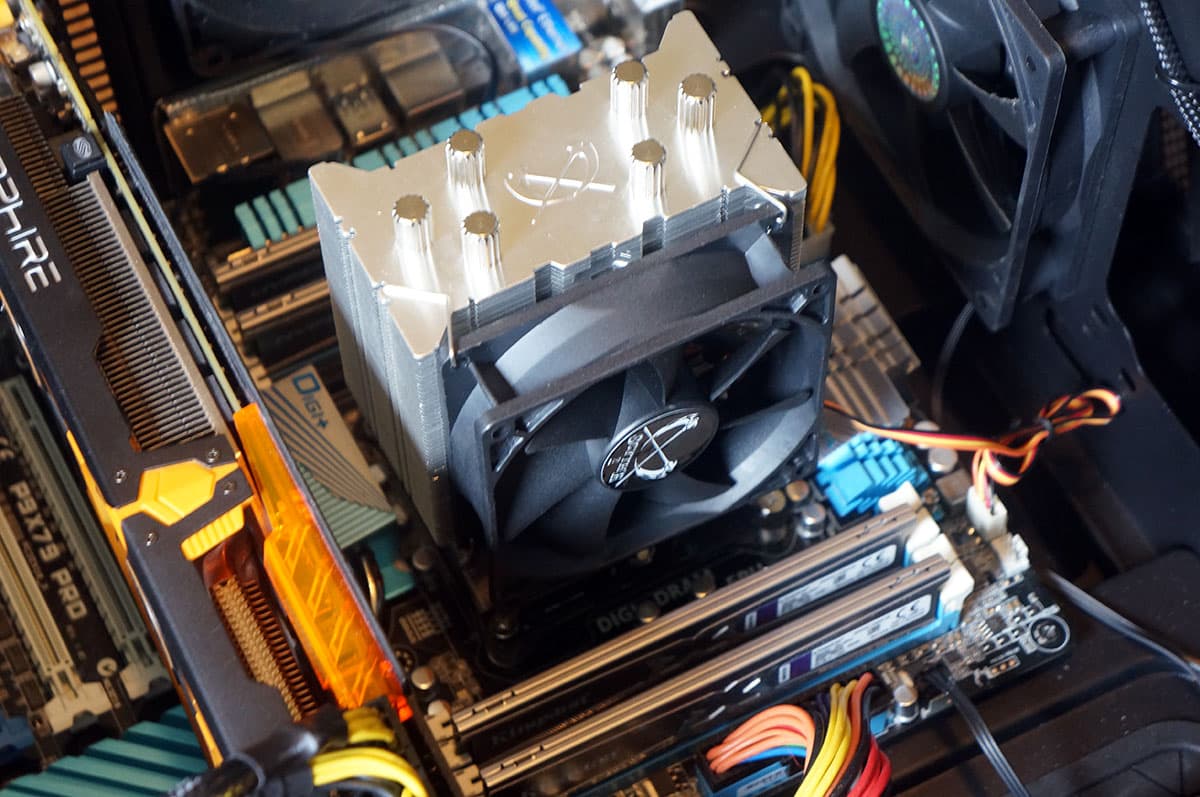
Finally reinstall your fan by using the fan clips. These fan clips are a little harder than others, but after a few tries I had the fan installed. Connect the fan to the CPU Fan header on your motherboard and you are good to go. You can also see that the cooler does not block any of our RAM slots. It is also worth mentioning that we installed the cooler with our motherboard installed in our case and with our graphics card installed as well.