Installation
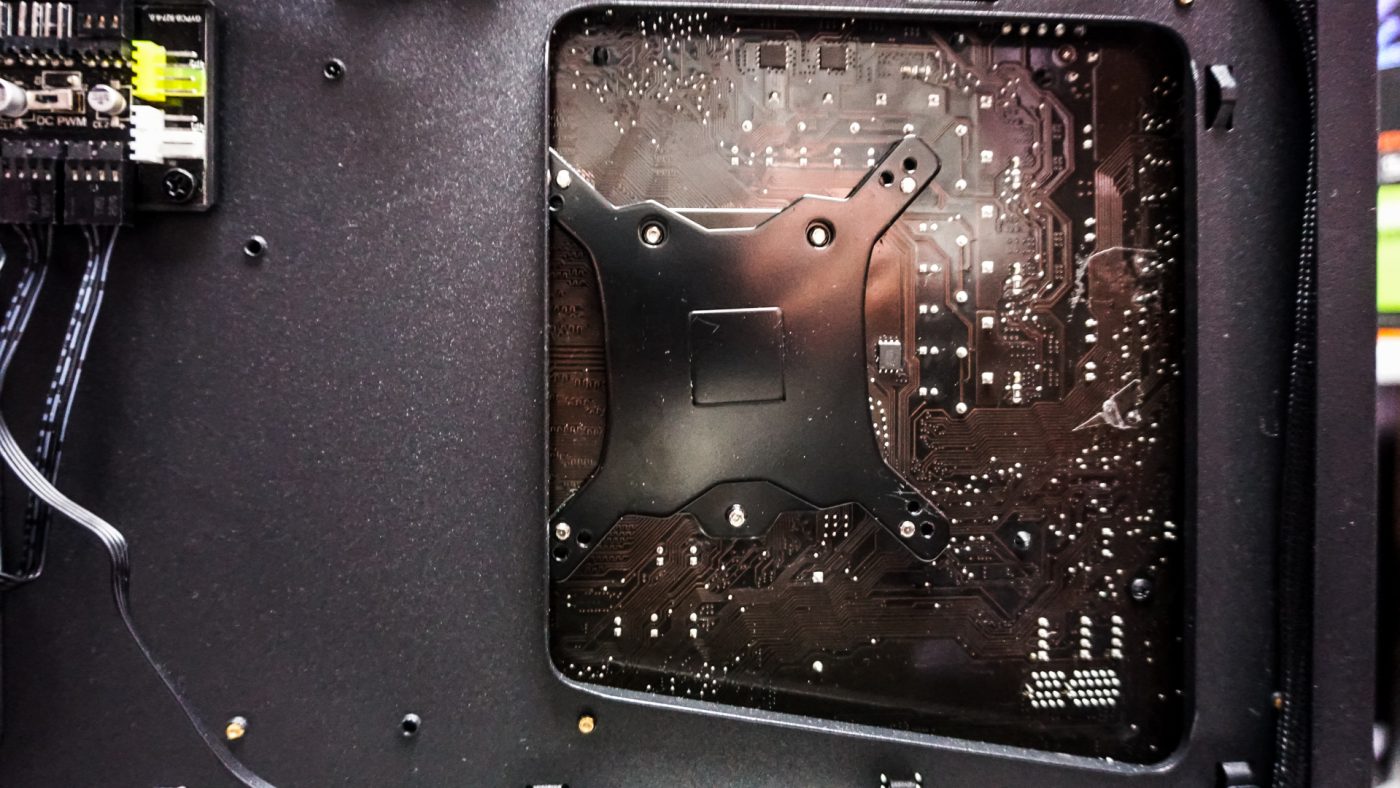
Even though this is a larger CPU cooler it is not terribly difficult to install. We will be installing on a Z170 motherboard so we will be following the Intel instructions. The first thing you are going to want to do is install the backplate and mounting screws. You line the backplate up on the back of your motherboard and on the main side you press the screws through to attach them to the backplate.
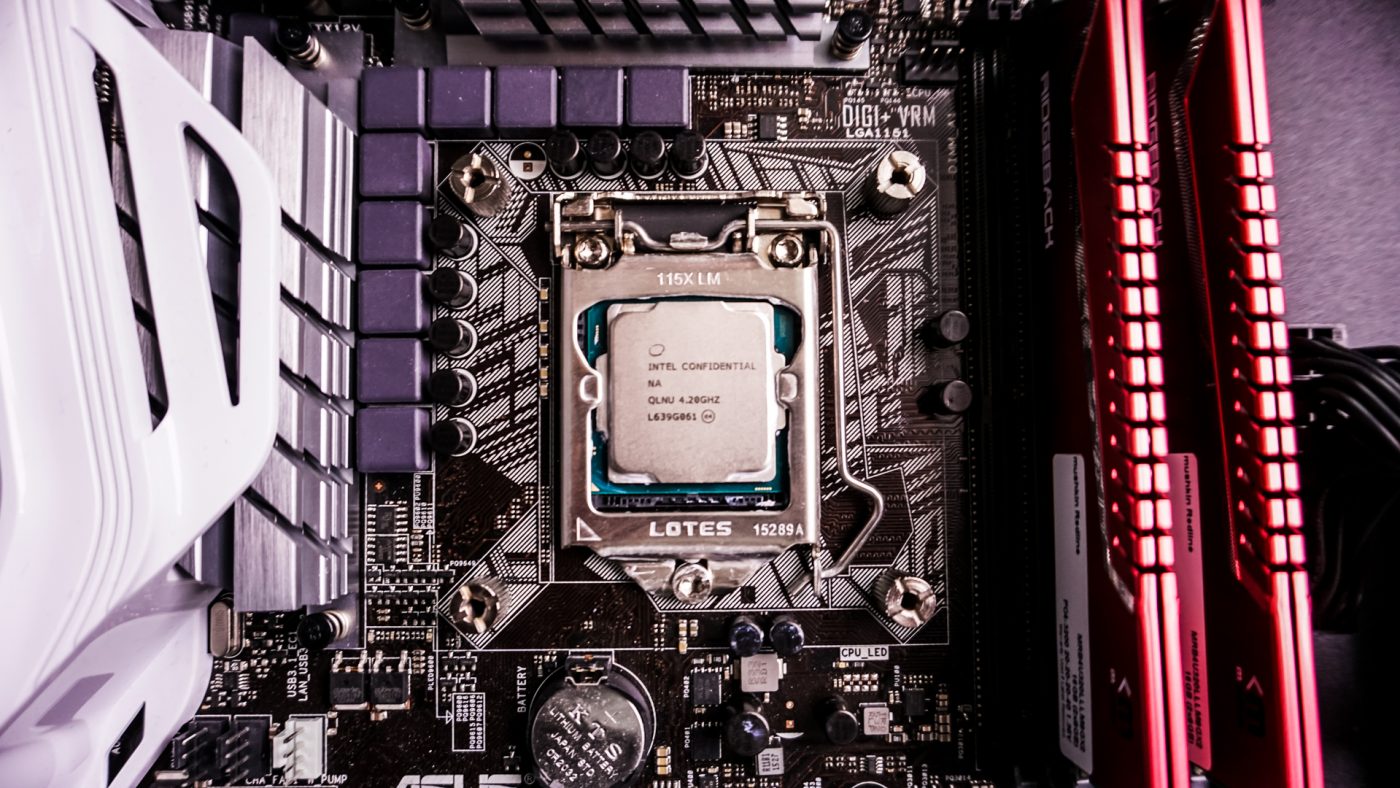
Next you want to install the mounting bars on each side of the CPU socket. Please note: The way you see them in the photo below will work, but you will block your first PCI-Express slot. We later switched them to be installed on the top and bottom of the CPU socket.
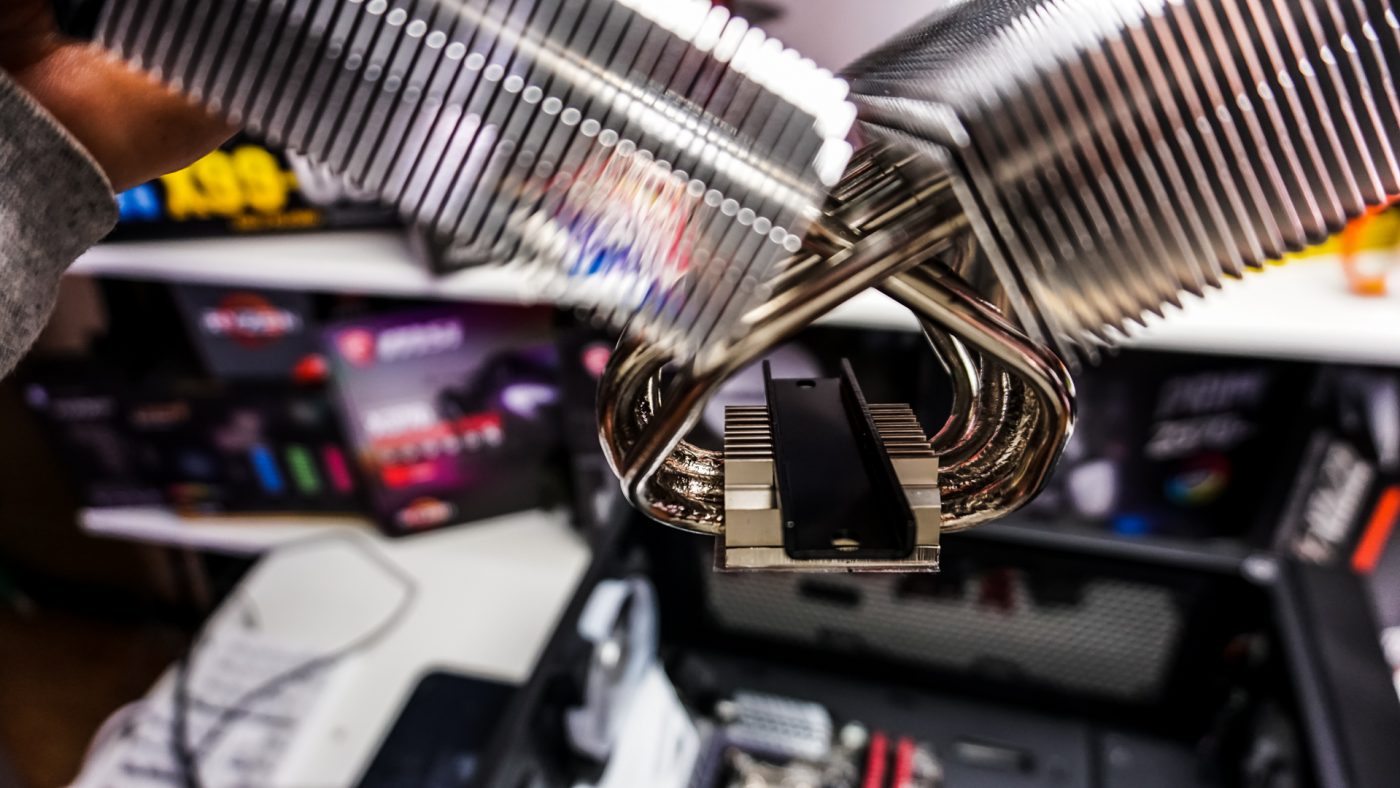
Install the included thermal paste on the heatsink. Now very carefully place the middle mounting bar on to the bottom of the heatsink. There are notches to help it stay in place. Take the two final mounting screws and place them in the holes in the middle mounting bar. Carefully place the cooler on top of your CPU, lining up the screws with the holes in the two main mounting bars. Finally take the included screwdriver and secure the cooler by tightening the screws on each side. You have to place the screw drive down through the fan and heatpipes.
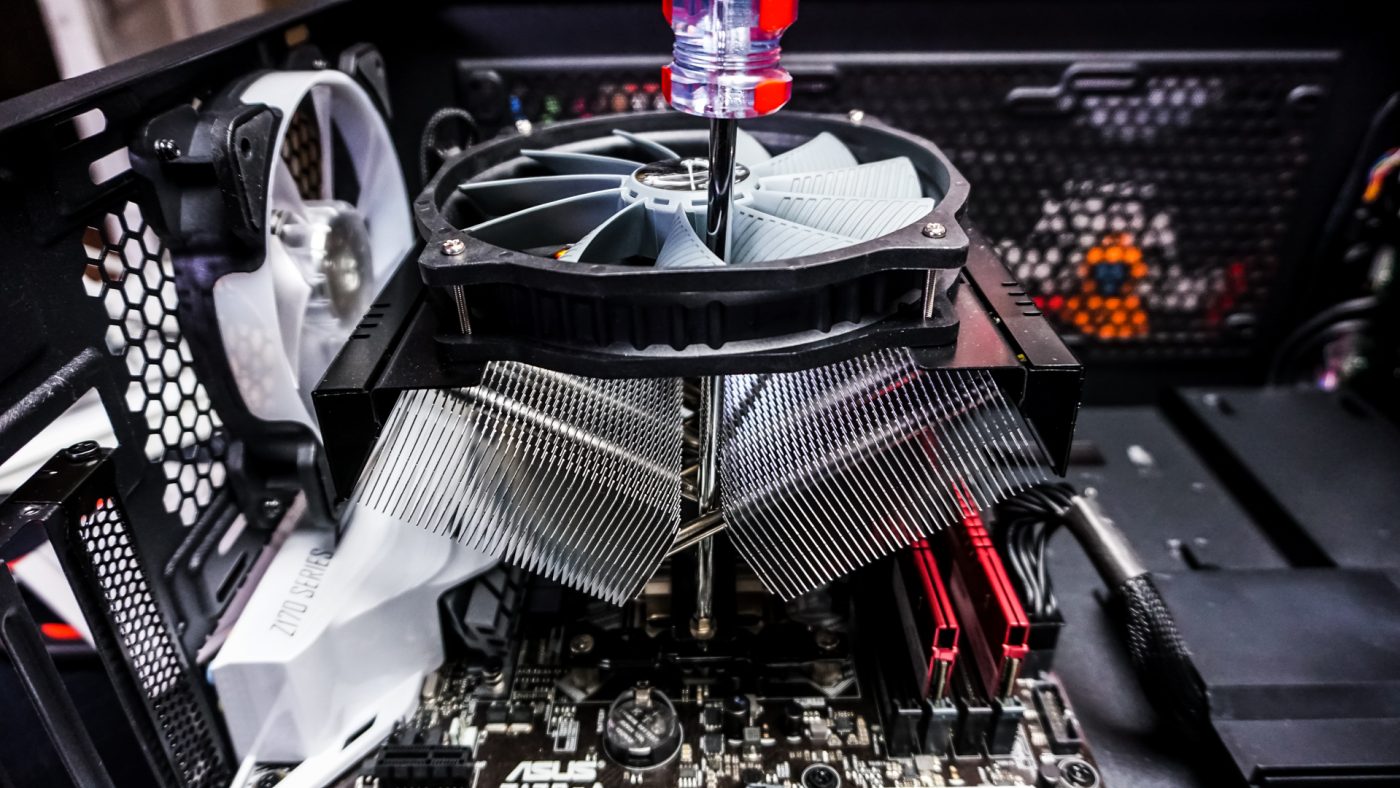
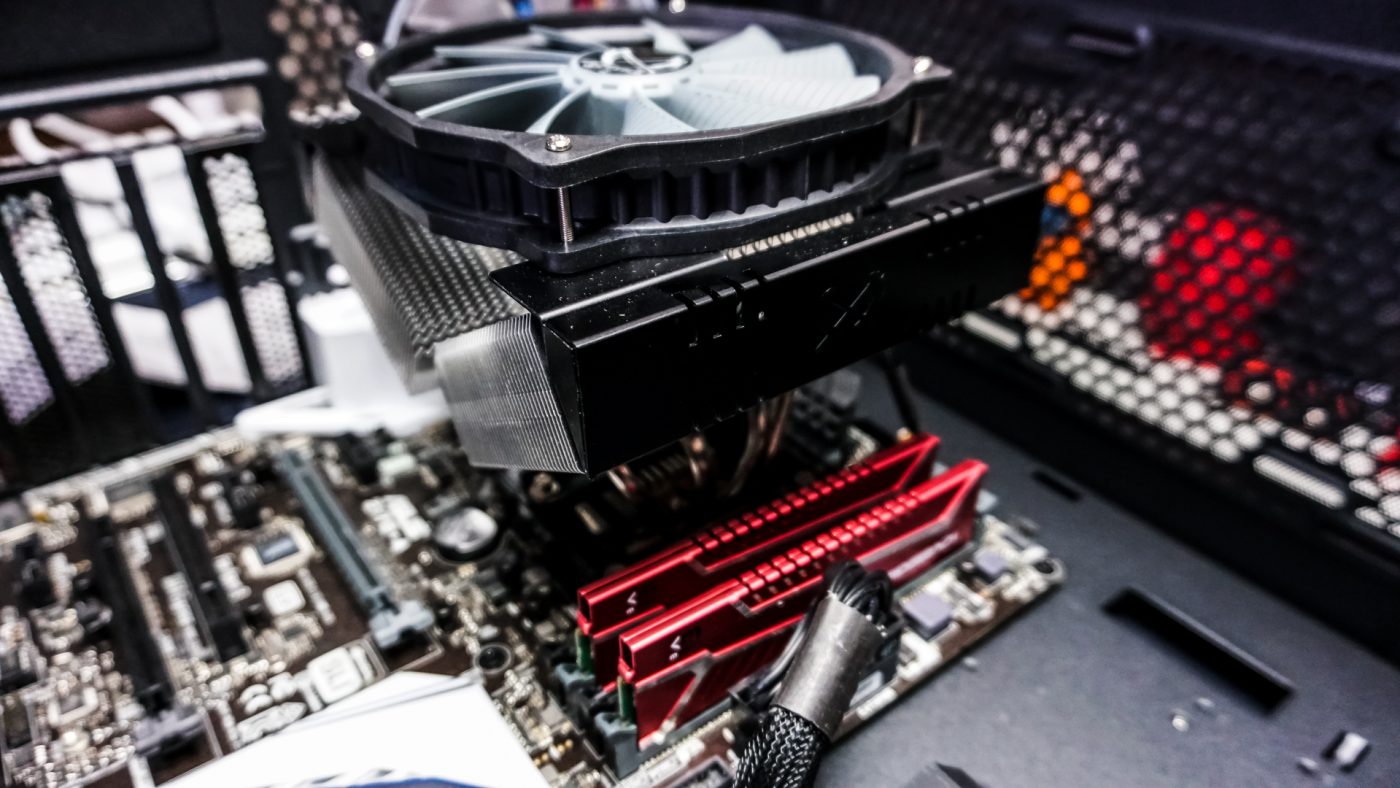
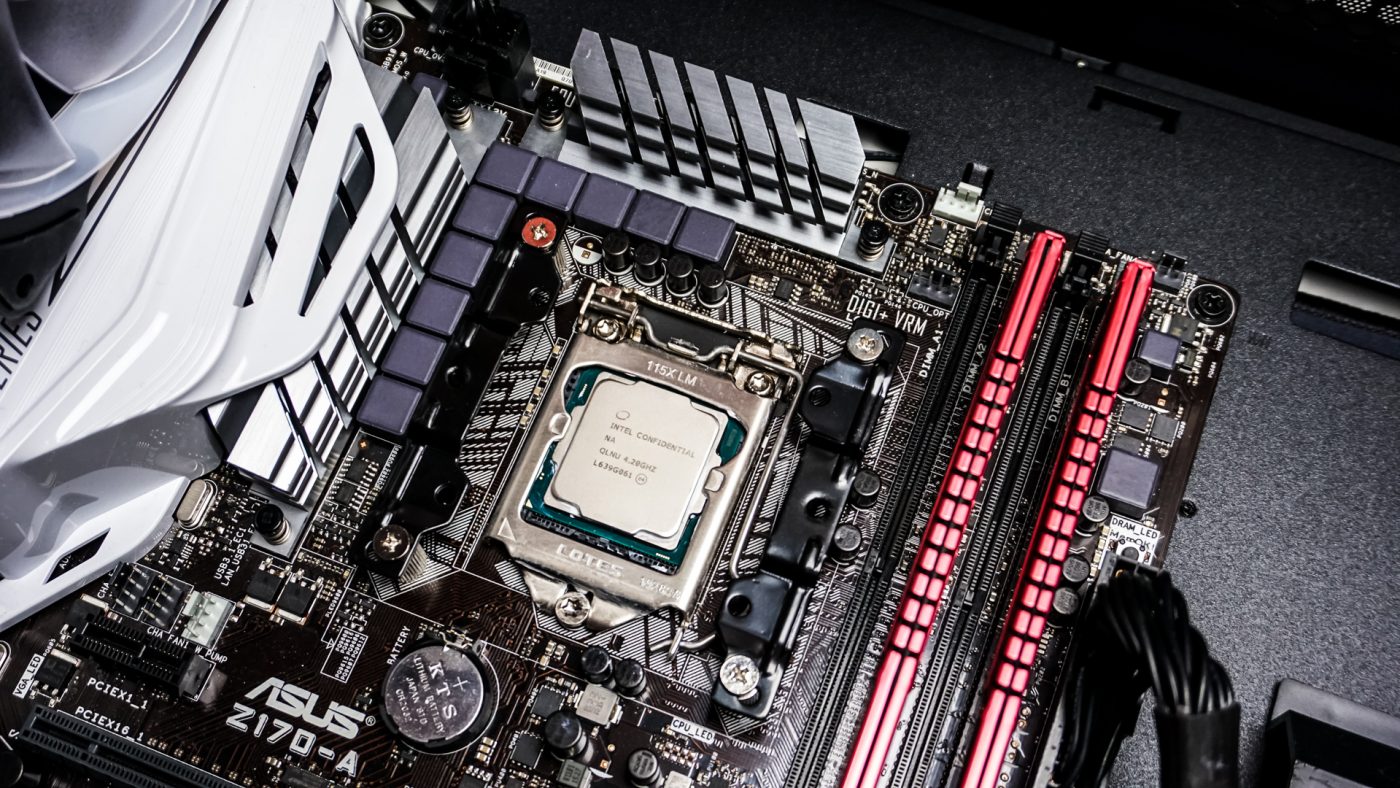
With the cooler installed we can see we still have more than enough room for our memory, even if we had taller modules. This is thanks to the orientation of the two heatsinks as they angle up.