Installation
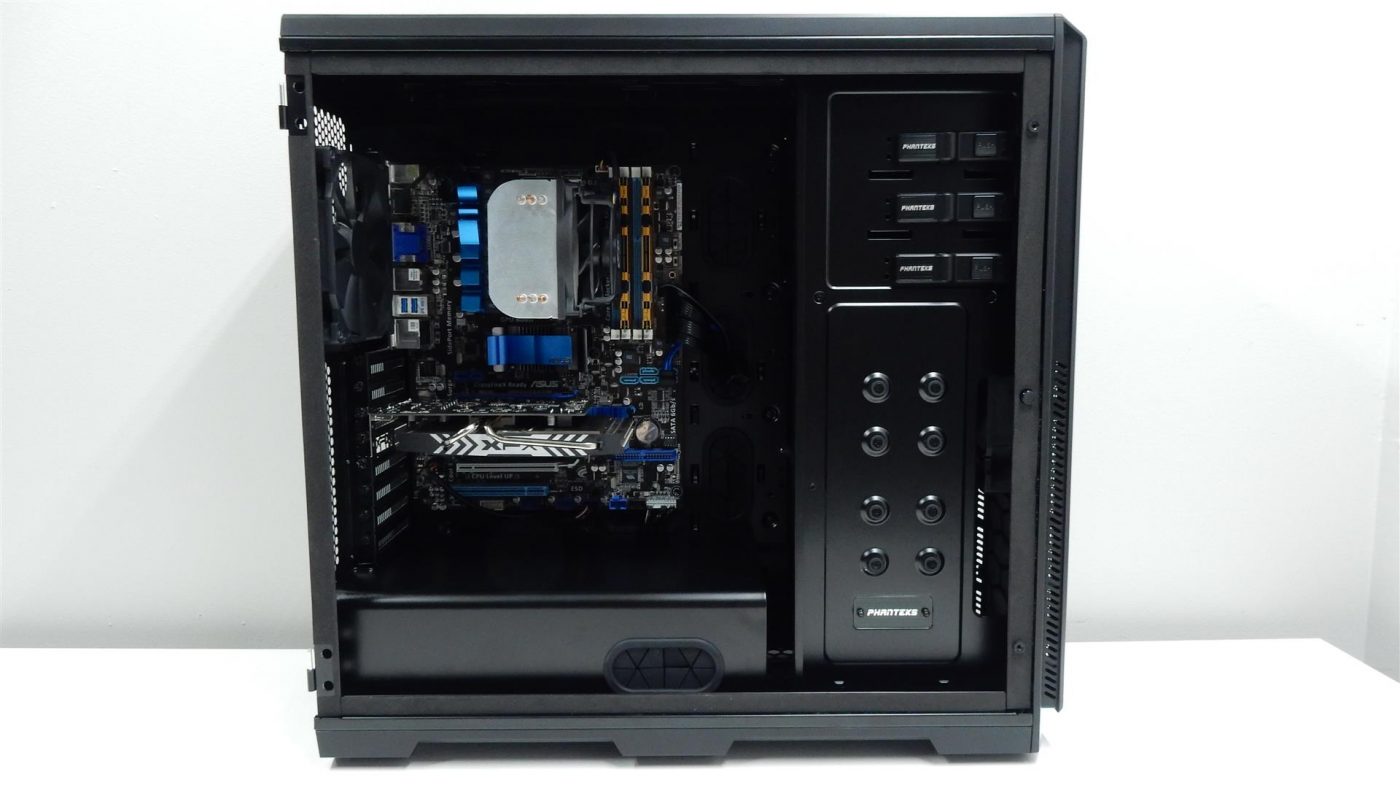
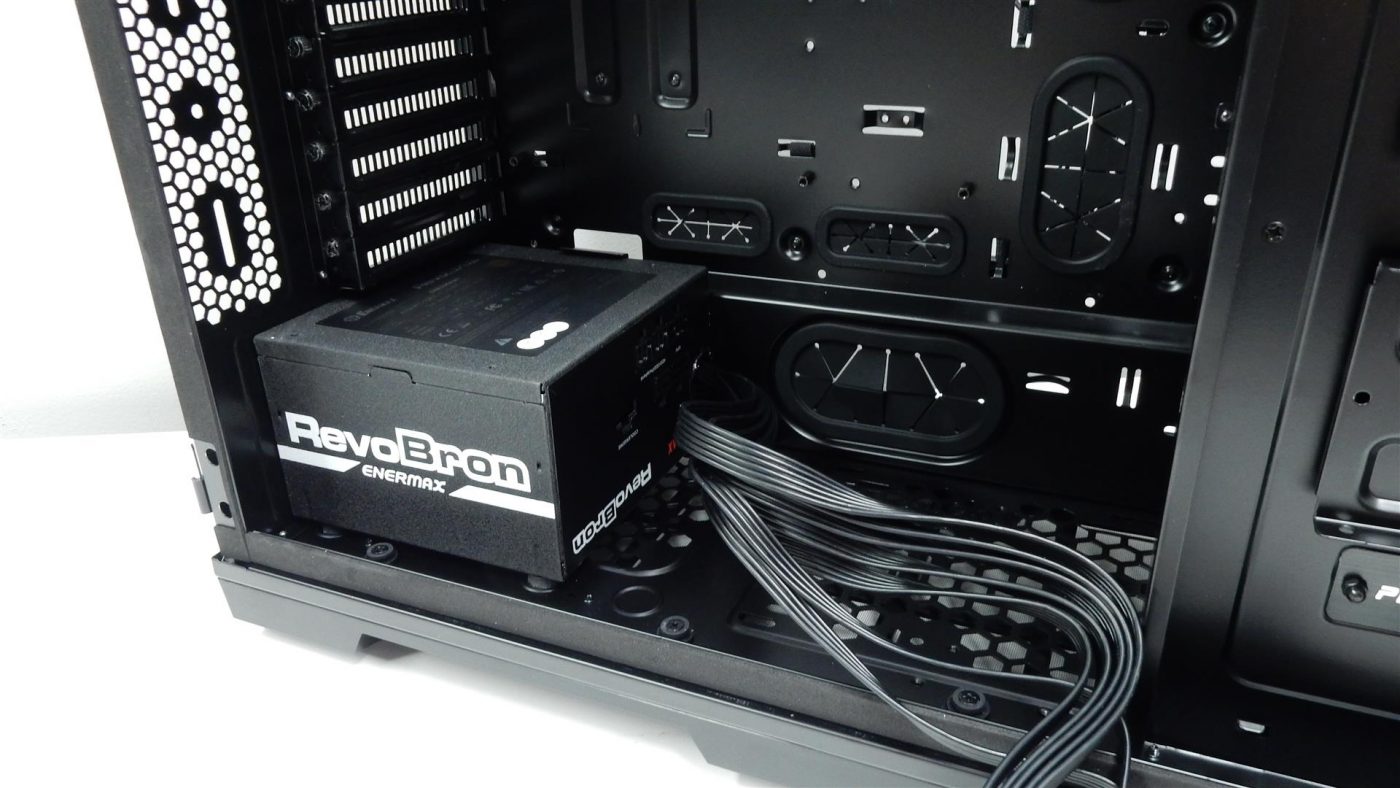
We are typically a fan of starting with our motherboard going into a case first, but with the need to remove the power supply shroud to mount the power supply, we started with that first. No issues here, and we mounted our unit with the fan on the bottom, which allows it to pull in cool air from outside the case. With the PSU in place, and the shroud back on, we then moved on to installing our motherboard.
Motherboard installation was a piece of cake, and was made even easier by the inclusion of two motherboard standoffs will small extensions that allow the board to sit in the right spot without any screws. We have seen similar setups on other cases with more of a “peg” in the center standoff hole, but this method still utilizes a screw to hold the center of the board in place. Anything that makes building easier is okay by us, so kudos to Phanteks for including these small details!
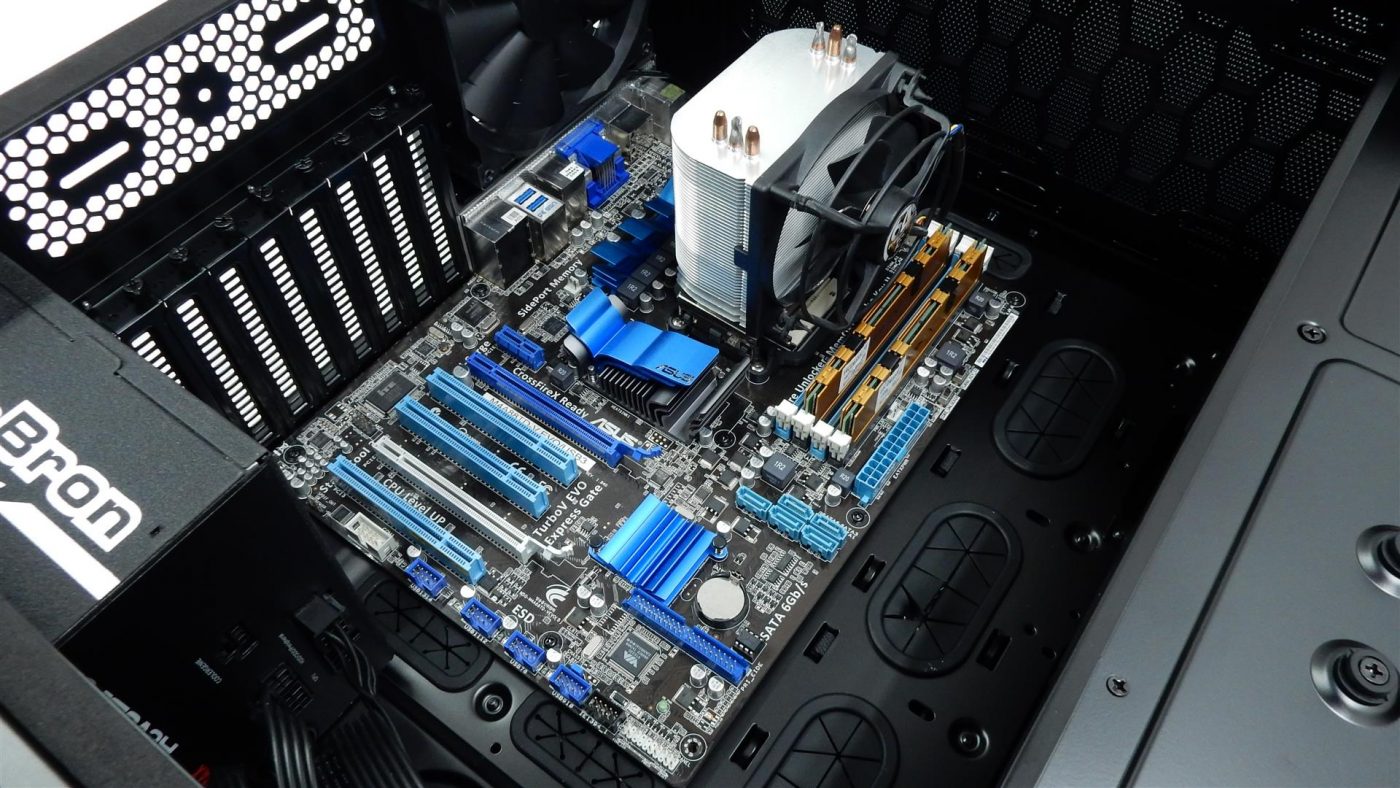
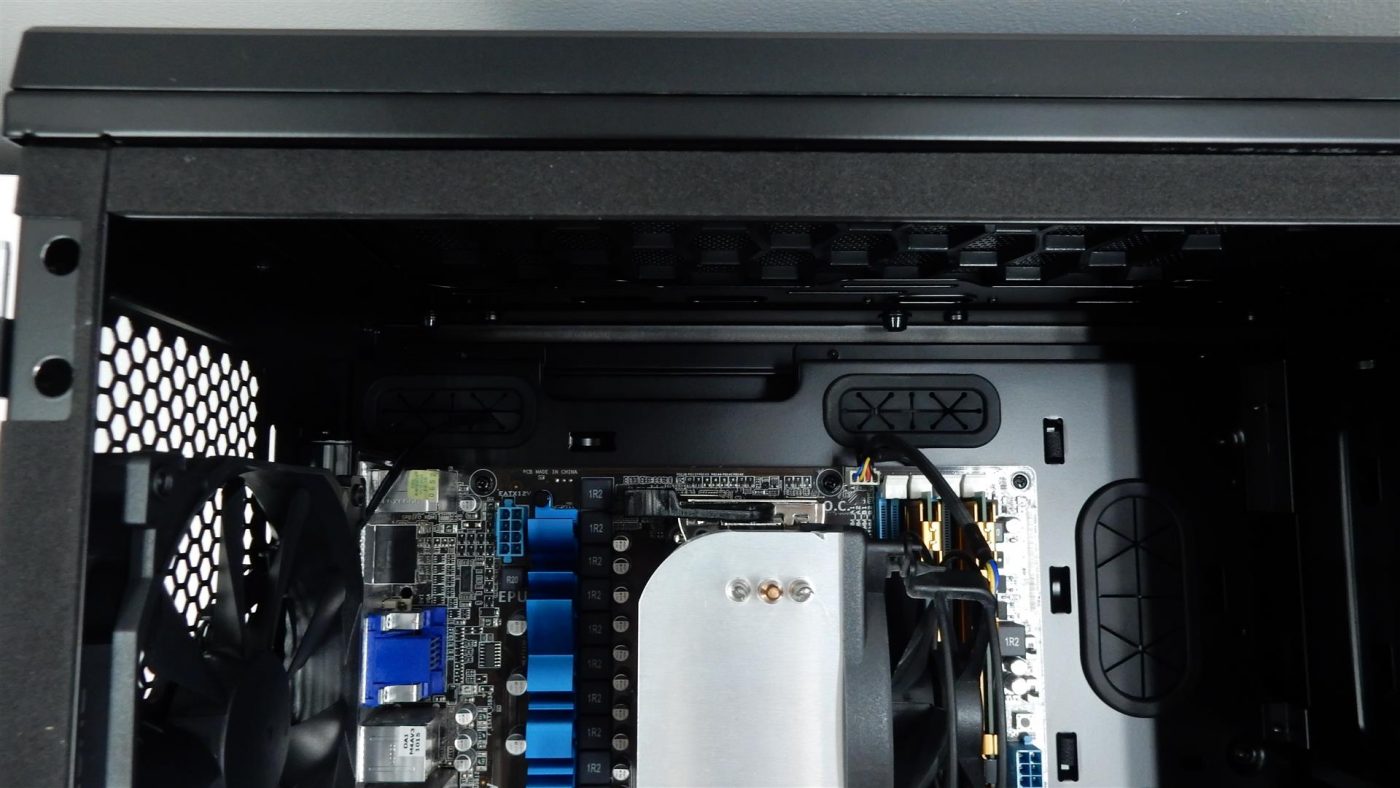
Of note is the ample amount of space above the motherboard; plenty of room for radiators and fans.
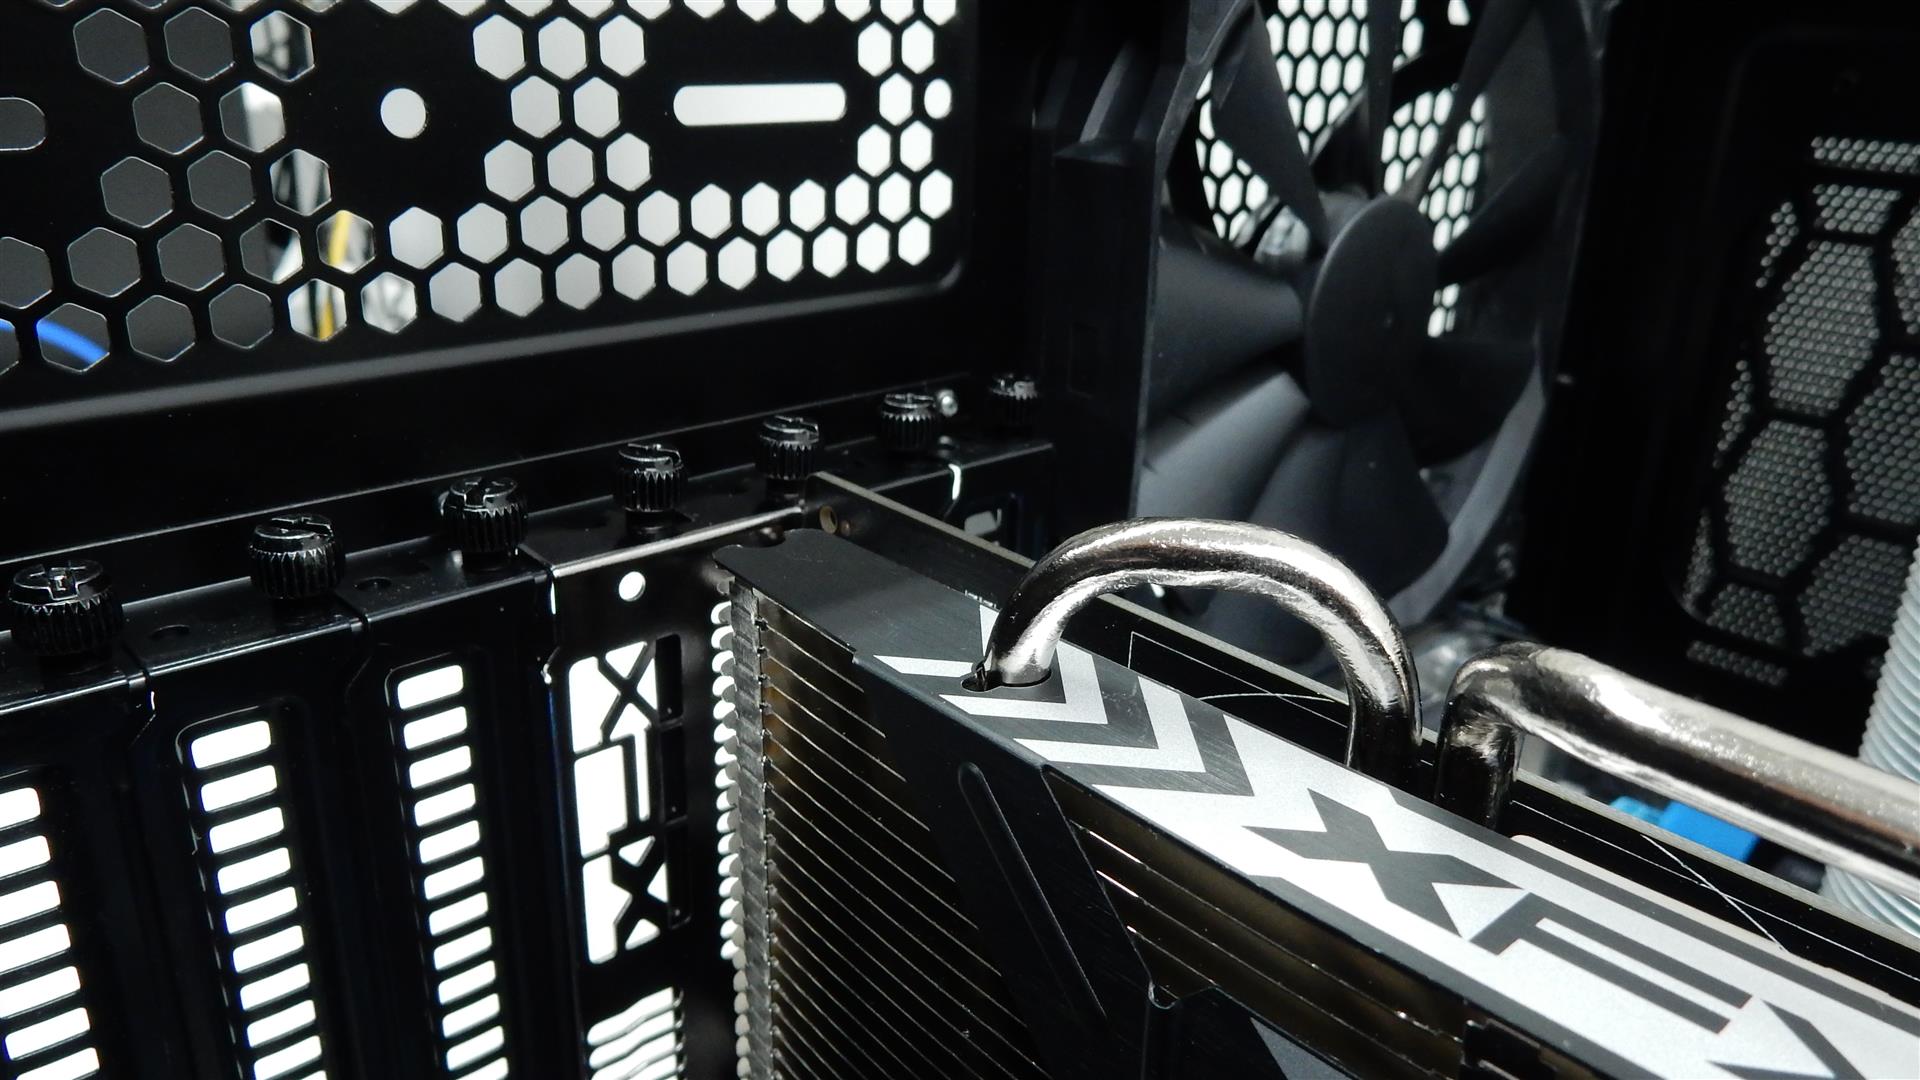
Next up was our graphics card, and while not a huge card, it does have some features that extend past the standard form factor. As you can see below, the heatpipes on our card stick out quite a ways past the rest of the card, and the Enthoo Pro has plenty of room to accommodate. The internally accessible thumbscrews make card installation nice and easy, and you don’t have to worry about the card fitting into a tight space like you do on other cases that put the mounting bracket outside of the case.
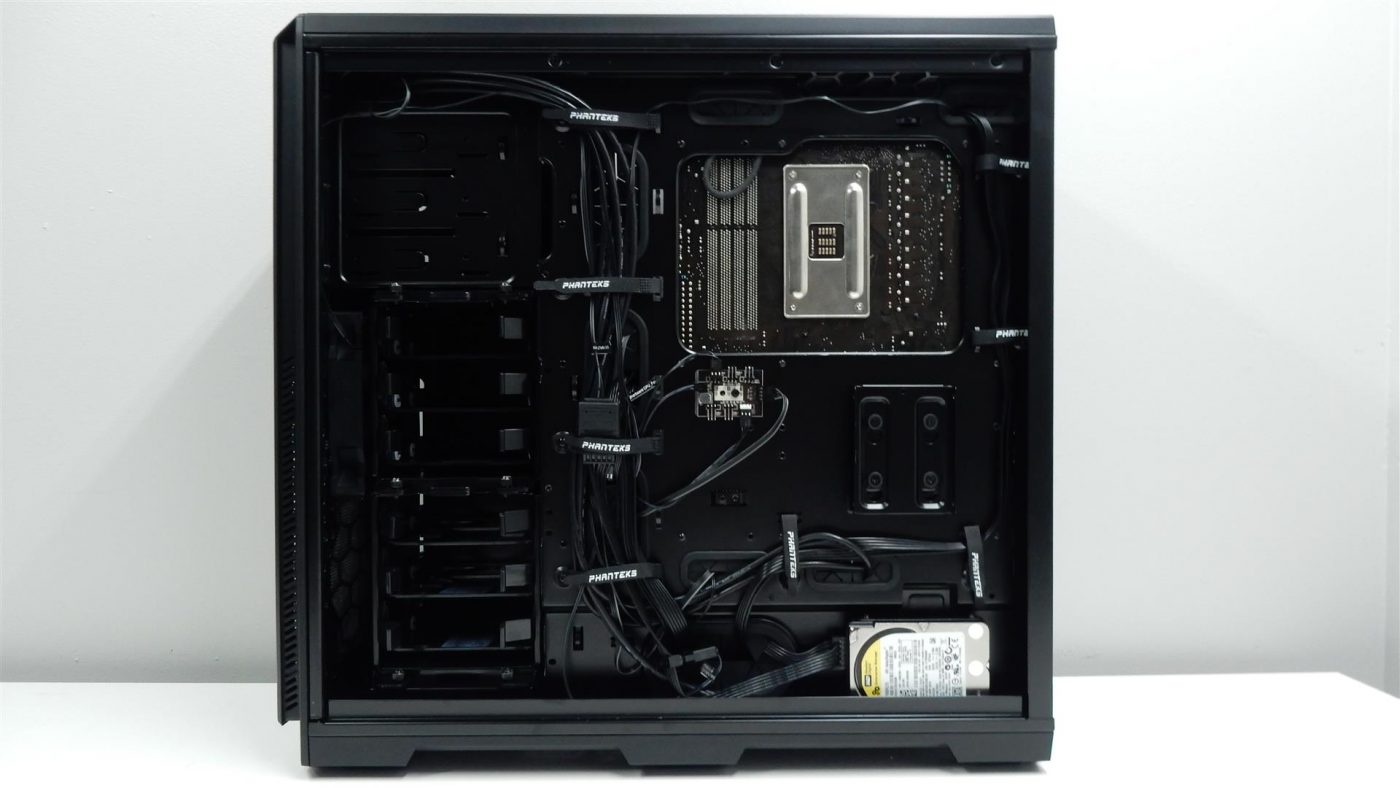
With the major components out of the way, we attached our single 2.5″ drive to one of the included drive trays and mounted it to the back of the motherboard tray on the bottom mount. This kept things looking clean from the window side since we had plenty of room for hiding cables on the back side. We took full advantage of the included Velcro straps, which again are placed in just the right spots.
With everything now in place, we think the final result is pretty impressive.