Installation
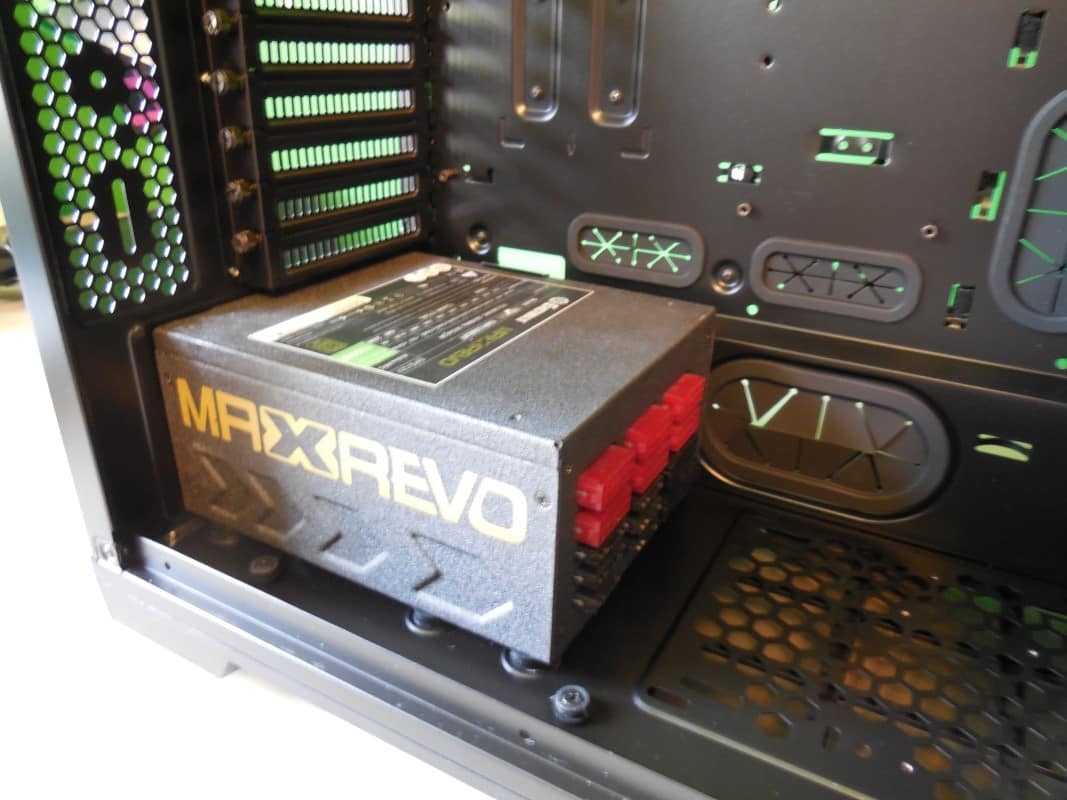
First things first, lets put some power into this all black case. With the PSU shroud removed it’s a simple matter of setting the PSU into place in the back of the case. The PSU we used is an Enermax Max Revo 1250W and is no small unit. It fit’s with no problem. In fact I don’t think there would be a compatibility issue with any consumer unit on the market right now.
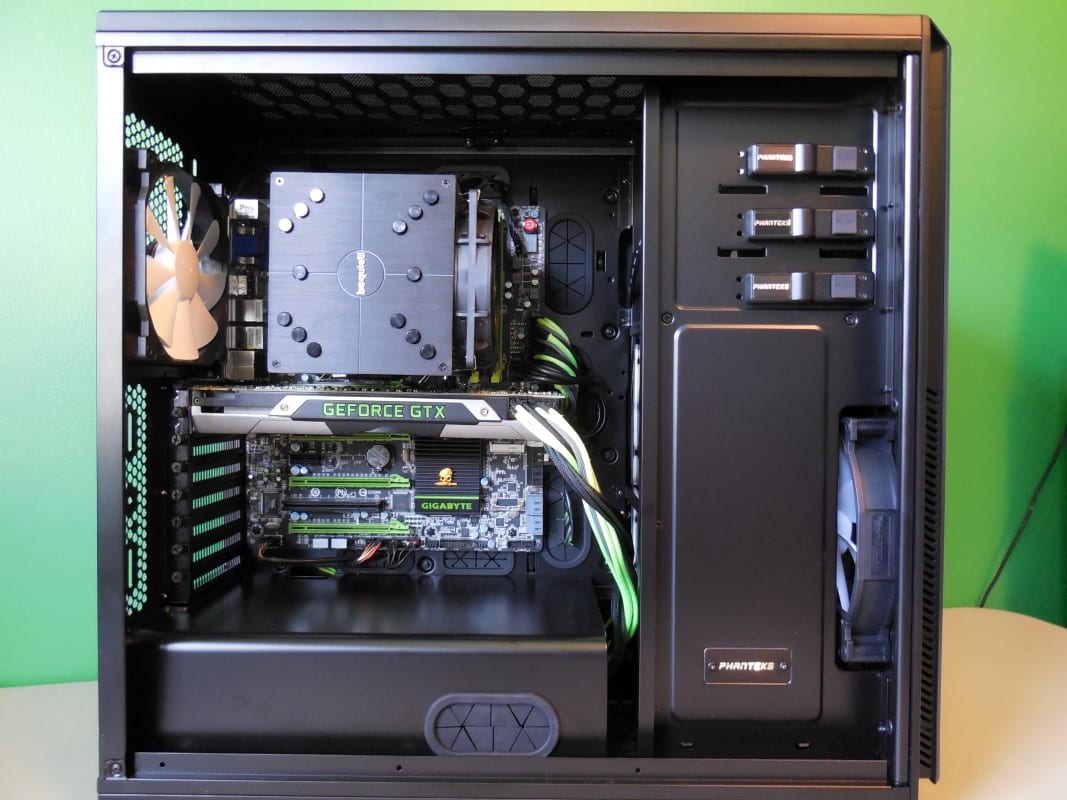
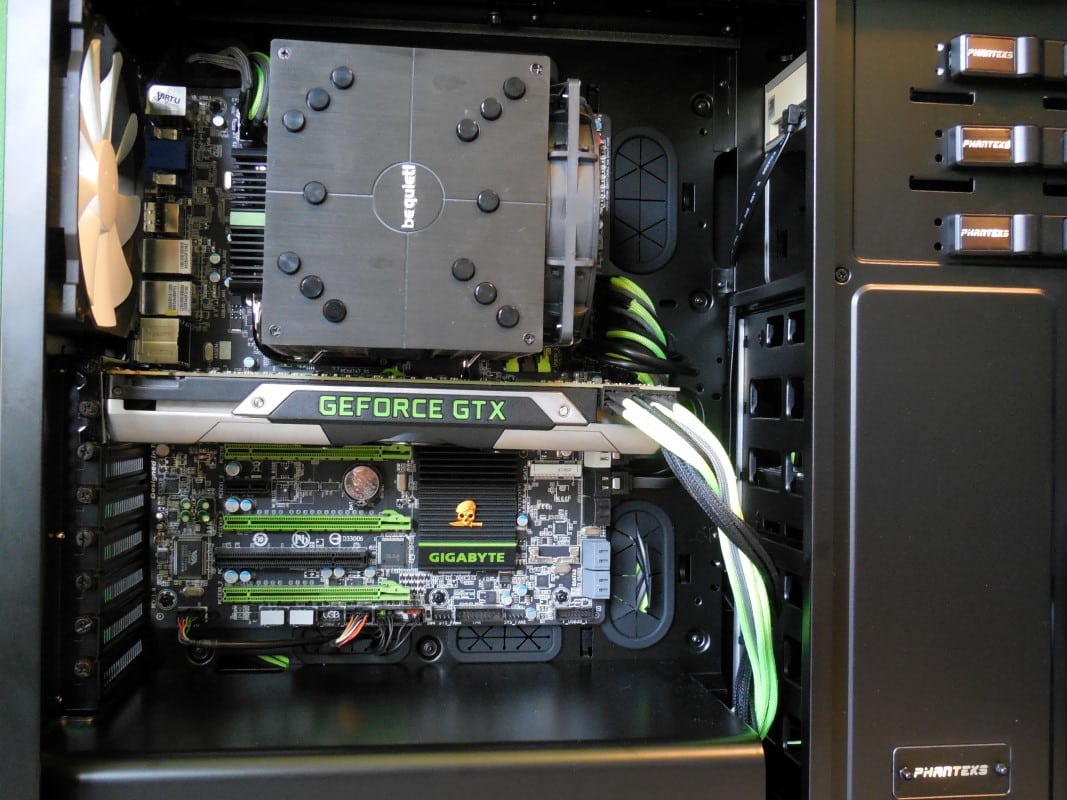
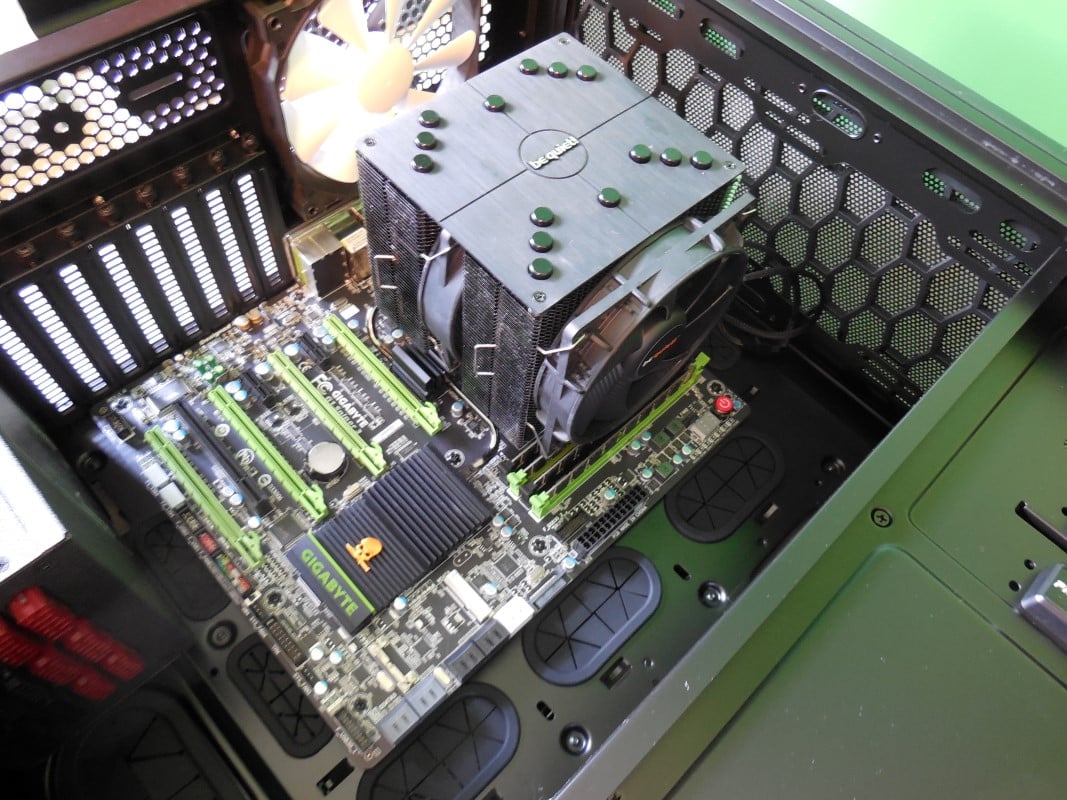
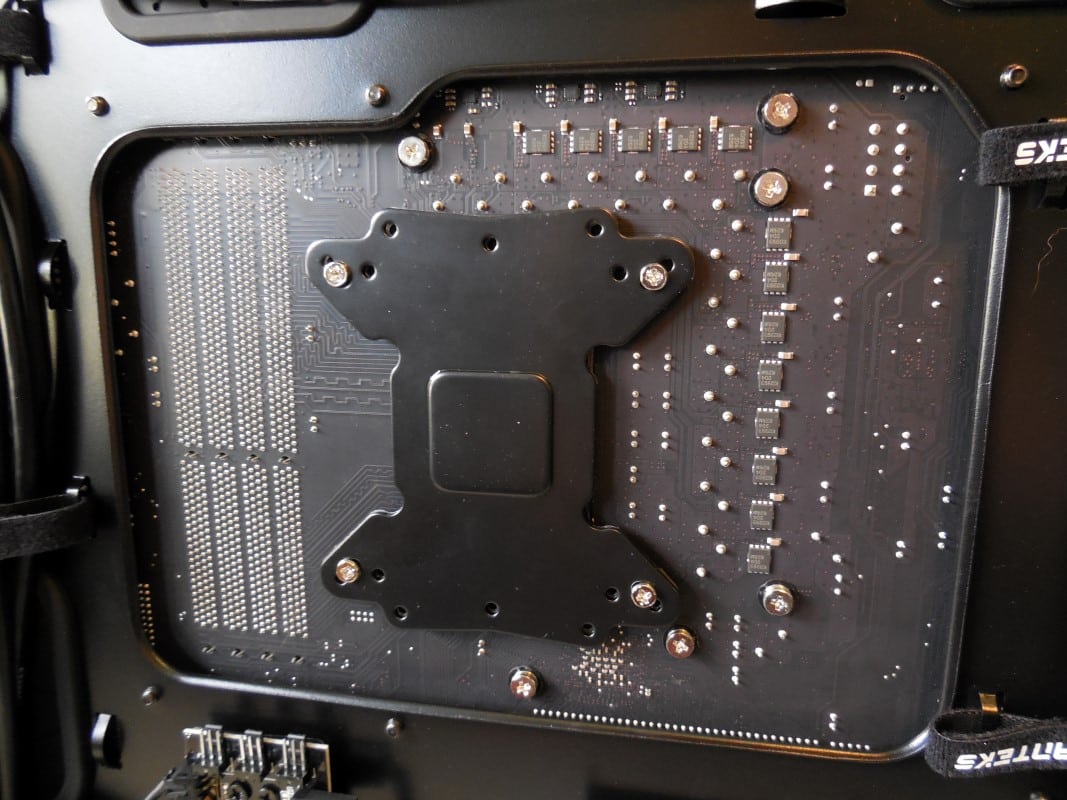
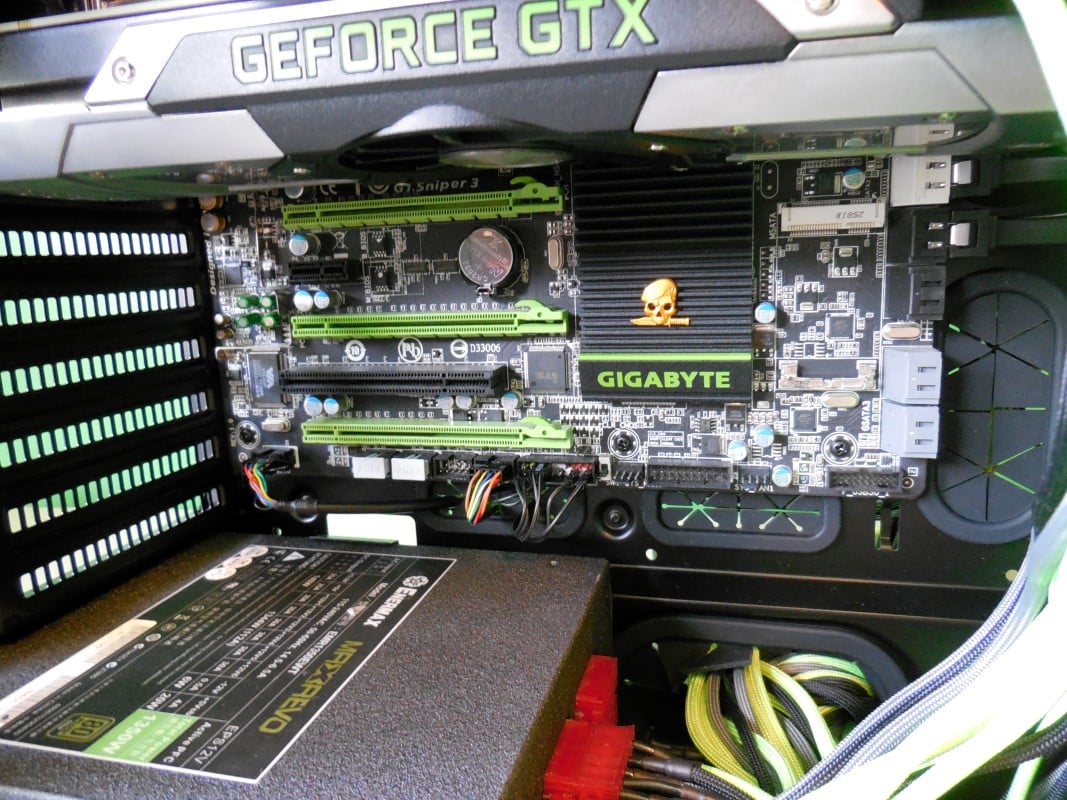
Next we’ll install our motherboard. Ours is an EATX Gigabyte G1.Sniper3 and even though it’s large, it lines up perfectly and doesn’t block out any grommets. Using screws from the toolbox we secured the board without any fitment issues. As you can see we already have the CPU cooler installed. Since we’ve got a good mount and we don’t want to cause thermal anomalies from remounting we left it in place. The good news is that had we needed to, we could have easily installed it with the board in place thanks to the ample room provided by the generous cutout in the Pro.
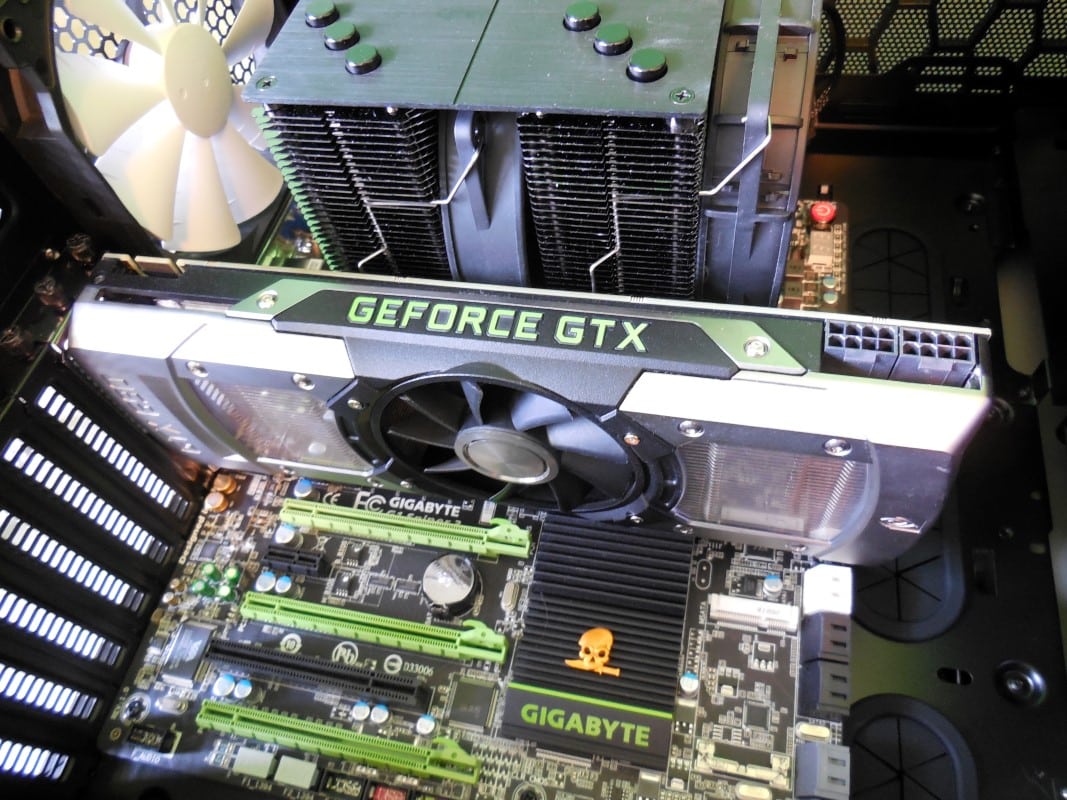
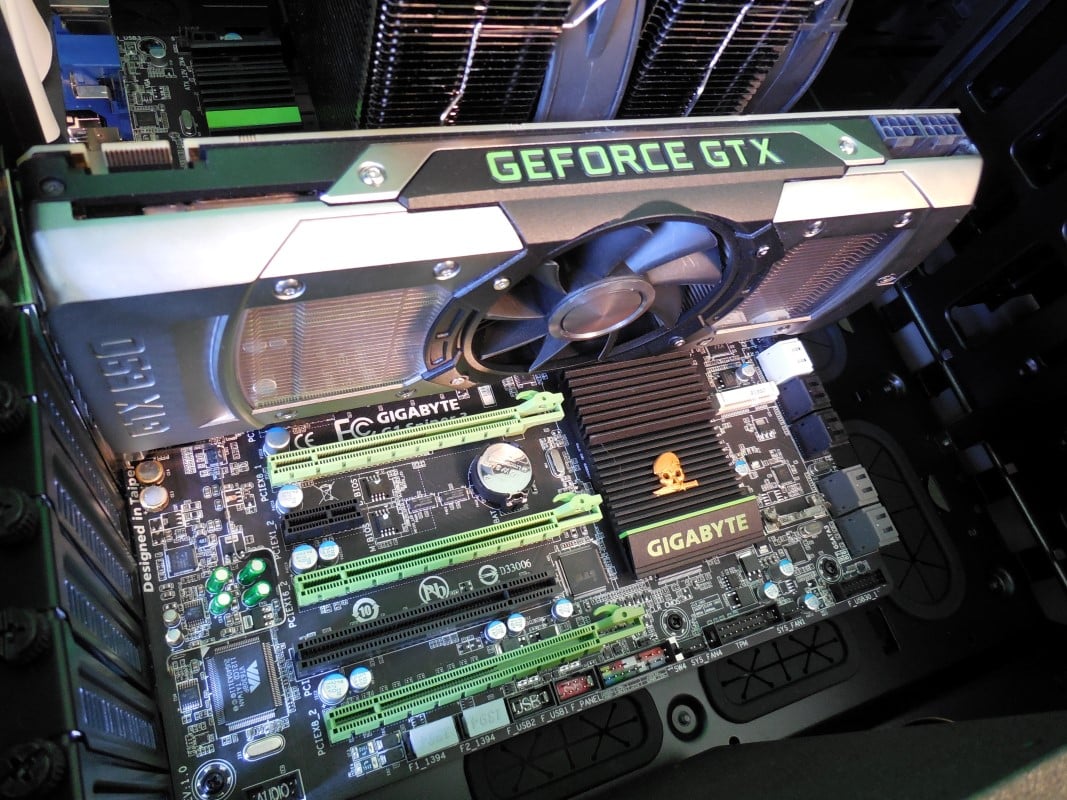
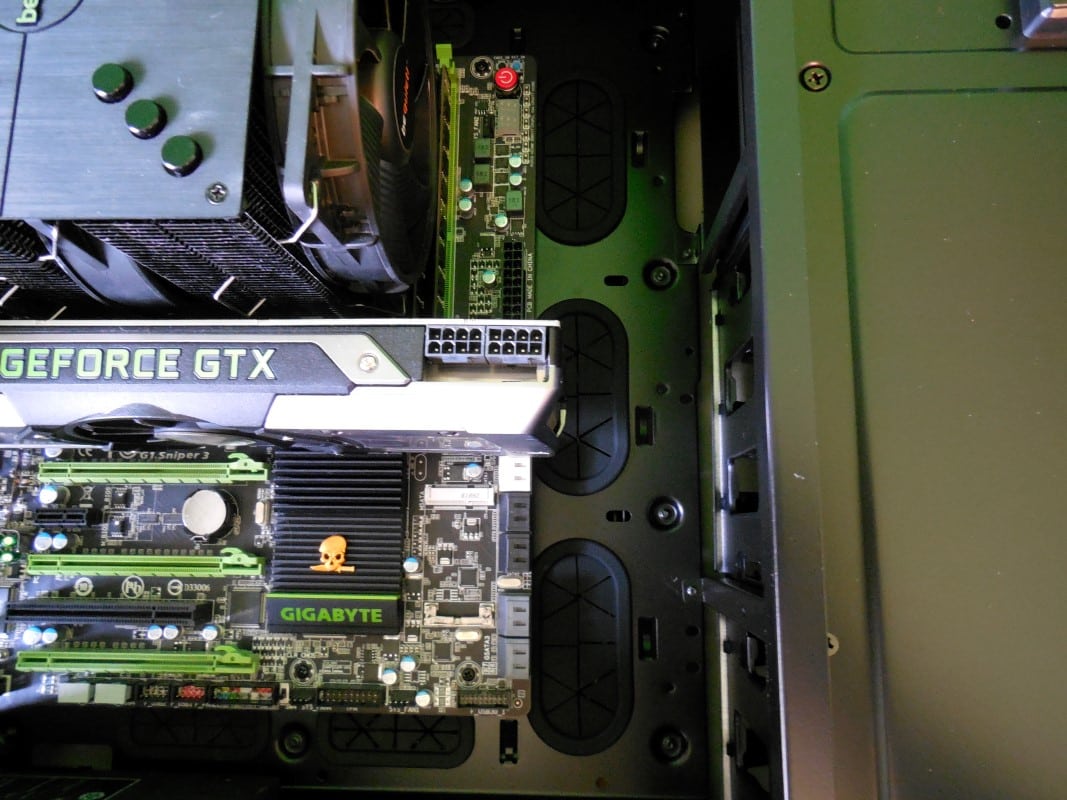
Continuing with our oversized diet of PC parts, next we’ll install our GPU. This one is a dual chip GTX 690. It’s not the longest on the market, but it does overhang even the EATX board. Fortunately there is plenty of space, and we could see fitting some even longer cards as there are about 2 inches of space before you run into the HDD mounts. This is good news and means you can purchase this case without fear of your much more expensive GPU(s) not fitting. As well as length not being an issue I see no problem with running SLI/Crossfire. Even up to four cards should fit without a problem, though I would think four may cause some thermal problems.
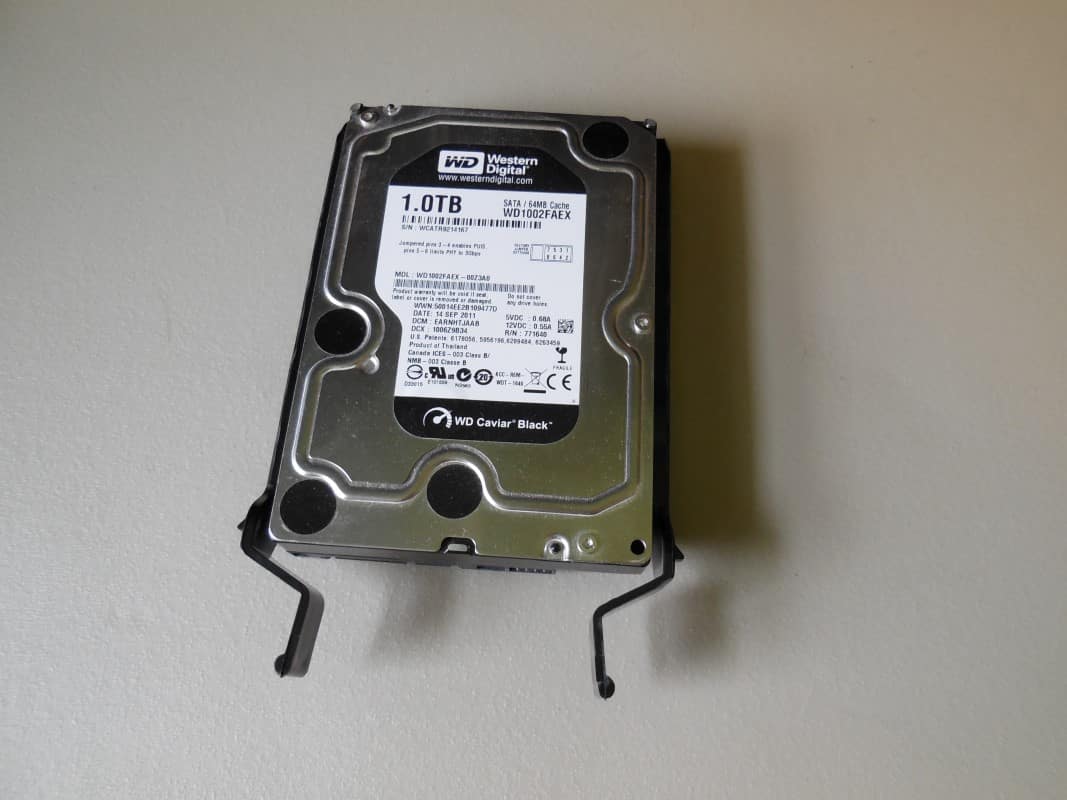
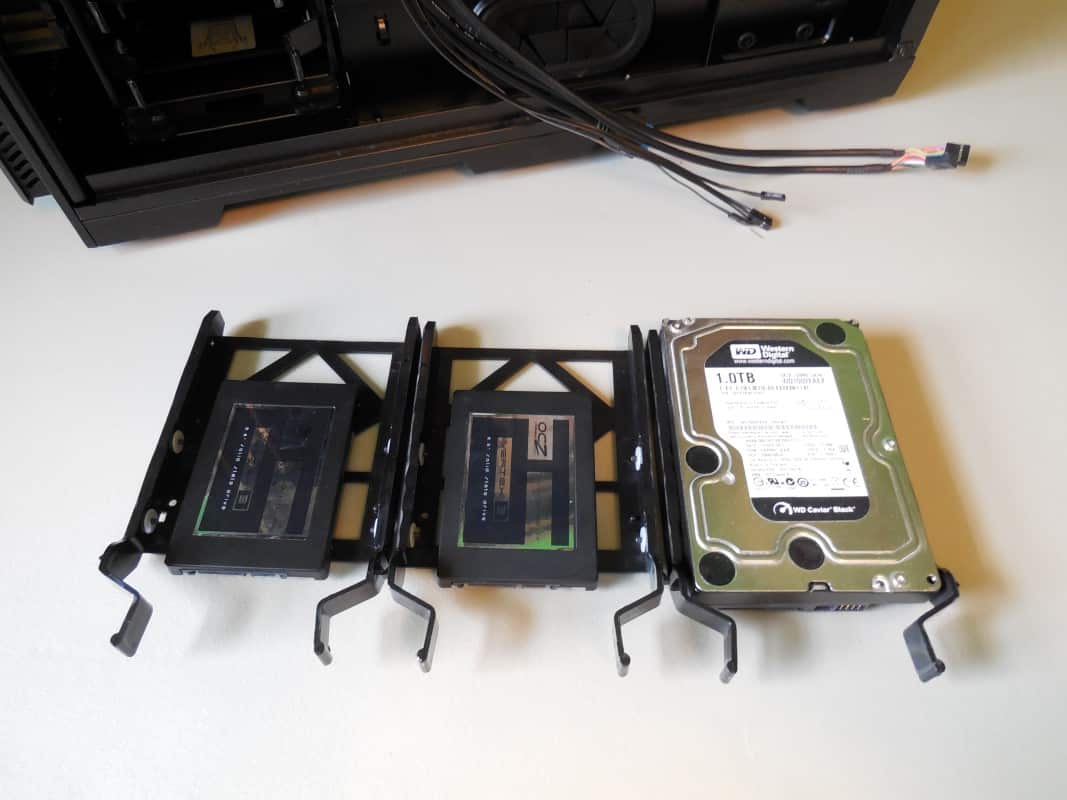
With the main components in place let’s get some storage space installed. Our set up is two SSD’s in RAID 0 plus a single HDD for additional mass storage space. Installing the HDD is tool-less. Flip up the locking tabs, insert the drive in the cage and lock the tabs again. Done. These are the same cages from the Primo and they work flawlessly.
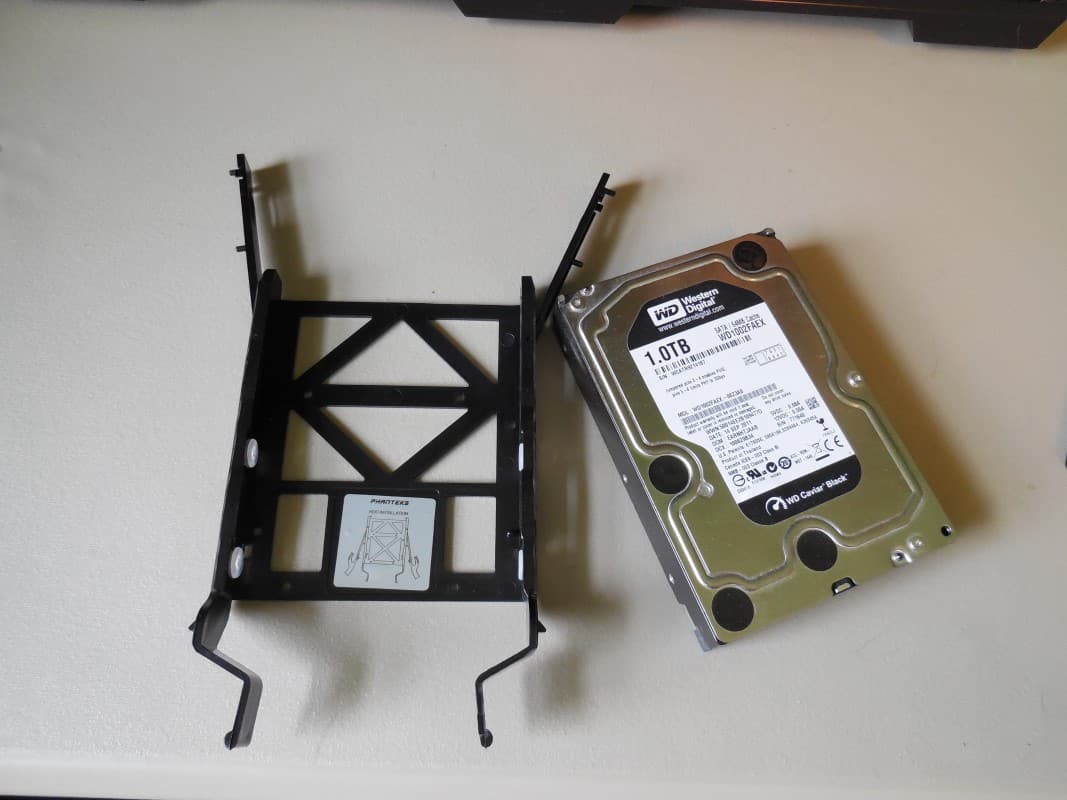

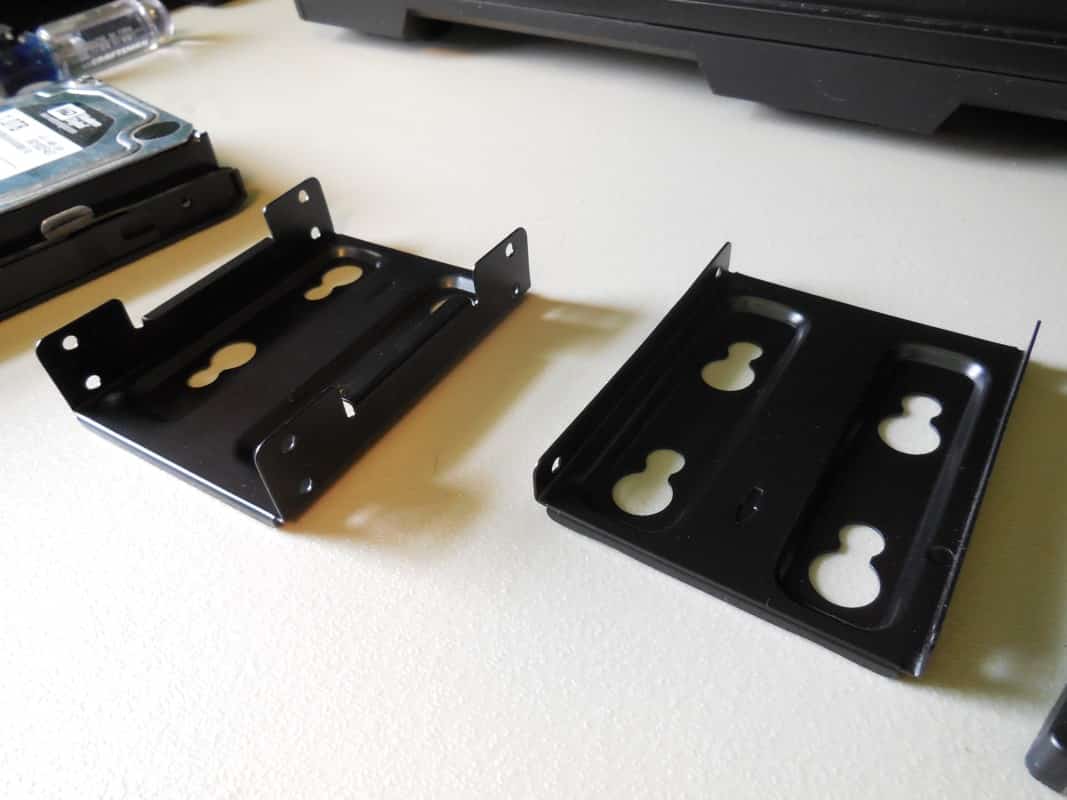
The SSD’s are a bit more work, but none the less not too difficult. Unfortunately we won’t be able to use the SSD bracket as the one included is for a single drive as opposed to the dual drive mount from the Primo. Instead we install them into the bottom of two of the hard drive cage brackets.

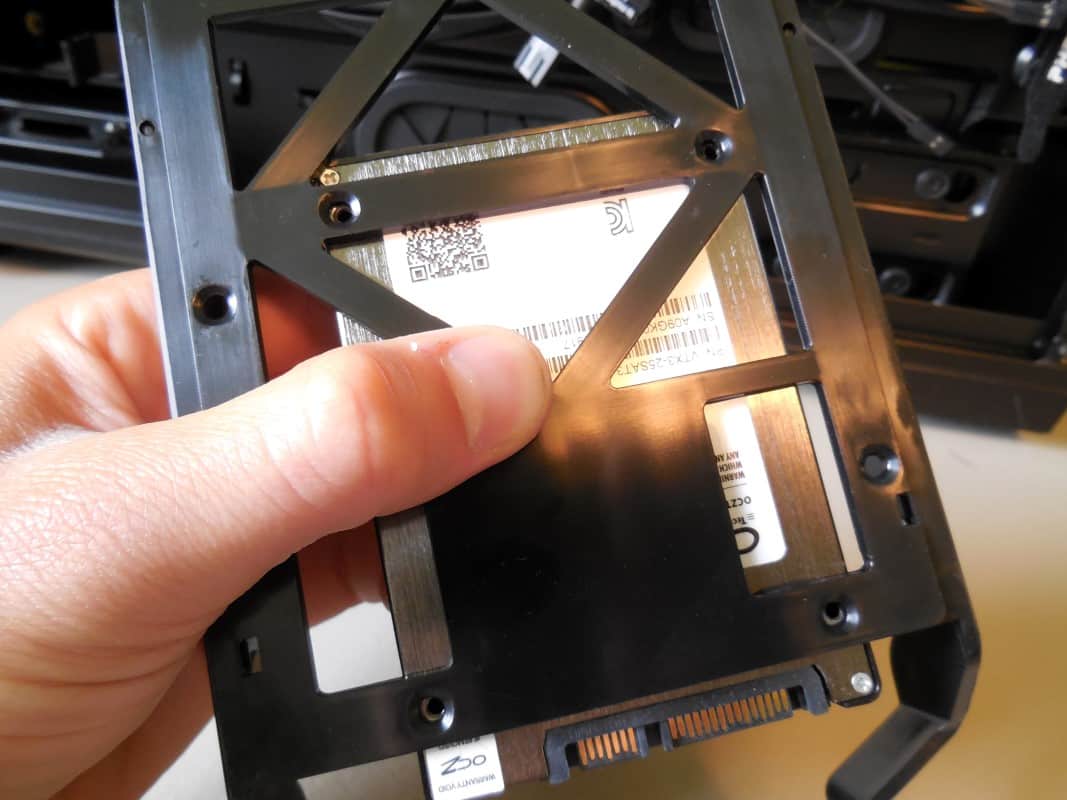
All that’s left is to slot them back into the cage and connect them. Very simple Phanteks, bravo!
Connecting our cabling was pretty much a typical experience. The exception being the ease with which you can route your cables to the front and the multiple positions to secure them to the back panel. Our bulky individually sleeved power cables fit easily through the large grommet near the PSU. This story was repeated wherever a cable needed to go through. Excellent positioning of the pass throughs in relation to where they needed to be connected.
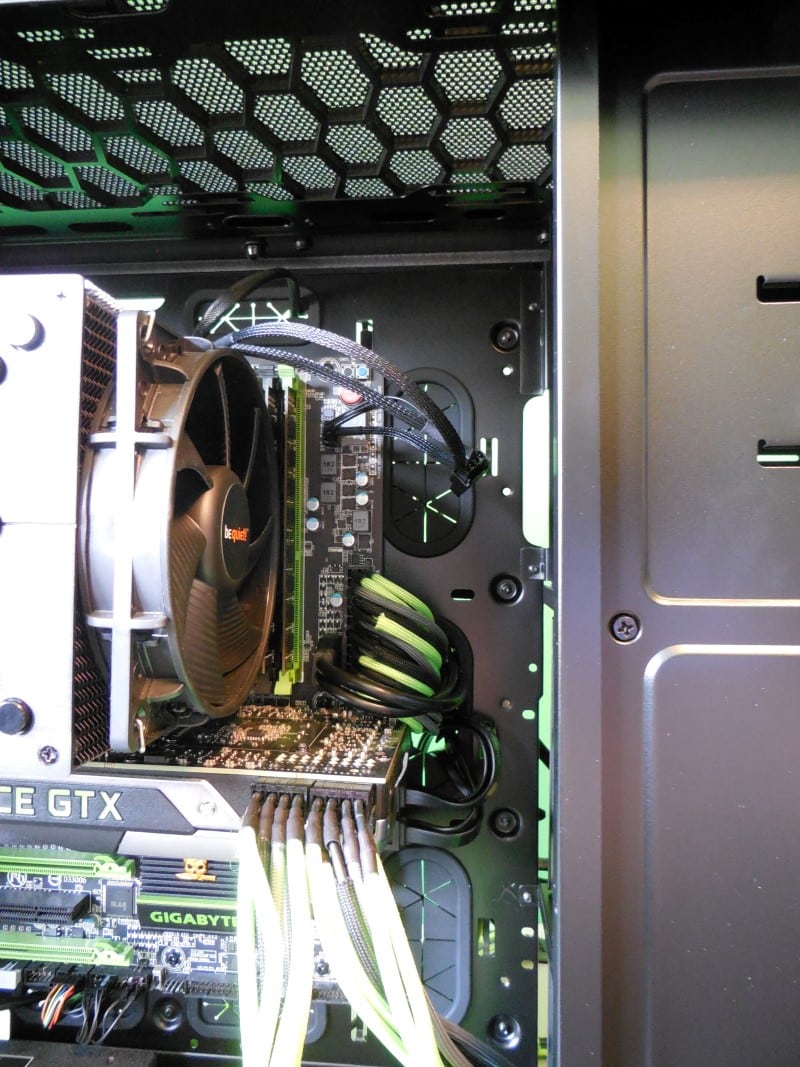
Once all the cables were plugged in, it became time to organize the back panel. Unfortunately most of the cables were made for a larger case. The good news is the Pro doesn’t mind. There are plenty of places to tuck cables and even more places to secure them to with zip ties. In the end it took no longer than ten minutes to organize our back panel.

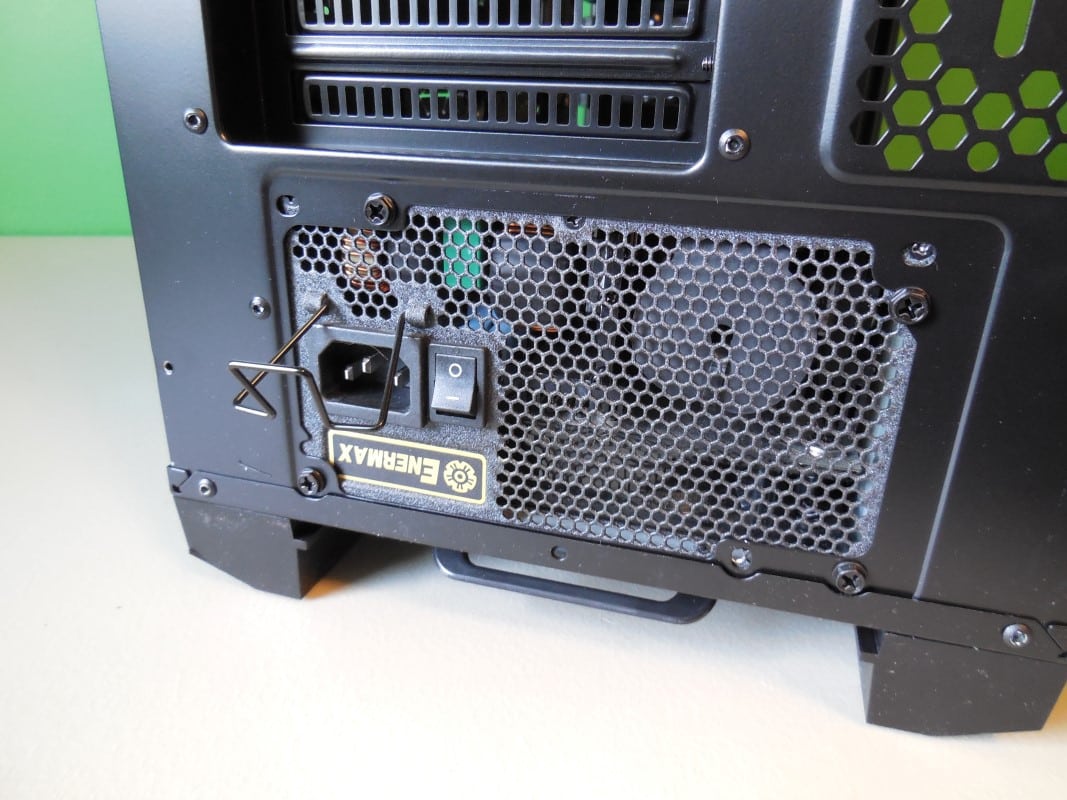
With the PSU fully connected we could put the shroud in place. Simply setting it in place and attaching it with the three screws on the back side and we’re good to go with a very very clean, and not overly stuffed main compartment.