Building with this Case
Like most m-ITX and uATX cases on the market we find there are a lot of combination to building inside one. Like a combination lock there is a step by step process to get to open the lock and following a good combination to build in every case is nessessary for a successful build, so if you don’t mind I would like to go throught some preliminary steps first.
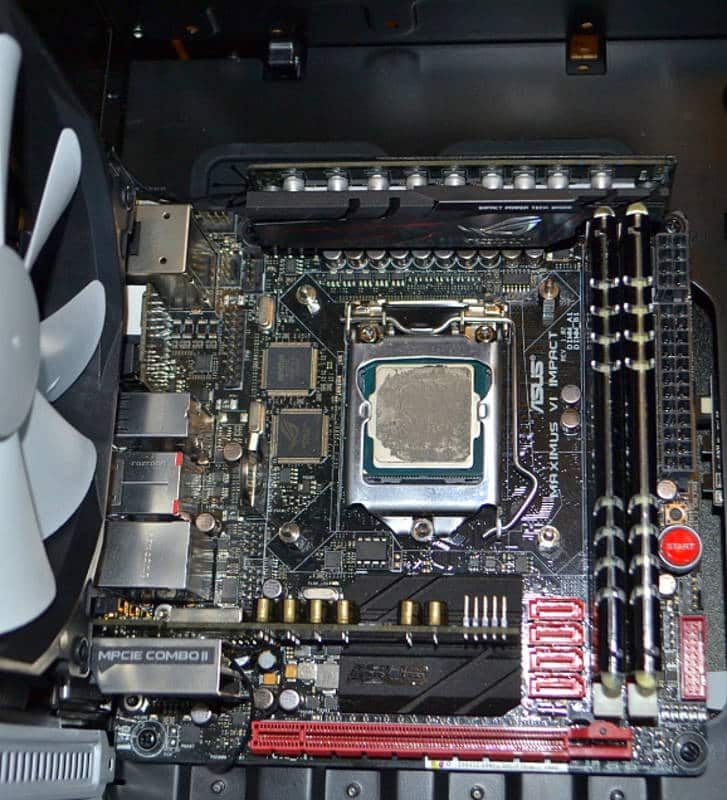
1. Prepare the motherboard
This means put anything that would be confining on the board before installing it. It is a lot easier to mount things if you prep your motherboard first
2. Insert Processor into board
The way Intel designs the socket to have the pins and not the processor makes it important to put the CPU into the board as soon as you can into the build so that you don’t get any bent pins. This can kill an entire build at the first stroke so make sure to firmly set your processor into place first to save the pins.
3. Cooling Solution Preparation is different depending on Air or Water.
a. Air Cooling.
If you are going air cooling install the Cooler on the board now. This will make the build go so much easier. If you are using a larger than usual air cooler also first put the ram into the ram slots so you don’t have to do gymnastics later on to mount the ram sticks.
b. All In One Cooling
If you are doing water cool then only install the base of the cooler that holds the water block to the processor but don’t add the cooling block yet.
4. Install RAM If you board is not too confining then add your ram too.
5. Pre Set your Standoffs
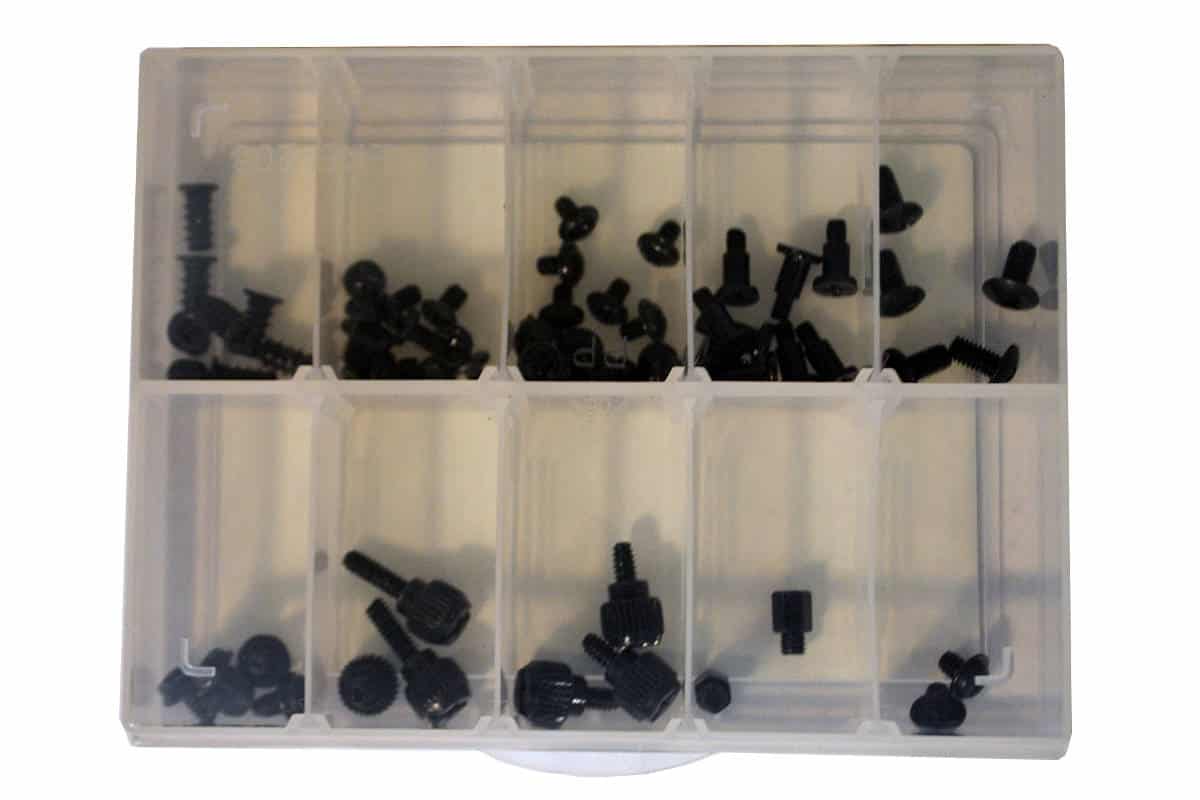
Now make sure that the motherboard standoffs are in the right orientation and add or subtract ones that fit your board and get out the motherboard screws you will need from the screw caddy.
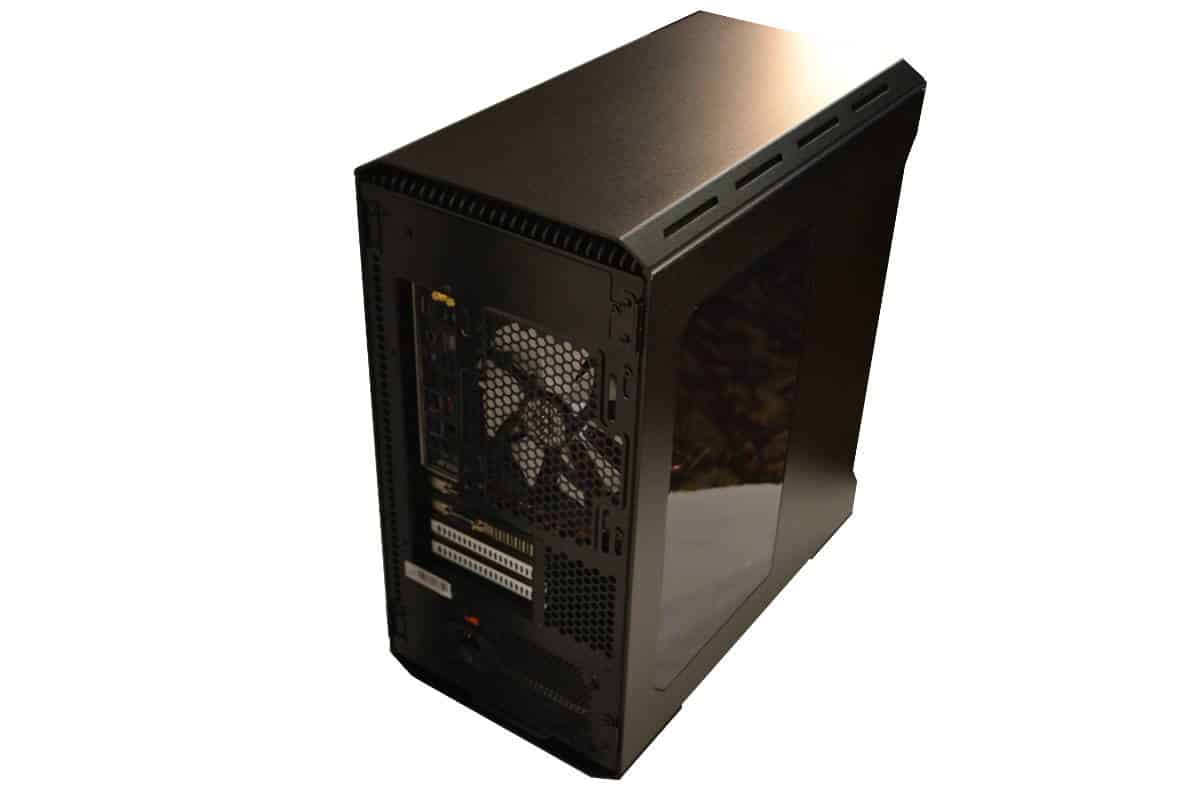
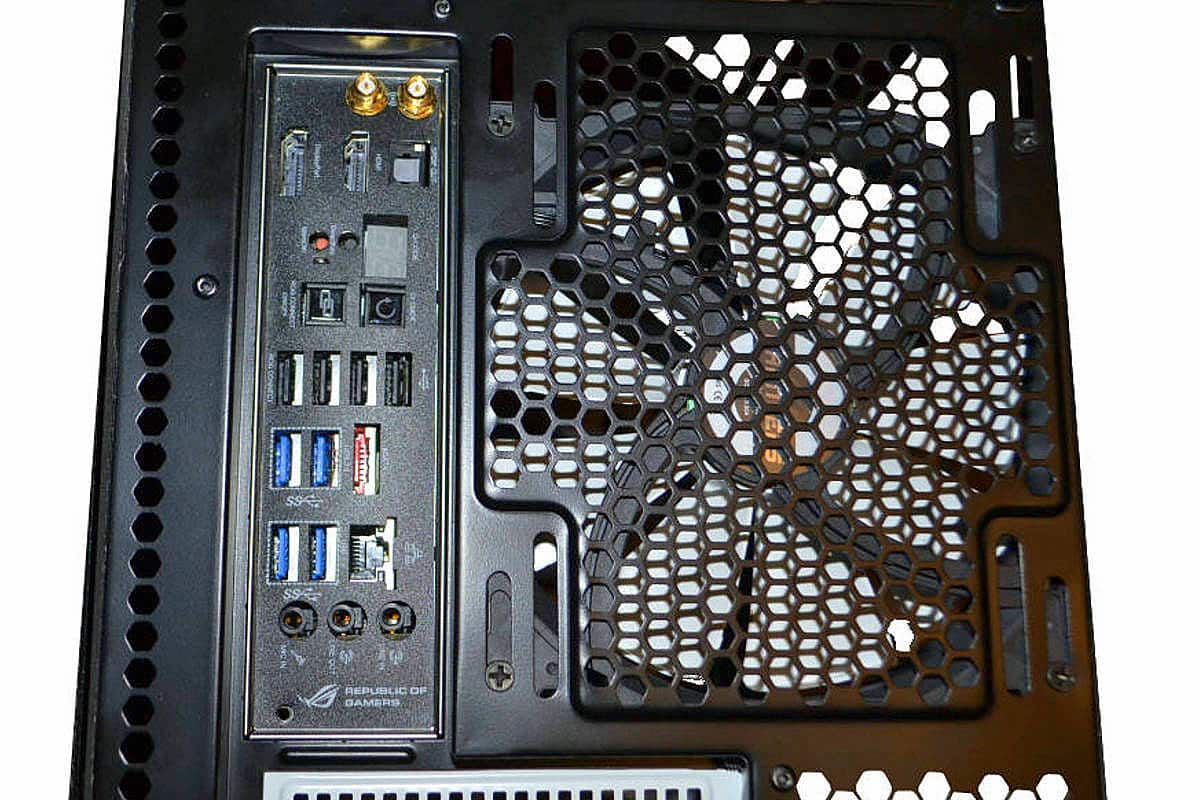
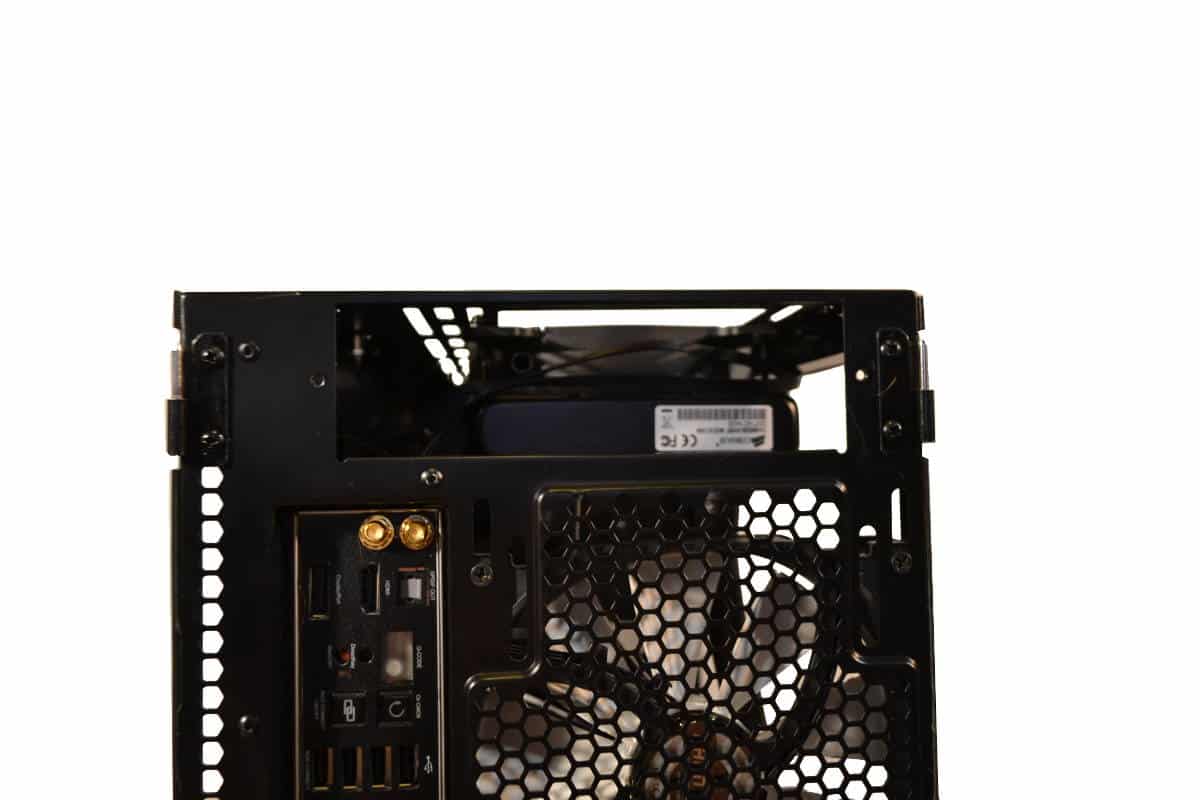
6. Affix Back Plate I/O shield
Now is the time to install the back I/O Shield into the back of the case. Make sure you don’t put it in backwards double check before going to the next step.
7. Mount the motherboard into the case.
Now with the case laying on its back take off the side panel and fit the Motherboard onto the four pins that hold the motherboard on and then use the screws that came with the motherboard or the case and screw set the motherboard but don’t over tighten the screws. Just get them snug and stop there.
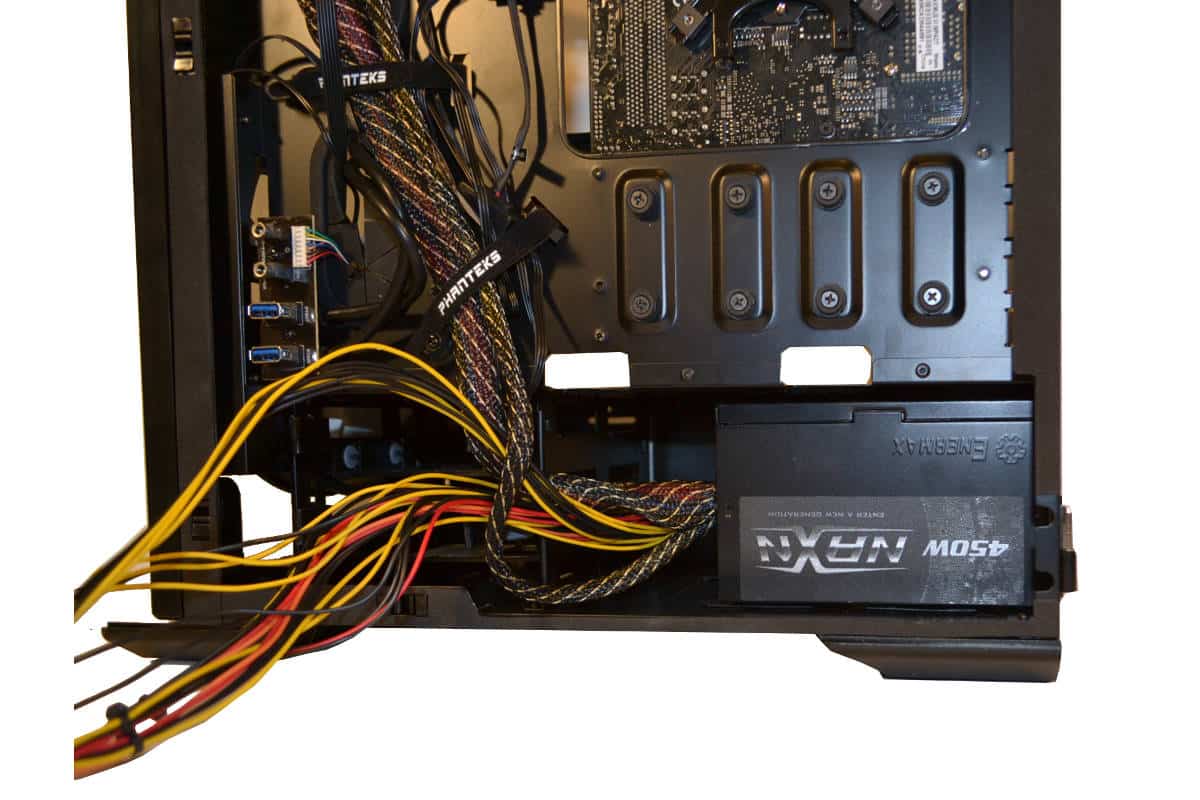
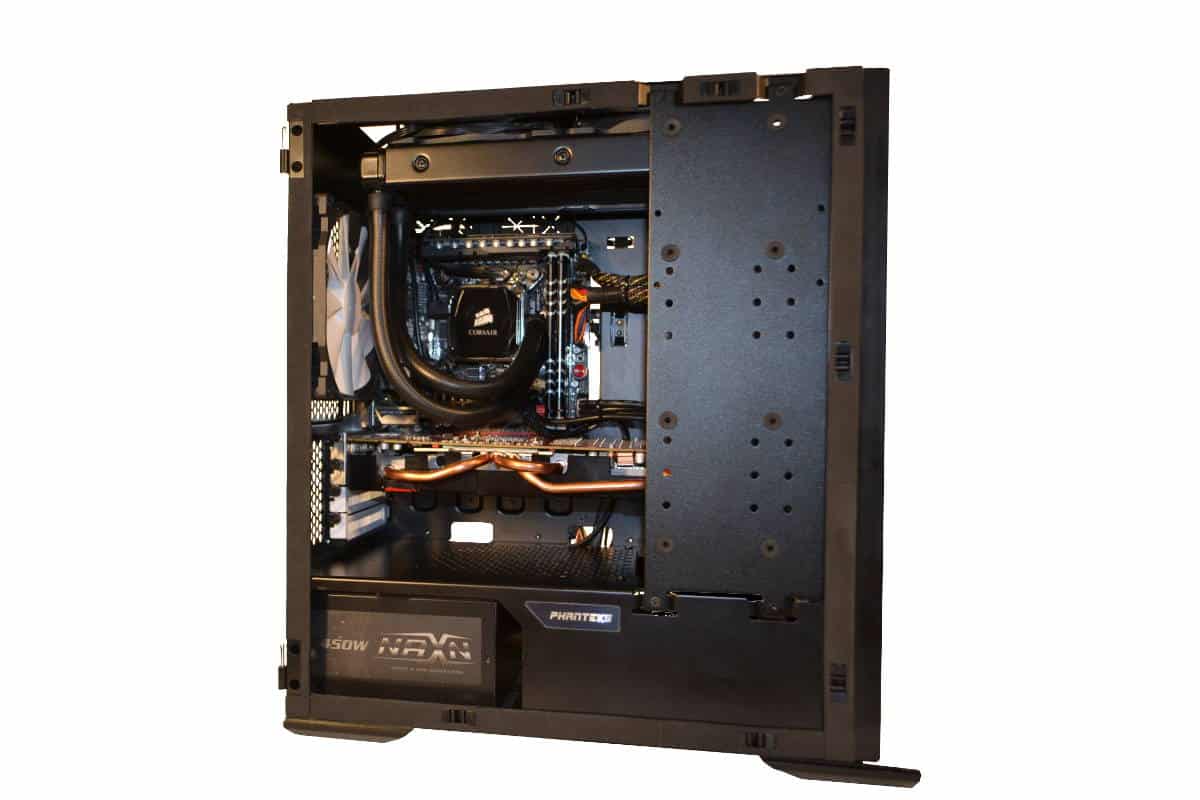
Add Power Supply.
Next I added my power supply and routed my 24 pin and my 8 pin wire to the area where the board is locked down. Untangle the wires that are coming out of the power supply as well as possible and move them out of the way for later. Just route your main cables now.
Rough in your Wires now.
8. Plug your wires and begin to think of wire routing.
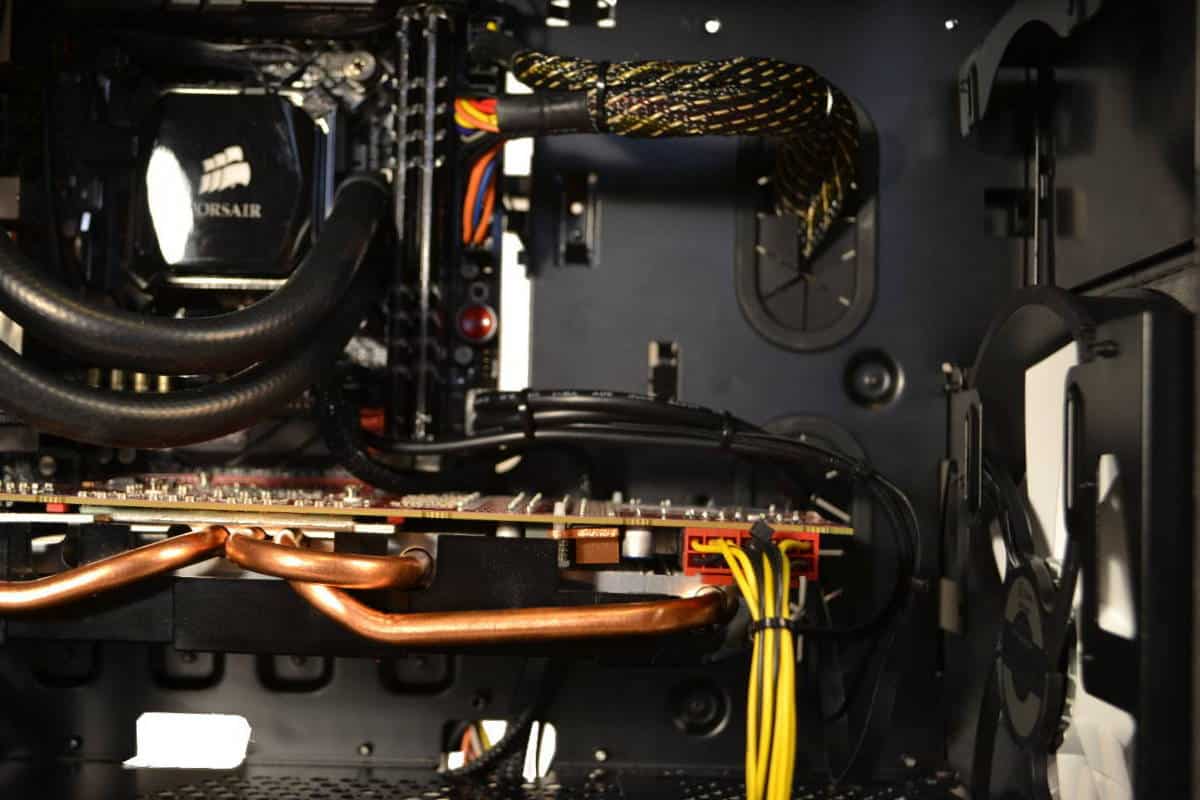
Now its time to “rough in” your radiator, fans and cooler blocks for the all in one cooler or do your custom water loop now.. wire all you can now; USB’s Sata connectors, audio headers but wait on the Video card wire for later.. IF you have air-cooling you should already have your cooler installed on the motherboard, but if you are going water cooling then this is the time to set everything in place and get your wires ready to be managed later.
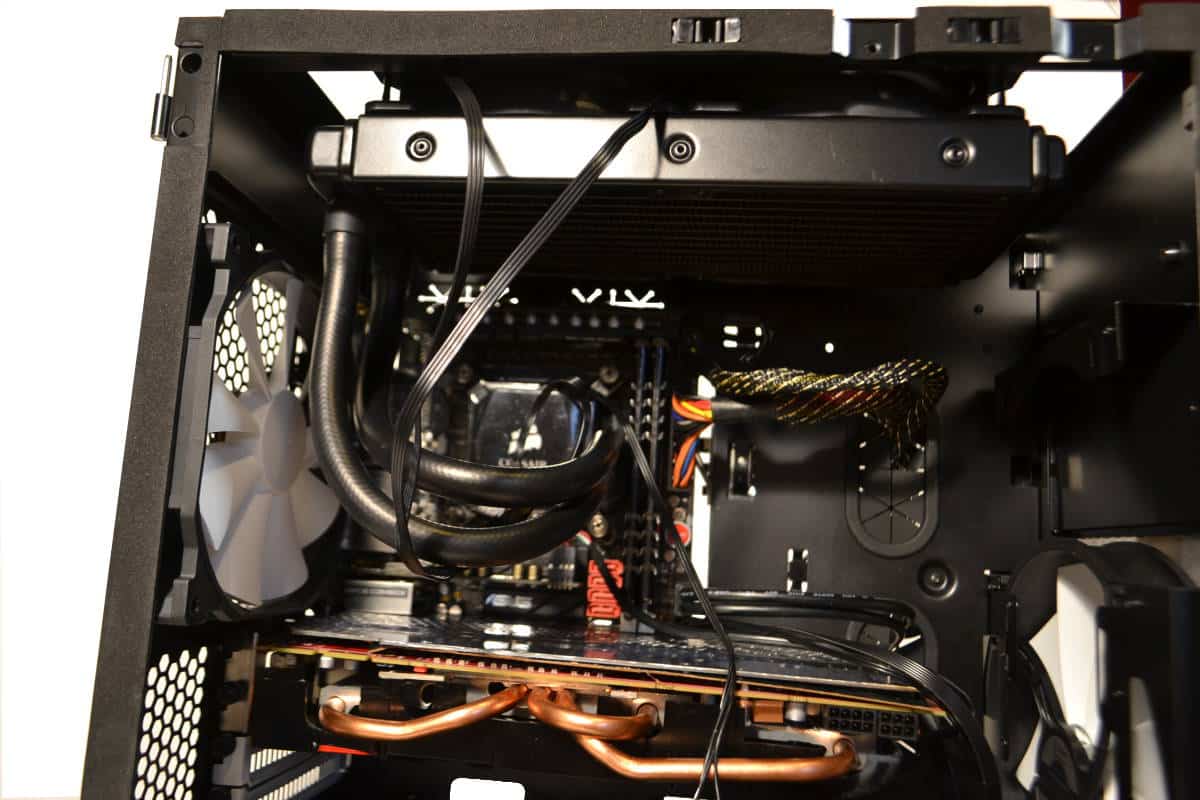
Video Card.
Now is a great time to mount the one or two video cards that you plan on using for your build.
Time to take off the side mounted cover which was as thick as a steel plate from the bottom of my trucks tranny cover and fitted the video card into place making sure to affix it to the PCI ports in the back and locking it down on the PCIe slot. Save the wiring of the video card until last and run the wire thought the Trap door in the bottom of the Phanteks Enthoo EVOLV case.
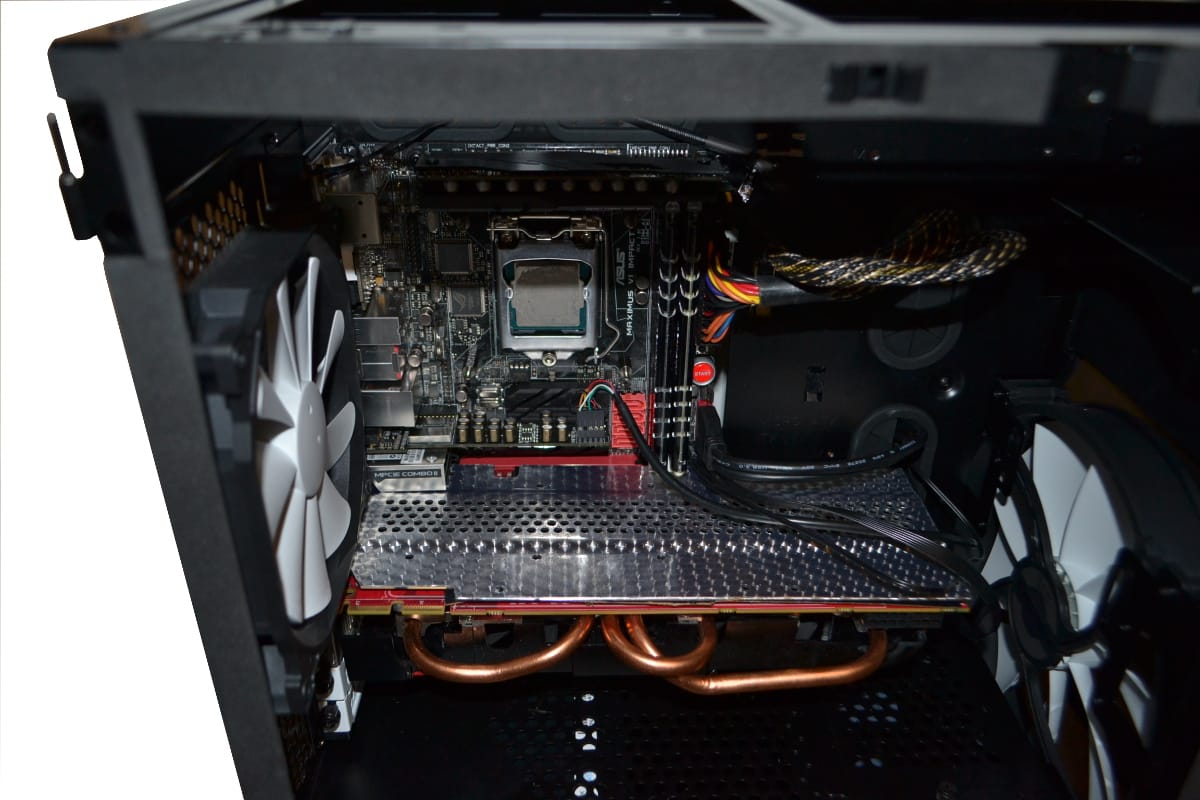
It makes it easier to hide wires by taking off the back 5.25 modular plate rear cover to help get to the random fan and control wires in and around everything and through to the back of the build. Hide them behind anything you can. The less wires that are visible around the motherboard the better.
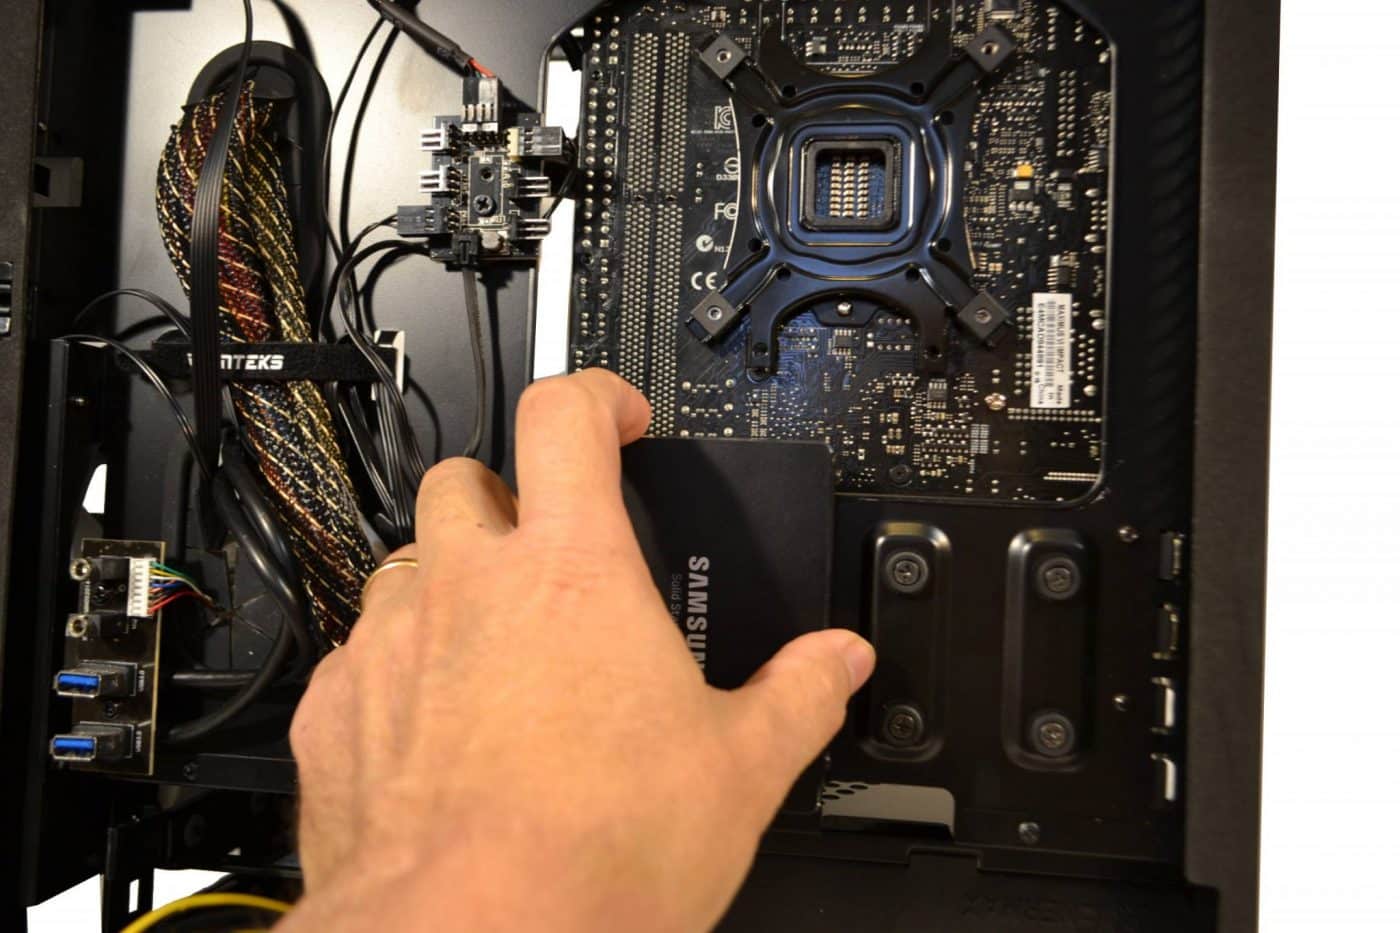
Set your SSD:
Some people would mount this and install the preliminary operation system in now and then install the Mechanical drives after, but this is completely up to the builder.
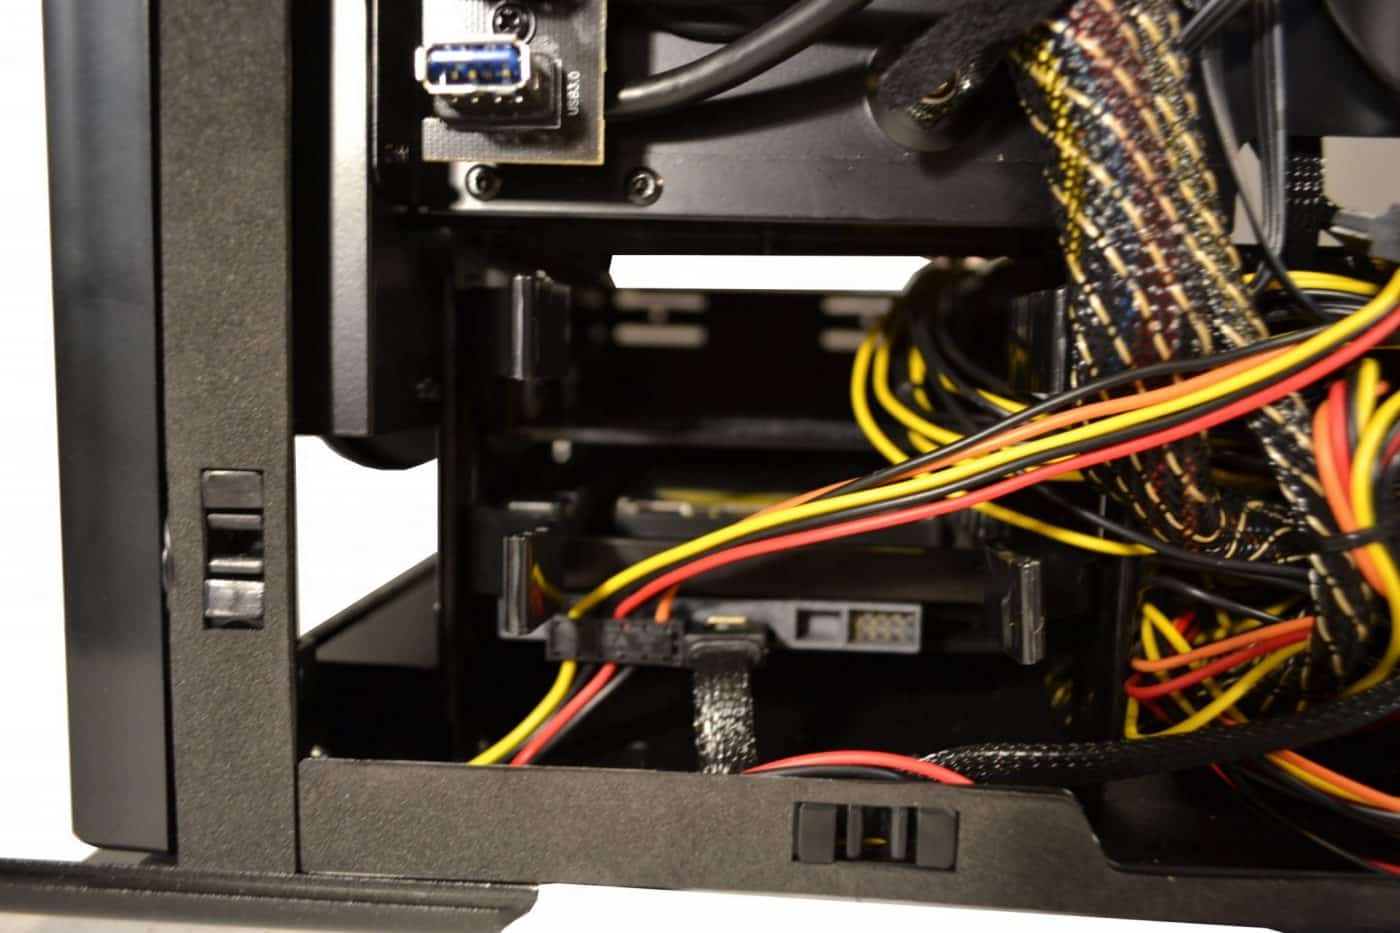
When the builder gets to this point they should set the Mechanical drives into the HDD Slides and set them into place so that you can be ready for the “Wire Management” that is coming soon.
Mechanical HDD Placement:
Sliding the hard drive into place was easy and a literal “snap”. The hard drive caddies are already installed into the hard drive rack so take one and simply let your drive mount into the caddy and slide it right back into the slot that you found the caddy originally.
Some may choose not to hook up this hard drive yet until the SSD OS drive has the preliminary OS on it but that’s completely up to the builder.

Wire Management Front:
This is a part that you want to plan where and how to route your wires permanently.
Some important things to remember about wire Management.
A. Straight runs and right angles are the best for wires that you can’t hide.
B. Place Wire wraps at 2.5 inch to 3 inch intervals.
C. Hide your wire tie heads in the back of the wires.
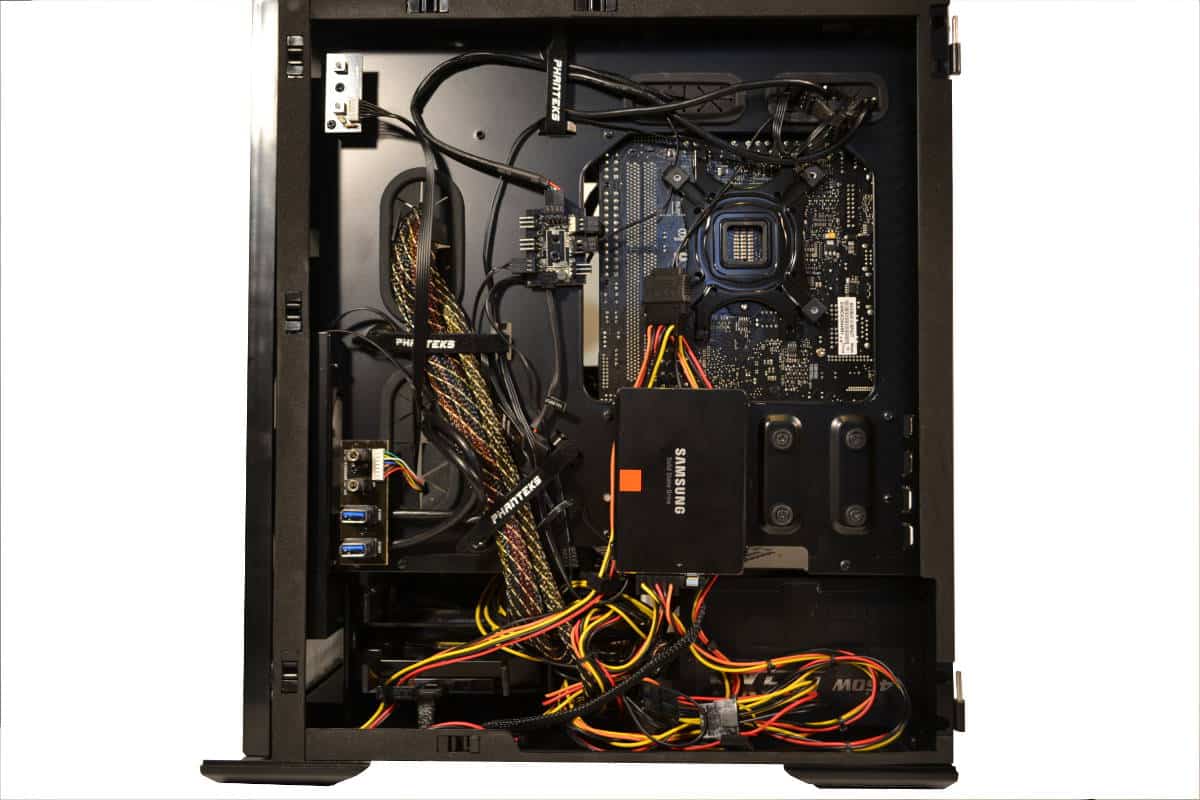
Wire Management Back:
Wire Management Fantasy: “Yea right??”
Just look how beautiful those permanent Phanteks straps look. Wow. These are so nice and you don’t need to use a million plastic wire ties in the back because there are enough of these on the back to keep things tame.
Here is my glam shot of wire management but its not realistic. The wires of the Enermax 450 are not sleeved, so the next picture is the reality of the rear wire management in the worst possible scenario. This case would love for you to go modular, but you don’t have to.

The real wire management.
Real Wire Management in the Back
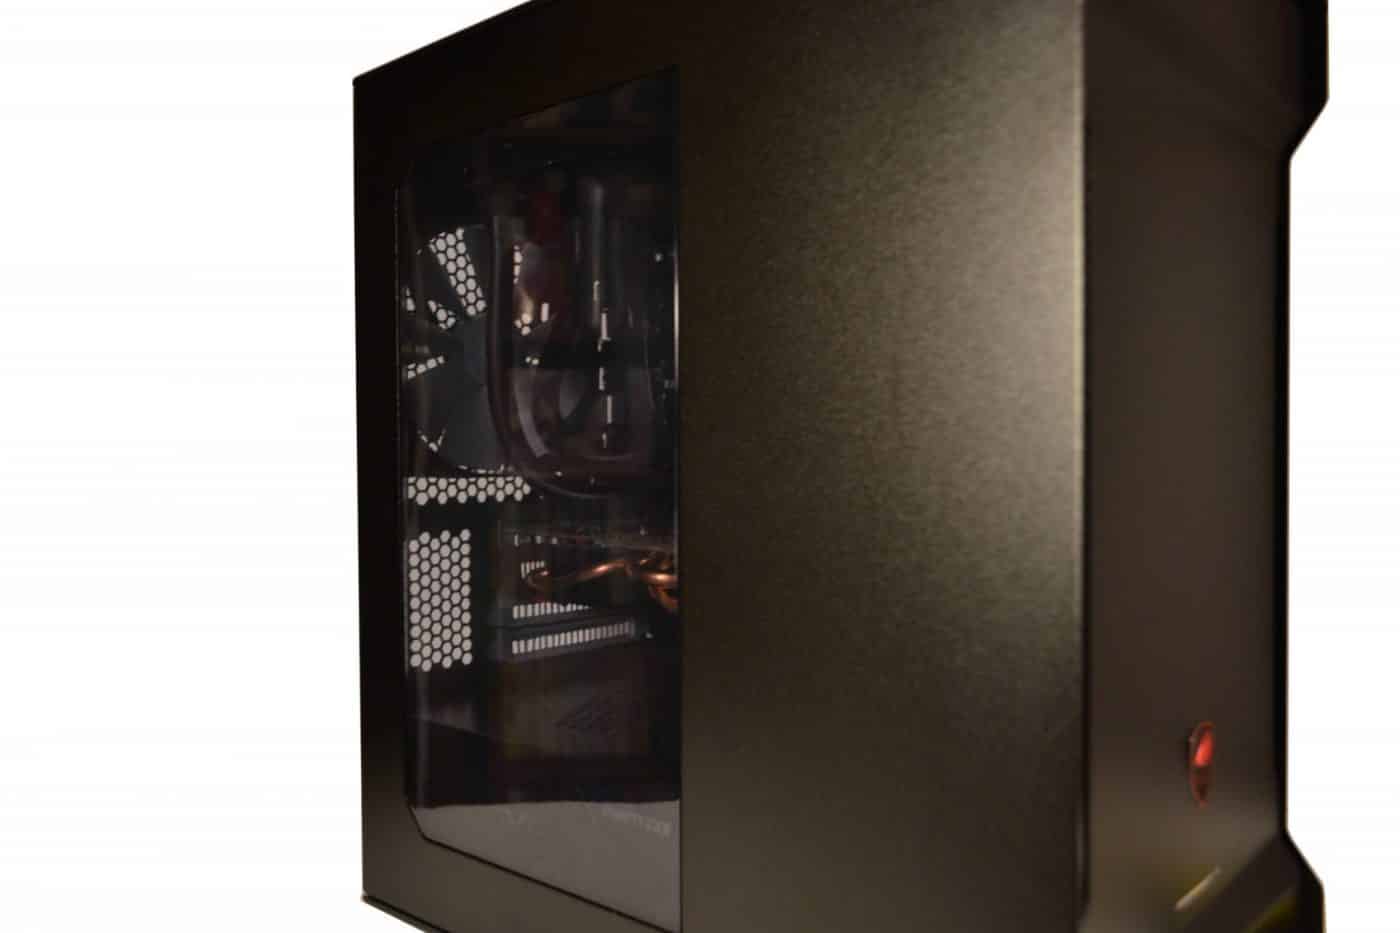
Replace all the panels
The panels and everything about the Phanteks Enthoos EVOLV case is meant to survive the blast of a large IED (improvised explosive device). the panels feel and I am sure are bullet proof and case is tough enough for you to use it for cover against heavy weapons fire. The plates are like plates that you would find lining the doors of a bullet proof car. Its a Tank of a case.
Clean your rig.
This is a part that many forget. Dust out the inside of the case and wipe off all the fingerprints you left on the panels because its almost time to take some pictures of the new baby.
I used a cotton tee shirt sprayed lightly with the wet and polish car shine and leave the window alone unless you have eye glass cleaners.. you can scratch your Window very easy.
This is also the time that you throw out your garbage and pack up your tools and put everything back the way your wife had it and then make her a cup of coffee and feed her lots of chocolate because she is not very jealous of your new love.
Take pictures of your new rig.