

Installation
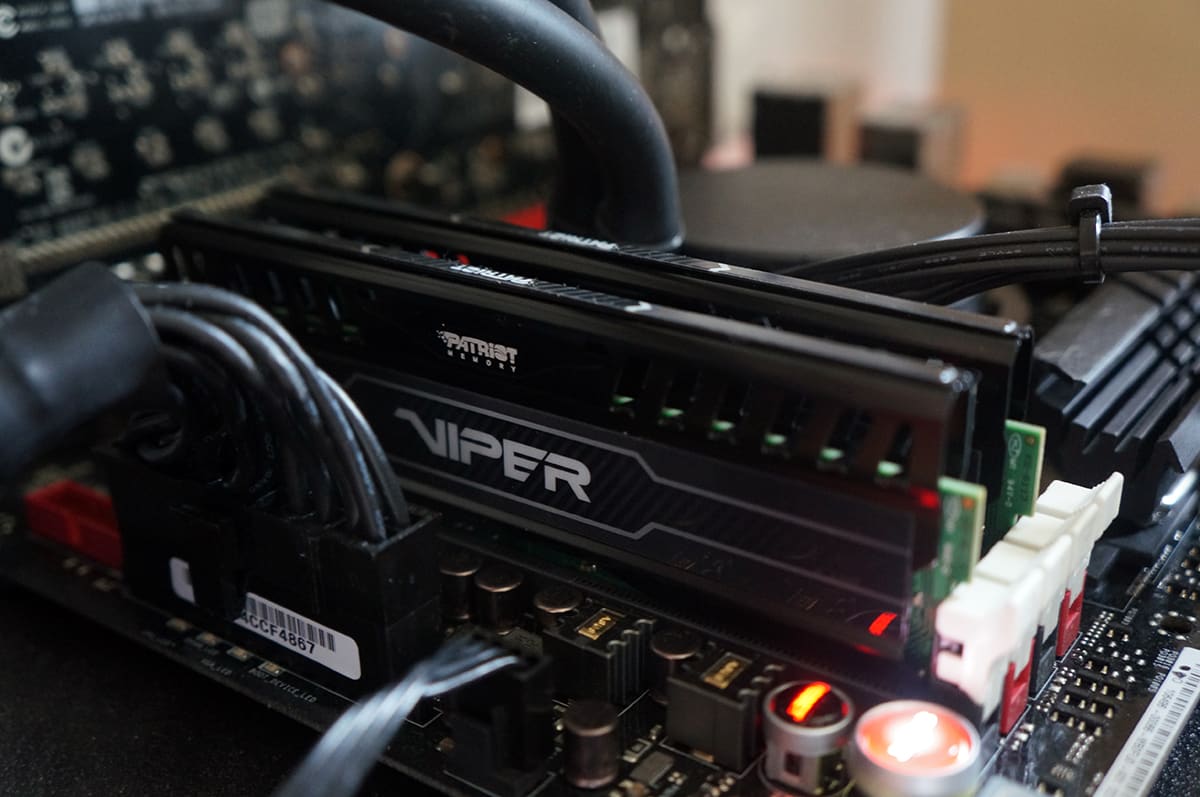
Installing any type of memory is pretty easy. Just find the open memory slots in your system and insert the memory and lock it into place. This is dual channel memory so make sure you have it in the right slots. Of course that all depends on the motherboard you are using.
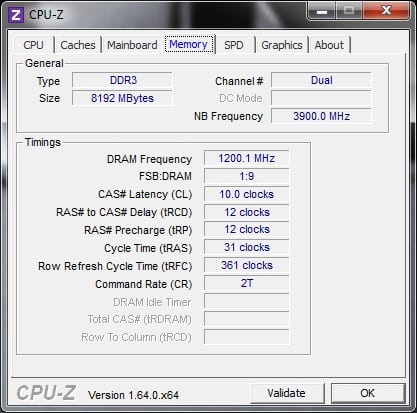
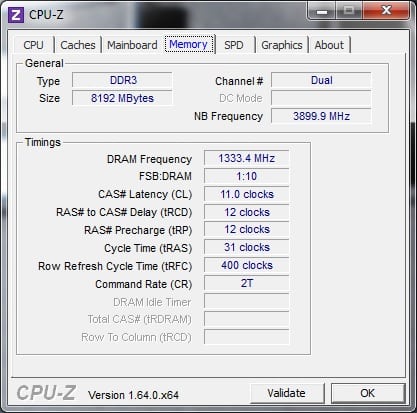
Once installed all you have to do is go into the BIOS and enable the XMP profile and the memory will be running at 2400 MHz. Opening up CPU-Z we can see all of the information on the memory.
Overclocking
Overclocking memory on Intel’s platform is very easy because for the most part you are overclocking the memory independently from your CPU. Keeping the same timings we bumped the memory up to 2600 MHz.
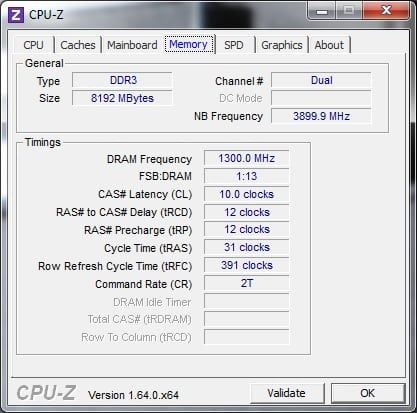
Our memory was very stable at this speed. Moving up to 2666 MHz we had to bump up the memory voltage from 1.65V to 1.68V and also had to loosen the timings just a bit to 11-12-12-31.
Now I was able to get the system to boot with the memory at 2400 MHz with timings of 13-13-13-33, but it did not pass out stability test. Getting an extra 266 MHz out of memory that is already clocked at 2400 MHz is pretty impressive!
System Overview & Testing Procedures
Our test system is made up of the following components:
Processor: Intel Core i7-4770K
Video Card: EVGA NVIDIA GeForce GTX 680
Motherboard: ASUS Maximus VI Hero
Memory: Patriot Viper 3 DDR3-2400 8GB
Storage: 120GB Kingston HyperX 3K
Power: Corsair AX860i
Cooling: Asetek 240mm watercooler
Case: HighSpeed PC Top Deck Tech Station
We have a set battery of benchmarks for Memory reviews. We have listed the applications we use for testing below.
SiSoftware Sandra
– Memory Bandwidth Benchmark
– Latency Benchmark
– Cache Benchmark
AIDA64 Cache & Memory Benchmark
MaxxMem2
Now let’s get to testing!