

Installation
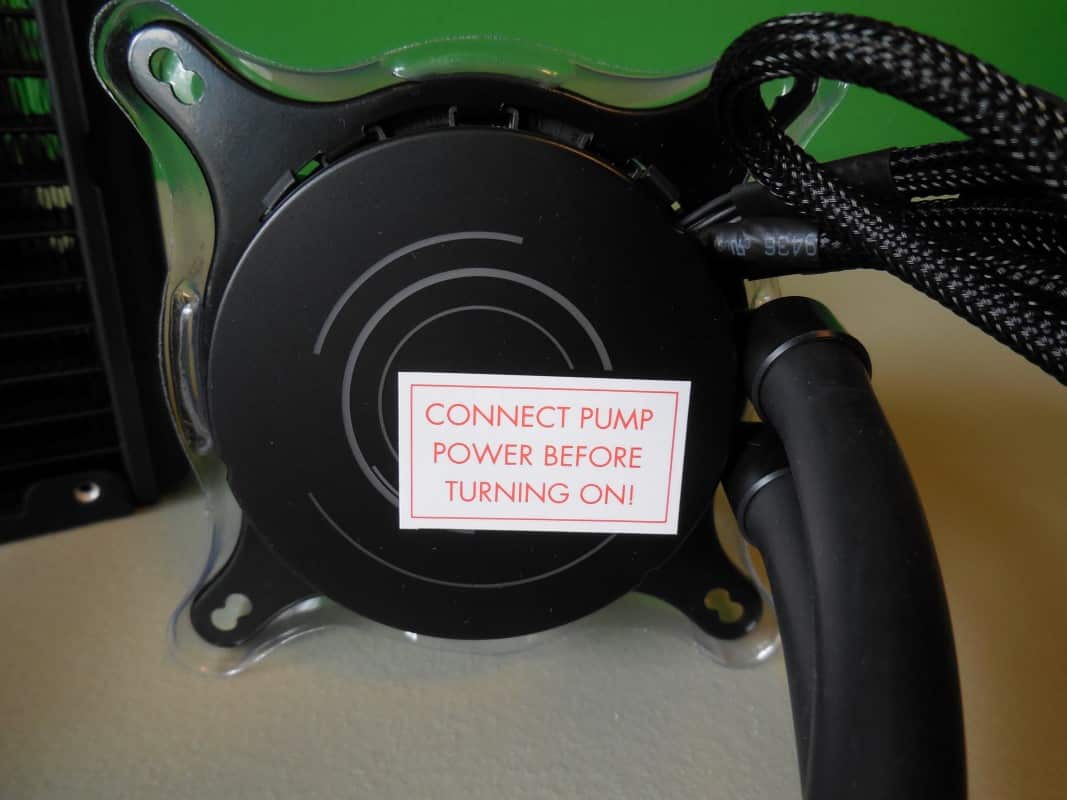
Before beginning the installation there are two important things to note. The first is my disappointment with the instruction manual. While it does provide a rough guide to getting your X41 installed, it does most certainly stop there. The most description it provides is to go to the NZXT website and see a more complete online manual. I can understand wanting to save paper but assuming your customer is going to have an extra PC handy to check out the guide is a bit presumptuous. I would really recommend following our guide here, because although easy to install there are points where I found some explanation would be nice. Second is that perhaps obvious to most, as noted by the sticker on the pump, please be sure to attach the pumps 3 pin power connector before turning on your PC for the first time.

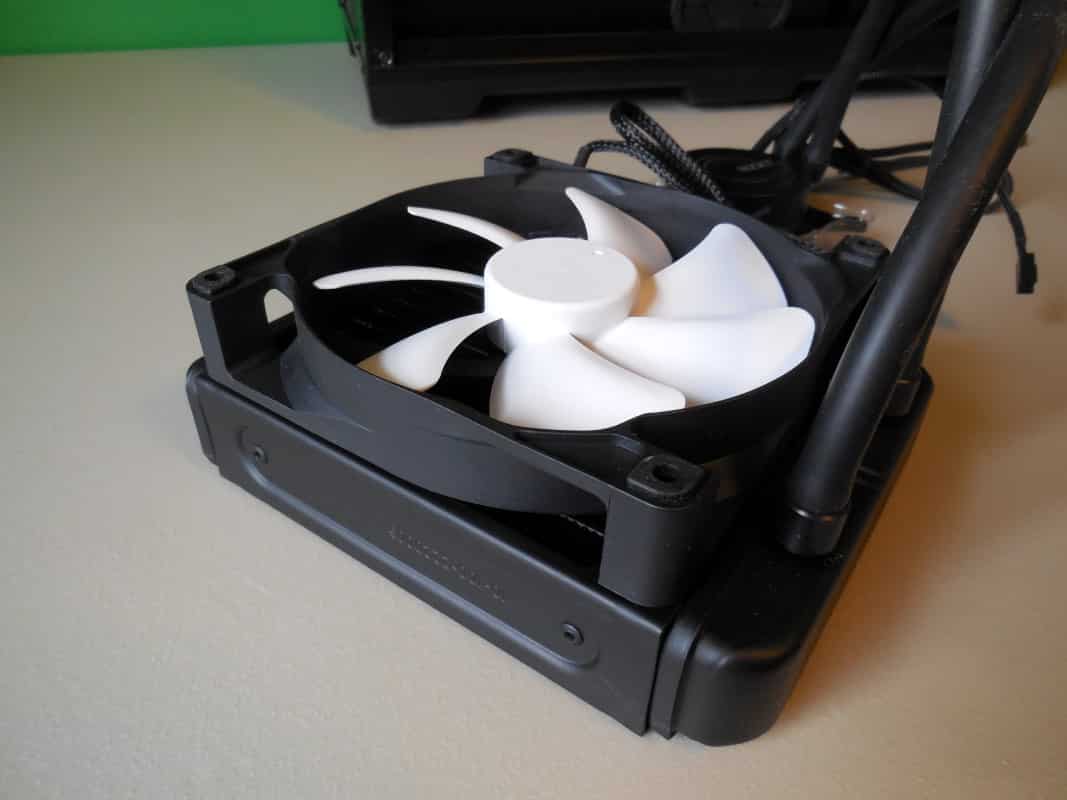
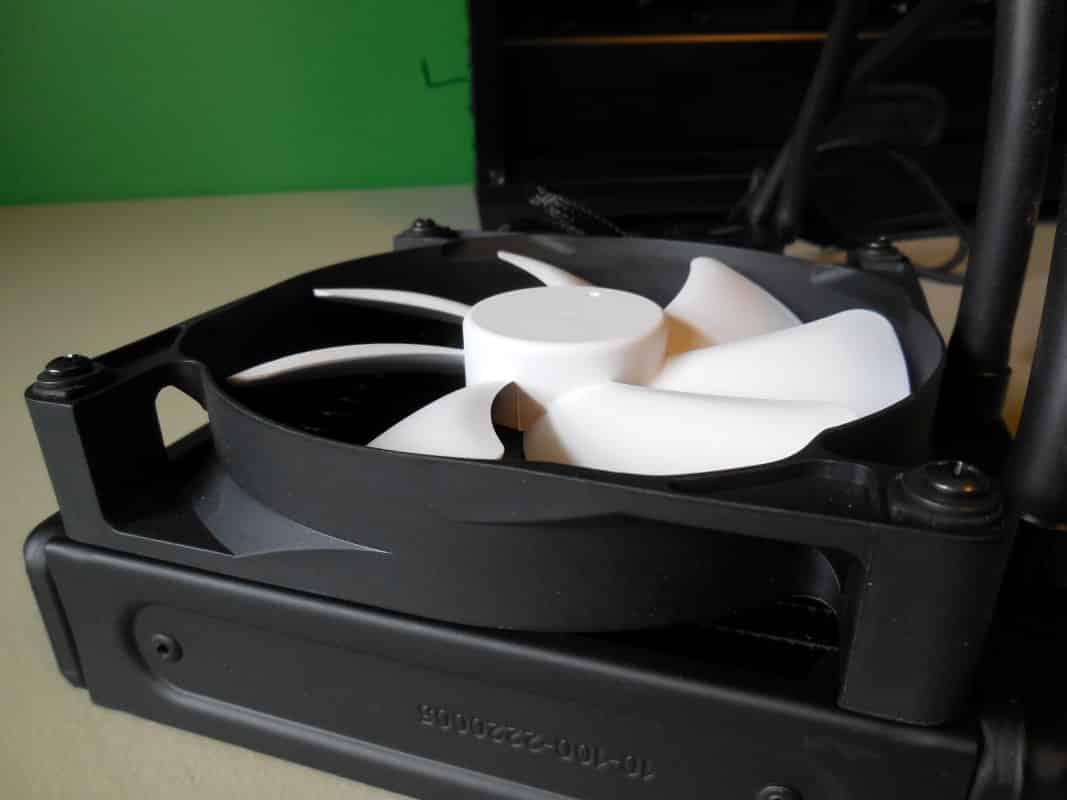
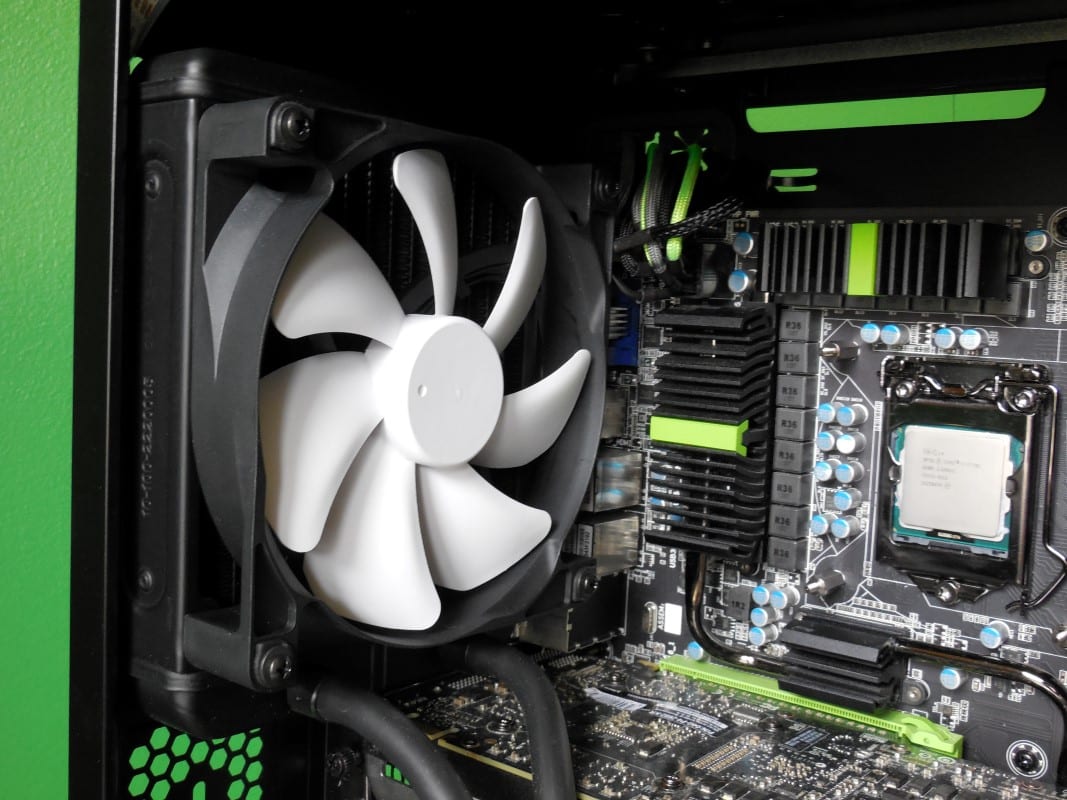
With those points covered let’s begin with the installation by attaching the fan to the radiator. The fan is going to be installed on the inside of the radiator pushing air through and out the back of the case as depicted in the manual. With the blades facing the correct way, attach the fan with 4 of the longer screws and 4 washers.
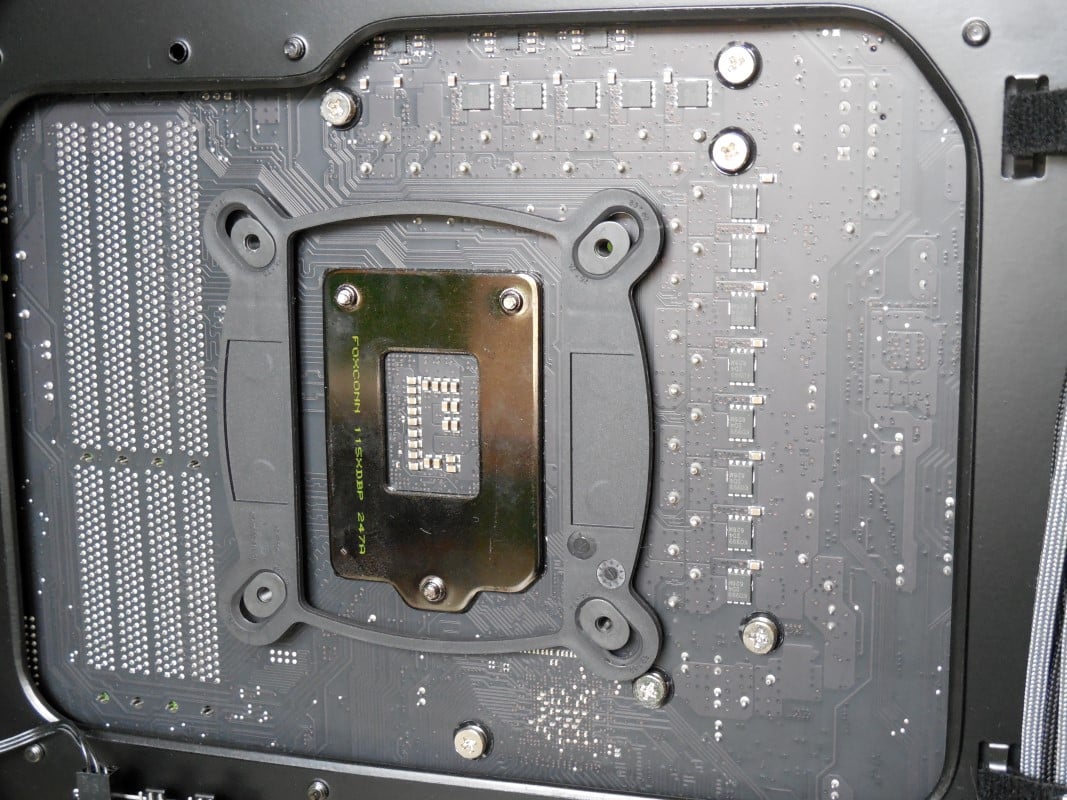
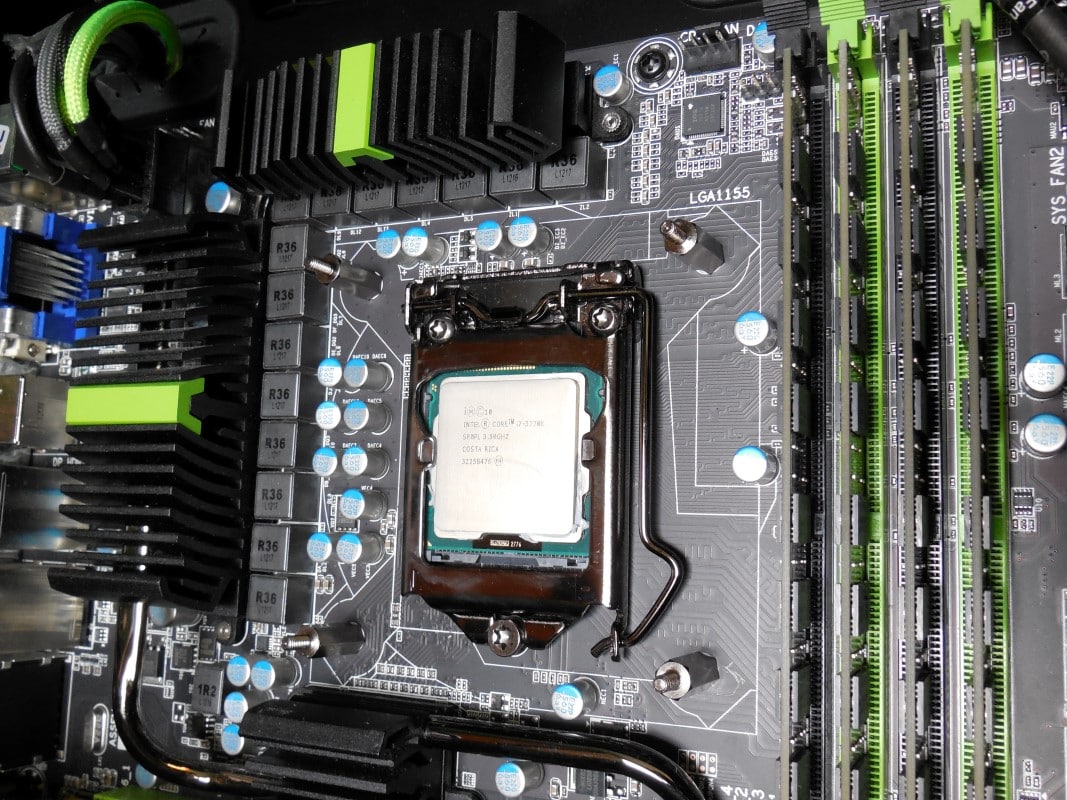
Next we will install the backplate onto the motherboard. This plastic backplate has sliding posts that allow you to easily change between socket types without any screws or small pieces to mess with. After putting the posts in the correct position simply slide them through the holes in the back of your motherboard.

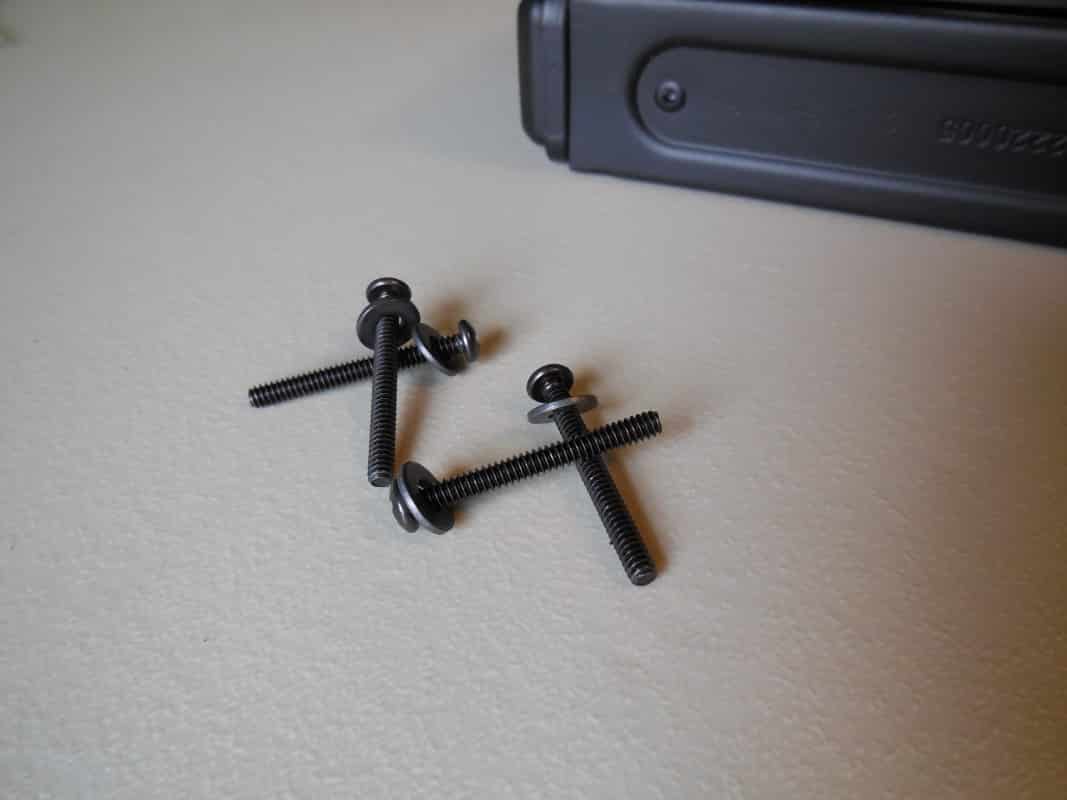
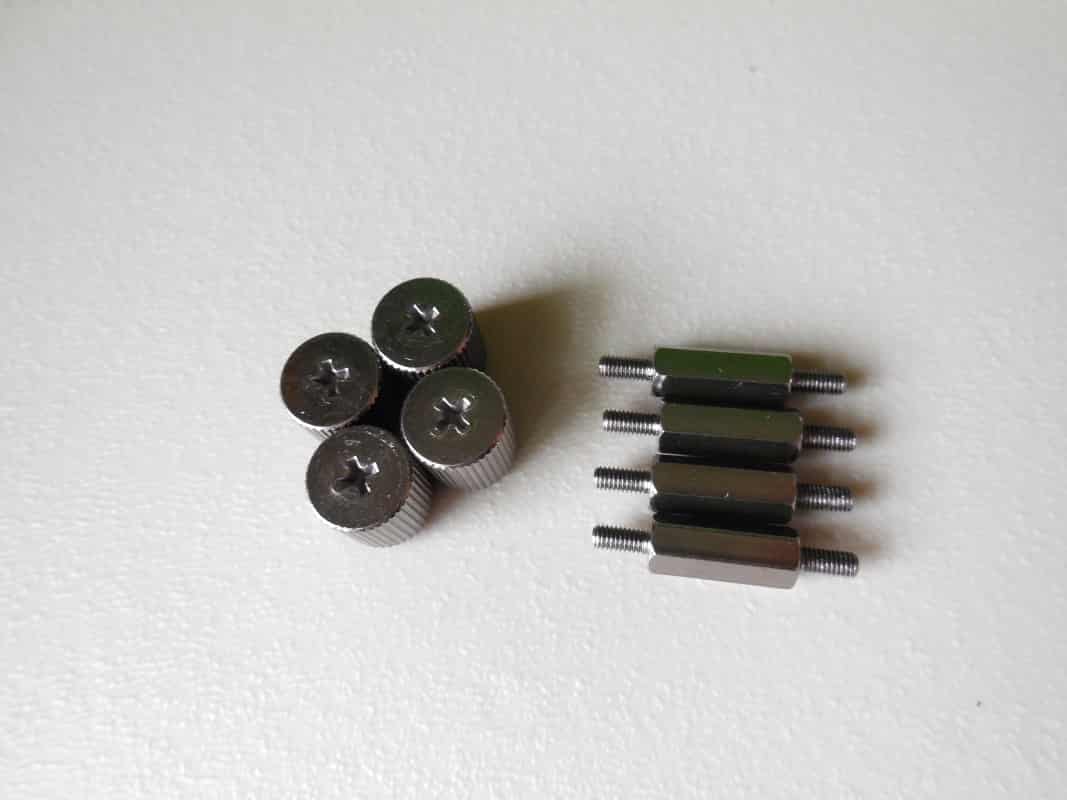
Now we want to secure the plate to the motherboard with the correct stand offs. There are several sets of stand offs included but for most Intel sockets you will want the ones pictured below that have the same thread pitch and thickness on both sides. Holding the backplate in place from behind, start each of the four screws into the backplate. Once you have them all started hand tighten them the rest of the way. The thumbscrews pictured will be used later to secure the pump to the CPU.
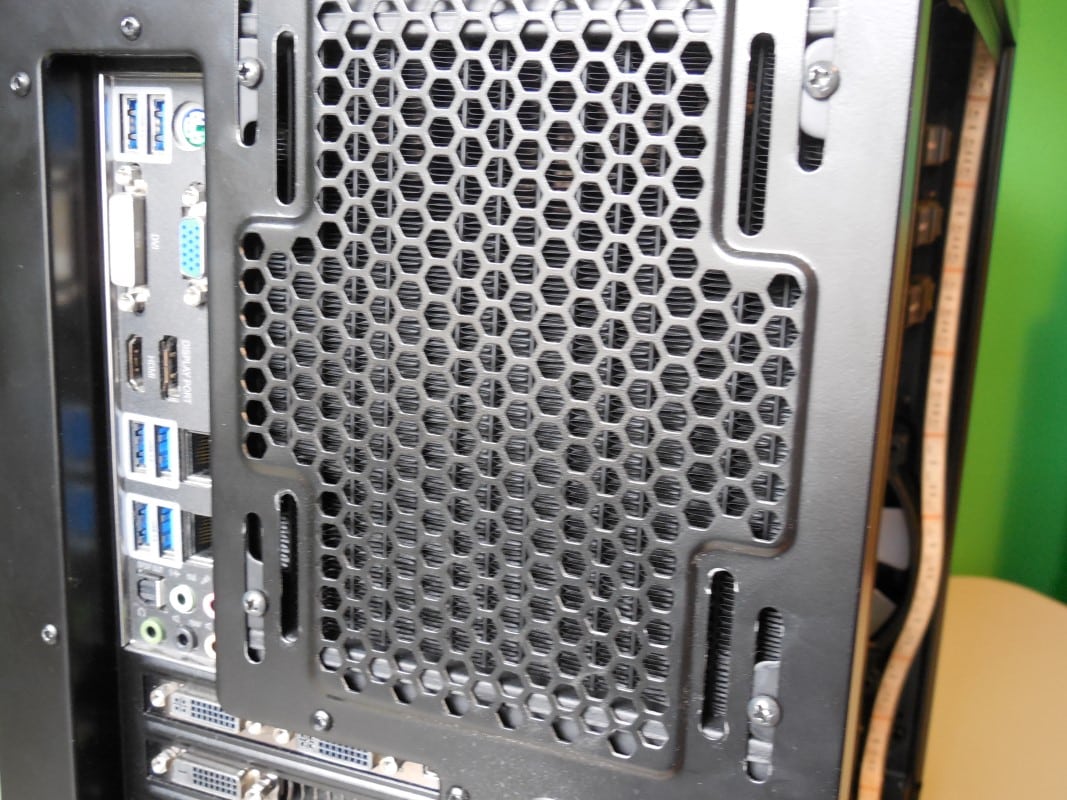
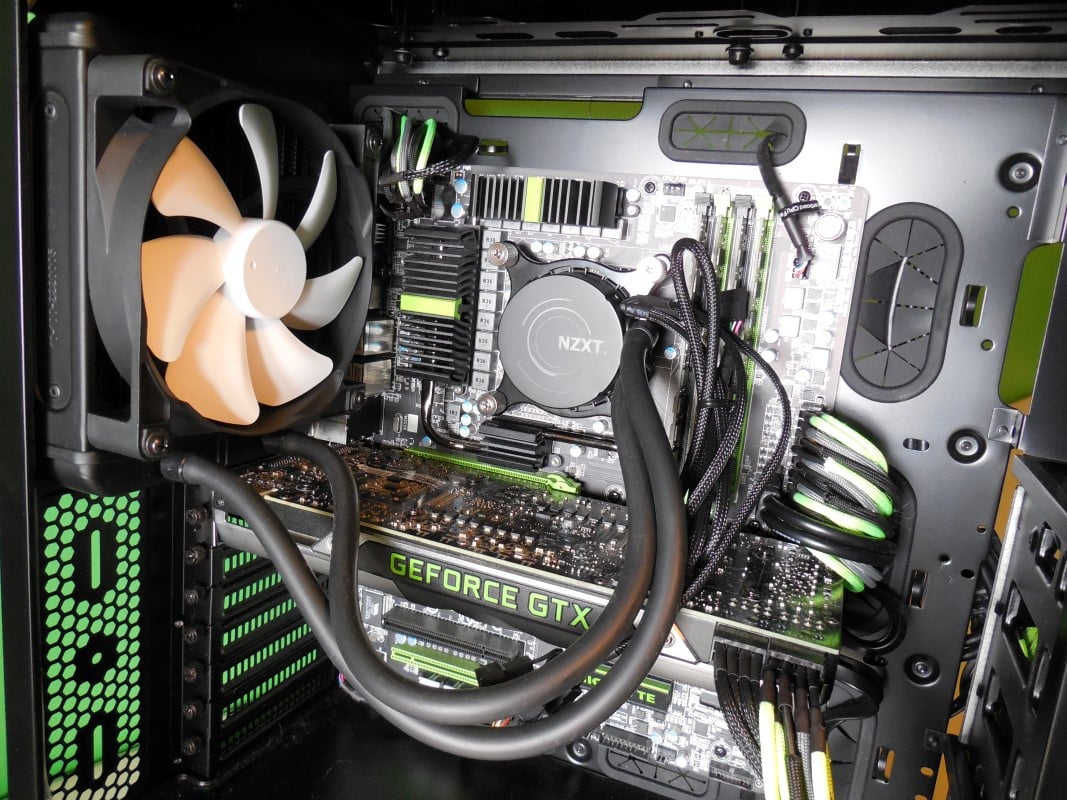
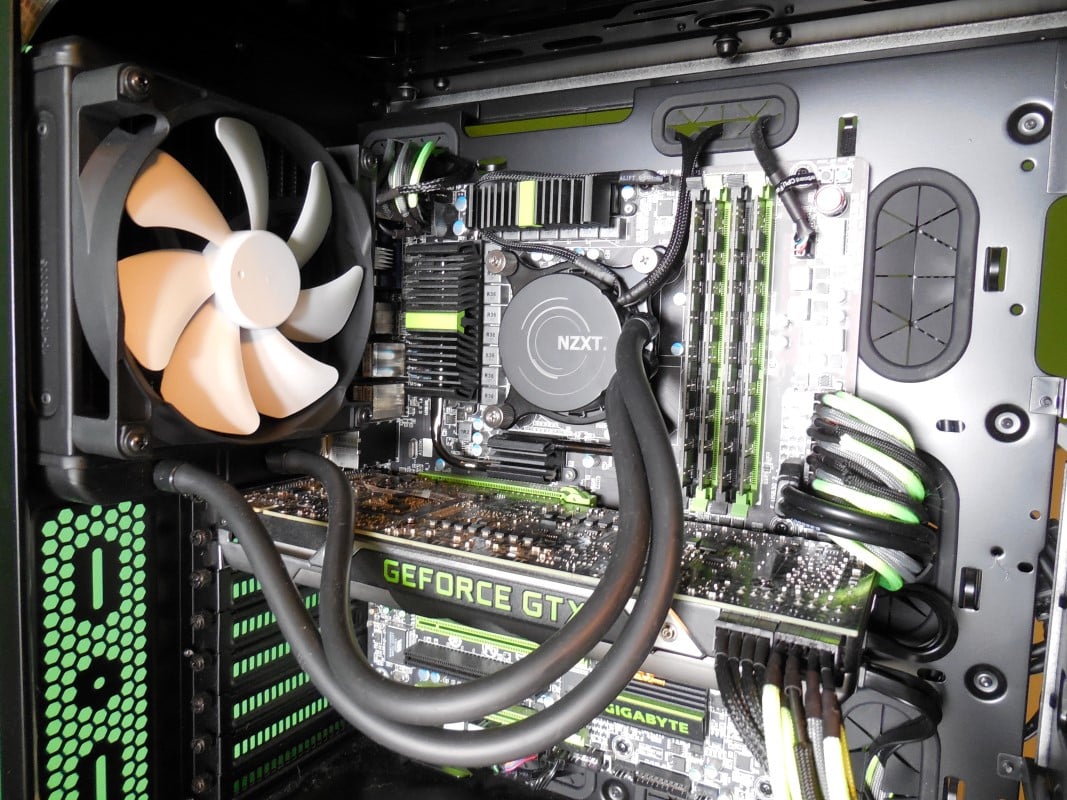
With the backplate installed we now want to attach the radiator to the case. Simply hold the radiator in position on the top rear exhaust port and secure with the four included shorter screws.
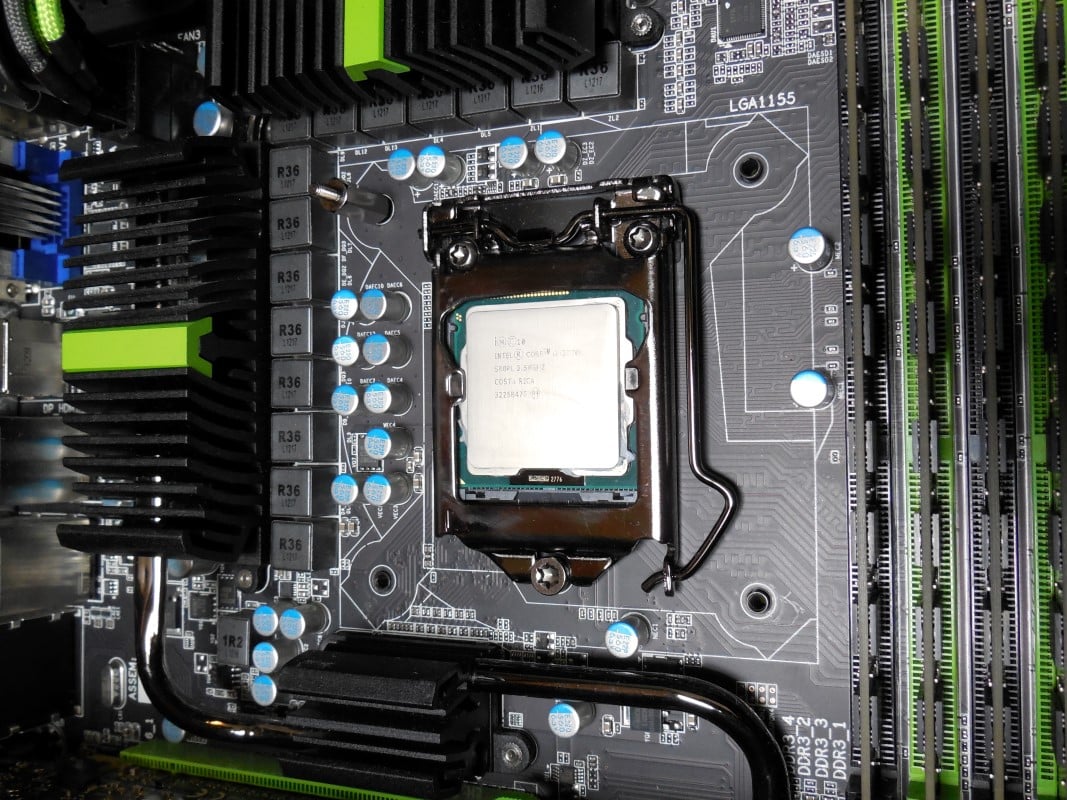
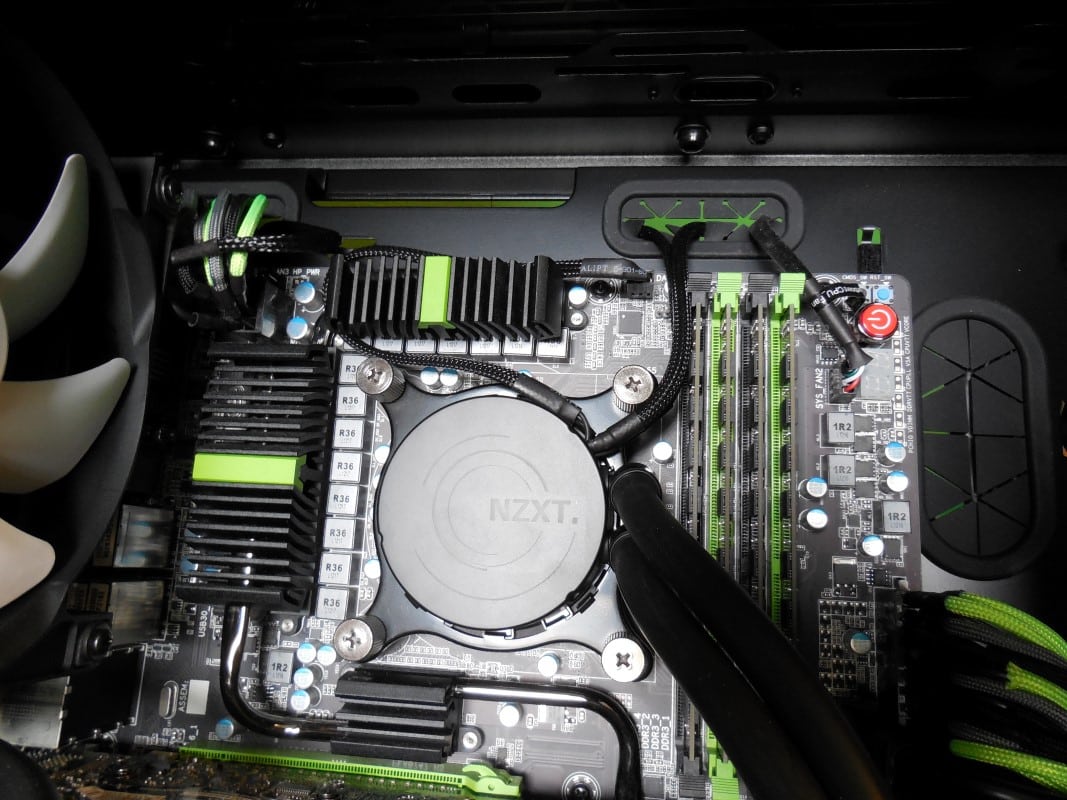
We can now attach the pump to the CPU. Begin by removing the plastic cup that protects the contact surface. Next align the four holes on the tips of the bracket with the screws on the stand offs. Press the pump tightly to the CPU and holding the pump with one hand, fix the pump in place with the thumbscrews pictured earlier. These can be tightened entirely by hand until they stop turning.
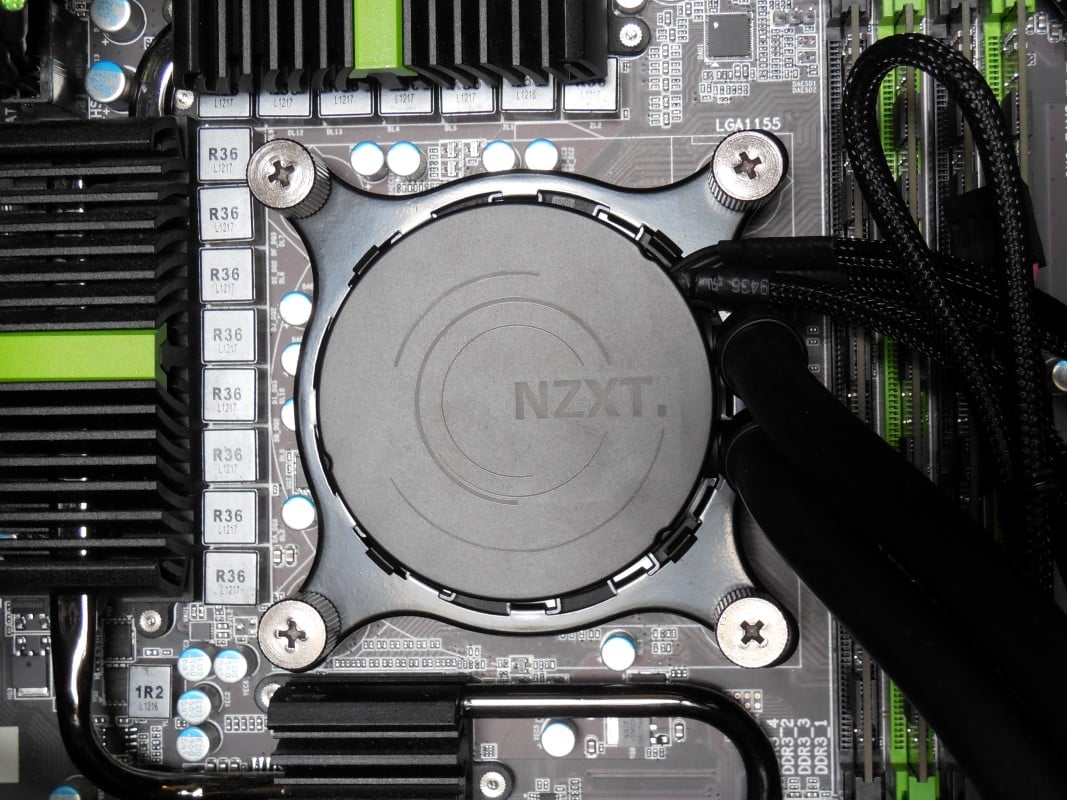
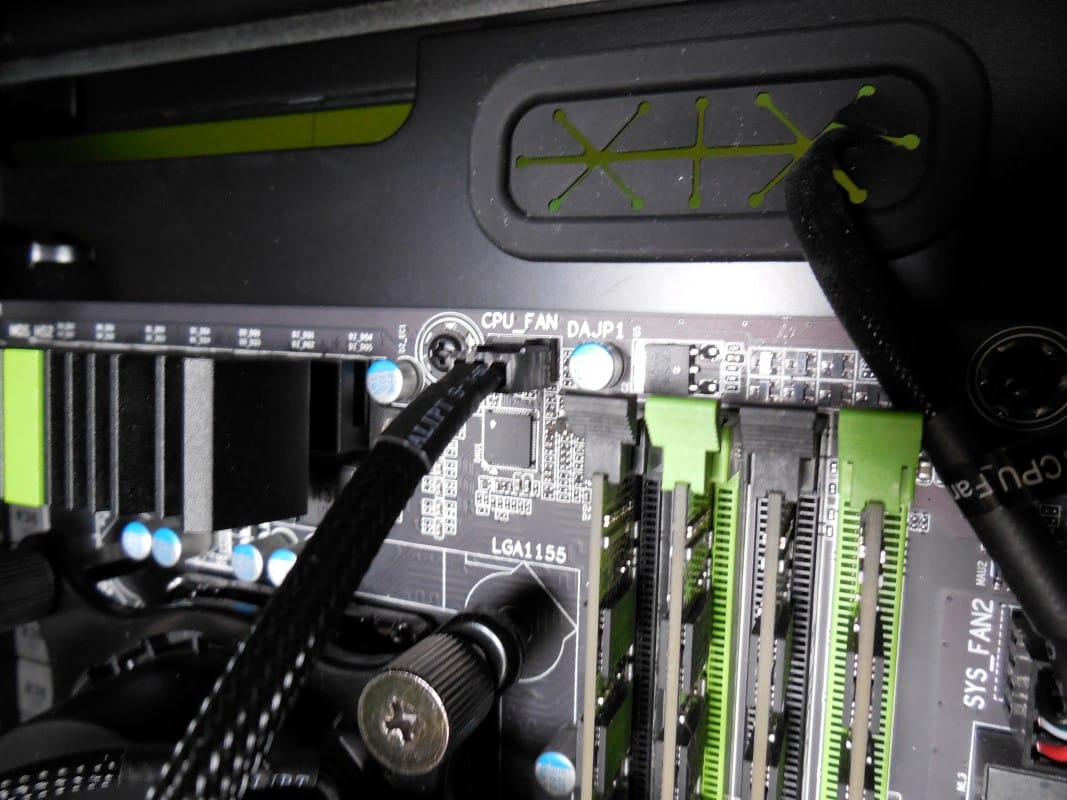
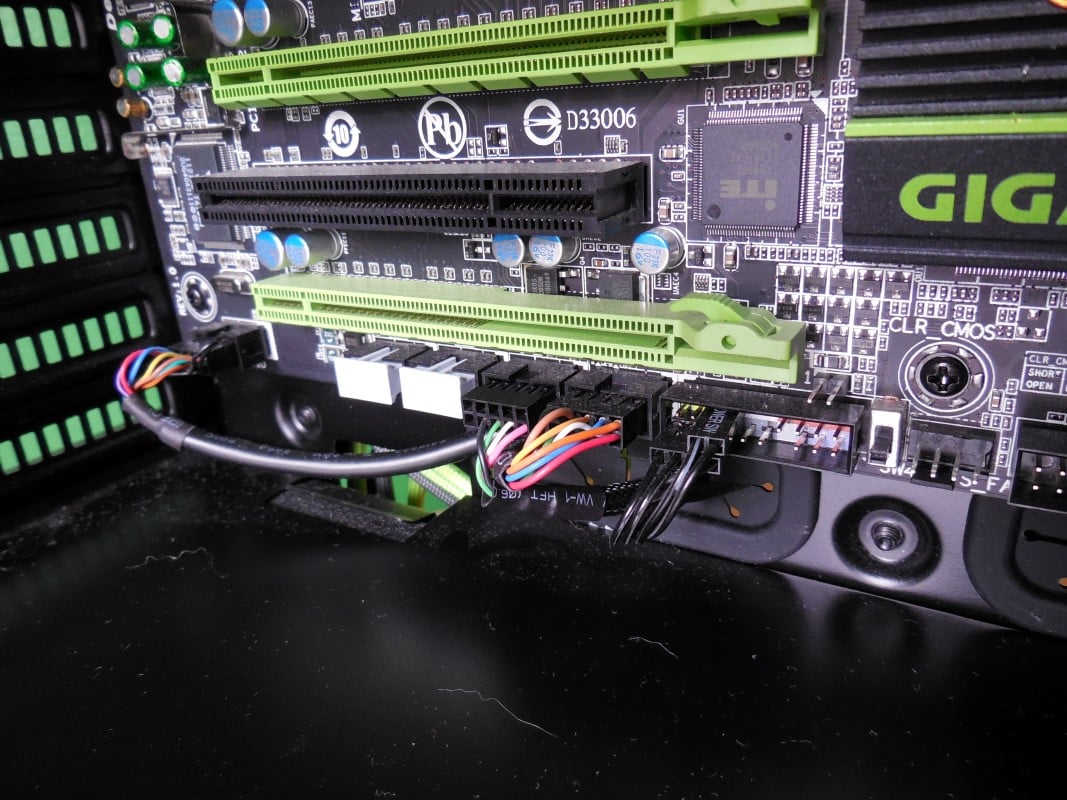
The only thing left is to attach the myriad of wires leading from the pump. First attach the 3 pin power connector to the CPU_FAN header on the motherboard. Next attach the longest cable to an open USB header on the edge of your motherboard. And finally attach the fan to one of the male power connectors.
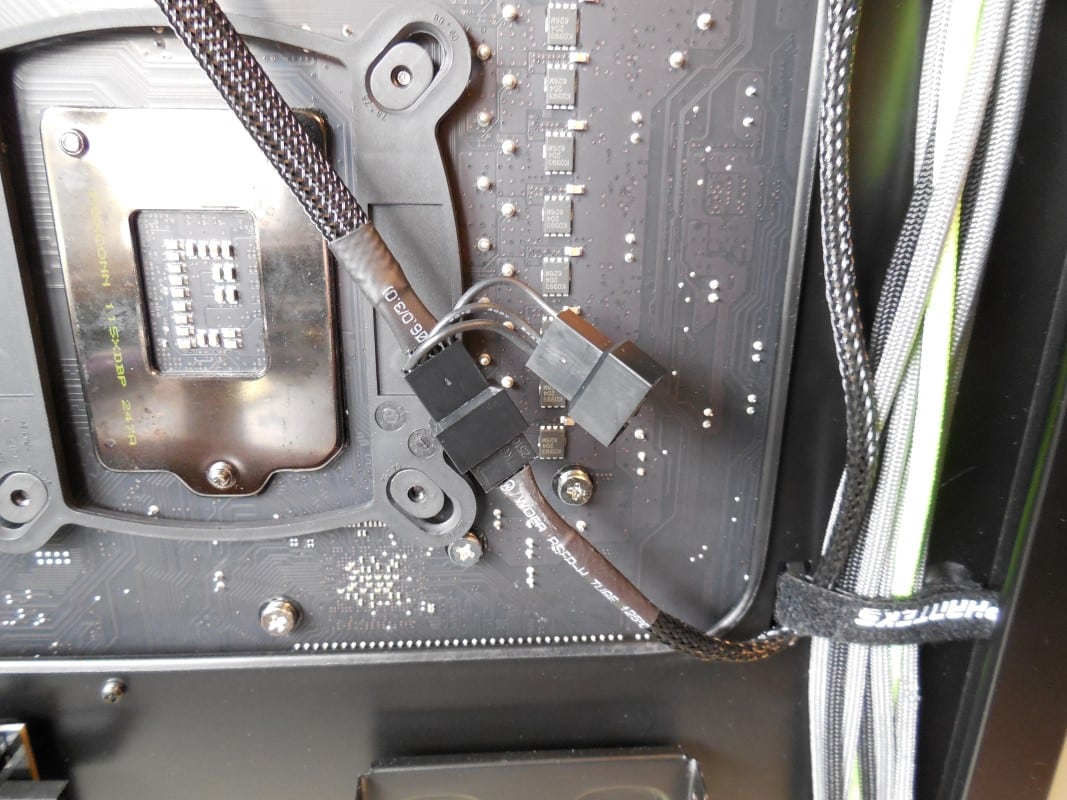
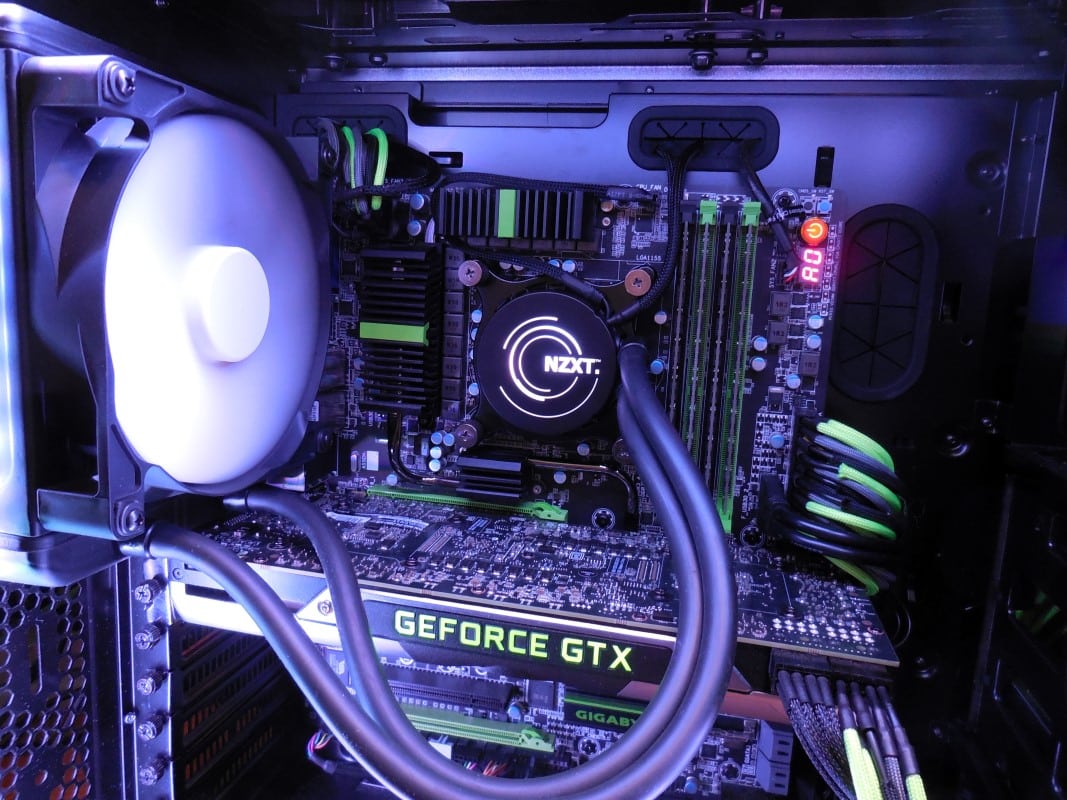
Despite all the wires we were able to creatively tuck most of them away.
All of the hardware is now installed and ready to use. One of the key features of the X41 however is NZXT’s monitoring and control software CAM. After starting your PC navigate to their website, download and install the software. You will be prompted to login or create a profile with NZXT but you can click SKIP and still use CAM.