Installation
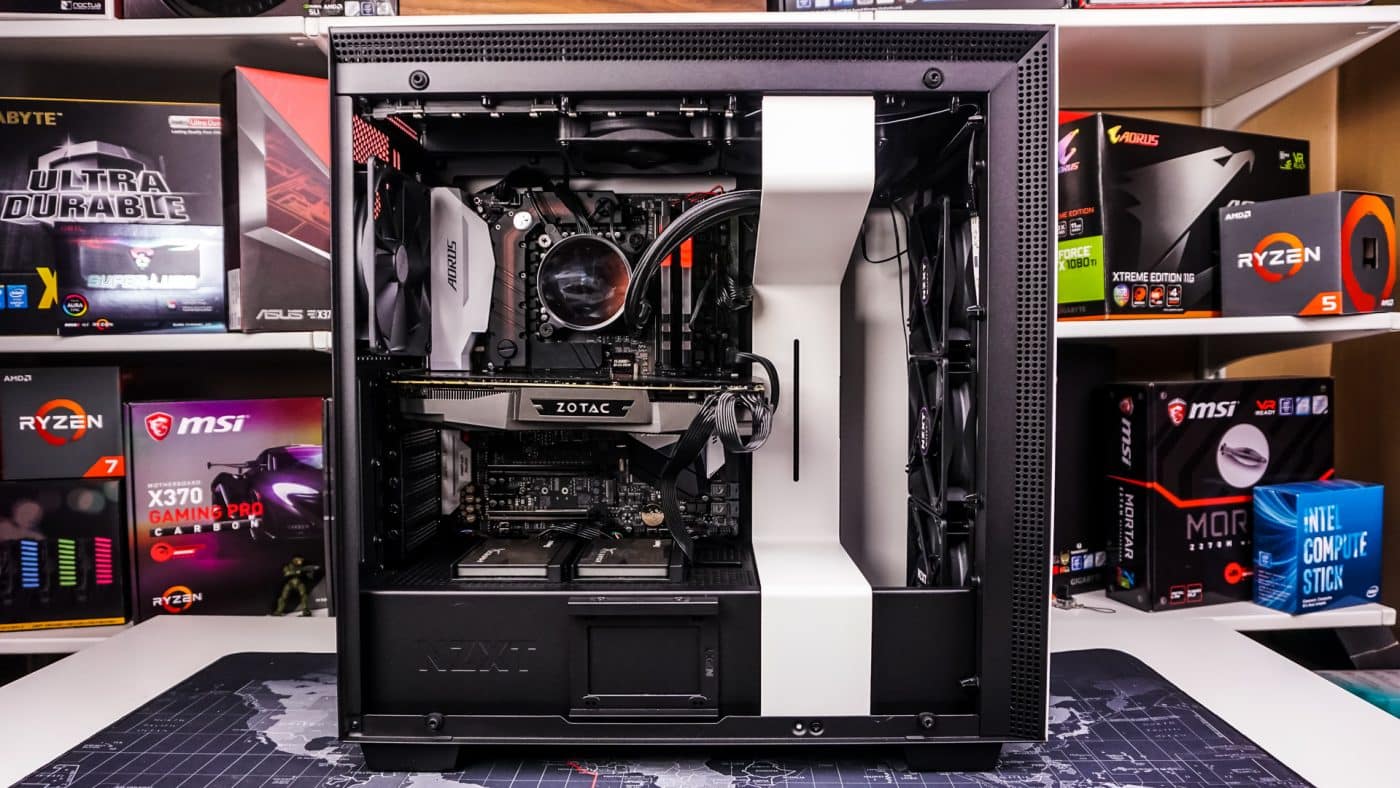
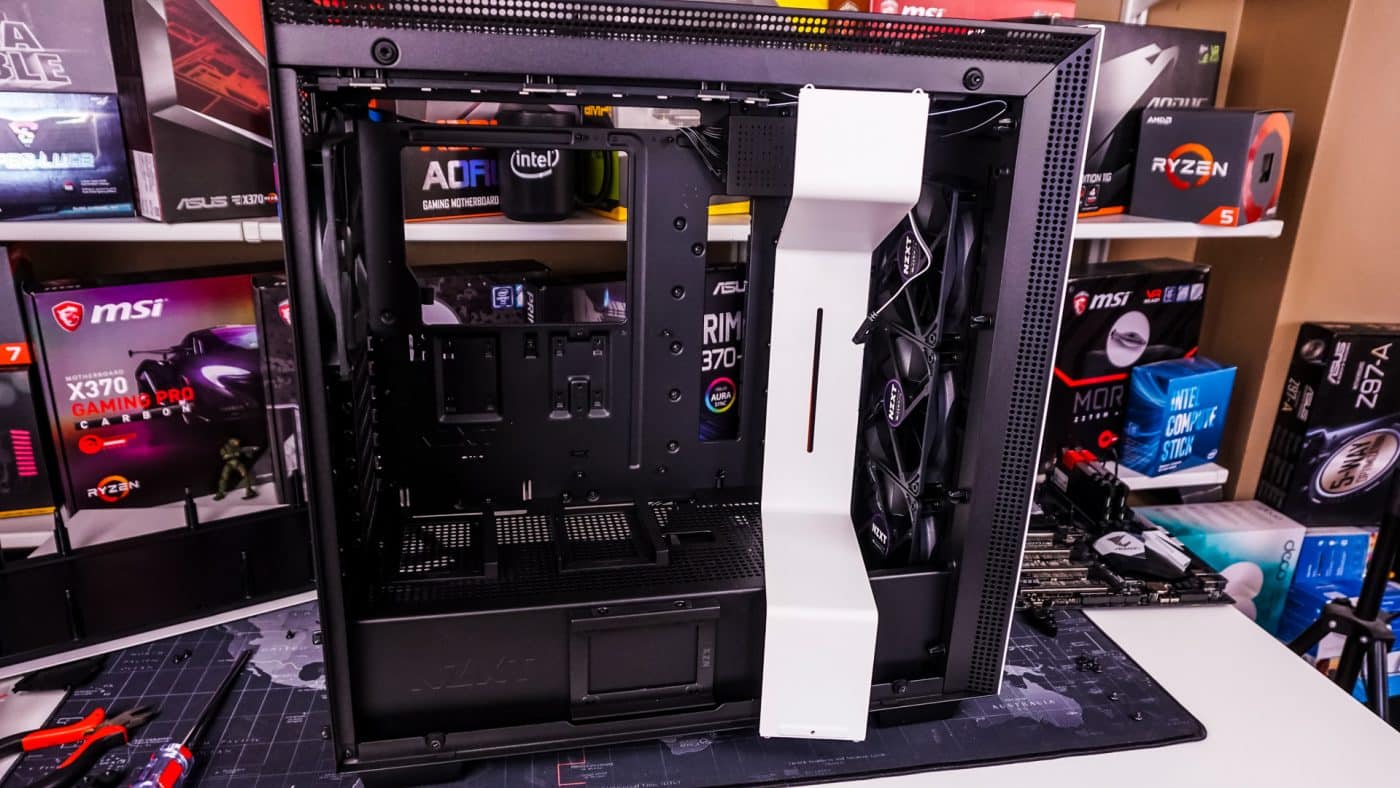
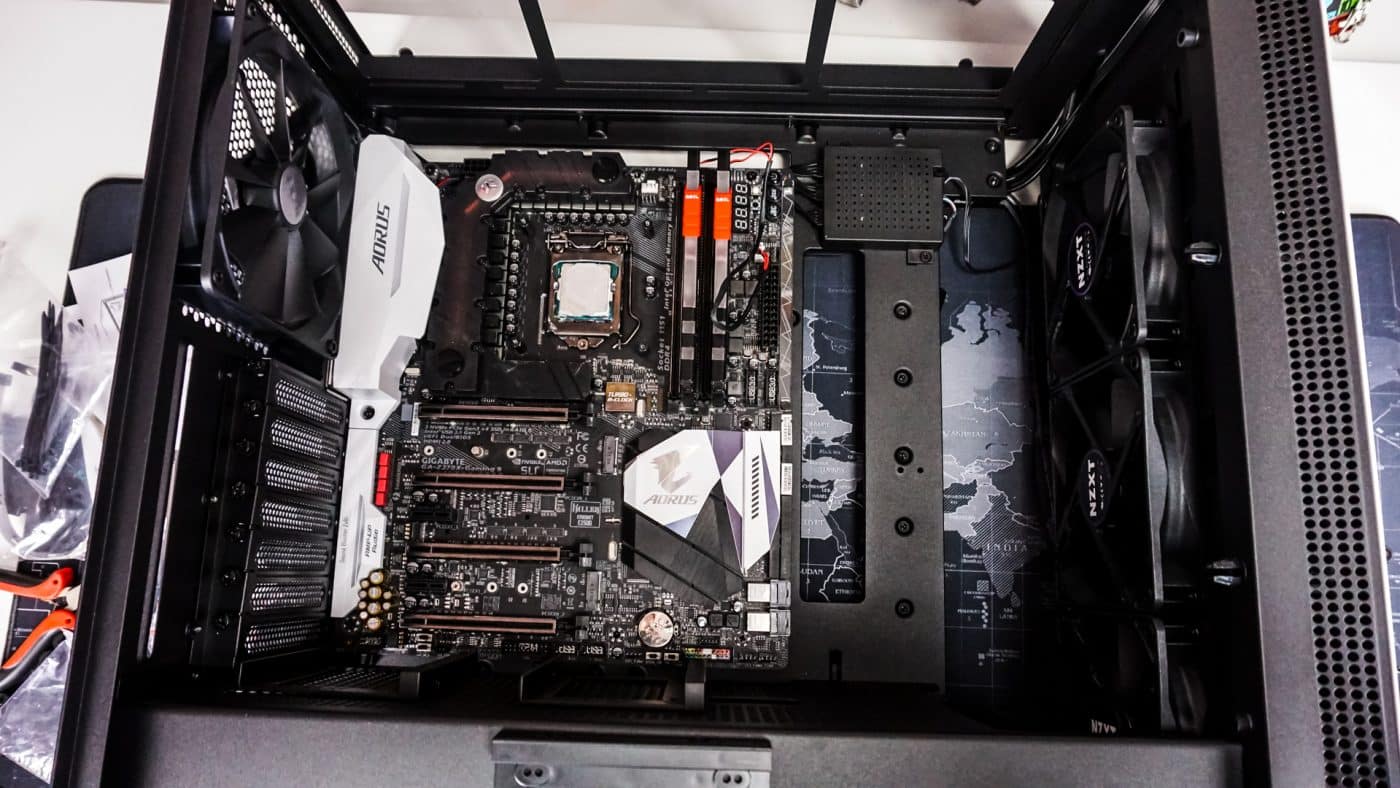
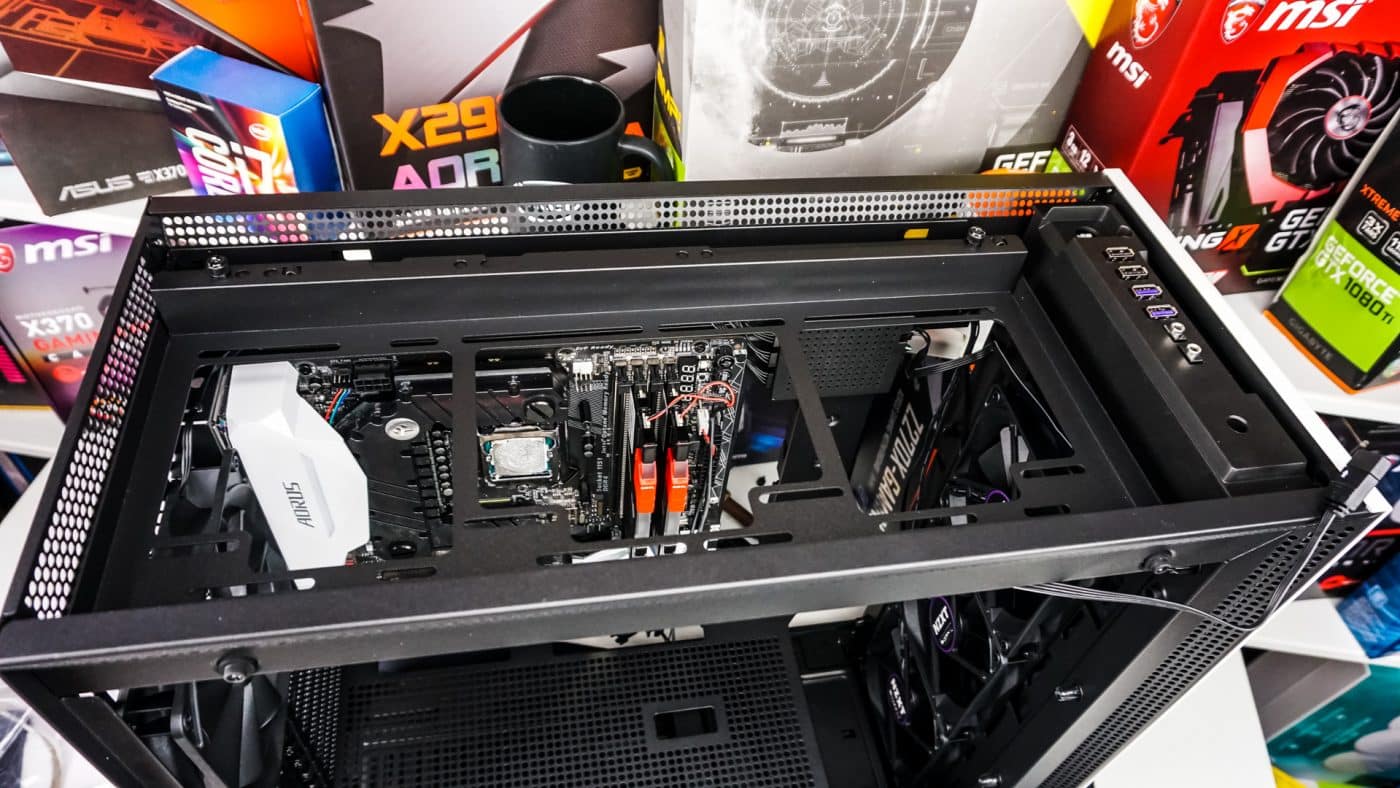
NZXT has always been known for easy installation so lets see if that is true about the H700i. Since we have a larger motherboard we are going to remove the large white metal piece. To do this you just remove three screws. With that removed we can easily install our motherboard, the standoffs are pre-installed so you don’t have to worry about that.
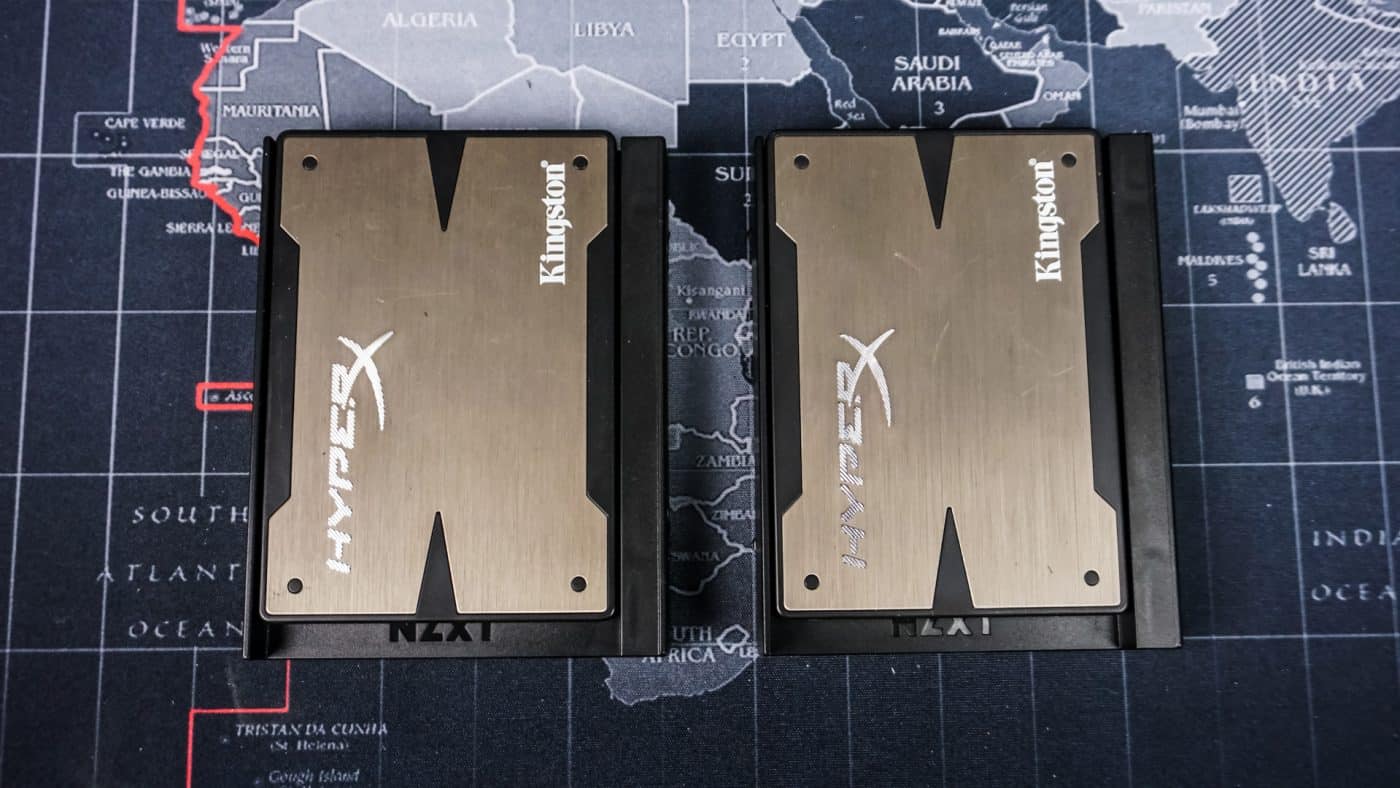
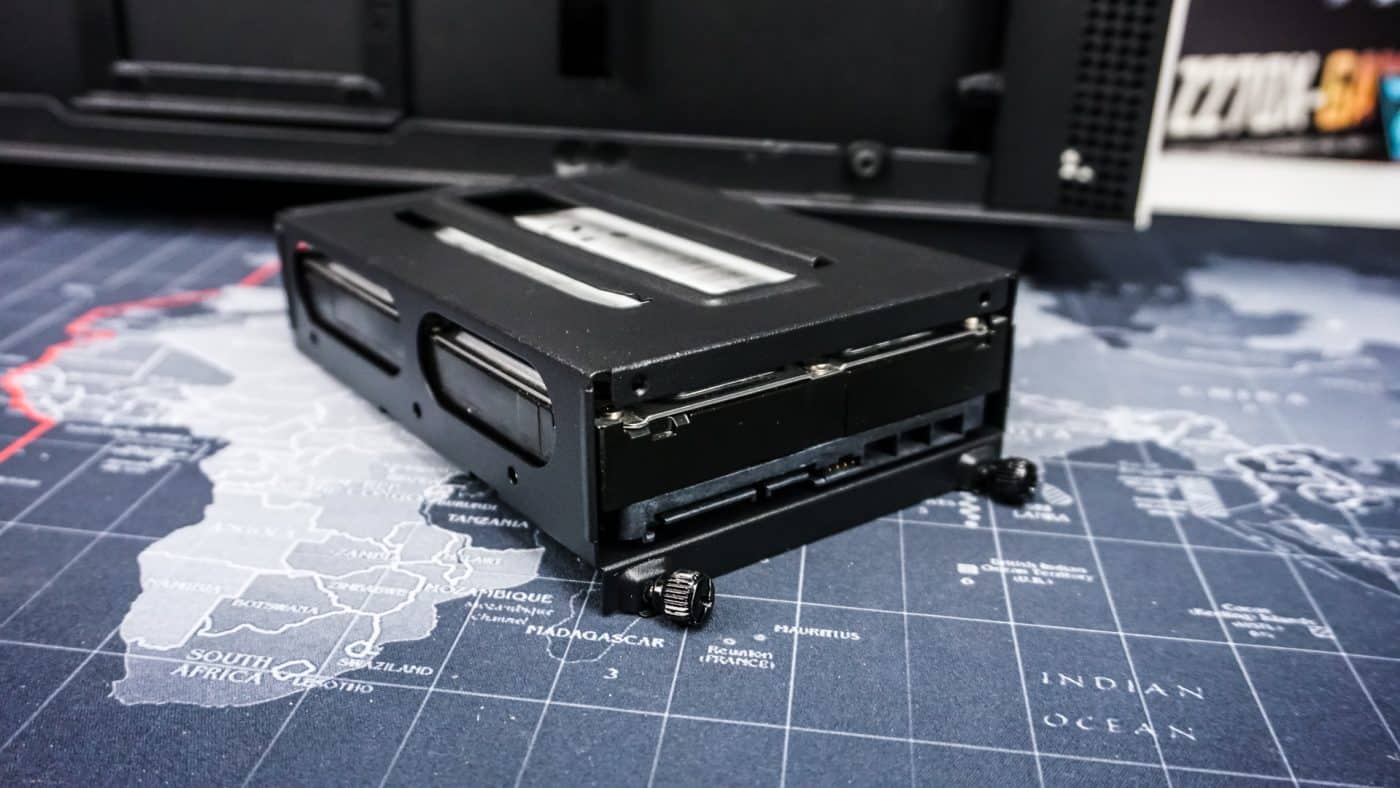
For our hard drives we are going with two 2.5-inch solid state drives and a normal 3.5-inch hard drive. I am going to be installing the 2.5-inch drives in the mounts on the power supply cover. They are pretty unique and use a interesting locking mechanism, which I’ve ever seen before. You can easily remove them and mount your drives, same thing with the two larger hard drive trays for your 3.5-inch drives.
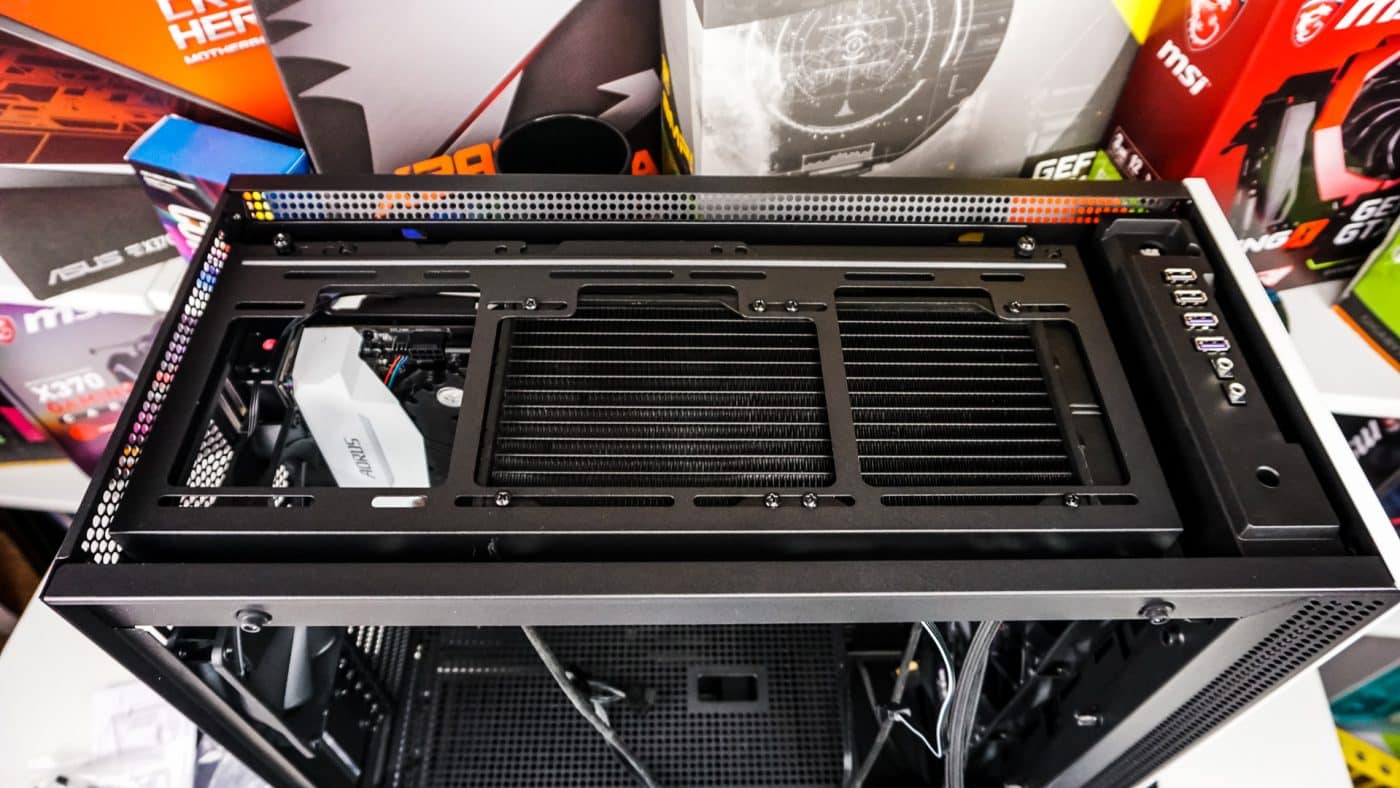
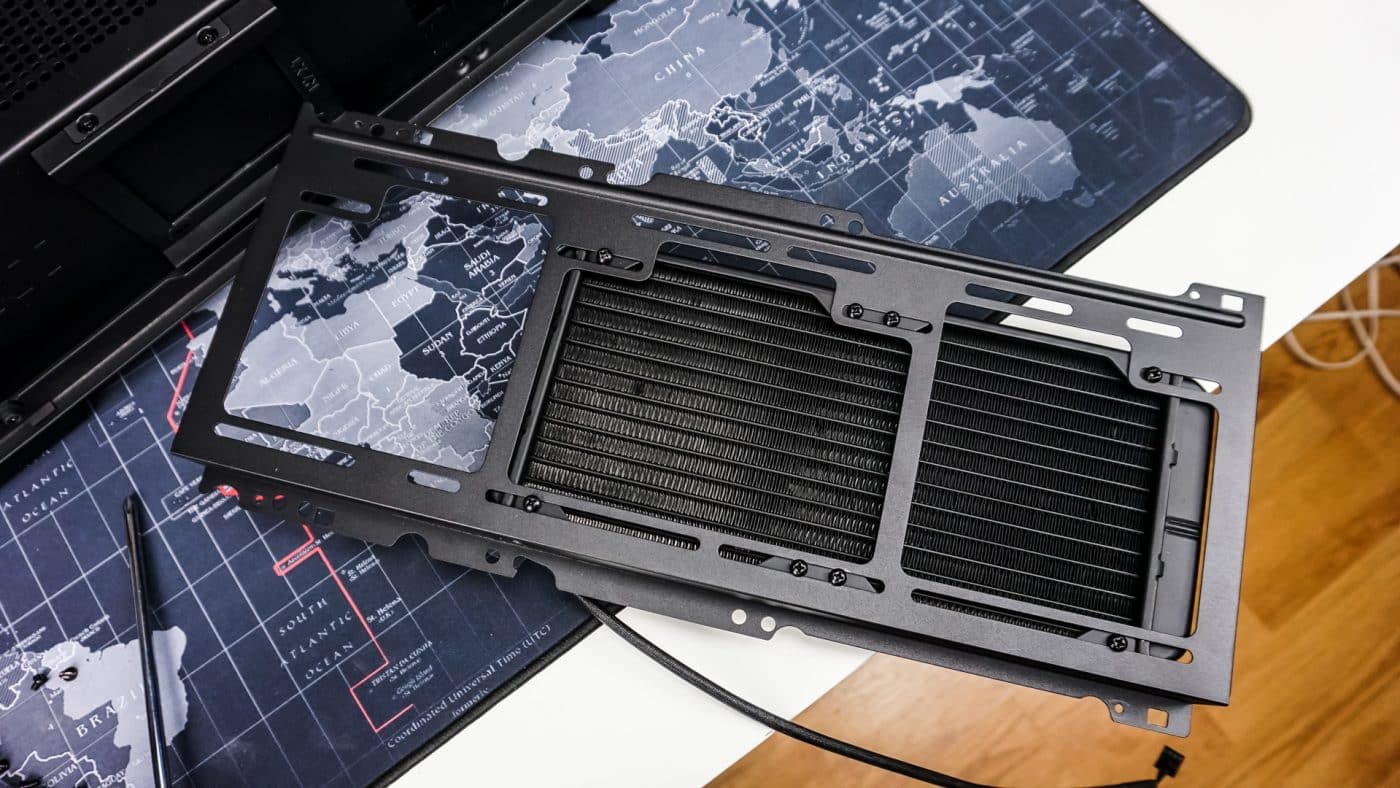
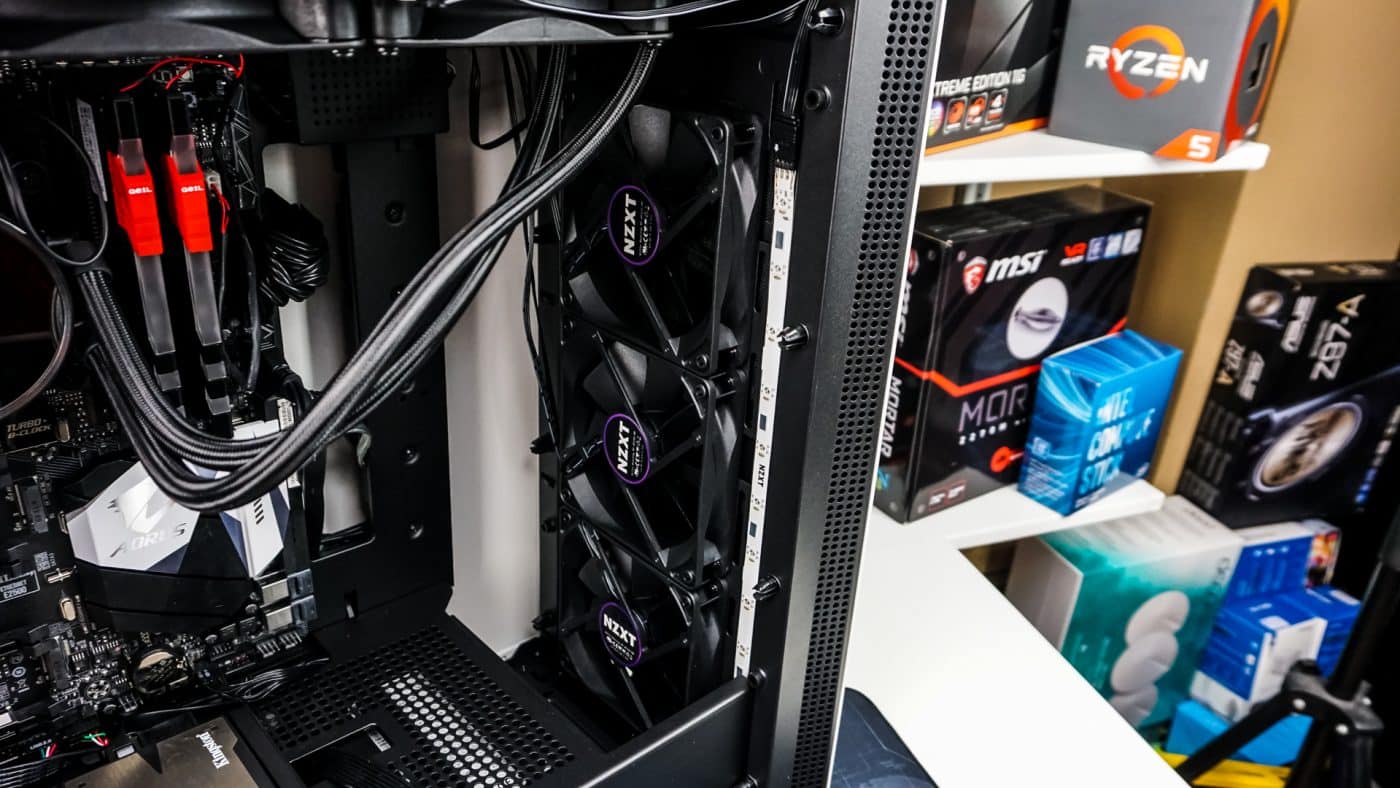
I would wait till you are almost done before you re-install your hard drives. So up next we have our AiO liquid CPU cooler, which is the NZXT Kraken X52. To install fans or radiators in the top of the case you’ll need to remove the top panel, it easily comes right off. Once removed you’ll find a removable fan / radiator mount. This allows you to easily install your fans or radiators outside of the case.

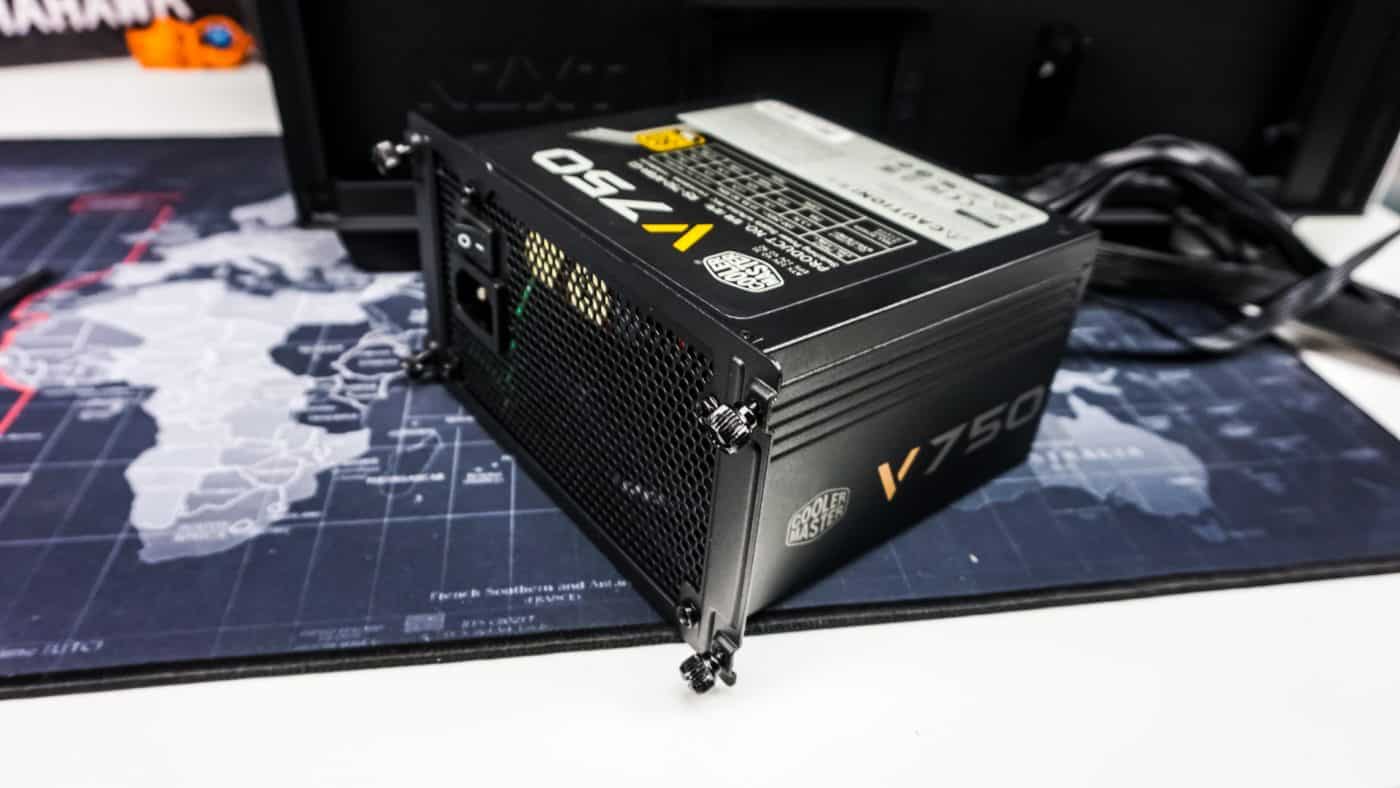
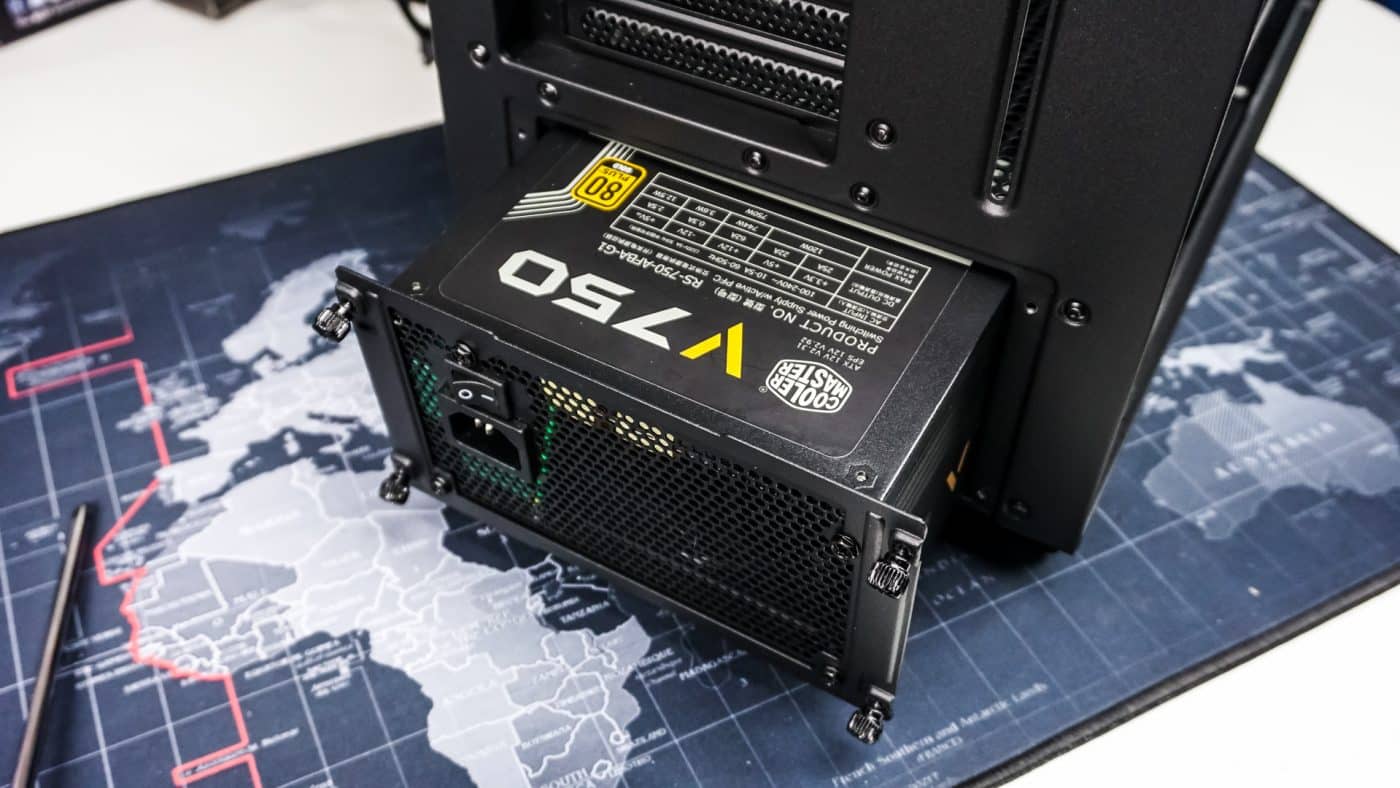
After our AiO installation we have our power supply. There is a removable bracket that you take off the back of the case and install on the back of your power supply. Then you just slide your power supply into the back of the case, be sure the fan is facing down.
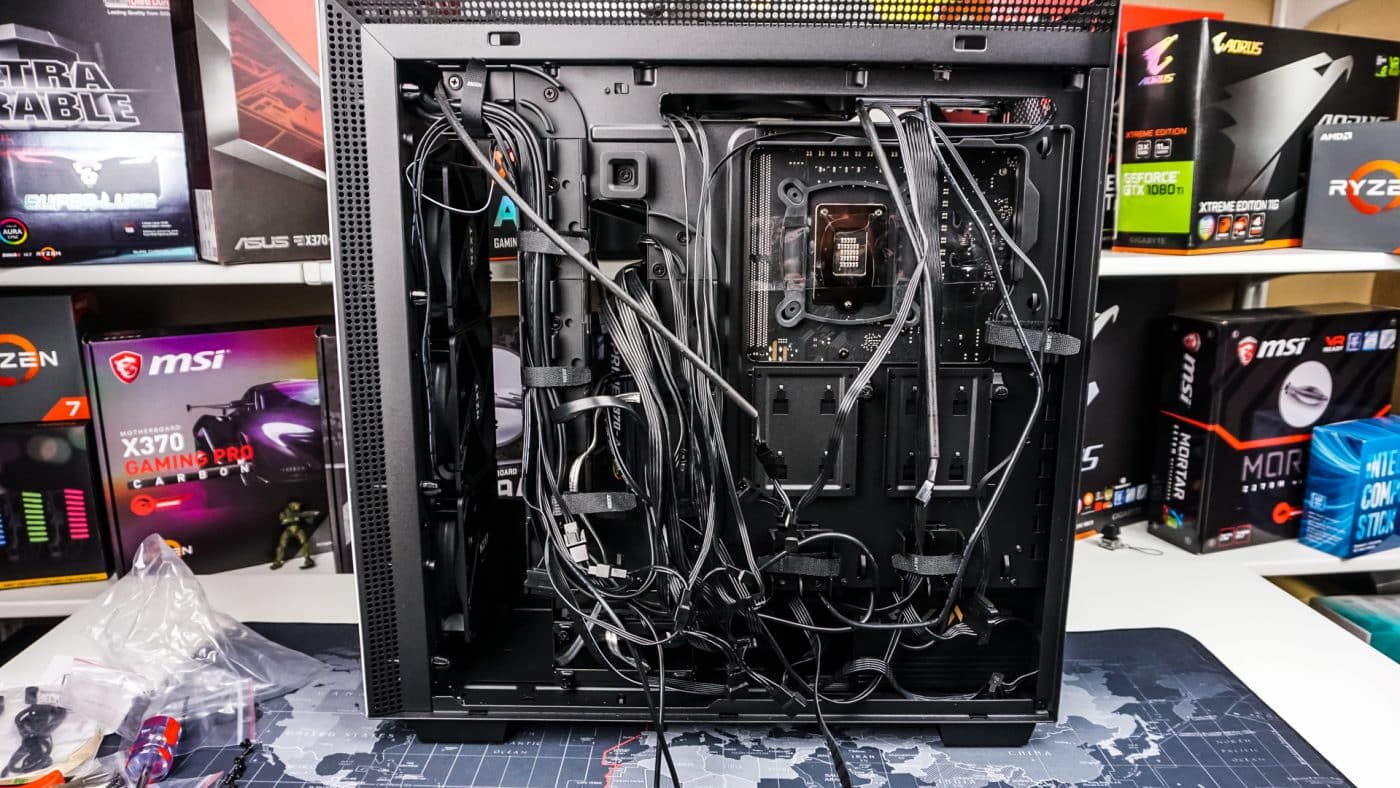
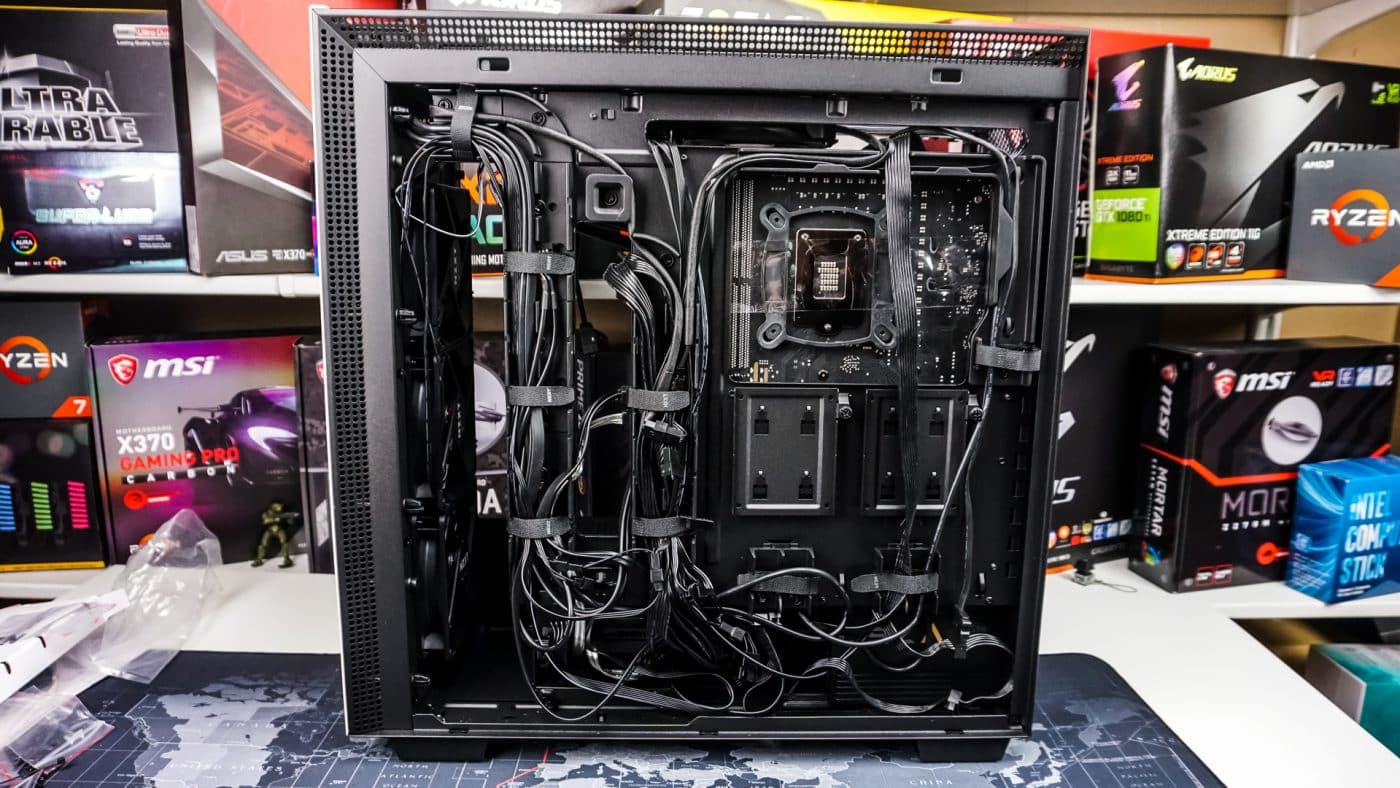
Now that our power supply is in, it is time to wire everything up. As I mentioned earlier in this review NZXT has designated paths for your cables to go. This is a nice feature, but it does take longer to organize all of your cables. I honestly would have rather had normal tie-does and just a bunch of cable ties.
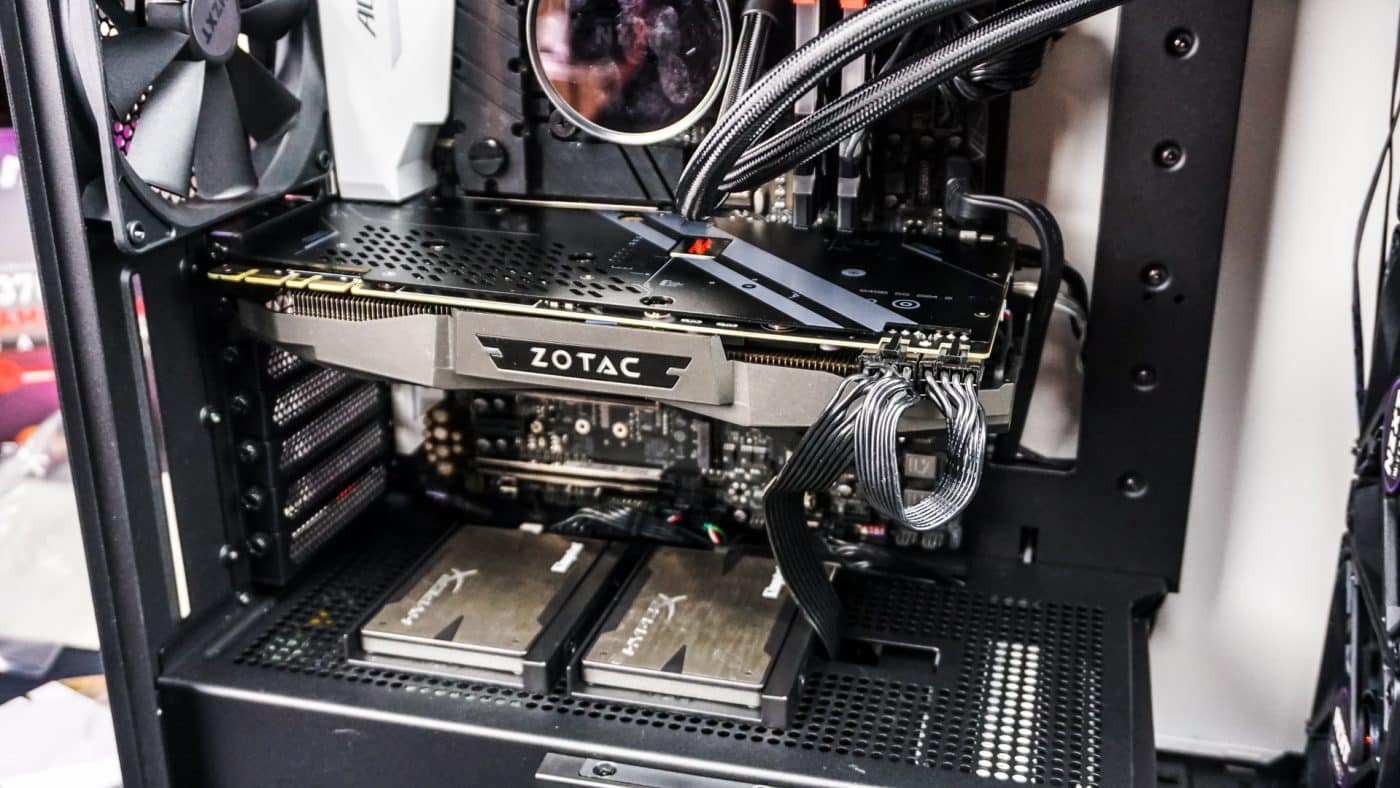
Flipping over to the opposite side of the case we need to install our graphics card. Since the top part of the case is very open we don’t have any clearance issues or anything. Also you want to be sure to install the second RGB LED strip, I decided to mount it to the front part of the case.
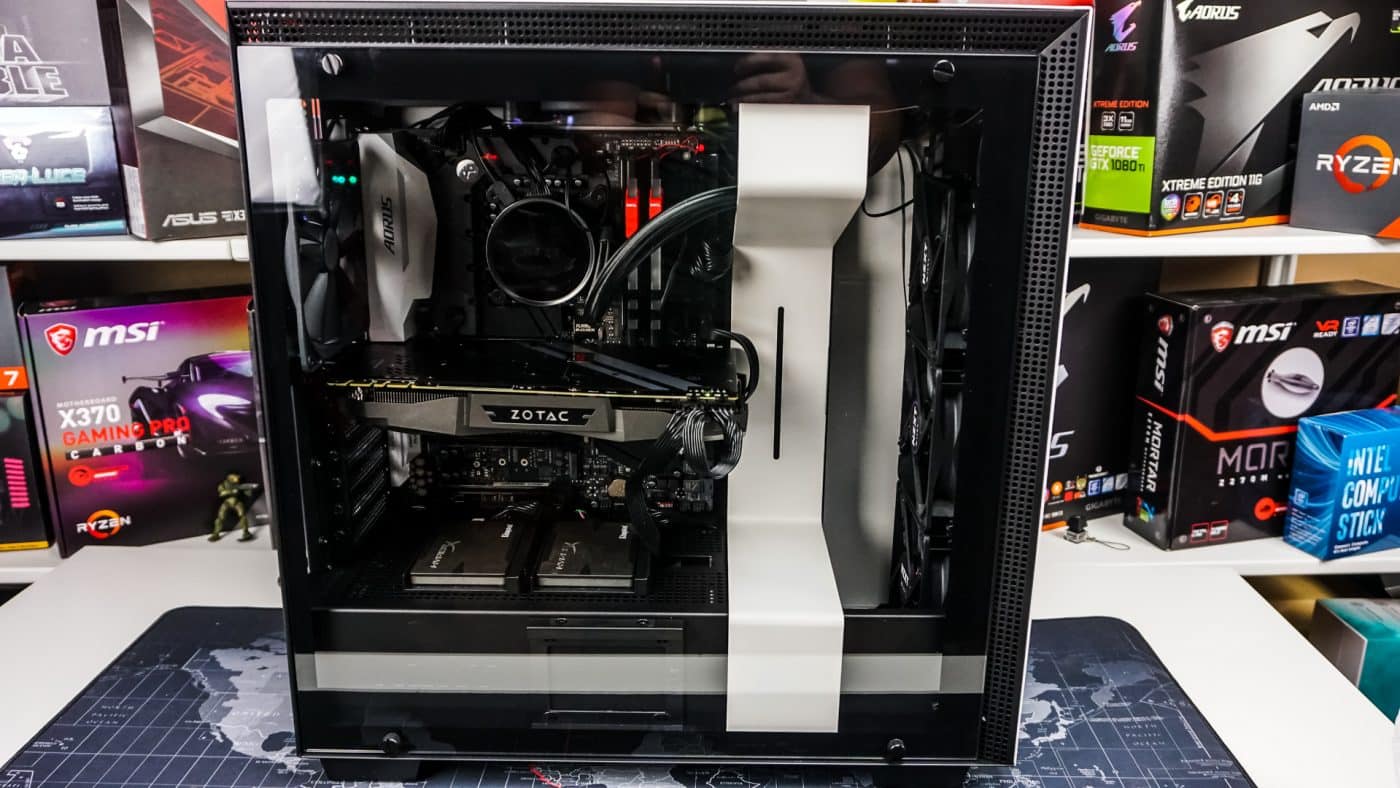
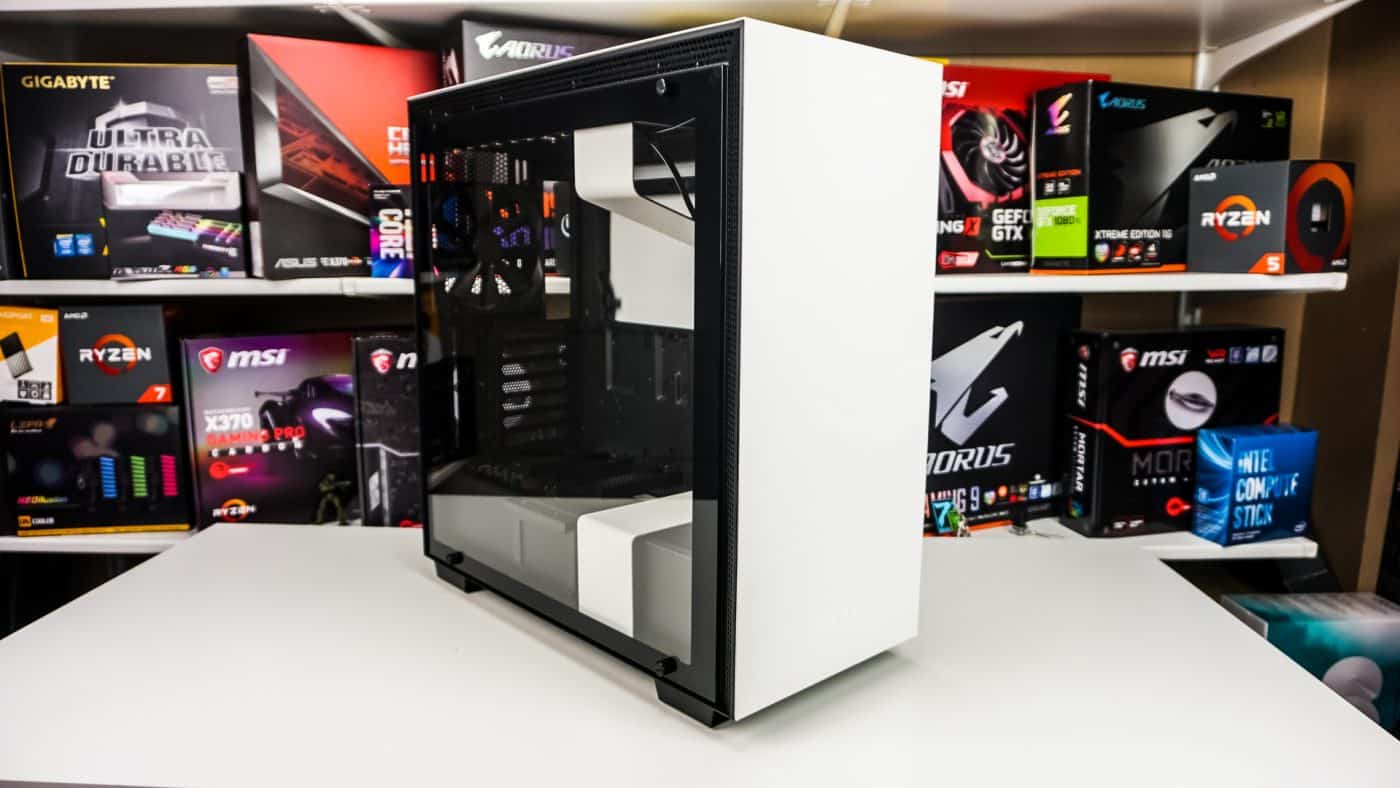
Last but not least we need to reinstall the white metal piece and we are good to go. As you can see our build is very clean and look quite good. I really like that the tempered glass side panel is clear and not tinted as you can really see our hardware inside.