A Look Outside of the NZXT 440 “Razer” Edition.
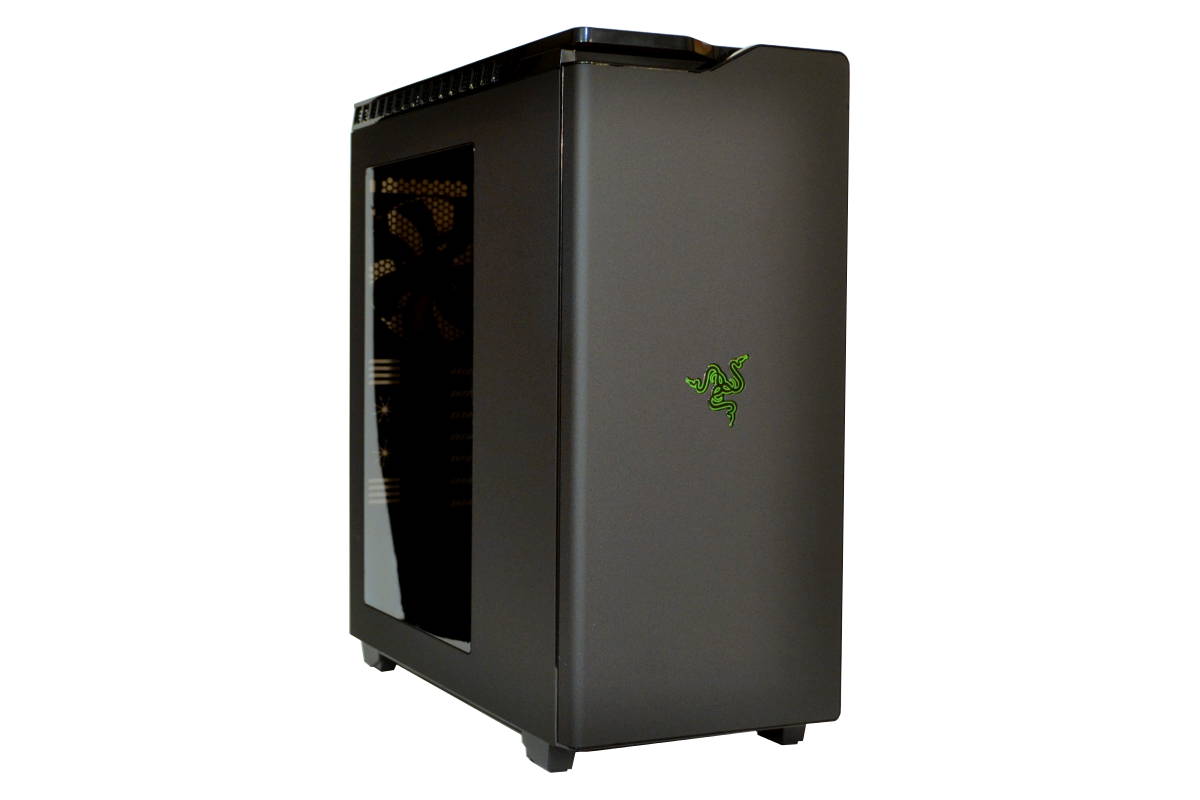
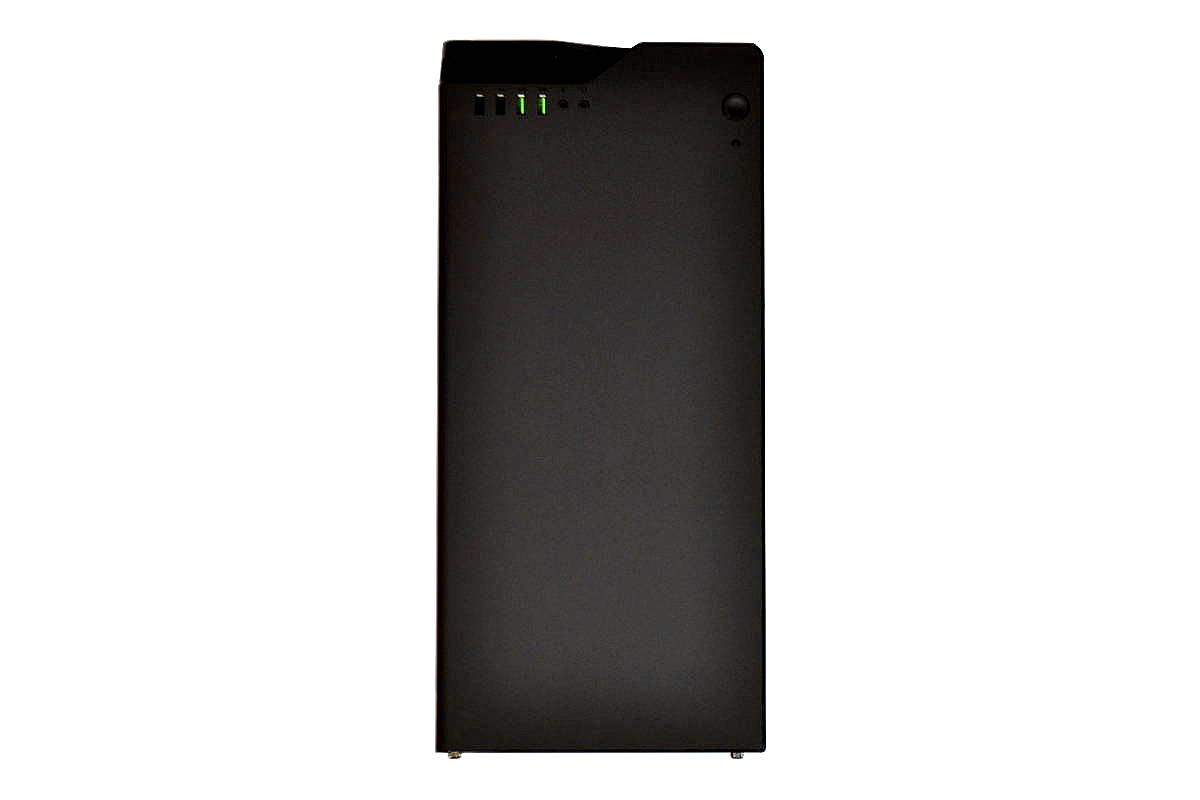
First there is something interesting about this case that I must confess bothered me. It’s very hard to photograph this case. The outer coating on the all steel chassis is almost impenetrable to the radar that is part of my camera’s focusing unit so getting the best shot was very tough to come by. It is an ultra matte black finish that has a rough feel and it almost looks as if it was coated with some type of secret paint used on stealth aircraft. I know that has nothing to do with helping you win at your favorite game but it is worthy of mentioning.
The NZXT H440 Razer Edition Case is made for silent running as well. The top and the front are coated with a 3/8’s inch soft and rubbery sound proofing that is best seen and not heard.
Overall this case is very nice and very well made with even the cost cutting done in a stealth pattern. So overall the Theme of this case is “STEALTH” They didn’t give it that name, I did, but it truly has the character of a stealth weapon of war.
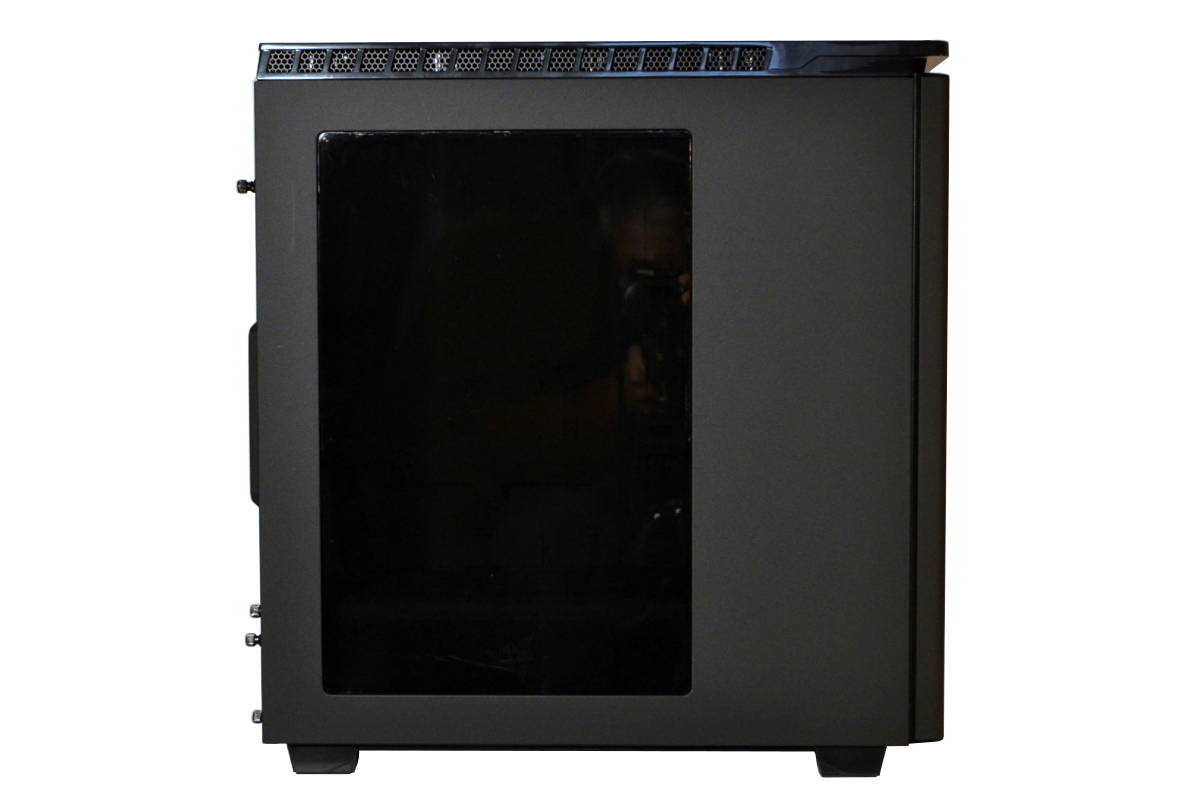
The side is made of this black finish that is so matte that it absorbs almost all the available lighting around it. It’s like a sponge edged with piano finish with Hexagonal air ventilation and together it all looks great. The side panel is padded with thick 3/8s sound proofing on the other side of the smoked Acrylic side window. The top is also sound proofed but still allow air to come into the case via the ventilation that is seen above.
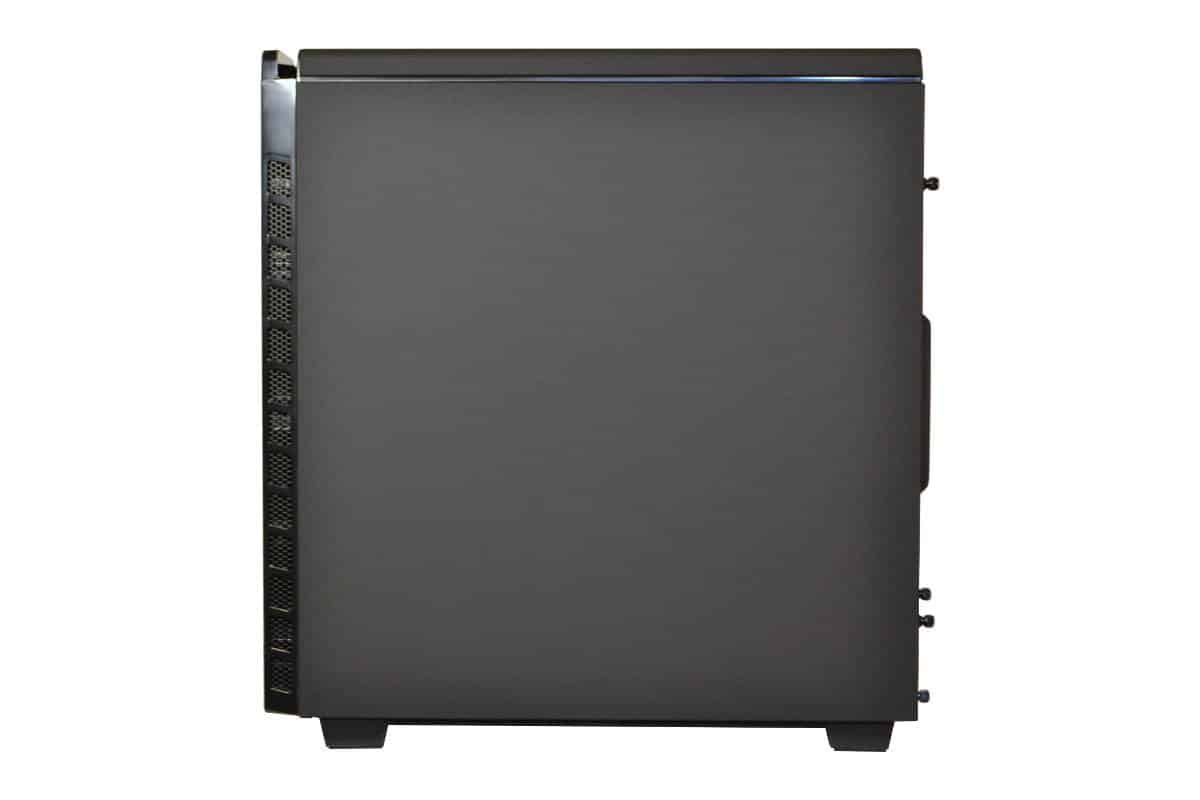
The opposing side where the motherboard tray and wire management side of the case looks as if that last picture has been turned 90 degrees to the left and lying down on its back. It’s the exact opposite as the other side except this ventilation supplies the 3 front 120×120 matte black fans with enough air to cool the entire interior of the NZXT H440 “Razer Edition” case but still stay silent. The piano finish accents really go a long way to giving this case a great amount of class. This whole side panel is completely covered with the very heavy 3/8 inch almost rubbery inner sound proof coating that is covers most of the inside of the front panel as well.
The top of the case is sound proofed and ventilated steel but when they said its 100% steel they are not talking about the inner part of the insulated panels. The plastic inner core of the panels are necessary as they allows the top and front to be popped off and removed, but the hold of the plastic pins are very tight and very strong as the plastic is held into place by the pure steel of the case. You will fear that you are about to bend something when first taking off the top cover. Yes… It’s that tight, but once you have carefully pried the tabs in and loosened the inner core off its heavy steel plated frame outer portion it is easy to see how nicely made the panels are. The panels are extraordinarily heavy because of the sound proofing that covers 60% of the inner portion of the entire case which allows for a lot of sound dampening.
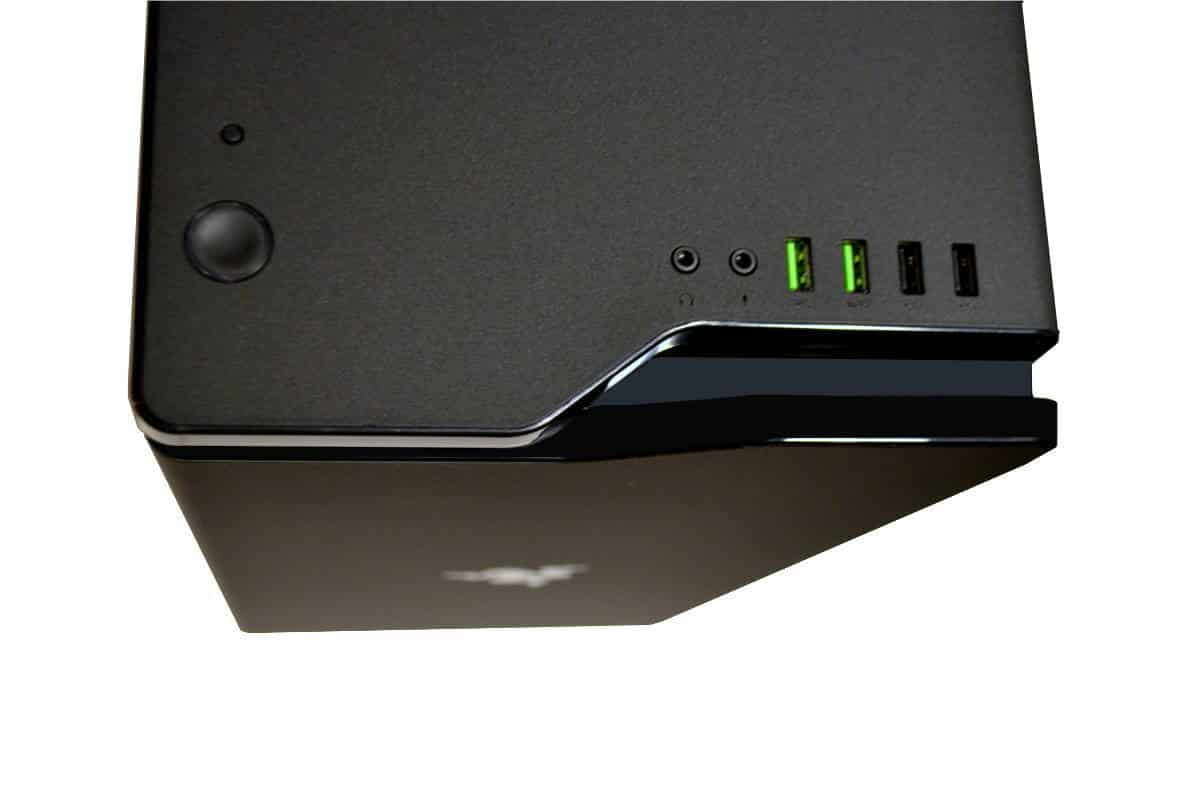
The control area is neat and easy to maneuver since the USB 3.0 ports are lighted in bright green the 2.0 are not and the Lighted. The power switch is framed in light so it’s not hard to find in the dark of a long gaming night and the reset is made to be unable to press unless the owner gets a pencil or a tooth pick to press it in insuring that it is never hit accidently.
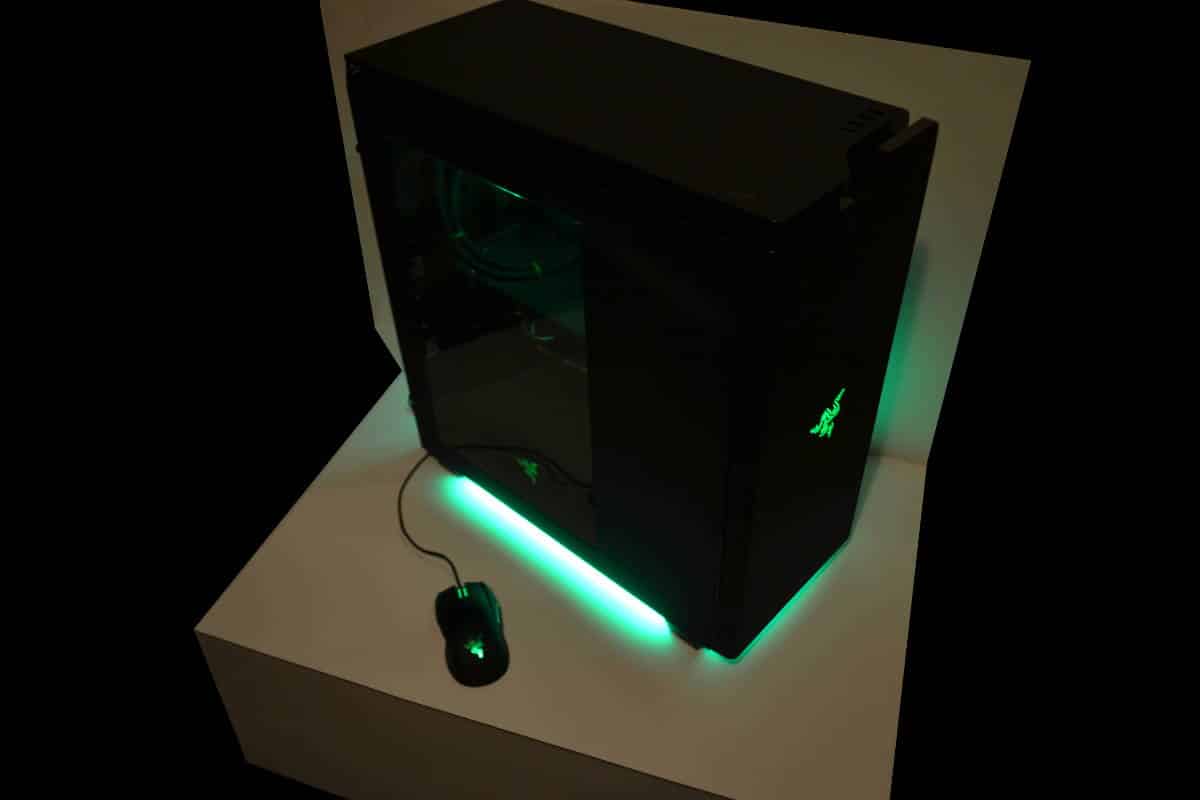
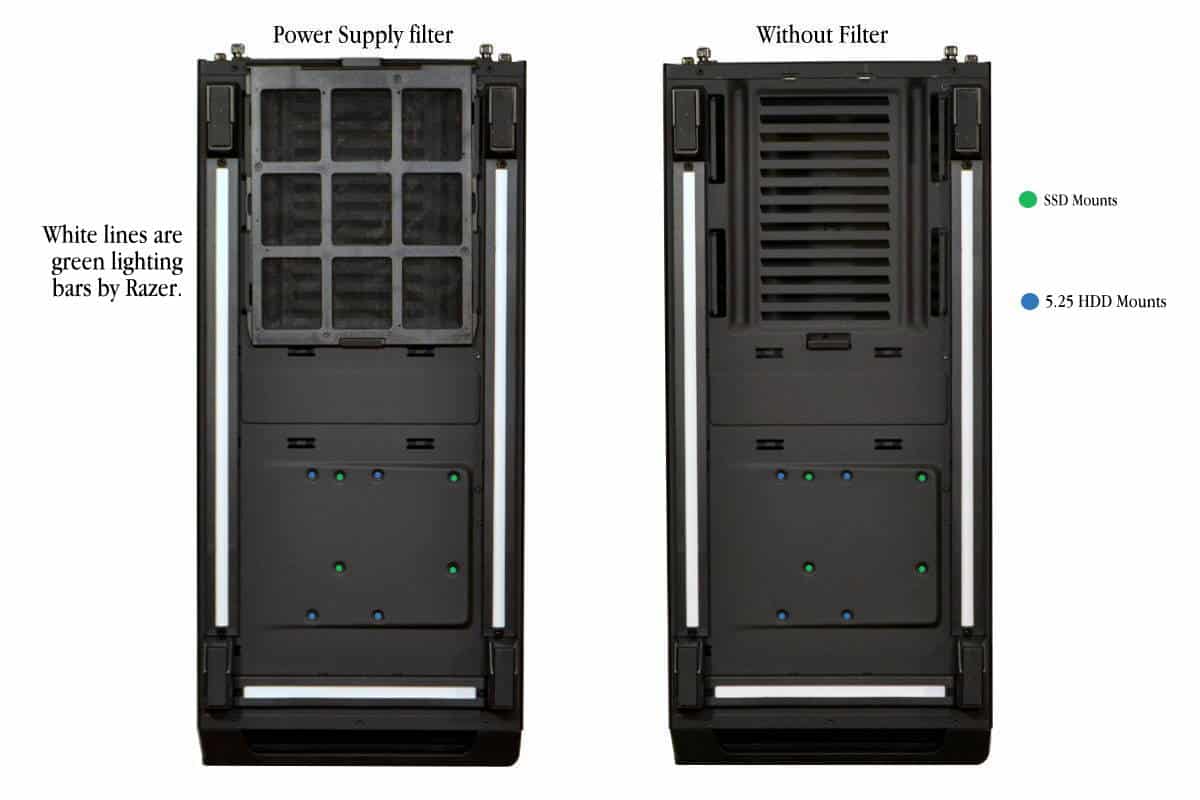
I have taken the liberty of color coding the mounting holes for either a mechanical Hard drive or a solid state drive. As it is quite obvious the green colored holes are for the SSD mounting and the blue holes are for a mechanical hard drive. Also the picture on the left is with a power supply air filter and the right the filter has been easily removed. It slides in like a drawer and stops when it is completely in the correct position. The Whitish looking strips are actually diffusers for three tracks of Green illumination that complete the Razor case look. It is a nice addition the regular case and it can be turned off by a press on/press off switch in the back top right, if you need complete stealth for gaming in the same room with a sleeping companion, stealthy late night playing or just sleeping while the computer is still on.
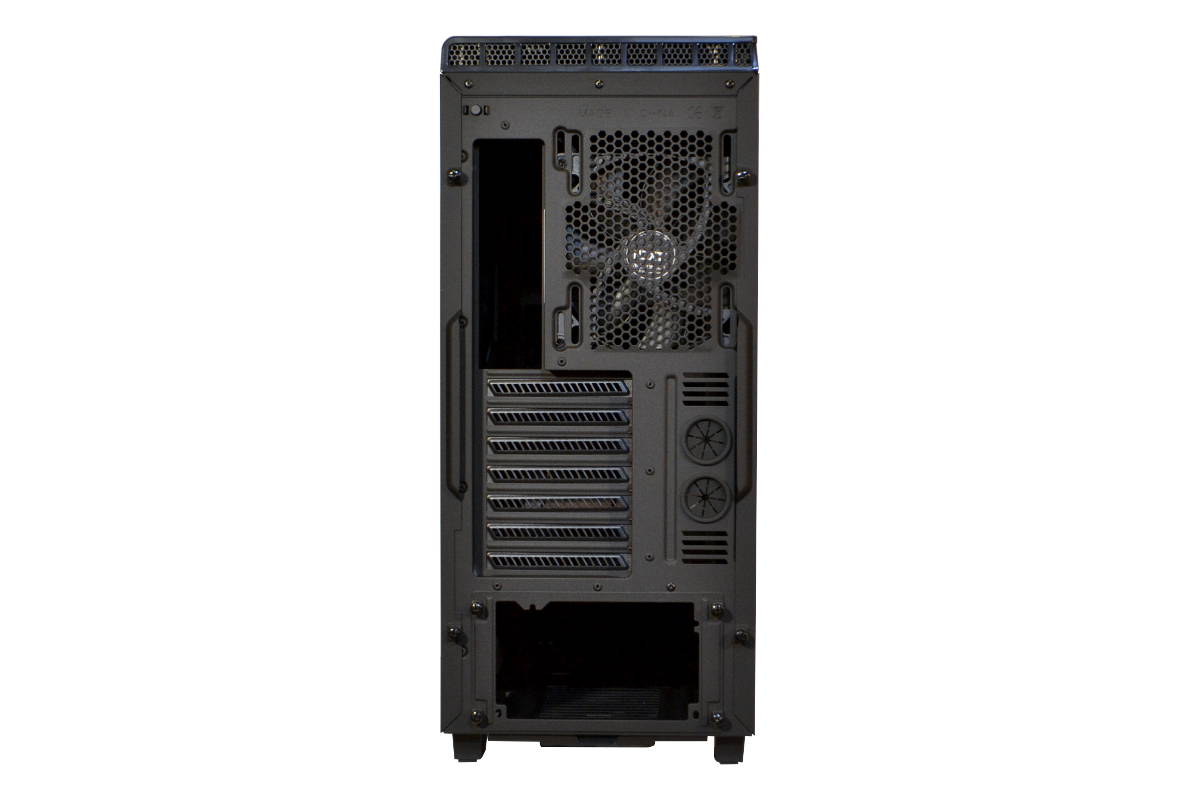
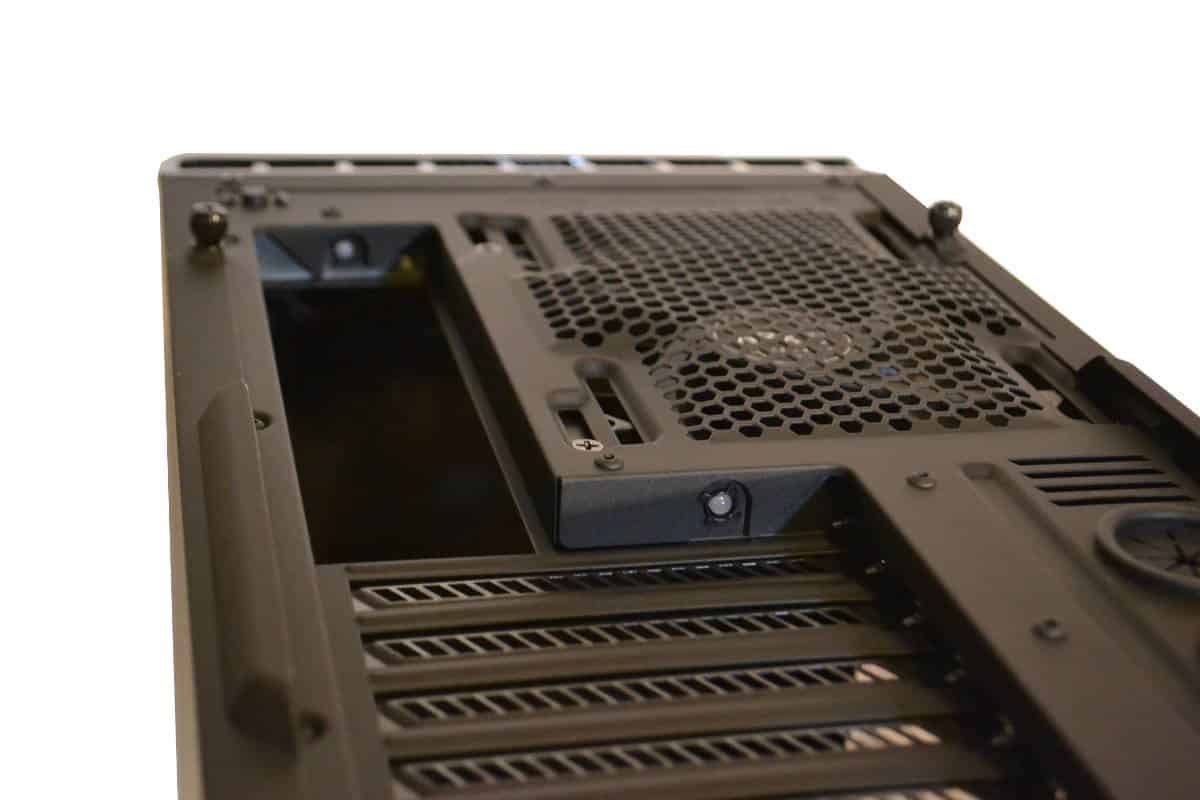
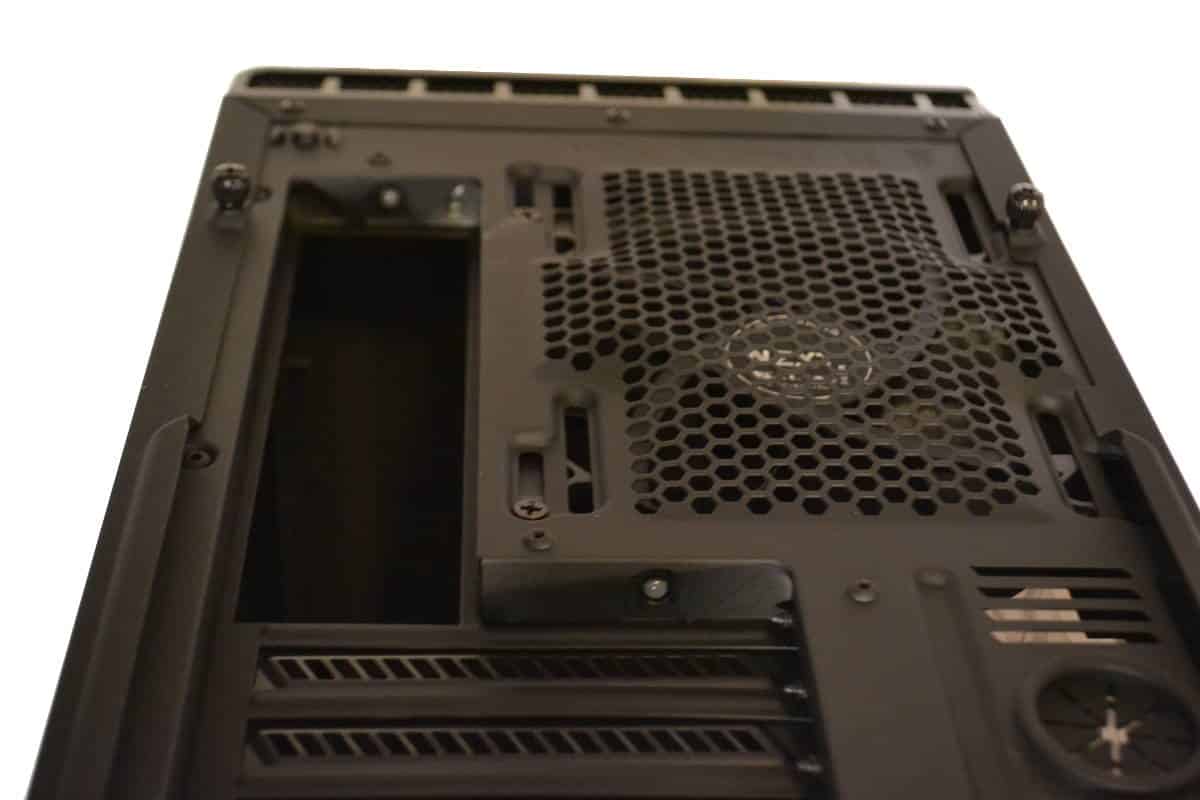
Notice in the top left hand part of the case in this picture is the press on/press off switch. Below that is the green illuminated I/O panel and next to the I/O slot is the movable fan. It is meant to be moved into a position that best lines up with the CPU cooler or to get out of the way of the Radiator and Fans from a water cooling unit at the top.
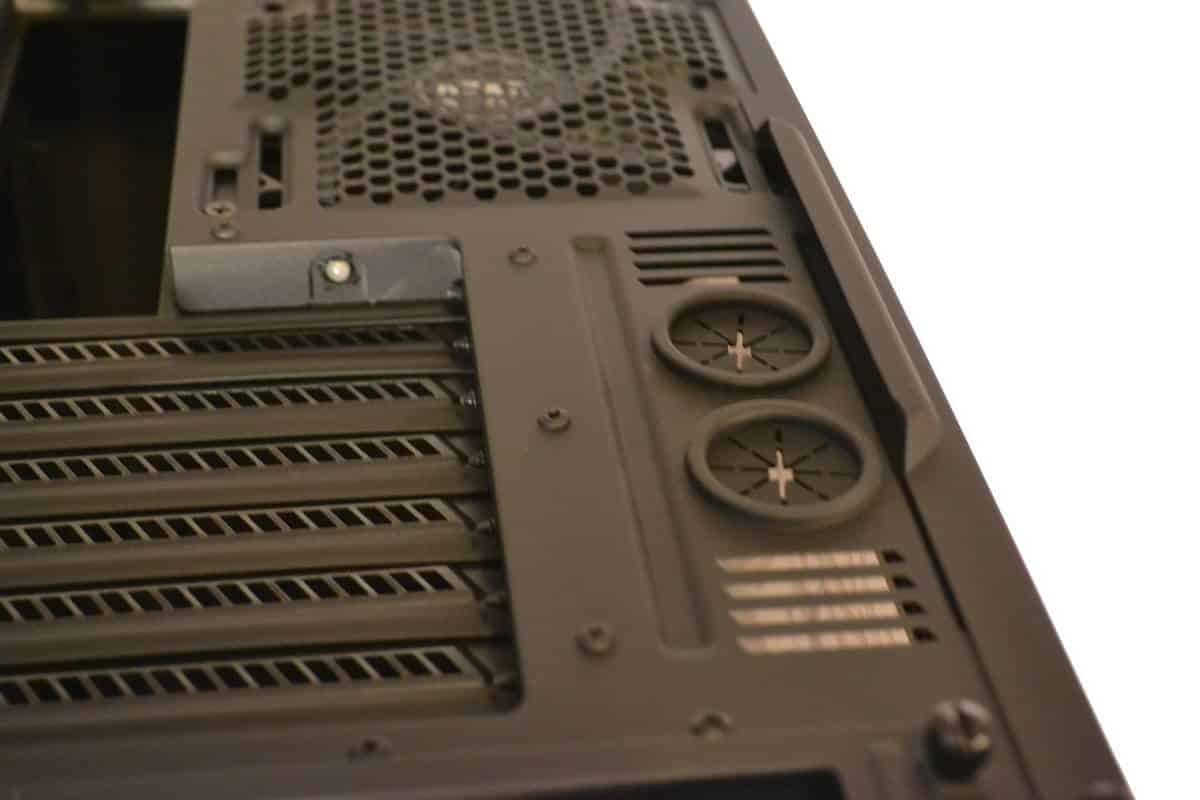
Below that are the seven PCI slots that are also green illuminated by a top mounted LED. Nestled close by next to it is two Tube inlet/outlet hole for exterior water cooling solution and finally at the bottom is a drop in plated Power Supply cover. How this works is you mount this plate onto your power supply and you can drop in the power supply or remove it without disturbing anything you have mounted close to it like a custom loop water cooling solution.