Installation
Installation of the NH-D15 SE-AM4 is actually quite easy and can be done inside of a case. Now because of the size of the cooler you might want to take your motherboard out of your case for an easier installation.
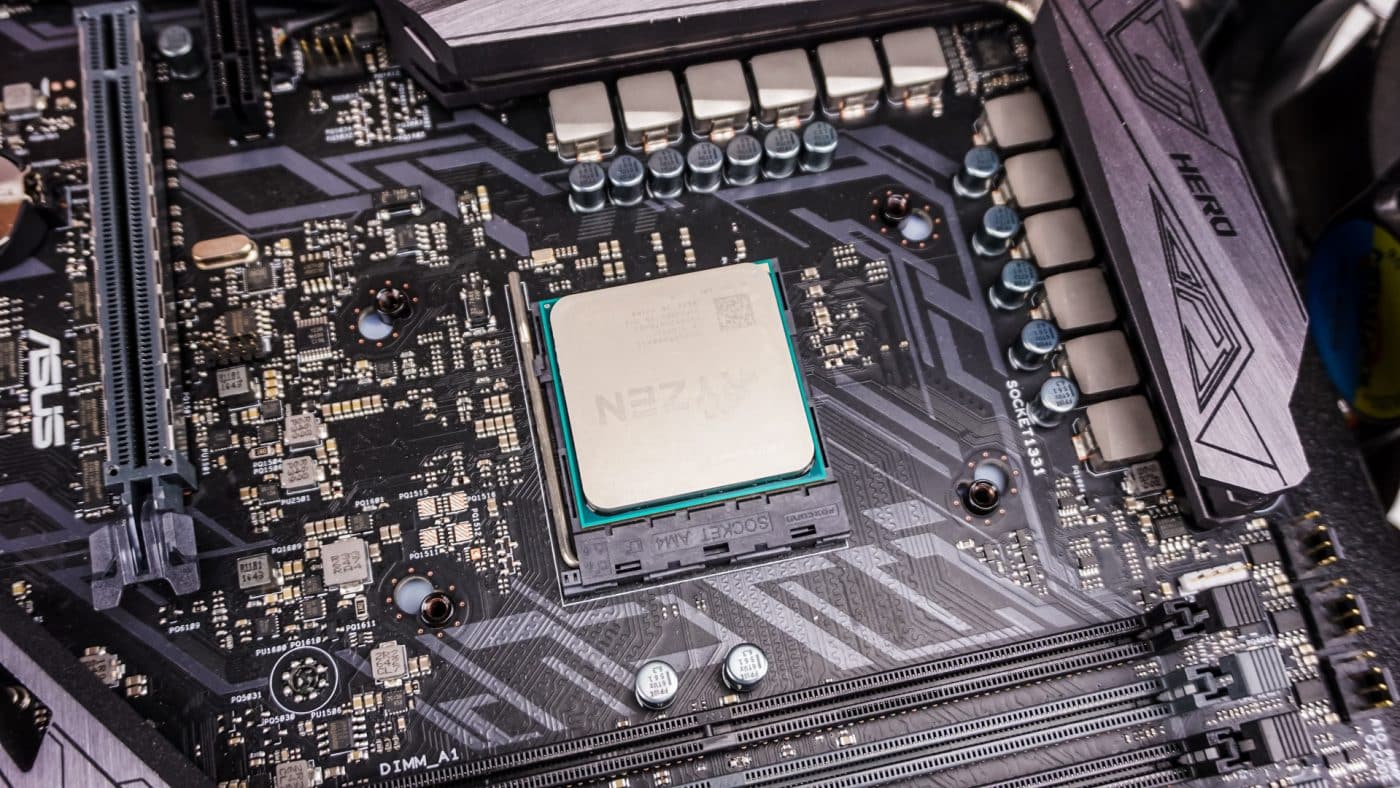
The first thing you need to do is remove the AM4 mounting bracket on your motherboard. This is done by removing the two screws on each bracket and simply taking them off. Once removed your motherboard should look a little like this.
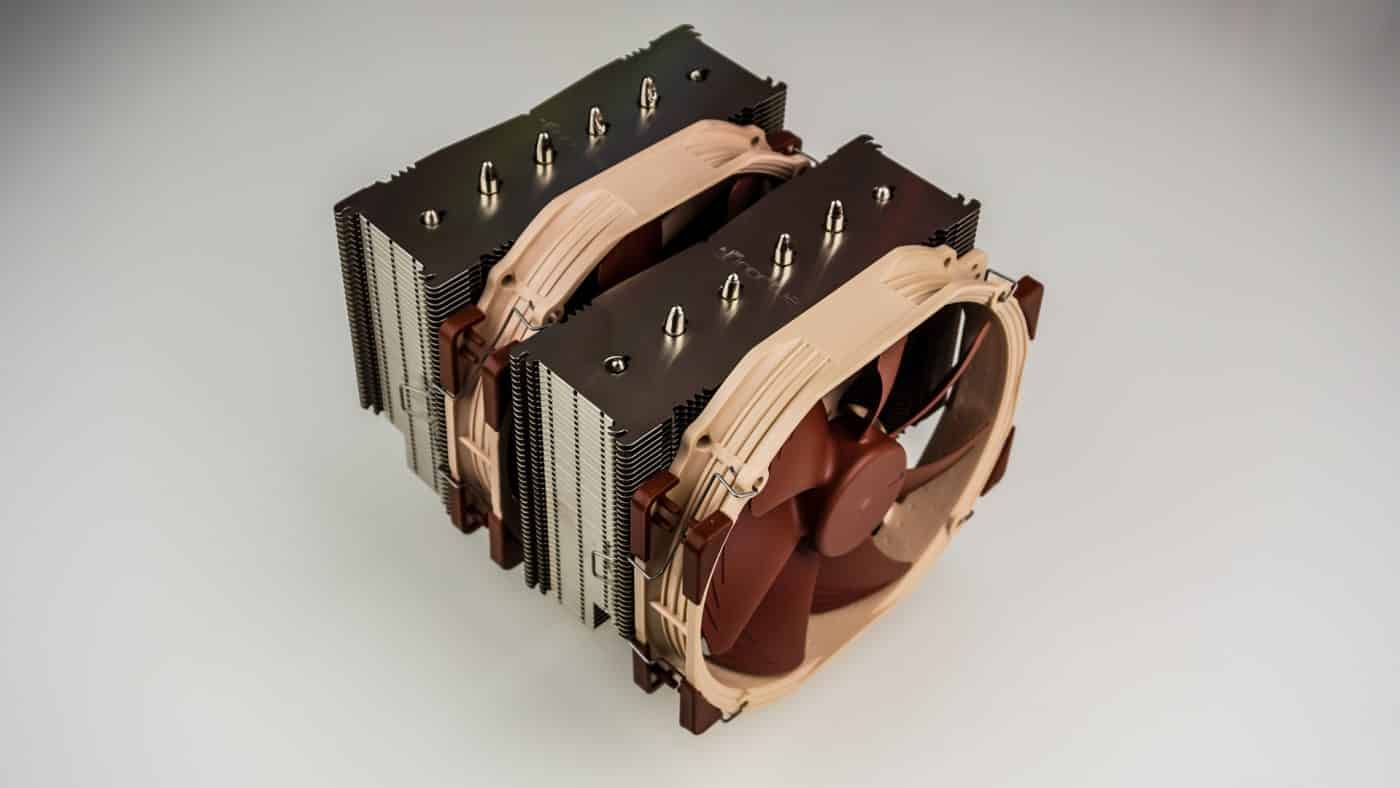
Now you need to install Noctua’s mounting bar. The orientation you see below sets the cooler so the fans are pushing out the back of your system. If you want them to say push out the top of your system you would place them horizontally not vertically.
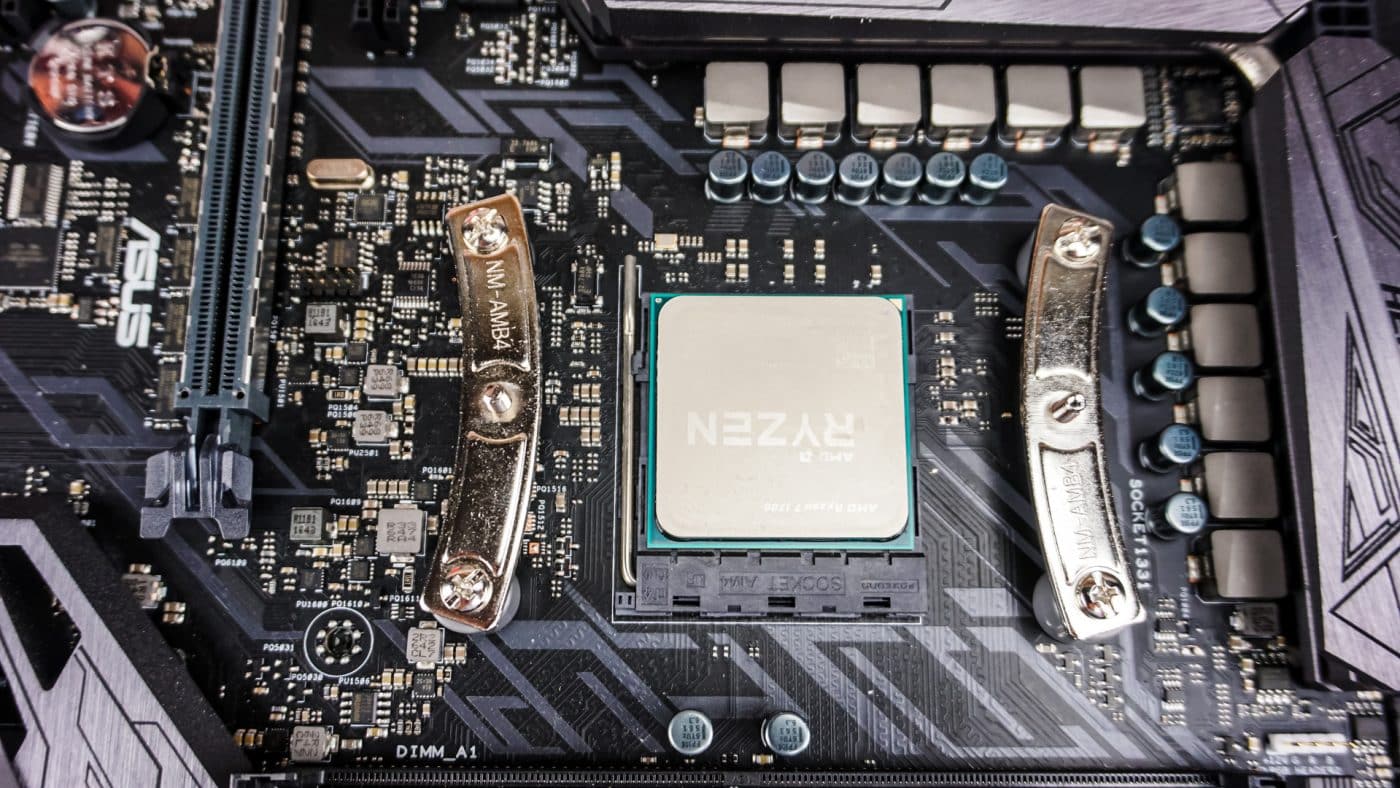
Remove the fan or fans from the heatsink. Then apply the included thermal paste and very carefully place the cooler on top of your CPU lining up the screws with your mounts on each side. With the included screwdriver secure the cooler on each side by fastening the screws.
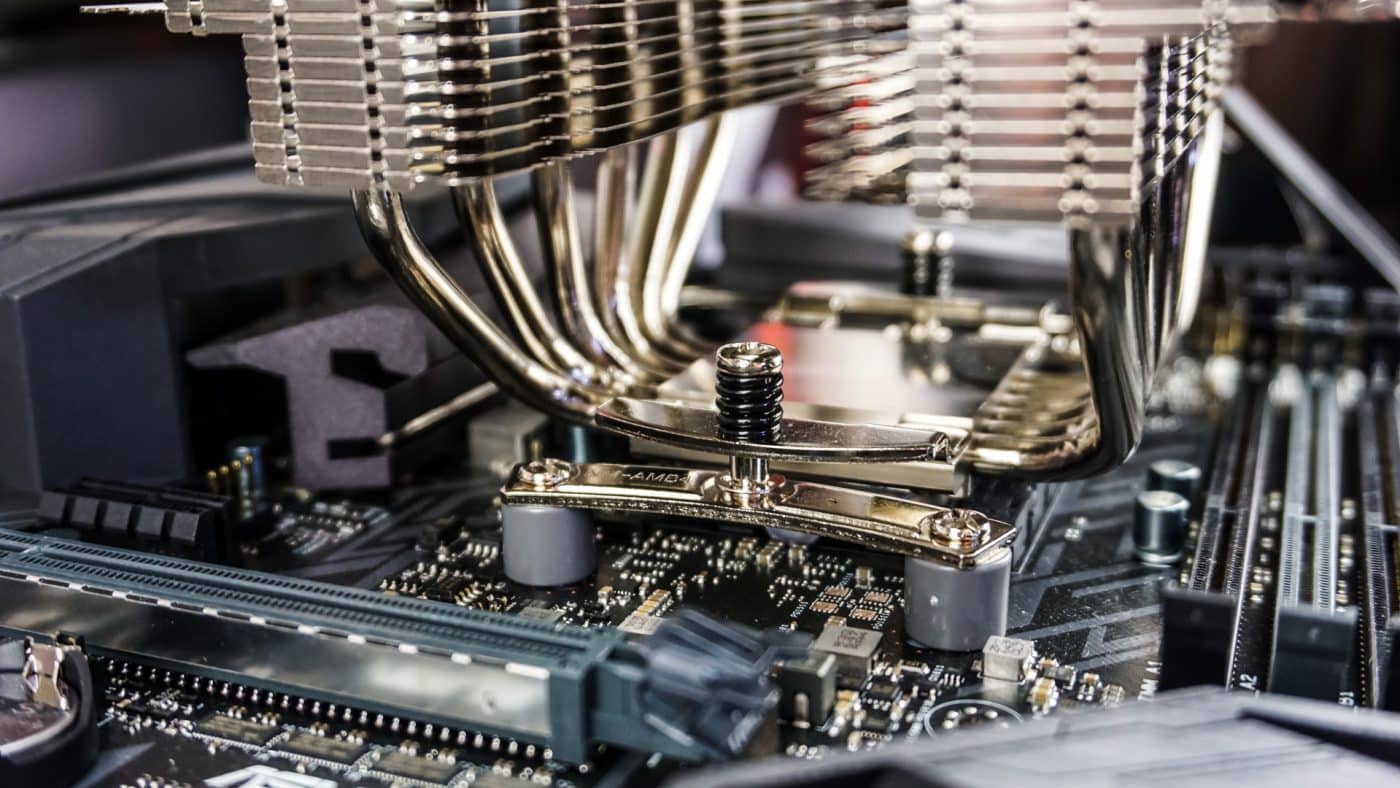
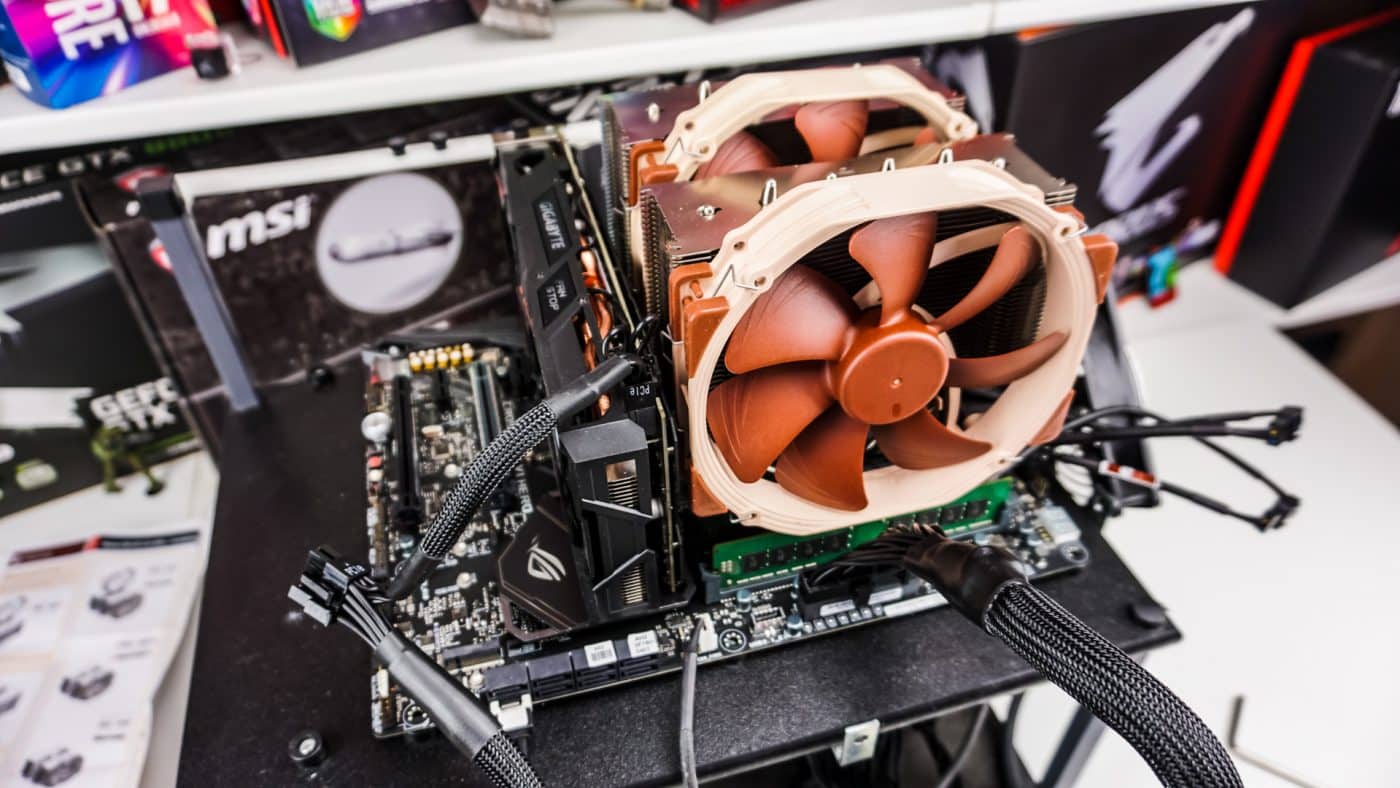
With the heatsink secured now you just need to reinstall your fans. The front fan does cover our memory so that is something you are going to want to keep in mind. For larger memory modules you can either move the fan up or remove it and mount it on the rear of the cooler.

With our graphics card installed you can see things are close, but everything does fit without issues. The last thing you are going to want to do is connect the Y-connector to your fans and then plug it into your motherboard.