

Installation
Installing any type of memory is pretty easy. Just find the open memory slots in your system and insert the memory and lock it into place. This is quad channel memory so make sure you have it in the right slots. Of course that all depends on the motherboard you are using. As I mentioned earlier this modules are not that tall at all so I had no problem getting them installed.
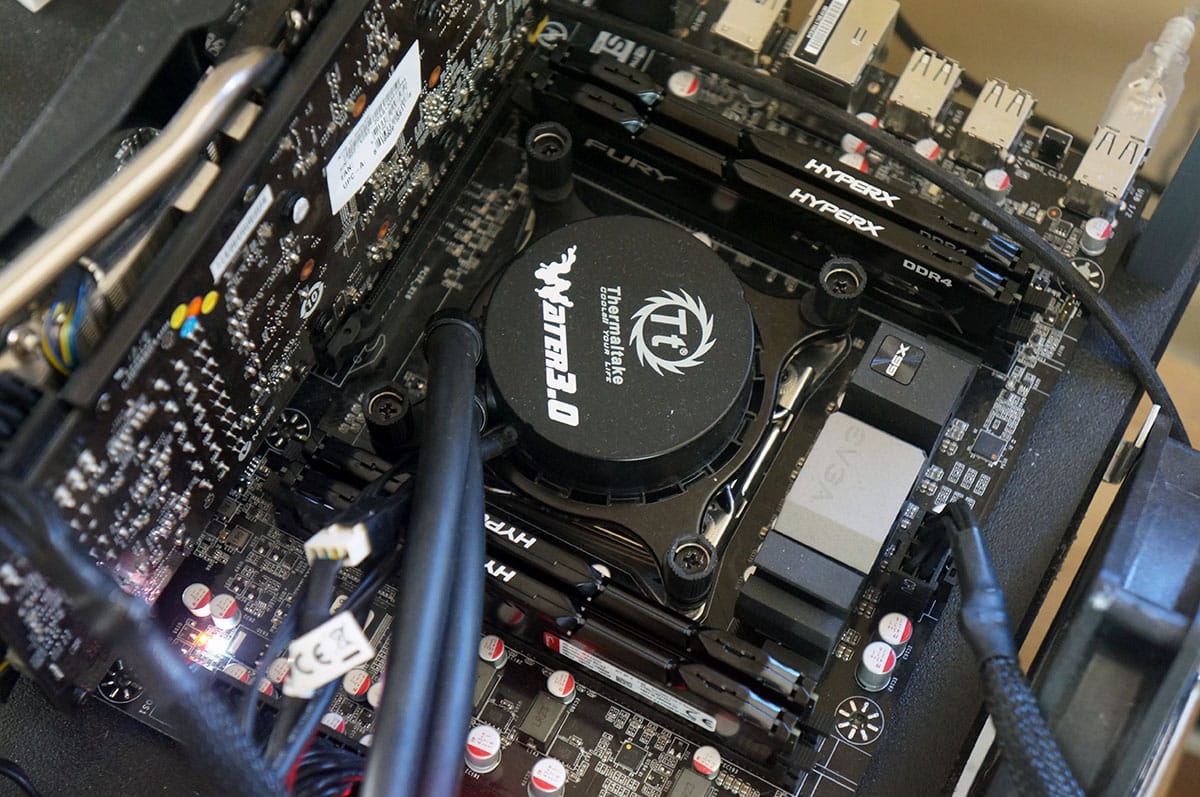
Once installed you can see that the modules match up pretty with our EVGA X99 Micro motherboard!
To get the memory set to the right timings all you need to do is go into the BIOS and enable the XMP profile and you are good to go. Opening up CPU-Z we can see all of the information on the memory.

The memory runs at 2400 MHz with timings of 15-15-15-35 at 1.2V.
Overclocking
Overclocking on the Intel X99 platform is pretty easy. The easiest way to overclock would be up simply change the frequency divider in the BIOS. To achieve the best overclock we try to stay with the timings that the JEDEC profile recommends, but we will loosen or tighten timings to get the best overclock possible.
This kit has a normal speed of 2400 MHz so the next step up would be in our BIOS would be 2667 MHz. The kit made the jump with no problem at all. After that the next step in our BIOS is 3200 MHz. The kit was not able to make it this high, but that does not mean overclocking is done.
In order to get a higher frequency on the memory above 2667 that is not as high as 3200 MHz we went ahead and set the CPU strap up to 1.25 and turn the CPU frequency down to 24 to make things uniform for testing. From here I was first able to bring the memory up to 2750 MHz at 1.4V, which was stable. After that I moved it up to 3000 MHz at 1.4V which was also stable. The memory did not seem to want to go higher than that. A 600 MHz is not bad at all! Especially with the exact same timings as the XMP profile at 2400 MHz!
