Installation
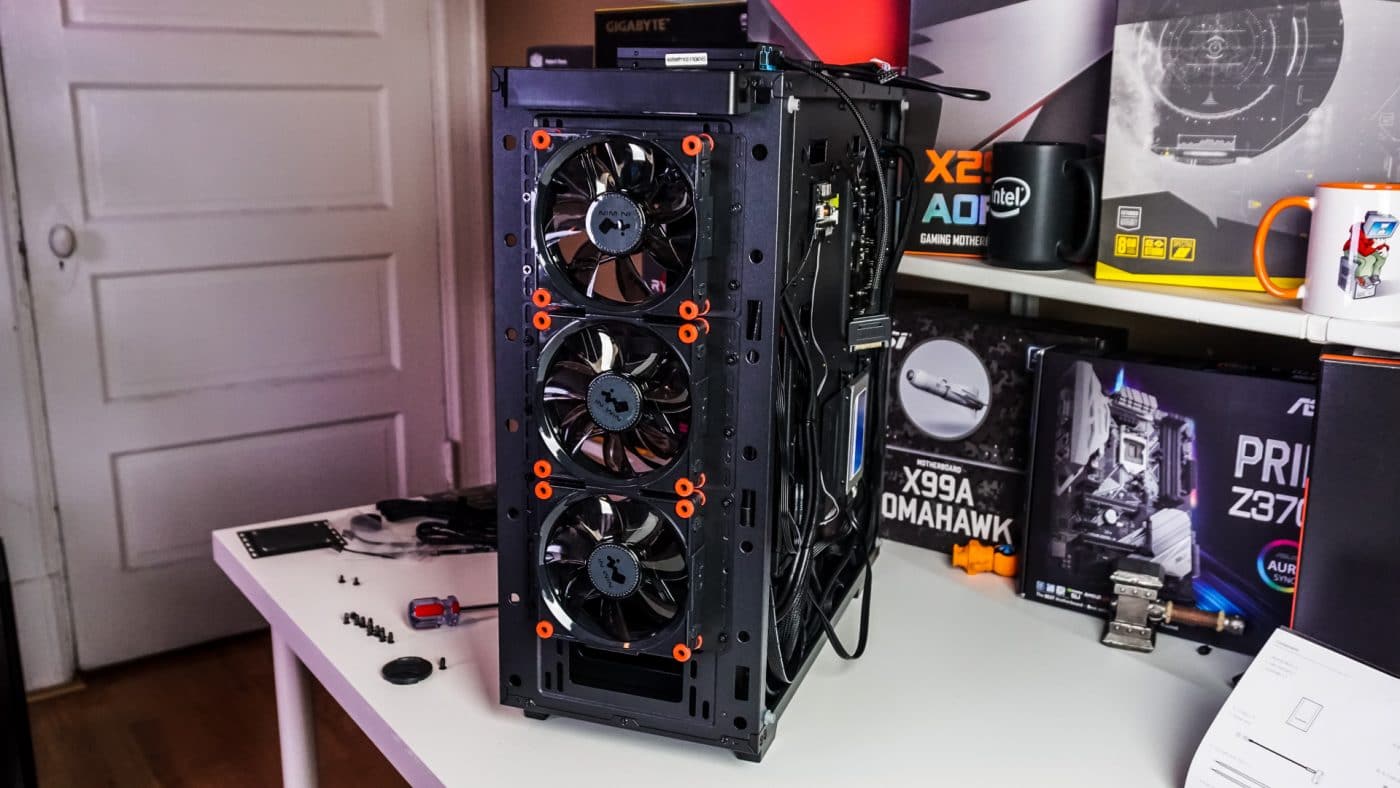
Getting these fans installed is quite easy. We will be installing them inside of the mean:it 5PM Tempered Glass Case as it has tempered glass on the front of the case where we plan to install these fans. Popping off the front of the case I took out the included fans and mounted the In Win fans. Be sure when you mount them that you follow the arrows on the top so you have the airflow set correctly.
With your fans mounted you need to connect everything up. In Win makes this pretty easy as the fans can be daisy-chained and the ports are labeled. So first you are going to want to locate the longer cable that will come out of the controller. Connect this to the “In” port on either the top or bottom fan. My loop starts at the top so I started there. Now find the very short cables and go from the out port on one fan to the in port on another fan. Continue this till you have all of your fans connected. If your fans are spaced our further than what the smaller cable reaches don’t worry In Win provides longer cables. You’ll likely want to use one of these cables to connect the included RGB LED strips as well as they also go into the loop.
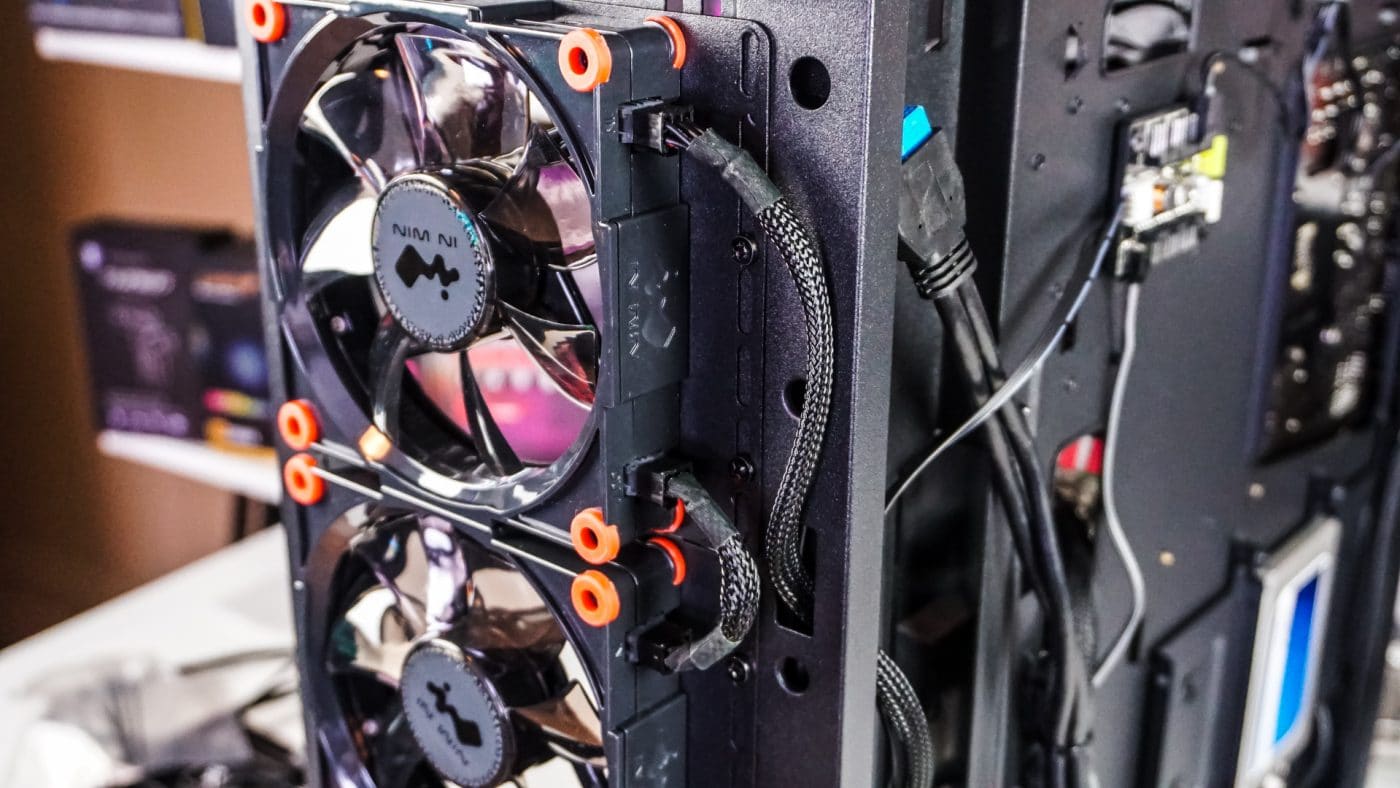
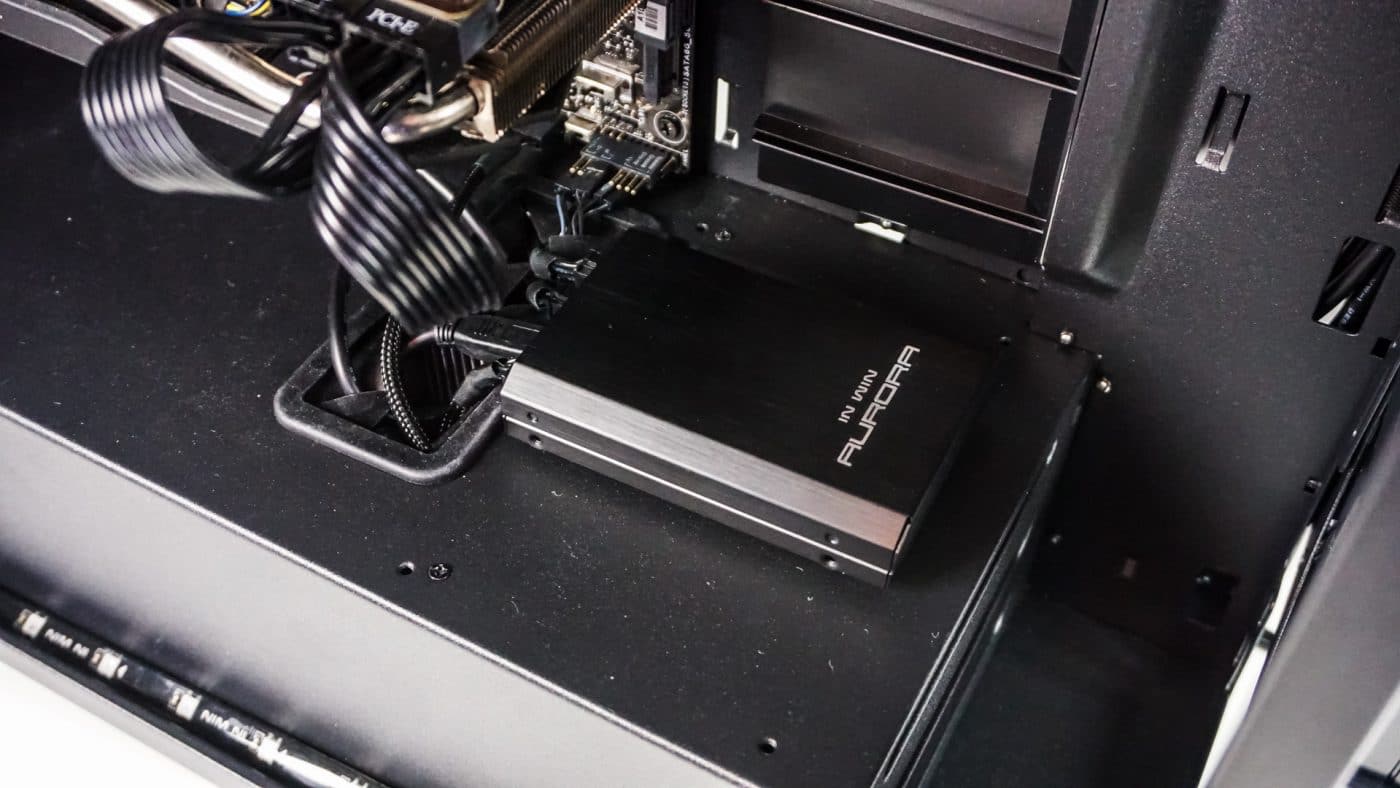
With the fans and RGB strips mounted you are going to want to connect everything to the controller box and mount it as well. Be sure to have all of your cables run and connected before you mount your control box. Also make sure you connect the USB connector to a USB header on your motherboard.
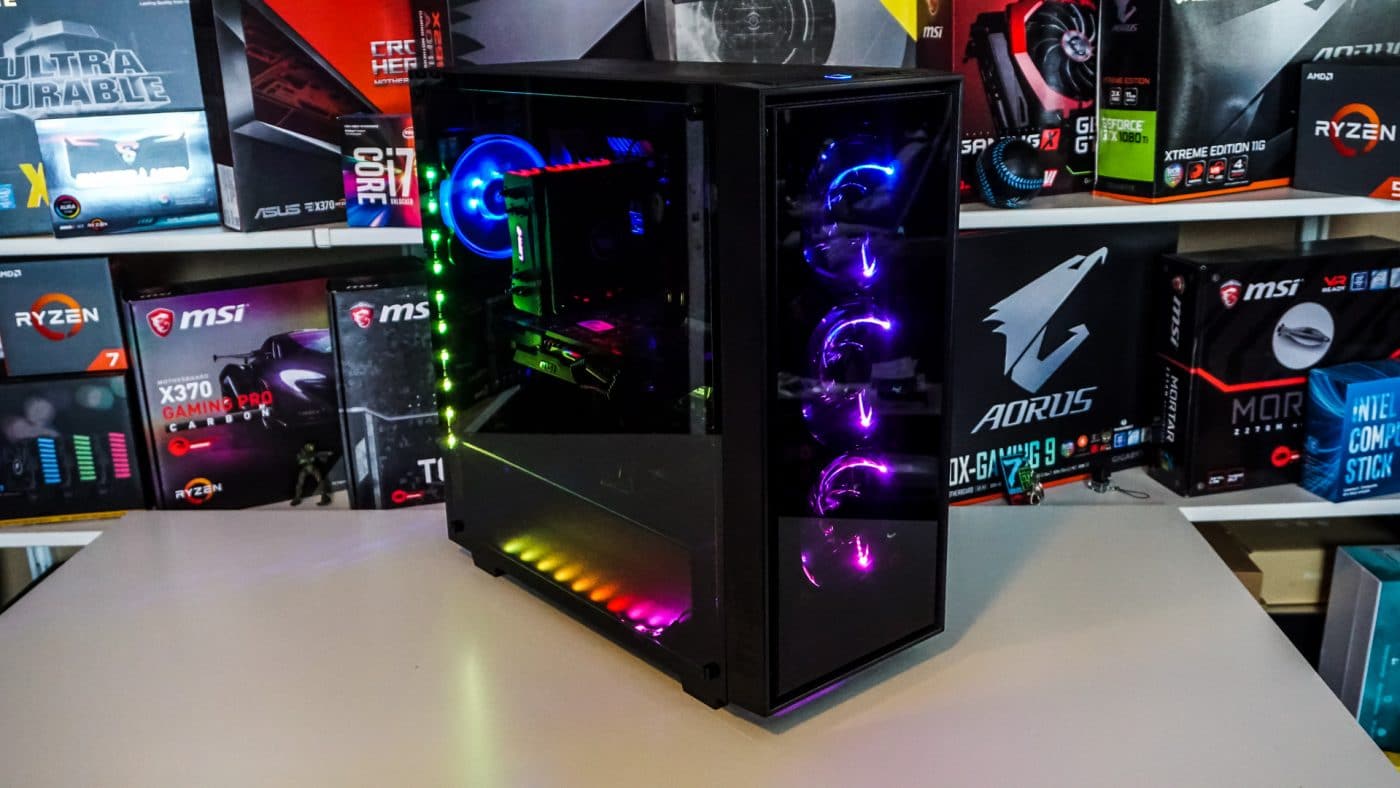
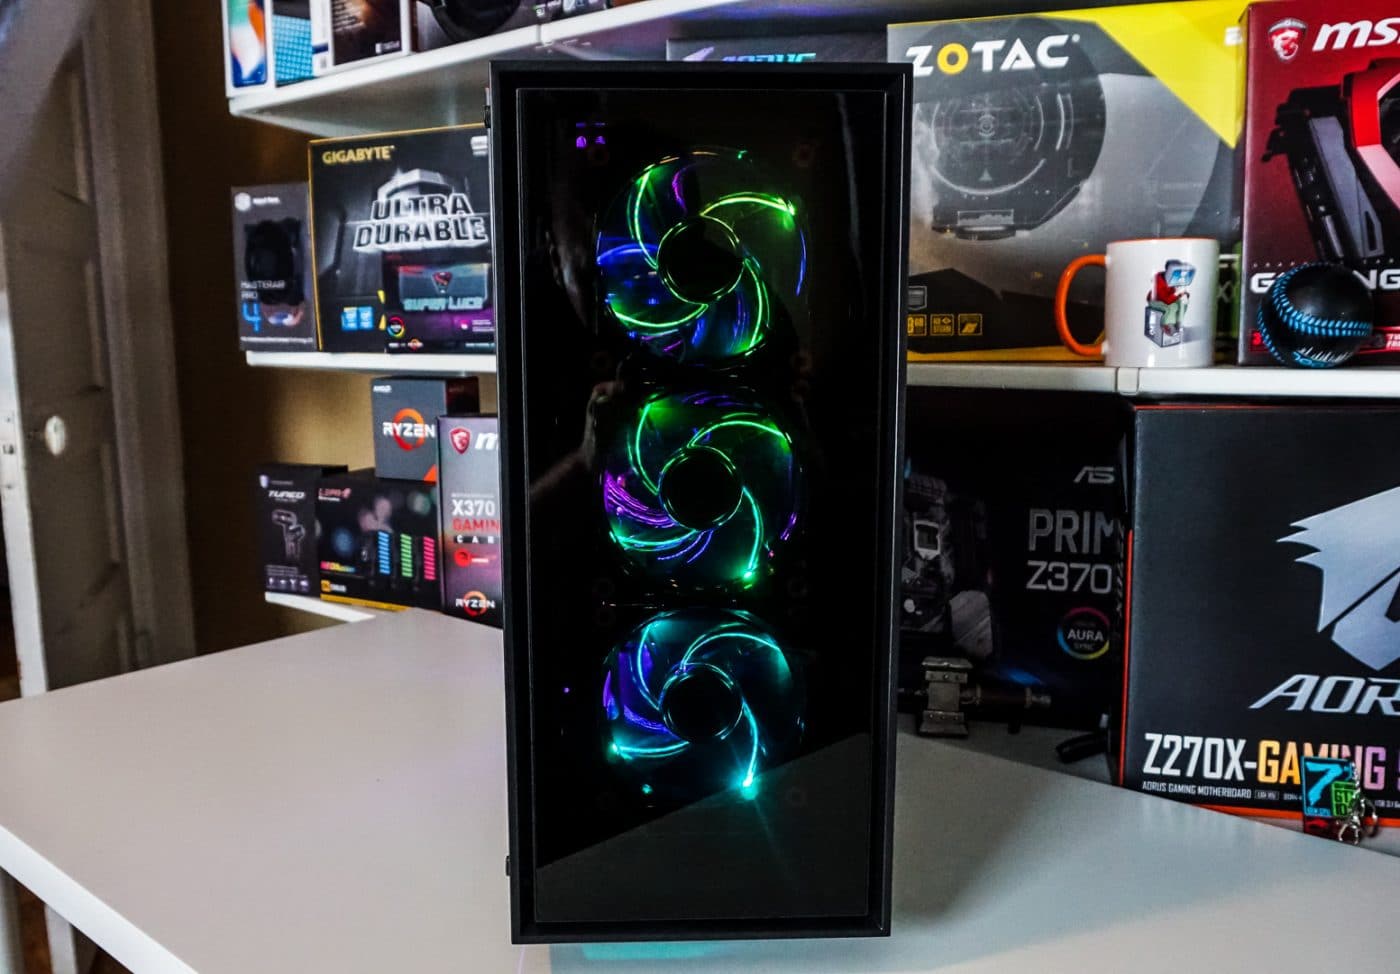
Now just power on your system and you’ll notice the fans and RGB strips light right up! Here is what our setup looks like…