Installation & Use
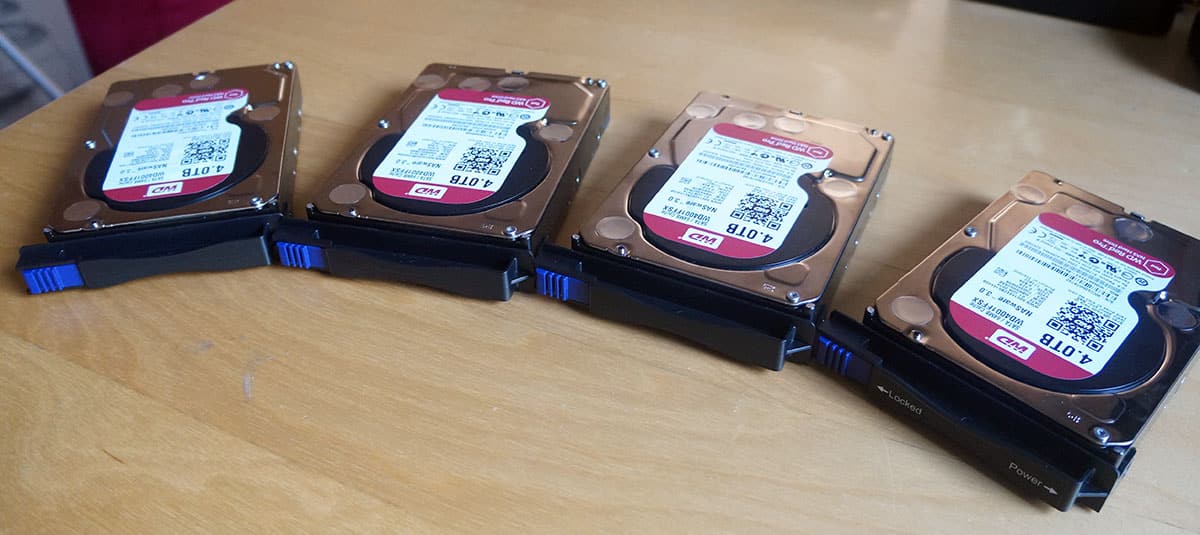
Getting the Black Vortex setup is pretty easy. First we will need to install our drives. To do this install the little plastic pieces on each of your drives. This is done by screwing them in on each side of your drives. The easily slide them right into the Black Vortex.
Now make sure that you have three open 5.25-inch drive bays and go ahead and install the Black Vortex into your case. When it is in place lock it with either the included mounting screws or the tool-less system in your case. Then go ahead and connect everything, again you only need two SATA power connectors for the entire device.

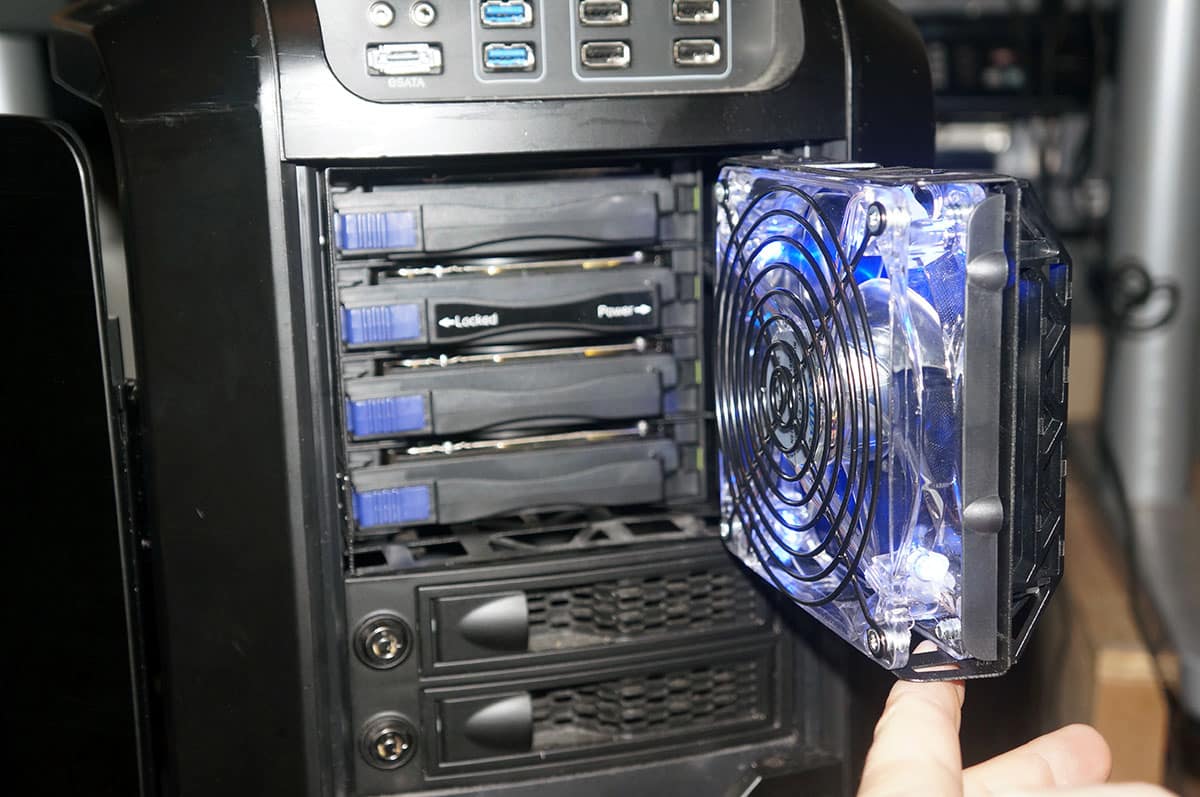
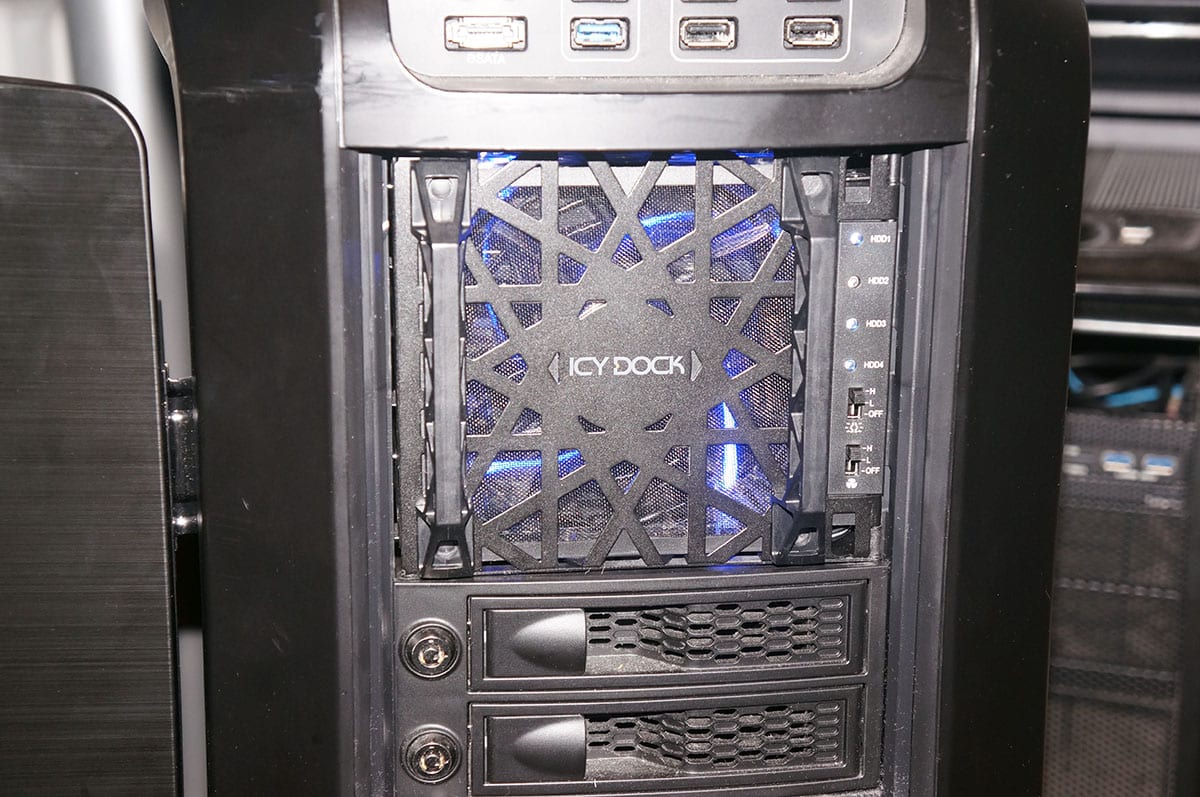
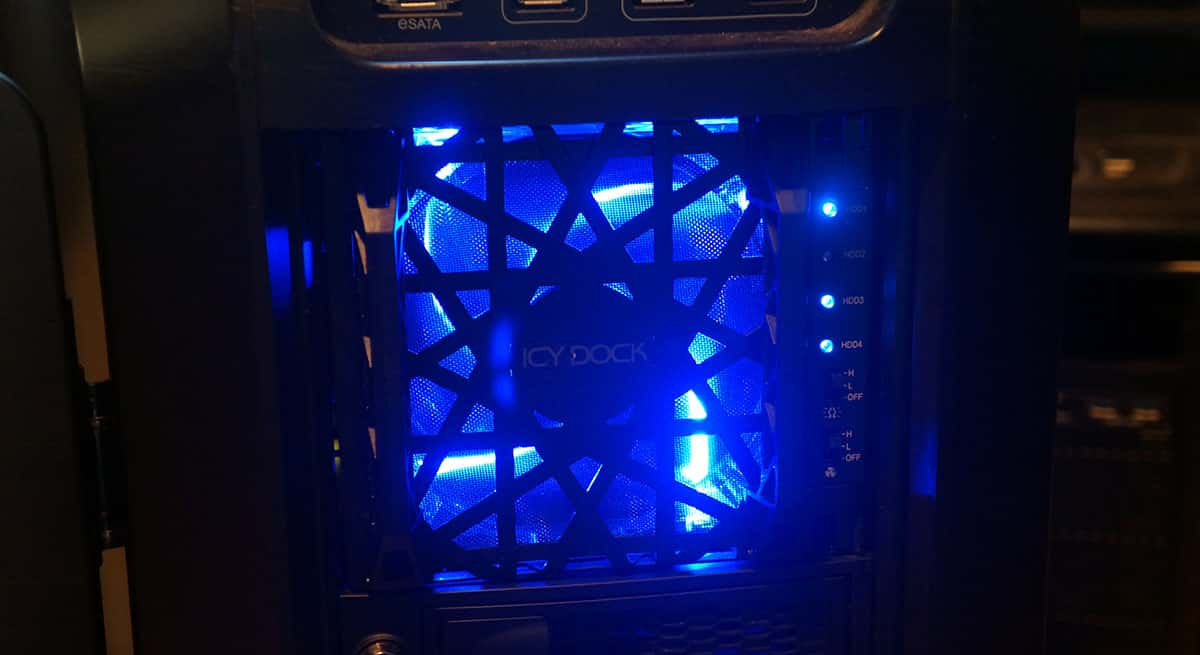
Once you have the Black Vortex installed and everything is connected you can go ahead and power your system on. From there you will be able to access your drives like your would normally. As I mentioned earlier in the review the fan on the front of the unit lights up bright blue to add some style to your case. This fan has high and low settings for both speed and the LEDs on the fan. Also you have activity LEDs for each of the hard drive bays.
The front of the unit can swings open to the right like a door. This will real the drives and allow you to easily hot-swap them if you like. I did run into an issue with my case, the Cooler Master Cosmos II, which did not allow me to completely open the door. It could only swing open as far as you see in the photo below. I guess for the door to fully open you will need drive bays that are exactly flush with the front of your case.