A Look Inside
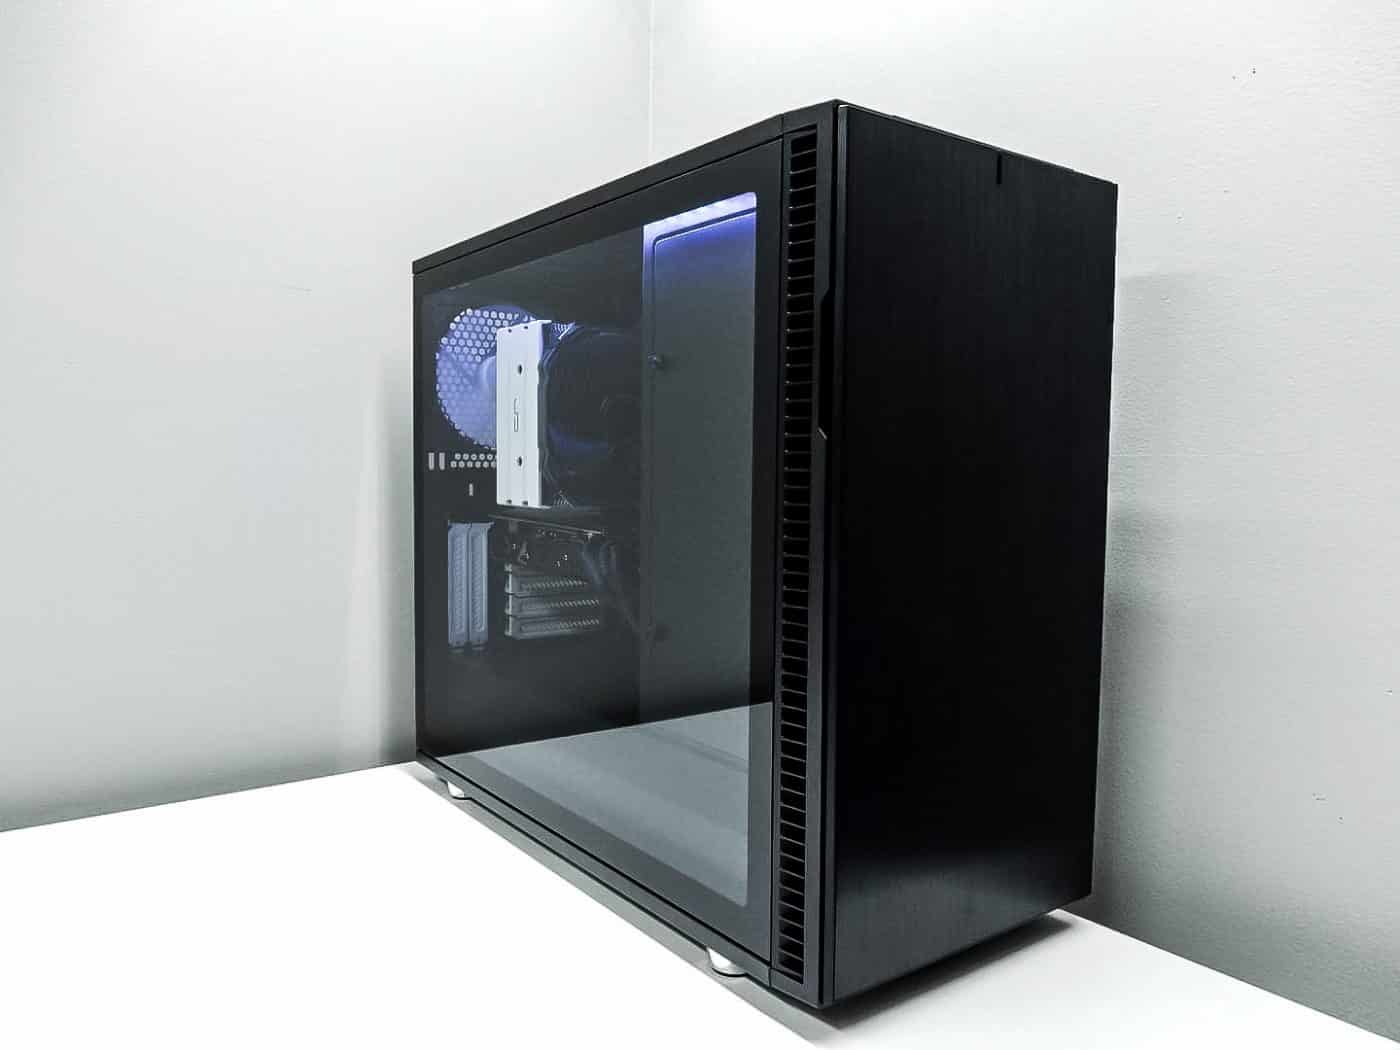
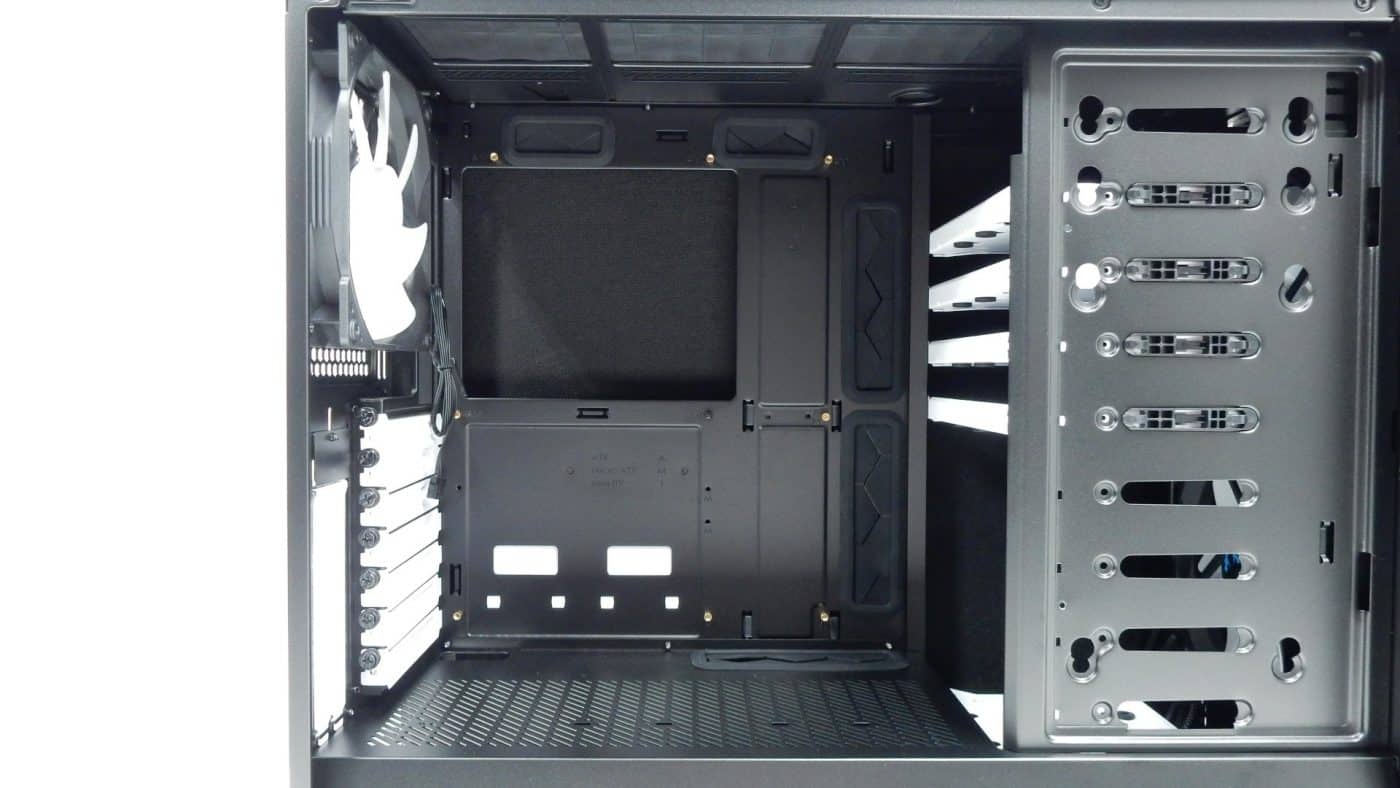
With the right side of the case being comprised of a transparent pane of glass, we already have a pretty good idea of what we will be dealing with inside of the Define R6, but there are a few tricks up this case’s sleeve that make it stand out from other standard case interiors. At first glance we see a pretty standard case interior: multiple cutouts on the motherboard panel for CPU coolers, cable management, etc. We also see a full-length power supply shroud to keep things nice and tidy, while also allowing for a bit of airflow control.
Where things differentiate from the norm is towards the front of the case. It is here that we see a large, flat plane where we used to see drive mounting options for 3.5″ and 5.25″ drives in cases of the past. Instead, Fractal has provided a modular system that can be configured to continue to fit the needs of those with multiple drives or for those that want a more open look to their case that allows for some additional water cooling hardware and better air flow.
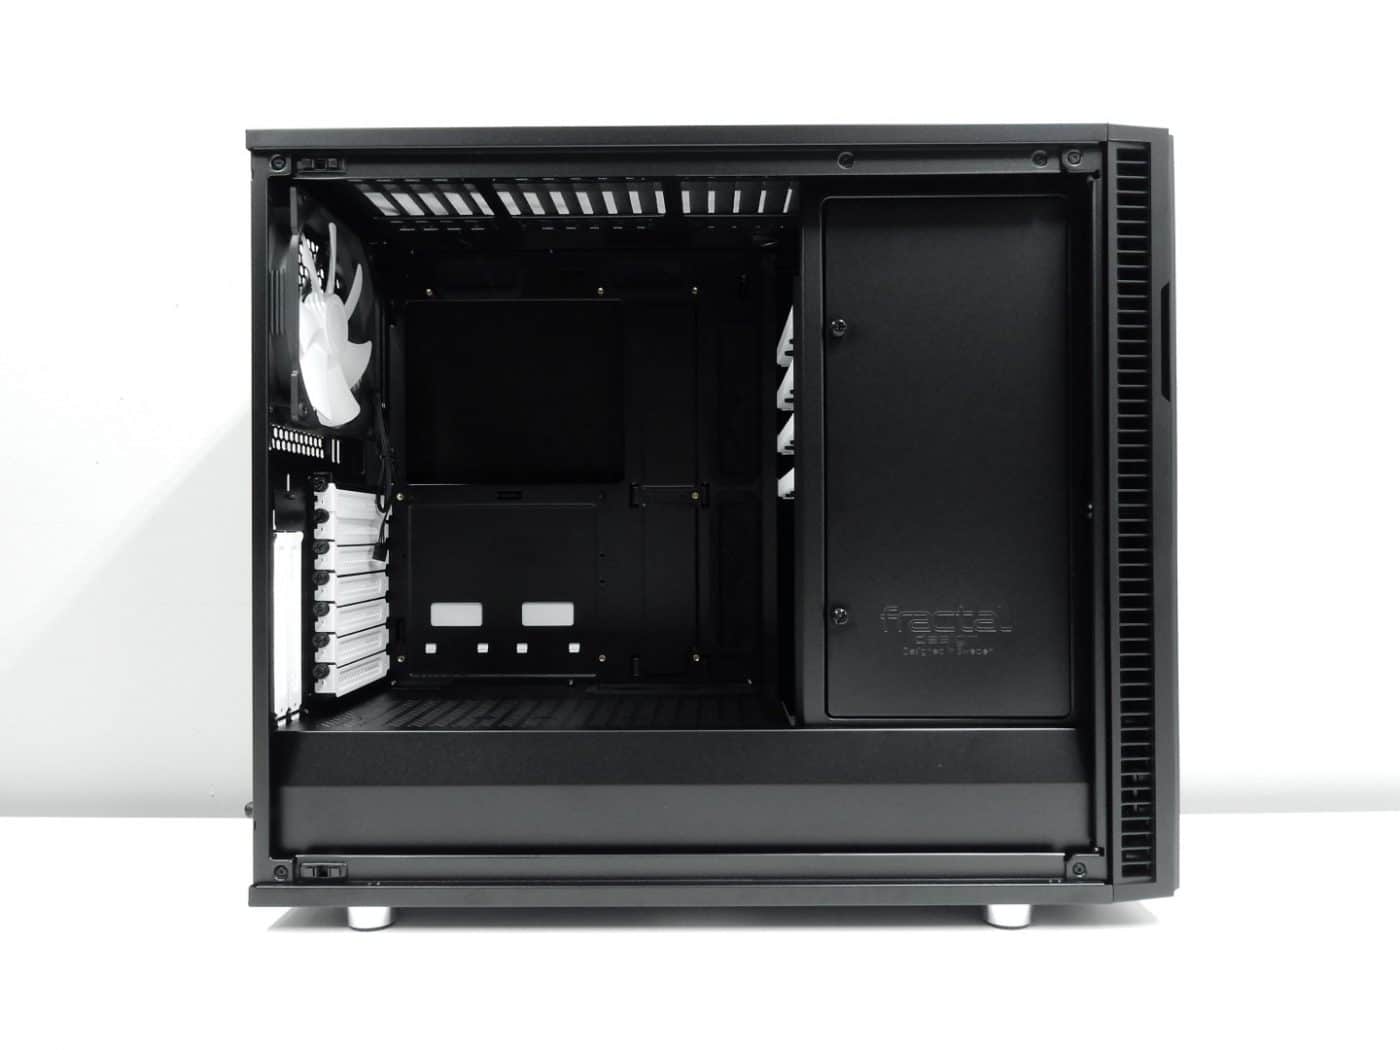
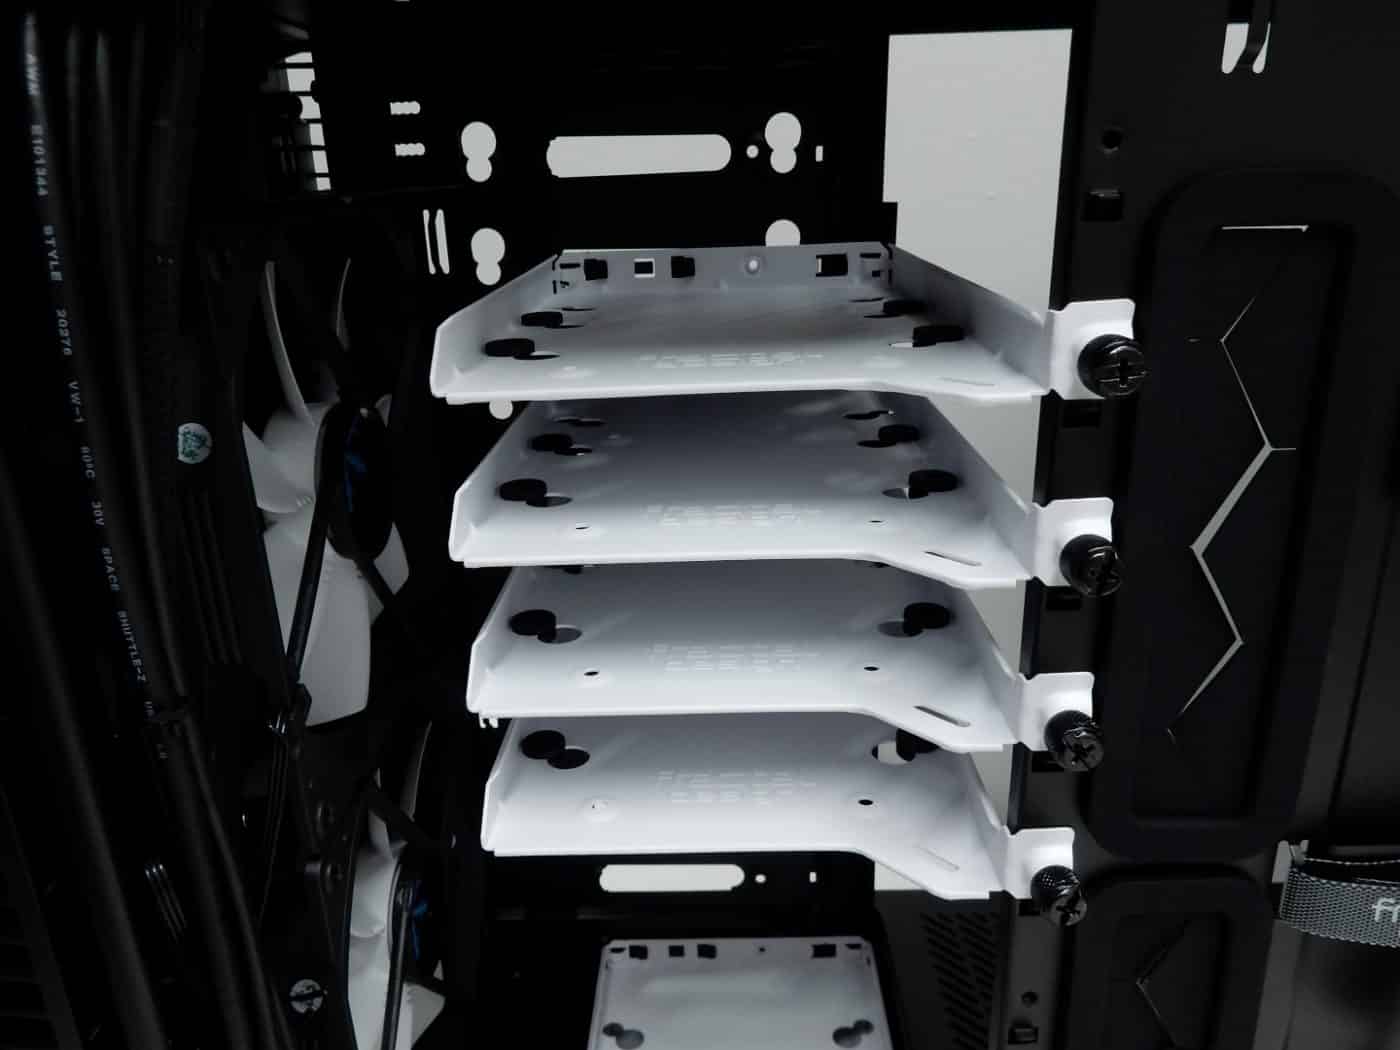
This front interior panel can be modified a bit by removing two captive thumbscrews. This allows a portion of the panel, complete with a stamped Fractal Design nameplate, to be removed from the interior drive cage, providing access to the mounting brackets found behind. Six modular drive trays are included for use with this front section, allowing for plenty of mounting options for both 2.5″ and 3.5″ interior drives.
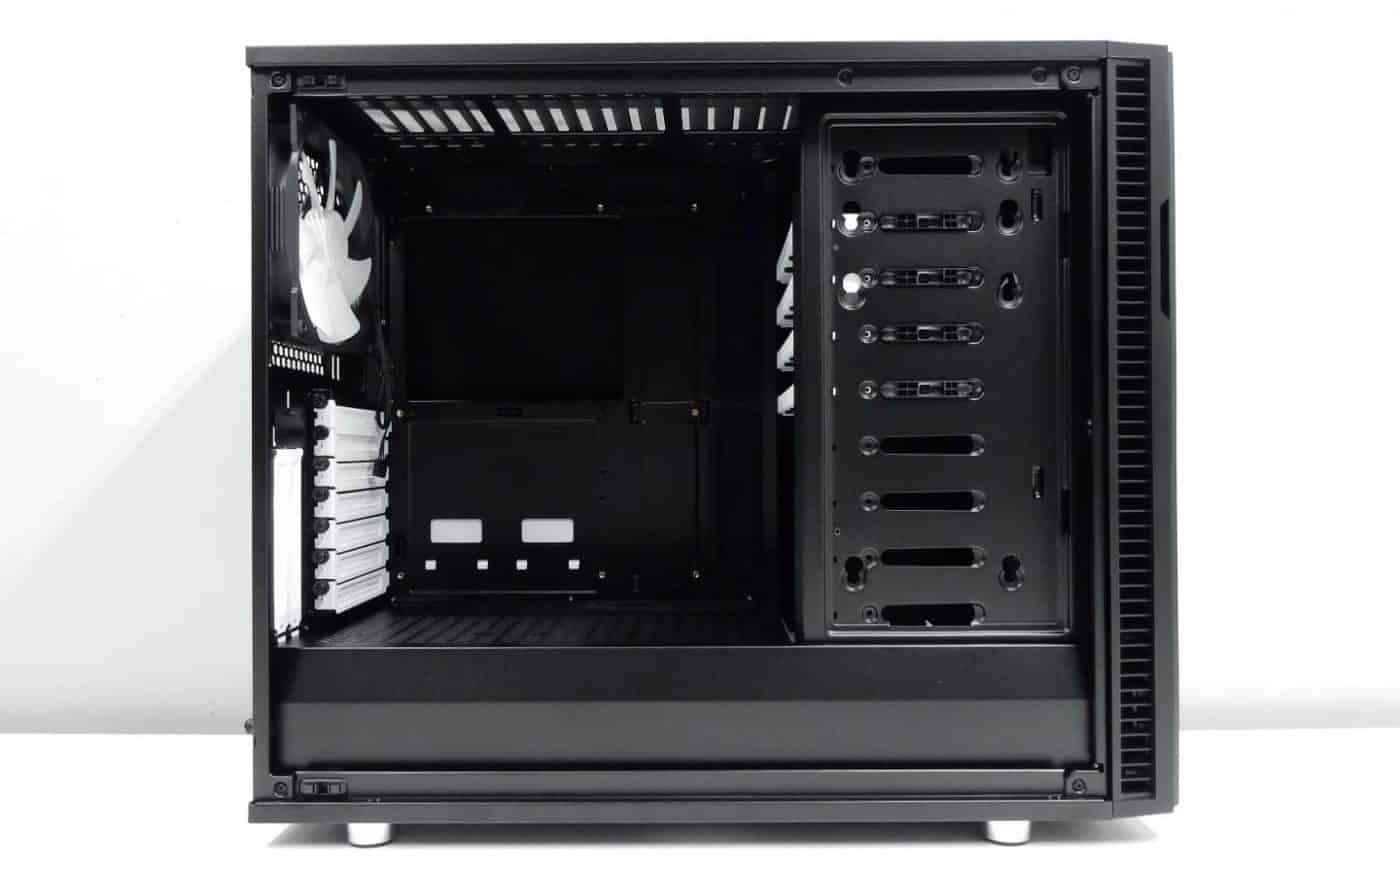
If an open case interior is more to your liking, then moving this interior panel back a bit gives way for things like water cooling reservoirs and radiators to occupy this space. Only a few screws need to be removed to make this configuration change, and doing so really frees up the front of the case.
As we mentioned, the motherboard panel offers a large cutout that will allow for most CPU coolers to be installed or swapped out without the need to remove the cooler from the motherboard. This makes performing maintenance or upgrades that much quicker. Multiple cable management cutouts are found surrounding the motherboard area, most with a nice rubber grommet panel in place to keep things as nice looking as possible.
The power supply shroud spans the length of the case, with the top panel being perforated to allow for a bit of passive airflow to take place. There are also two optional mount points for 2.5″ drives if you want to show those off, or some other 2.5″ device like the illuminated NZXT Hue+ control module.
The top portion of the Define R6’s interior is comprised of a few large openings that allow for great airflow for any optionally mounted 120mm or 140mm fans. This upper panel also features a round opening that can be used to mount a dedicated water cooling fill port. Additionally, this entire upper panel can be removed to make installing a radiator, or even just fans, that much easier. Anyone who has built a water cooled system knows how difficult it can be in some cases to keep your radiator in place while also getting it screwed in. We really like this feature and hope to build an advanced water cooling system in this case, to take advantage of this exact type of thing.
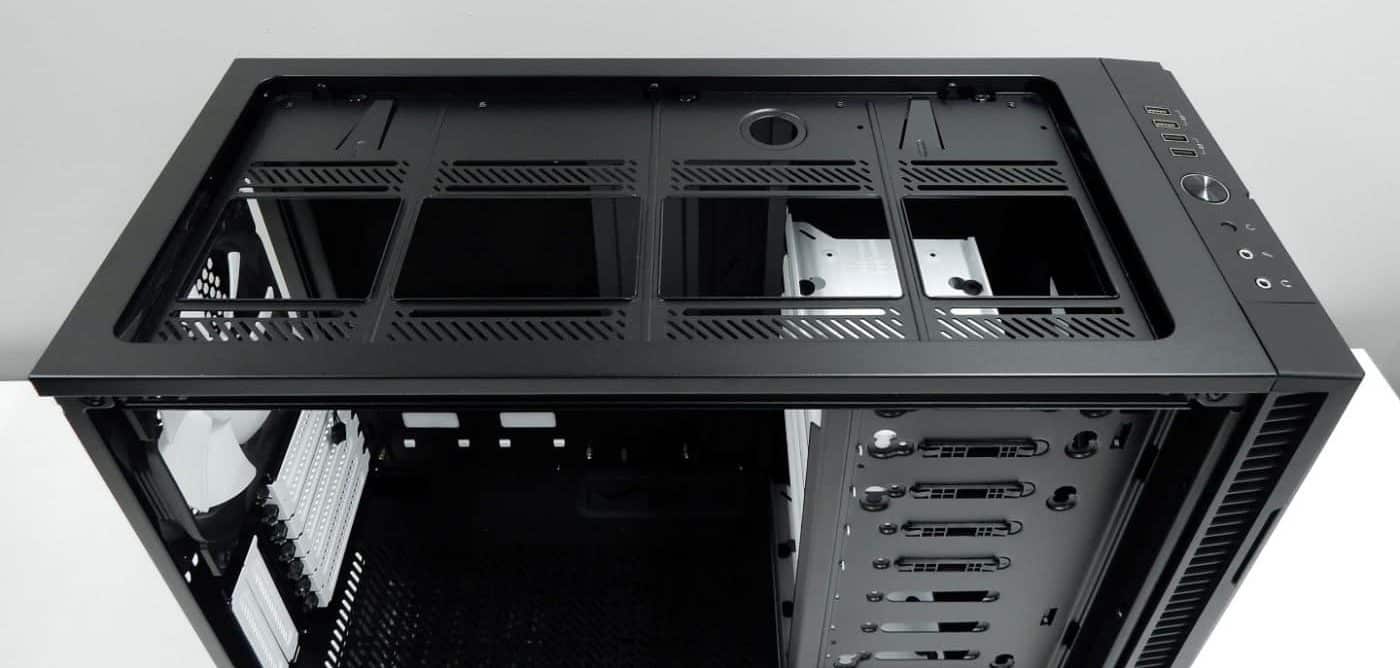
Keeping on the subject of cooling, the Define R6 supports a myriad of both fan and radiator sizes that is sure to please just about any cooling enthusiast. If just looking to add some airflow to the case, the R6 has room for up to nine 120mm fans or eight 140mm fans, depending on your use of the standard or open layout interior design. If water cooling is more your thing, the R6 has you covered as well, with room on each panel for radiators ranging in size from 120mm, all the way up to 420mm.
While the interior cabling from the front I/O ports is pretty standard these days, Fractal went ahead and sleeved the wiring for the Power and Reset buttons, as well as the Power and HDD LED lights. A small gesture, but one that is appreciated and adds a bit more of a refined look to the cabling.

Taking a look at the other side of the interior shows us the kind of details we really like to see in a case. Of note is the presence of the sound dampening material across nearly the entire interior surface of this side panel, helping to cut down on any noise that is trying to escape the R6. Again we see the large cutout for CPU cooler mounting brackets, as well as the previously mentioned cable management cutouts. In addition, the Define R6 features two pre-installed velcro straps for additional cable management duties, in addition to multiple tie-down loops for zip-ties.

Seen above, two vertically-mounted 2.5″ drive trays are located just above the power supply shroud area, and can be removed with a single thumbscrew. These drive trays can also be mounted on the top of the power supply shroud for a more public look at your storage devices. Six included 3.5″ drive trays come pre-installed and can be easily moved from one location to the next. A single thumbscrew keeps the trays in place, while a small plastic bracket slides into place on the drive cage. This adds up to a very easy to use drive mounting system.
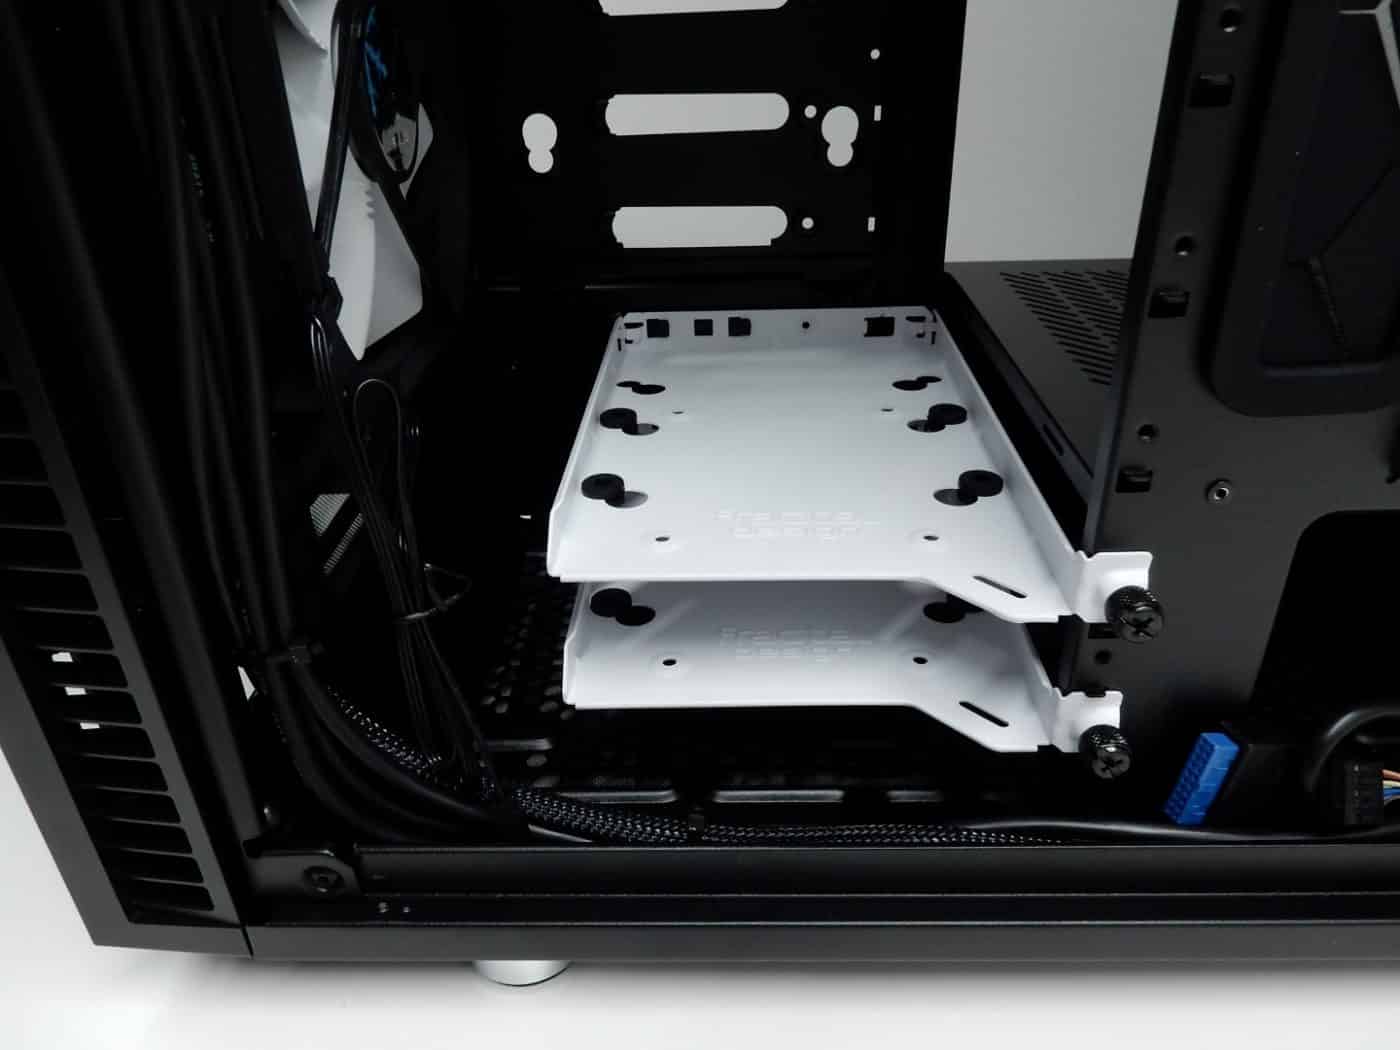
Access to the power supply area from the side is a bit more compact than we like to see, but with the lower drive trays removed, access from the front of the case becomes much easier. This is where we truly realized why Fractal Design chose to utilize the power supply mounting system that they did.
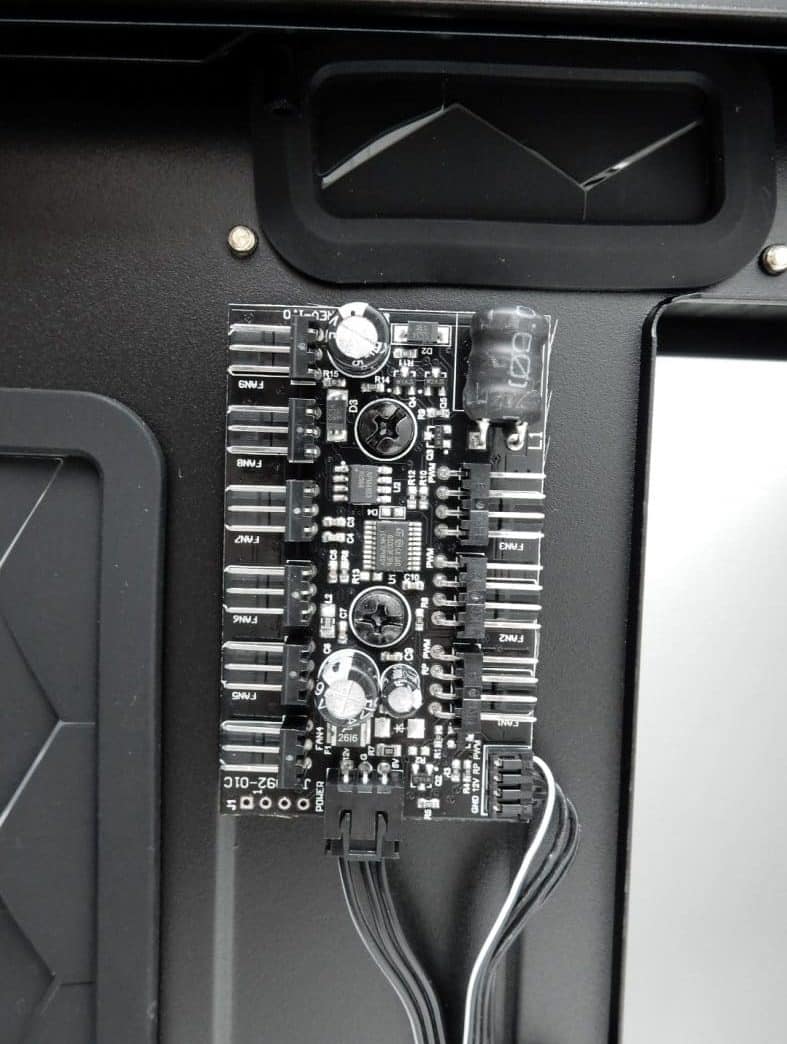
The final feature we want to mention on the interior of the Define R6 is the inclusion of the Nexus +, a PWM fan hub with room for three PWM fans, and six 3-pin case fans. The Nexus+ receives its power via a single SATA power connector, a sight to behold for those of us tired of having to plug a strand of 4-pin Molex connectors into our power supply just for one device. Thank you Fractal Design for working to get rid of that old connector! Attached to the Nexus+ is a 4-pin PWM connector that can be attached to your motherboard for precise control of any fans connected to the hub. We really like this control implementation, and find it to be much more versatile than the standard Off/Low/High switch found on other fan hub solutions.