

Installation
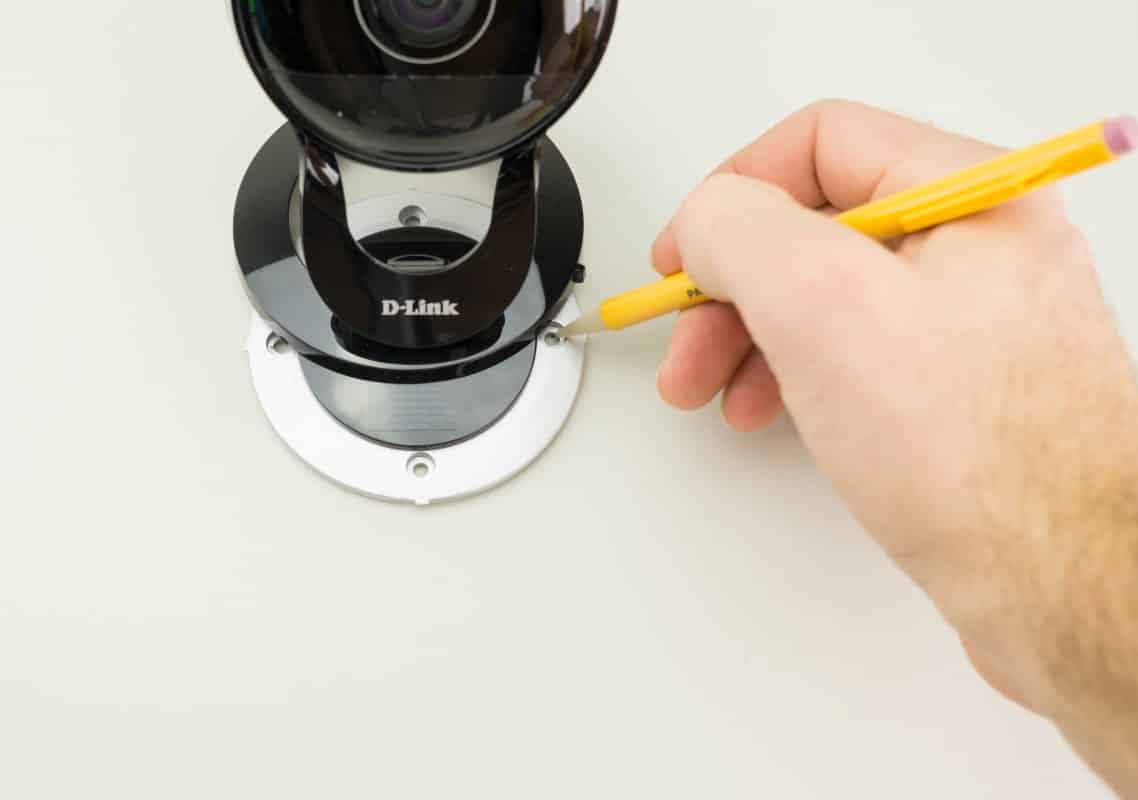
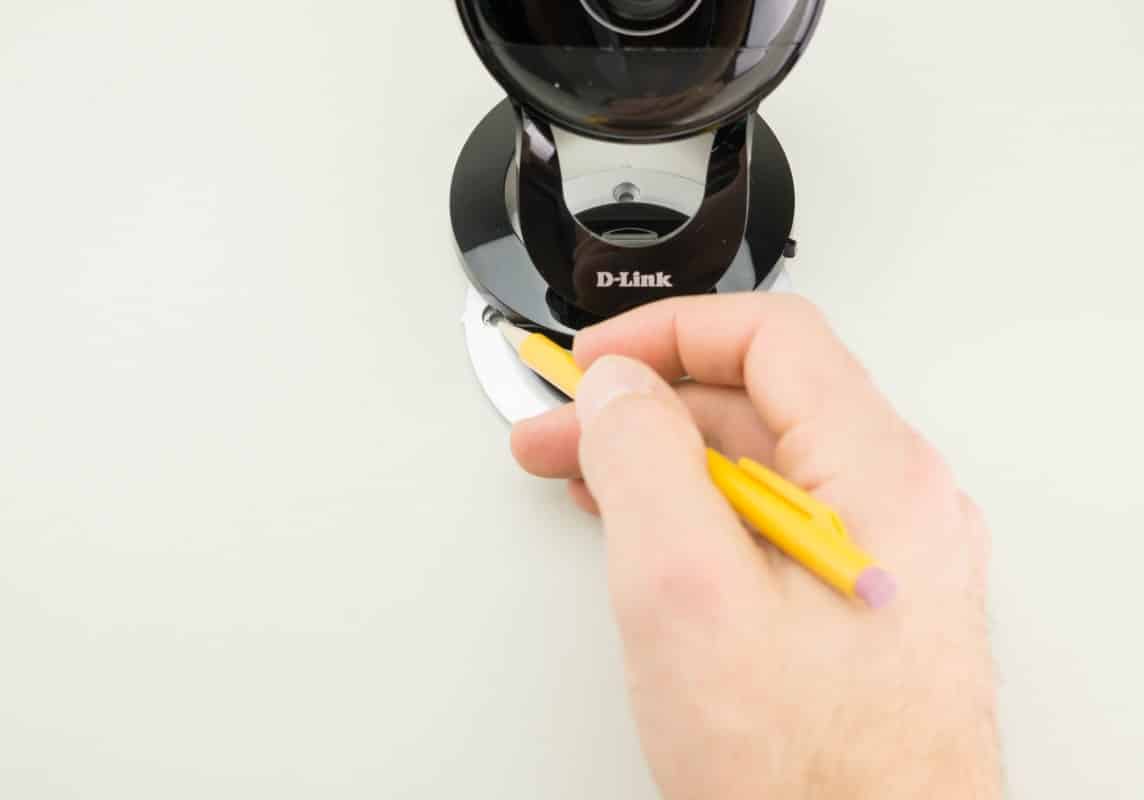
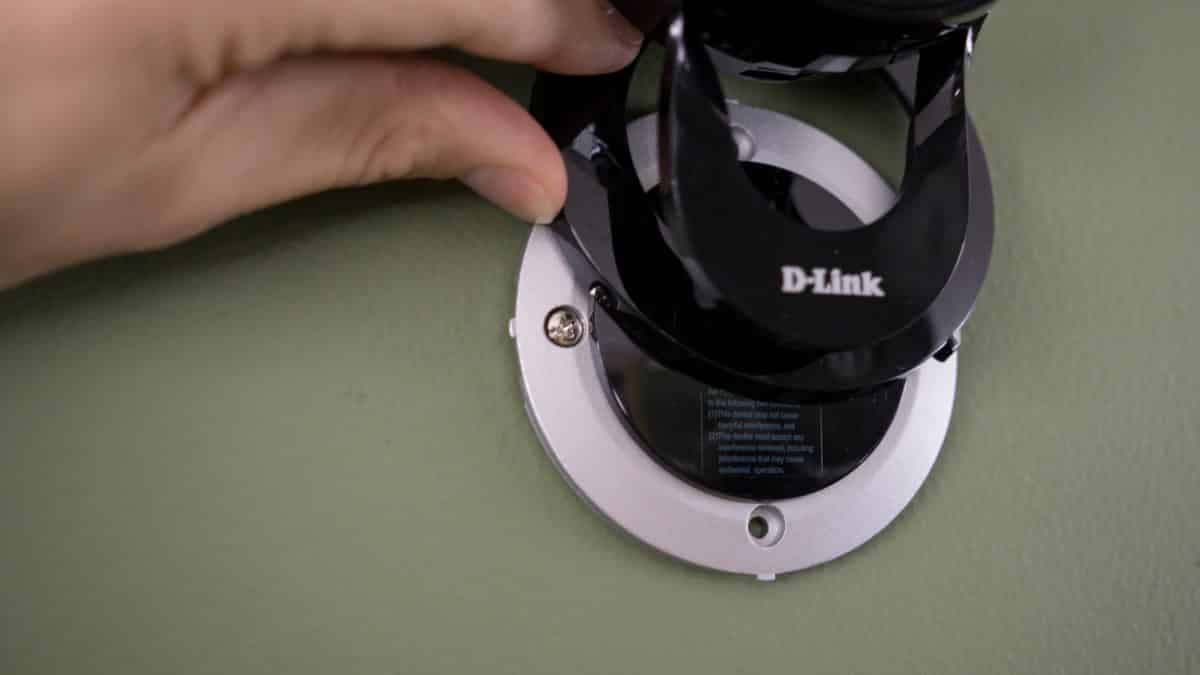
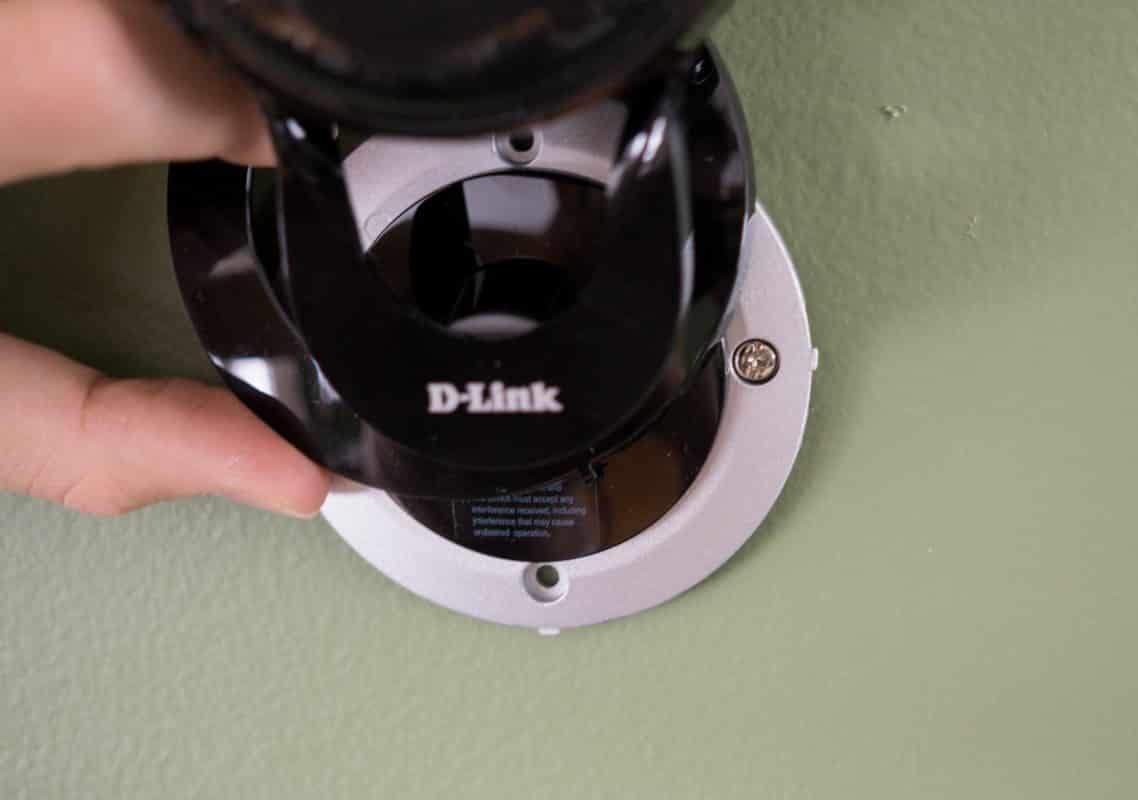
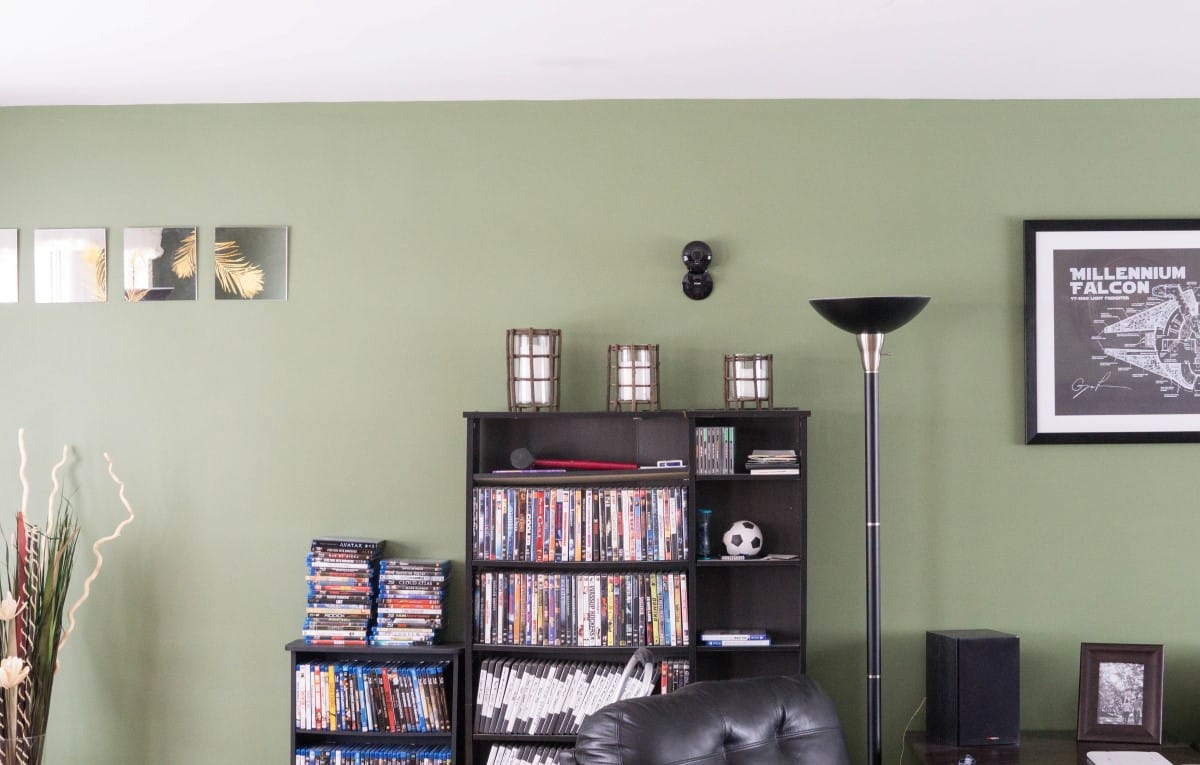
There are of course two ways to install the DCS-2630L, wall mounted or using the stand. If you have a location where you can easily set the camera up and don’t need to wall mount you can basically skip this section down to where we begin the setup. If you are choosing to wall mount this unit, D-Link has made the installation incredibly simple. Choose somewhere that will give you an optimal view of the area you want covered and also near enough to an electrical outlet. Begin by turning and unhinging the ring cover on the base. Now you can place the camera on the wall oriented how you would like it to be. Using the holes as your guide, go ahead and mark the wall through the holes.
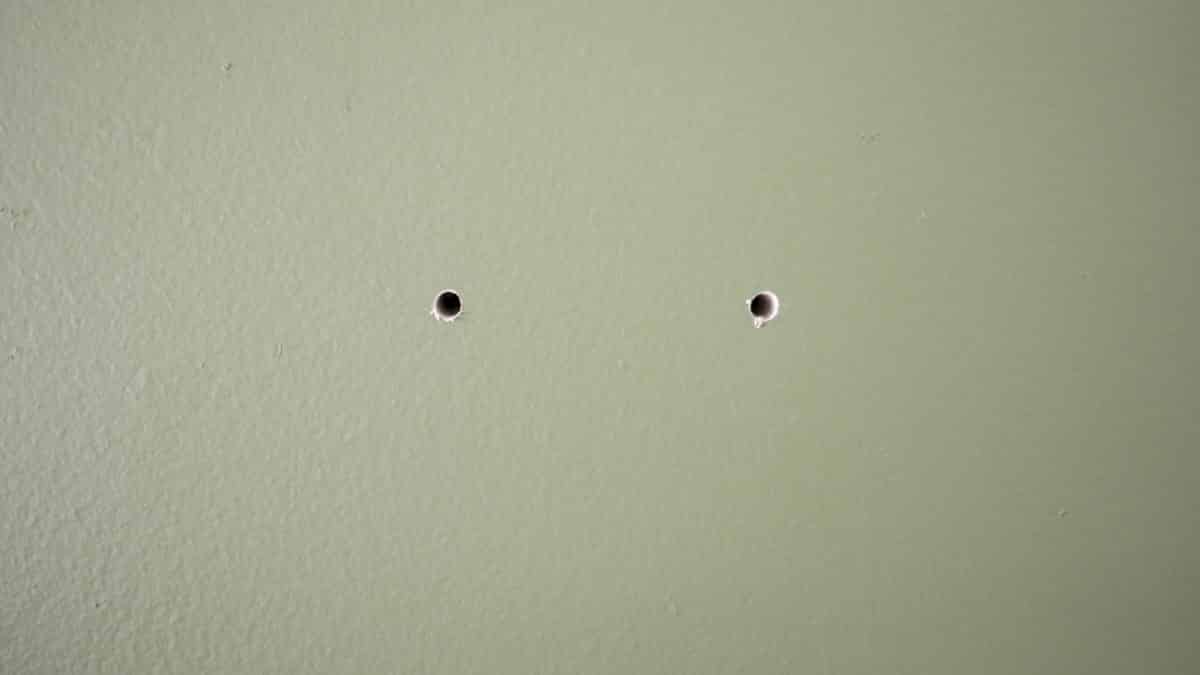
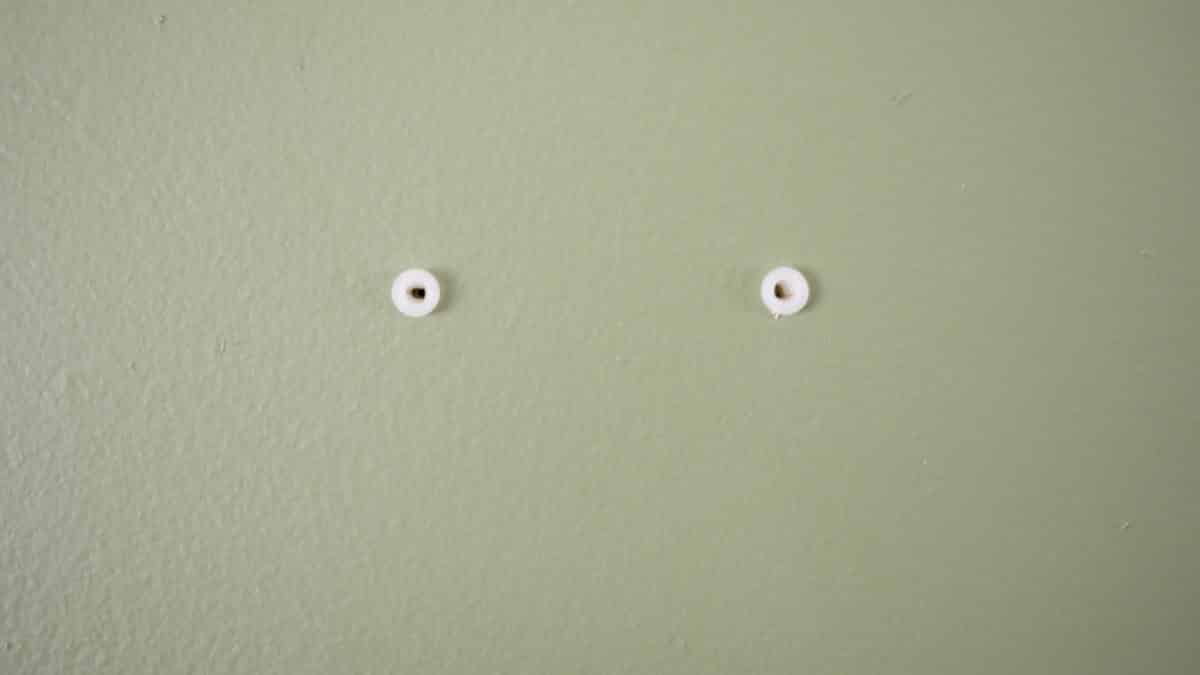
Now you have perfectly set marks where you can drill. Drill the holes out and insert the included plastic anchors.
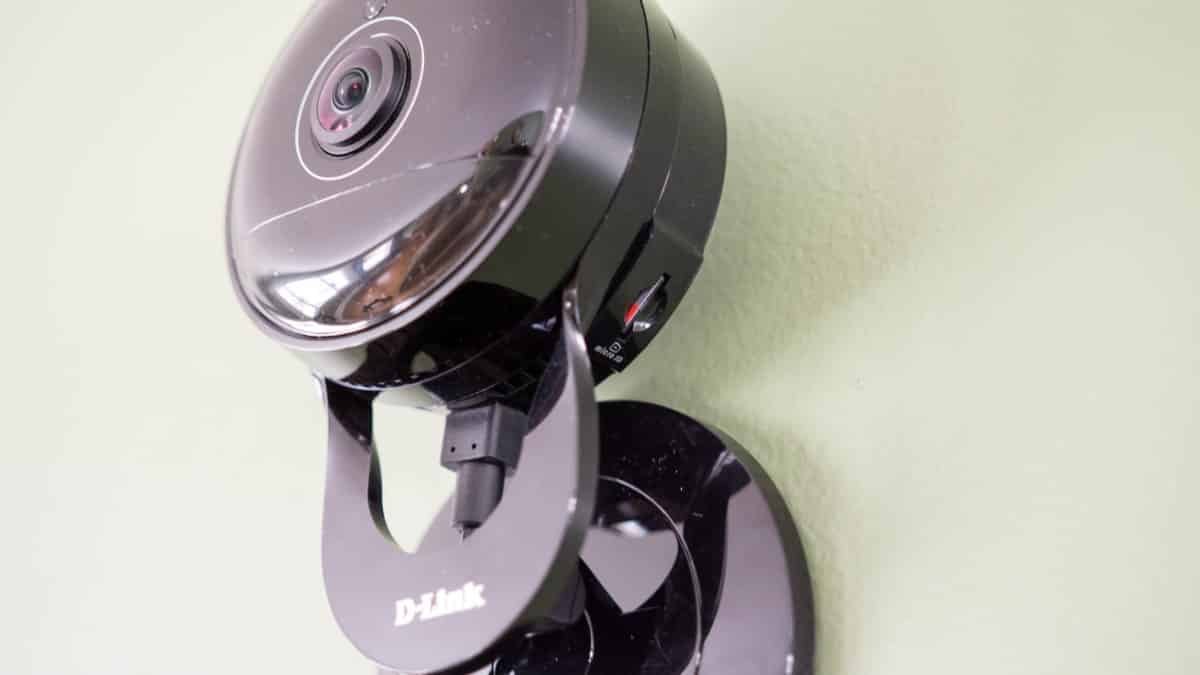
Re-align the camera’s base with the anchors and secure it with the two included screws. After you’ve secured the camera with the screws tightened all the way into the recesses, put the ring cover back in place and twist to lock.
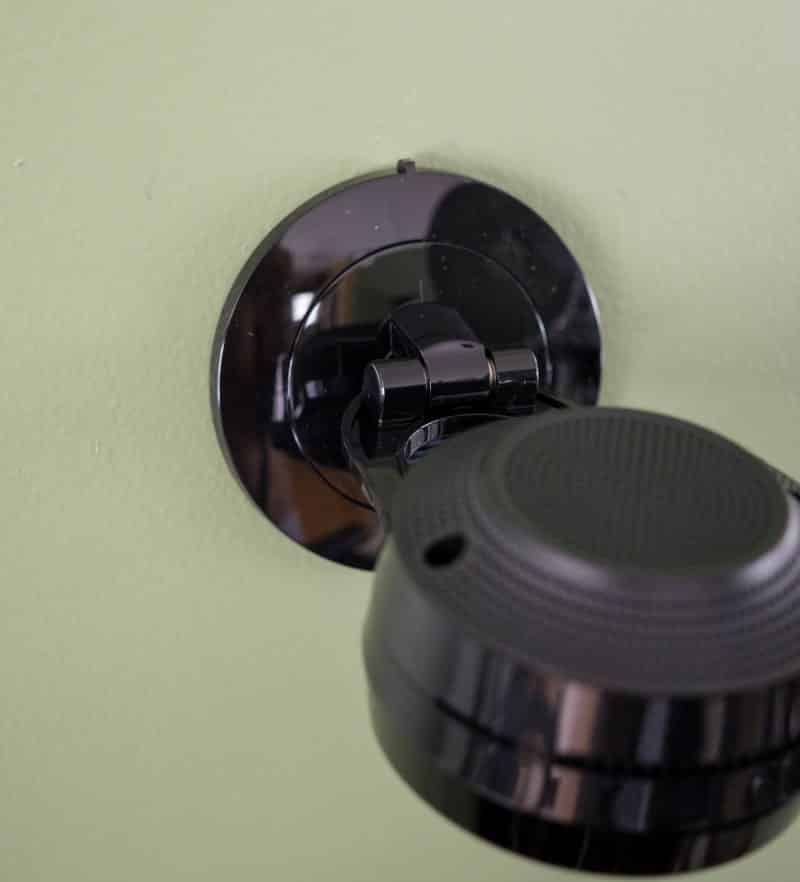
The camera easily flips up and stays in position parallel with your wall.
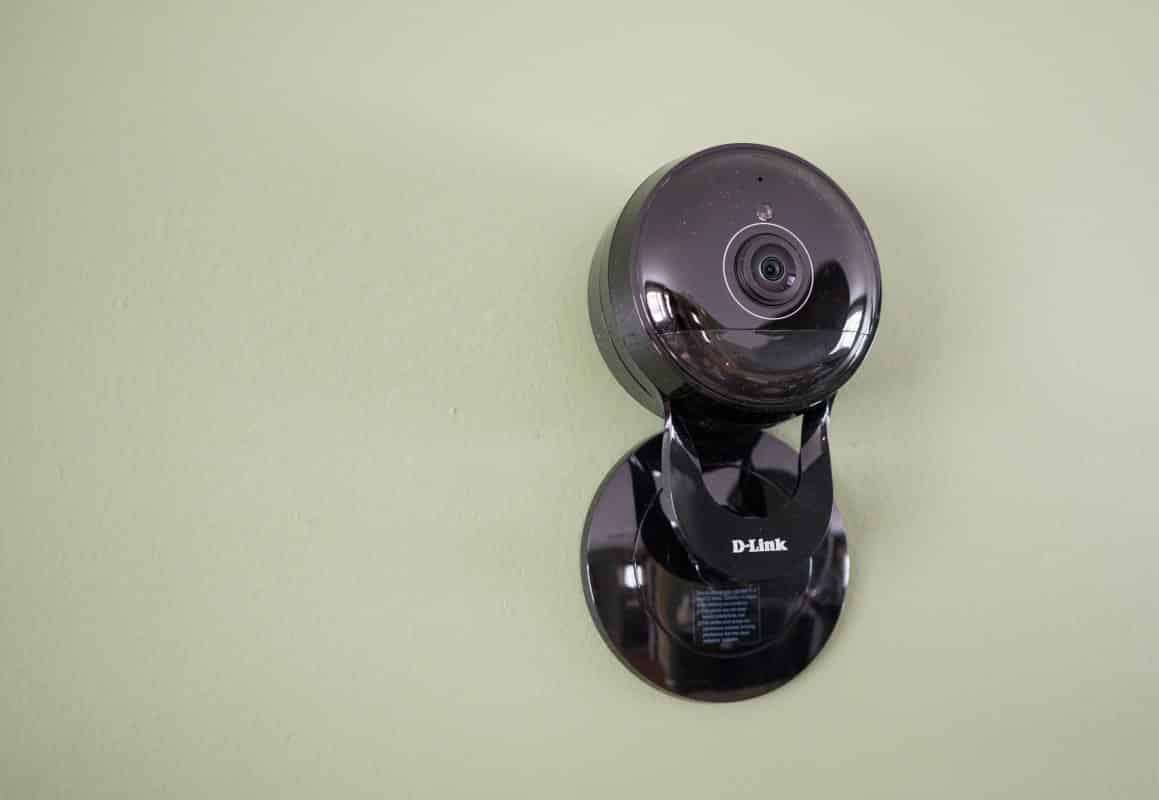

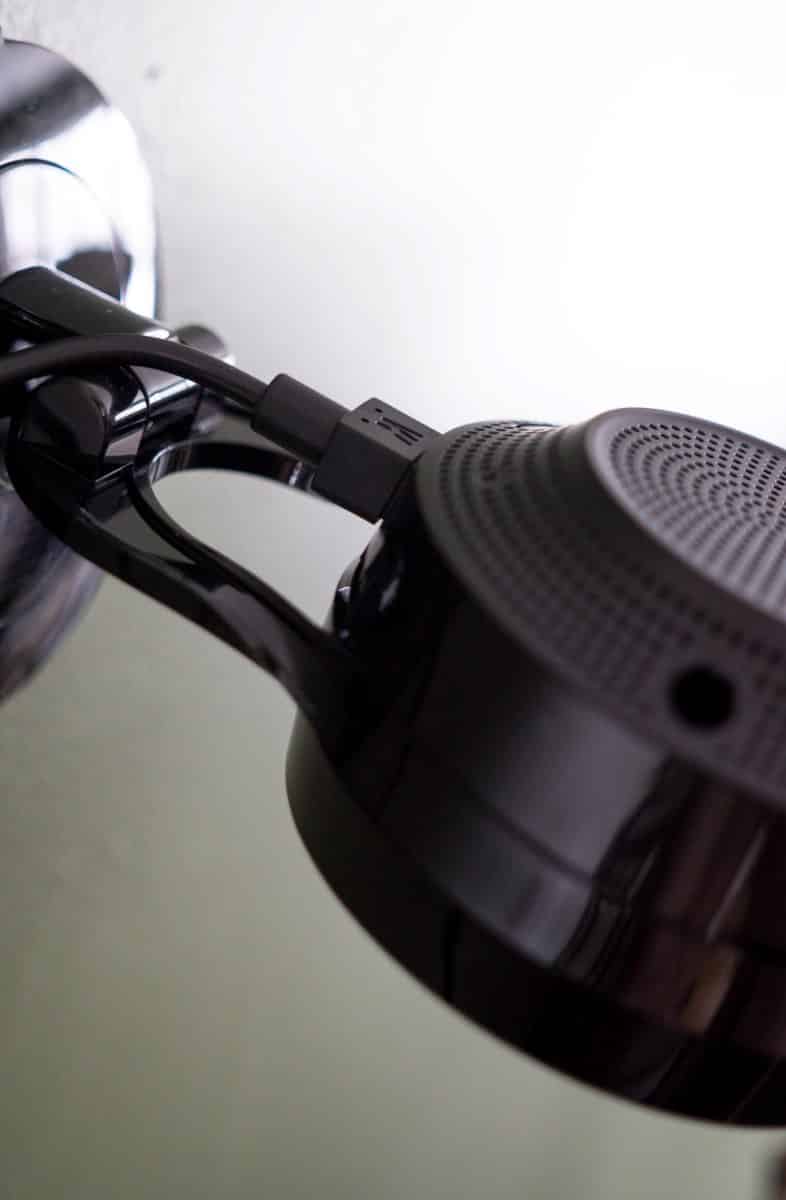
Once you are satisfied with your installation, flip the unit back down and plug the power cord in the the micro USB port on the bottom of the camera body. After the power cord is attached you can return the unit to the upright position.
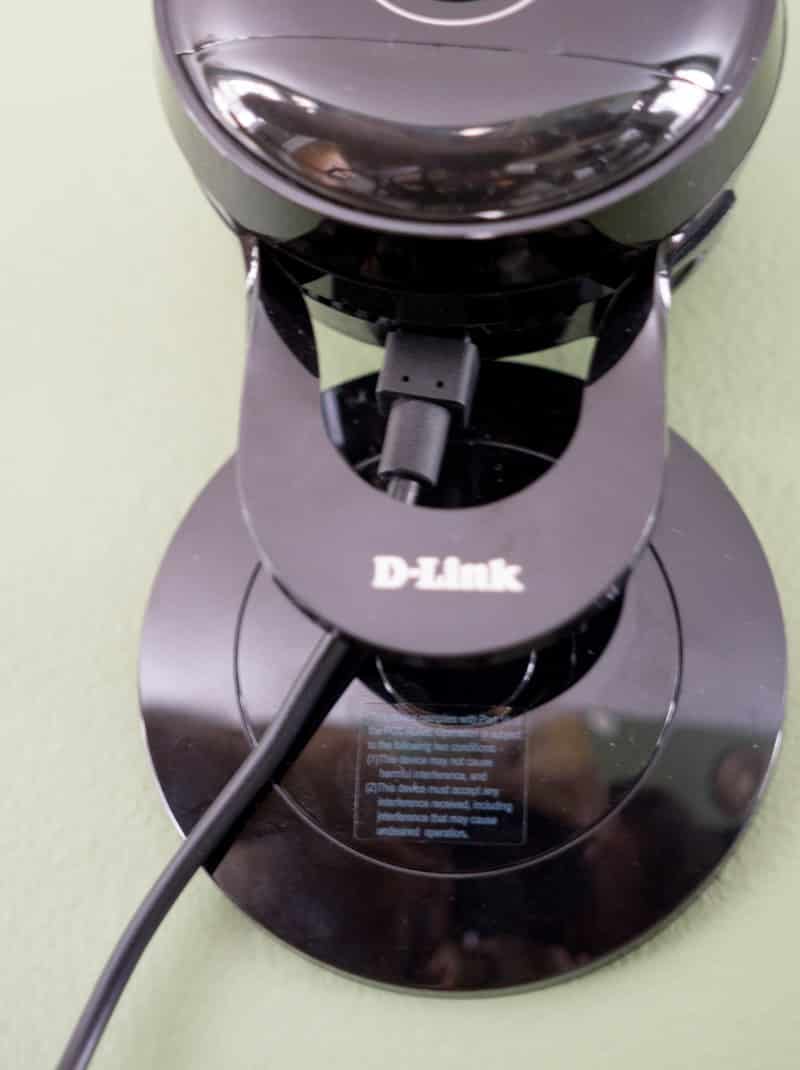
If you are planning to use a microSD card for recording you can go ahead and insert that now.

The physical installation is now complete and you can move on to setting the unit up.
Setup
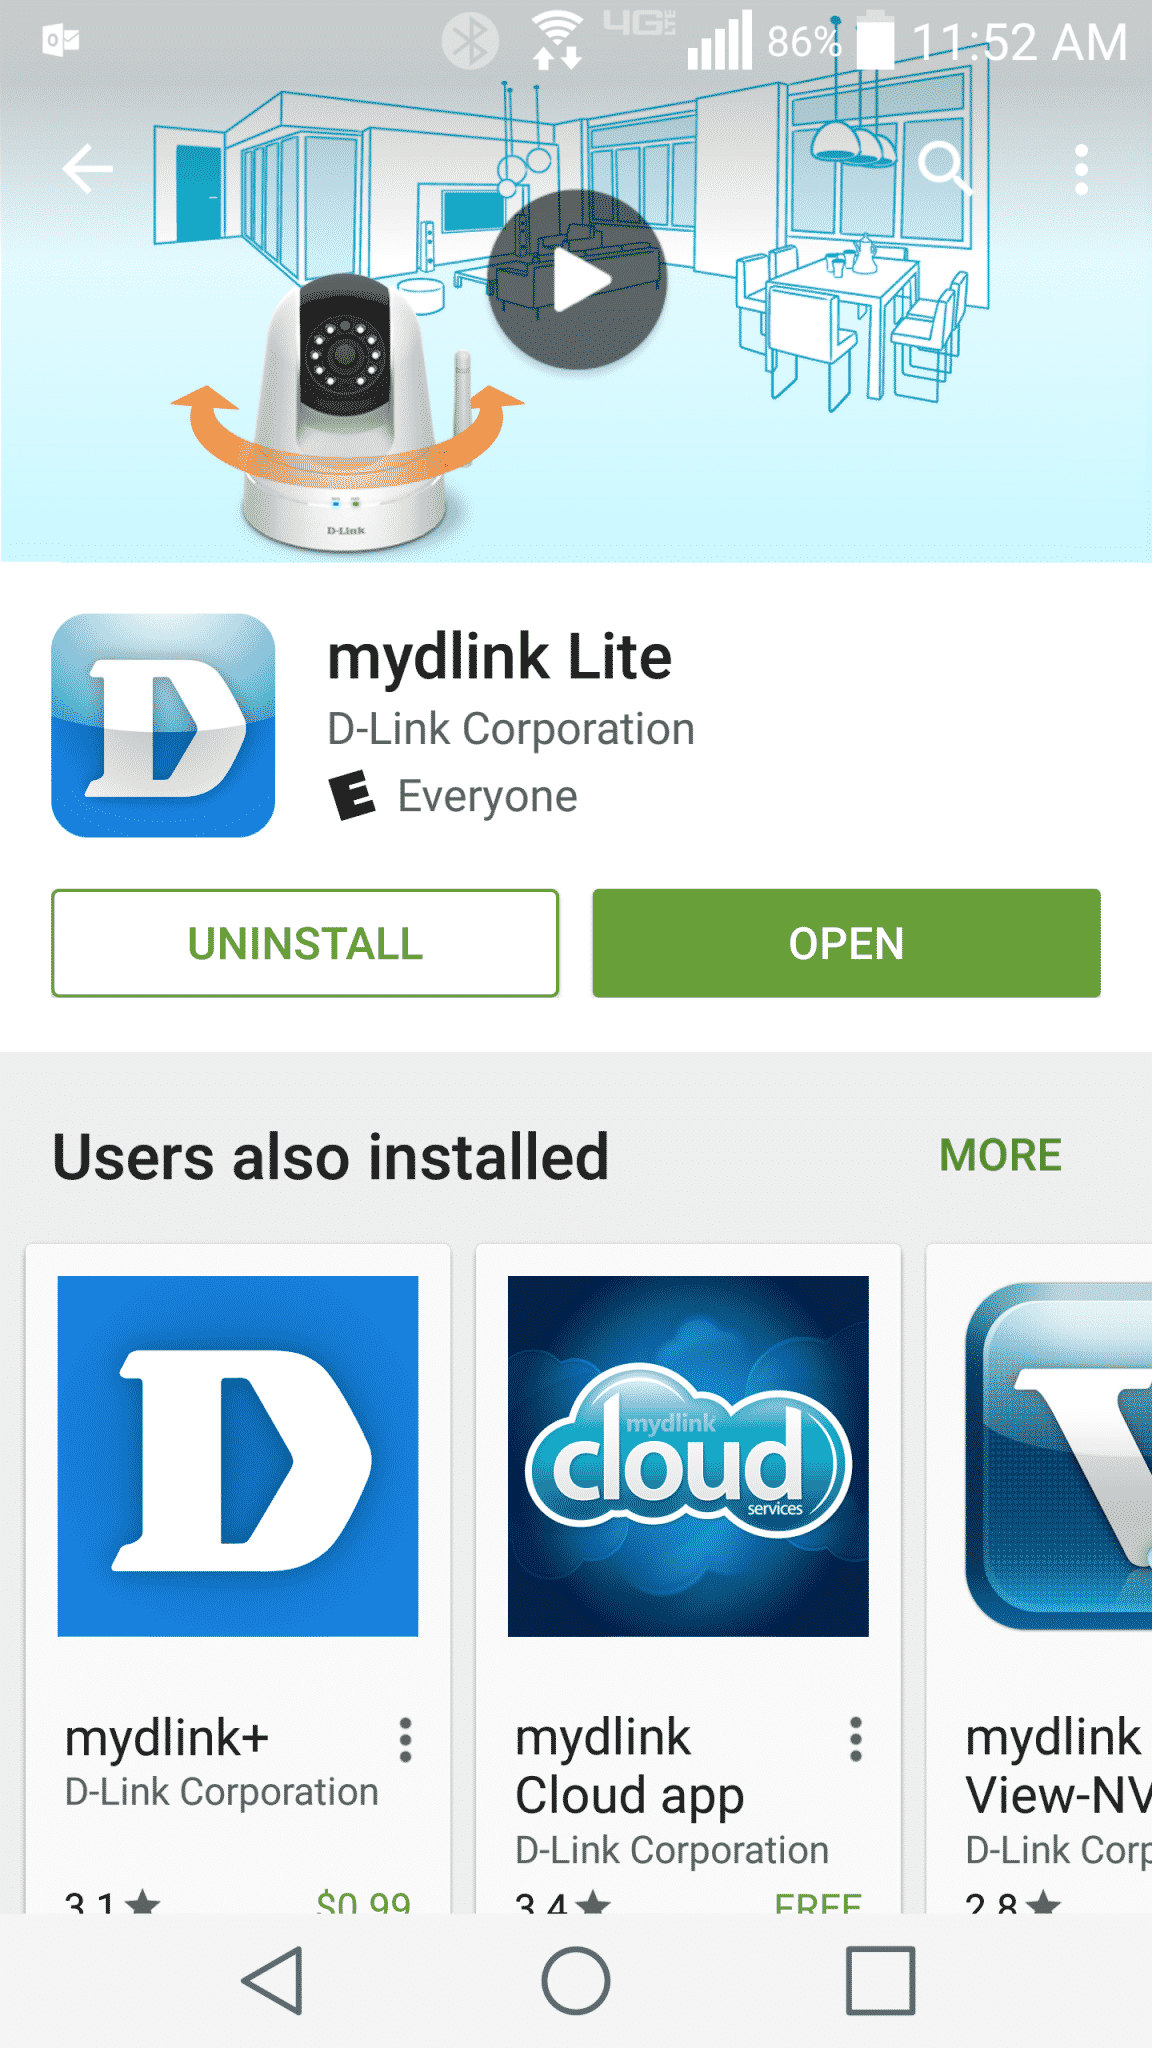
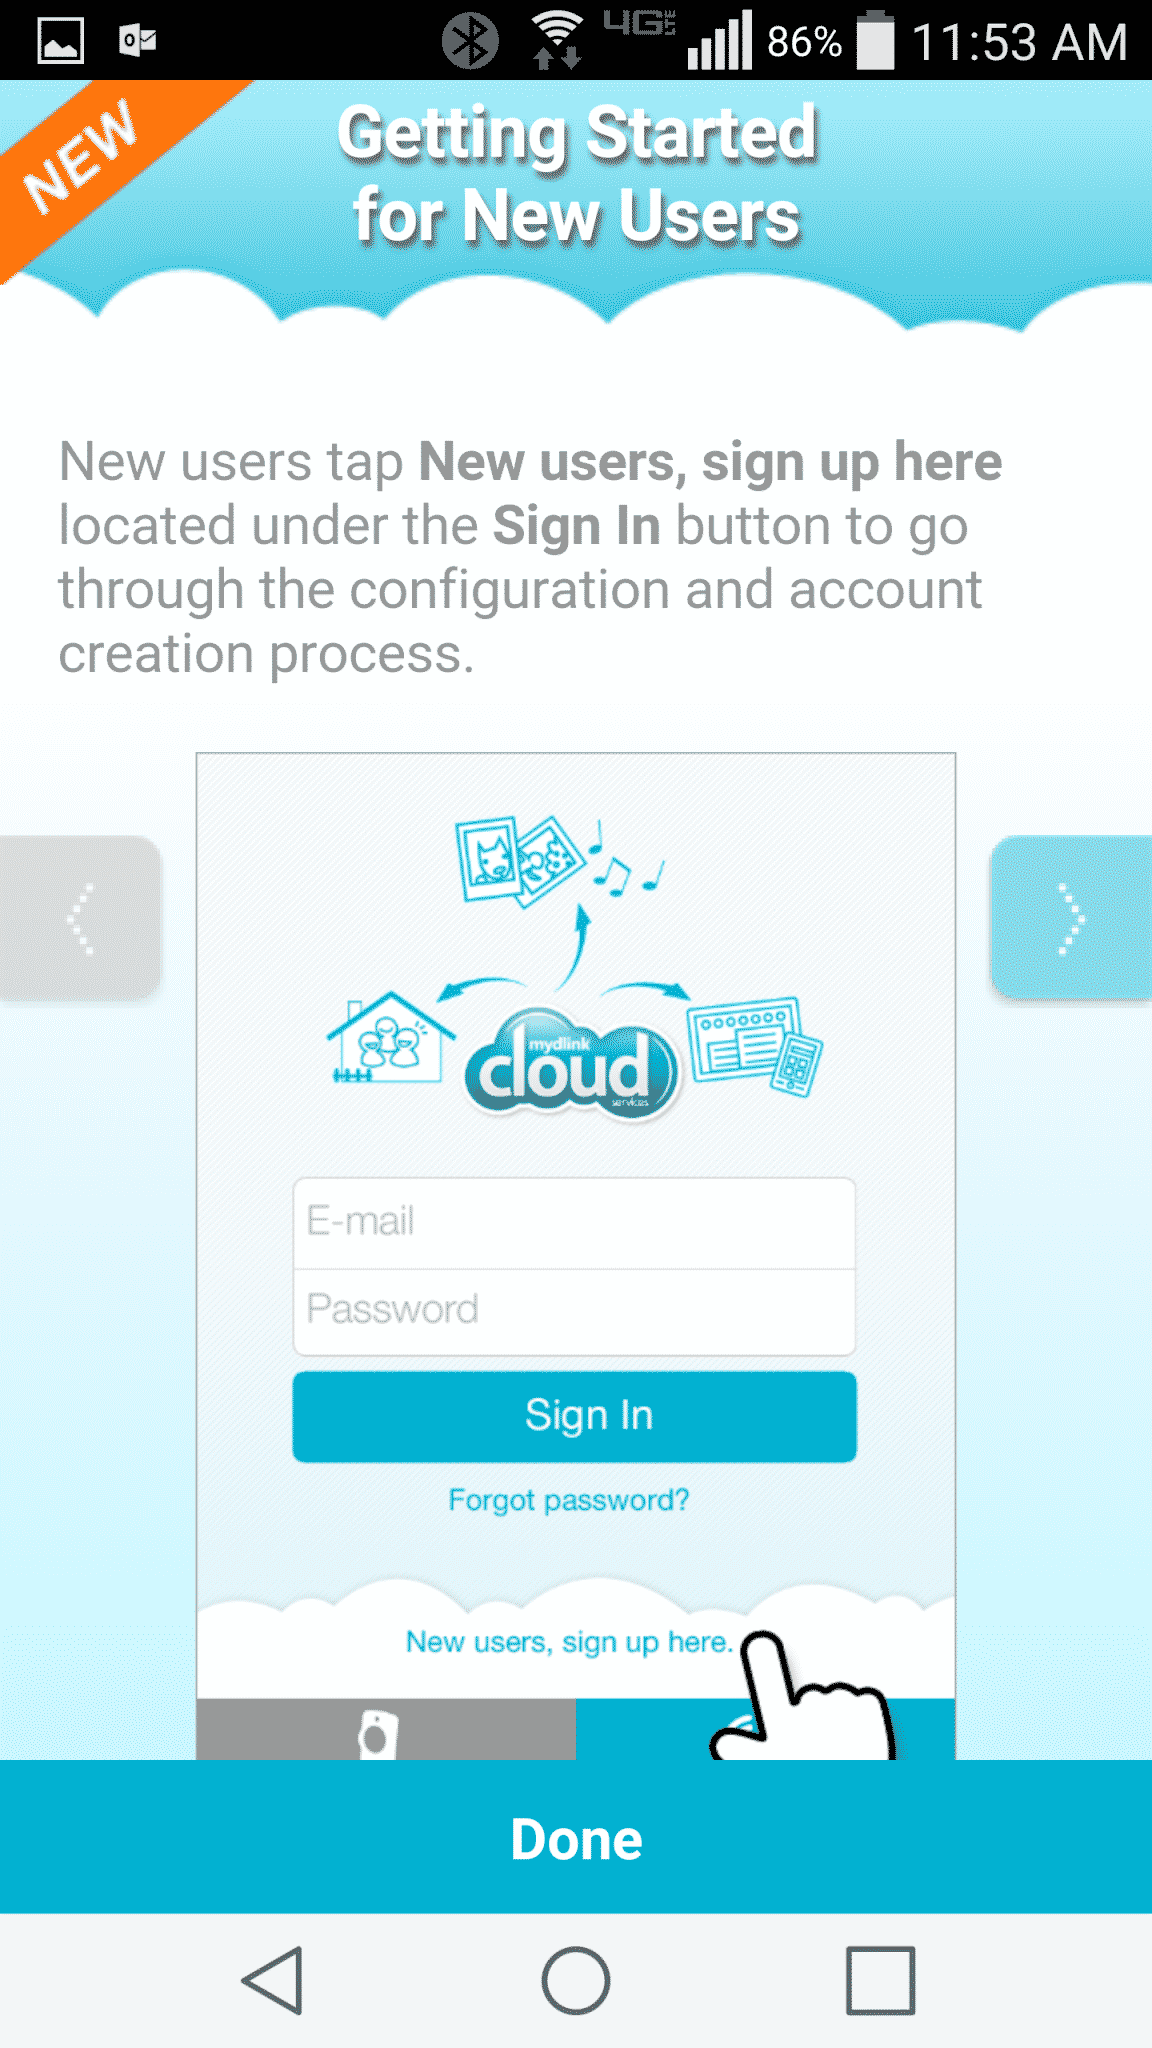
Opening the quick setup guide we find that we need to download and install the mydlink Lite app on our smartphone. While it may be possible to do this using your desktop we went ahead and followed the instructions. After the app is installed you need to create a new account if you don’t already have one.
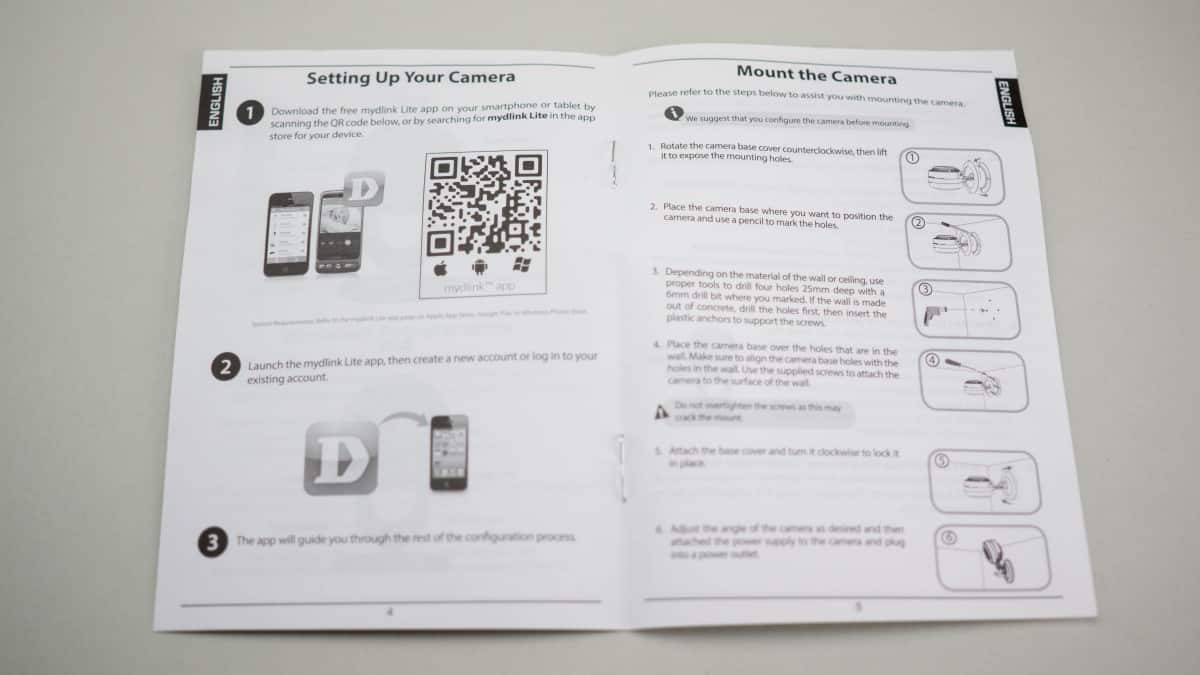
At this point D-Link makes the setup really easy. All you need to do is take the blue info card that came with the camera and scan the QR code. This will automatically input the devices information and begin the auto setup process.

One thing to be aware of is that the process (at least in our case) was extremely slow. At first I had thought it might be my WiFi slowing it down but later when doing a firmware update found that the software just runs extremely slow. This may be due to the actual code or it might be that all communications need to be routed through the D-Link servers. Whatever the case just be patient, it’s not frozen and will finish the setup eventually.