Installation
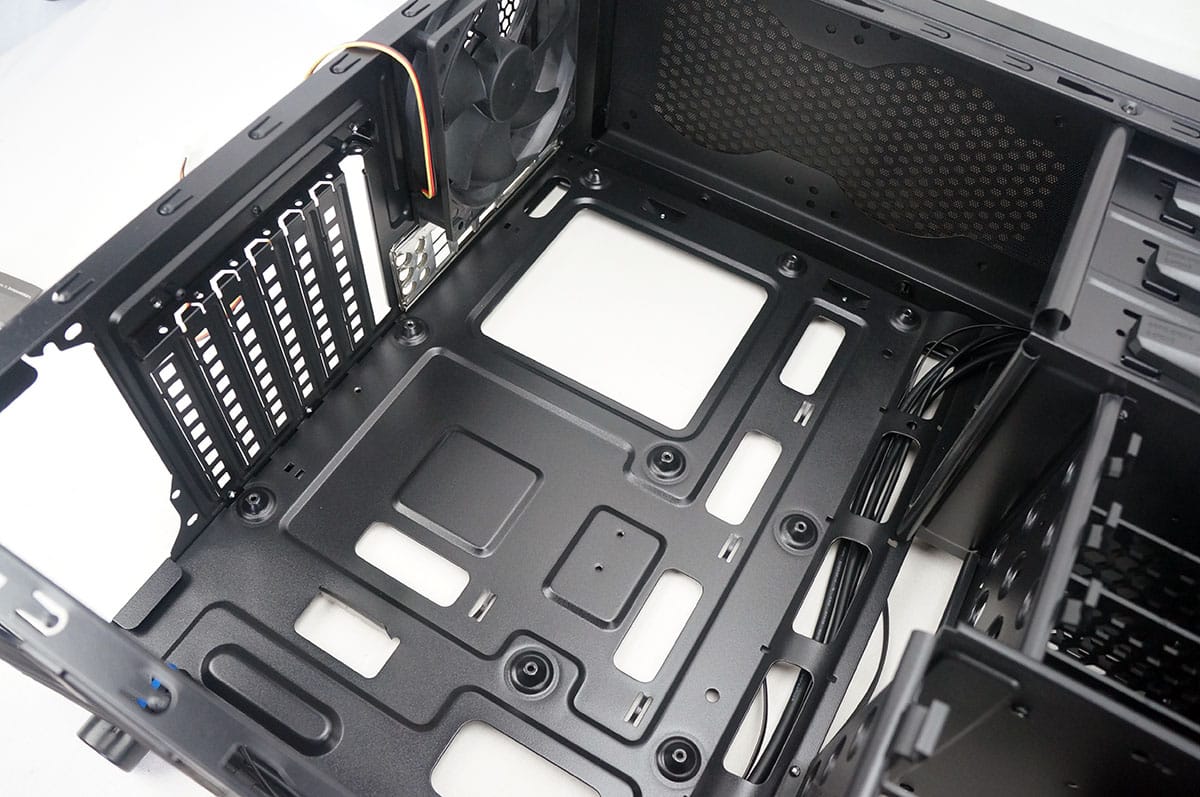
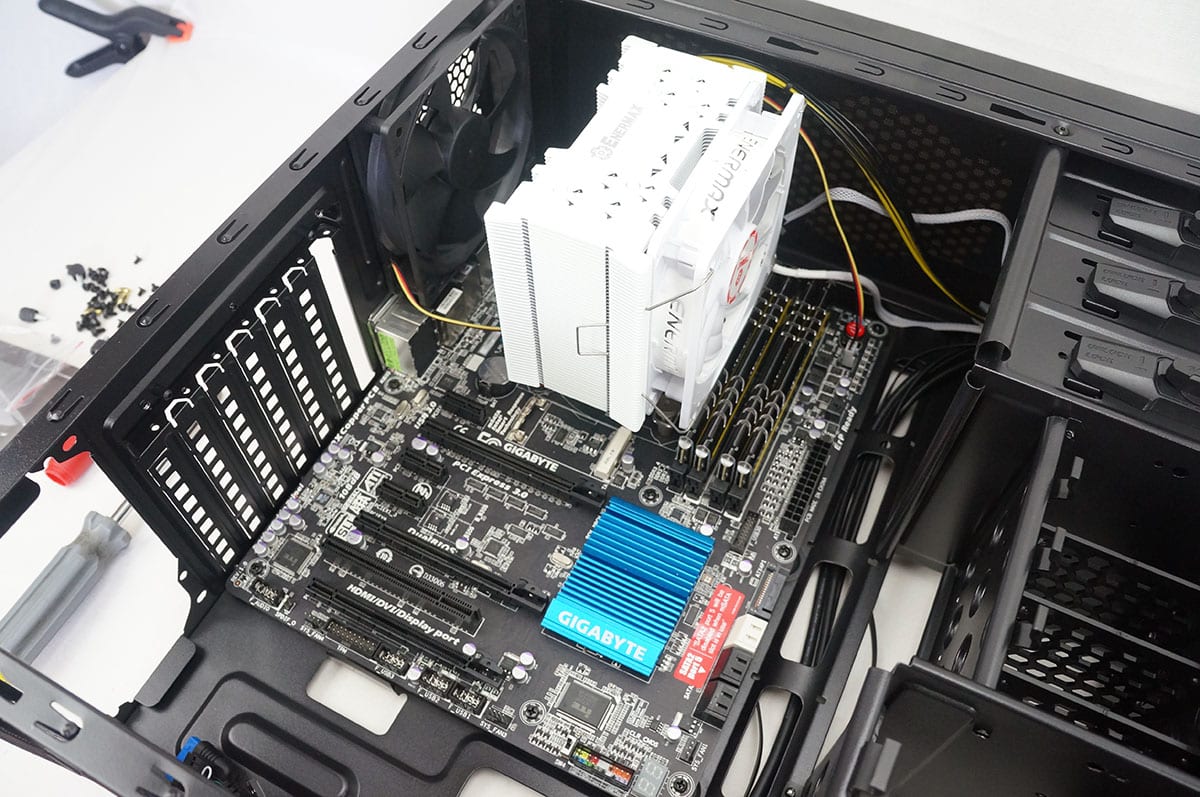
Getting your hardware installed in the MX300 is pretty straight forward. The first thing we will be installing is our motherboard. The motherboard standoffs are actually built into the case so that makes things pretty easy. I had no problem getting a normal sized ATX motherboard in the case.
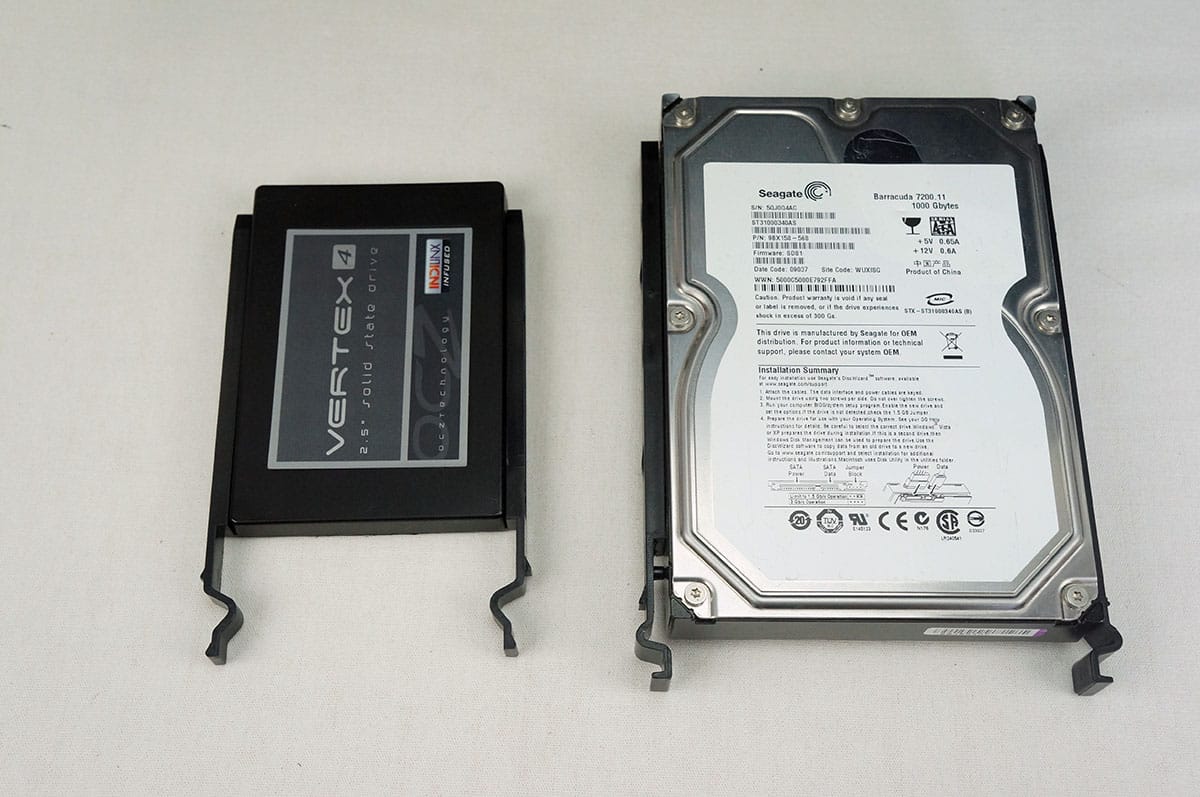
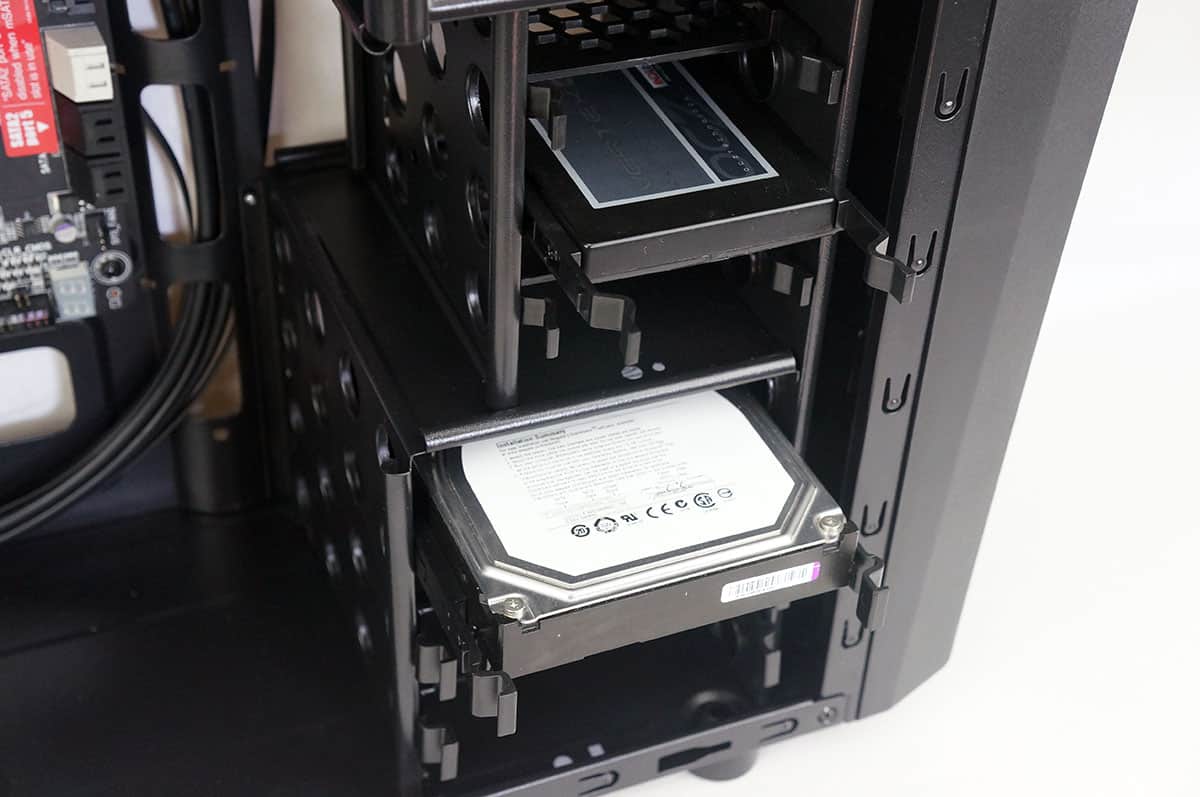
Next are the hard drives. 3.5-inch hard drive installation is completely tool-less as the drive trays have pegs that go into the screw holes on your drive. 2.5-inch drive installation requires screws that can be either installed on the side of the tray or the bottom depending on your 2.5-inch drive. Once you have your drives secured in the trays all you have to do is slide them right back into the case.
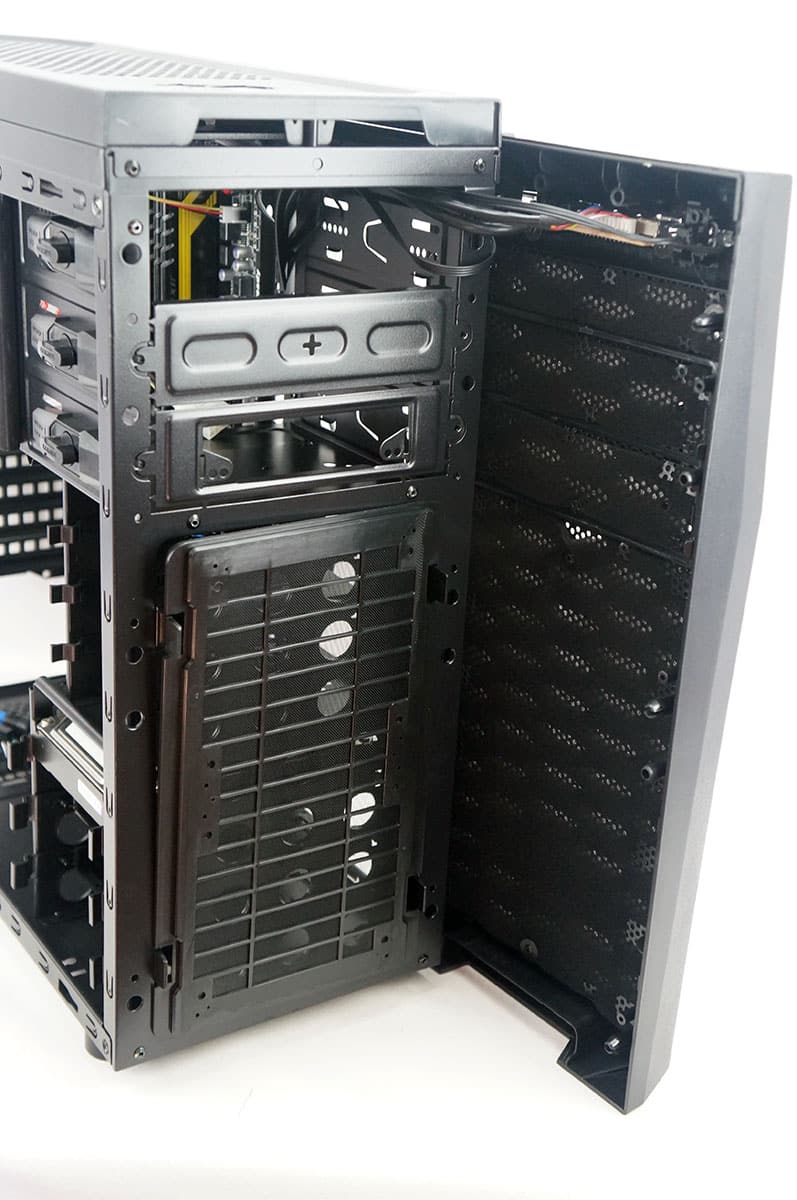
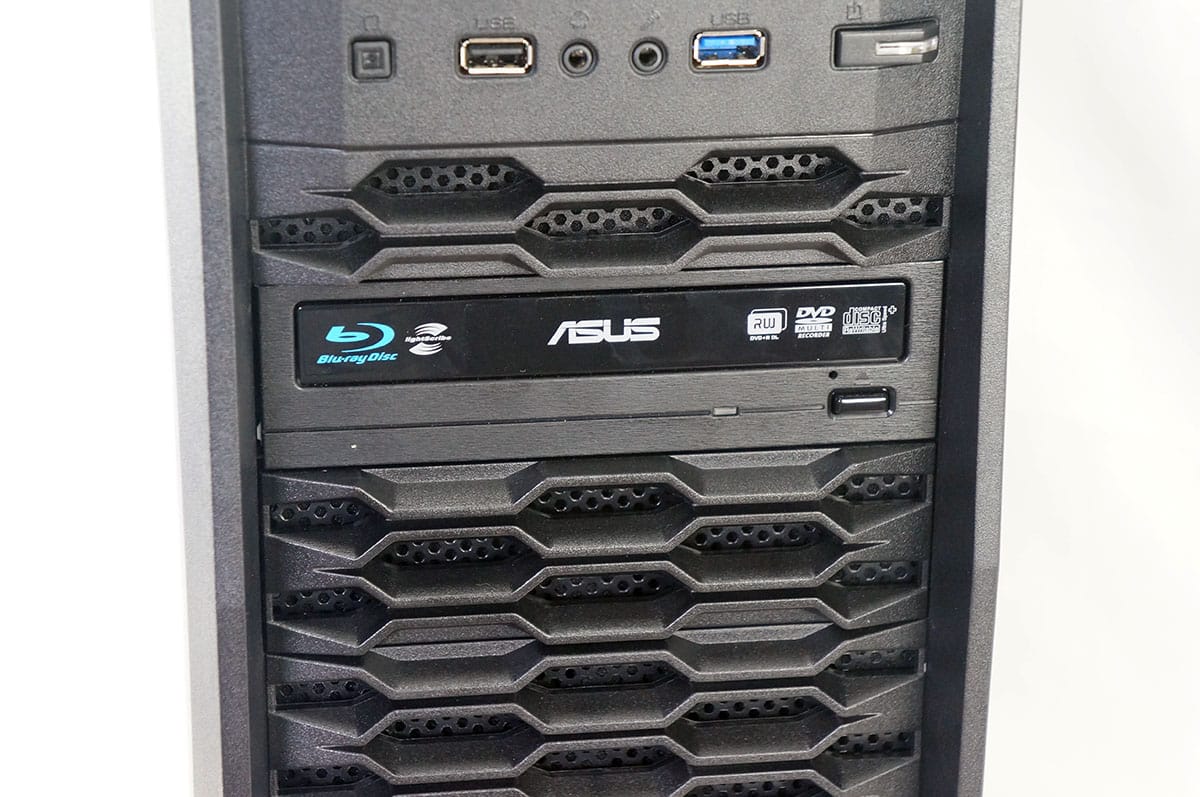
Optical drive installation requires you to actually remove the entire front bezel of the case to take off the drive covers. This is easily done by pulling on the bottom of the front bezel. Once removed we can see there is a large fan filter on the front of the case. You will need to bend off the metal covering on the drive bay that you wish to use and remove the bezel cover front the front bezel of the case. Then you can put the front bezel back on and slide in your drive. The tool-less locking system worked pretty well here.

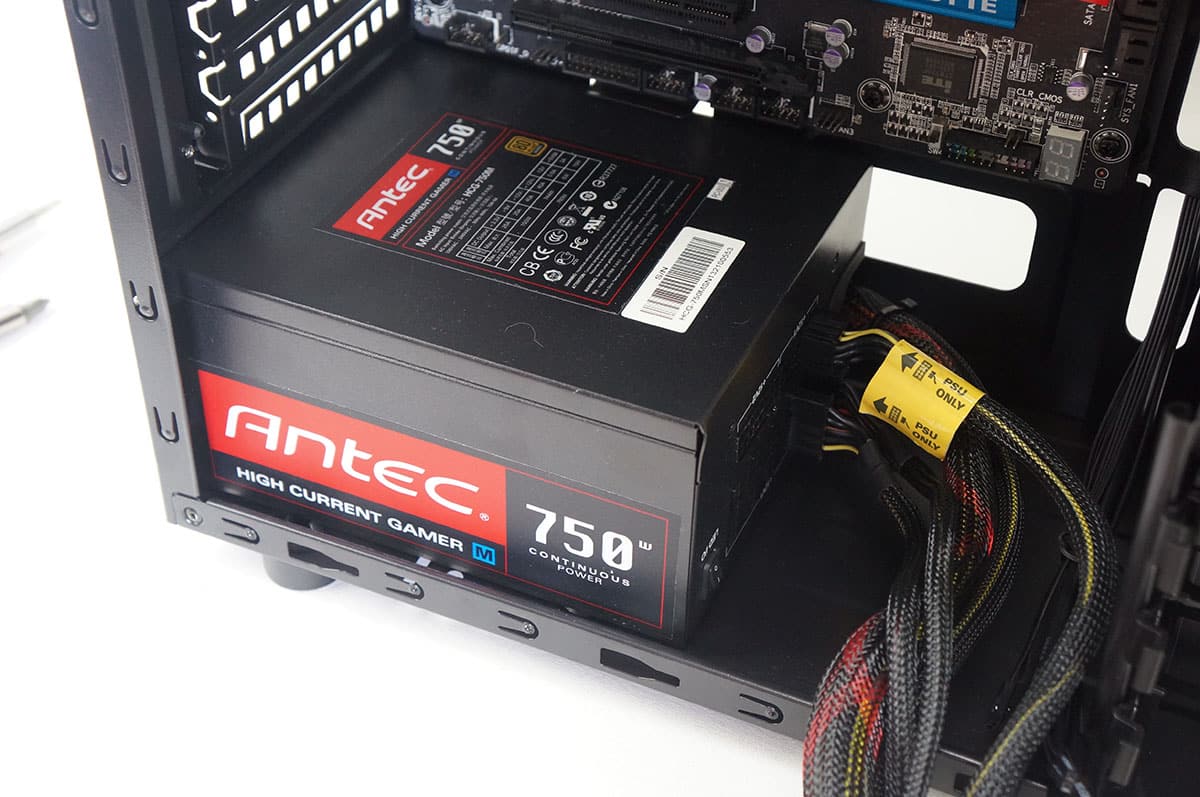
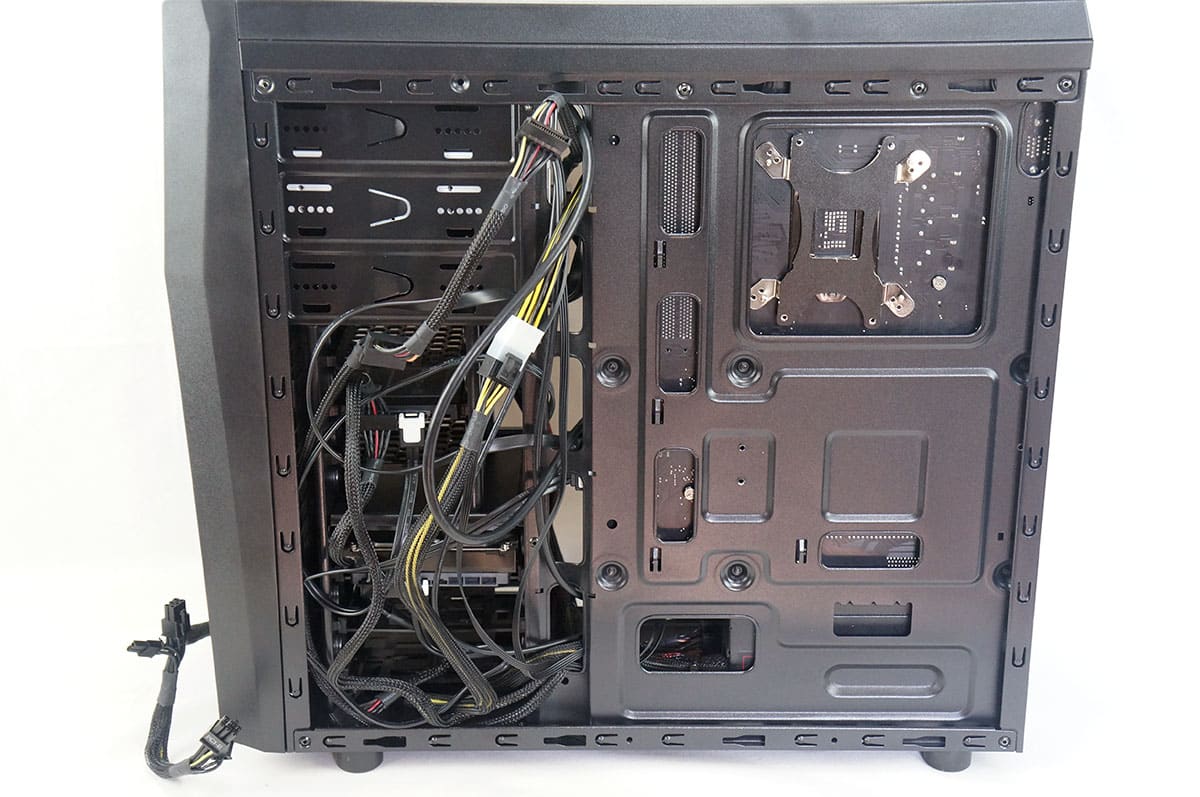
The power supply will be mounted on the bottom of the case and it is pretty easy to get in there. Once we have our power supply installed we need to route all of our cables. Looking at the back side of the case I was actually able to route many of the cables by the hard drive cages. I did not even have to tie them down for the back side panel to be installed.
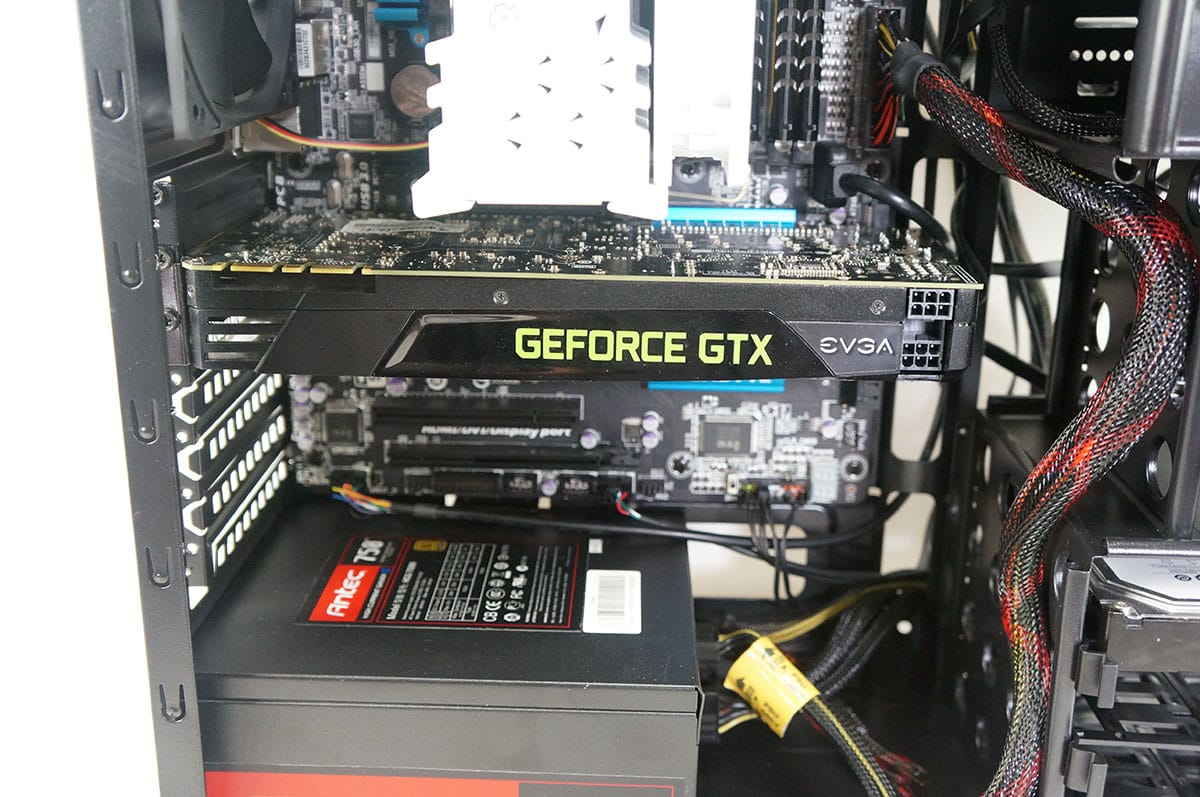
Our final piece of hardware is our graphics card. With the 2.5-inch hard drive cage being smaller you shouldn’t have in an issue with longer graphics cards, as long as they are installed in the top slot in your motherboard. To secure your graphics card you need to remove the plastic cover on the back of the case and screw it in.

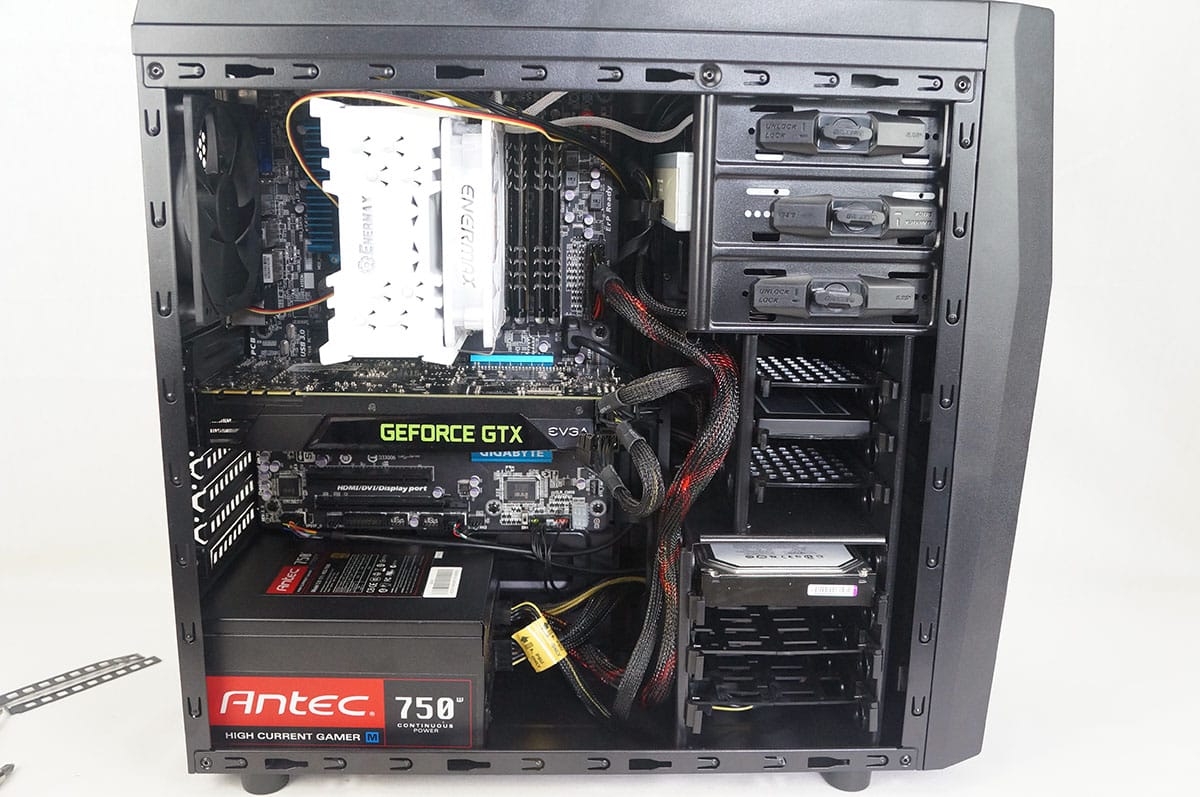
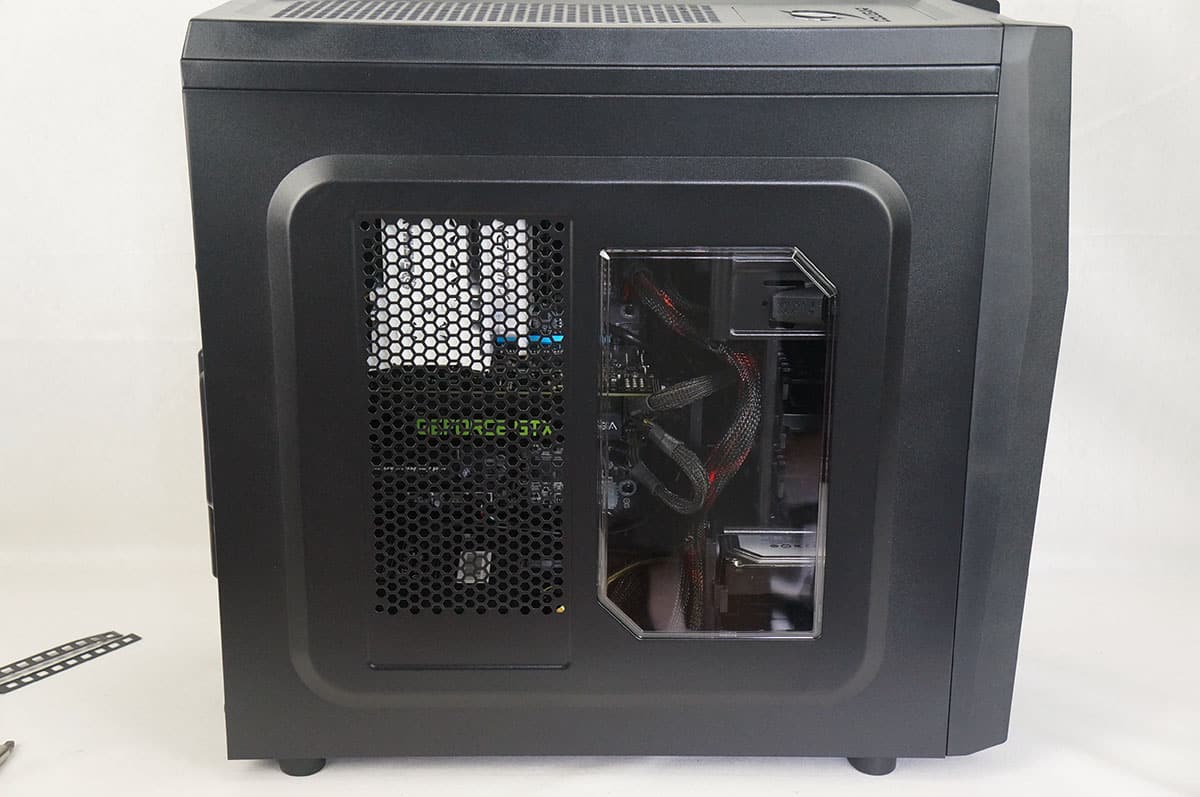
Finally with everything installed you can see what the inside of the case looks like. Just note that we were not able to route the EPS connector behind the motherboard tray. Overall it is a pretty clean build though. With the side panel put on you can see that some of the hardware is visible.