Installation
Installation on the new models of Corsair AiOs remains unchanged from the previous generation. We begin by installing the backplate on the back side of the motherboard. The plate is a simple plastic bracket with slide-able mounting posts on the four corners. These are adjusted to match your Intel socket. Ours is 115x so we set them to full inside and then slide the posts through to the front of the board.
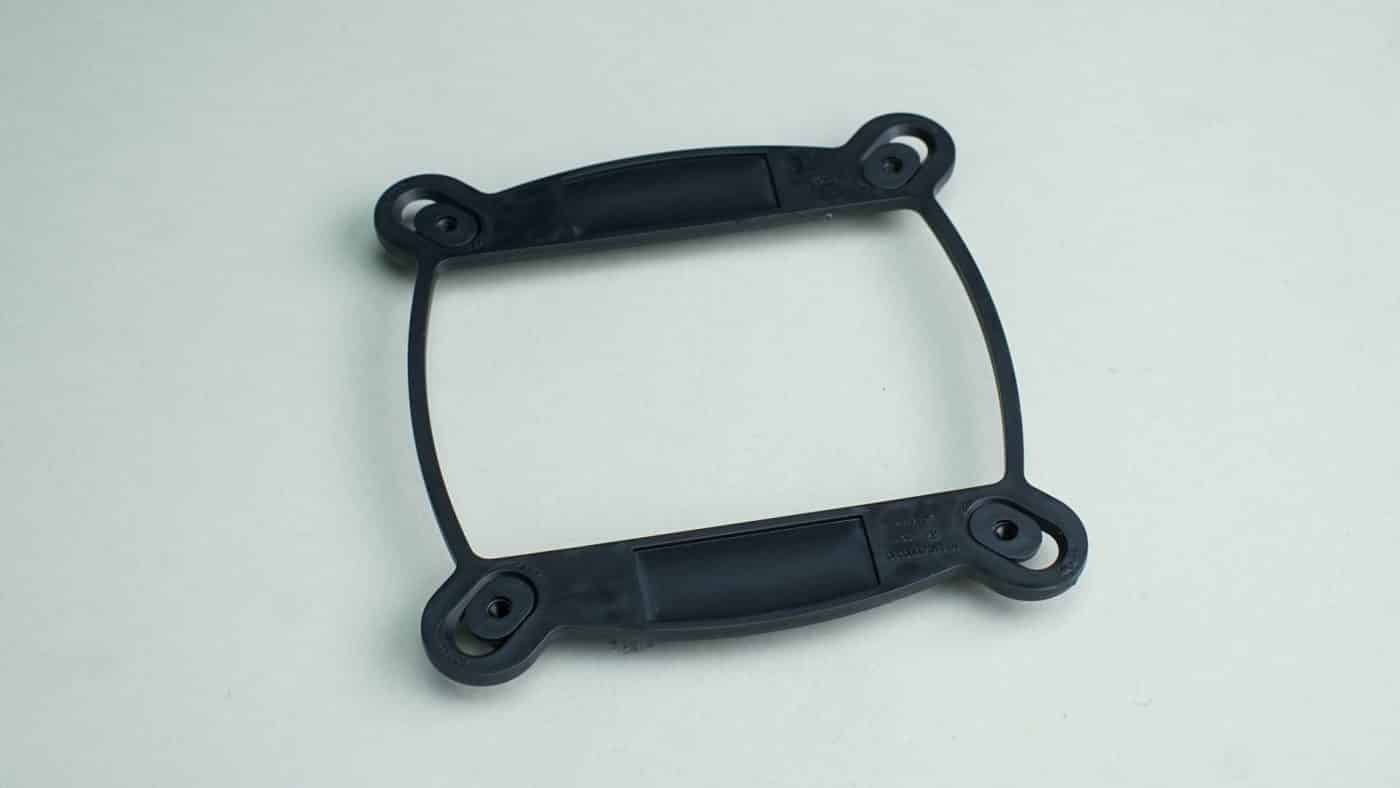
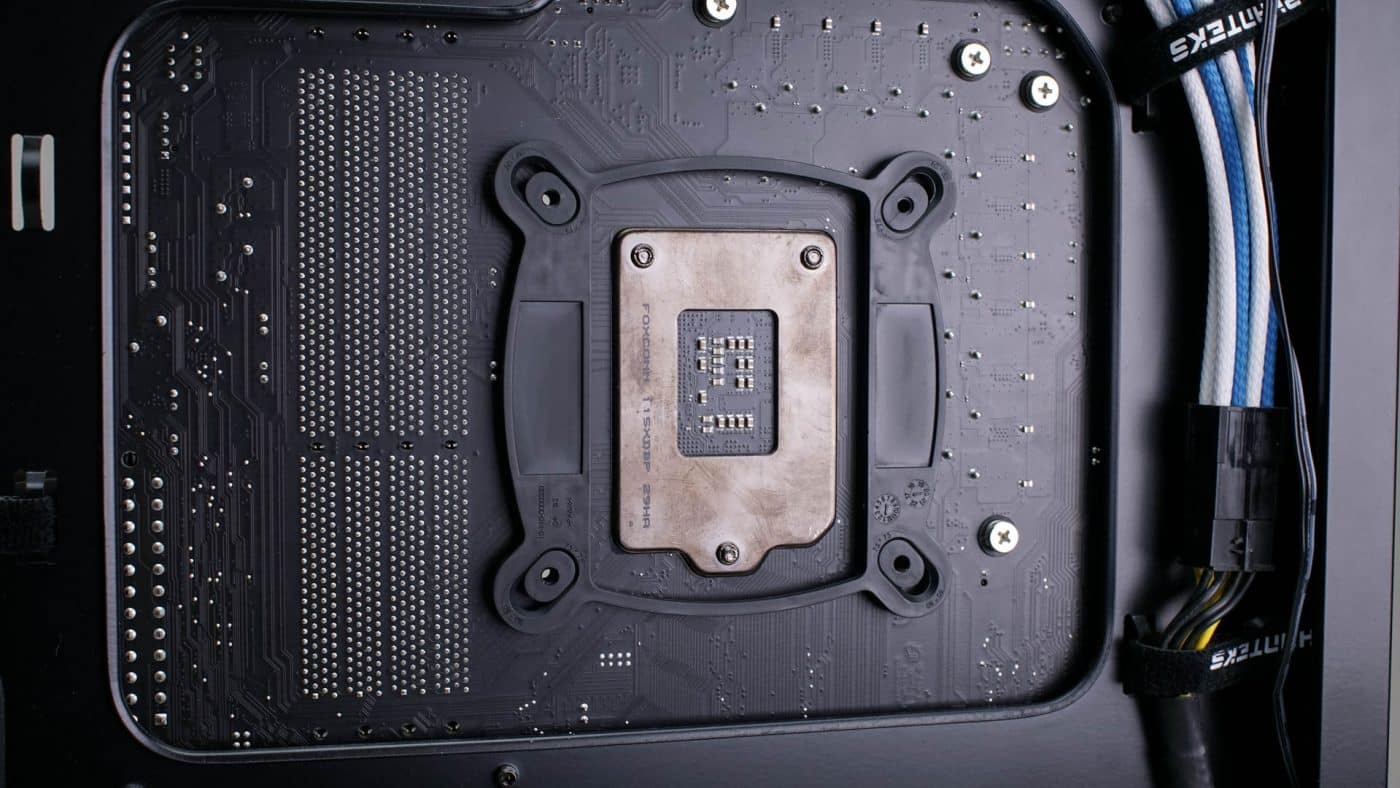
There isn’t a retention system for the mounting posts so you’ll want to hold the bracket in place as you thread each mounting screw.
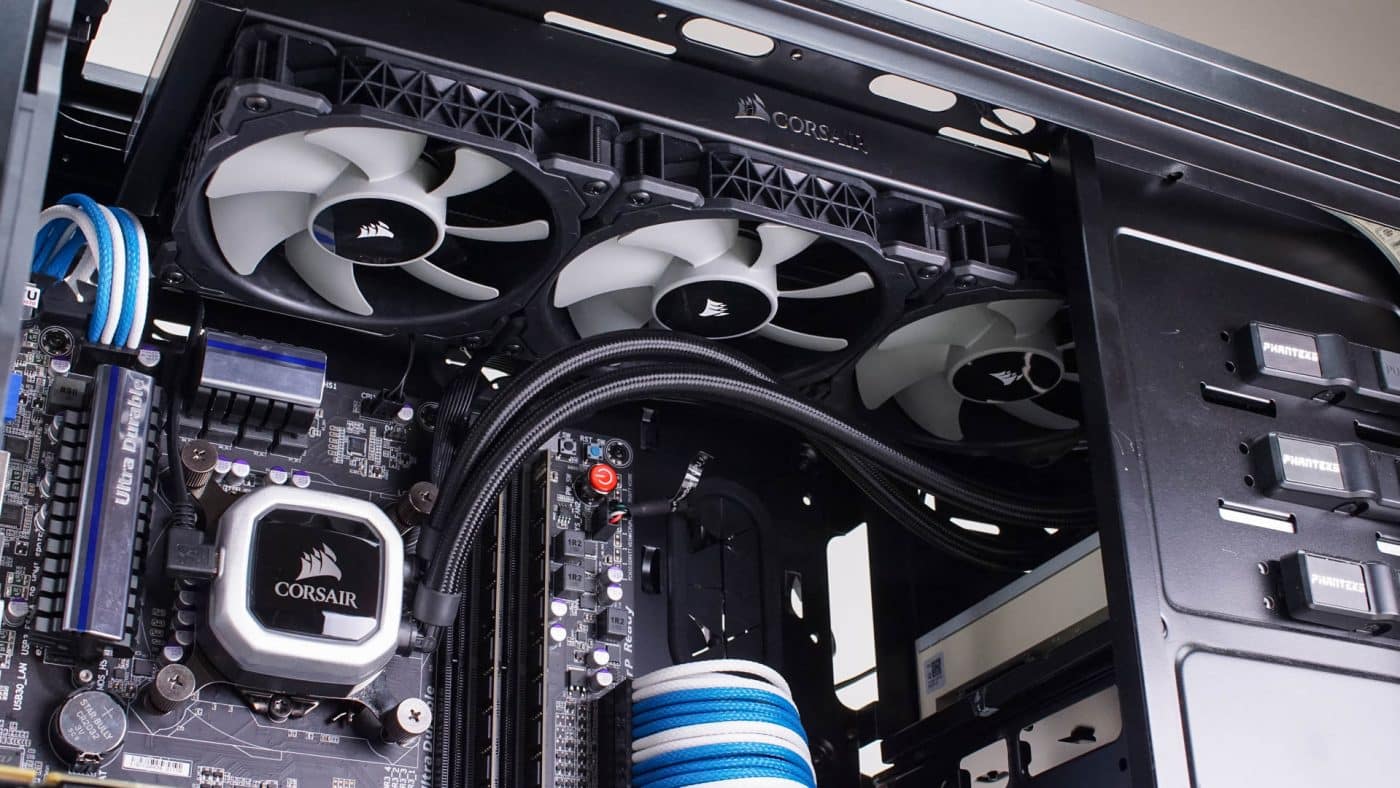
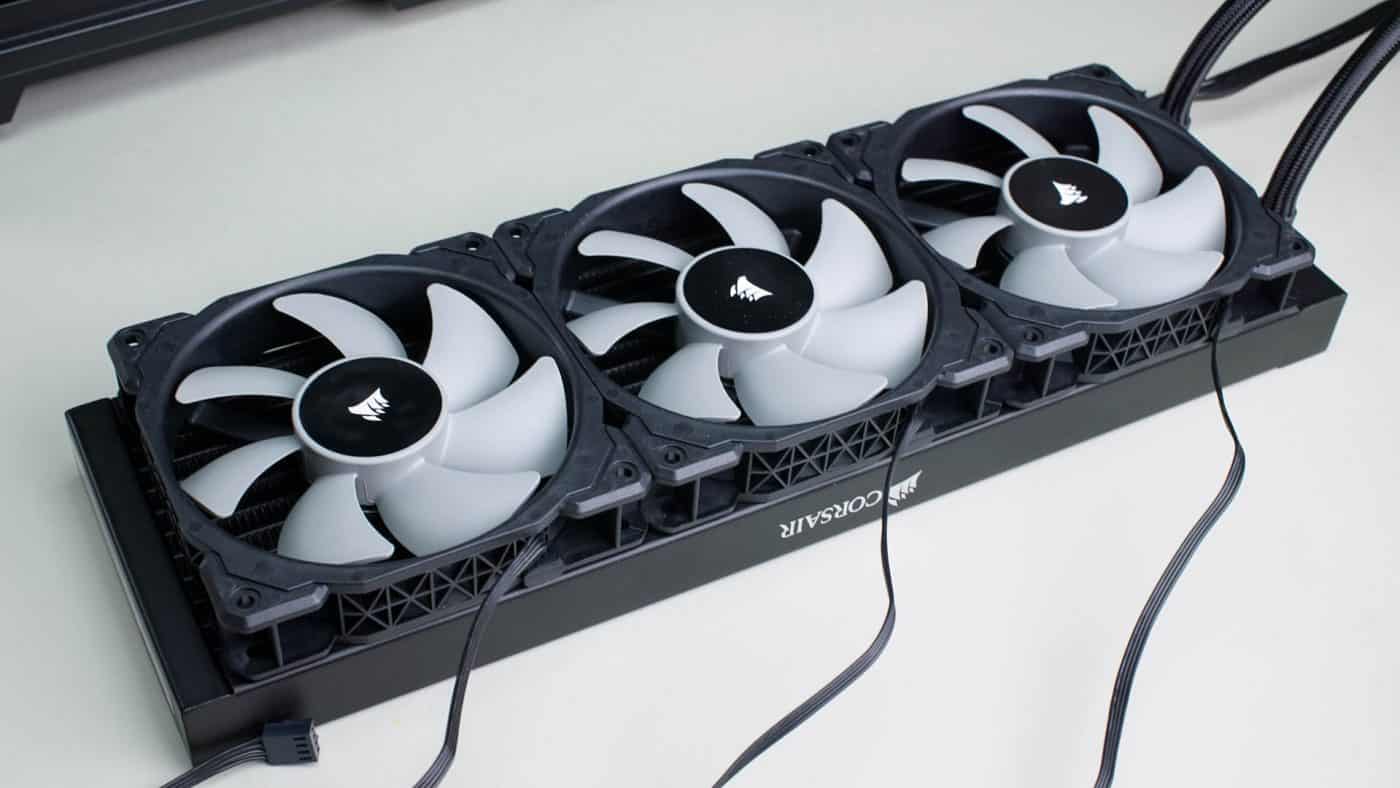
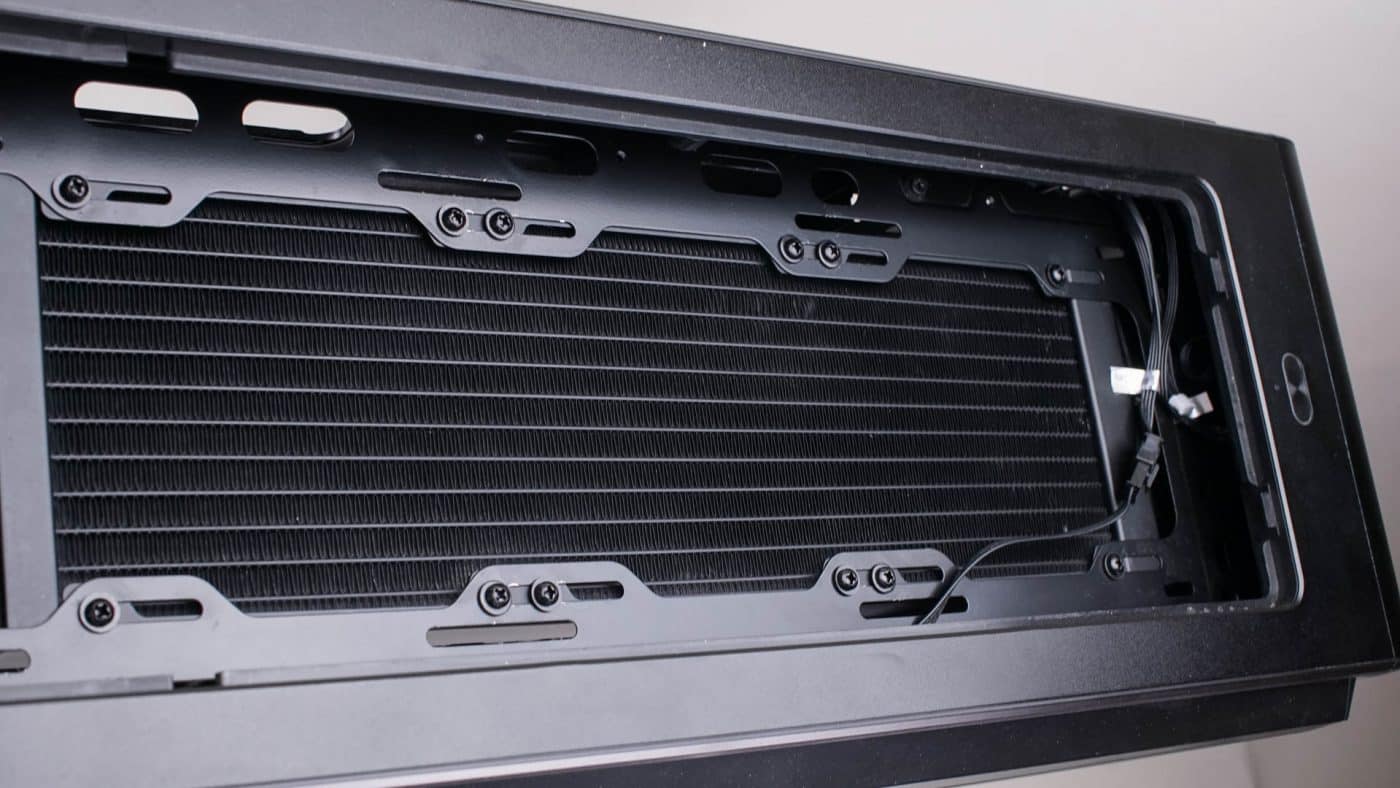
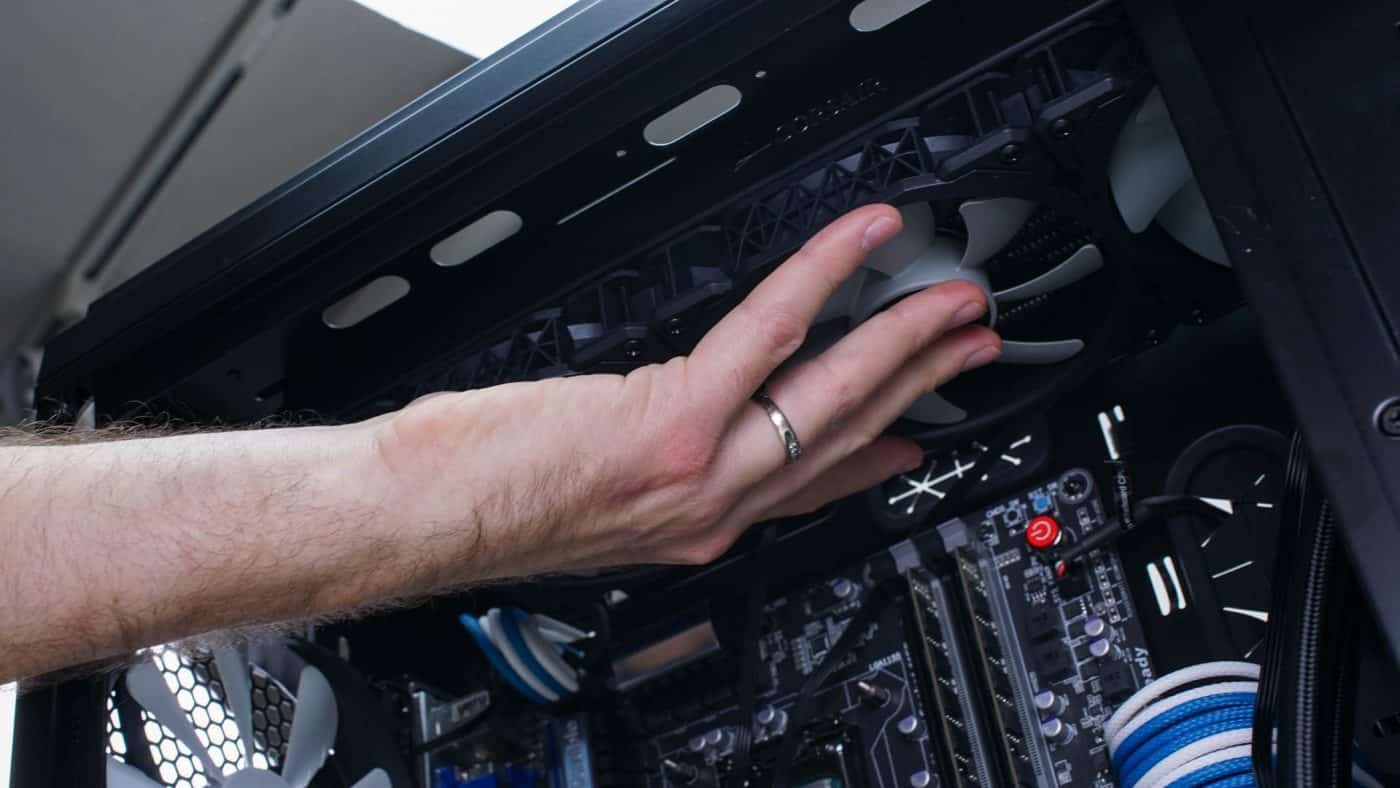
Next let’s go ahead and attach the three 120mm fans to the radiator. Figure out how you would like to orient the tubing inside your case then lay the fans out so that they are pushing air through the rad and the wiring is exiting towards the back side of the case. Secure each fan with four of the included screws.
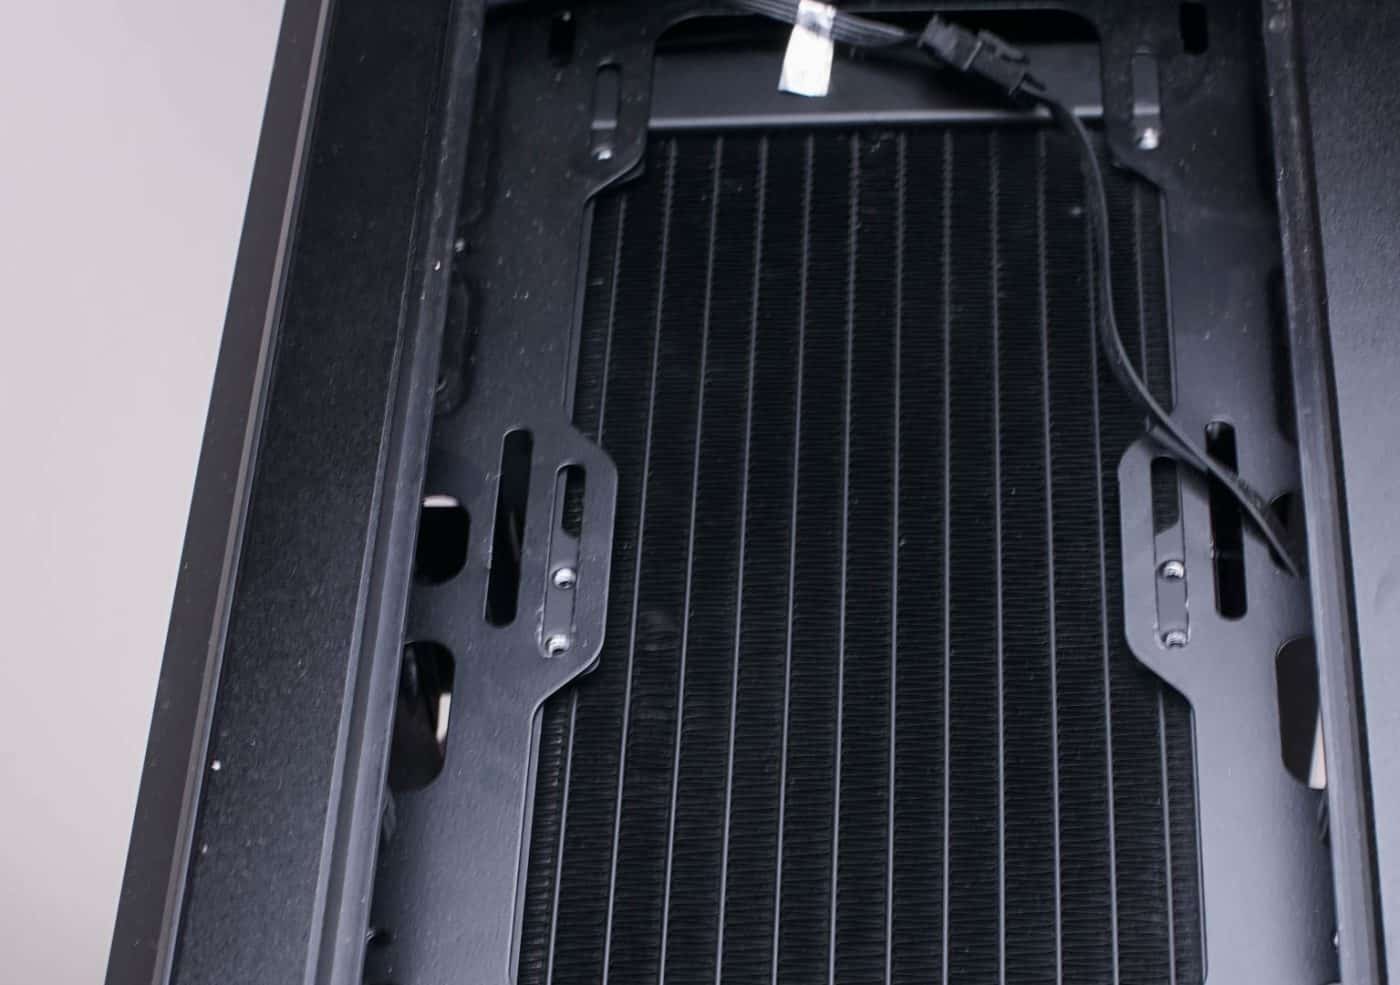
Now we can install the rad into the case. Hold the rad in position with one hand while you secure it with a couple of screws with the other. Once it is relatively held in place you can finish off installing it with the rest of the screws. You will also want to run your fan wiring to the back panel at this point.
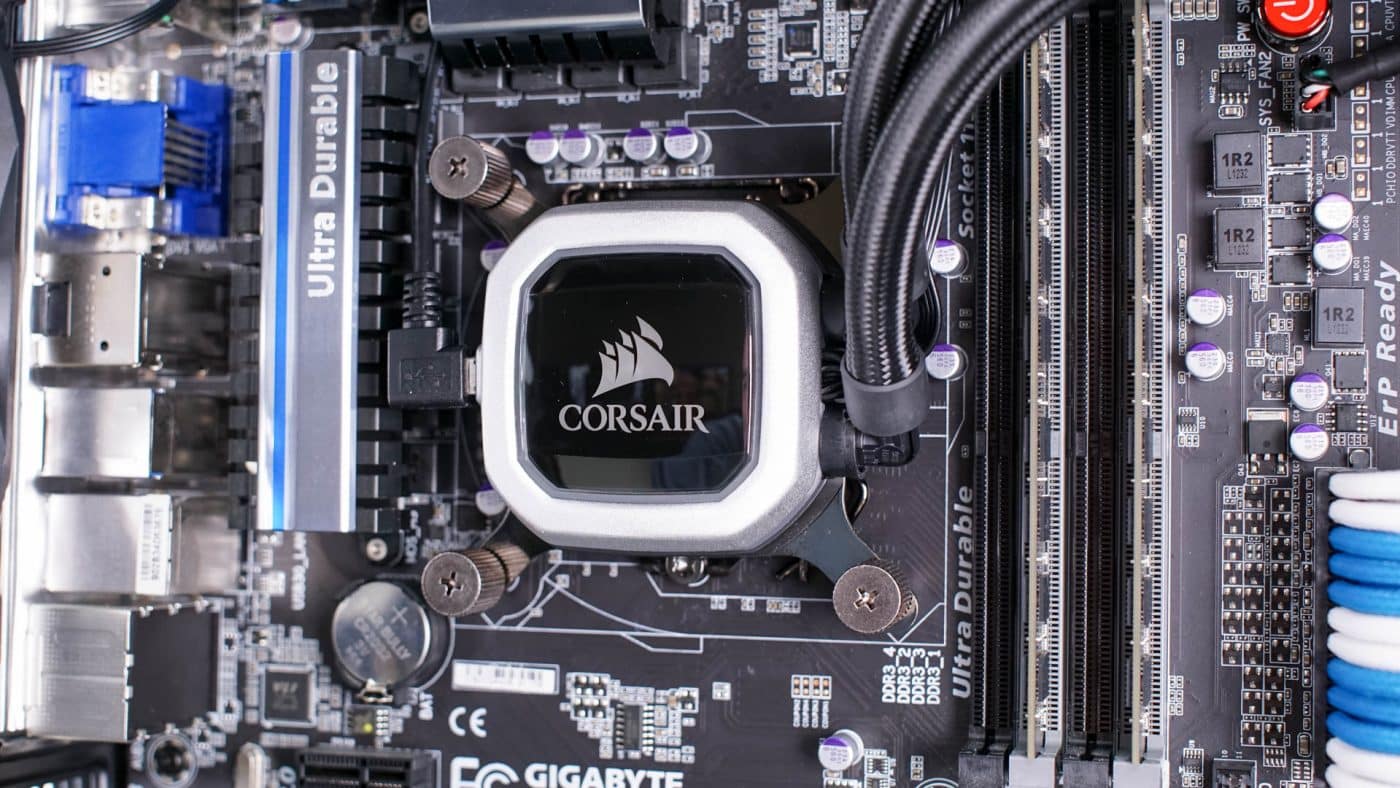
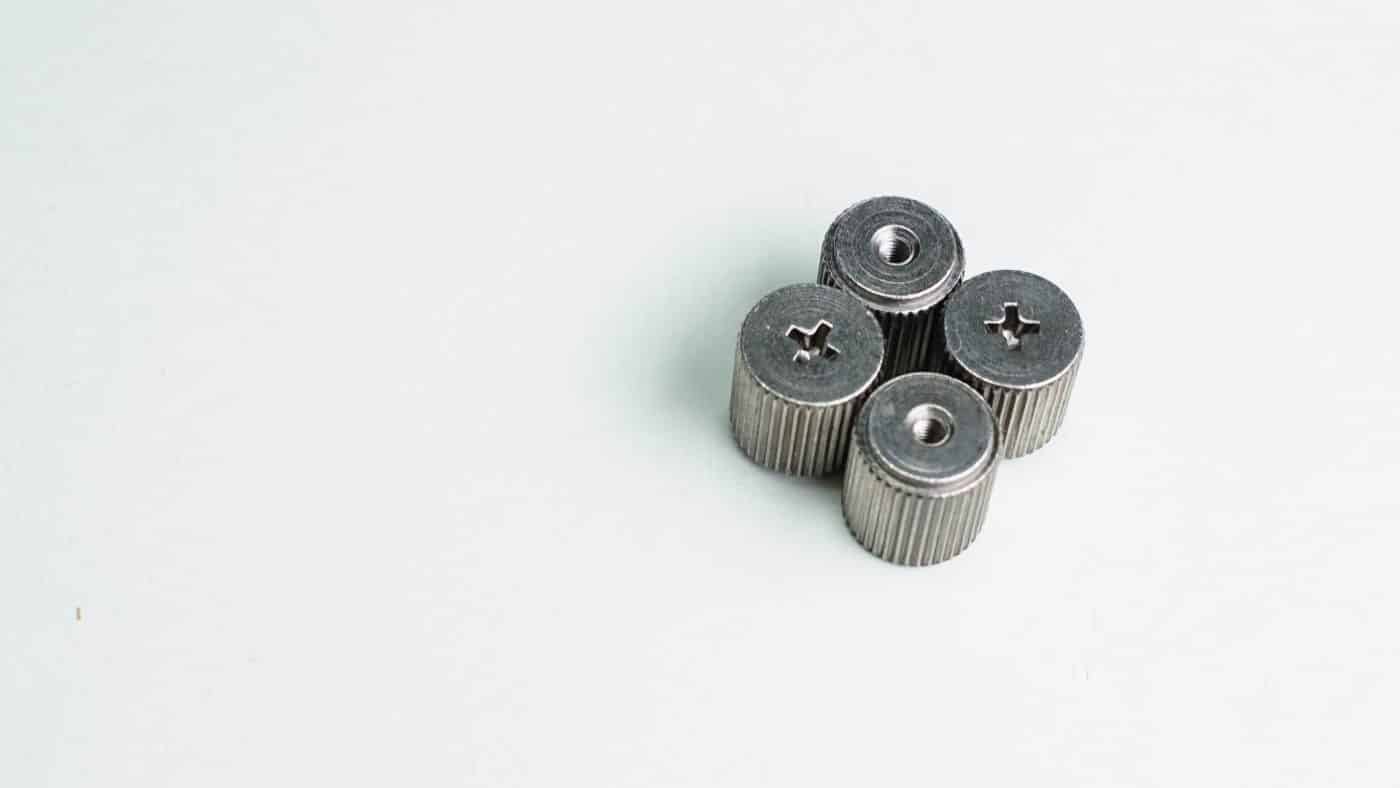
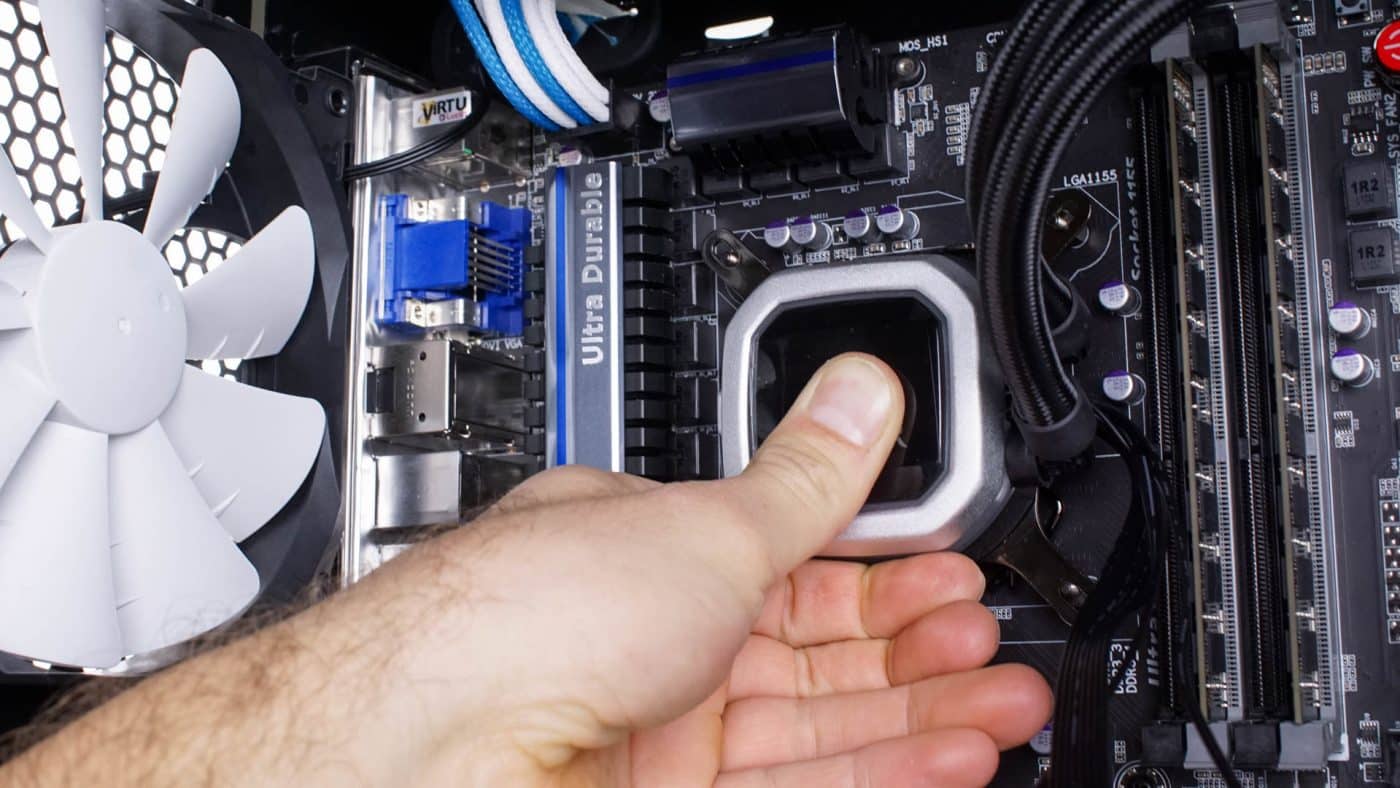
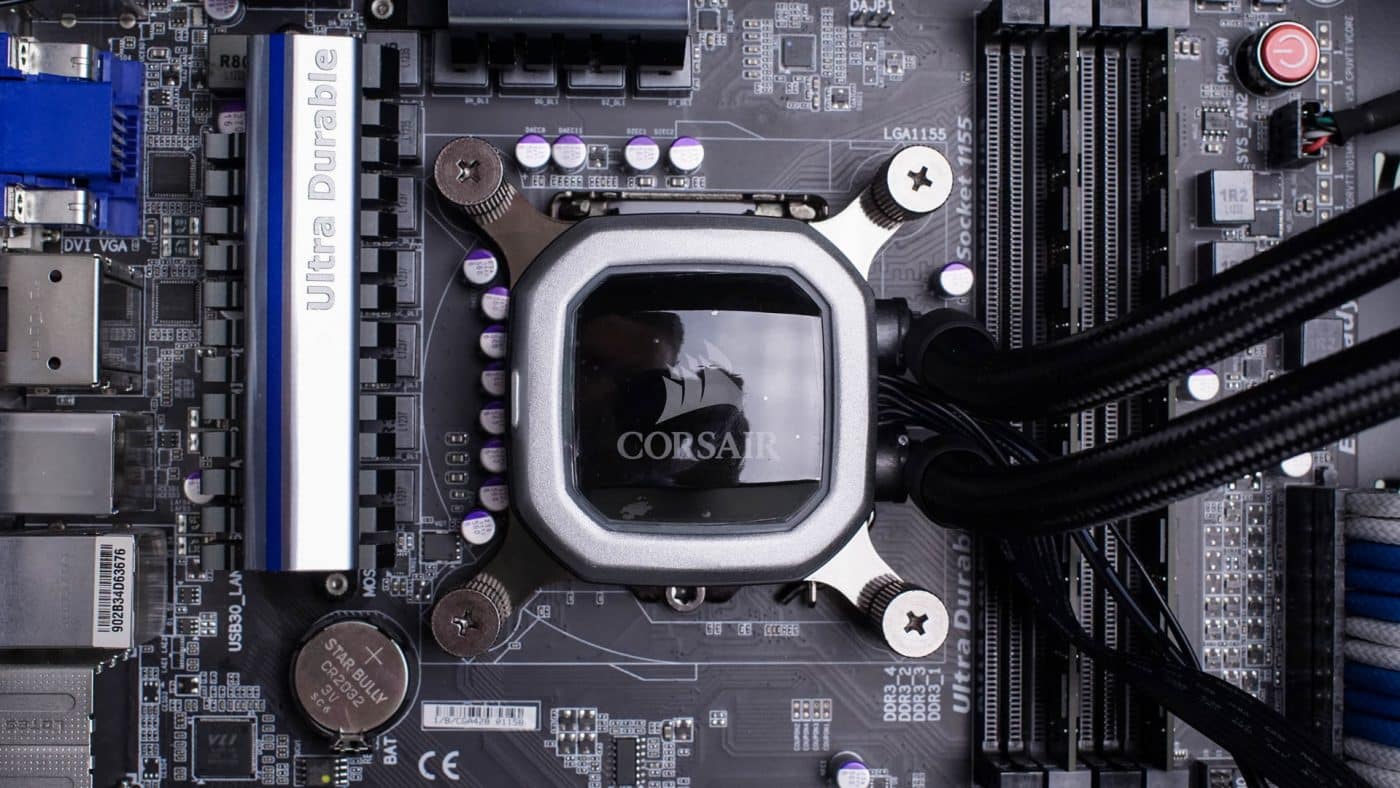
With the unit in place inside the case we can now install the pump onto the CPU. You will need the four thumb screw to secure the pump at each corner. Align the slots at the end of each bracket arm with the four standoff screws we installed earlier. Once you are clear of each screw press and hold the pump to the top of the CPU. With your free hand thread all four thumb screws as far as you can by hand. You can now let go of the pump and finish them with a Phillips head screwdriver. Be careful to simply tighten them fully but not to over torque them.
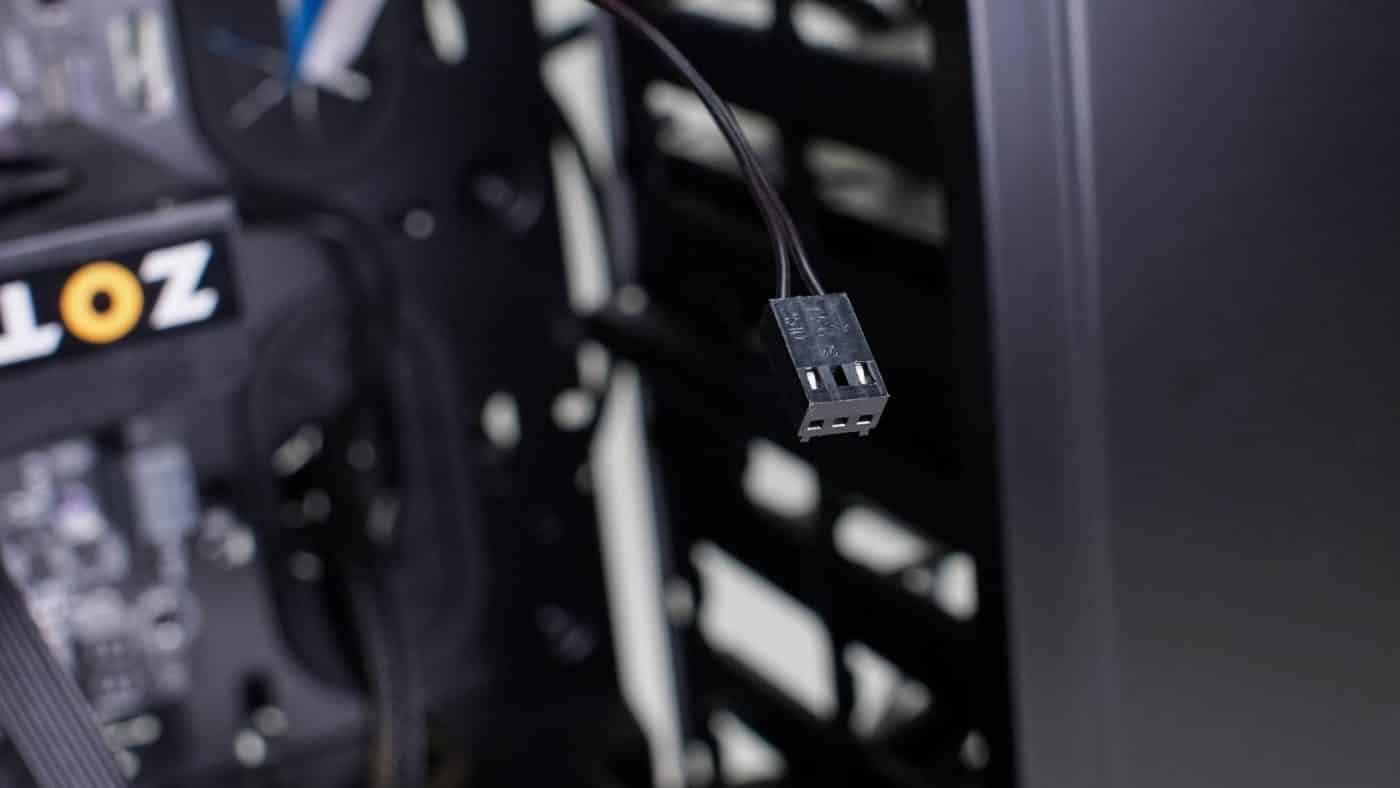
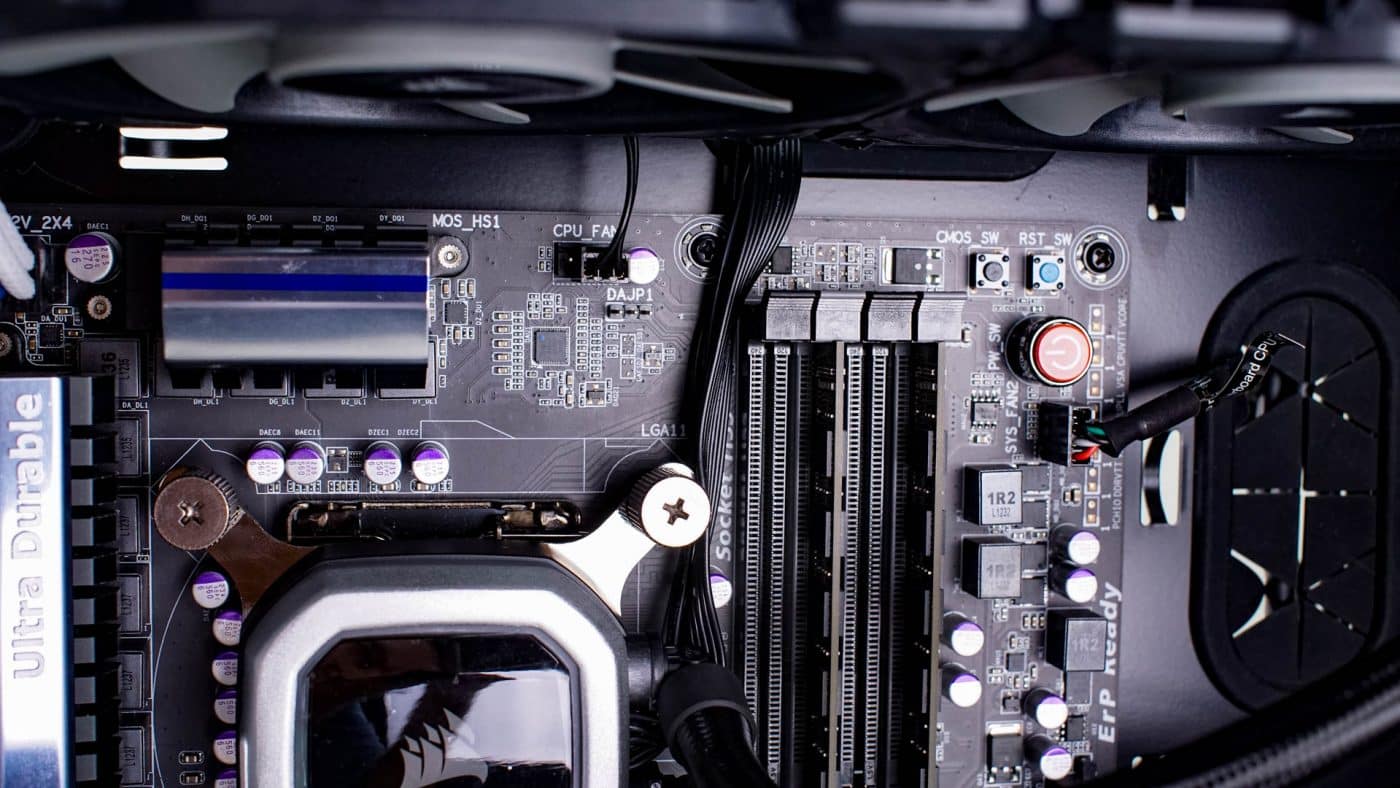
With the hardware fully installed we can move to making all the necessary electrical connections. Begin with the three pin power connector. It should be installed at the CPU_FAN header on the motherboard. Most motherboards will not allow the system to boot with this socket empty.
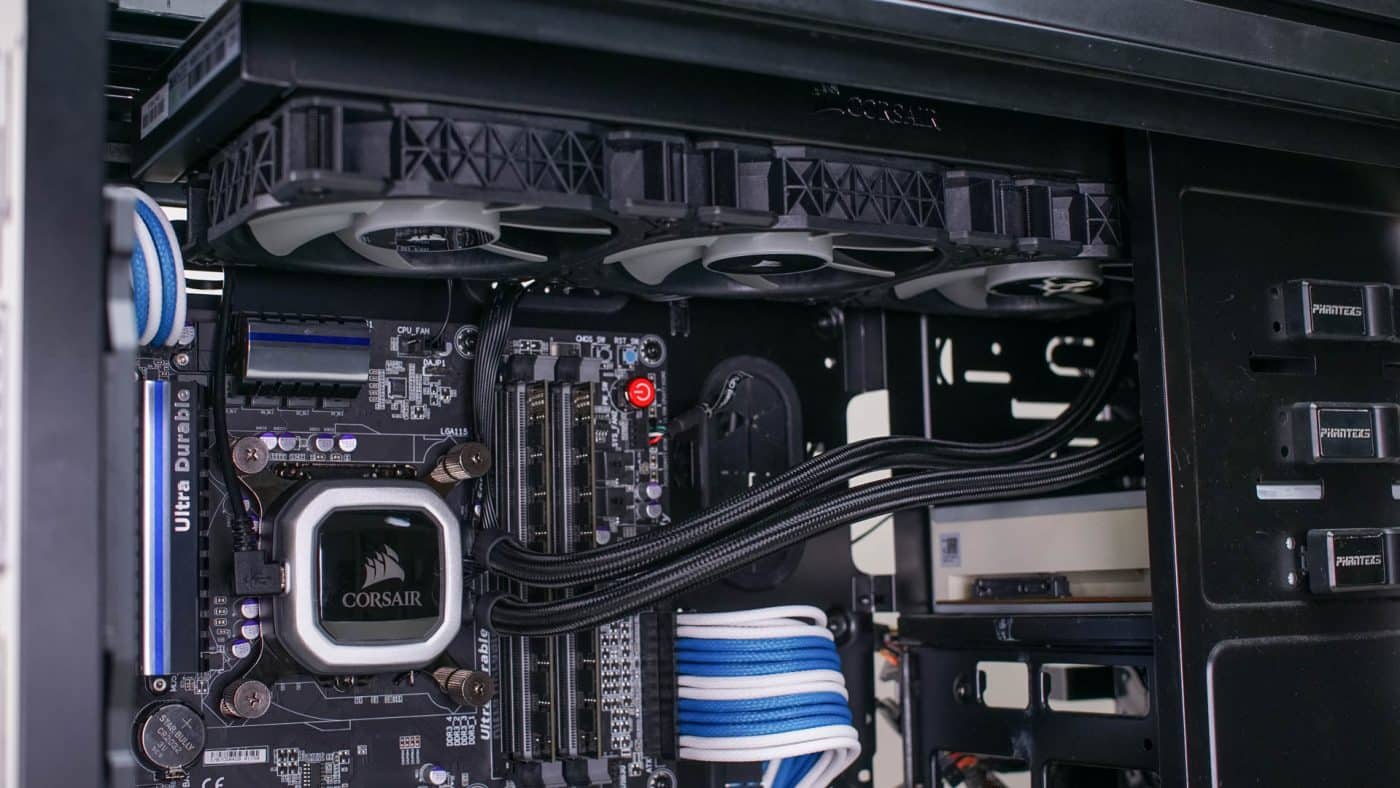
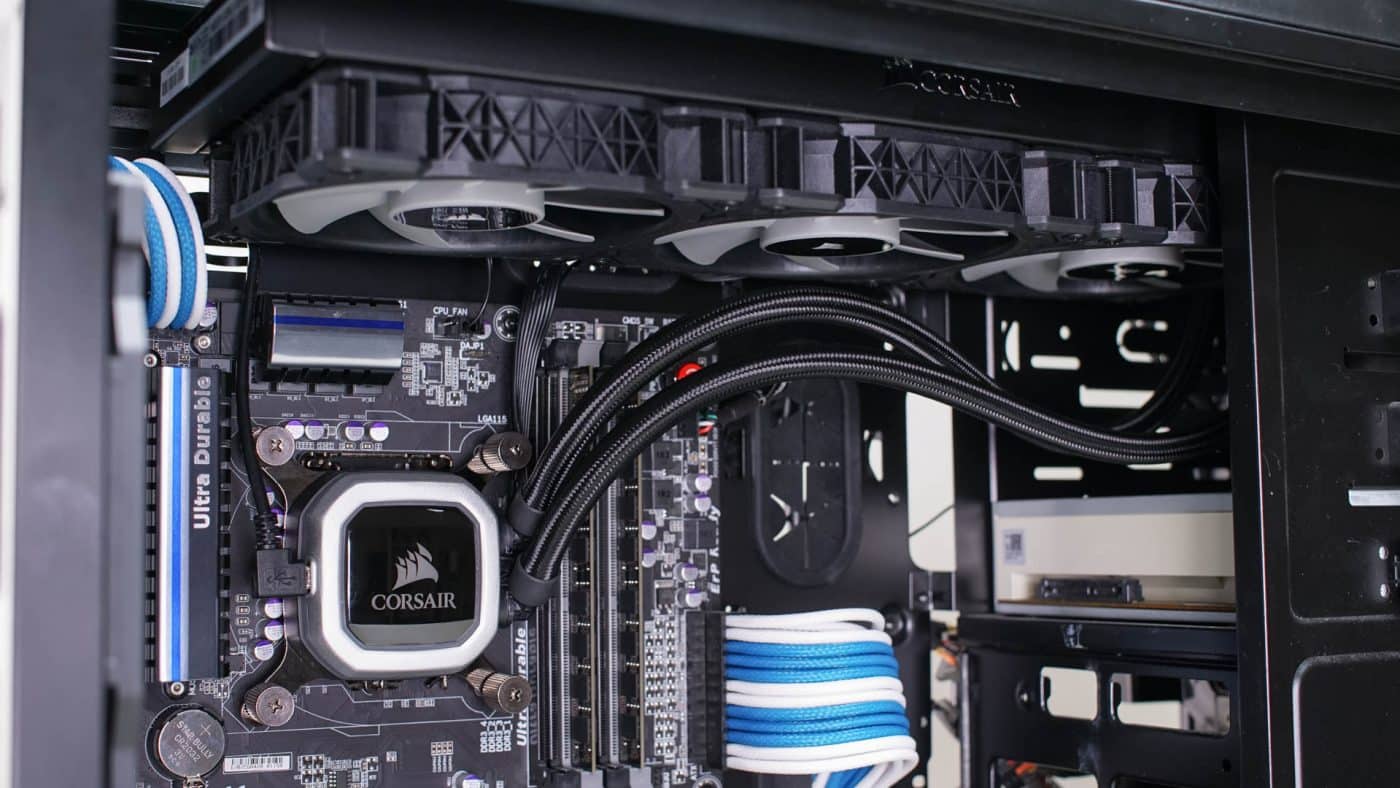
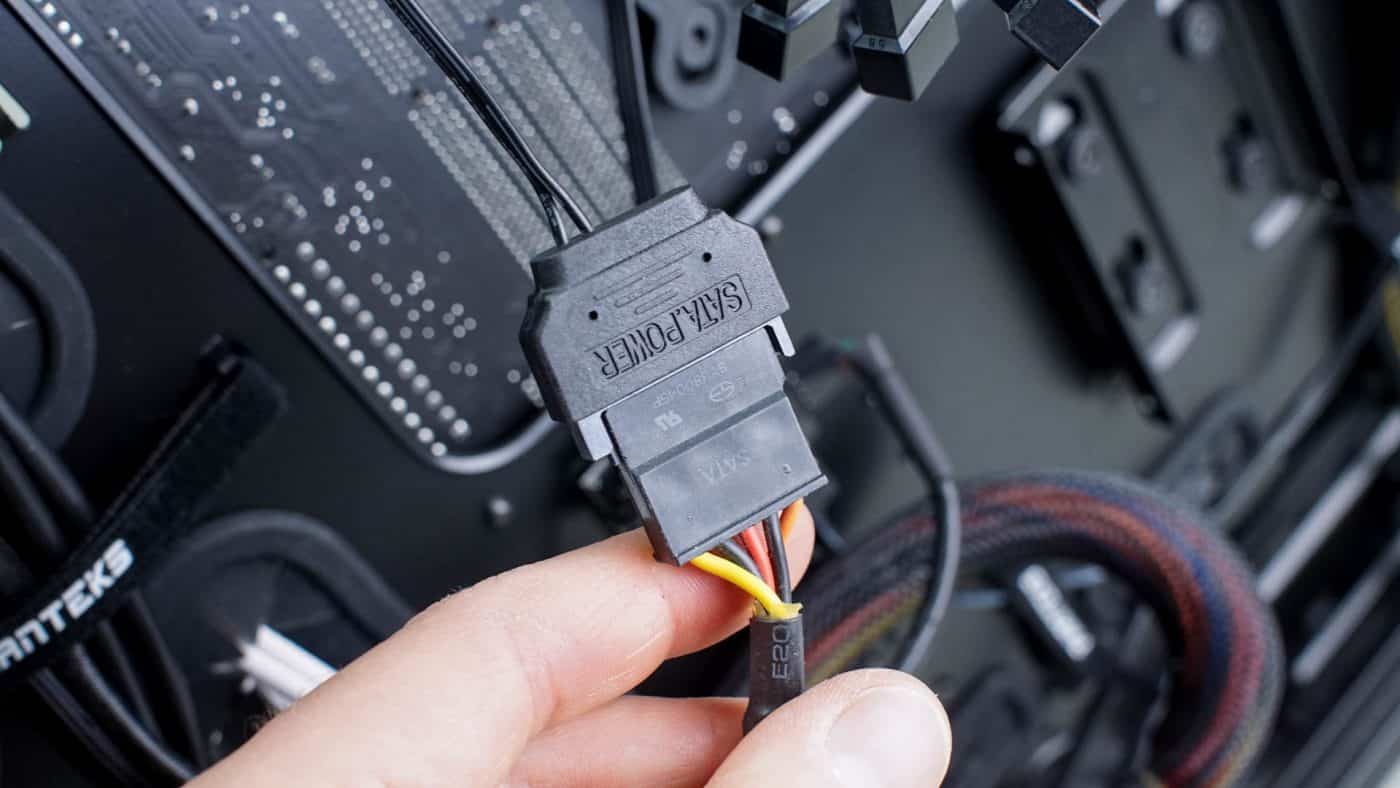
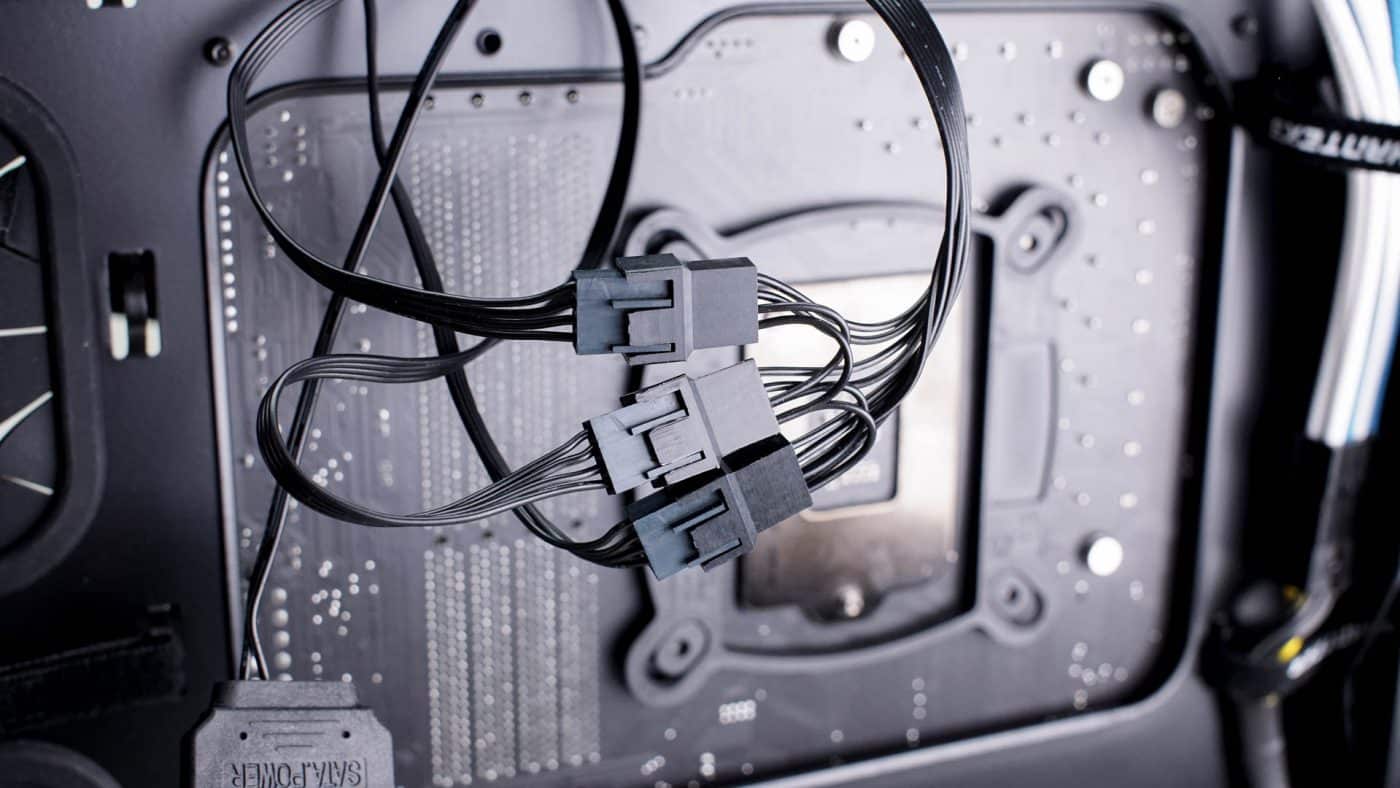
After the three pin we move to the back of the case and attach the Sata power connector to an open connector from our PSU. While we are back here we connect the three fans to the three four pin connectors that come from the pump.
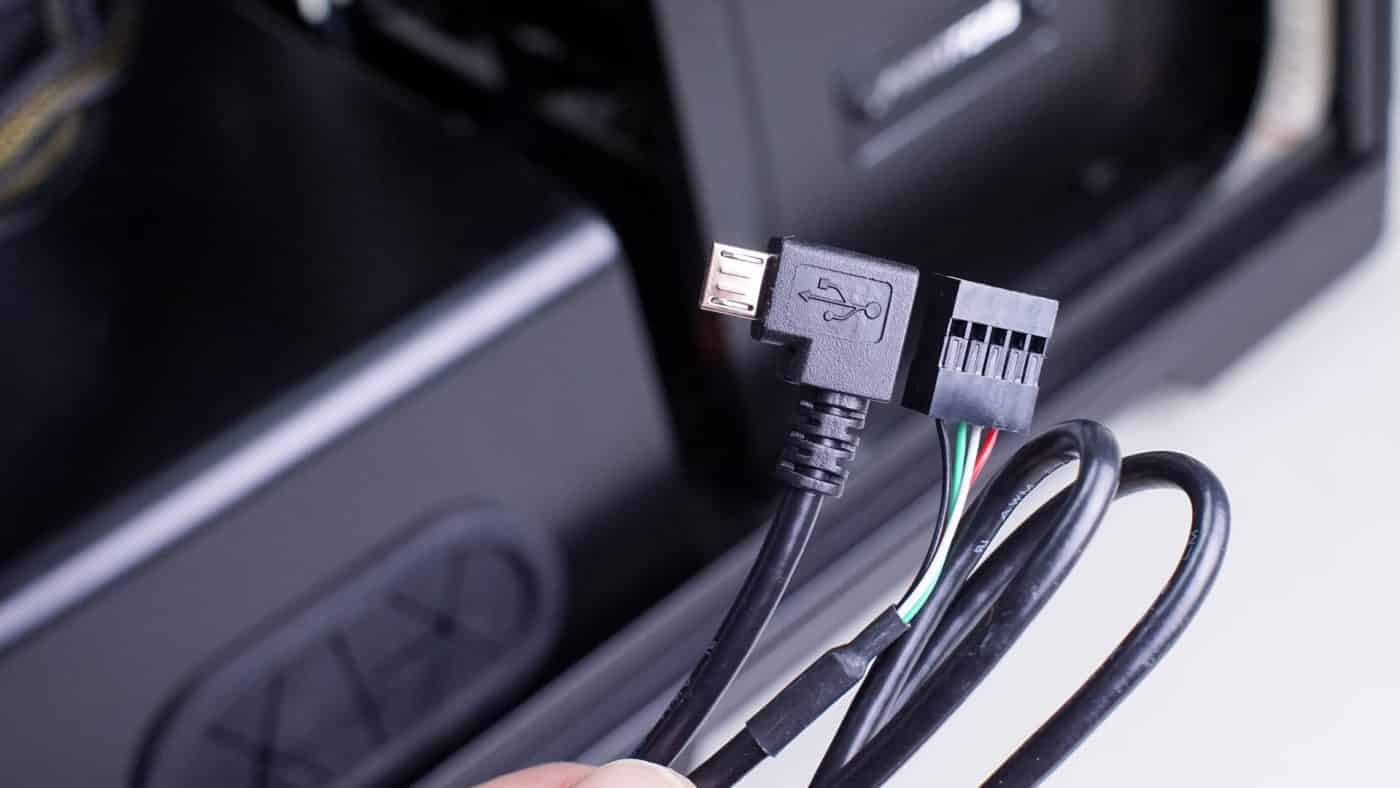
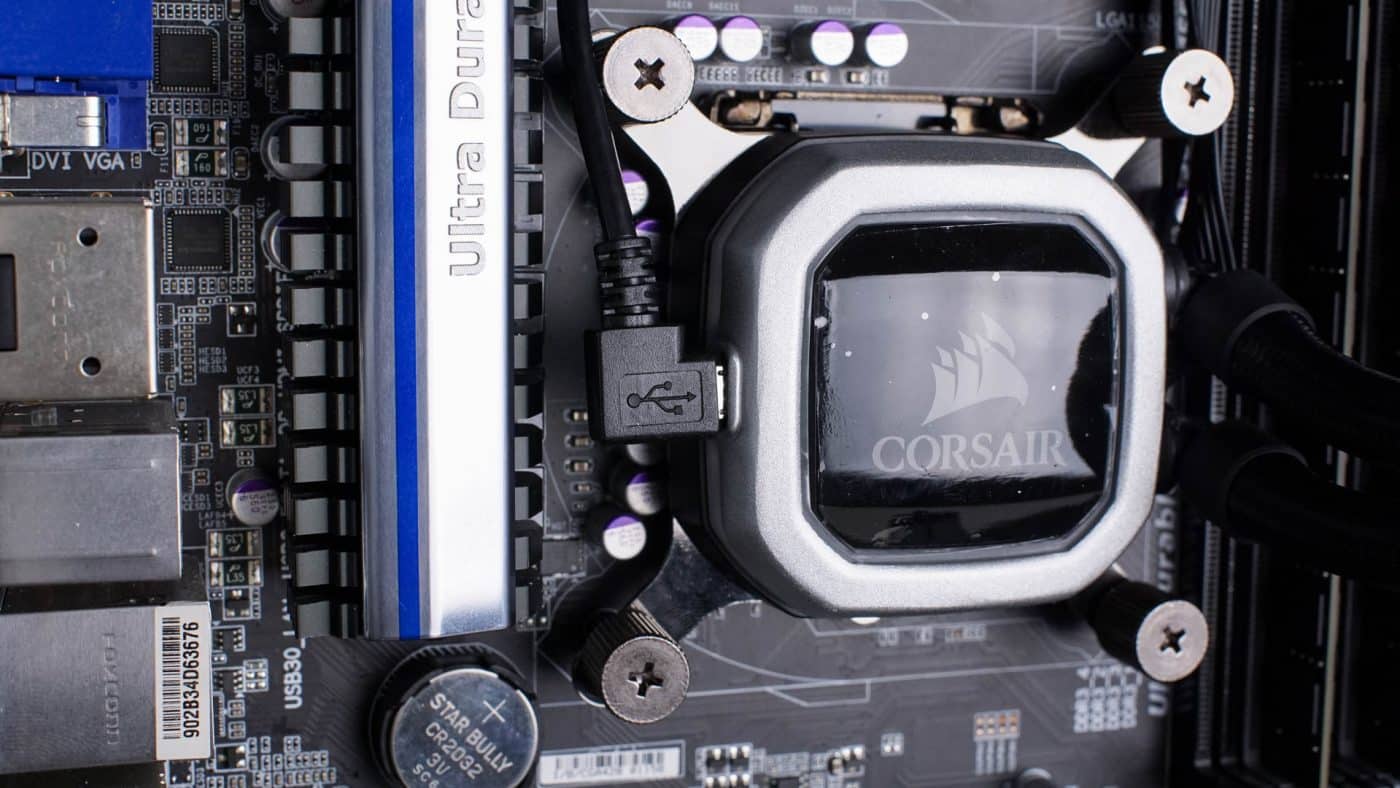
Back in the main compartment of the case we need to connect the data link to the pump. Opposite the inlet outlet ports is a micro USB port. Attach the included cable here and the other end to an open USB header on your board.
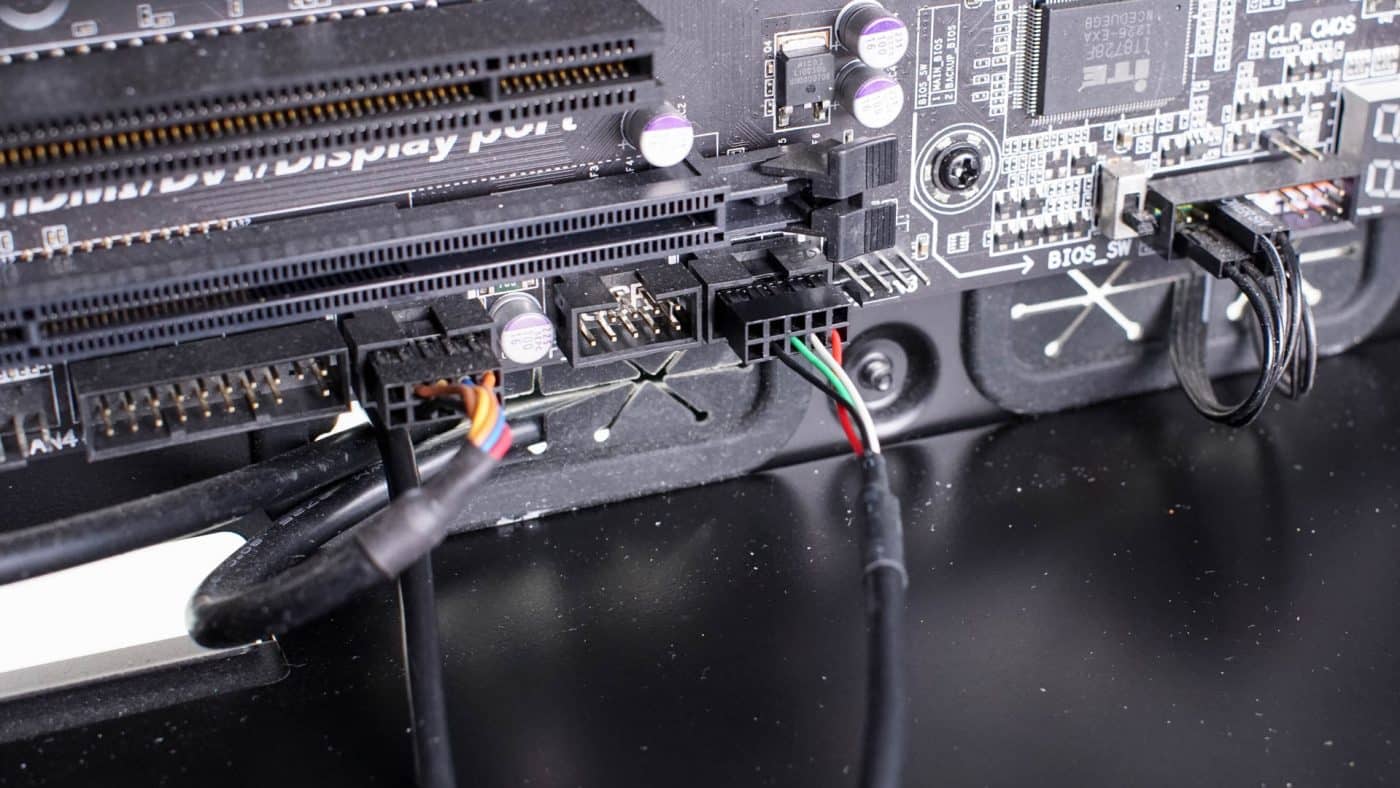
The final required connection was the data cable, the install in now complete. Check that you’ve not left anything inside the chassis and button up the panels. It’s now time to fire up the system and see how well the H150i PRO works.
One thing we noticed after getting everything connected was the awkward way the power cables exiting the pump body interfere with the the swivel fittings. It restricts the amount you can swivel the fittings and regulates what you can get your tubing to do.