Installation
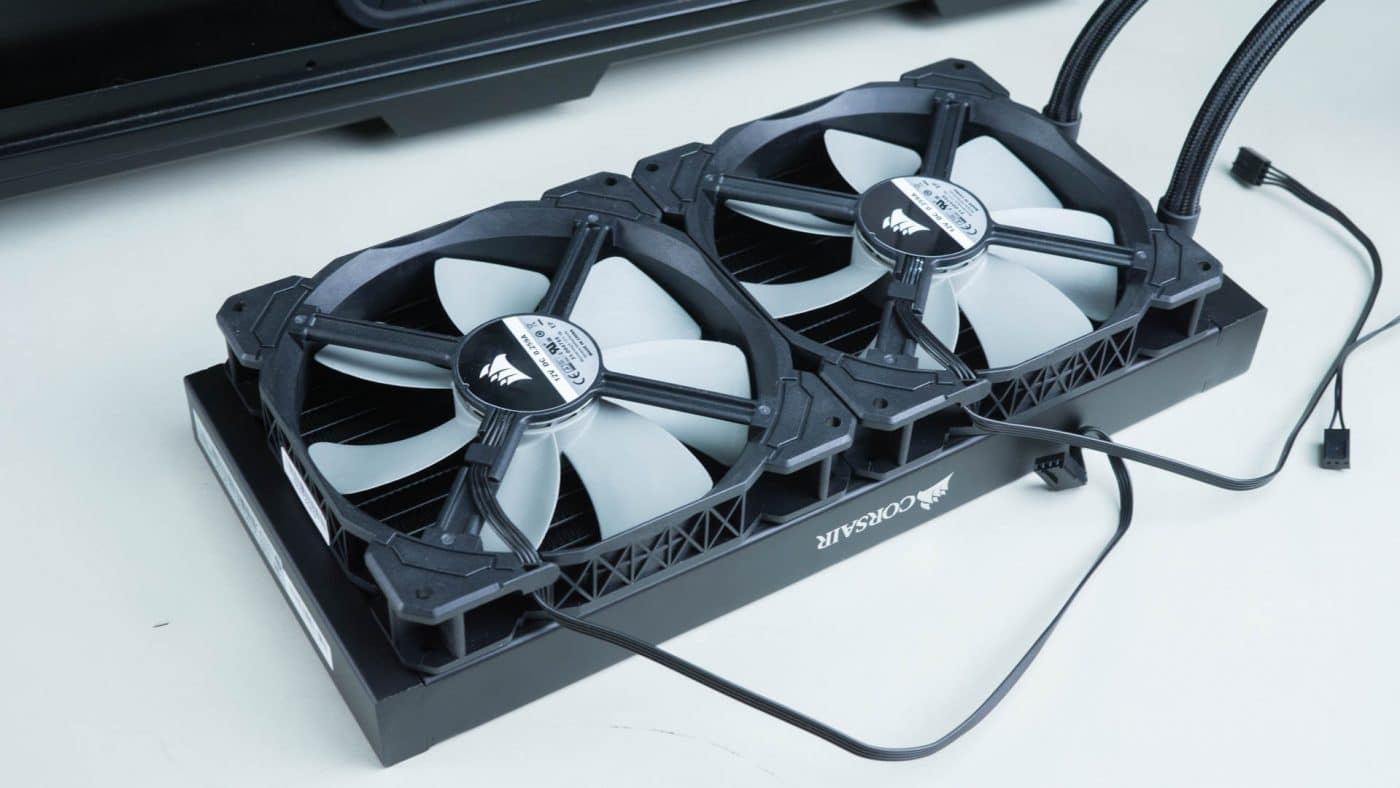
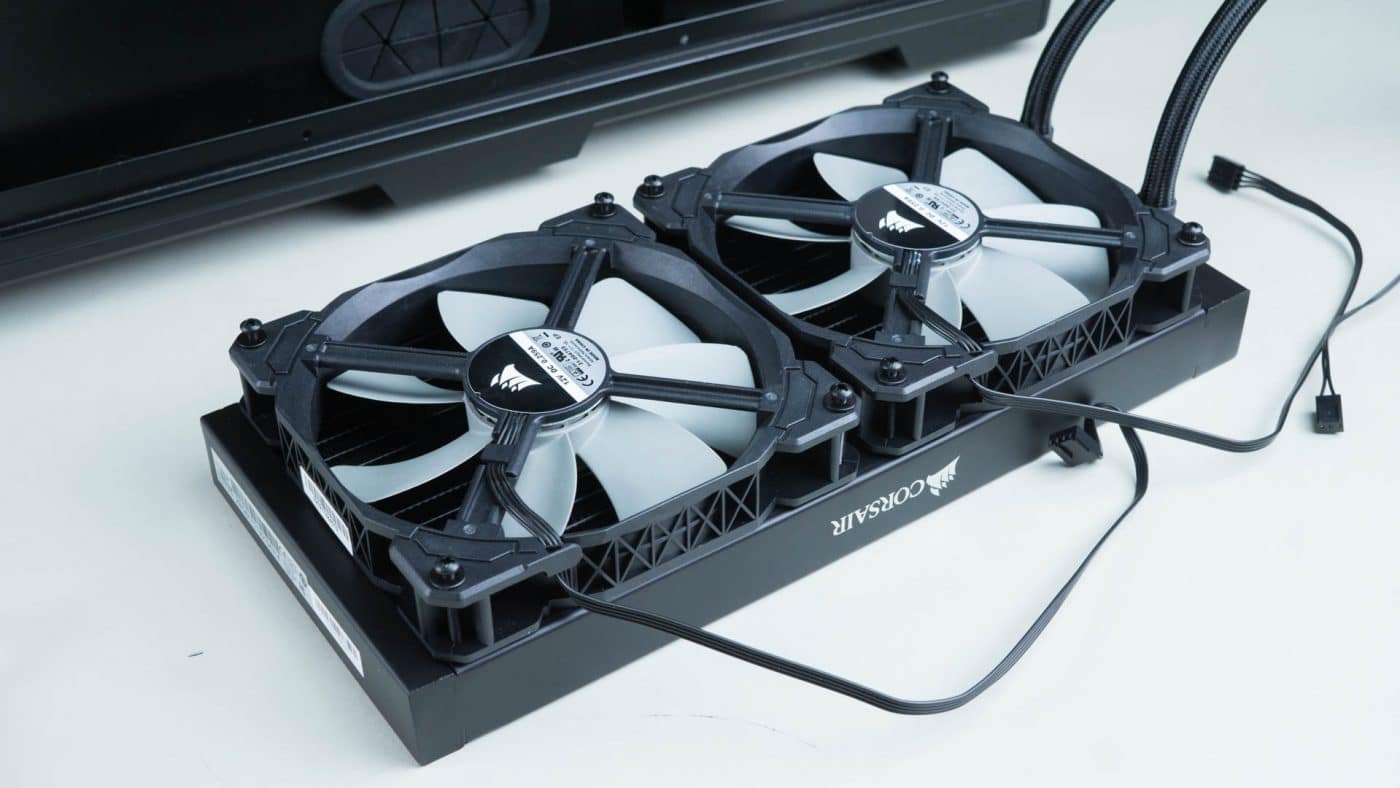
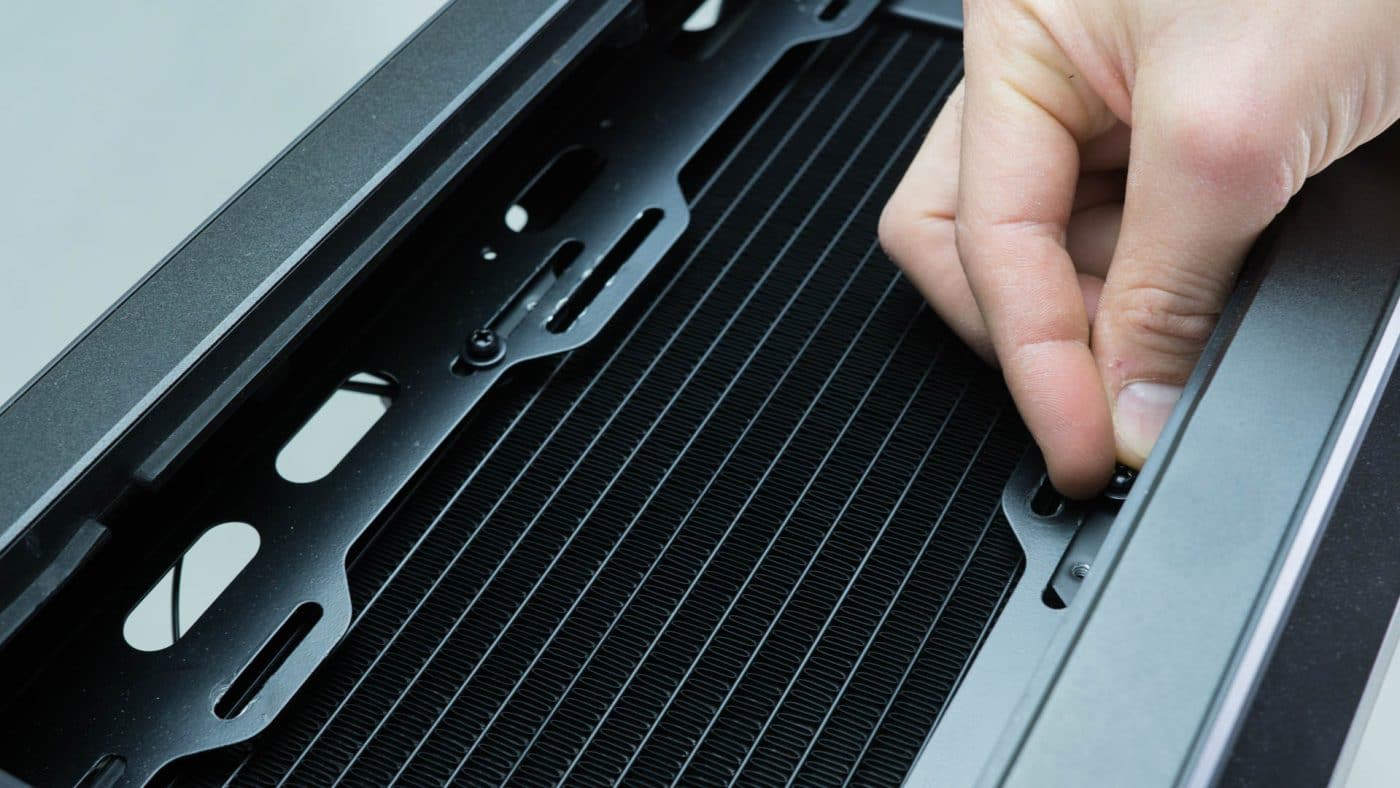
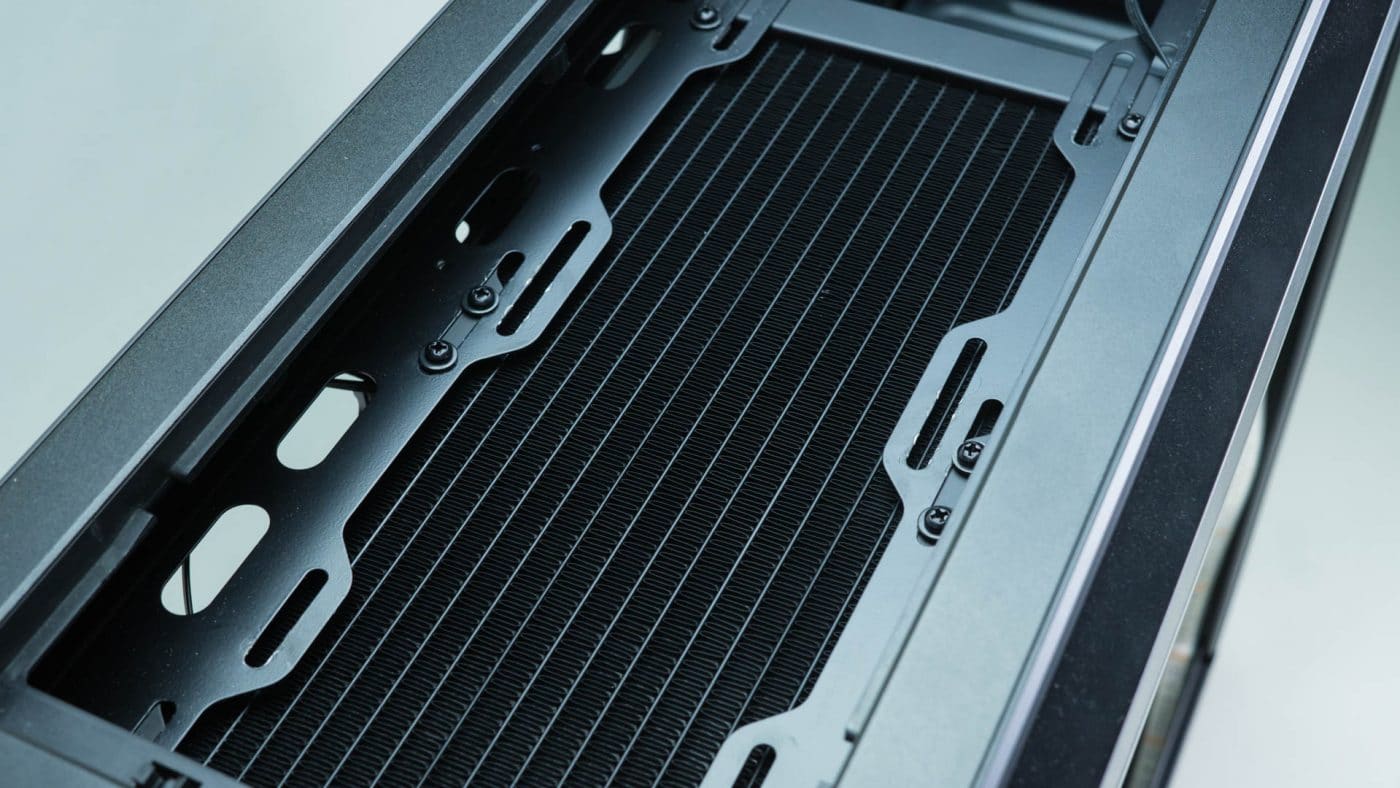
The installation process for AiO coolers in general has improved quite a bit over the years and while Asetek’s process hasn’t changed greatly it hasn’t been left behind either. We’ll start where we always do, attaching the fans to the radiator. Remember to check the orientation to save yourself from having to repeat this process. We set up our radiator with the fans pulling cool air into the case and put the tubing end opposite the socket. This will stretch the tubing to a good length aesthetically while still allowing for an easy installation.
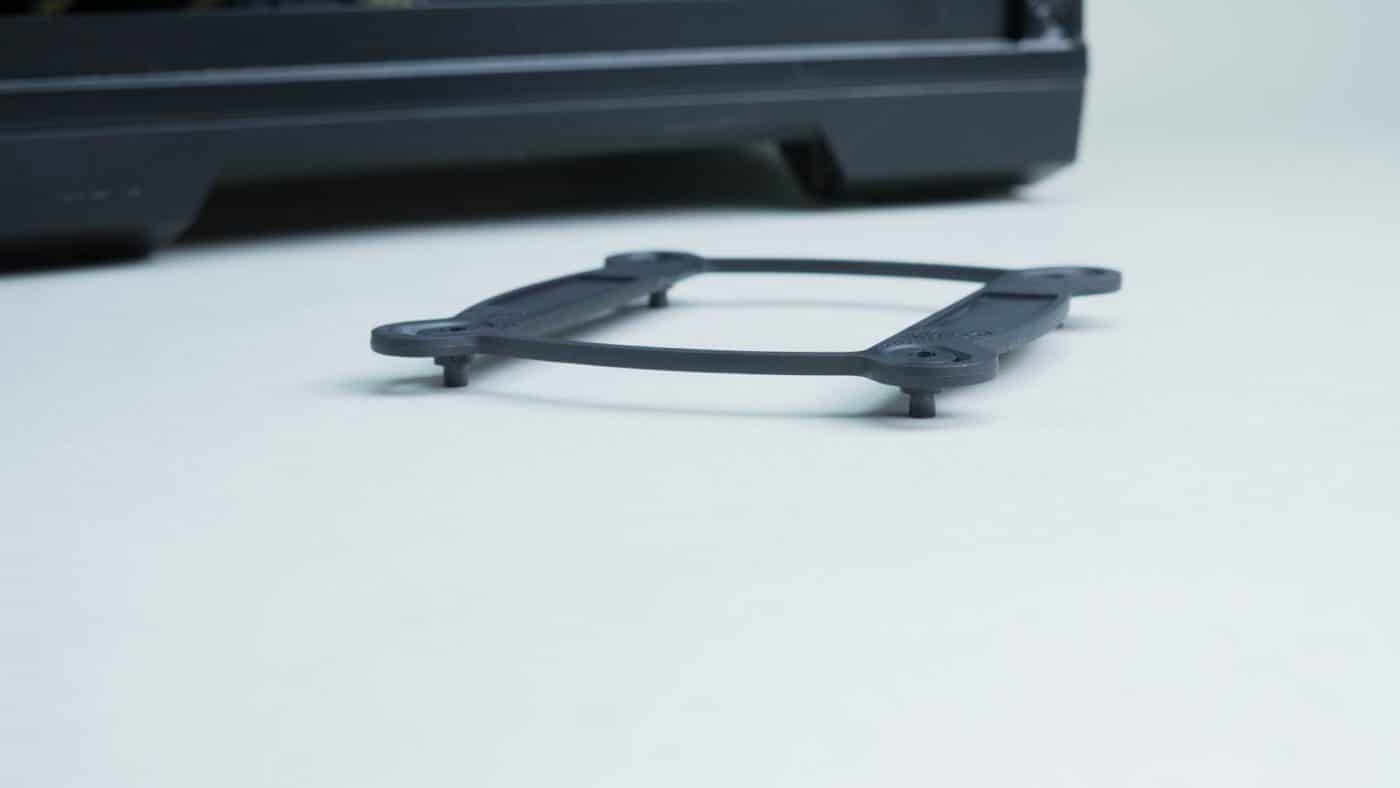
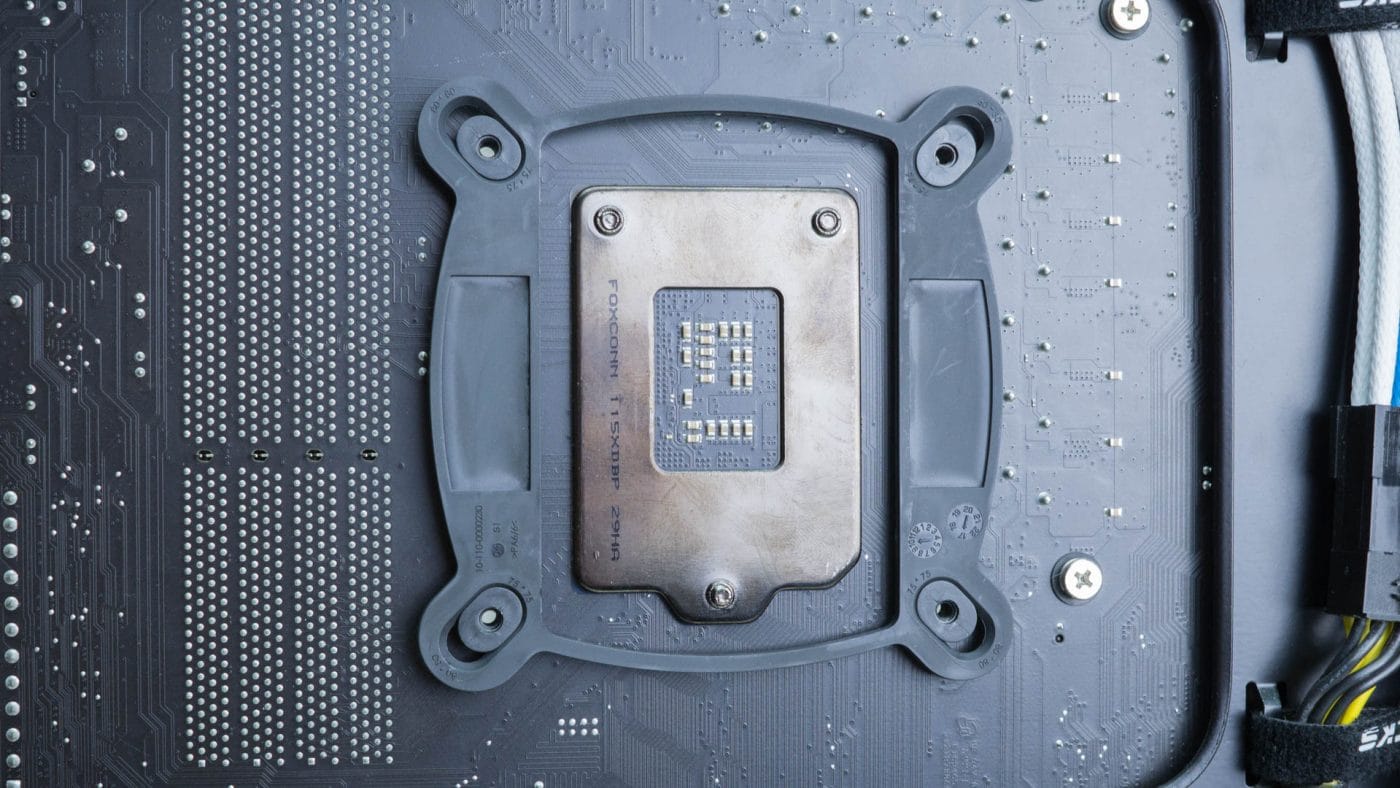
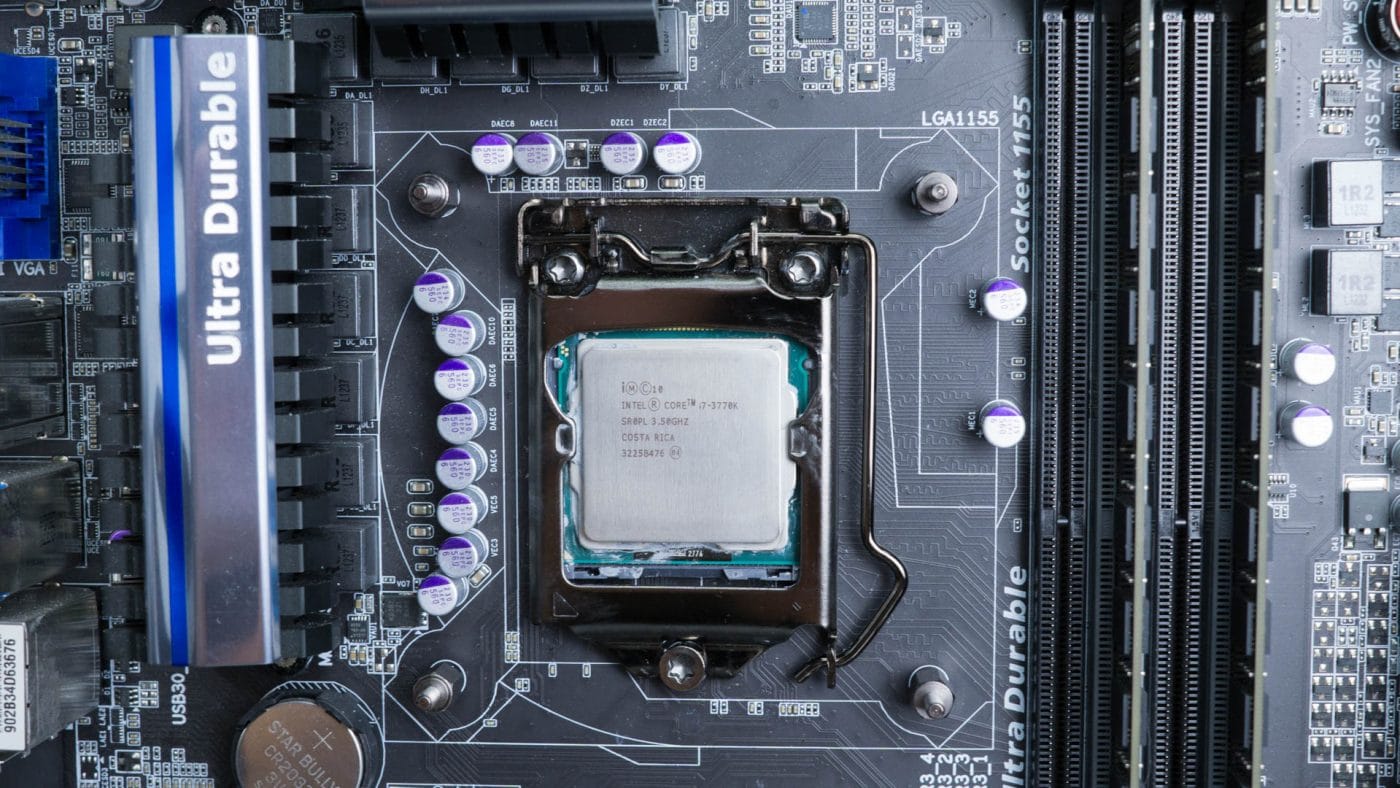
Next we’ll install the backplate. Adjust the sliders on the corners of the backplate for your socket. Ours is 115x so all four are set to the inside. From the back of the motherboard slide the posts through the holes in the motherboard. With that in place secure it with the four stand-off screws from the front of the motherboard.
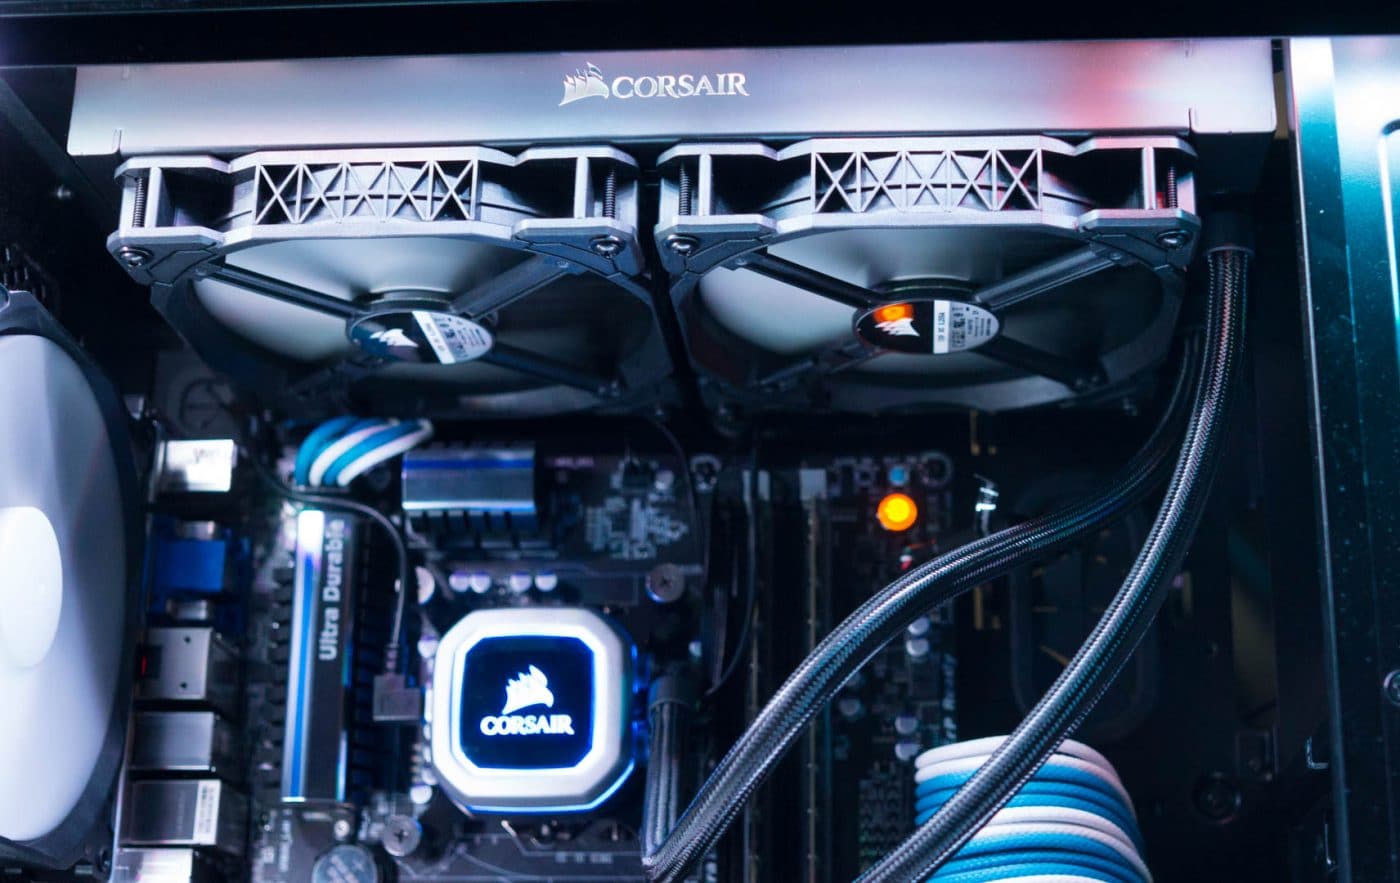
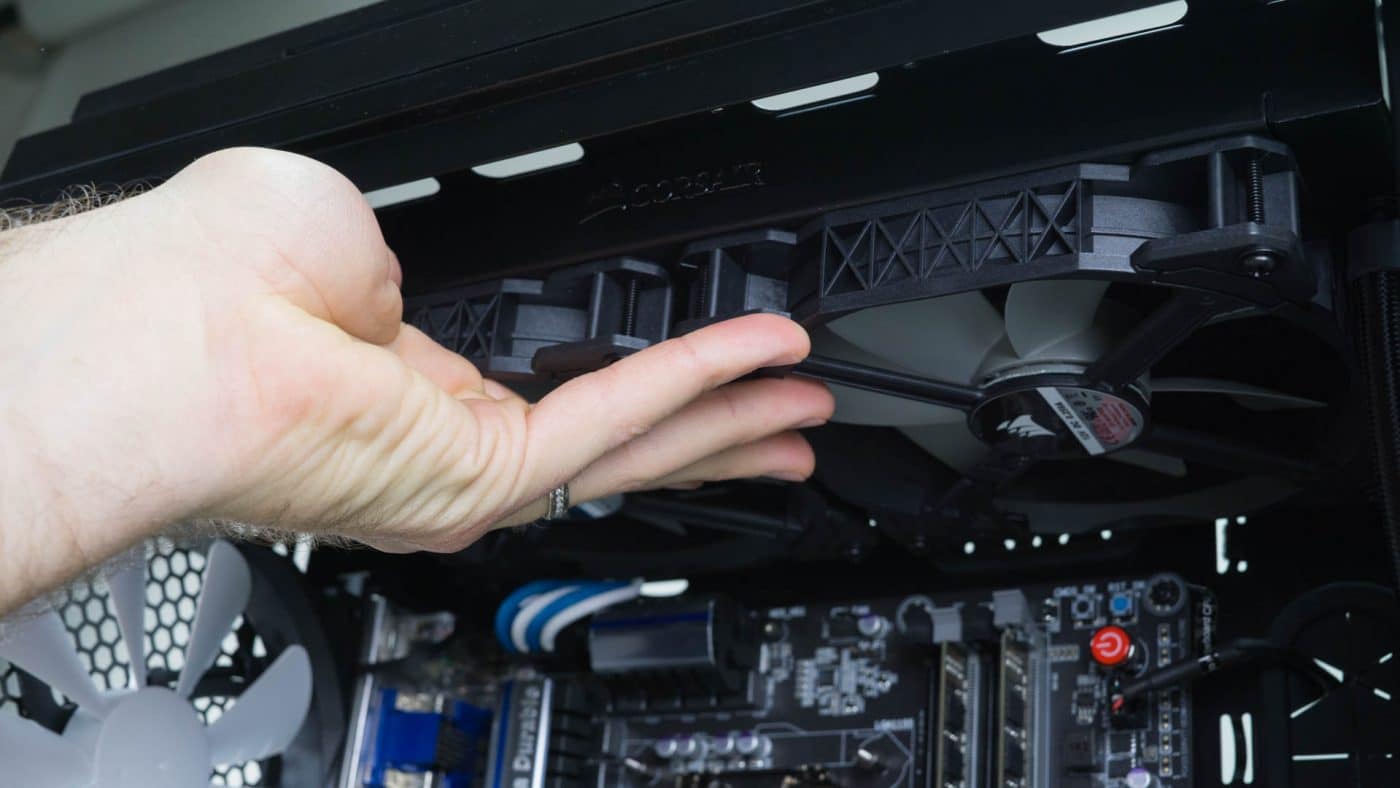
We’re now ready to install the radiator into the top of the case. With one hand hold the radiator in place while you hand thread a couple of the screws into place. Once you have it stable install all eight of the screws firmly with a Phillips head screwdriver.
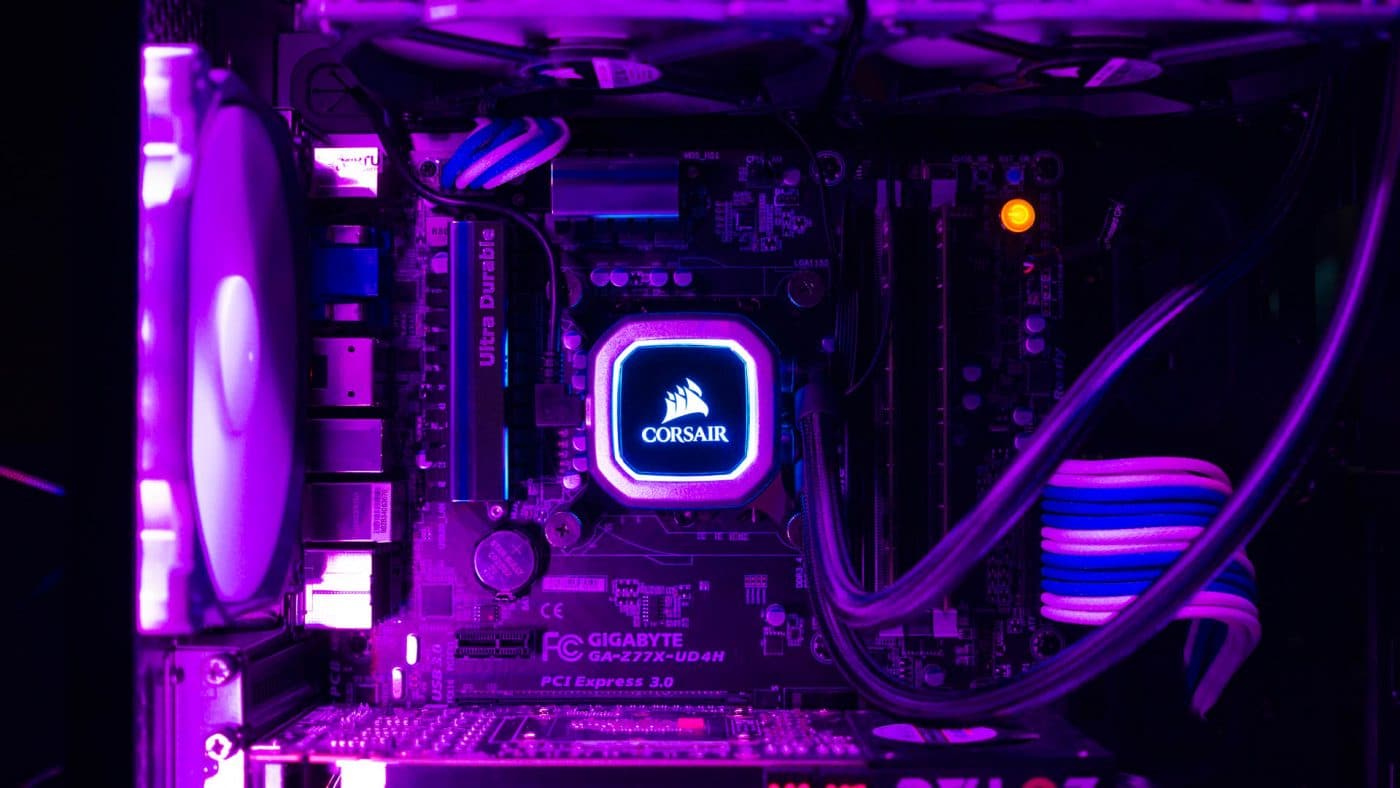
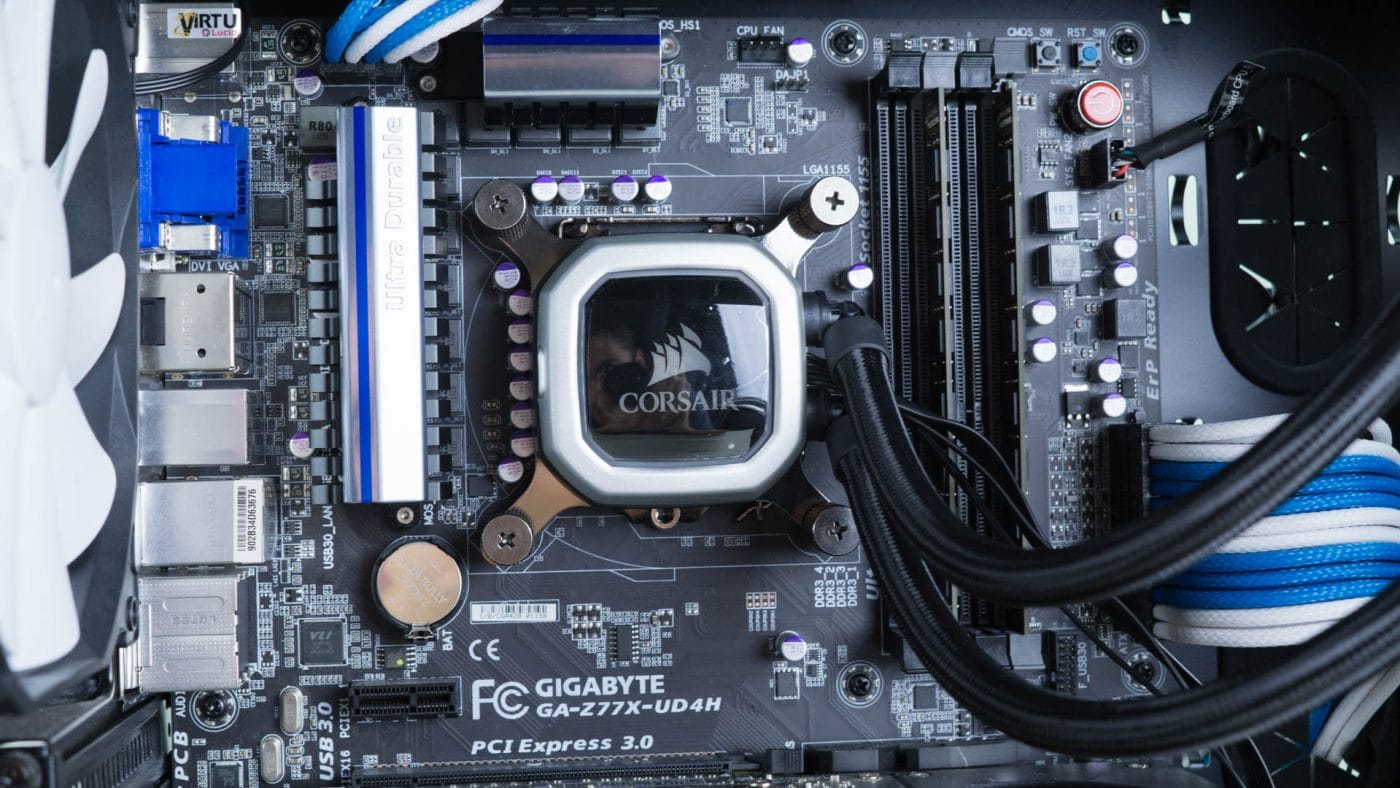
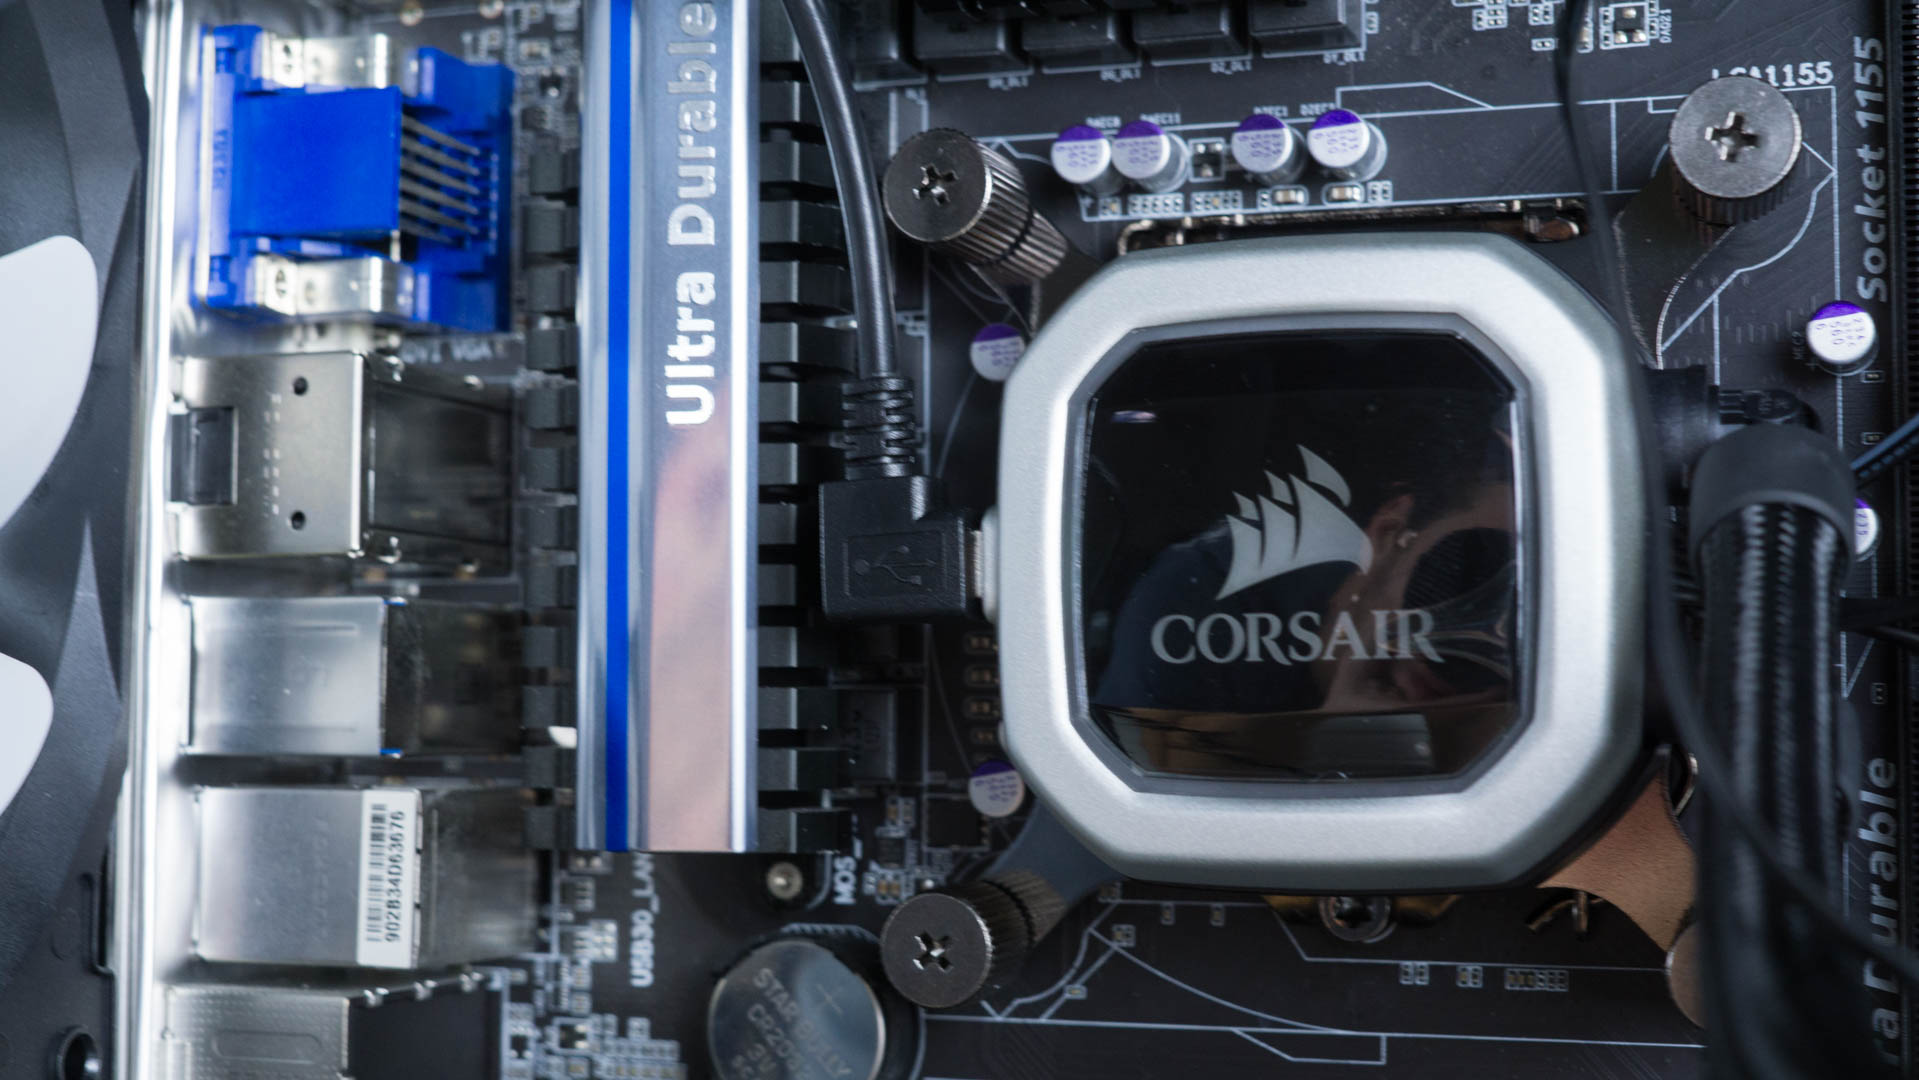
The pump is now hanging from the top of the case so let’s go ahead and install it onto the processor. Align the ends of the bracket with the four posts we installed earlier and press the pump firmly onto the top of the processor. Holding it in place with one hand, secure each corner with one of the large thumbscrews. Once you have all four hand tight snug each with that Philips screwdriver.
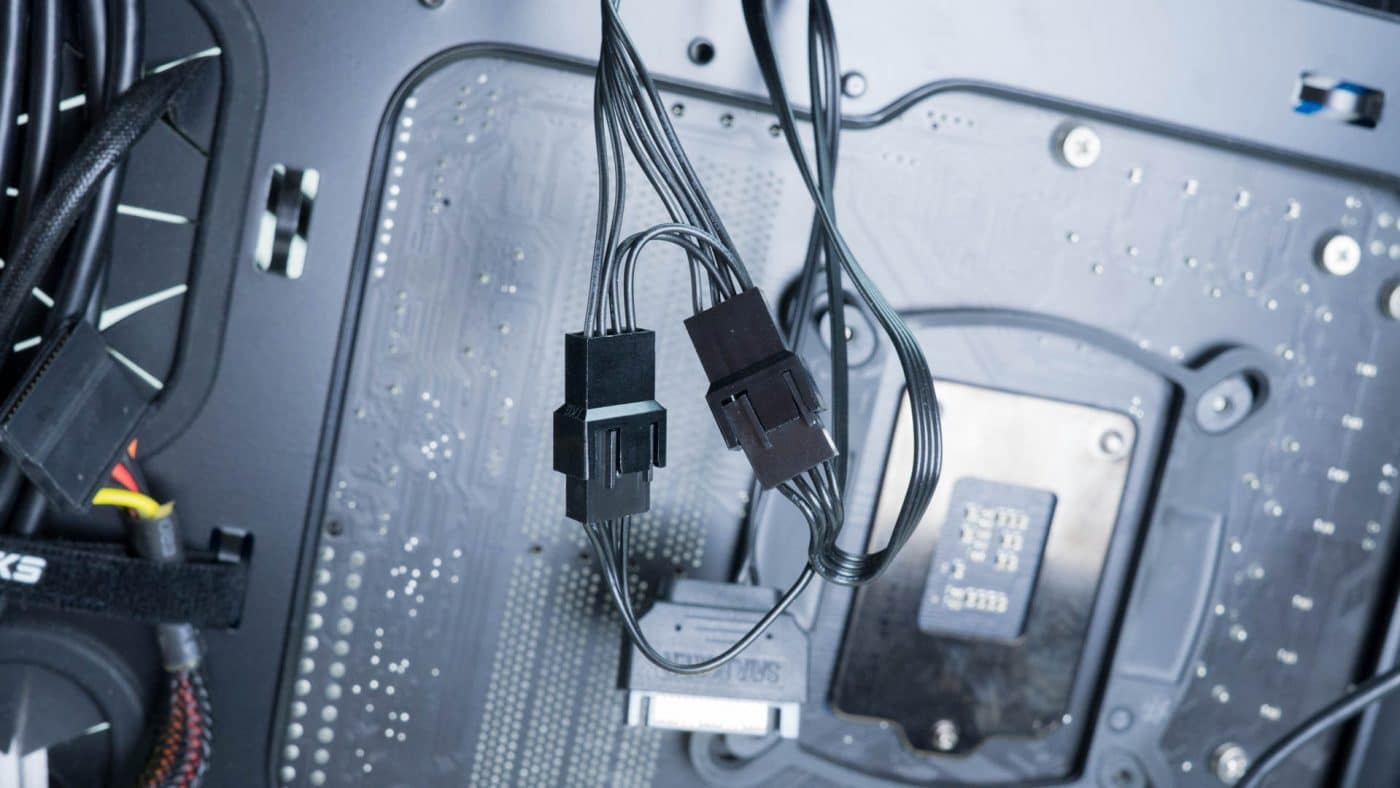
All that’s left is to make all the electrical connections. Start with the 3-pin connector and attach it to the posts of the CPU_FAN header on the board. Next take the included cable and plug the micro USB end into the pump. Route the other end to the back of the motherboard tray and then back through near an open USB header. Plug that in there.

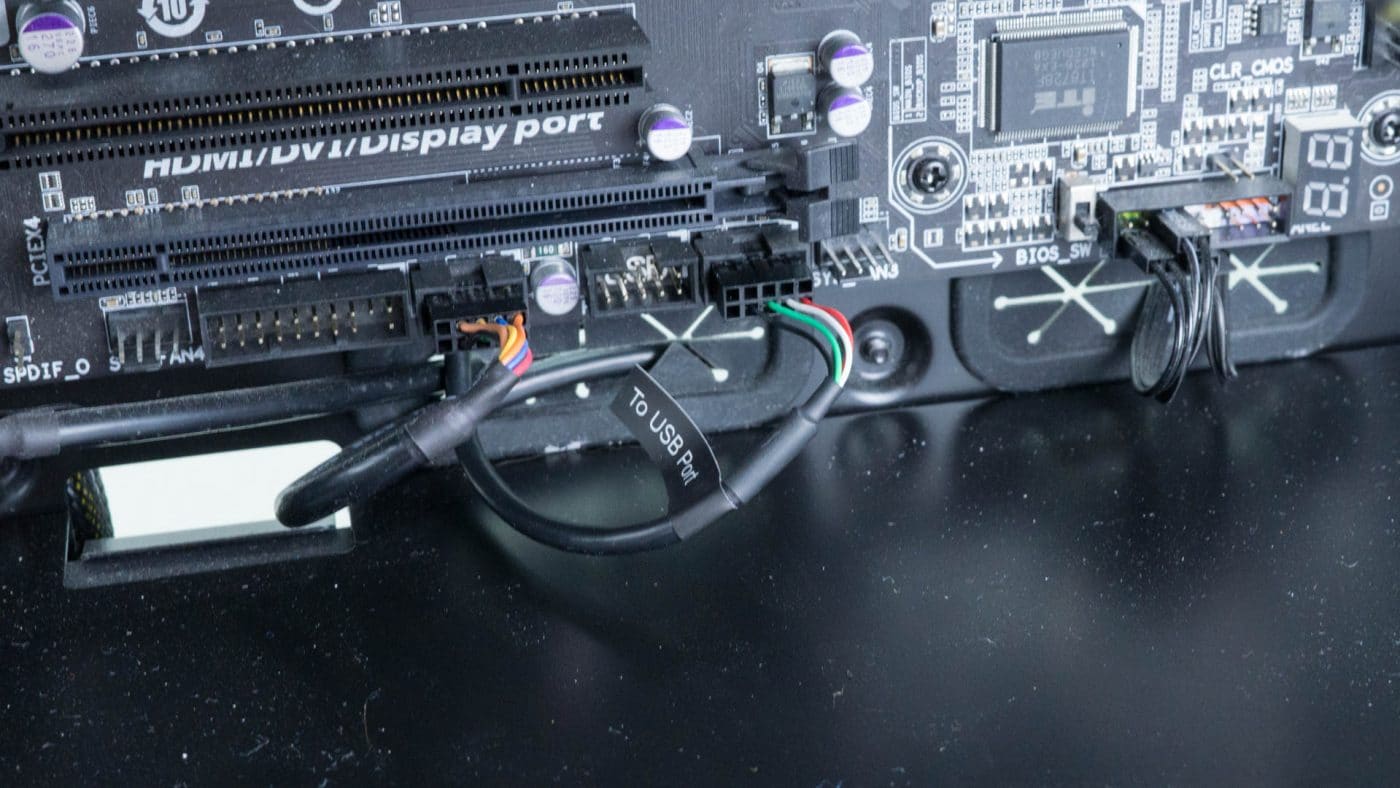
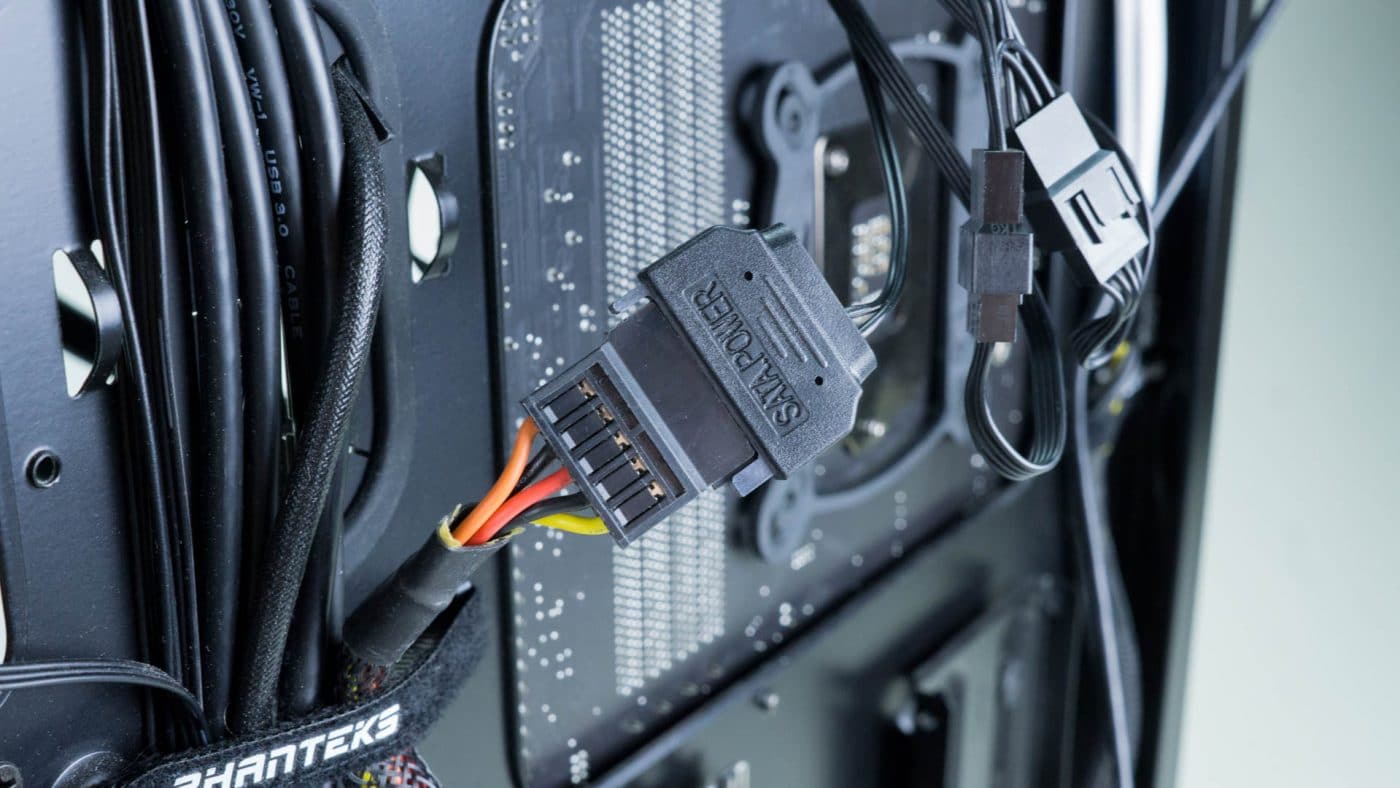
We’ve already passed our fan connectors through to the back of the motherboard tray do the same with the pump headers and SATA connector. Once done you can plug both fans into the headers from the pump and the SATA connector to an open connector from your PSU.
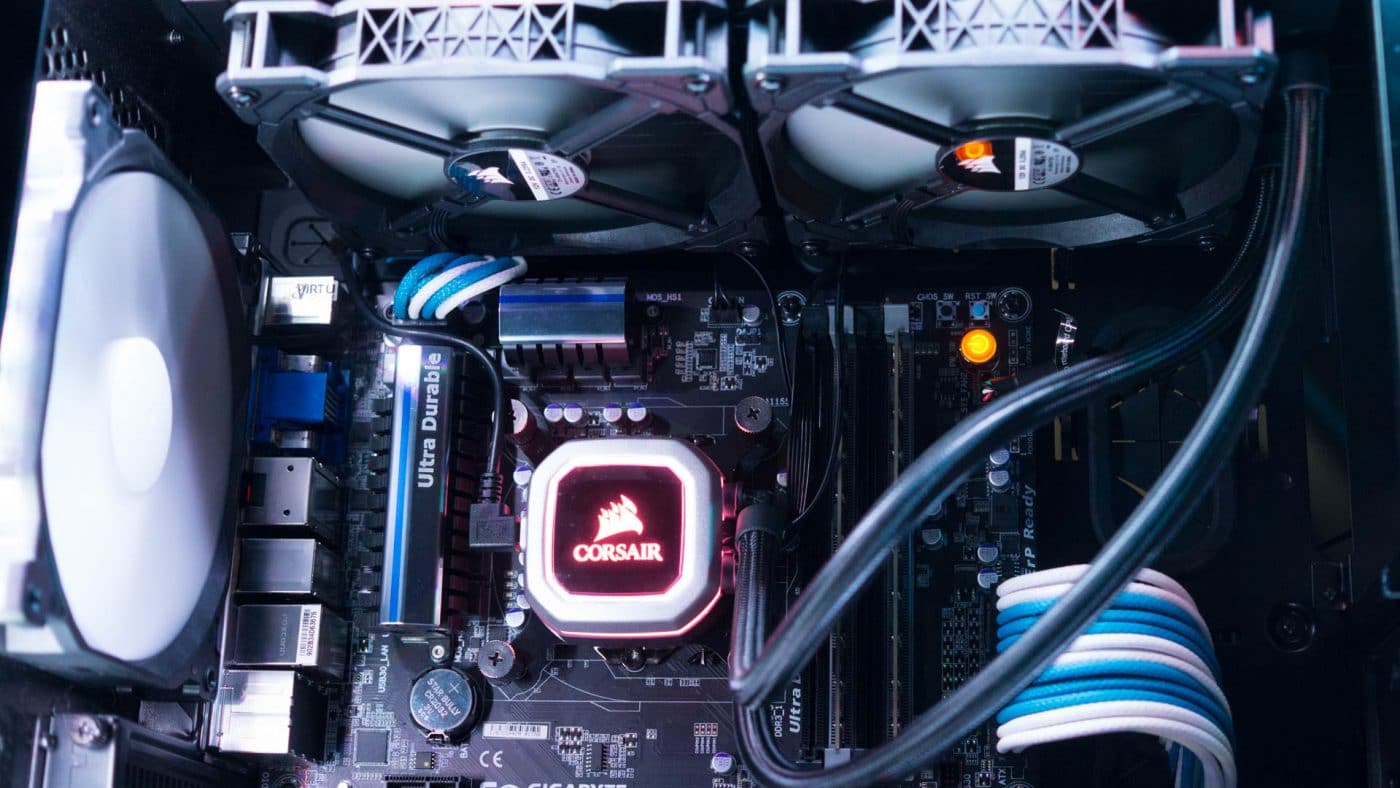
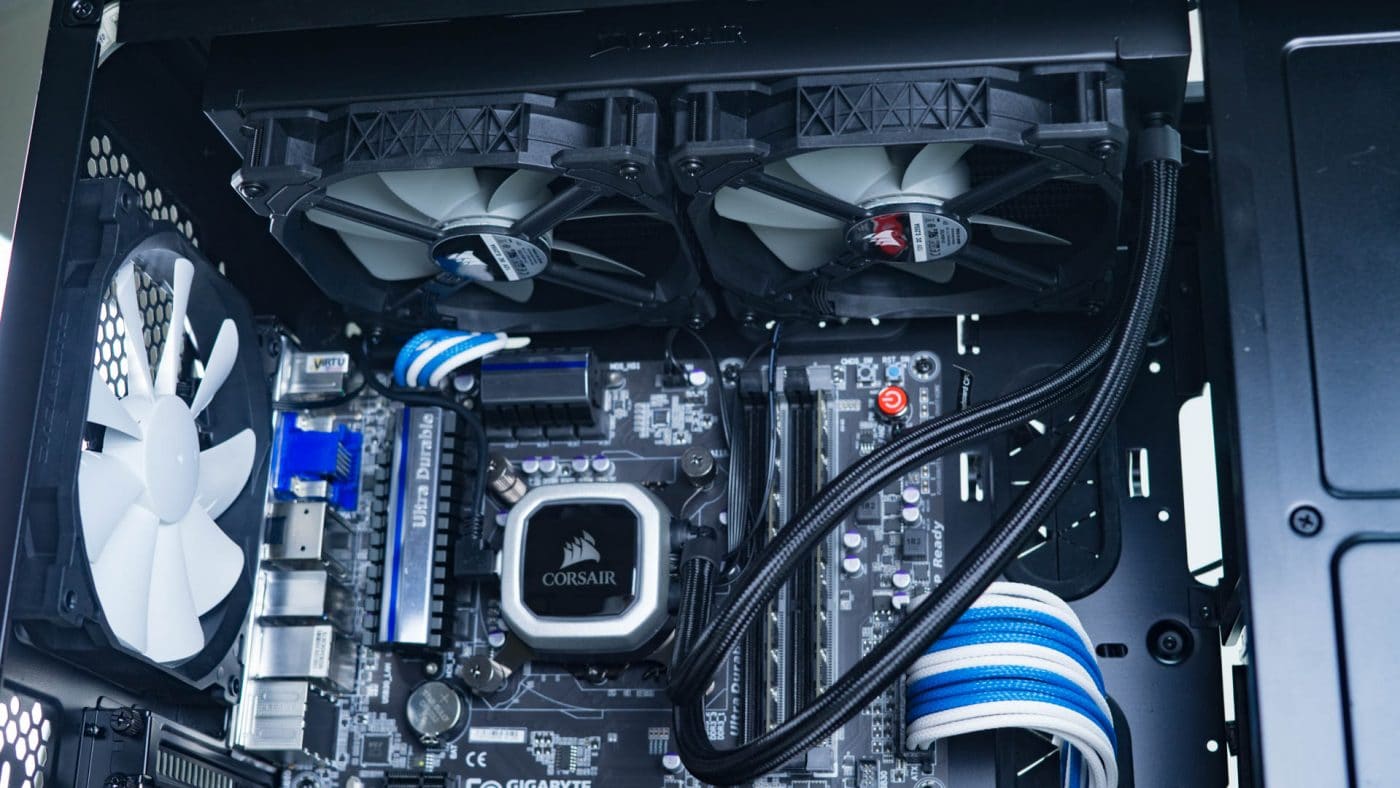
The hardware installation is now complete. Go ahead and fire up your system to check the cooler. Listen and feel for vibration to makes sure the pump is operating, checking on the fans to be sure they are spinning up as well. Next open HWMonitor to check be sure your thermals are acceptable and then proceed.