Installation
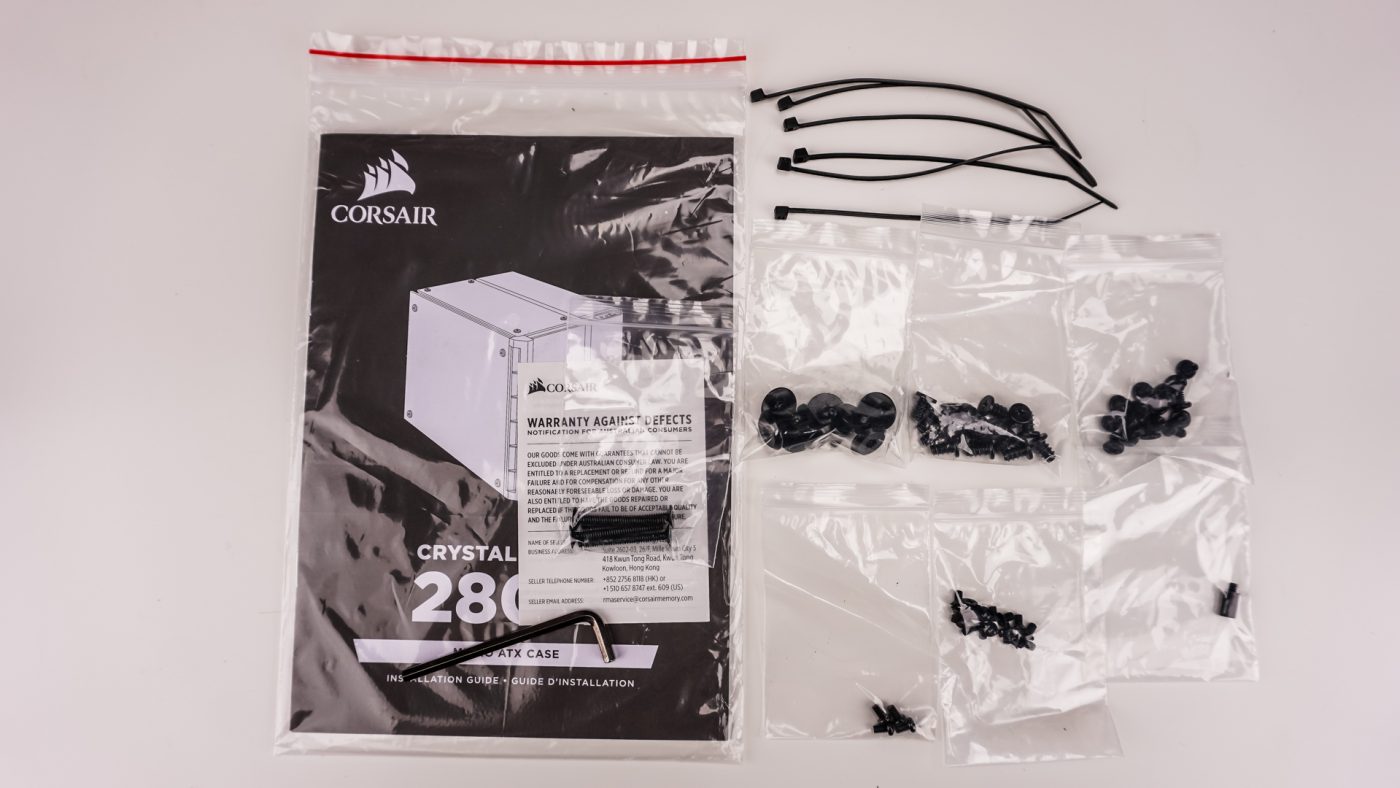
Before we start installation lets see what Corsair gives us with this case. You have all of your mounting hardware, separated into different bags (which is nice), a hex key, six cable ties, and of course the instructions. The instructions booklet is actually pretty detailed and easy to follow along with.
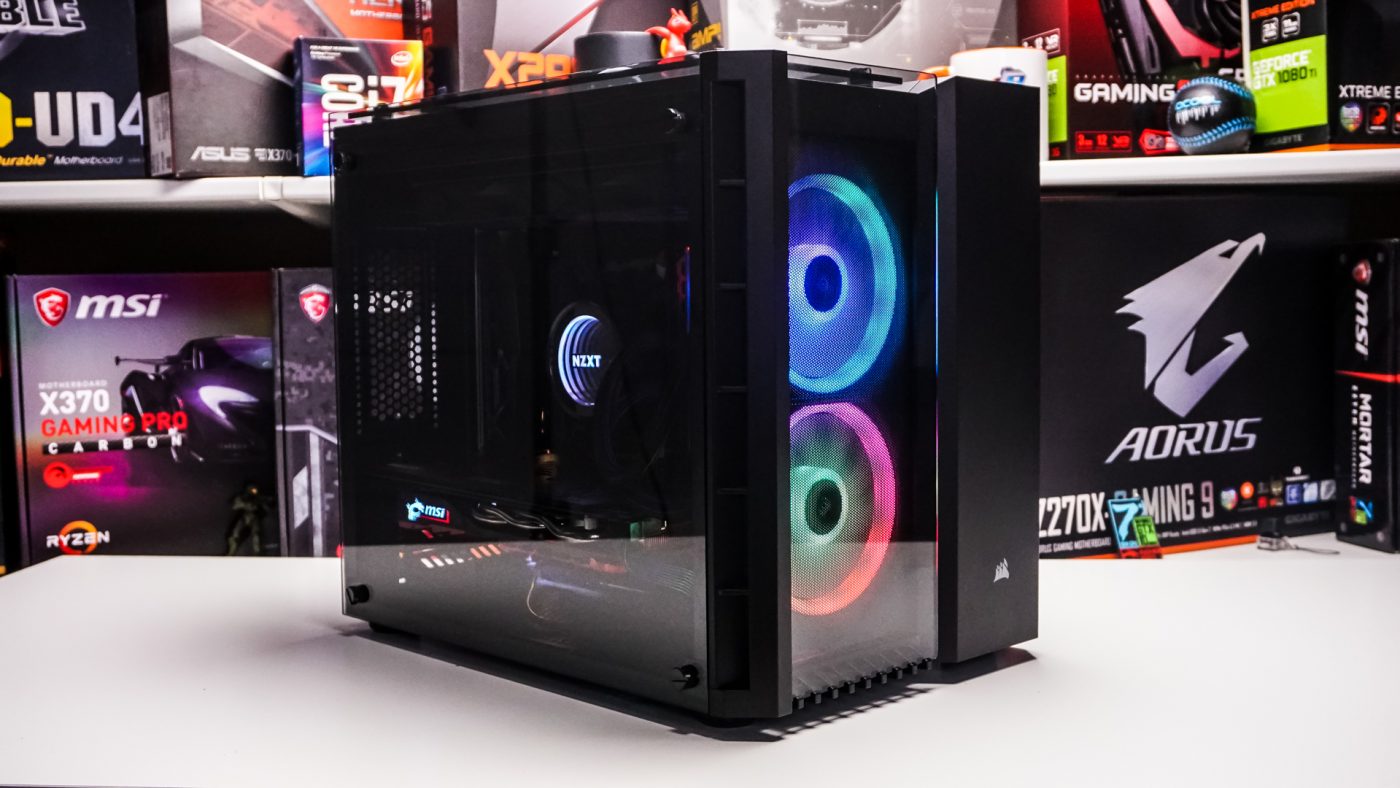
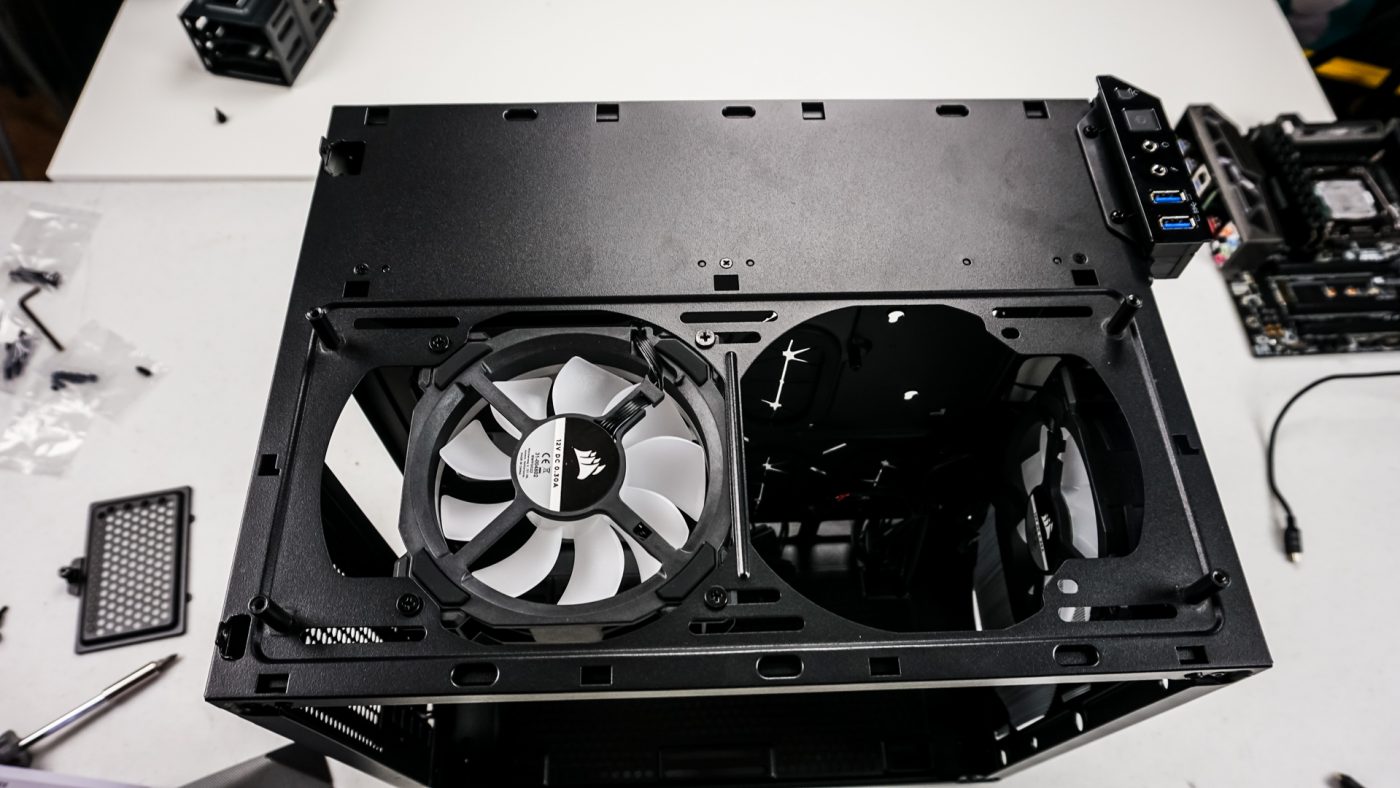
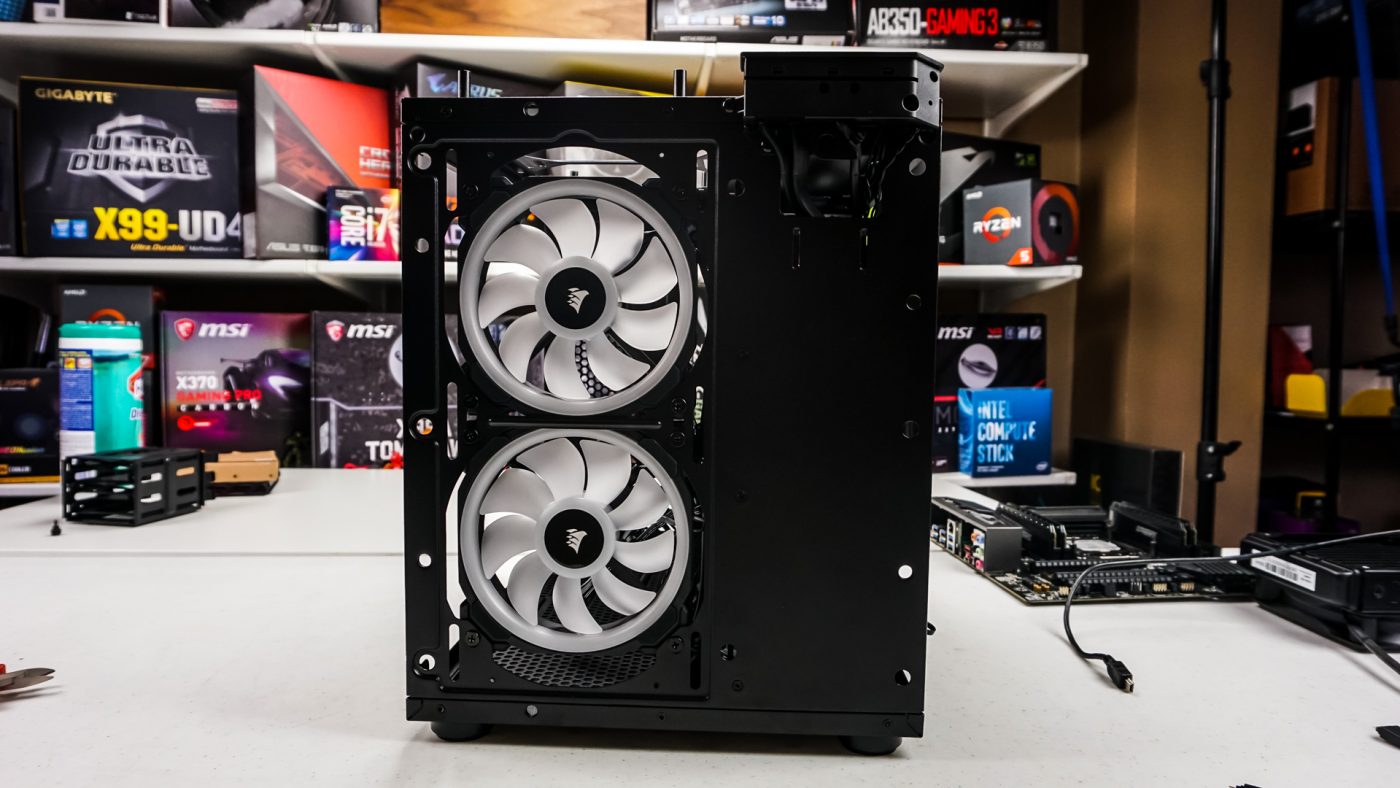
The first thing I wanted to do before I even installed the motherboard was move the second LL fan to the front of the case. I am going to be installing an AiO up there so this fan has to be removed. The top and front of the case easily come off so you can remove and install fans.
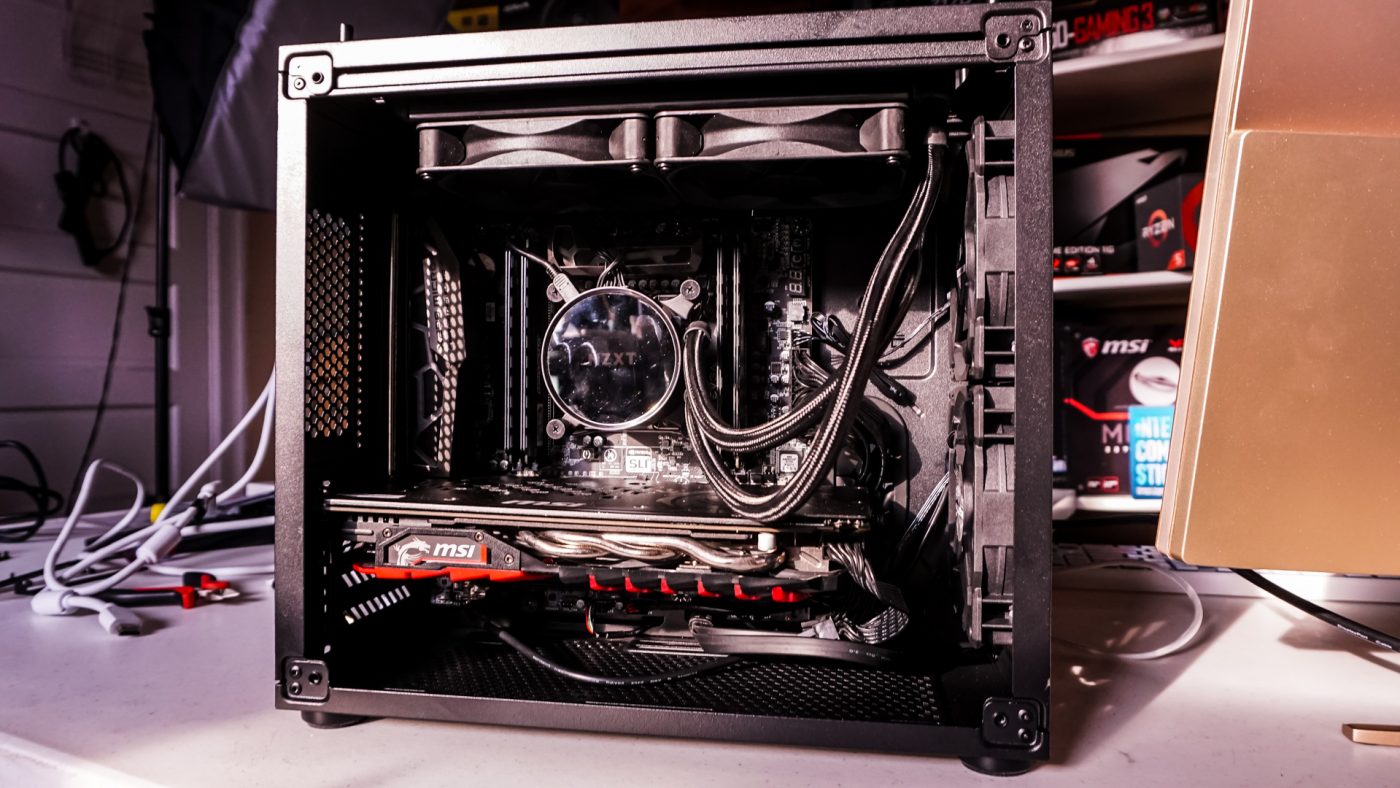
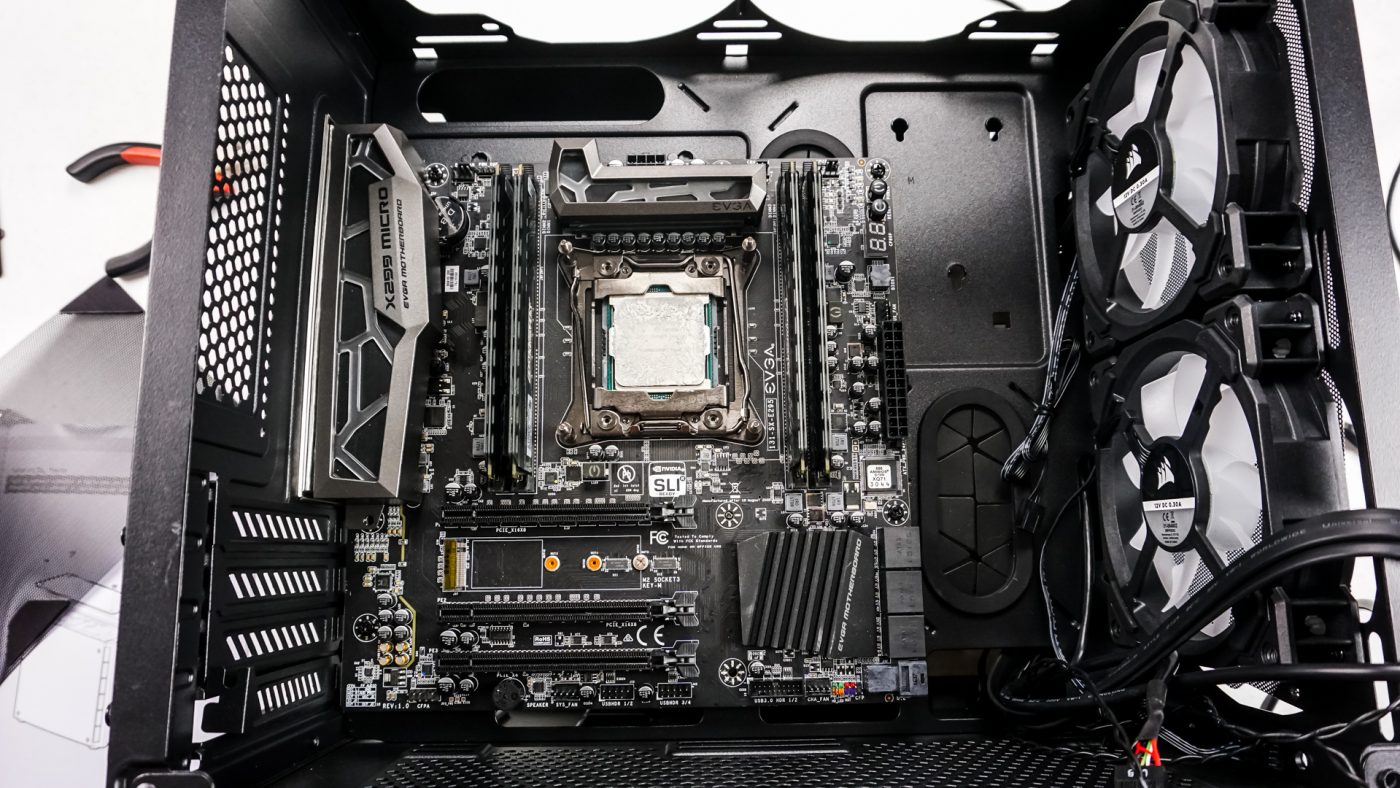
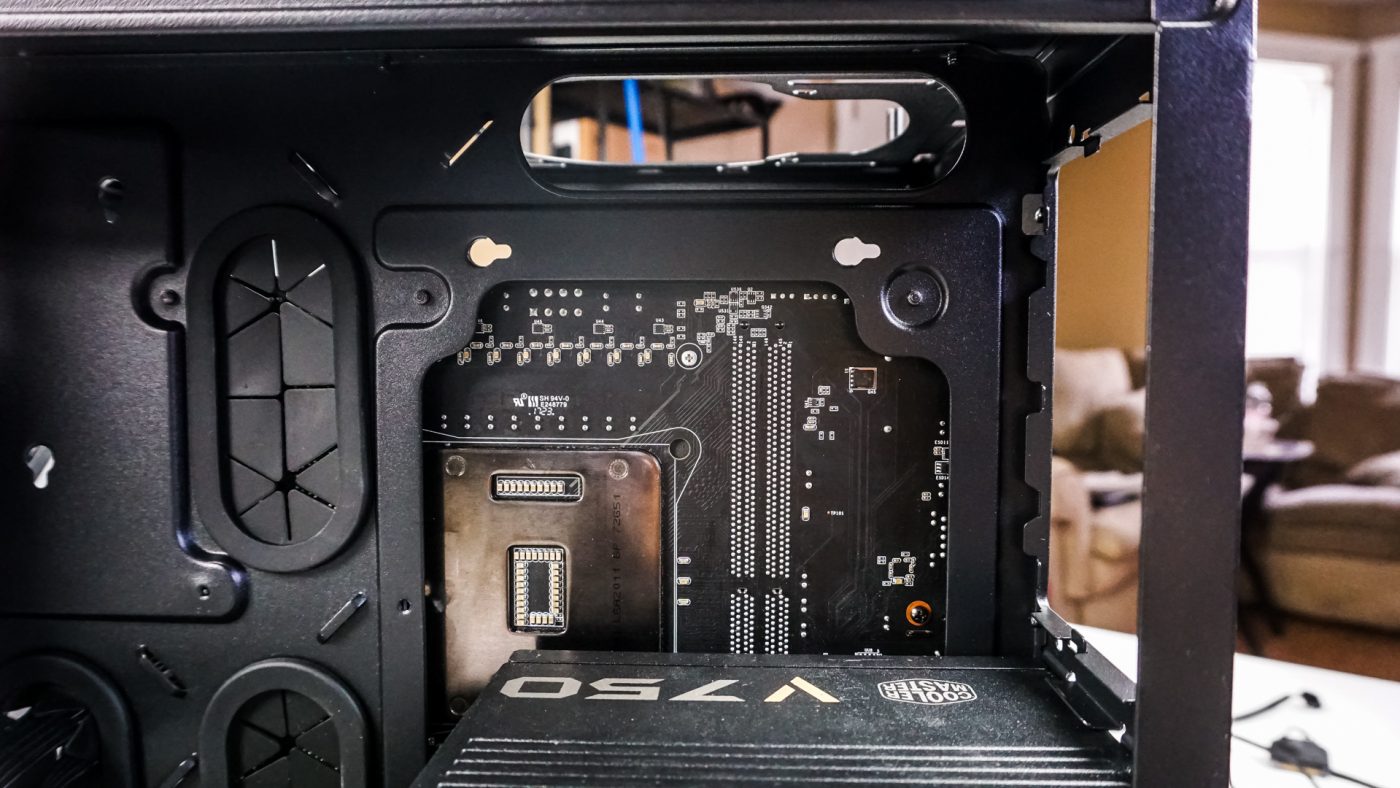
On to our motherboard, which is the EVGA X299 Micro, it went in no problems at all. It is nice having the extra space in the front of the case. Many Micro-ATX cases don’t give you a whole lot of room up front.
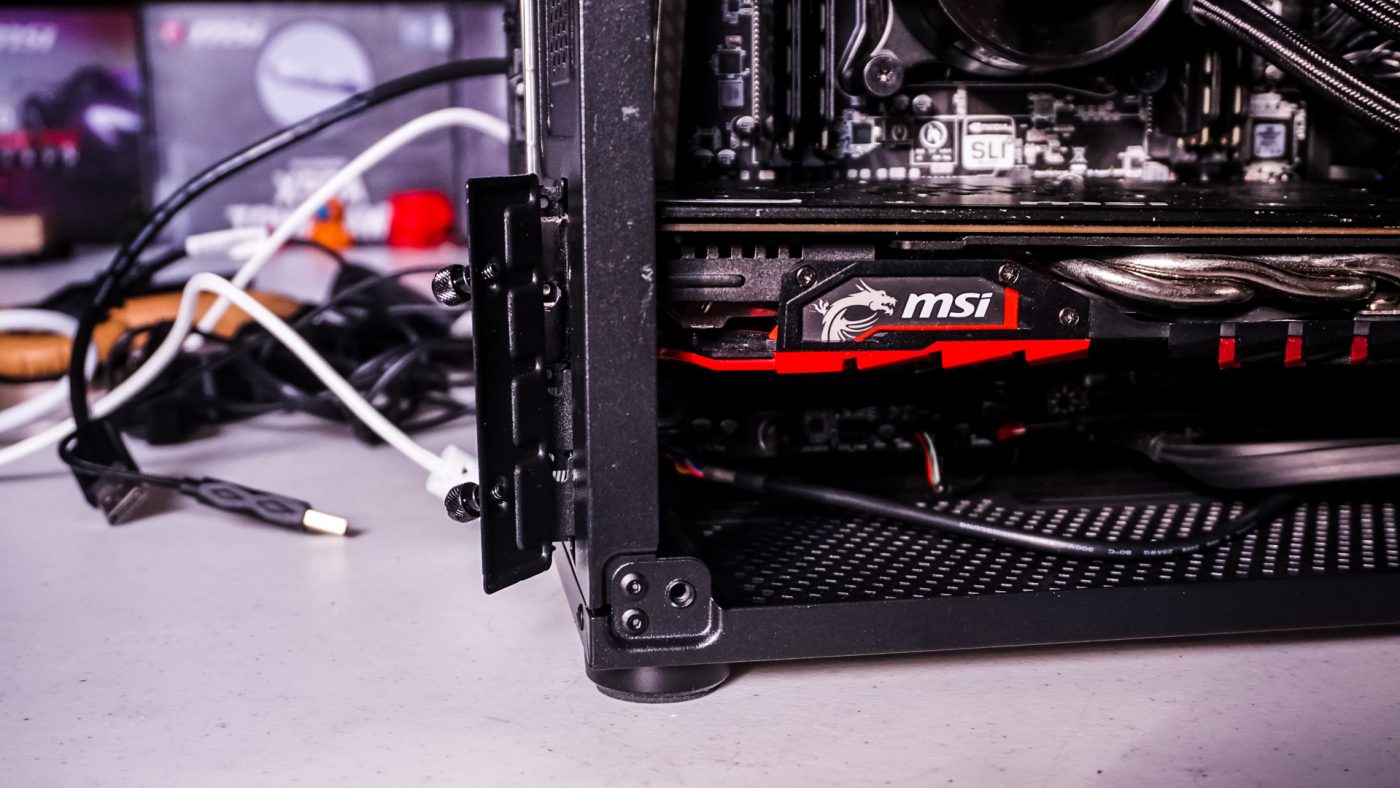
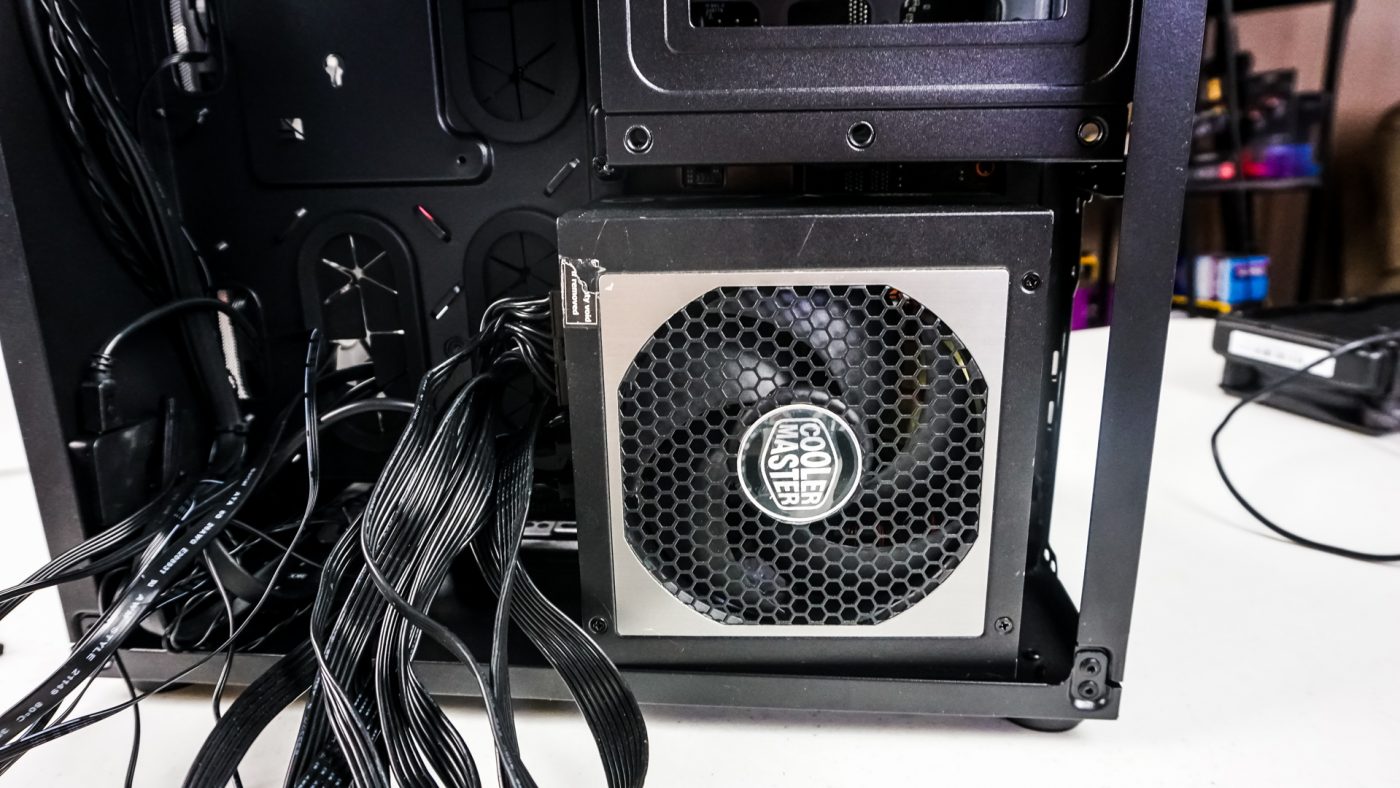
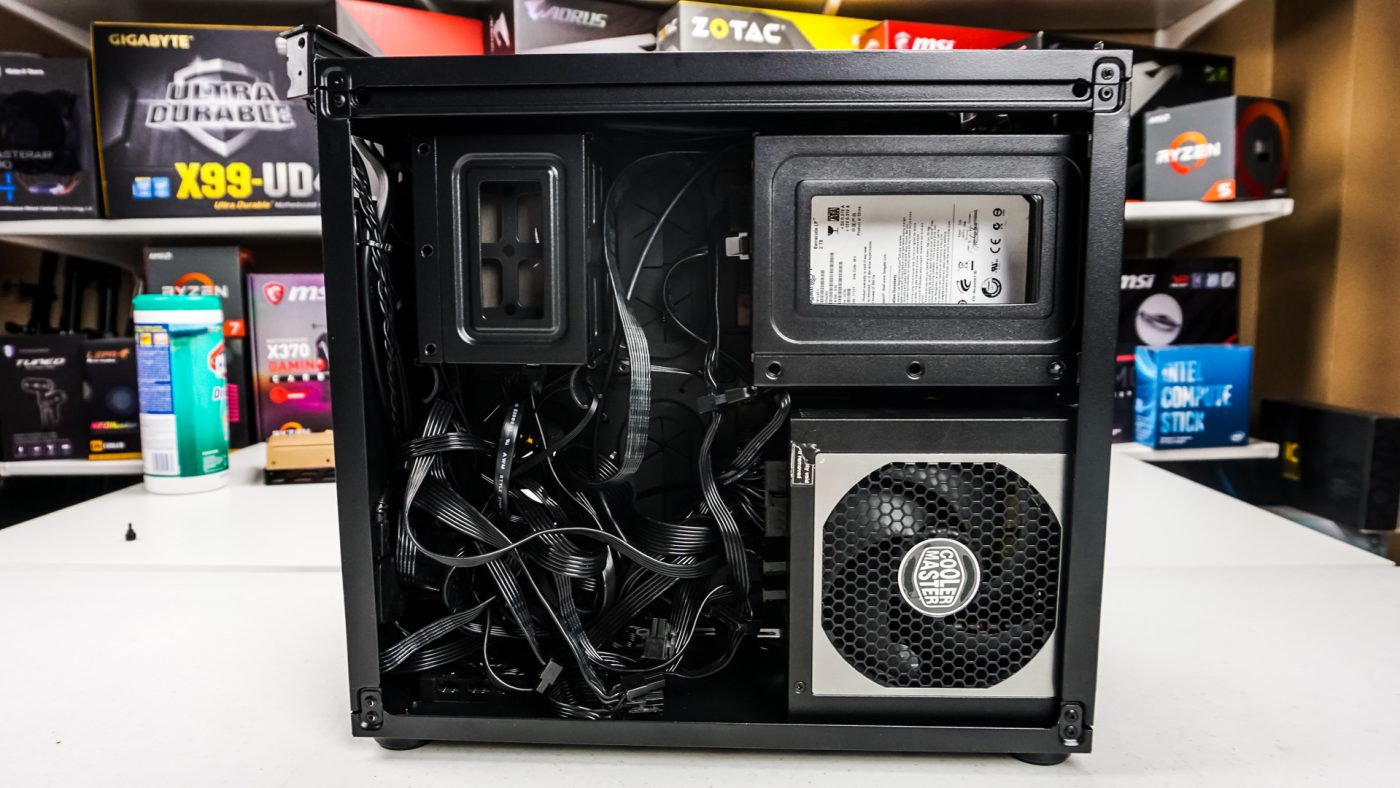
To install your power supply just slide it in from the back compartment. Now you may need to run your EPS cable to your motherboard, but the hard drive cage might be in the way. Removing four screws in the back of the case and one thumbscrew on the cage you can remove it to run all of your cables.
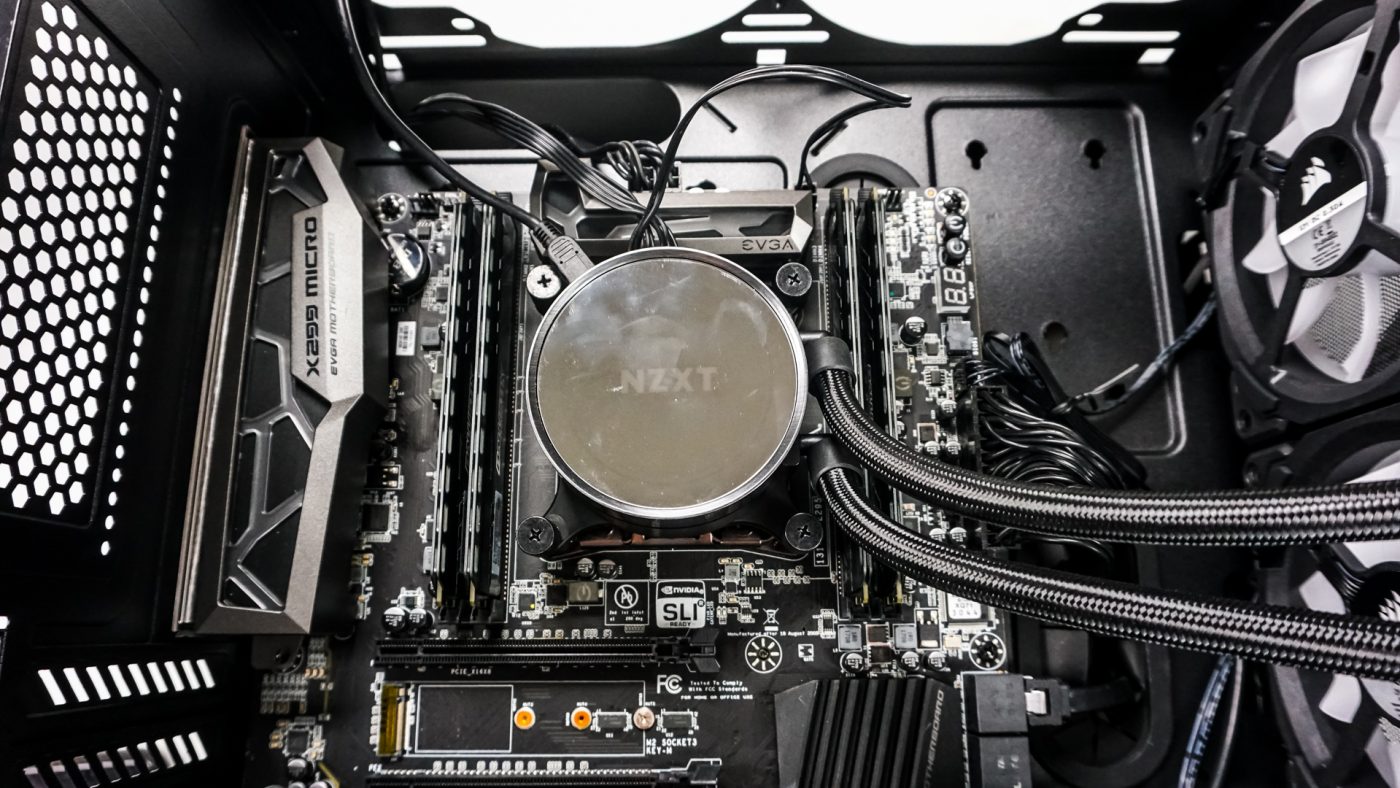
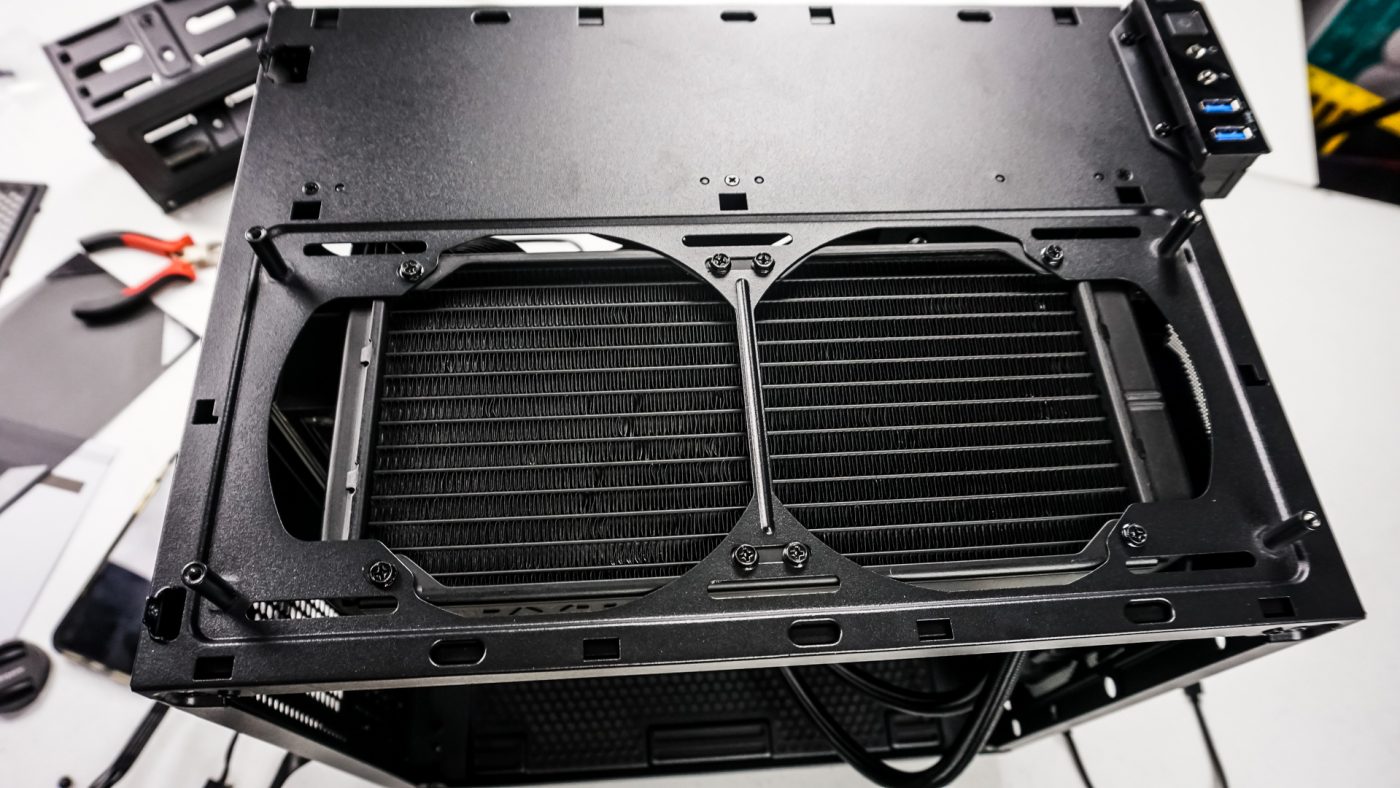
Now to install our AiO. I would suggest first installing the pump / block. This way you can connect and run all of the cables associated with that. Then go ahead and mount the radiator on the top of the case.
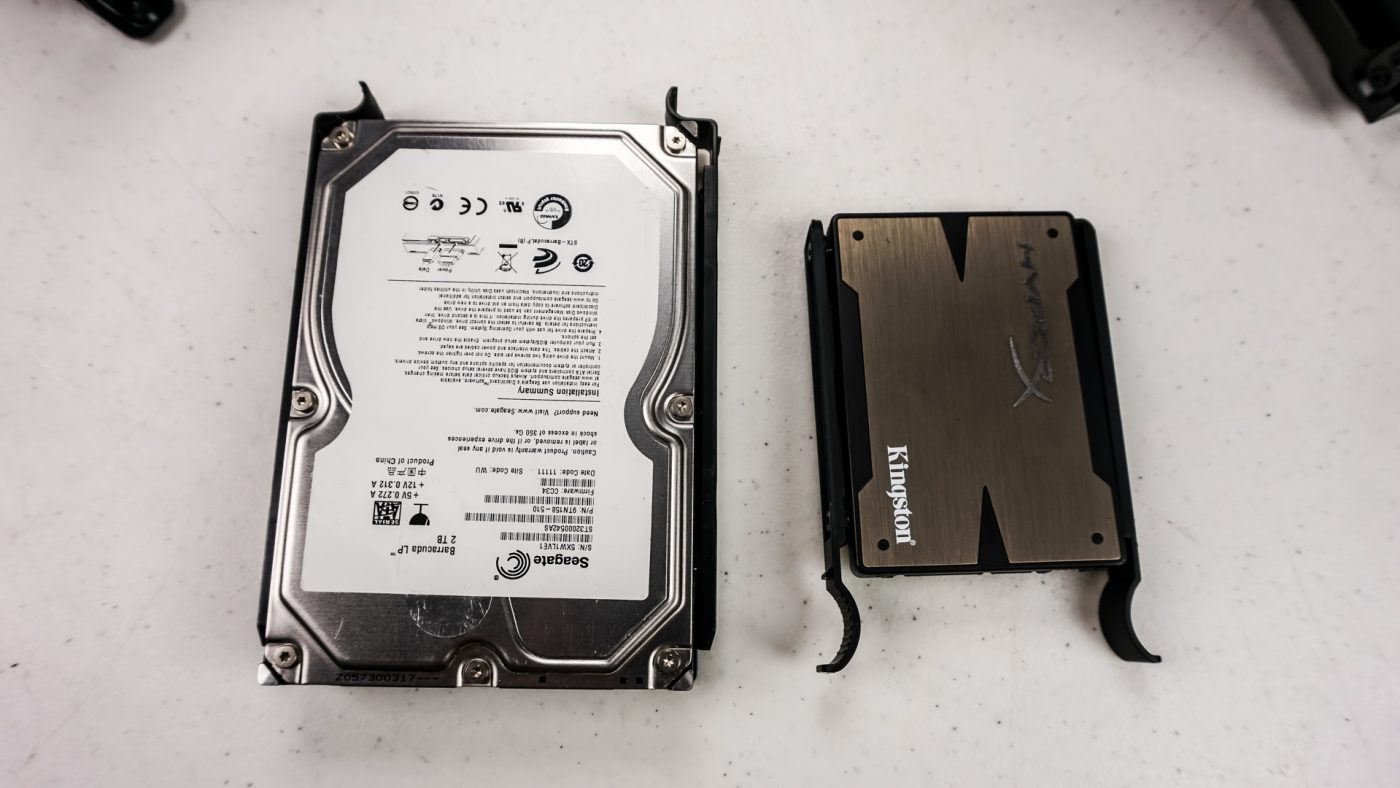
Both hard drives easily install inside their supplied hard drive trays outside of the case. Then you just simply slide them right back in. With everything installed in the back compartment of the case you can see we have a pretty big cable mess, but since no one is going to see this side of the case it is not a big deal.
The last real thing to do is install our graphics card. Corsair uses a tool-less system for them and while I was never a fan of these in the past I feel their implementation works pretty well, especially since this is a Micro-ATX case.