Installation
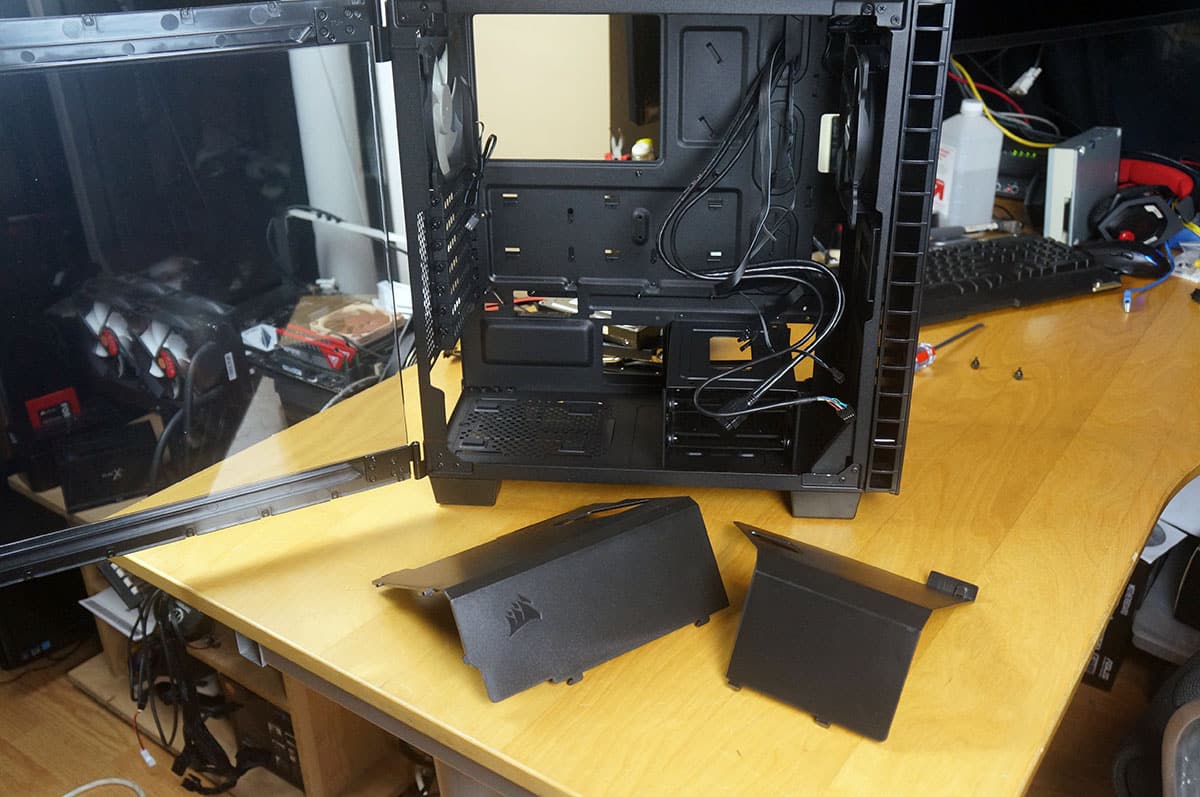
The first thing you are going to want to do to start installation is to remove the PSU cover. Interestingly enough Corsair does not mention this anywhere in the included manual, but there is no other way to install your power supply. To remove it you need to unscrew the two thumbscrews on the backside of the case holding it on and carefully slide each piece out.
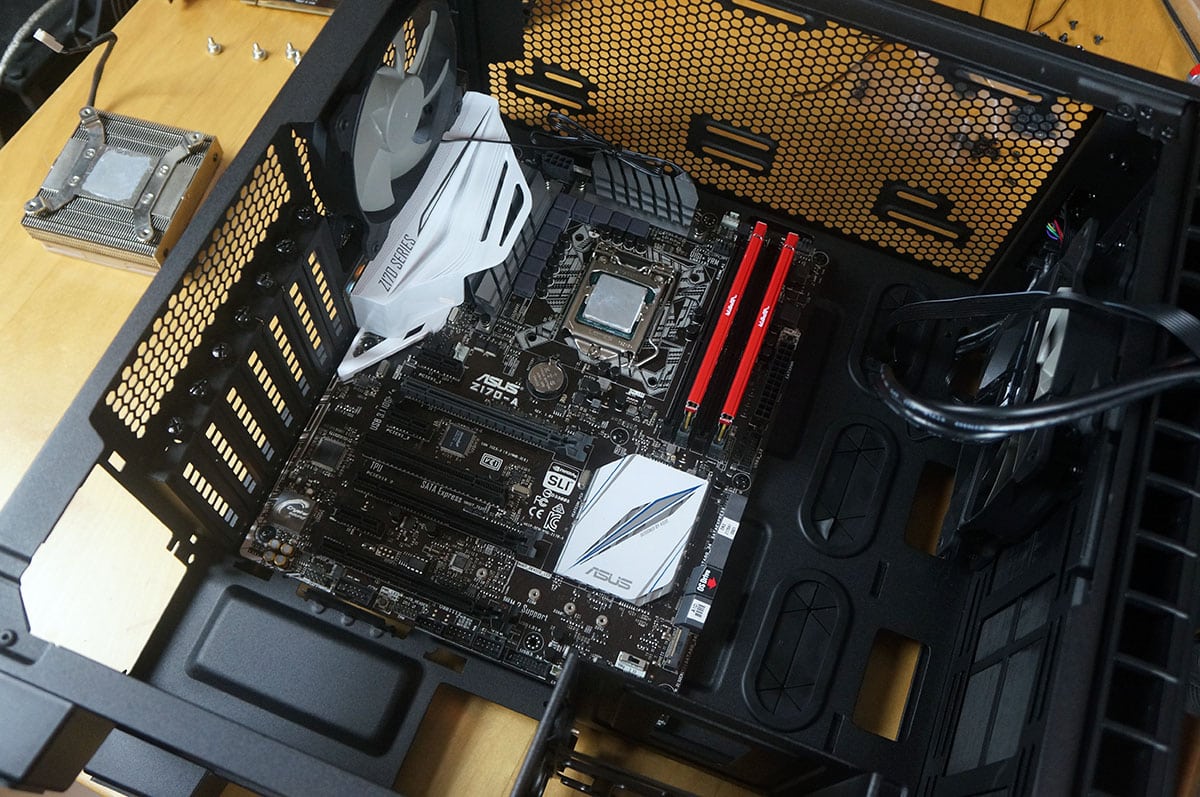
After I removed the PSU cover I went ahead and installed my motherboard. It went in very easily as there is a good amount of space work with inside.
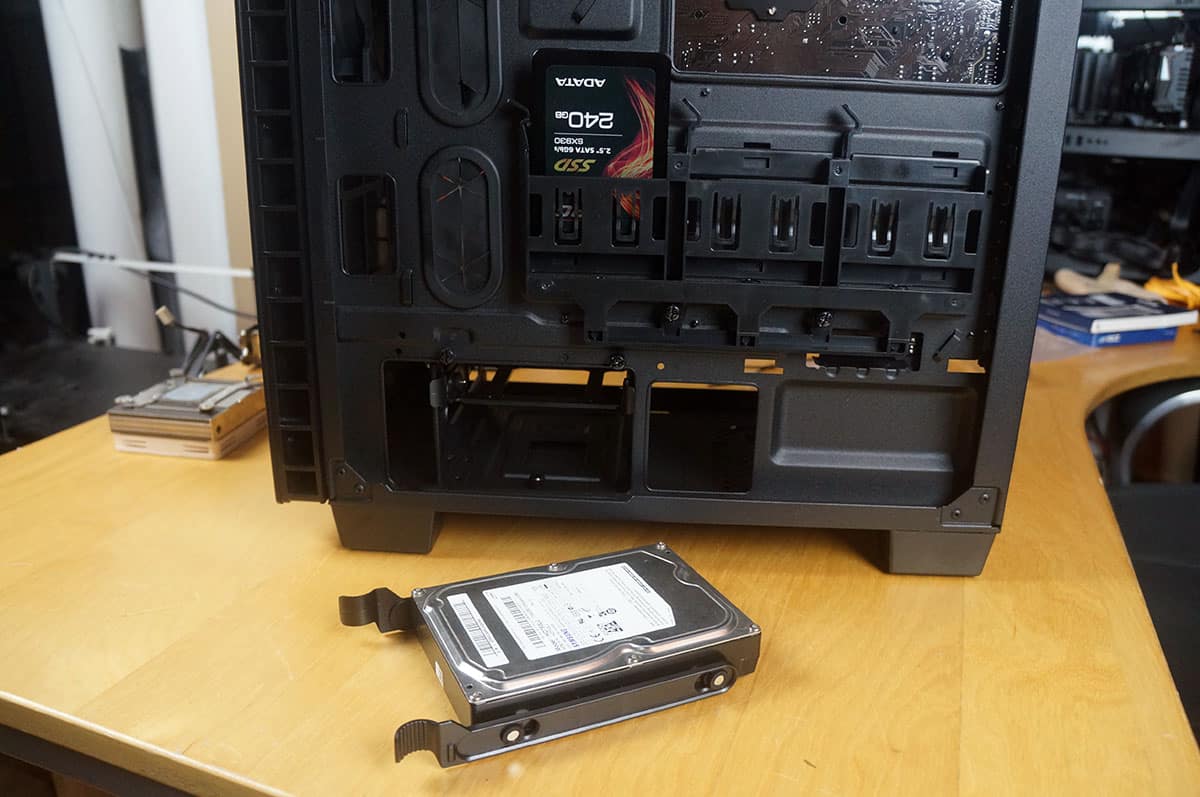
Hard drives are next. I will be installing both a 2.5-inch solid state drive and a normal 3.5-inch hard drive. Both of these use tool-less locking systems so installation is extremely easy.
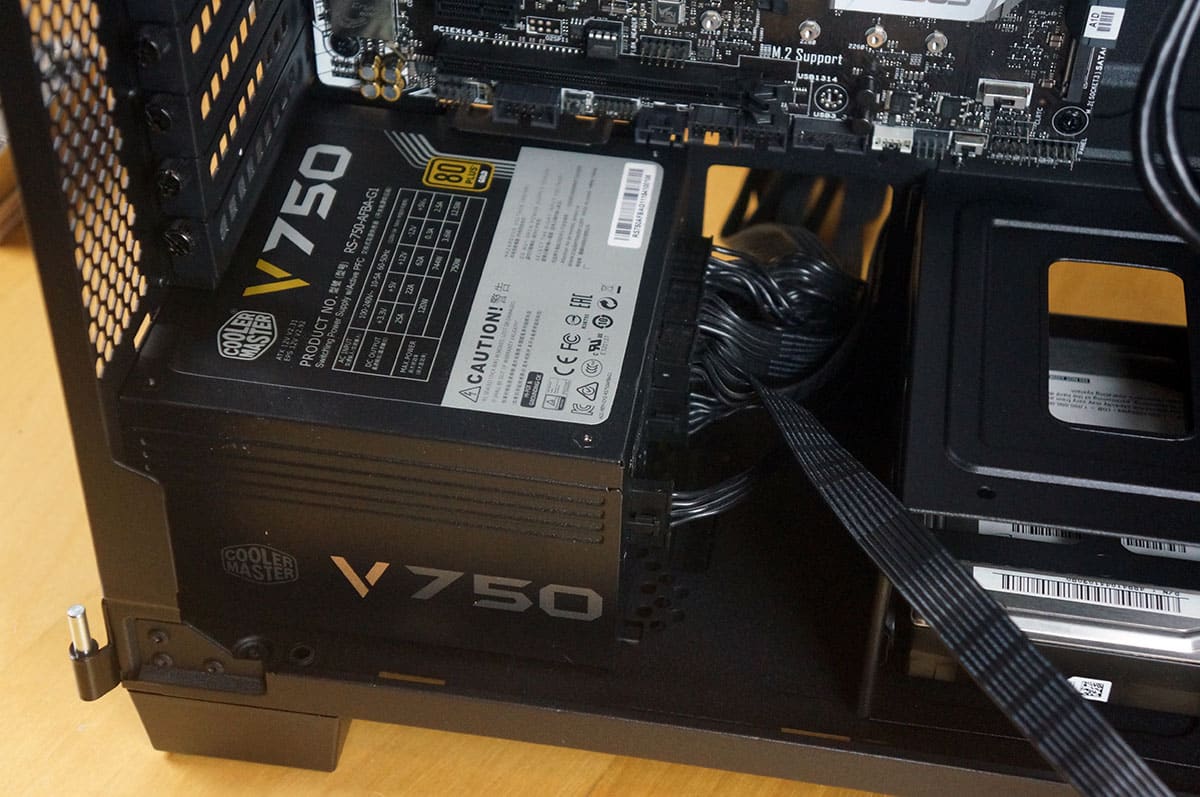
Let’s get out power supply in there! It slides in very easily and you should route most of your cables to the backside of the case with exception of your PCI-Express power connectors. For those wondering this case supports power supplies up to 200 mm long and you can actually remove the bottom hard drive cage to make more room.
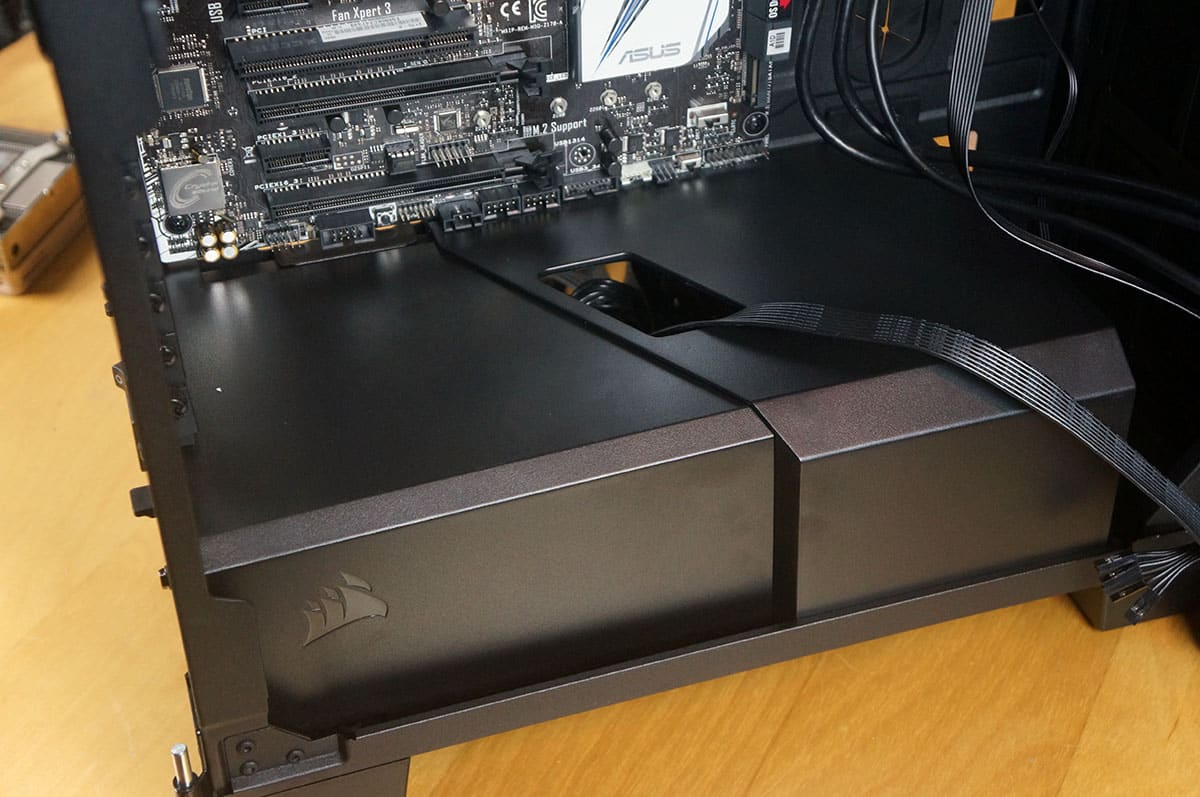
Now it is time to reinstall the PSU cover. It will go in piece by piece. Once installed you can see we do have a pretty tight fit with the bottom of our motherboard.
Finally we need to wire everything up and get our graphics card installed. Here is what the back of our install looks like. While it is not the prettiest it does work. Cable routing would have been made easier if we were able to remove the SSD mounts one by one. While you can remove the entire SSD mount if I would have been able to remove the two I was not using it would have made things easier.
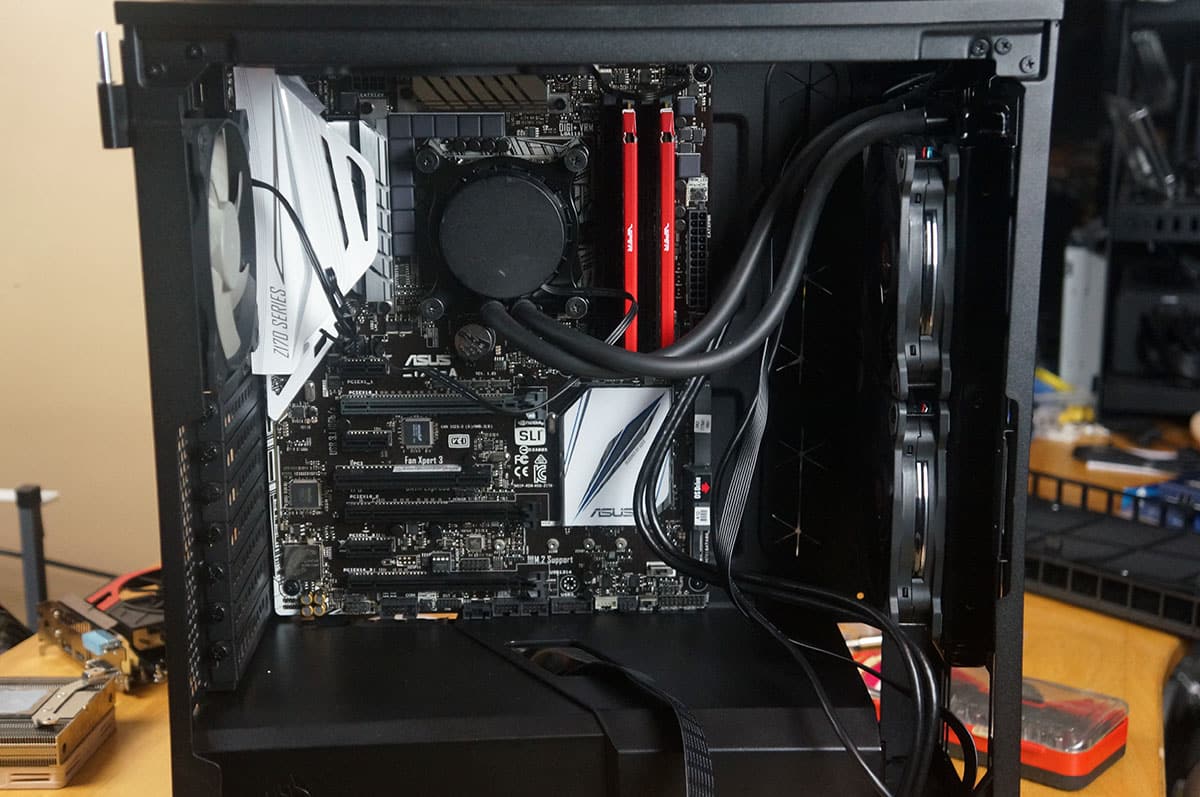
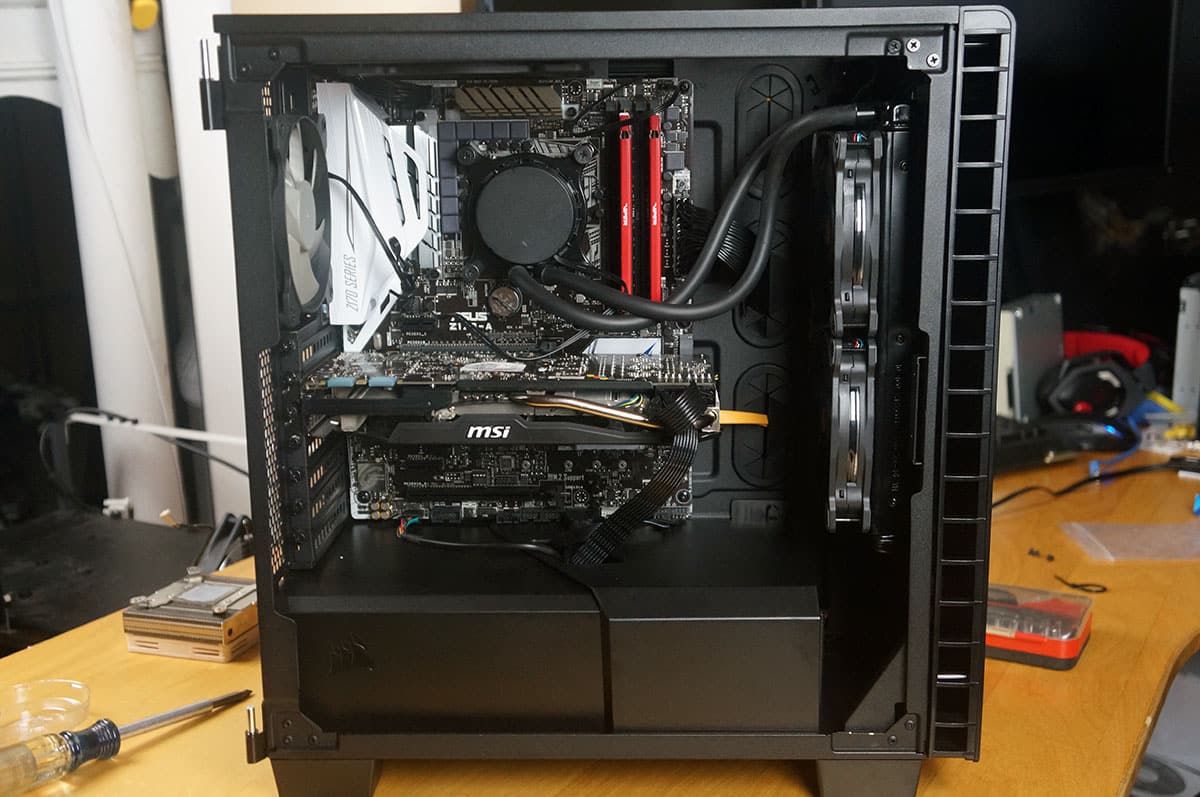
Flipping around to the other side we have a very clean system here. You can see that I actually removed the fan from the front of the case and replaced it with our water cooling radiator. Then I took the fan from the front of the case and installed it in the top of the case. One thing I did notice was that the hole for the PCI-Express power connectors seemed to be out of place. You can see how our cable does not go straight down, but rather at an angle. All in all we have a very clean build here.
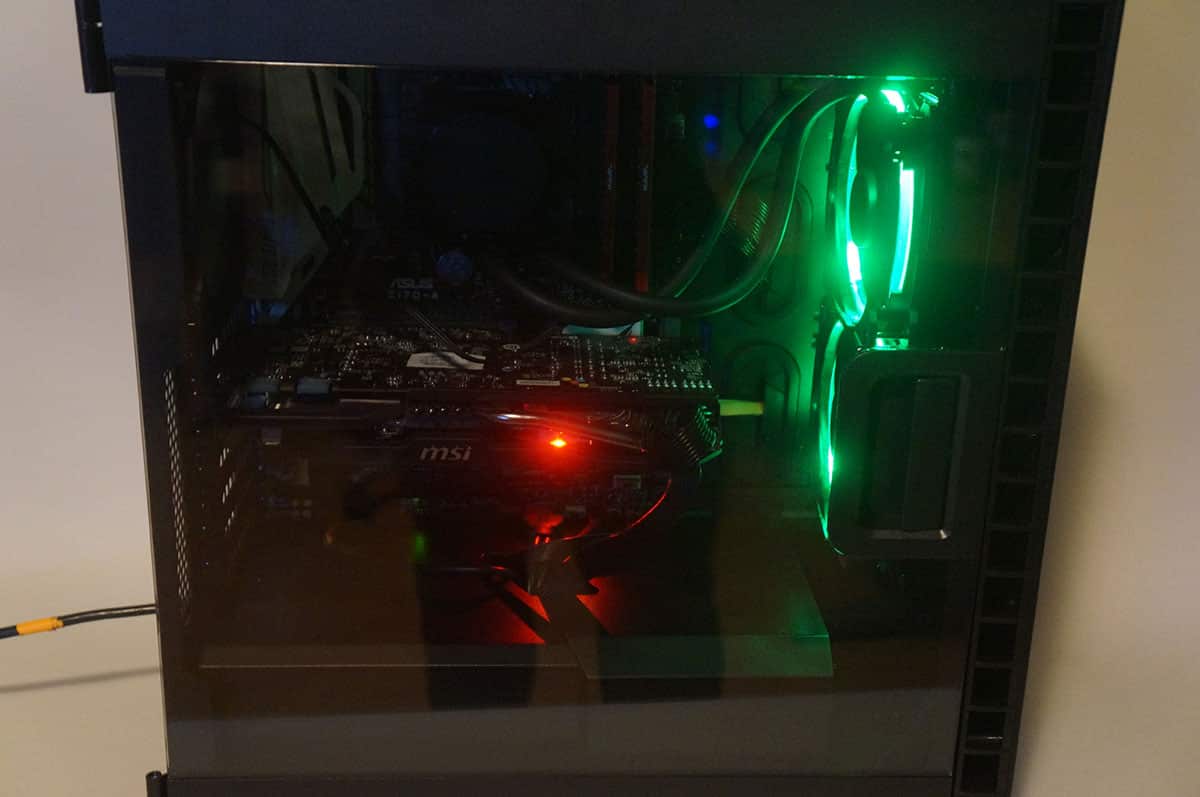
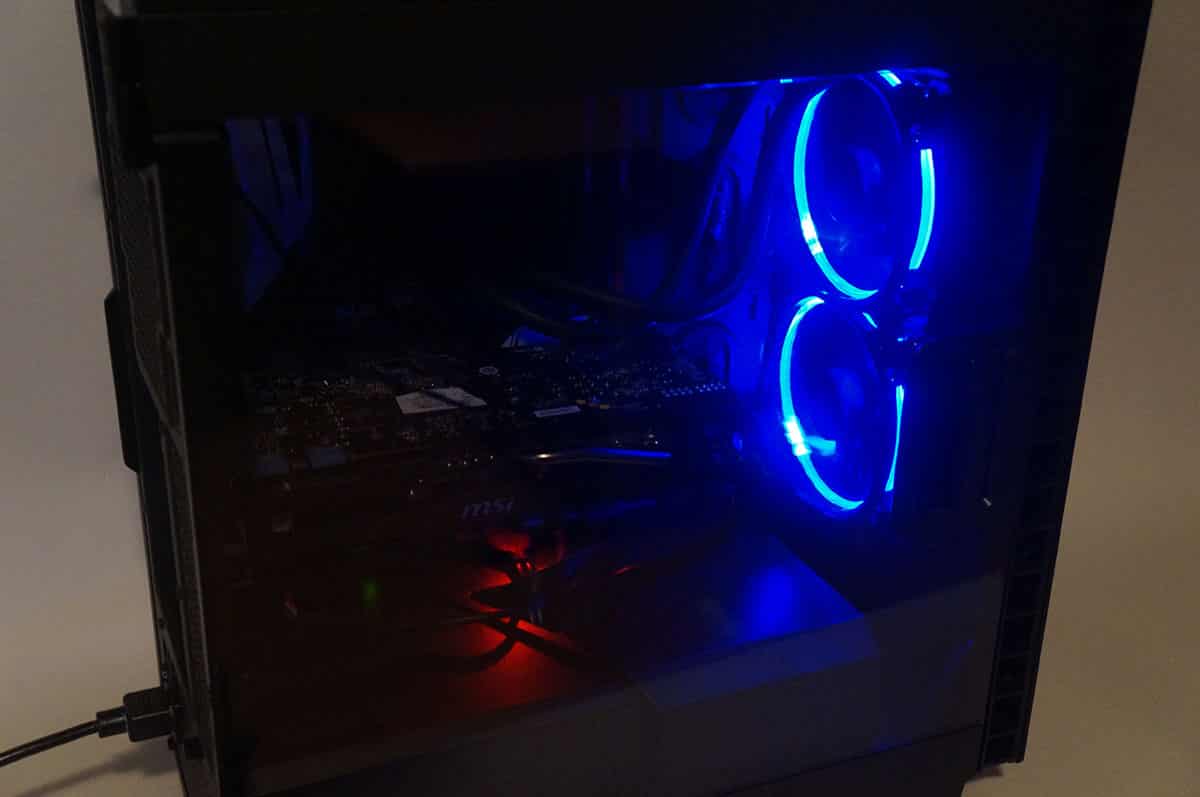
Here is a shot of the system with the side panel back on, it looks great!
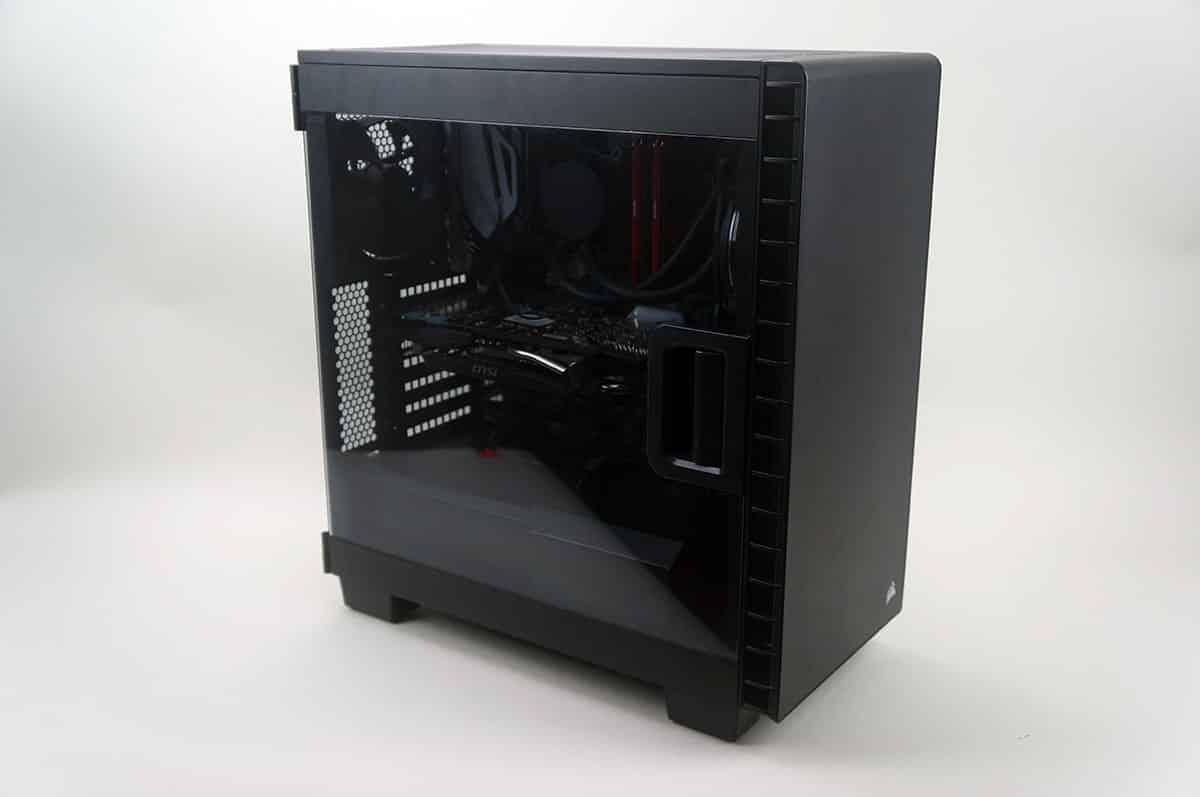
Turning our system on our Thermaltake Riing RGB fans light up the inside of the case. This is why I really like the clear side panel, you can see everything! Typically this part of the case would be covered up.