Installation
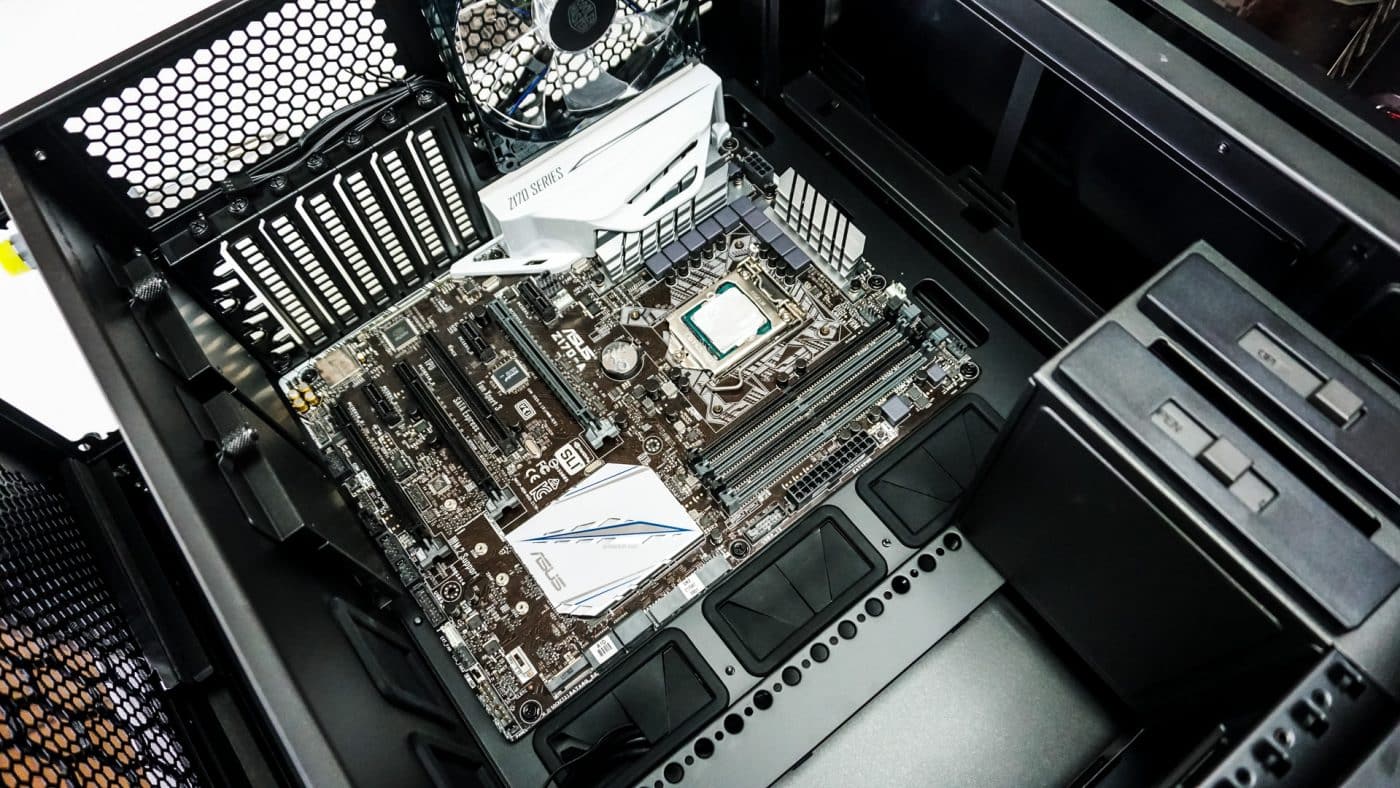
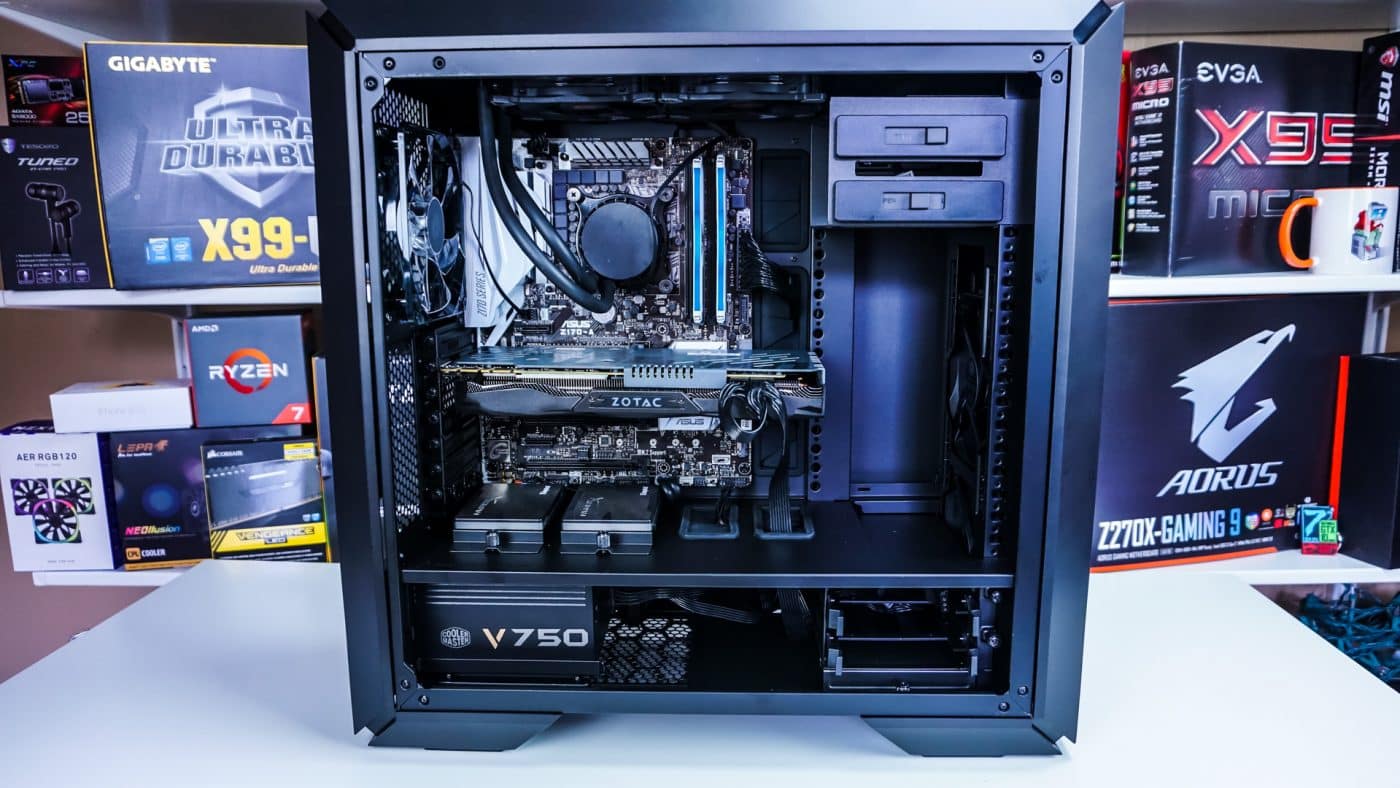
One thing I really liked about the previous MasterCase cases was how easy they were to build in. Hopefully we have the same experience with the MasterCase Pro 6. The first thing that goes in for us is our motherboard. Some standoffs are pre-installed, but you will need to install most of them yourself. Luckily Cooler Master provides a standoff tool to make this easier.
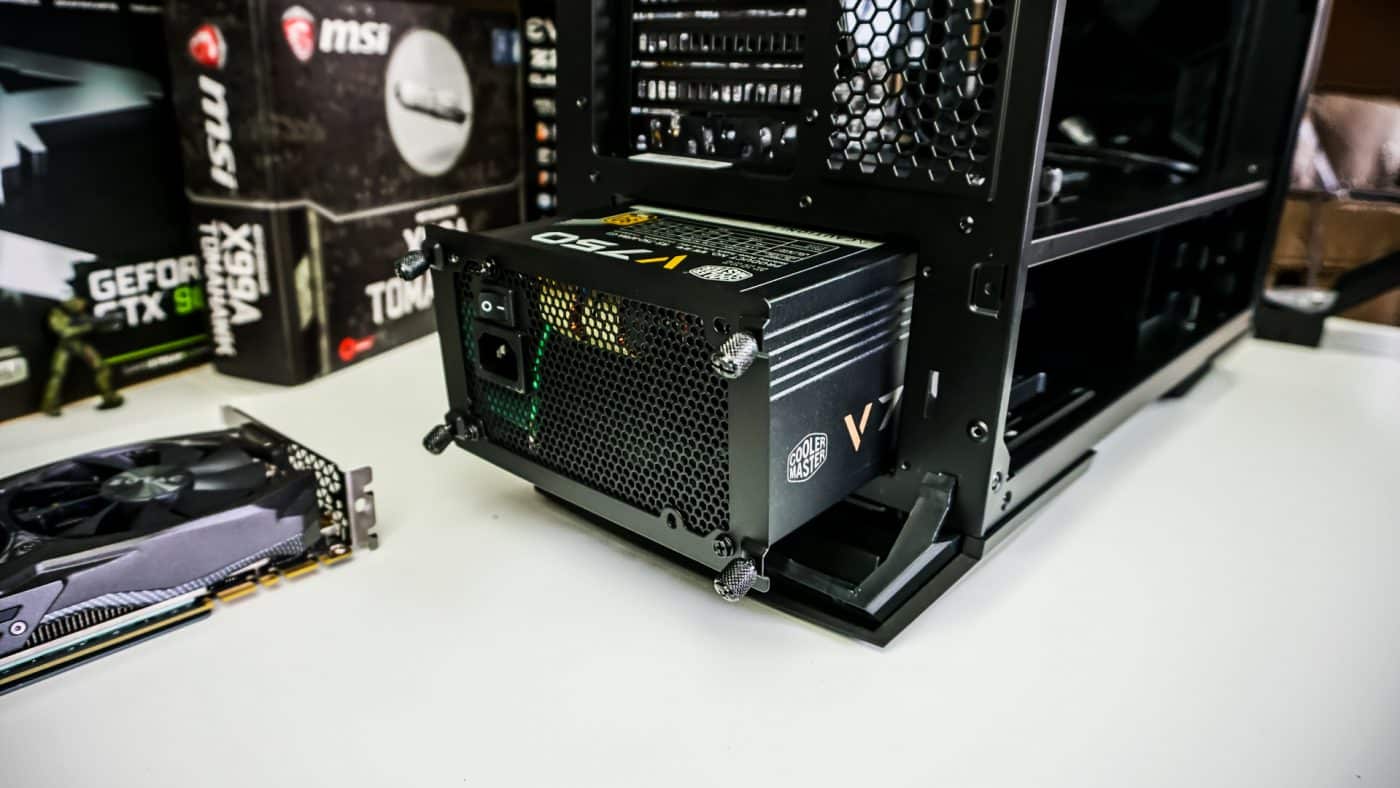
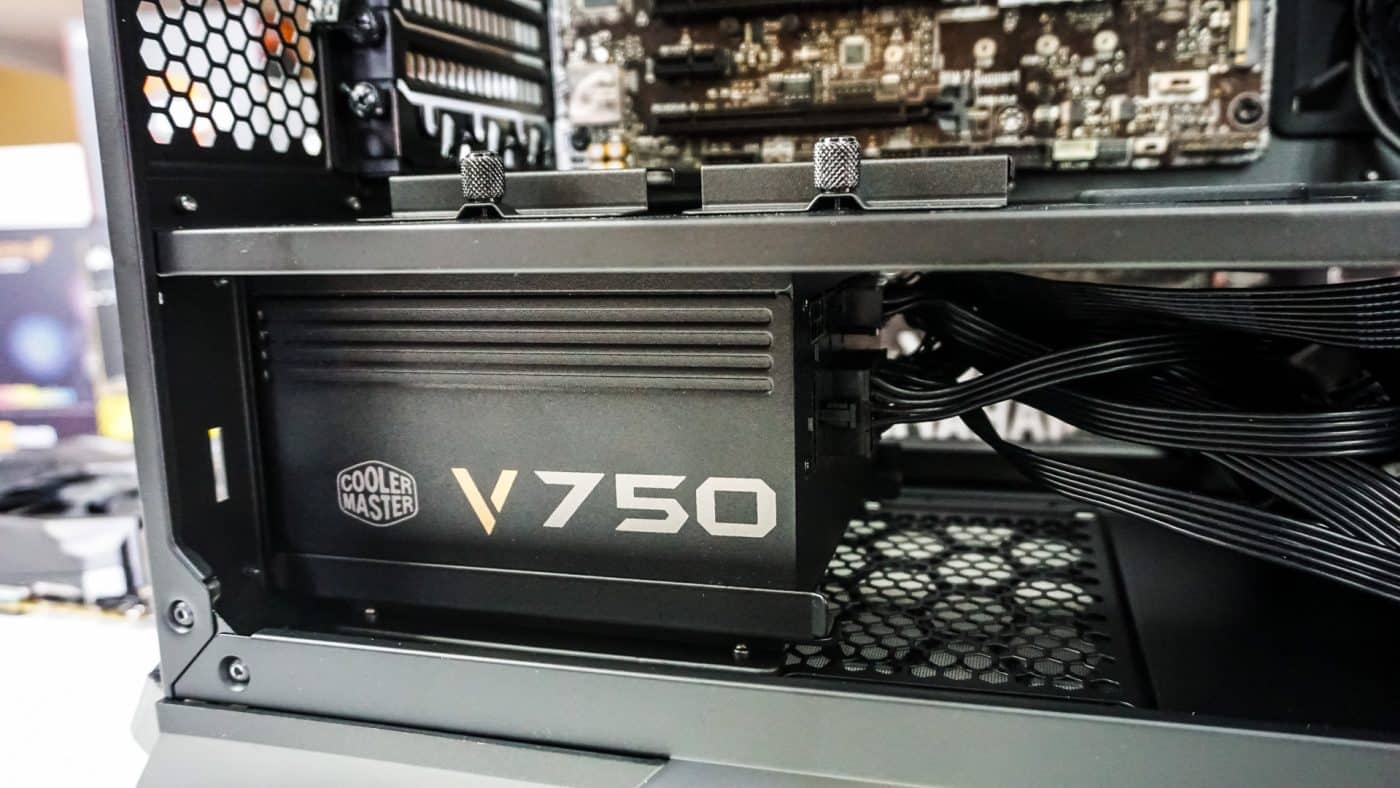
I actually went ahead and installed my power supply next. To do this you’ll need to remove the power supply bracket from the back of the case and install it on your power supply. Then slide your power supply into the back of the case. Once you’ve done that just secure it with the thumbscrews that are on the power supply bracket.
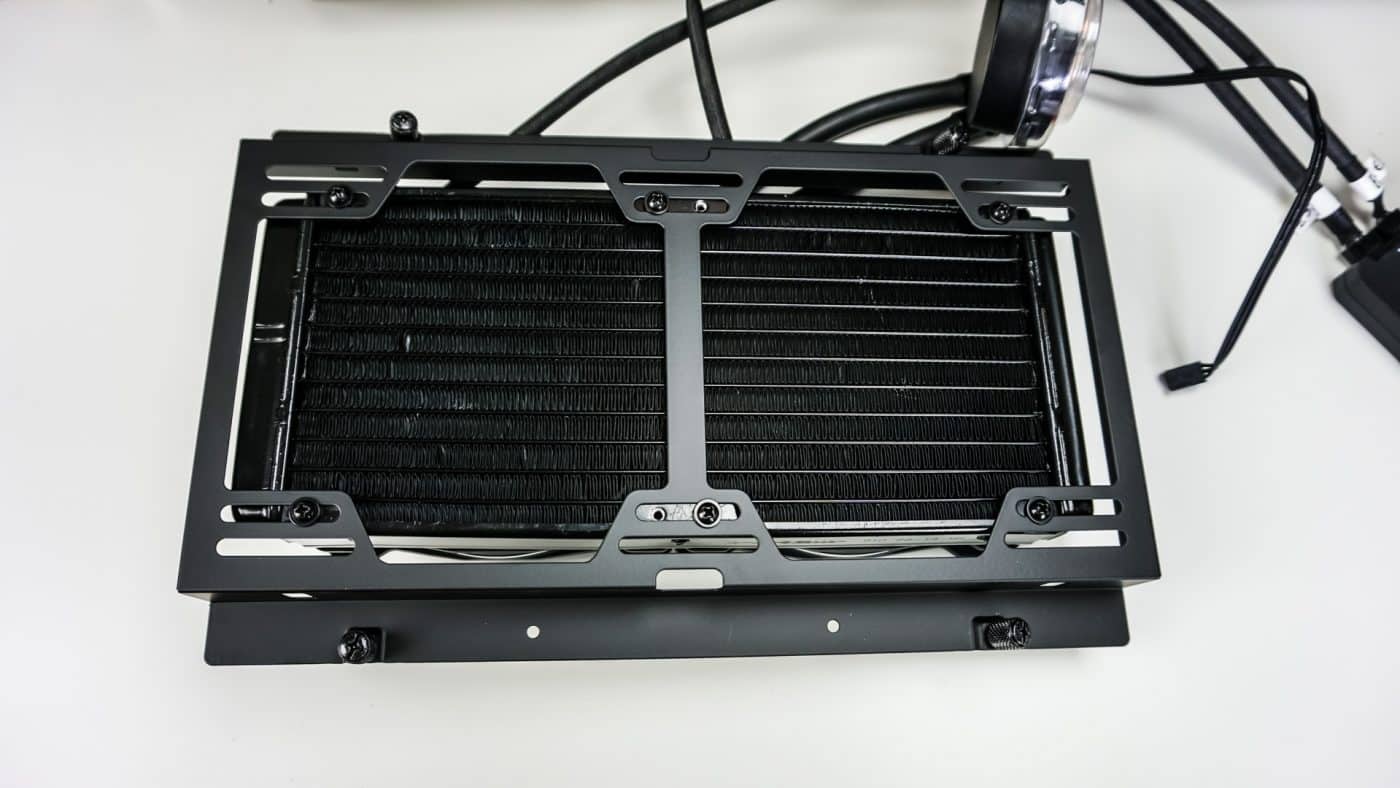
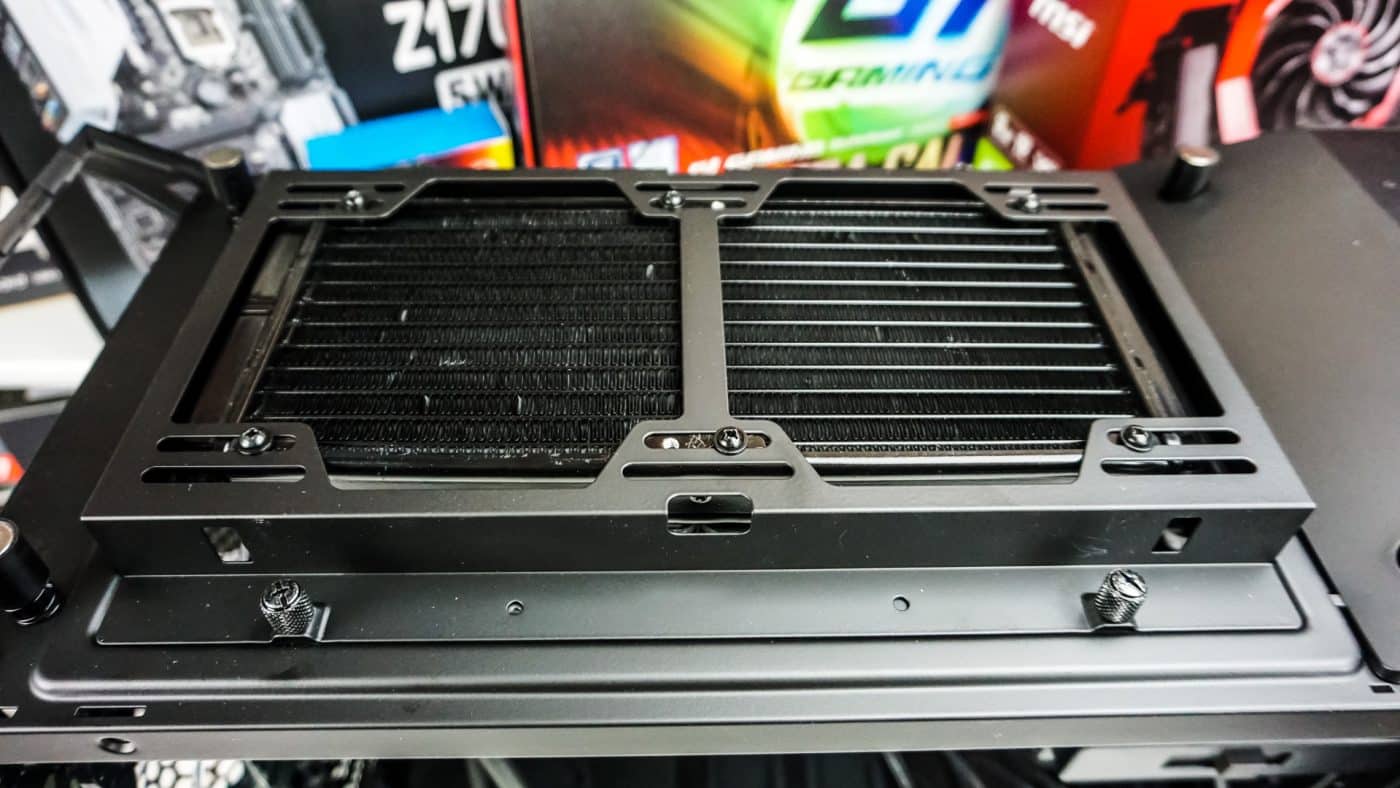
Once the power supply was in, it was radiator time! I went ahead and installed the a 240 mm AiO cooler for cooling the CPU. The removable top panel makes it quite easy to mount the radiator outside of the case then just put the whole thing back in the case. Things are looking good so far.
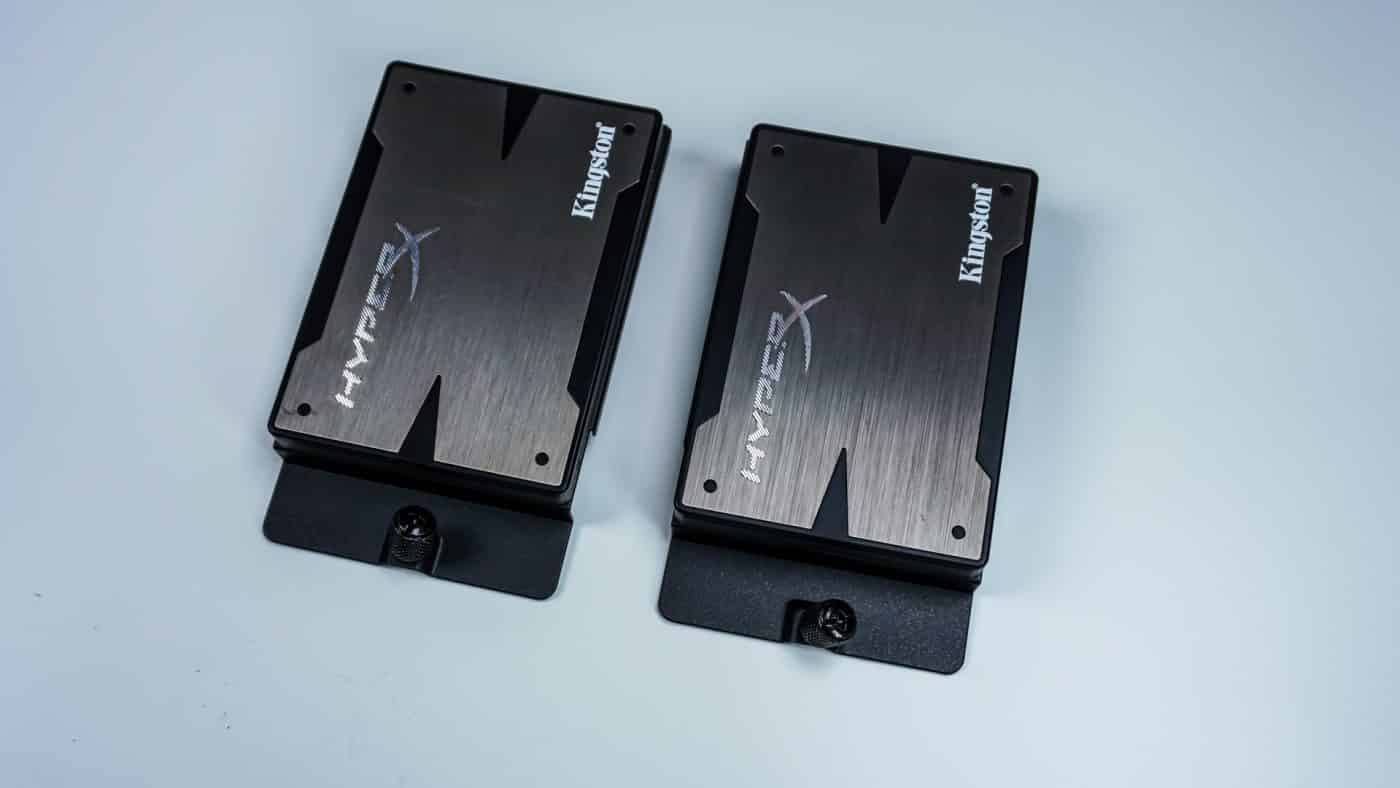
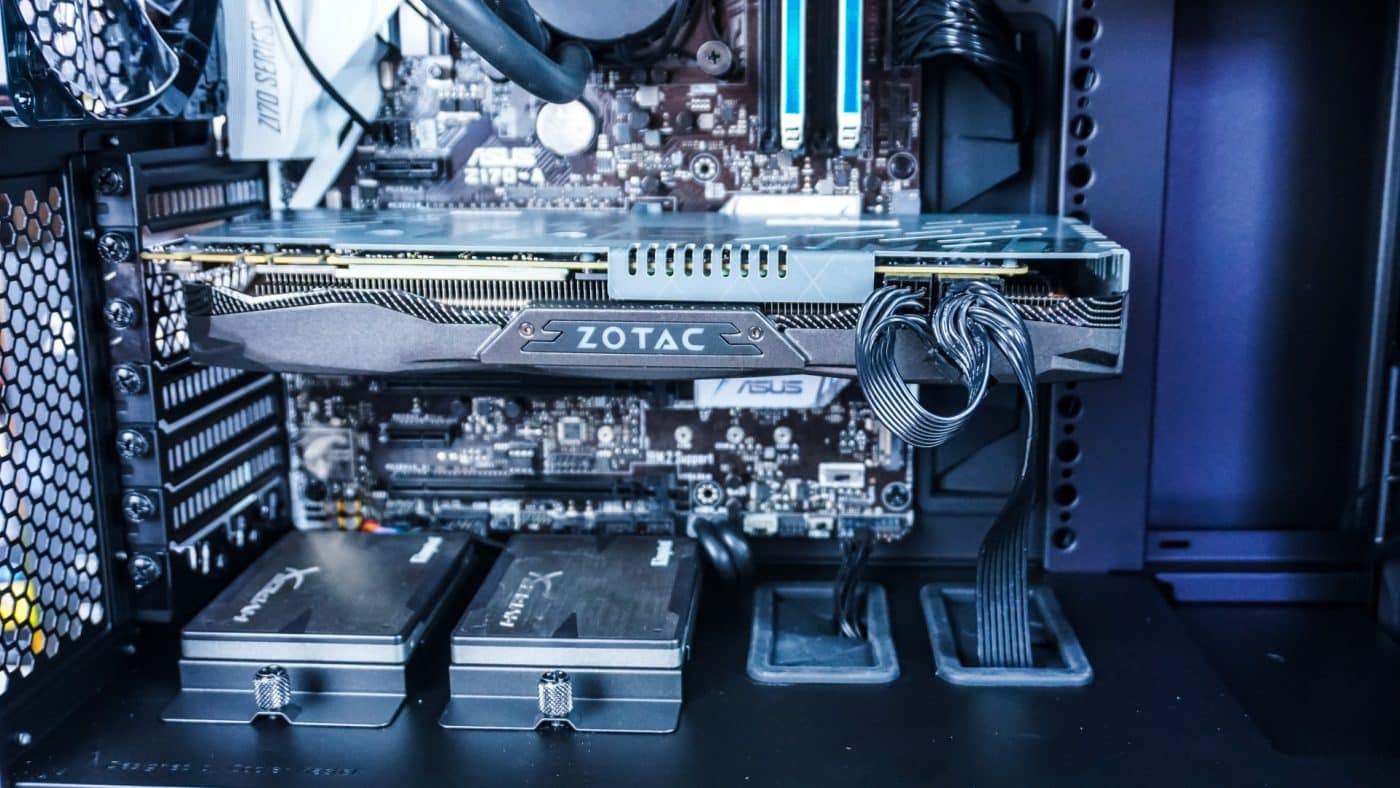
Now for our storage. I will be installing two SSDs in the SSD mounts that sit in front of the motherboard. These are easily removed with a single thumbscrew so you can take them out and install your drives. With the drives attached to the mounts just slide them right back in. It is probably a good idea to connect your cables to the drives before you reinstall them, this will make them easier to route.
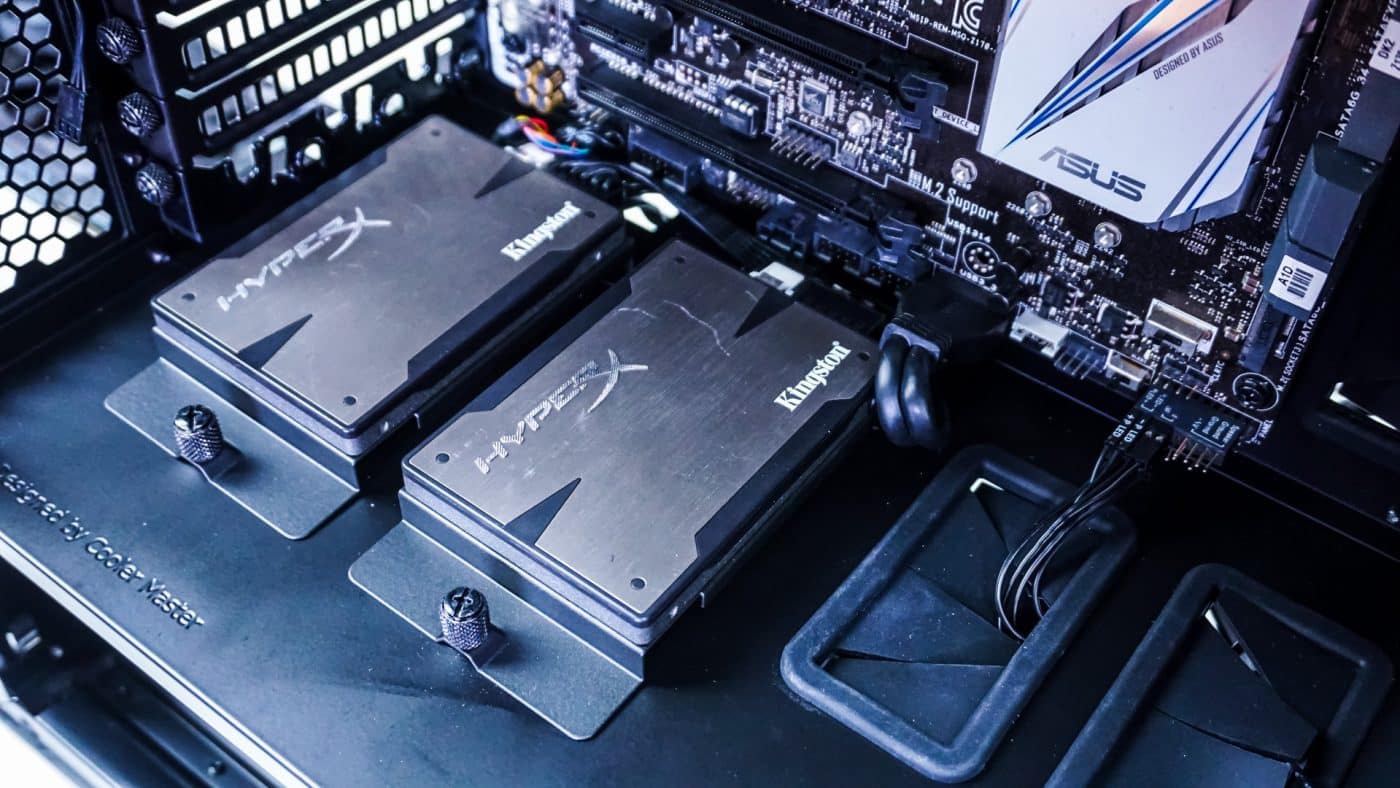
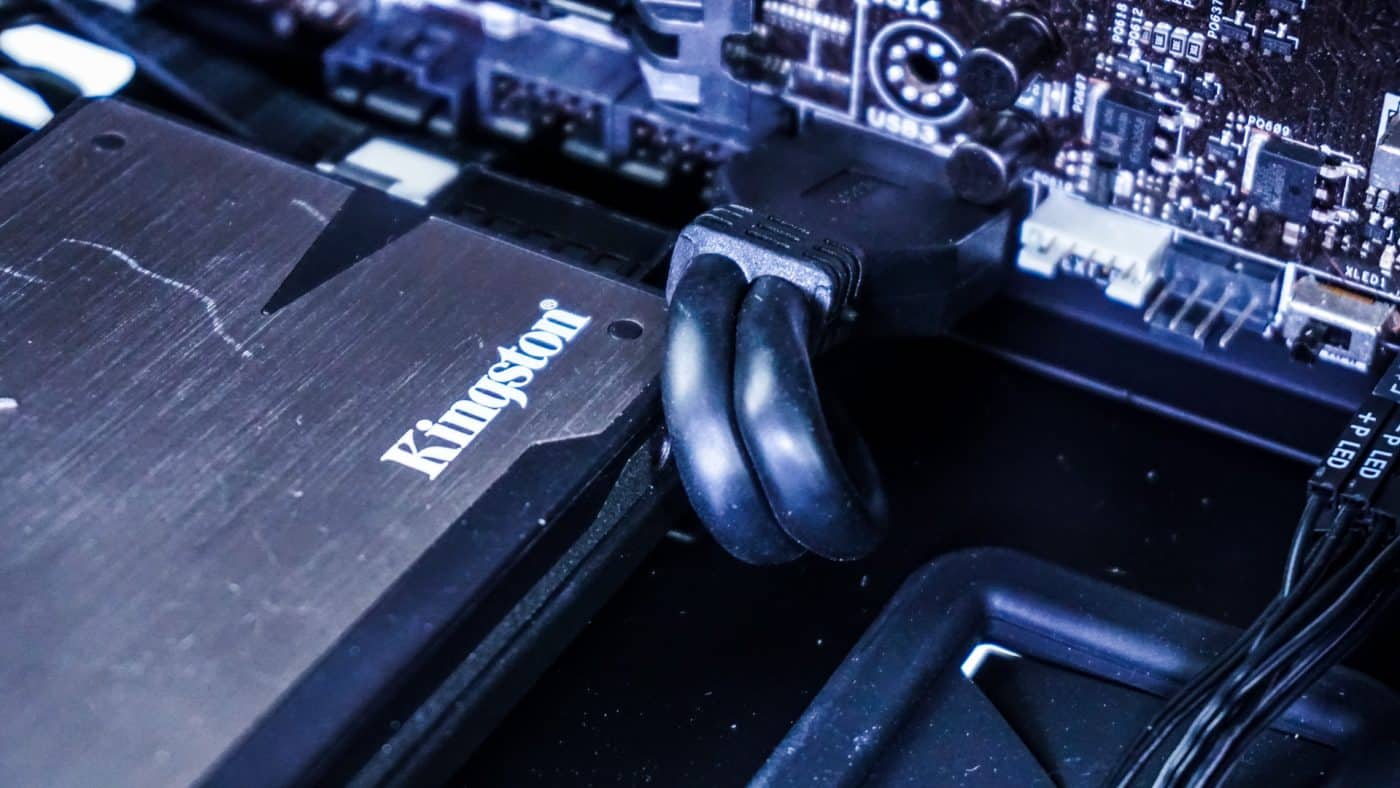
With the drives installed I did run into a small issue with my bottom USB 3.0 header. The drives sort of got in the way of cases supplied USB 3.0 header connection cable. This was on the ASUS Z170-A motherboard.
Now it was time to organize and route all of the cables in the system. This was done quite easily and I actually only needed to use the three velcro tie-downs on the backside of the case. Cooler Master does include zip ties if you need them. It would have been nice to have a 4th bottom velcro tie-down to help guide all of the cables into the cable channel.
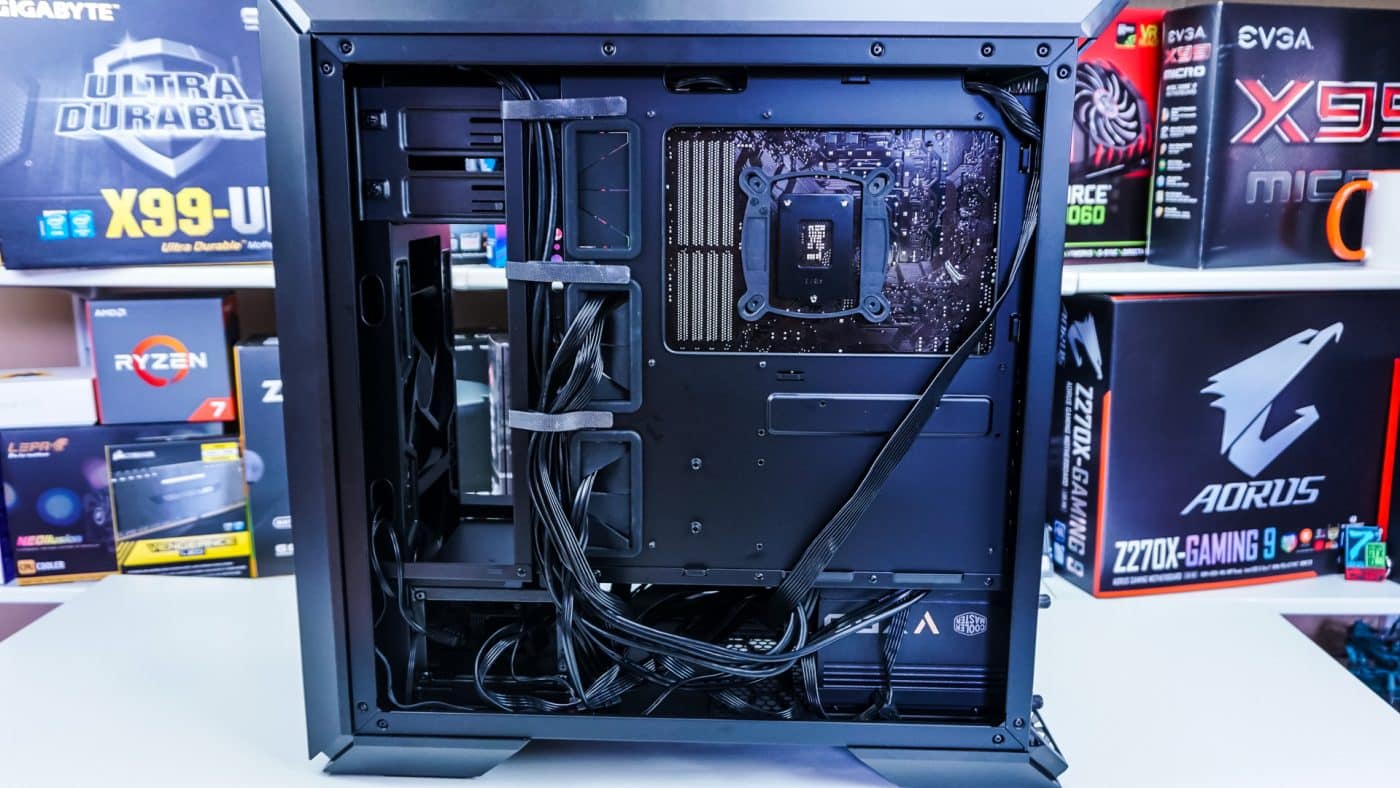

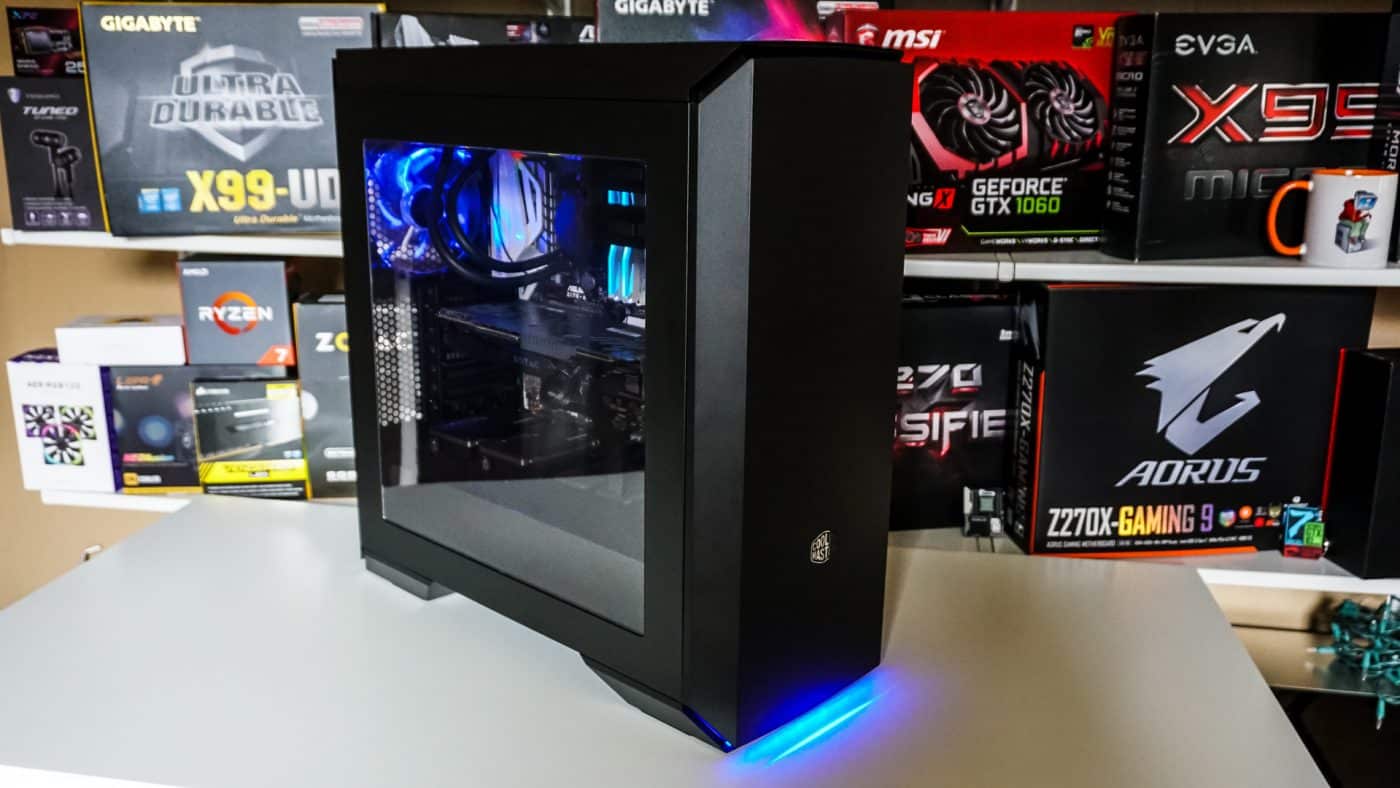
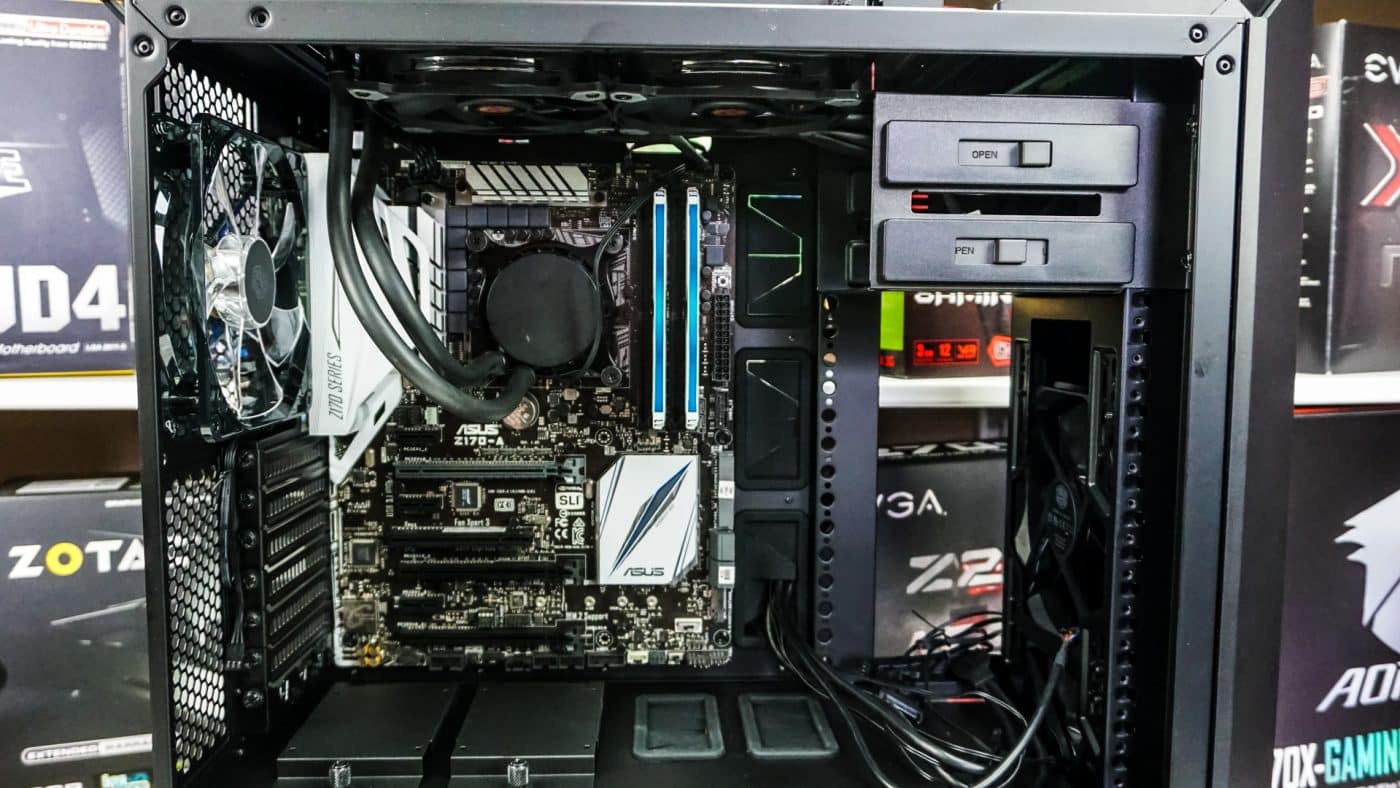
Installing the back panel on the case and moving back to the main side of the case we installed our graphics card and finished connecting everything. As you can see we have an extremely clean build with minimal effort.
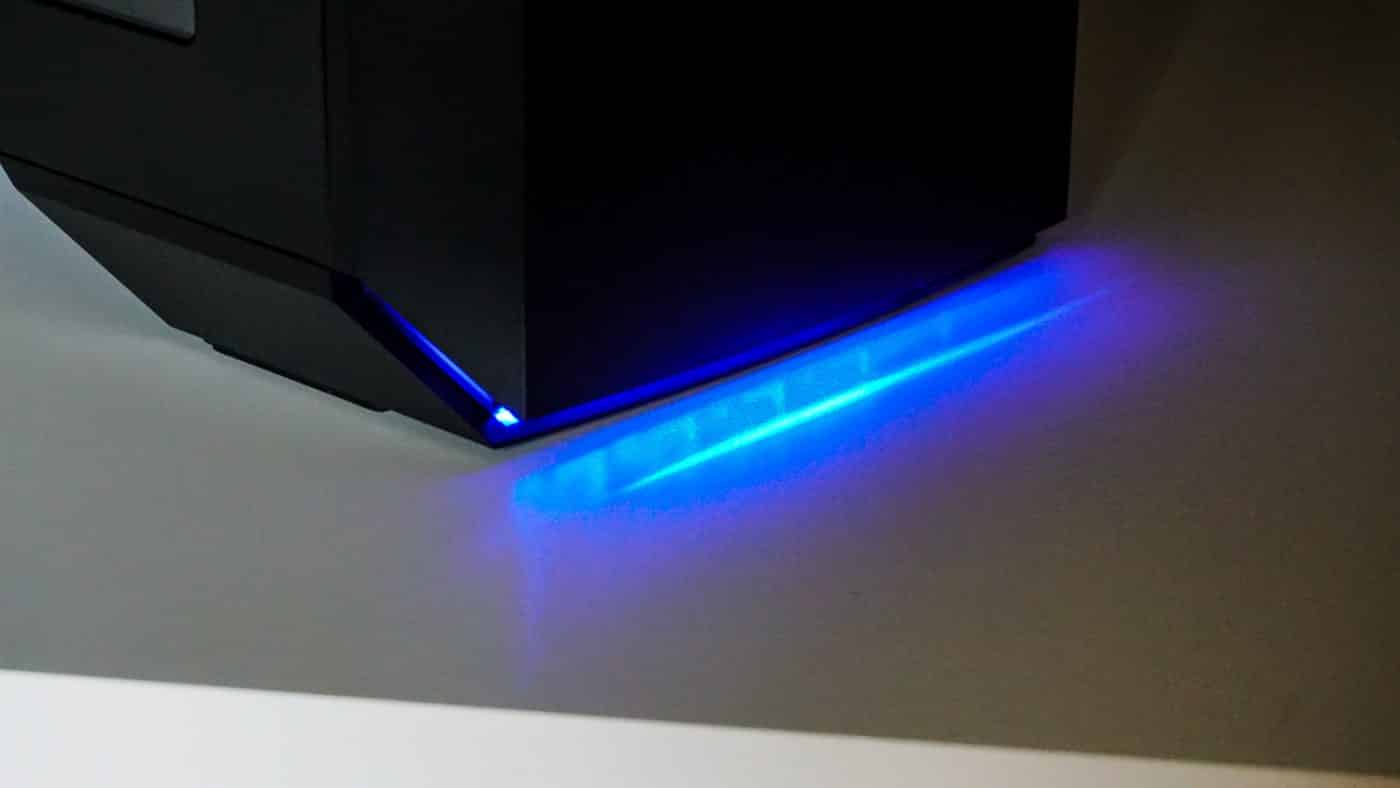
Now when you go and turn your system on you’ll notice that the rear fan as well as the bottom of the front of the case light up blue giving you a pretty cool effect.