

AZIO ATOM Overview
The most unique feature of the ATOM is definitely the ambidextrous design of the mouse. Now you may be thinking to yourself, “I’ve seen plenty of OEM mice that have a symmetrical body to them, and they are ambidextrous as well”. While that might be true about the symmetrical body, the ATOM has a bit of customization when it comes to the additional buttons available to users, which we will cover a bit later on.
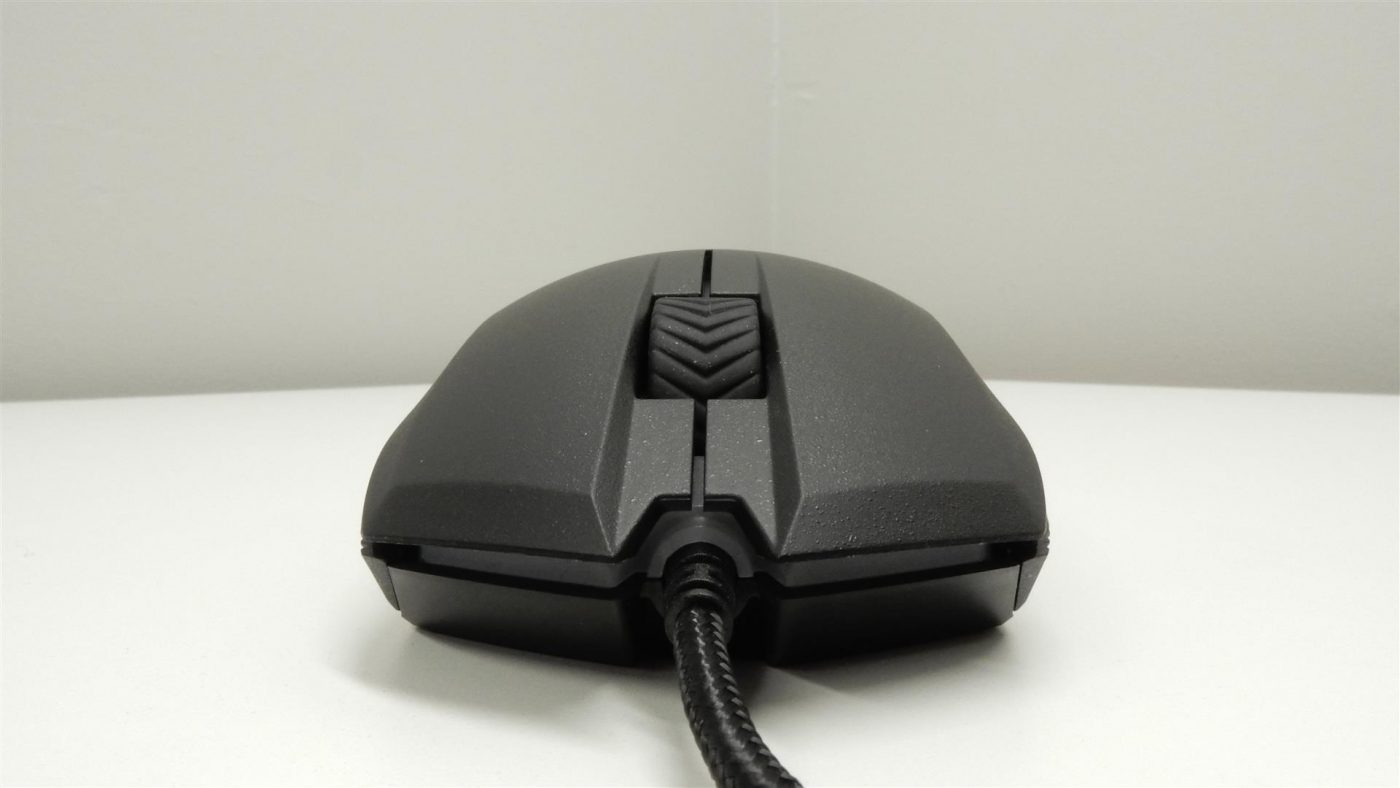
Looking straight down on the mouse, we see that it is truly a mirror-image from the left side to the right. Both the left and right mouse buttons are exactly the same size, and feature the exact same curvature, unlike many gaming mice that are clearly intended to be used by right-handed gamers. Beneath the left and right mouse buttons are Huano-branded switches, which according to AZIO are rated for up to 20 million clicks. Sitting between the left and right mouse buttons is a wider-than-normal scroll wheel that provides a bit more surface area for your finger. The rubber surface of the wheel features a V-shaped pattern to give a bit more grip than some mice wheels with a smooth surface. The rear portion of the mouse body has a nice, gradual hump to it, with a semi-transparent AZIO logo towards the rear.
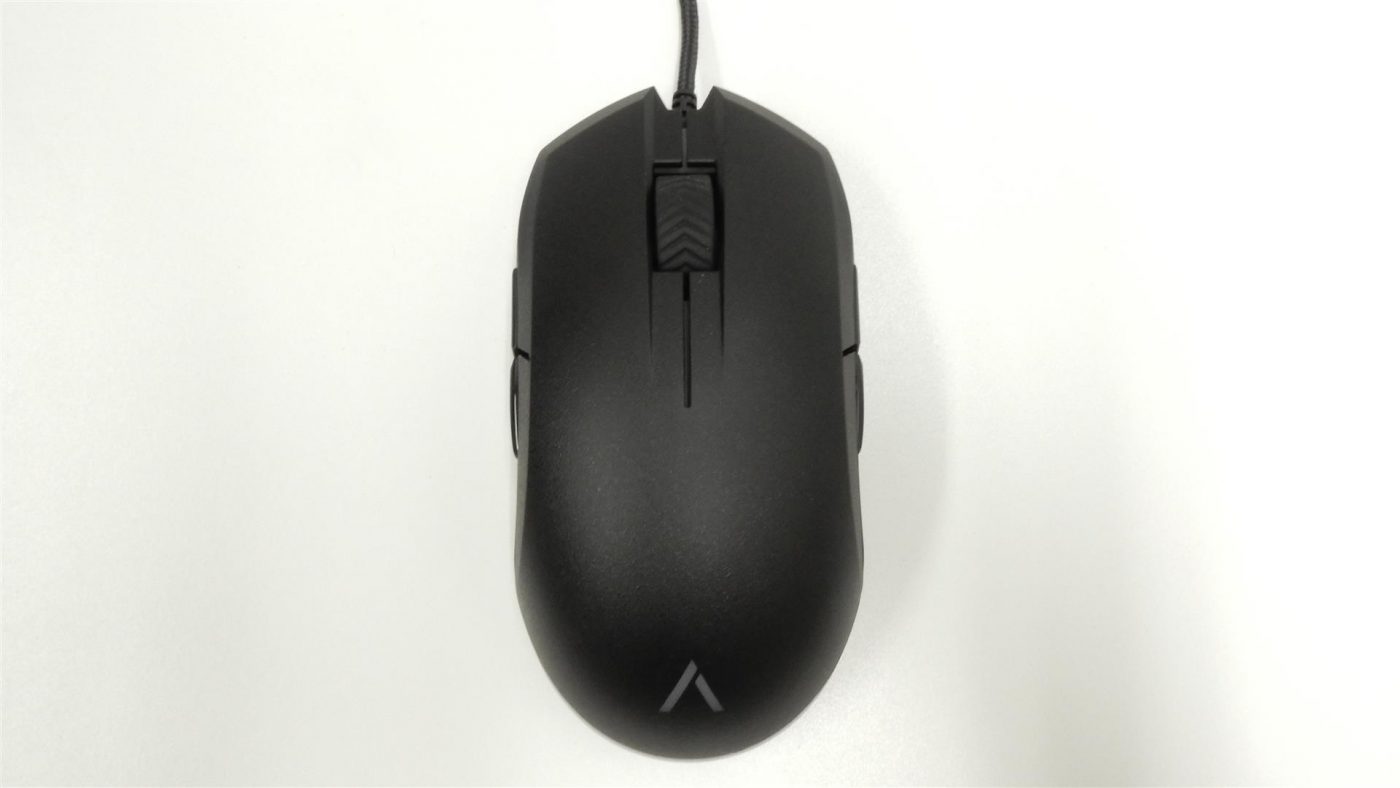
The entire body of the ATOM has a textured surface that is a bit rougher than what we normally see on mice. We have seen everything from glossy finishes to slightly textured plastic, but the ATOM probably has the most noticeably rough texture of any mouse we have looked at. It did take a bit to get used to in our testing, but it is not uncomfortable in the slightest.
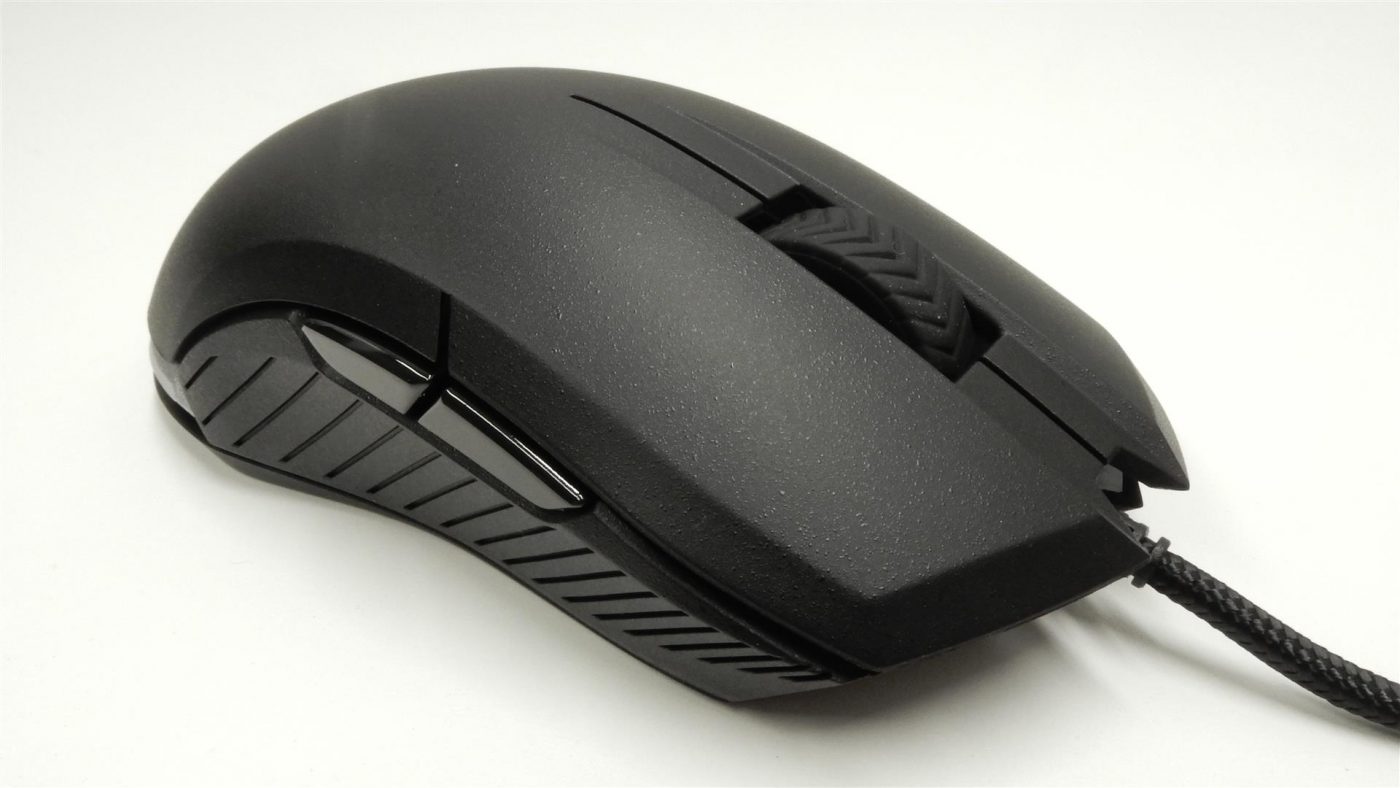
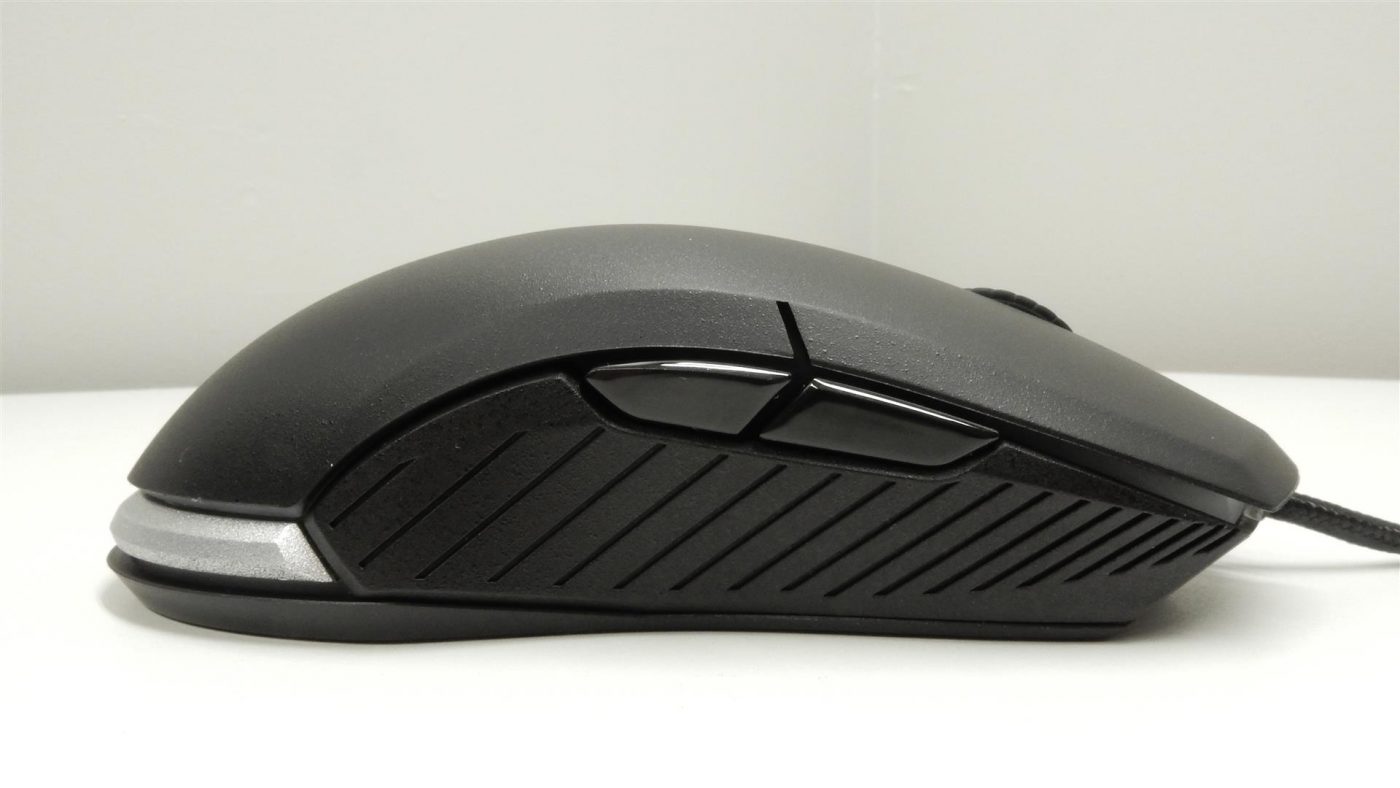
Taking a look at the left side of the mouse, we can see a pretty standard layout. There are two buttons just above the thumb rest that provide forward and backward functions. These buttons have a glossy surface and are sized nicely to ensure you know when you are touching them. Their placement was also very ideal in our testing, as we didn’t feel the need to have to move our thumb forward or backward in order to reach the buttons.

Making up the majority of the left side is a plastic side panel that employs the same slightly rough texture in addition to angled grooves for additional grip. We would have like to see a rubber material used here, as we think that is the best material for a good grip, but the rough surface of the plastic, in addition to the grooves, was actually quite good at providing a good grasp of the mouse.

Moving over to the right side, we see a mirror-image of the left side. Again we have the two forward and backward buttons sitting just above the textured and grooved thumb grip.
As the ATOM is an ambidextrous design, there really isn’t much more to talk about, other than the fact that a left-handed gamer will have an experience with the ATOM that is identical to that of a right-handed gamer.
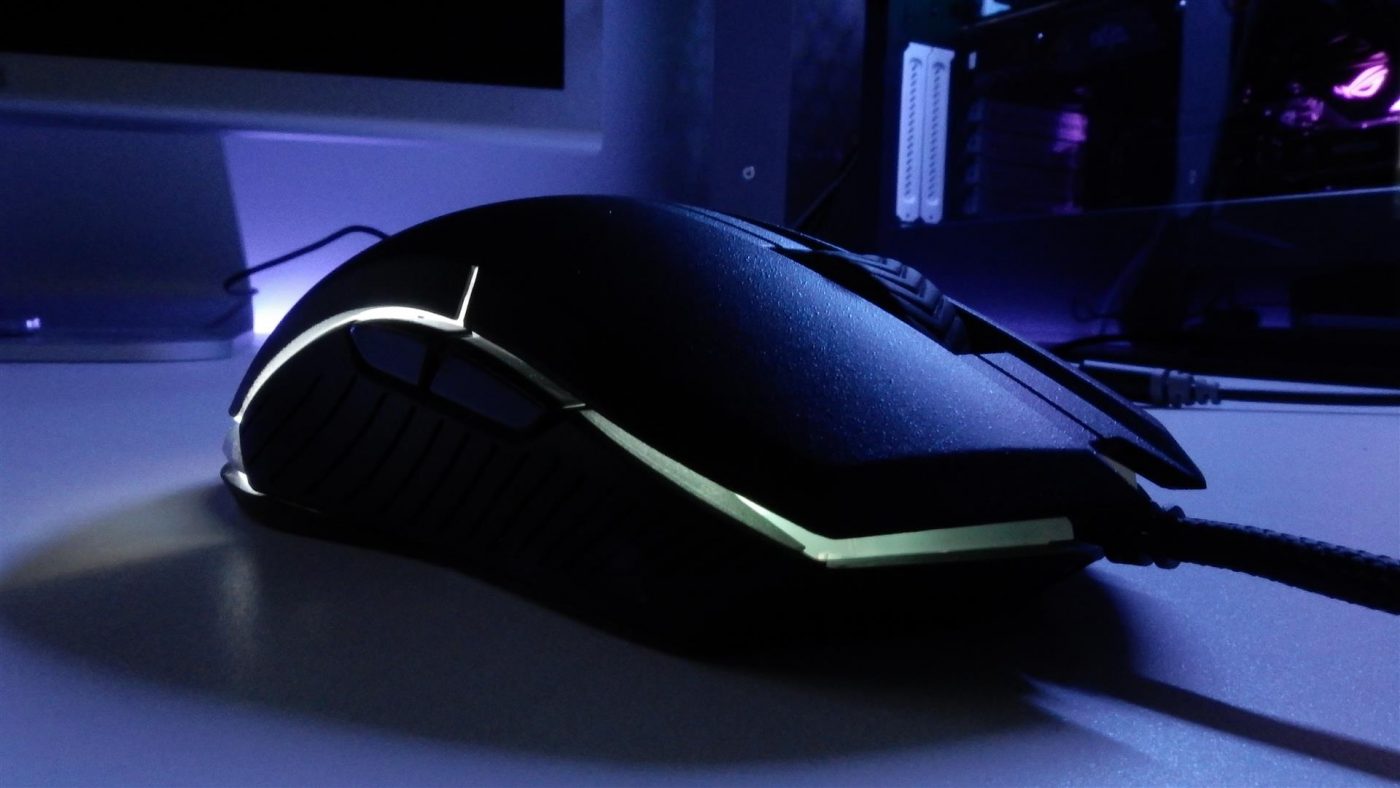
The rear of a mouse is typically not something to really discuss, but we just wanted to point out the design features that AZIO used on the ATOM. As mentioned earlier, the back portion of the body of the mouse is home to an illuminated AZIO logo. Along the rear curve of the mouse, there is a silver “bar” that not only adds a bit of a color contrast to the mouse, but also serves as a “reflector” of sorts for the RGB LED lighting that is found around the perimeter of the mouse. If you will notice, the seams around the ATOM are a bit larger than what you might find on other mice. This isn’t due to poor fit and form. It is actually spaced this way to allow the internal lighting to show through around the perimeter of the mouse.
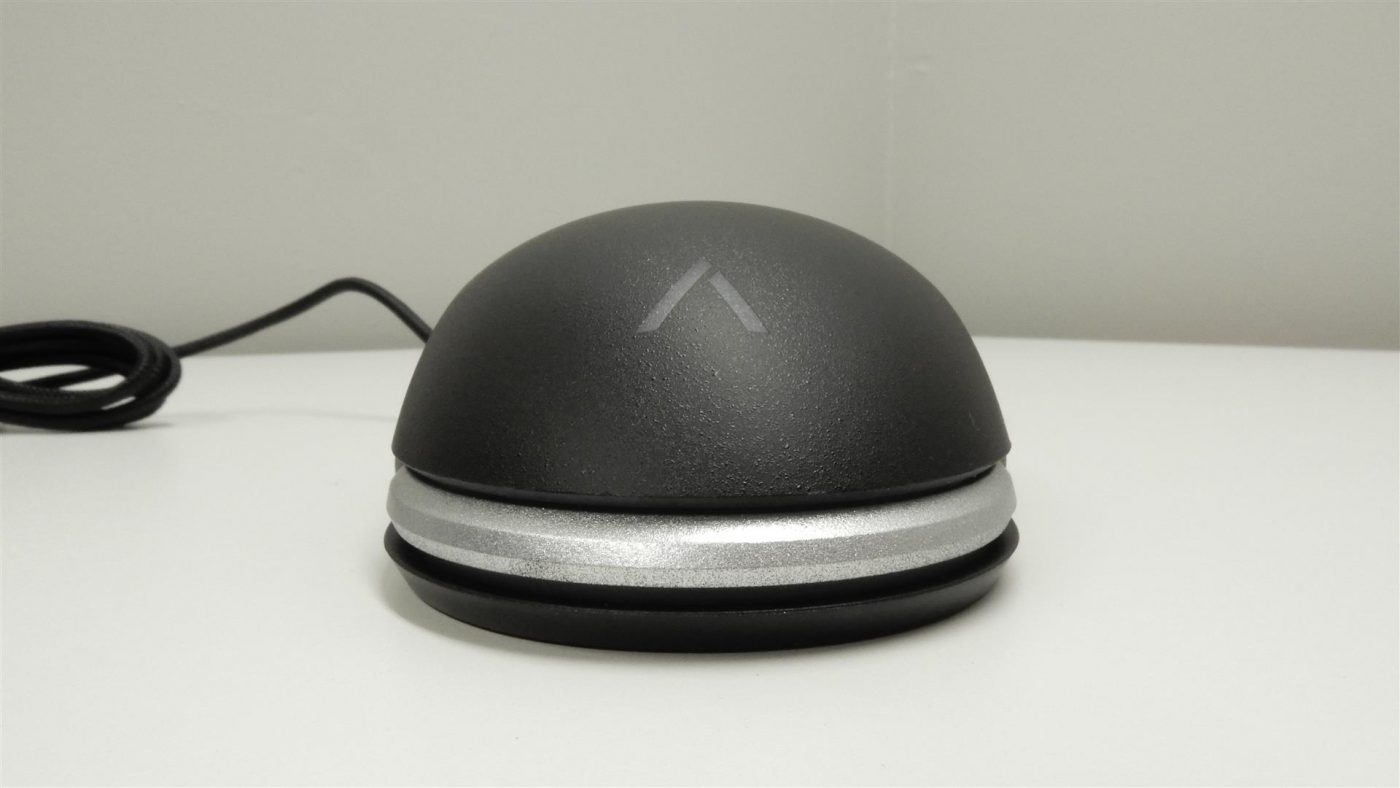
Up front we have a pretty standard view with the six foot long braided mouse cable exiting the body of the mouse just between the left and right mouse buttons. It is here that we can also get a good look at a semi-transparent light diffuser that lets the RGB LED lighting shine through. We also get a good look at the width of the mouse wheel and its grooved rubber surface.
Flipping the ATOM over really threw us for a loop when compared to other mice. Not only are there your standard PTFE feet for sliding along your mousing surface, along with a cutout for the PixArt PMW3360 optical sensor, but there is also a mixture of switches and a button for configuring the ATOM.
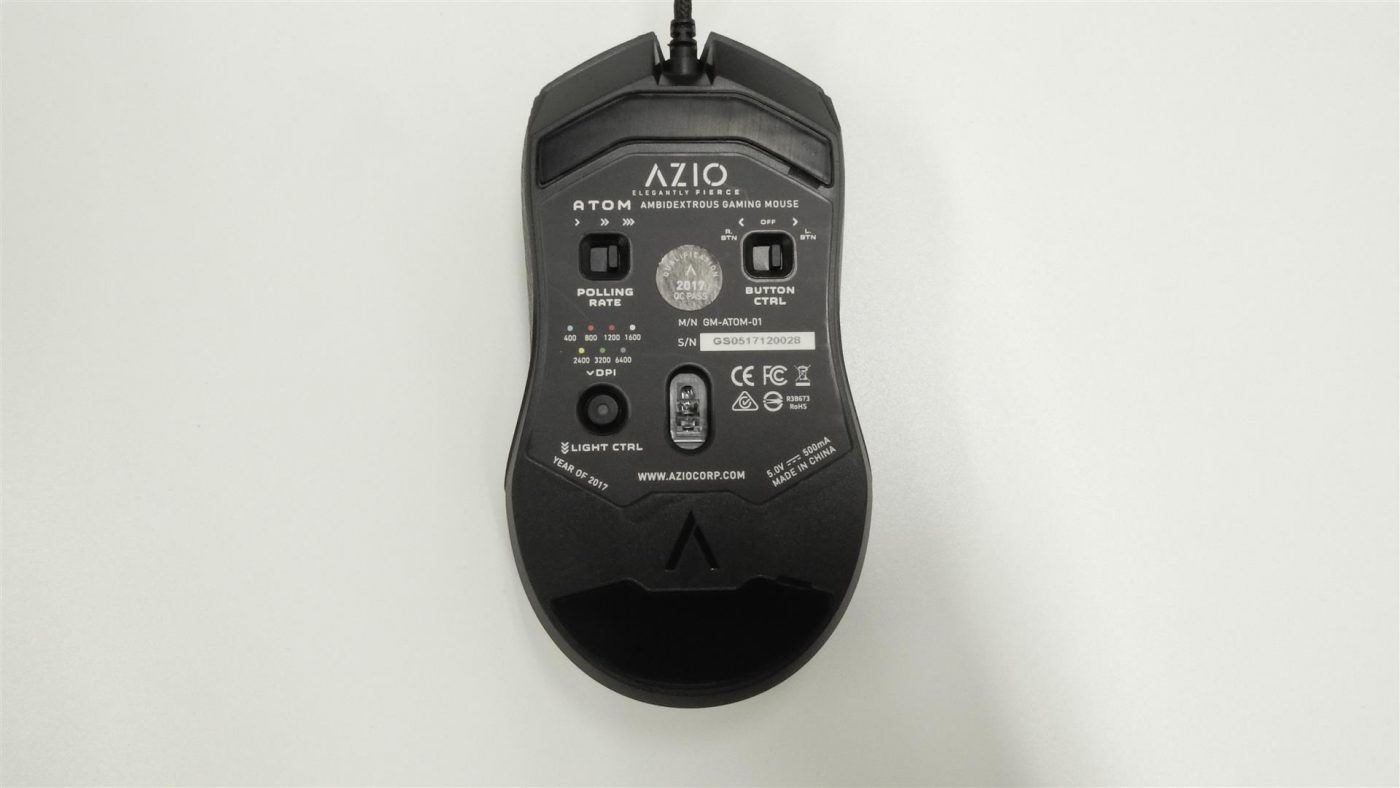
Starting in the top left, we find a three-way switch for adjusting the polling rate. You can select between 125, 500, and 1,000Hz by simply sliding the switch to the corresponding position. In the upper right side we have a switch that is used to enable or disable the left side and right side mouse buttons. Setting the position of the switch to either side determines which set of buttons is enabled or disabled. For example, if the switch is set to “L.BTN”, the left side buttons are turned on, and the right side buttons are disabled. The opposite result occurs if the switch is in the “R.BTN” position. Setting the switch to the “OFF” position disables all four of the side buttons.
To the left of the optical sensor is a single button that serves two functions for the ATOM; DPI control and lighting adjustment. A light in the center of the button corresponds with one of seven DPI settings. Cyan for 400, Orange for 800, Red for 1200, White for 1600, Yellow for 2400, Green for 3200, and Blue for 6400. Simply pressing the button once will cycle through the DPI settings, and the color of the light on the button will indicate the current setting.
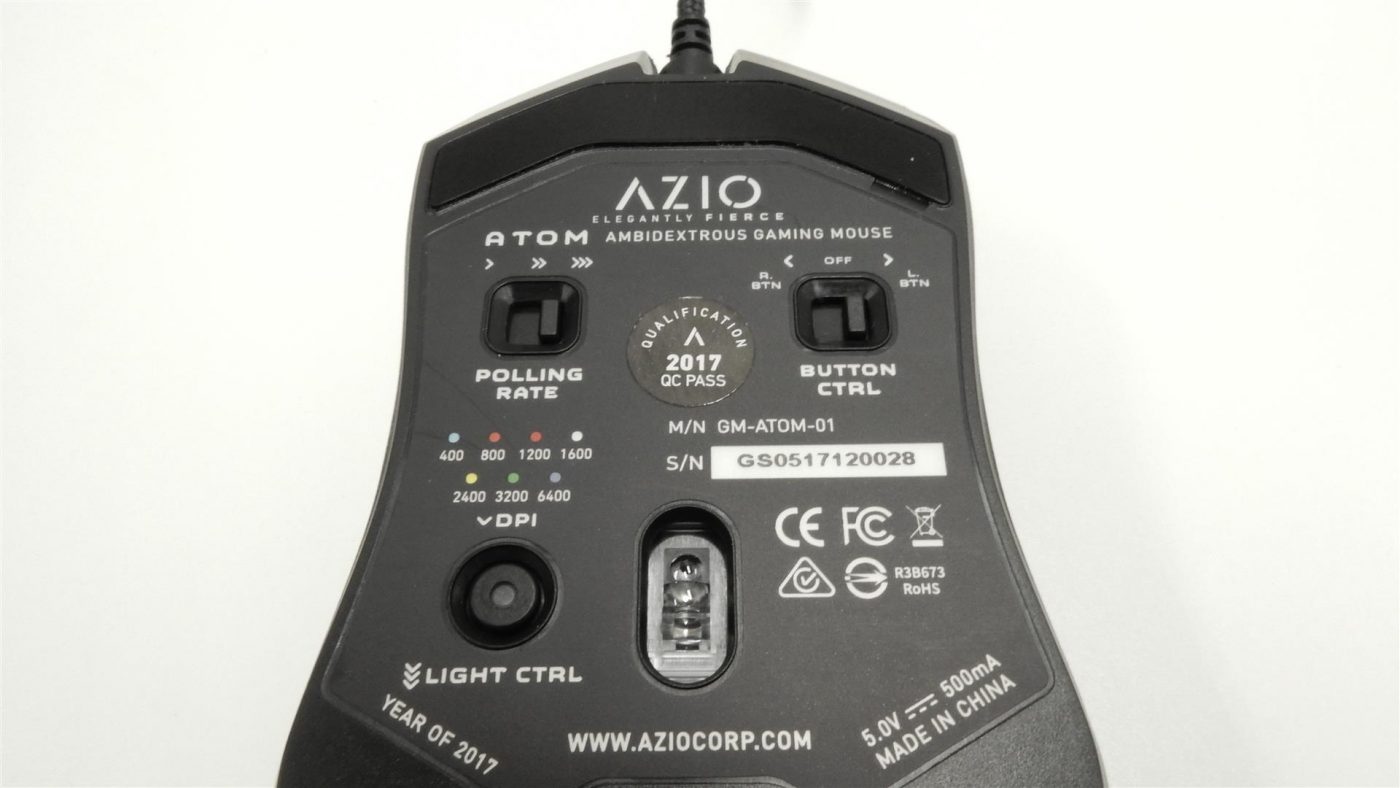
Holding down the button for five seconds puts the ATOM into Lighting Modification Mode, which is indicated by the button’s LED flashing five times. Flipping the mouse over lets you use the left side buttons to cycle through the available lighting modes of Static, Breathing, RGB Cycling, RGB Marquee, and Off. When in Static or Breathing modes, you can use the right side buttons to select your desired color from Cyan, Orange, Red, White, Yellow, Green, and Blue. Once you have your lighting set, you can simply press the DPI button again to exit Lighting Modification Mode.