Initial Setup
There really is not a true setup guide the comes with the My Cloud EX2 Ultra. It just tells you to connect power and connect to your home network and then visit mycloud.com/setup. When you are there are you are brought to this screen.

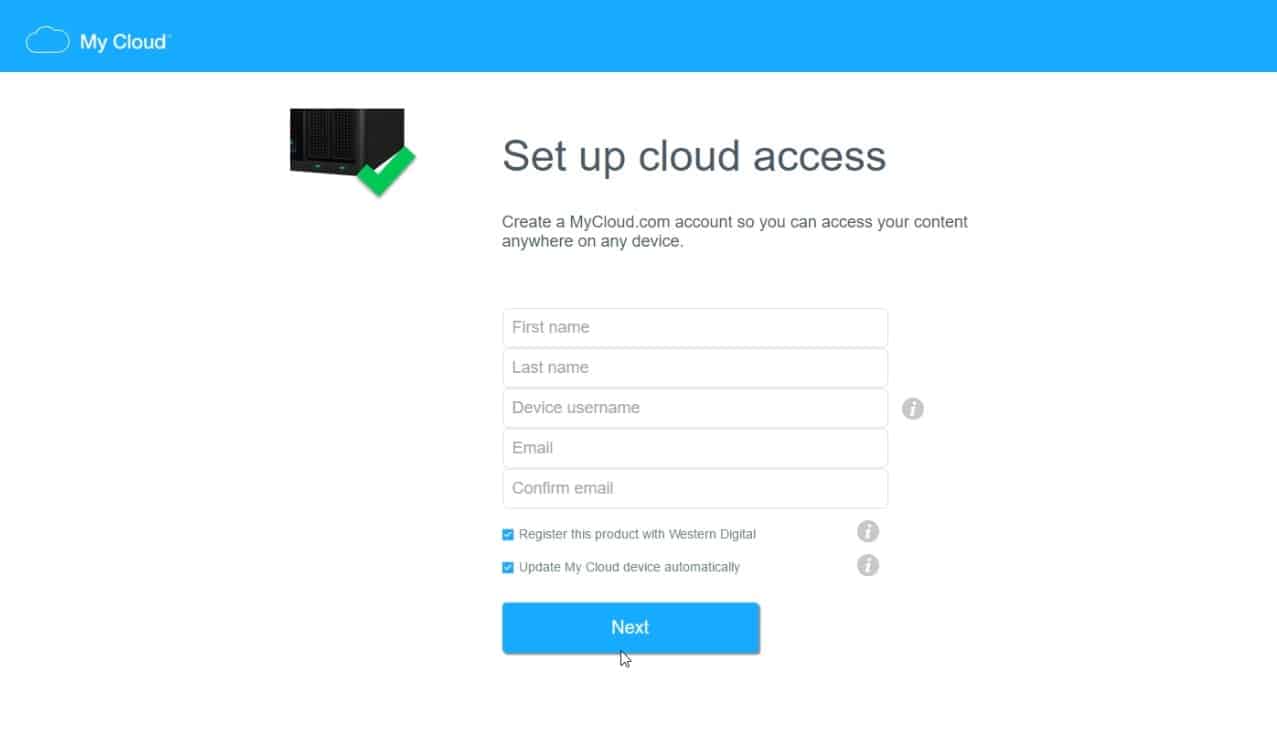
When you click on “Get started” it will search for your device. And confirm that it has been found. Once that happens you will be prompted to set up Cloud access. This will allow you to access the files on your My Cloud EX2 Ultra NAS from anywhere. This is not mandatory, you can actually close this Window and locate your NAS on your local network using Windows Explorer. Now if you want to set up cloud access go ahead and fill this out.
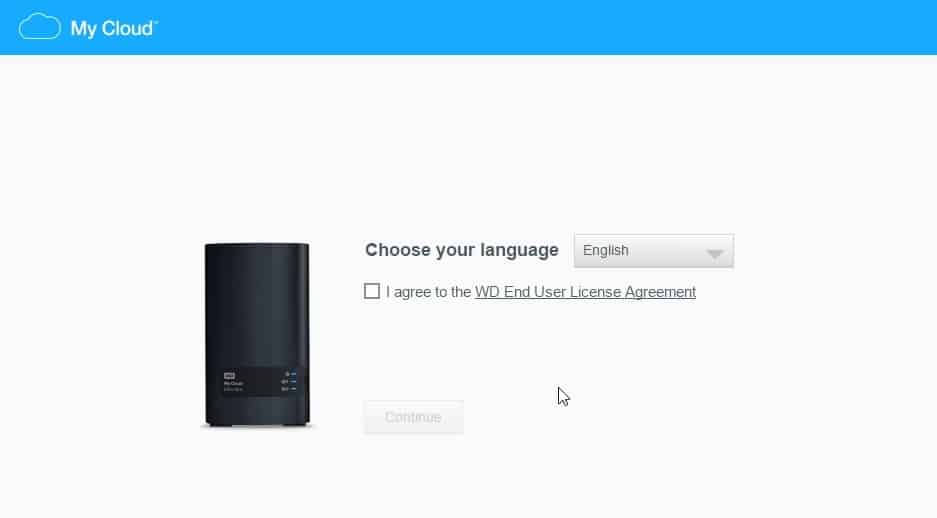
To access the My Cloud EX Ultra locally all you have to do is type in “mycloudex2ultra” into your web browser and you will be able to fully configure the device. First you will need to choose your language and then accept WD’s EULA.
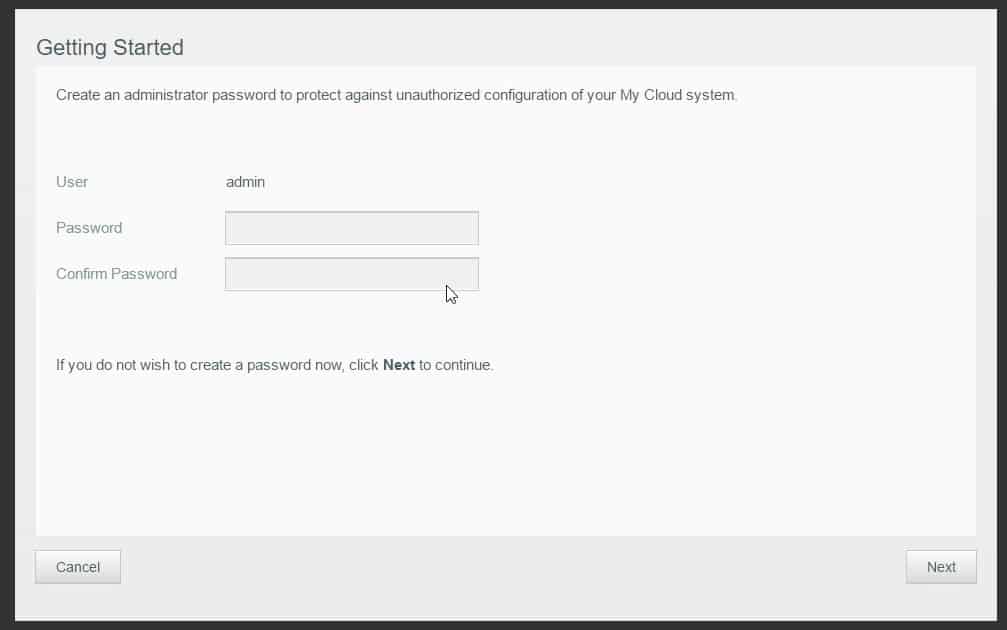
Next you will be prompted to create an administrator password.
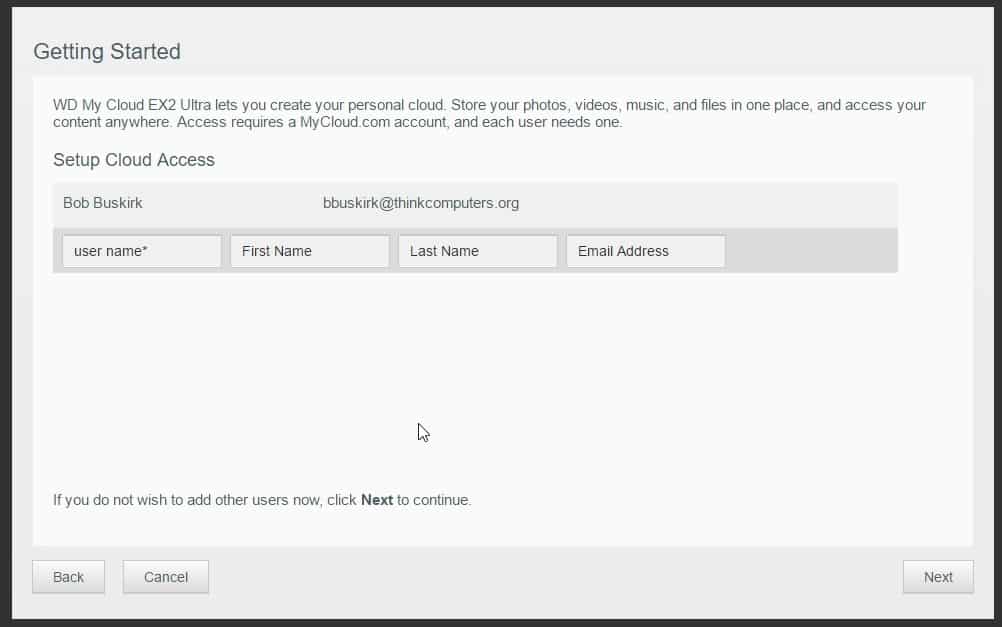
We already setup Cloud Access to the device using the MyCloud website, but you can also add more users to the device on the next prompt.
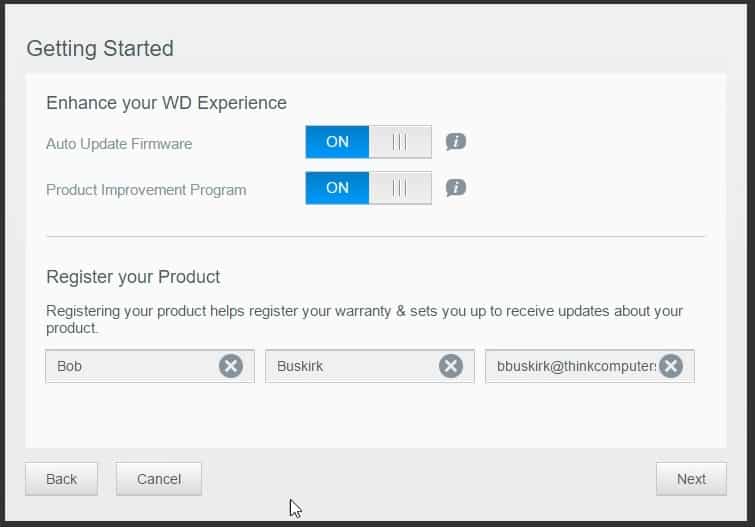
The next prompt asks you if you want to turn auto-update firmware on and to be in WD’s product improvement program. You can also register your product here as well.
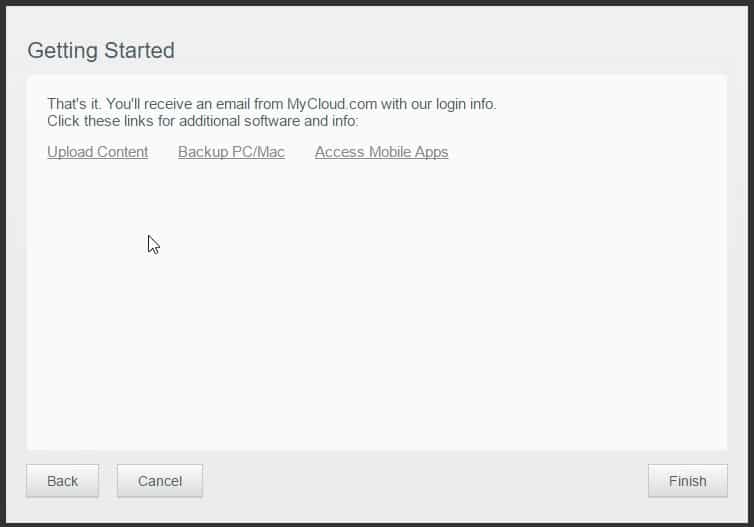
At the final prompt there are links to upload content to the device and to download backup programs and mobile apps. We will be covering those on the next page.