Now that you’ve had a little bit of time with your shiny new gear, opened every box, checked every fitting, I bet you can’t wait to start installing parts! Well hold on for just a minute there cowboy. Before we can start the real fun there are few chores that must be done to prepare those brand new parts for use. Of course you could throw caution to the wind and skip this whole article but I wouldn’t recommend it. As nice and shiny as those parts appear on the outside, due to the manufacturing processes involved the insides are not usually so pristine. So welcome to Water Cooling 101 Episode 4; where we help you get your parts ready for use.
Our Water Cooling 101 series is brought to you by our great friends at Aquatuning! Check them out for all of your water cooling needs!

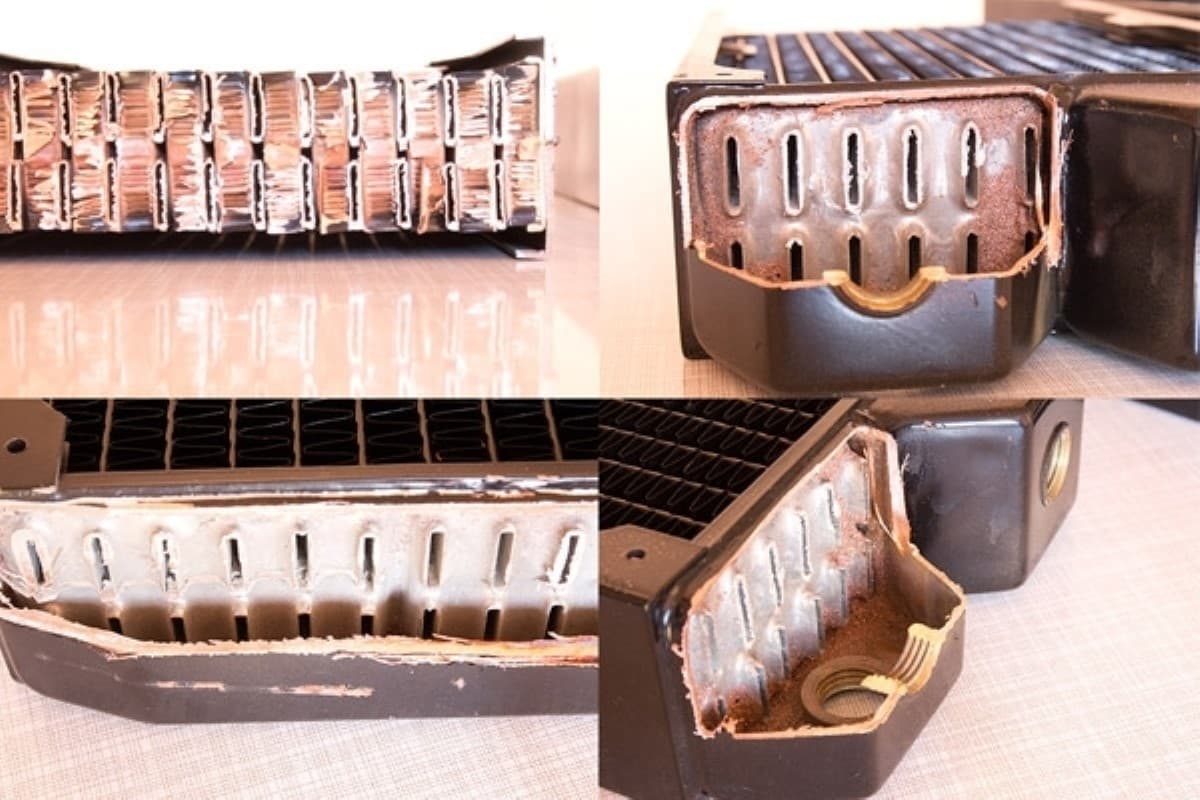
Our main area of concern lies with the radiators. Don’t let that glistening black finish fool you, inside most electric radiators lies a dark secret. Ok so not so much a secret as much as leftover junk from when they get soldered together. If you were to look at the interior of your radiator it is a seemingly myriad collection of tubes, chambers, and fins all needing to be connected. Inadvertently and almost inevitably there are bits of debris left behind within these slim connecting tubes. And while I have never used a radiator that didn’t need a flush, in my personal experience the problem becomes more heightened with cheaper radiators. Whether due to an initially less clean build process or less time taken to flush the finished radiator by the manufacturer if you are saving money in the radiator department I would spend more time in this prep stage.
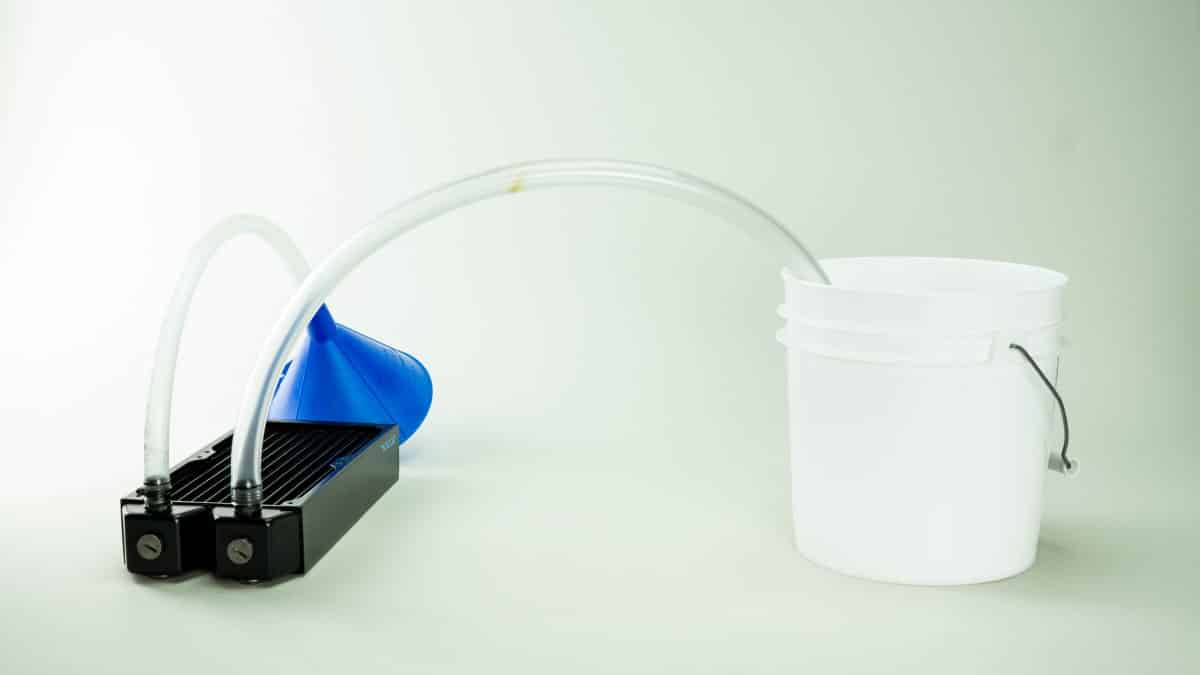
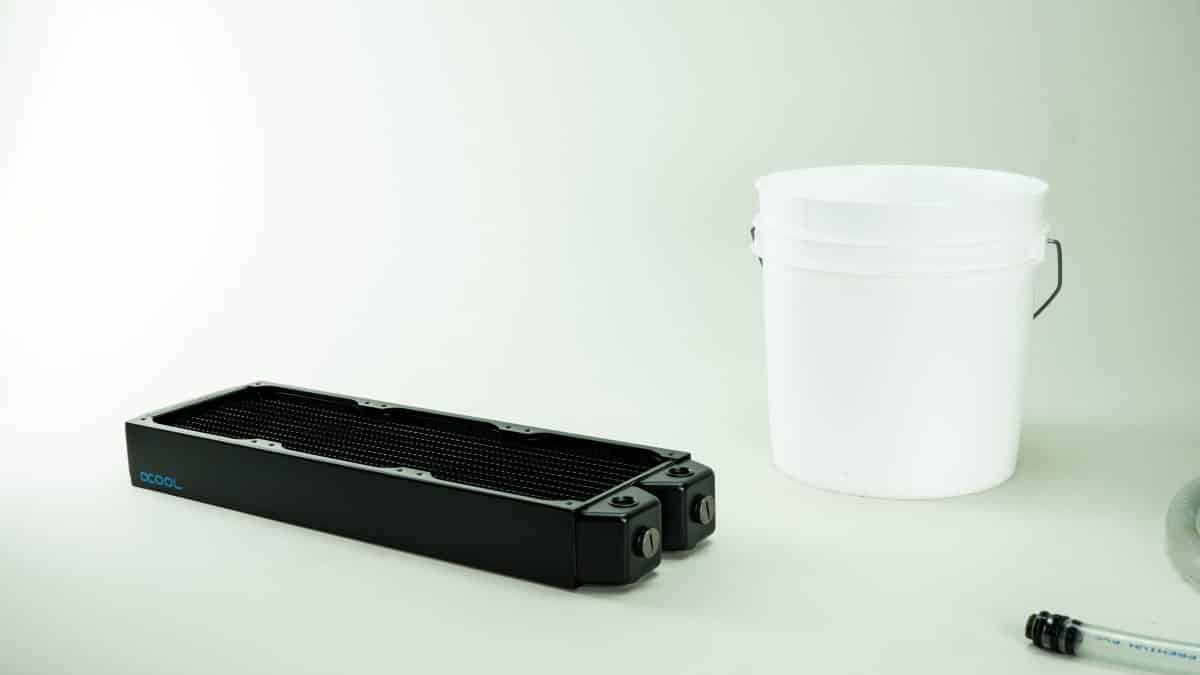
To begin the flush process you will need a few supplies. First time builders will need to put together a fill tube and a drain tube. Each will consist of a fitting, I use barbs since they are cheap and do the job, and a piece of tubing about two feet in length. You will also need a funnel and a bucket to drain into. Another option is to just drain into your kitchen or bathroom sink if you choose. The down side is not being able to see what you’ve flushed out. Not only is it kinda neat to see what just was in there, but it will also tell you when you can stop flushing as materials stop showing up.
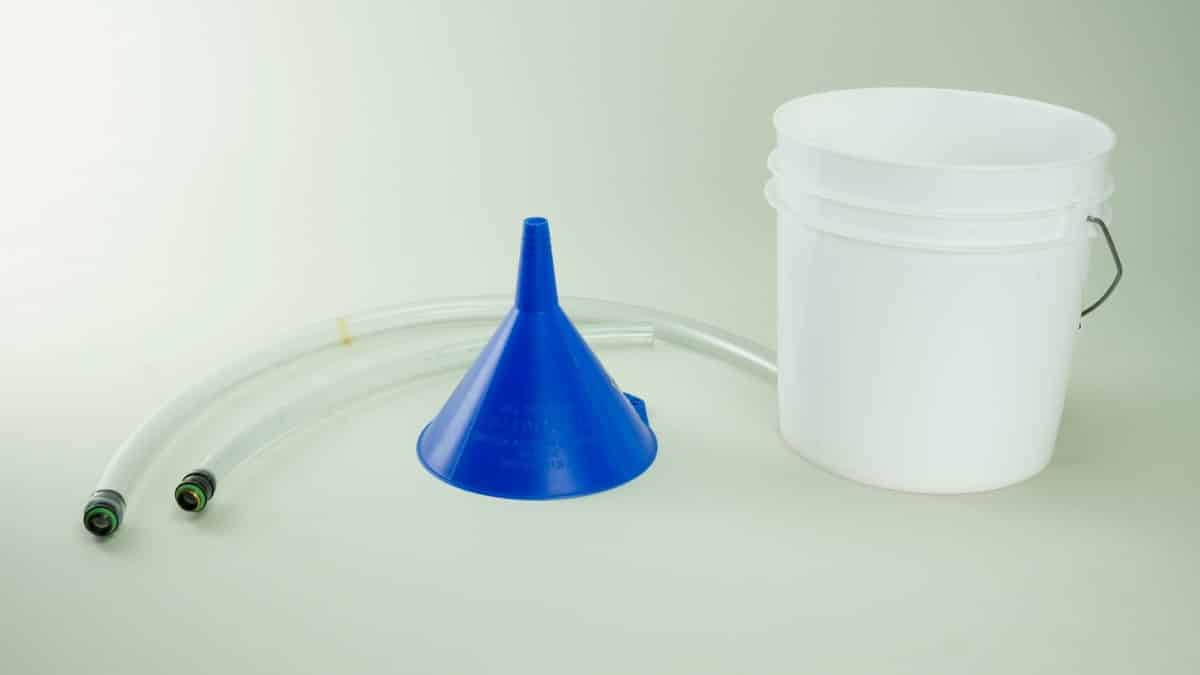
You will of course also need some sort of liquid to do the flush. At the bare minimum you need a gallon of distilled water. This is cheap and readily available at your local grocery store. And no, distilled is not equal to filtered or any ol’ bottled water. Distilled has been stripped of all trace minerals and is non conductive. Both of those things are important to you as a water cooler. Minerals found in all water are what actually conduct electricity they are also responsible for the growth of bacteria. It is best to think of your water cooling loop as a fish tank in this regard. By leaving minerals in the water you are encouraging the growth and buildup of bacteria and eventually algae; both degrade performance and ruin parts. For this reason you must get distilled water or a water cooling specific fluid. Specifically for flushing and cleaning our loop it is also recommended to use white distilled vinegar. Nope not this is not the brown stuff you like to put on your fish and chips, this kind is intended mostly for cleaning purposes. A gallon of white vinegar like distilled water is also quite cheap, but if you feel that you’d like a more professional product there are water cooling specific treatments that you can purchase from companies such as PrimoChill and Mayhems.


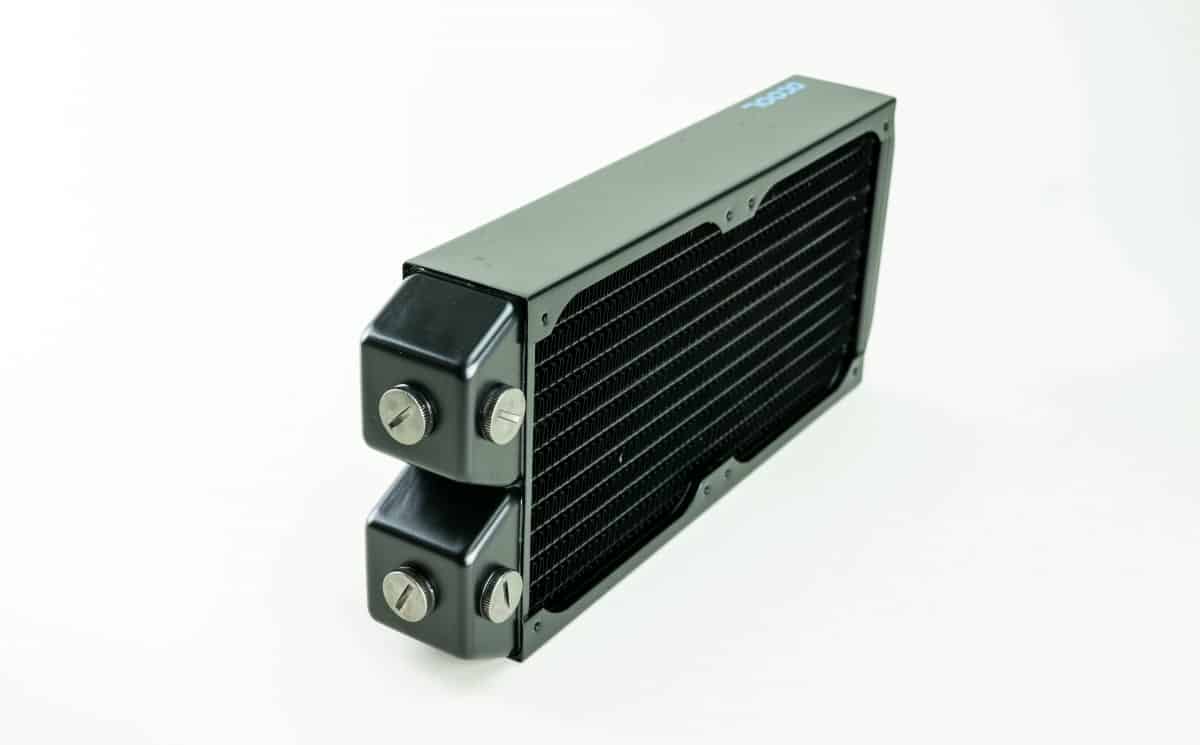
While we have a number of components that we’ll flush before use, let’s begin with the radiators as these are the big ones. For the TC rig we have two radiators from AlphaCool a 240 and a 360. Starting with the 240 we have to begin by plugging the extra ports that we won’t be using. AlphaCool is kind enough to include 4 G1/4 plugs for closing off the ports you don’t need.

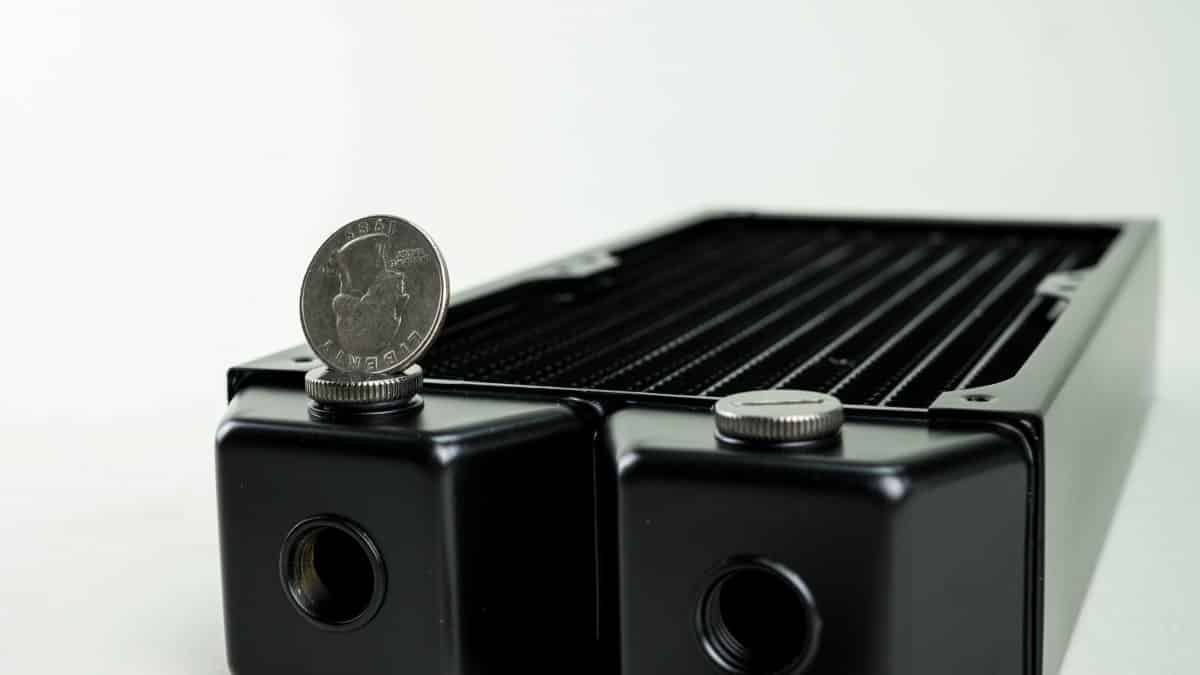
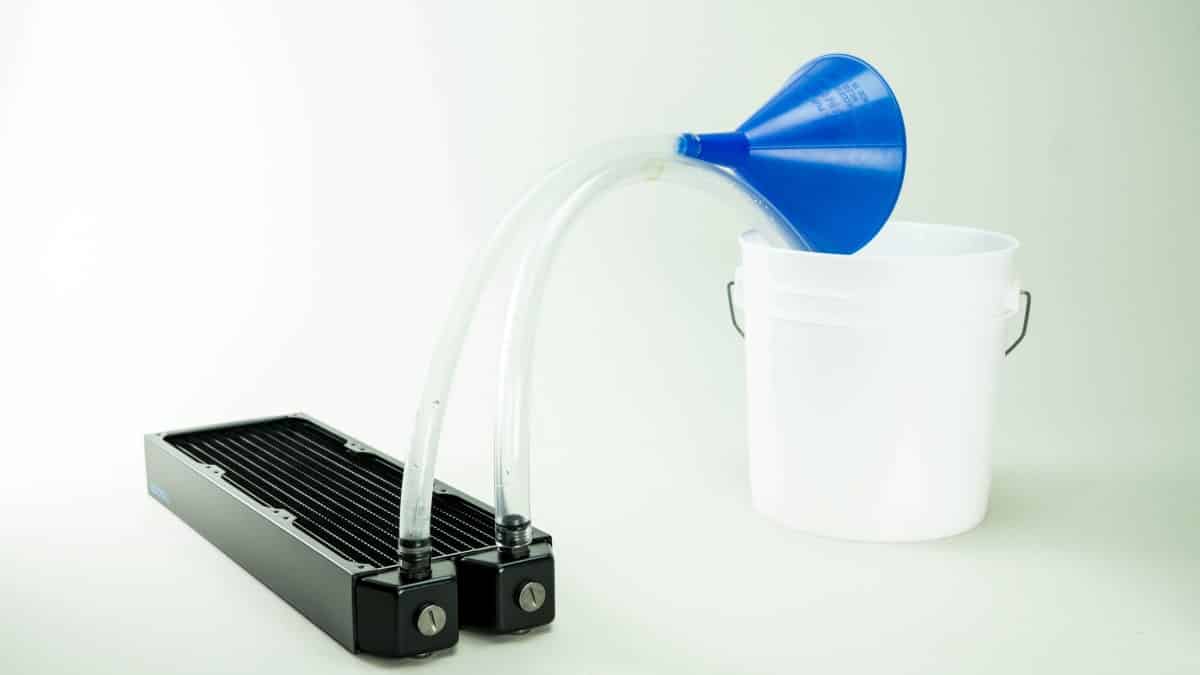
Start the plugs by hand and finish them off with a coin that you have handy. No need to wrench them tight, snug them into place and they will seal just fine. With the plugs in place (or perhaps you just skipped this step because it wasn’t necessary) attach the two pieces of tubing you cut using the two fittings you’ve chosen.

Now that the radiator is ready, place one end into your bucket and attach the funnel to the other. Begin by pouring approximately ⅛ of the gallon of distilled water into the funnel. Gravity will push the water down the inlet tubing through the channels and out the other side dumping it into the bucket. After the water proceed with about twice as much vinegar. The vinegar will of course push the water out. Let the vinegar sit in the radiator for a about a minute or so. Distilled vinegar is a mild acid and will free any loosely stuck pieces of debri. After the minute has passed pour another ⅛ to ¼ of a gallon of distilled water into the makeshift loop to flush any remaining vinegar. If you continue to see bits of debri come out of the radiator keep flushing with distilled water.

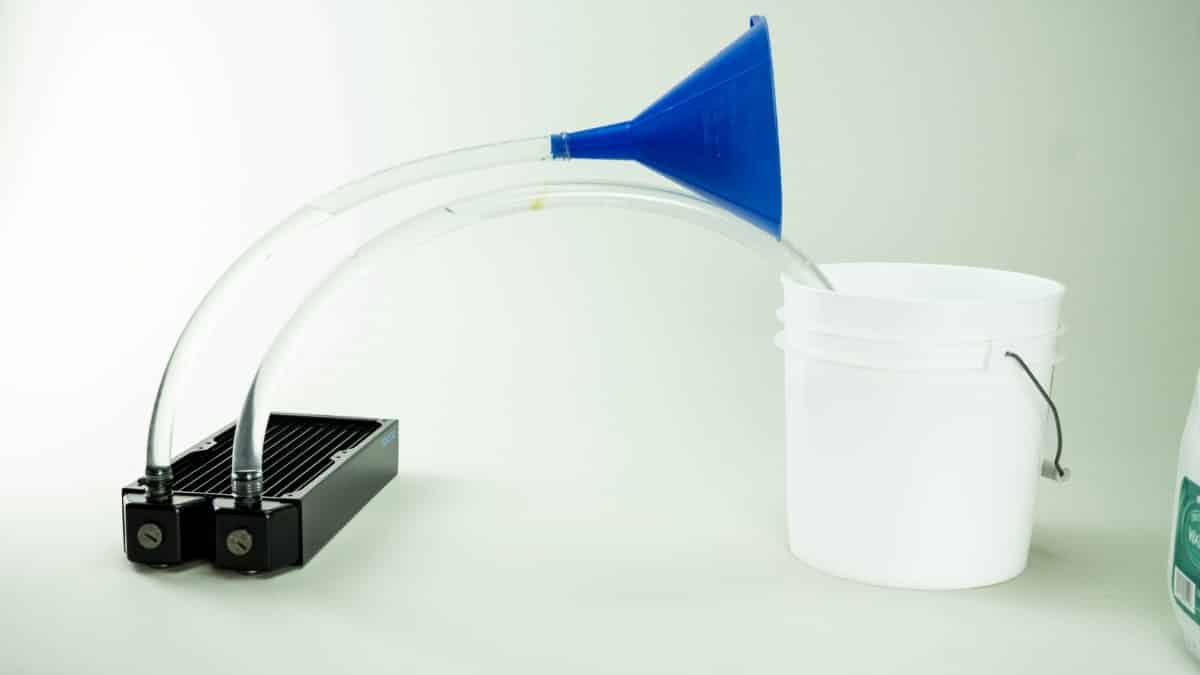
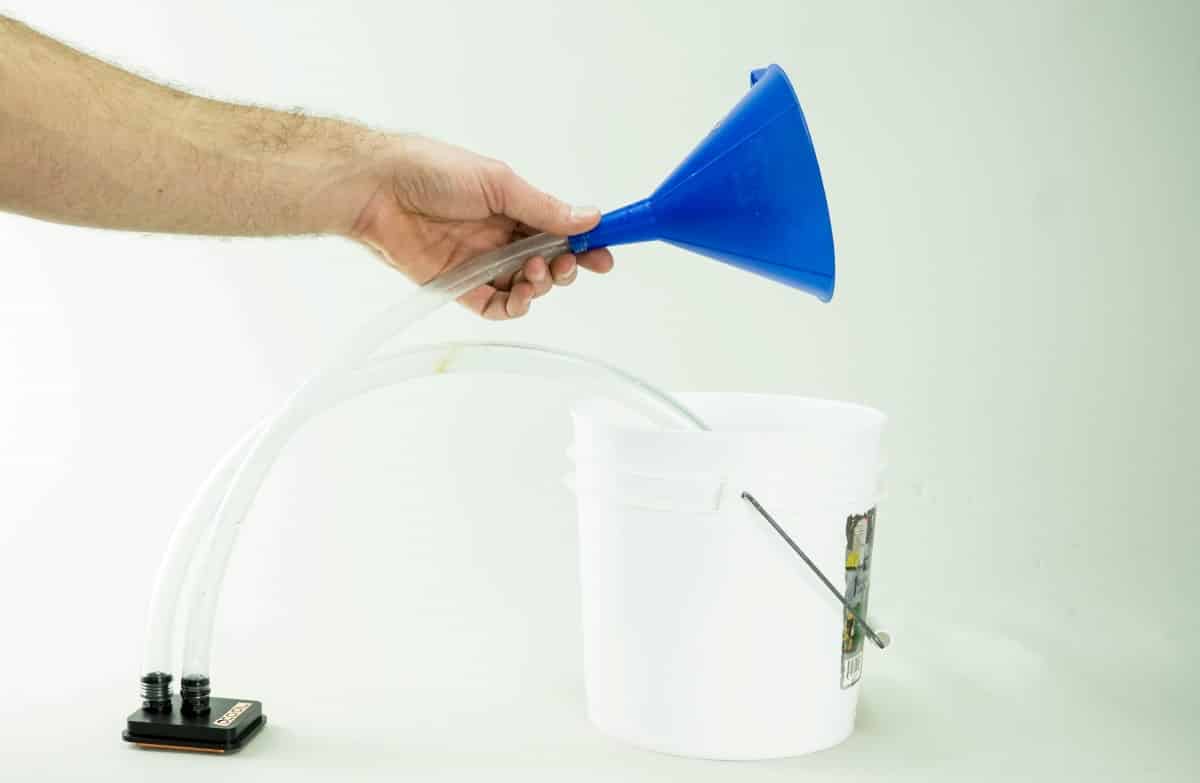
There will be a good amount of water left in the radiator and tubing. You can lift the radiator by the end opposite your tubing to let the water drain into the bucket. There will still likely be some water left, remove the tubing and flip the radiator over to dump the additional water out. Shaking the radiator from one side to the other you will probably still hear some water sloshing around inside. This is fine as it’s fairly difficult to completely drain a radiator. Just set the radiator aside with the ports facing up and it will dry out eventually. If you are going to be installing it soon keep in mind that water will leak out if flipped over. You don’t want to inadvertently drench the inside of your rig.
For our rig we go ahead and repeat the same process with our 360mm radiator. Plug the extra ports, attach tubing, distilled, vinegar, final distilled flush.
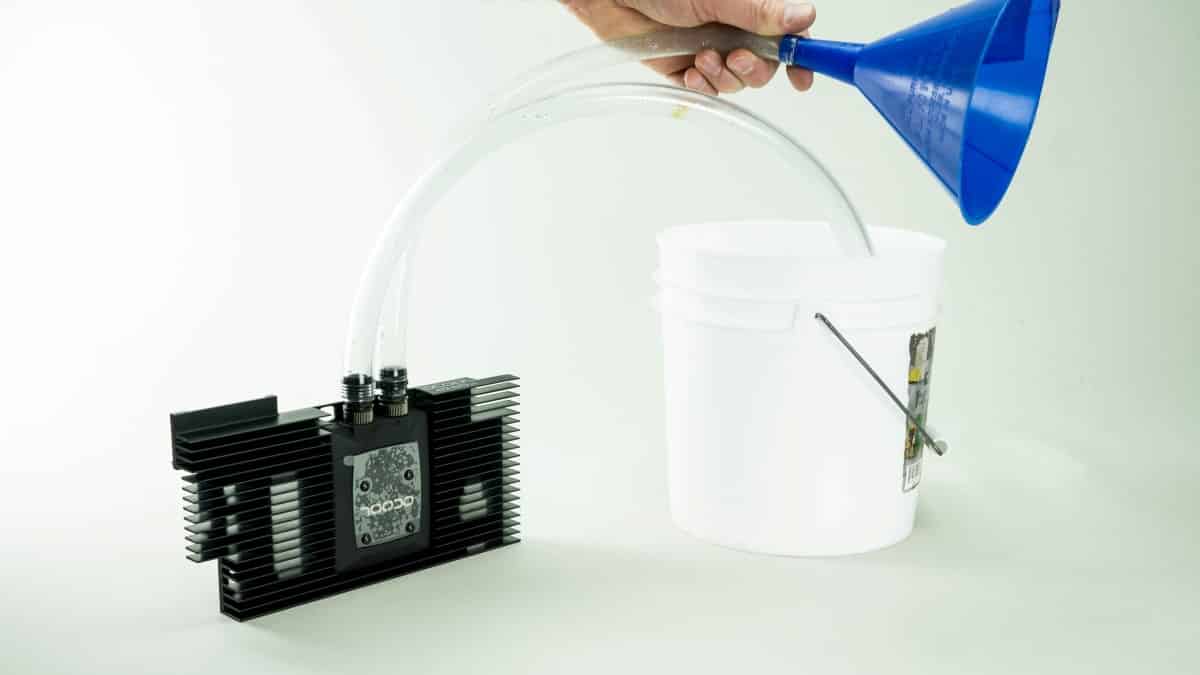
After the radiators are ready for use I recommend doing the same for both the CPU and GPU blocks. While these are generally much cleaner, it will give you a small peace of mind that you personally ensured everything is perfectly clean.
The other components, pump, reservoir, memory blocks, and tubing are all very unlikely to need to be cleaned. If you so choose of course you can do the same flush with them as well.
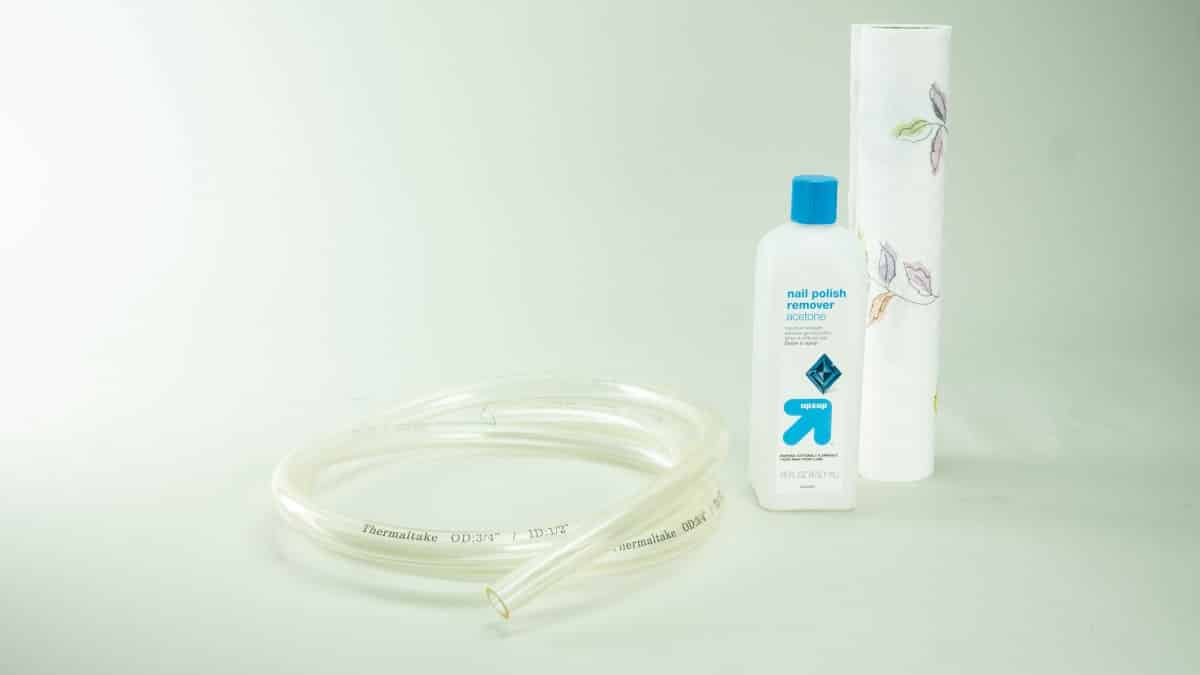
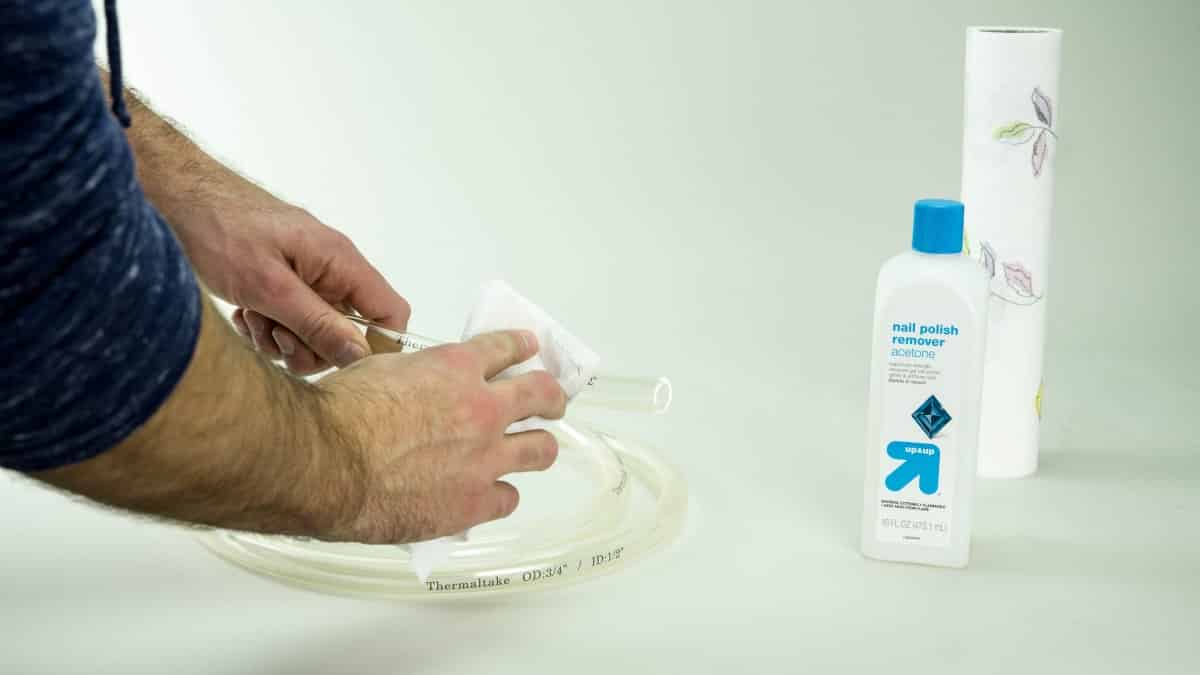
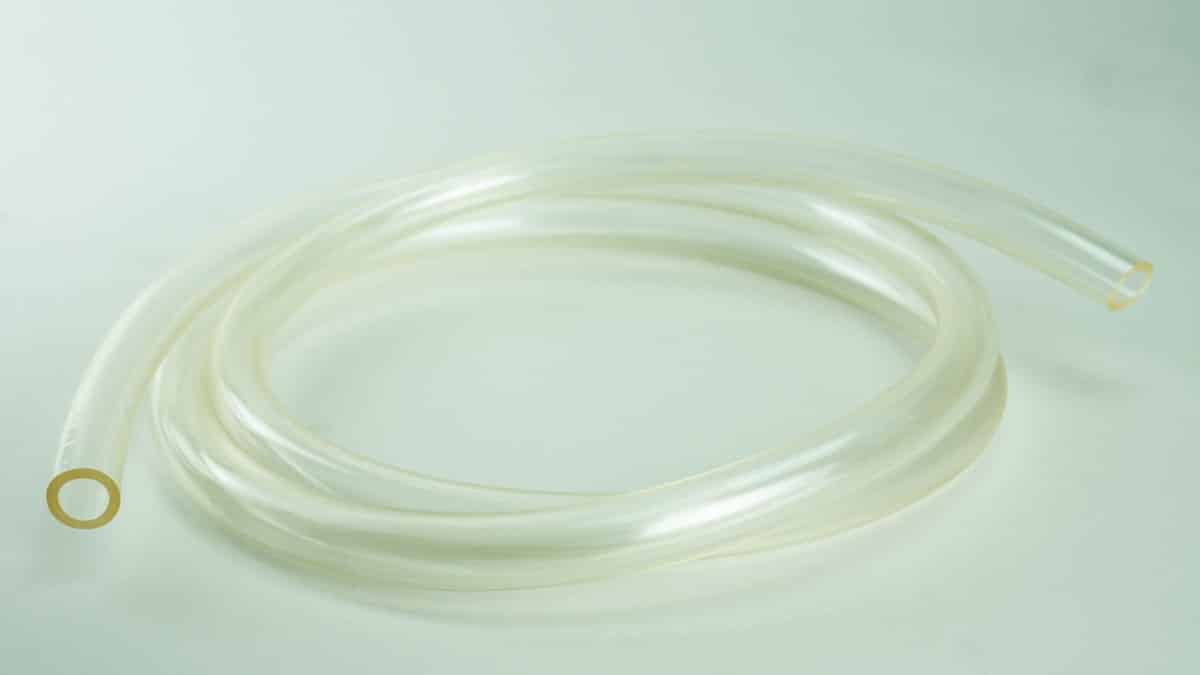
For the TC rig we just have one more item that needs to be prepped. If you noticed in our overview article the ThermalTake tubing comes with lettering printed on the outside. This is nice in that it exhibits clearly what size tubing it is, but to some it is not a very good look for a finished install. Luckily there is a quick and easy fix. Gather just two items: paper towel and nail polish remover with acetone. The key chemical in this mix is the Acetone, as this is the part of the mix that actually removes the ink.
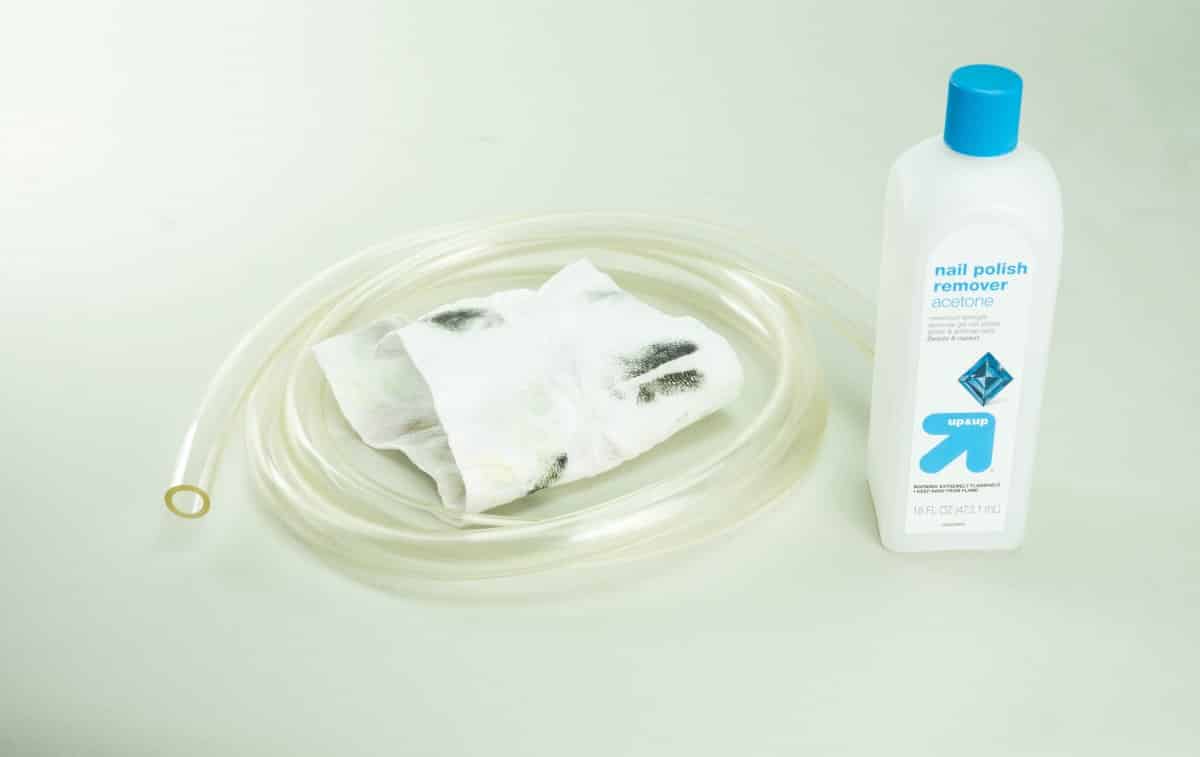
Begin by saturating the paper towel with the nail polish remover, a lot goes a long way, and starting with an area that is at one of the ends wipe the lettering with the towel. The lettering should wipe away with little effort. Once you are sure the tubing isn’t being adversely affected proceed with removing the lettering from the rest of the roll.

Finally since we’re on the subject of prepping our gear, now is a good time to check our electronics. It can be really aggravating and disappointing to finish an install and find that one of your fans or worse the pump, is a dud. Assuming you have a working rig on hand plug each fan in and make sure it spins up to full speed. The pump is a little trickier. Water cooling pumps are lubricated and cooled by the water itself. Running a pump dry can destroy it. Using a set-up similar to the one we used to flush the radiators we can still check that the pump works and flows correctly. Attach those same pieces of tubing you used for flushing the radiator to the pump. Next fill the bucket with distilled water and submerge both open tubing ends. With the ends fully submerged, power the pump. Hopefully you find that the pump begins to circulate the water.
Well, things are really starting to heat up now. You’ve got all your parts in, they are completely prepped, and you’re presumably more than ready to install them! The good news is that next up we will finally begin to install parts. Join us next time for Water Cooling 101, Episode 5 where we install our pump, block, and radiator for our initial loop.