


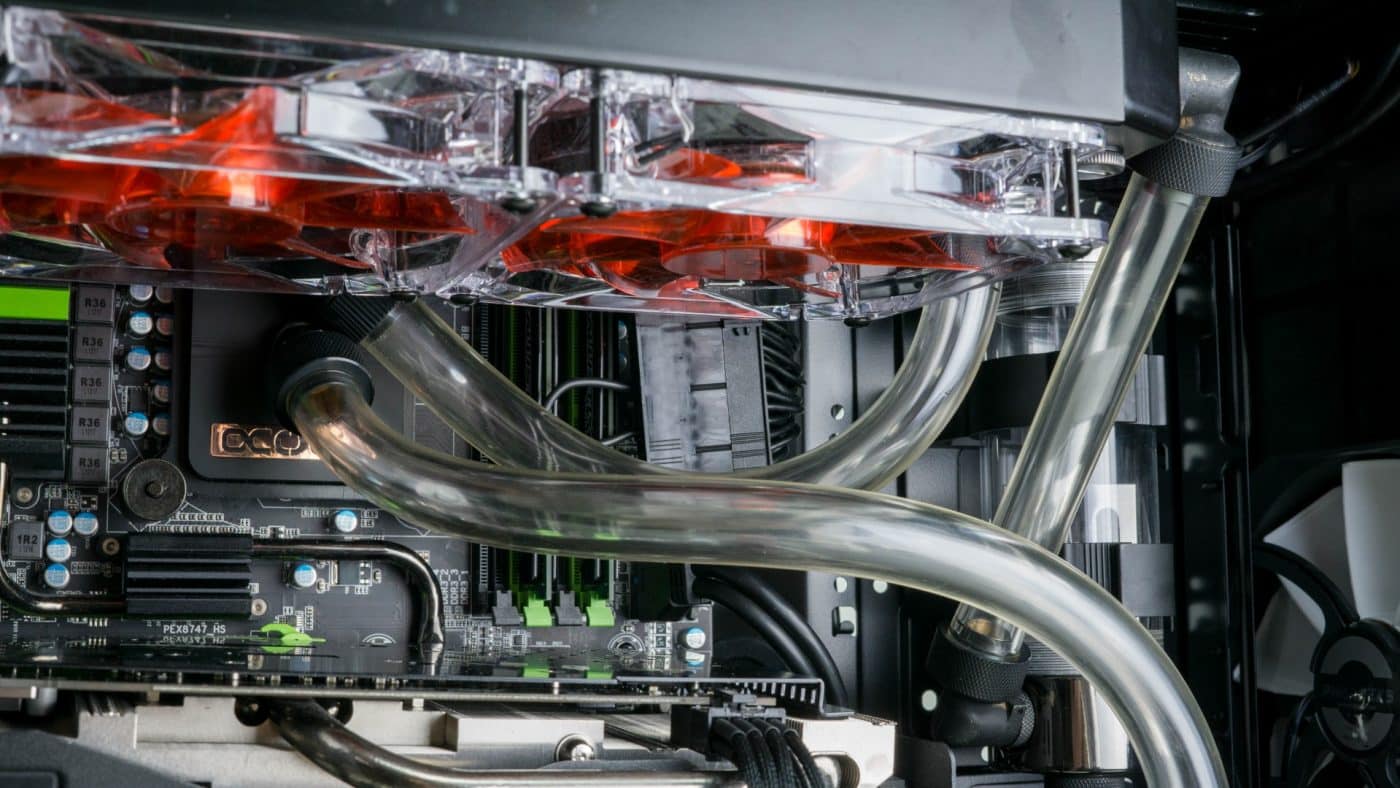
Filling Up Your Loop & Leak Testing
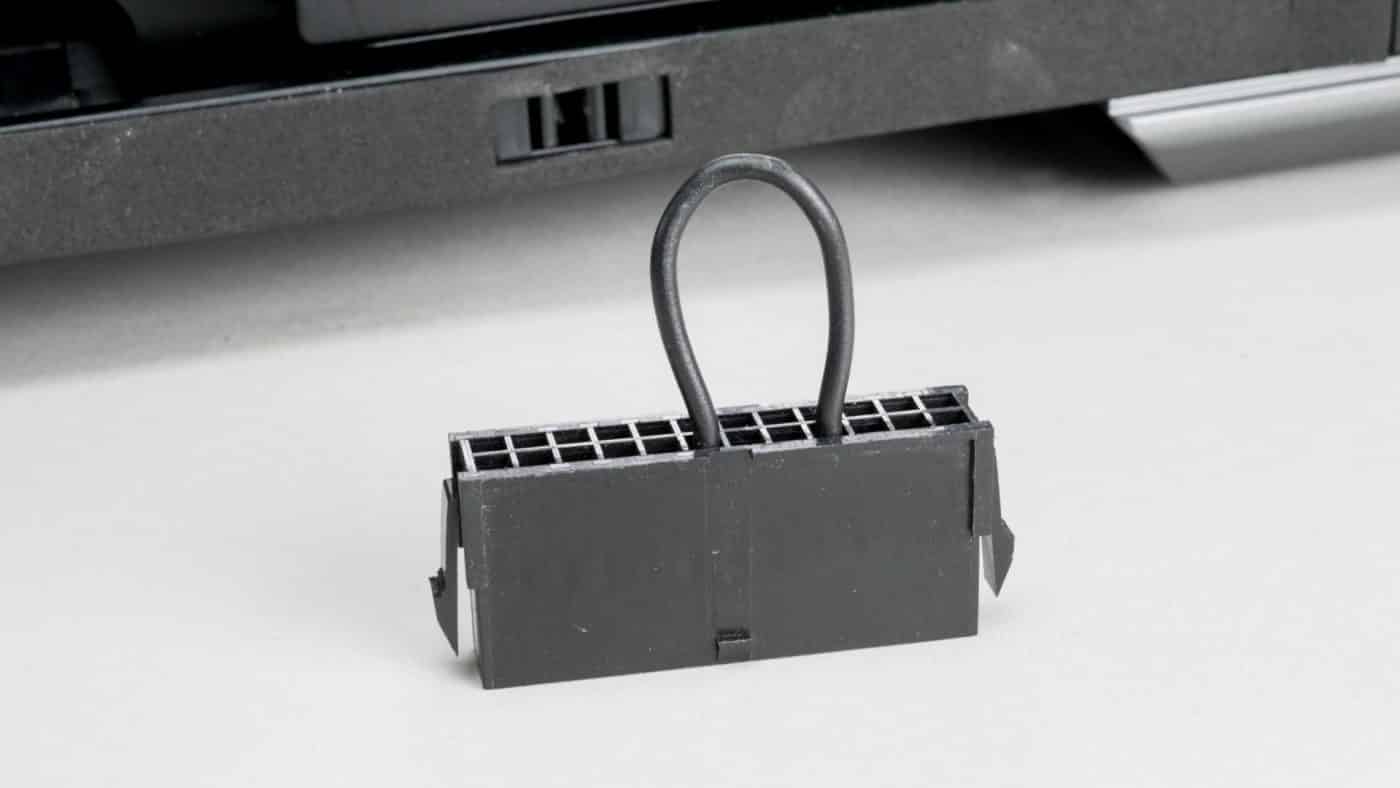
Once your loop is fully installed it’s time to fill it up and start testing it! To do this we are going to need to be able to turn the pump on without turning the whole PC on over and over. That’s where a 24pin jumper comes in. This is simply a female 24pin connector with a wire running from the Green power wire to any of the grounds. This tricks the PSU into thinking it’s plugged into a motherboard so it will provide power to all of the other connections.
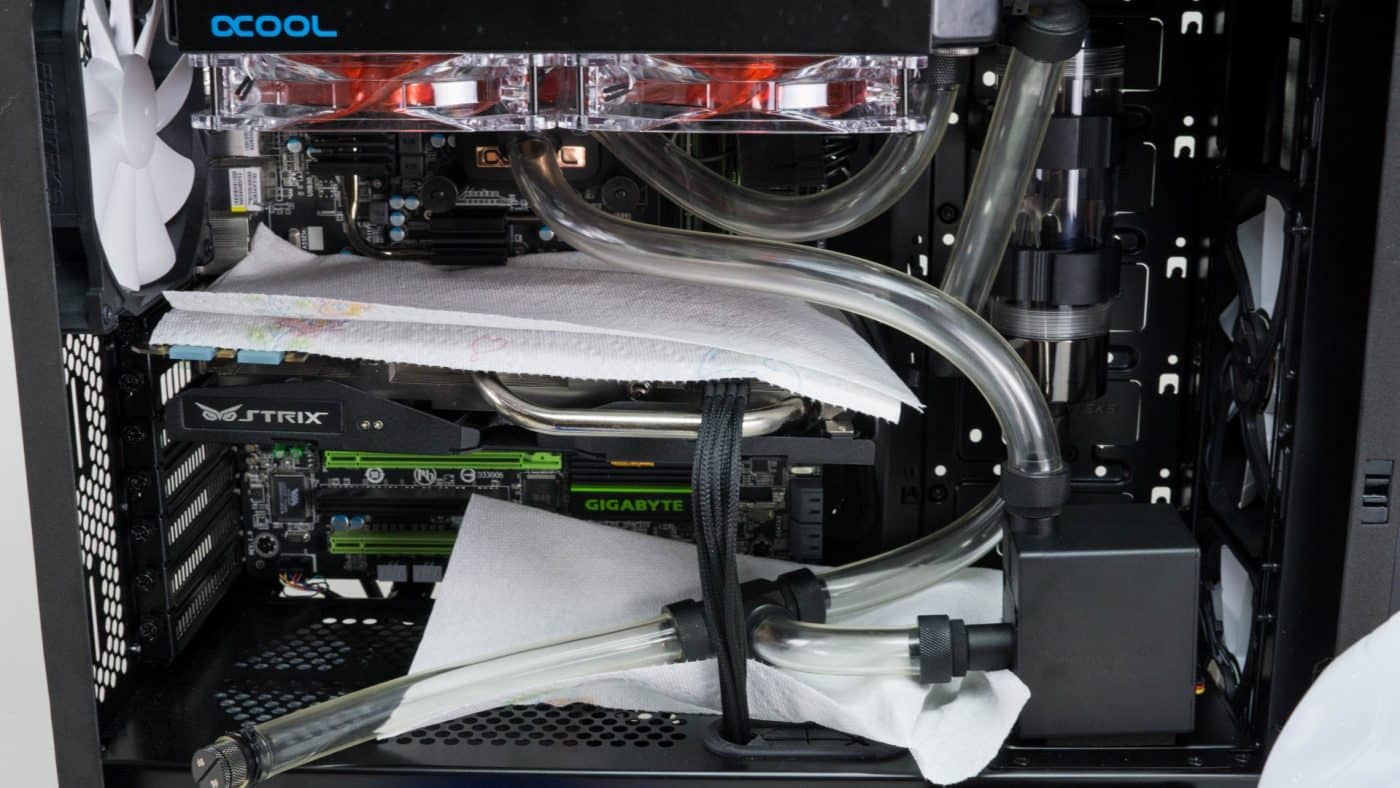
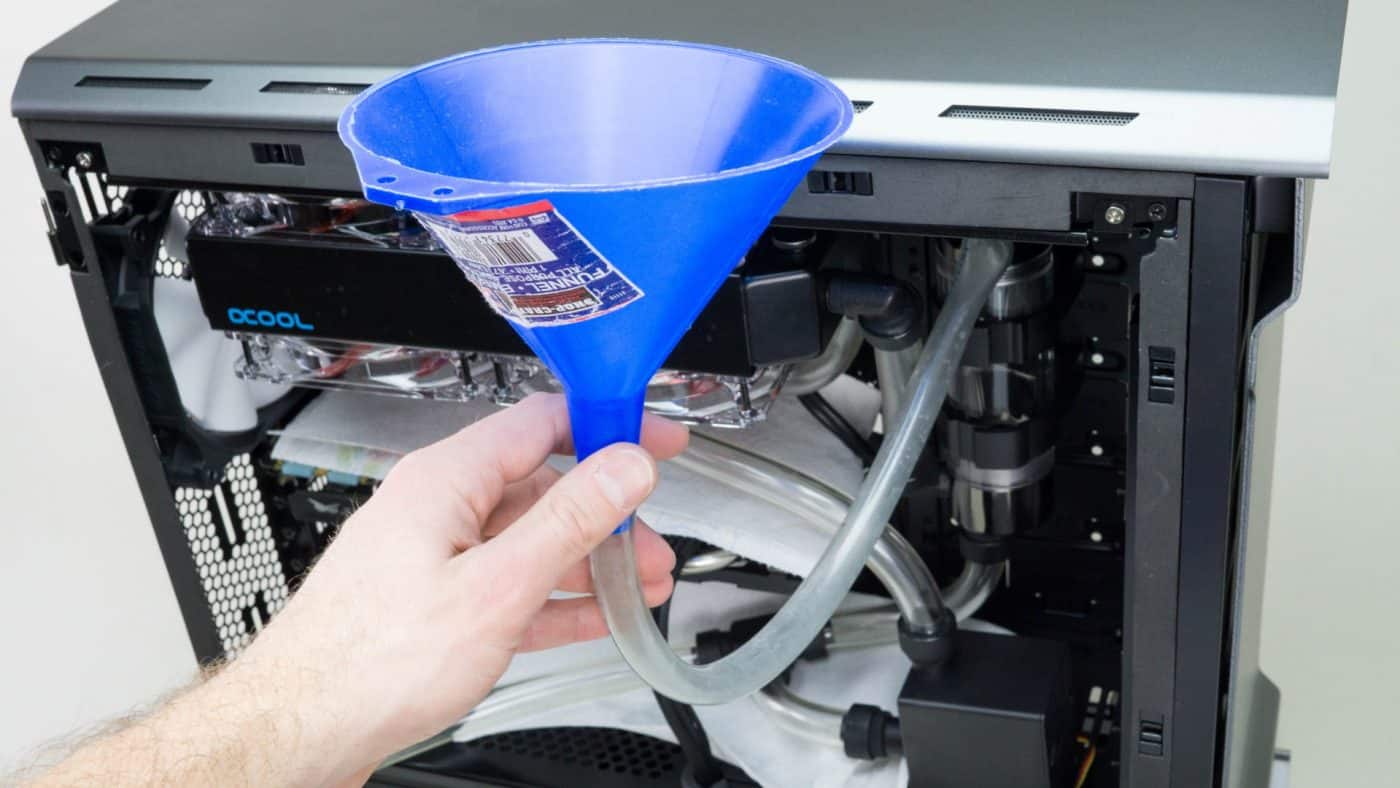
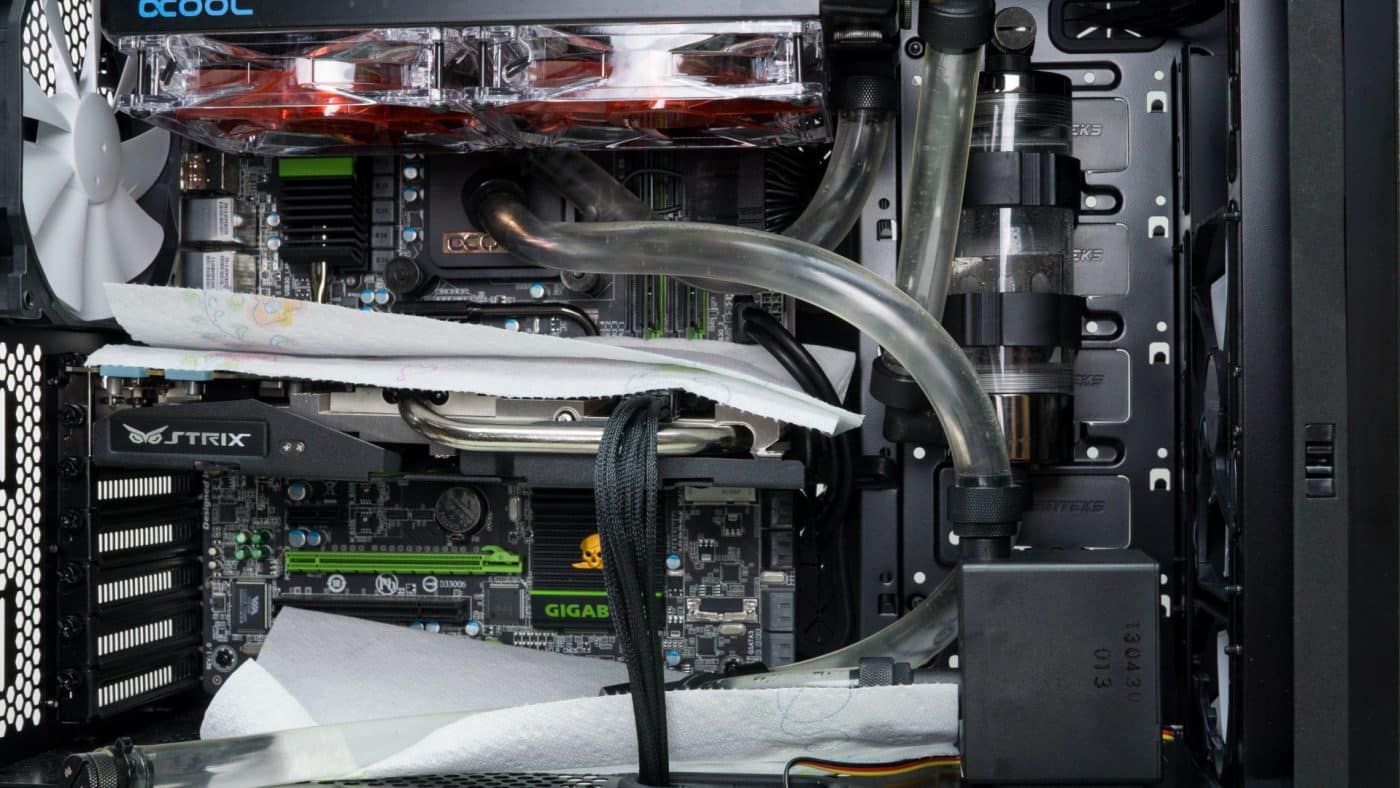
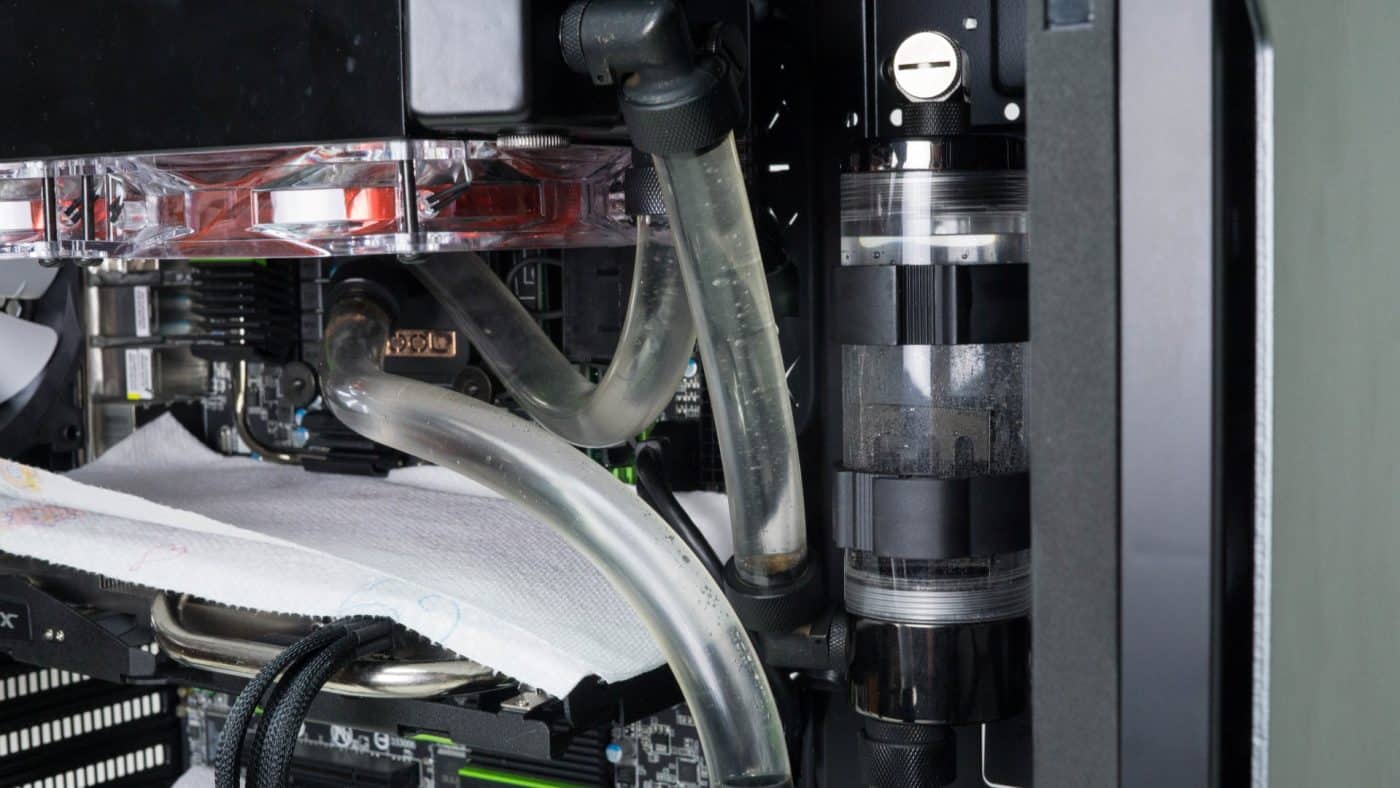
Of course now is the time to bust out your distilled water and whichever mechanism for filling the loop you’ve chosen. Ours is a bit of old tubing with a fitting attached and a funnel. This method is cheap but perhaps not as easy as using a fill bottle. Before you begin you will want to put some paper towel down inside the case. Place them as best you can to cover your components. You will not be soaking up a major leak this way but it will certainly help to keep things dry should a minor leak develope. We’ve also found that you can detect a leak easier on the paper towels sometimes. Do remember though, if you are careful to use only distilled water there is very little risk to your parts so long as they are not powered on when wet. Over the years we’ve gotten plenty of components wet, and have yet to lose one from it.
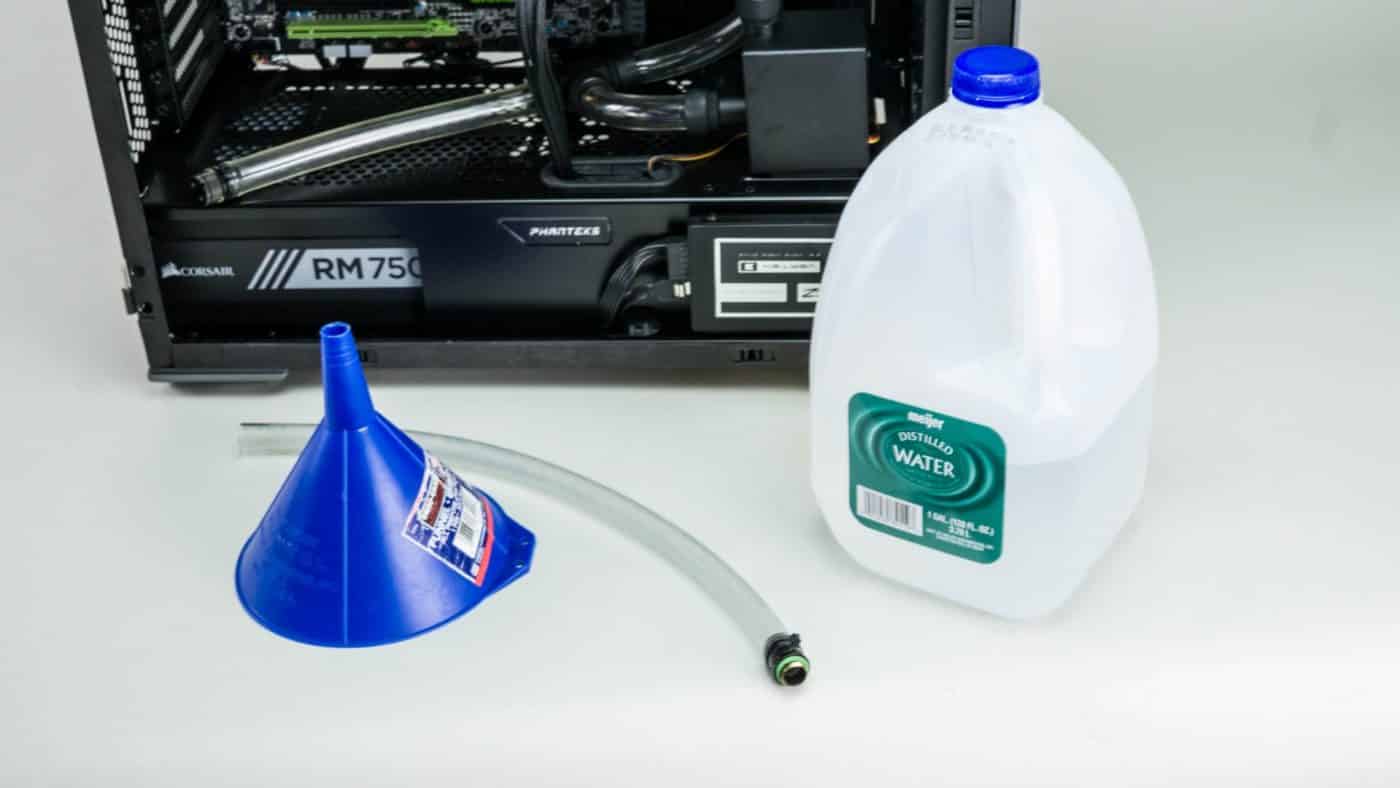
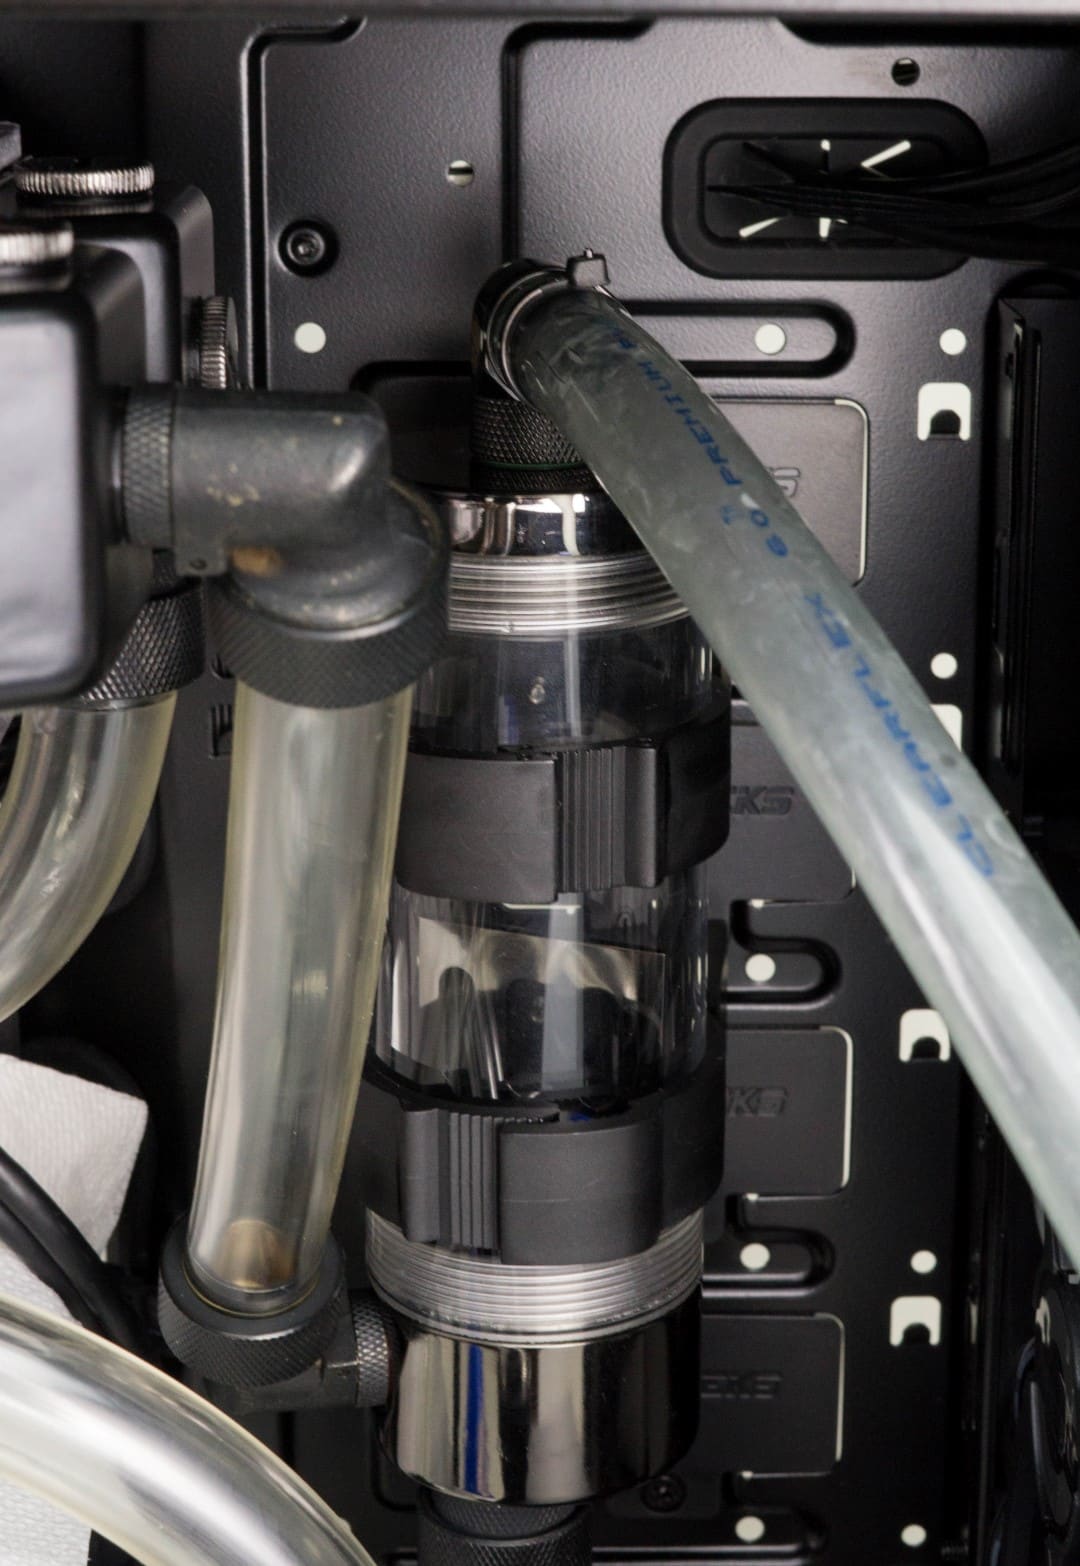
Only thing to do now is to connect the tubing to the fill port on top of the reservoir and begin filling. A downside to using the tubing and funnel method is the lack of a vent port on the top of this specific reservoir. Because of this the air in the loop being replaced by water must exit the same way the water is going in, which can and will cause an air plug. If this occurs try elevating the funnel or tilting the case.
When first filling the loop it will only fill to a certain point backing up into the reservoir. When this happens it’s time to turn the PSU on. The pump will kick on and the water will surge, pumping water up into the top of the loop while drawing from the reservoir at the same time. In the early stages be ready to quickly shut down the PSU before the pump draws in air. If it does this it will capitate, which is a bubble of air completely enclosing the impellers preventing the pump from moving any water. If left running in this state it will not only not move any water, but will also burn the pump out as the water is also the pumps only source of lubricant. Simply shut the PSU down and refill the reservoir to continue. If you find that the pump won’t start to move water again give the case a side to side shake or orient the case to that the pump is at the very bottom of the loop, gravity should take it from there.
Sometimes filling a loop is a simple five minute process, others a nightmare of turning and shaking the case to move air bubbles. Filling a water cooling loop is an art and the more times you do it the better you will become at it.

Once again pat yourself on the back, you’ve built your first custom water cooling loop! It is recommended that you let the loop run for 12-24hours to check for leaks. Sometimes they develop over time and it’s best to wait a bit before giving power to your expensive components.
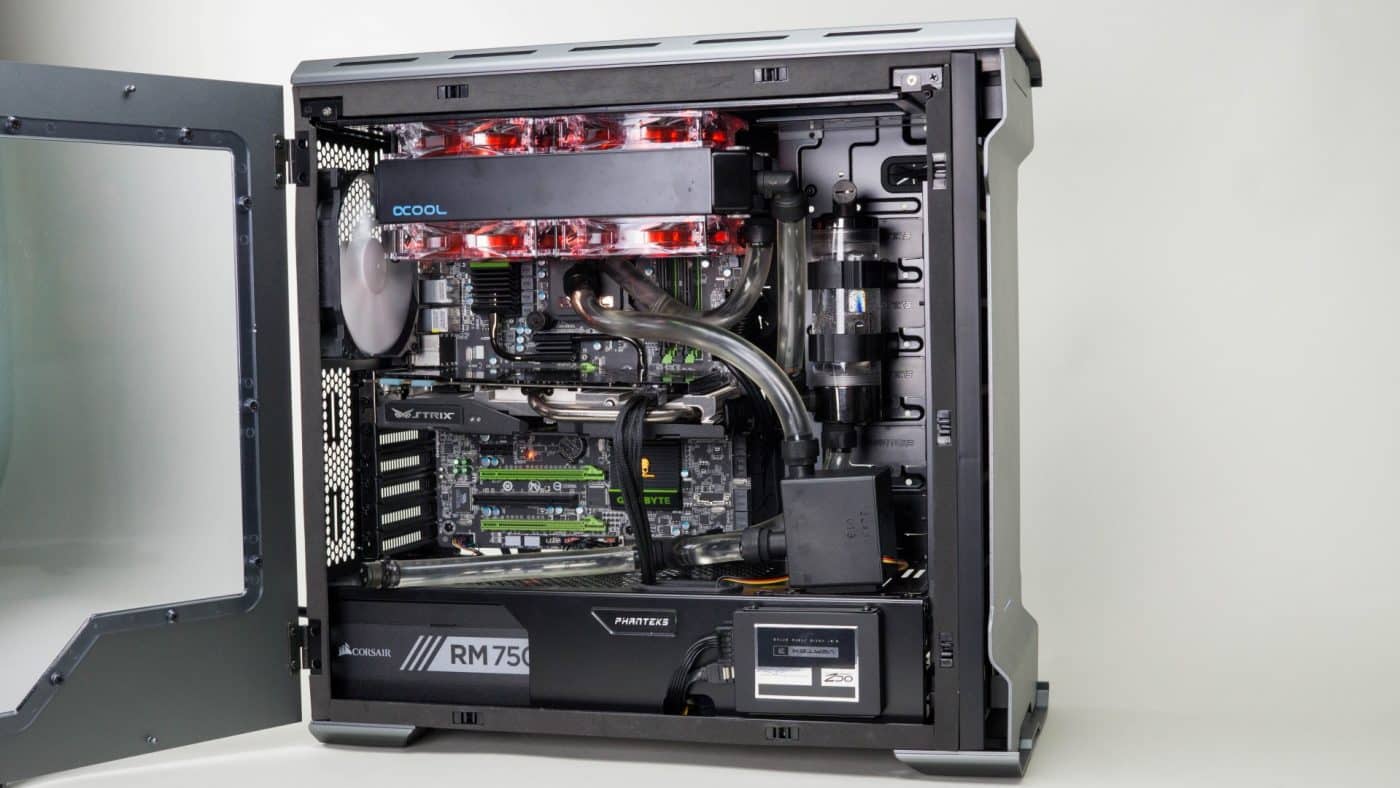
Once you are sure your loop is watertight, remove the 24pin jumper and fire your rig up. Using temperature monitoring software check that your temps seem correct and that your CPU isn’t overheating. If it is, it is most likely a bad mount of your CPU block and should be remounted. Of course if everything seems correct you are good to go!