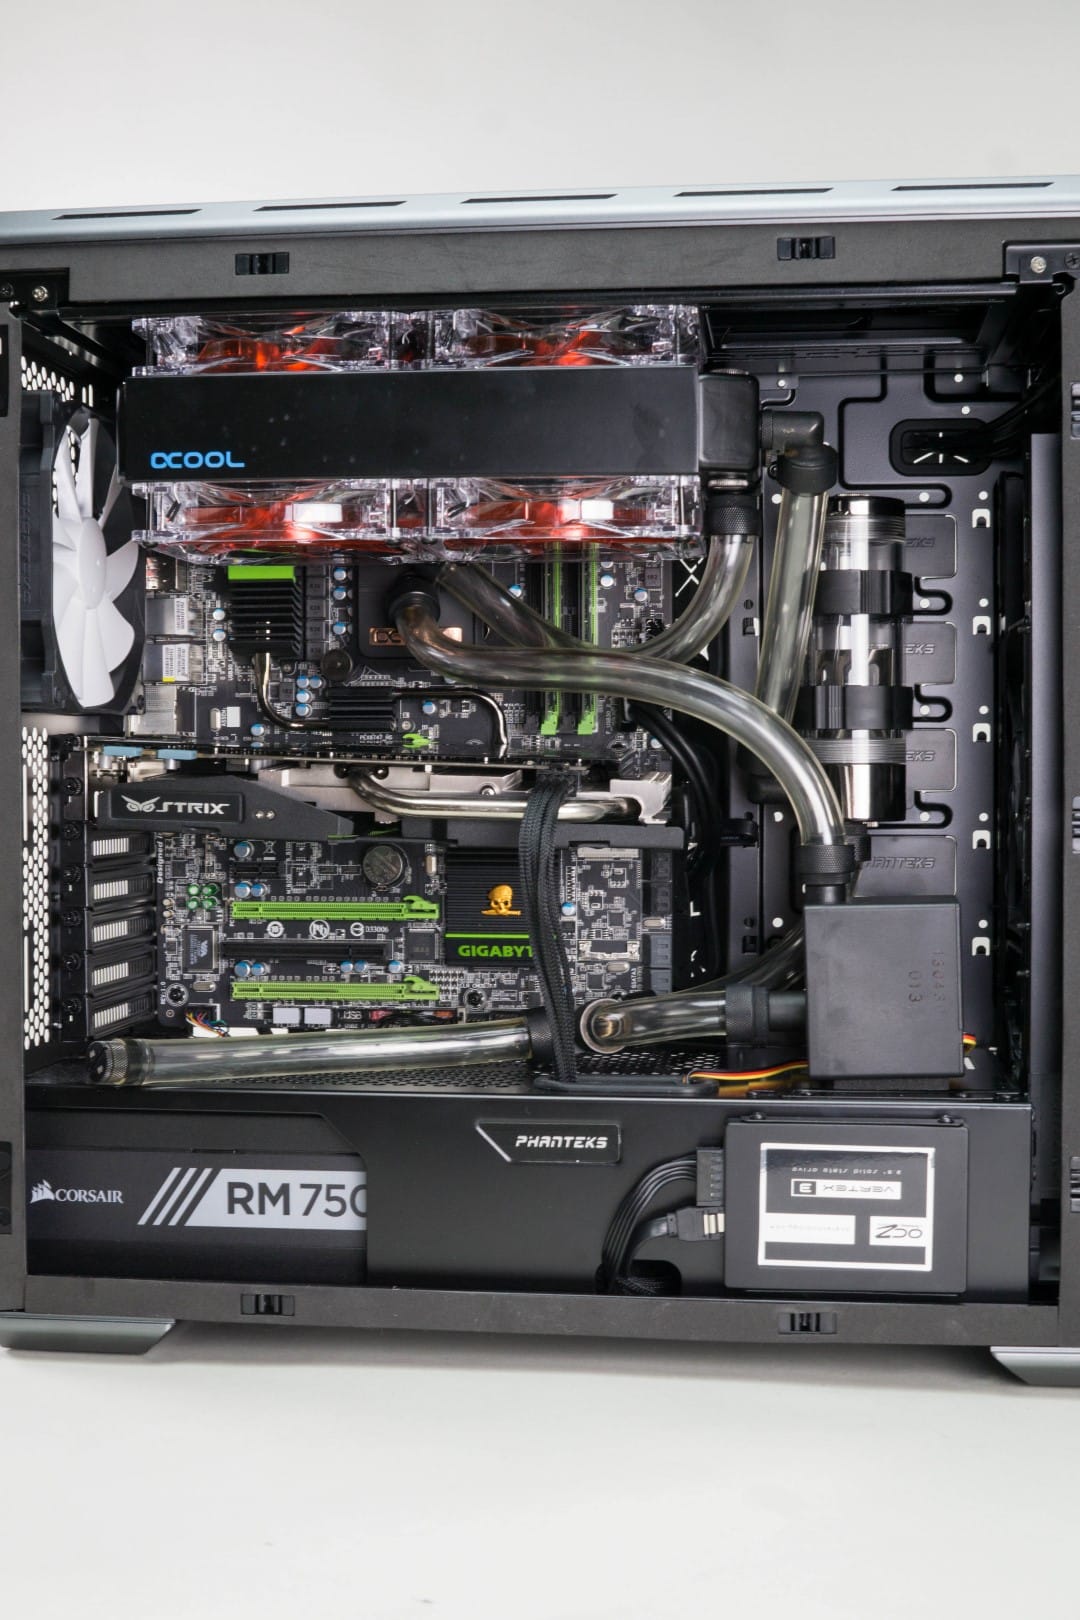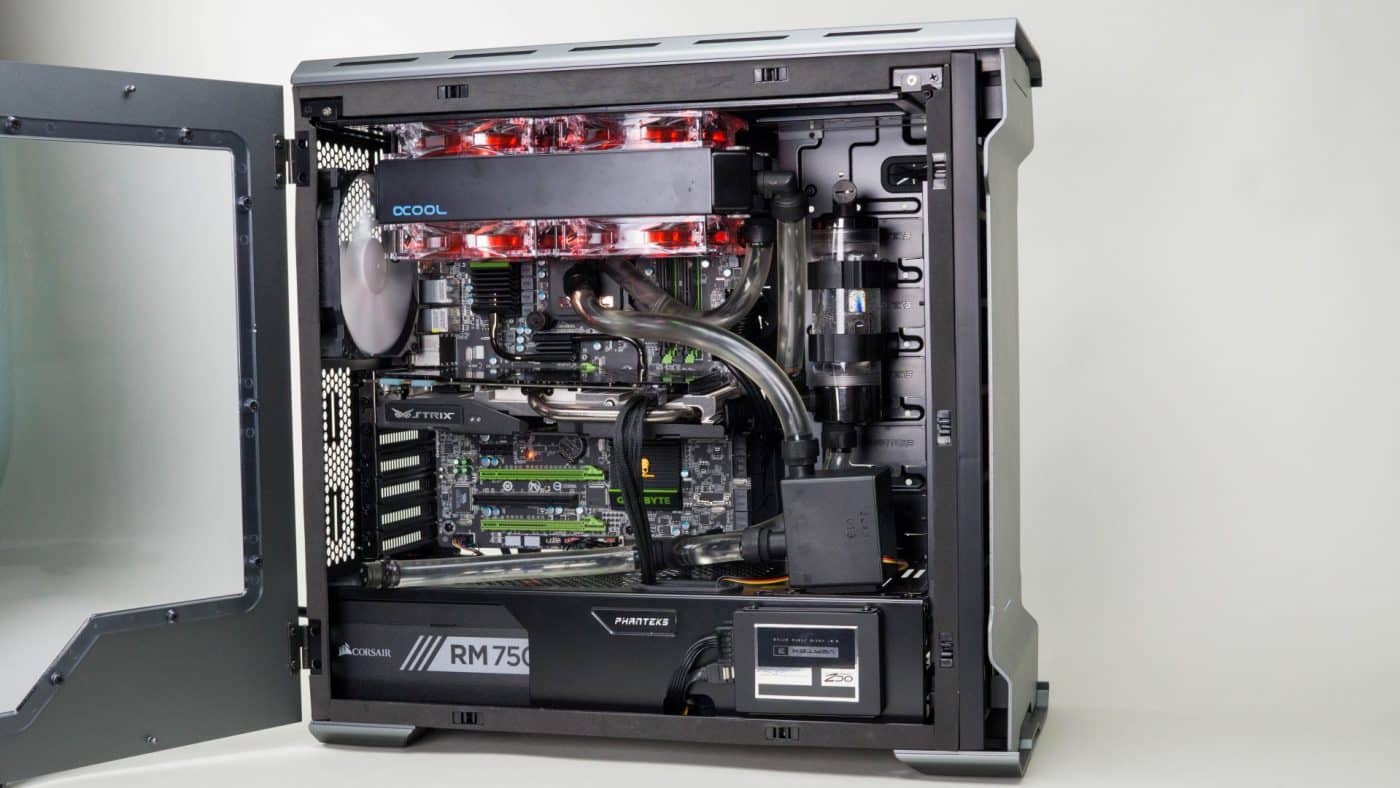
Connecting Everything!
And now for the hard work and the fun, getting everything connected! One of my favorite parts of a new build is putting all the fittings on and seeing if all my hard planning is going to work out. But often it doesn’t so be prepared to be flexible and change things around of you just can’t get something to work.
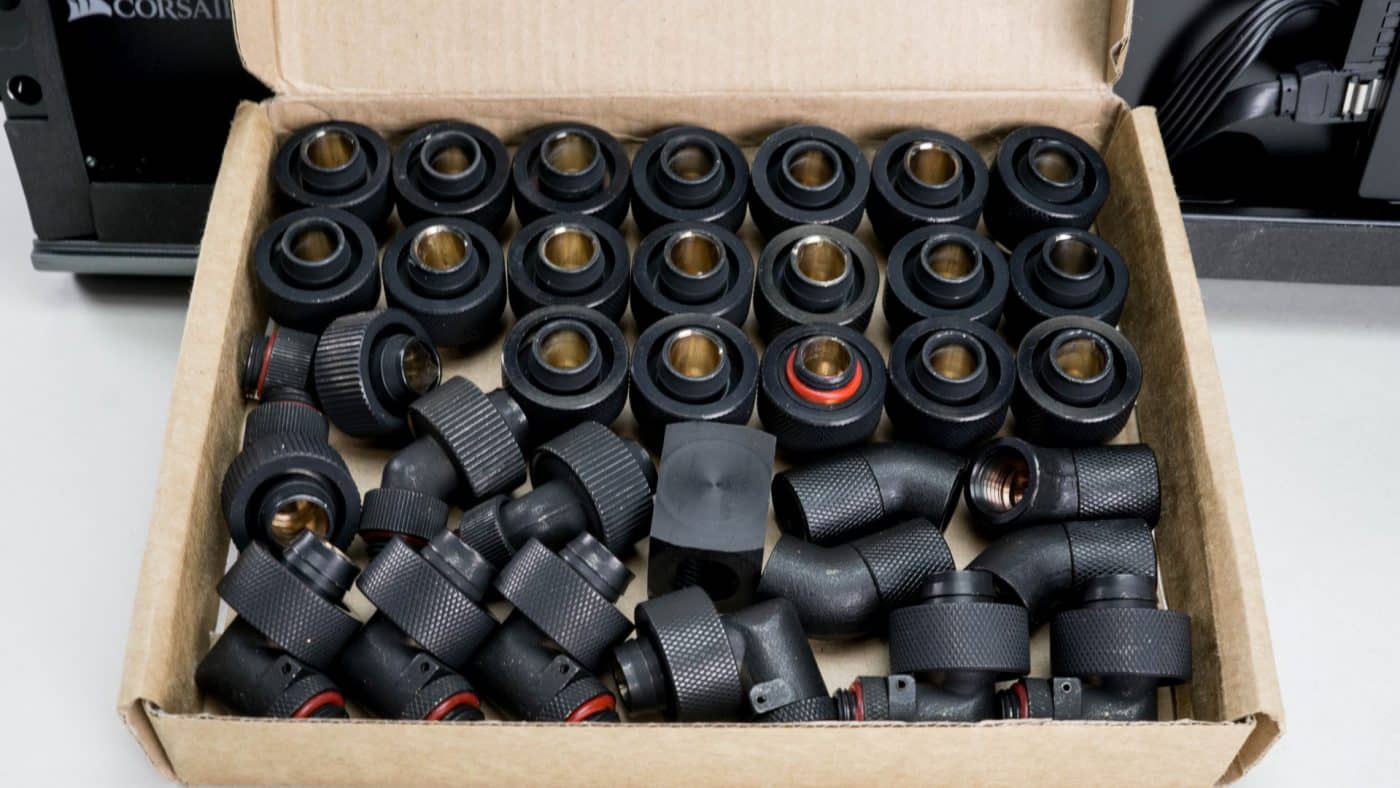
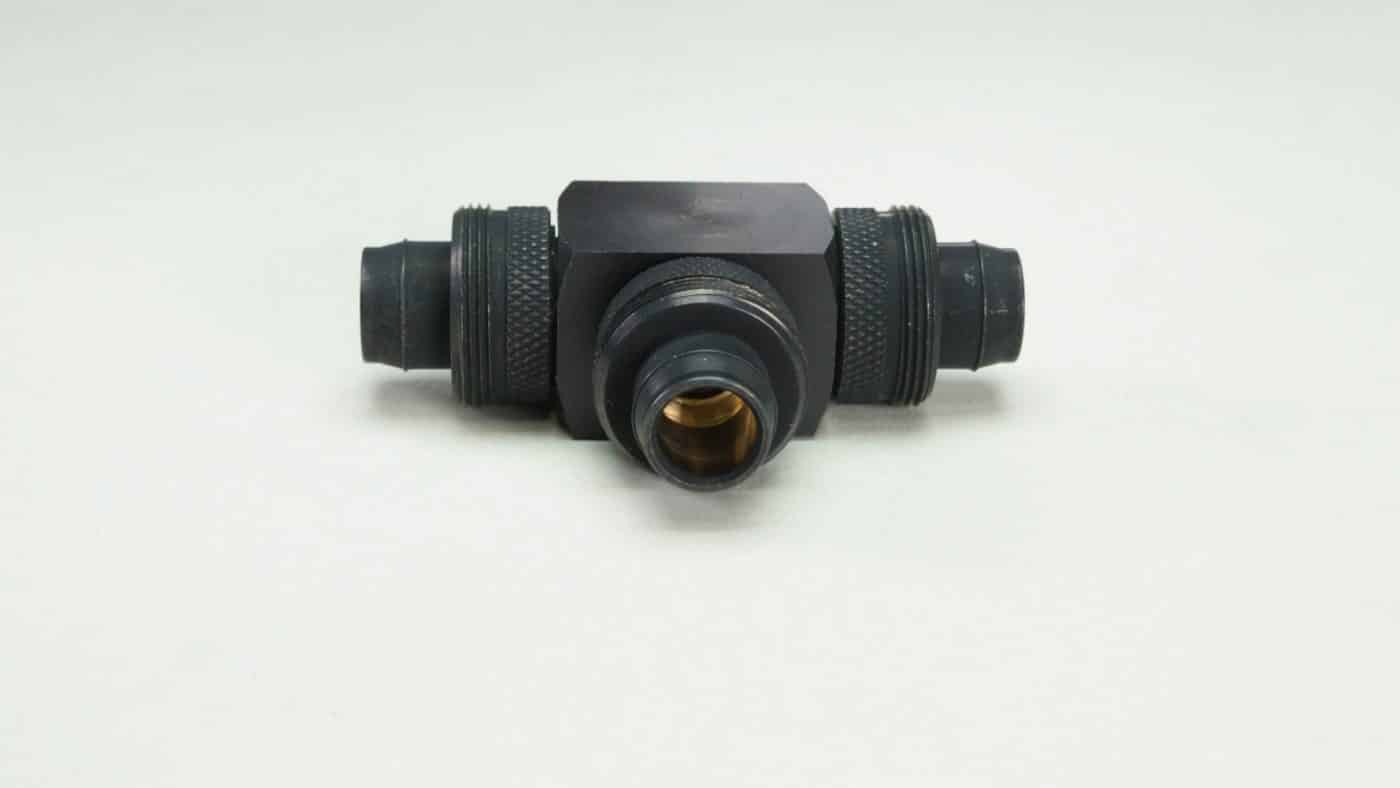
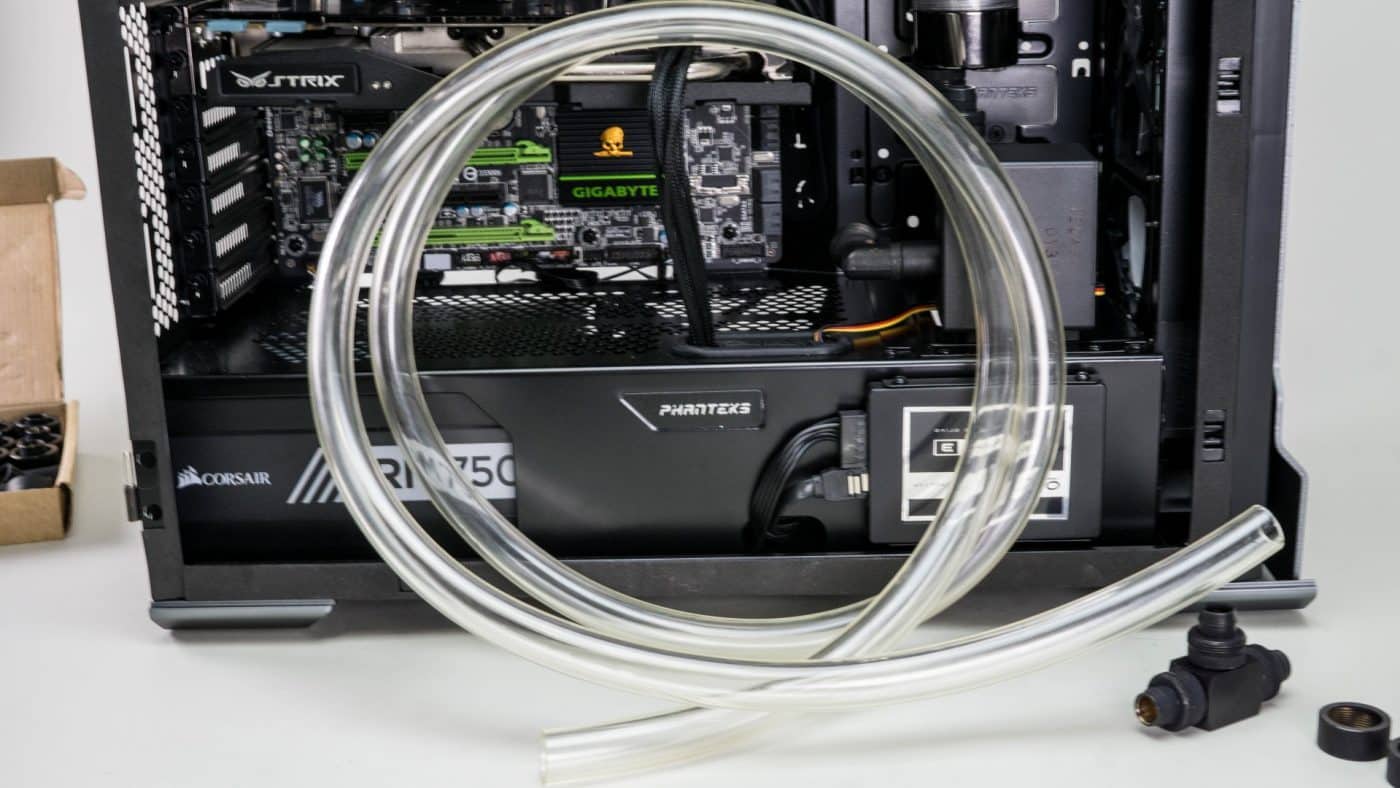
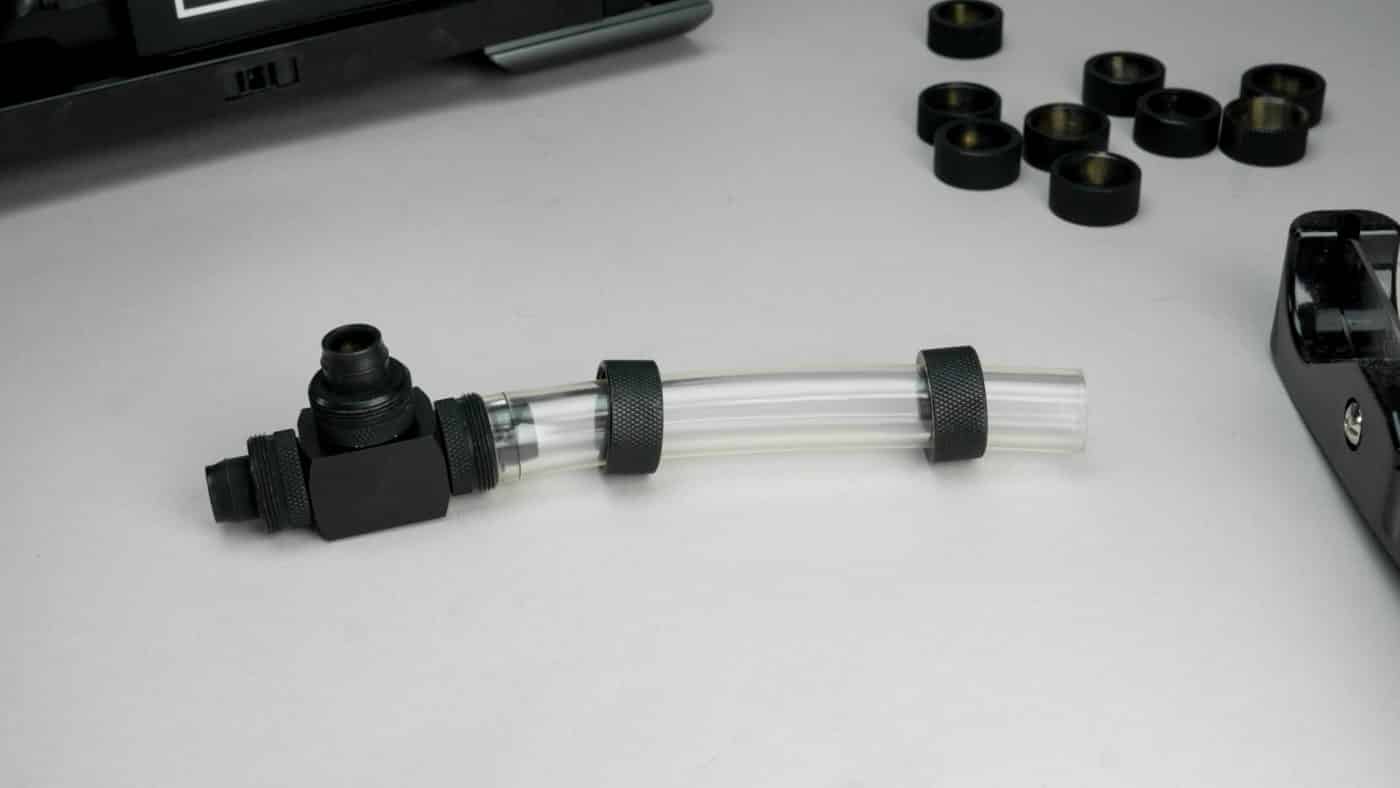
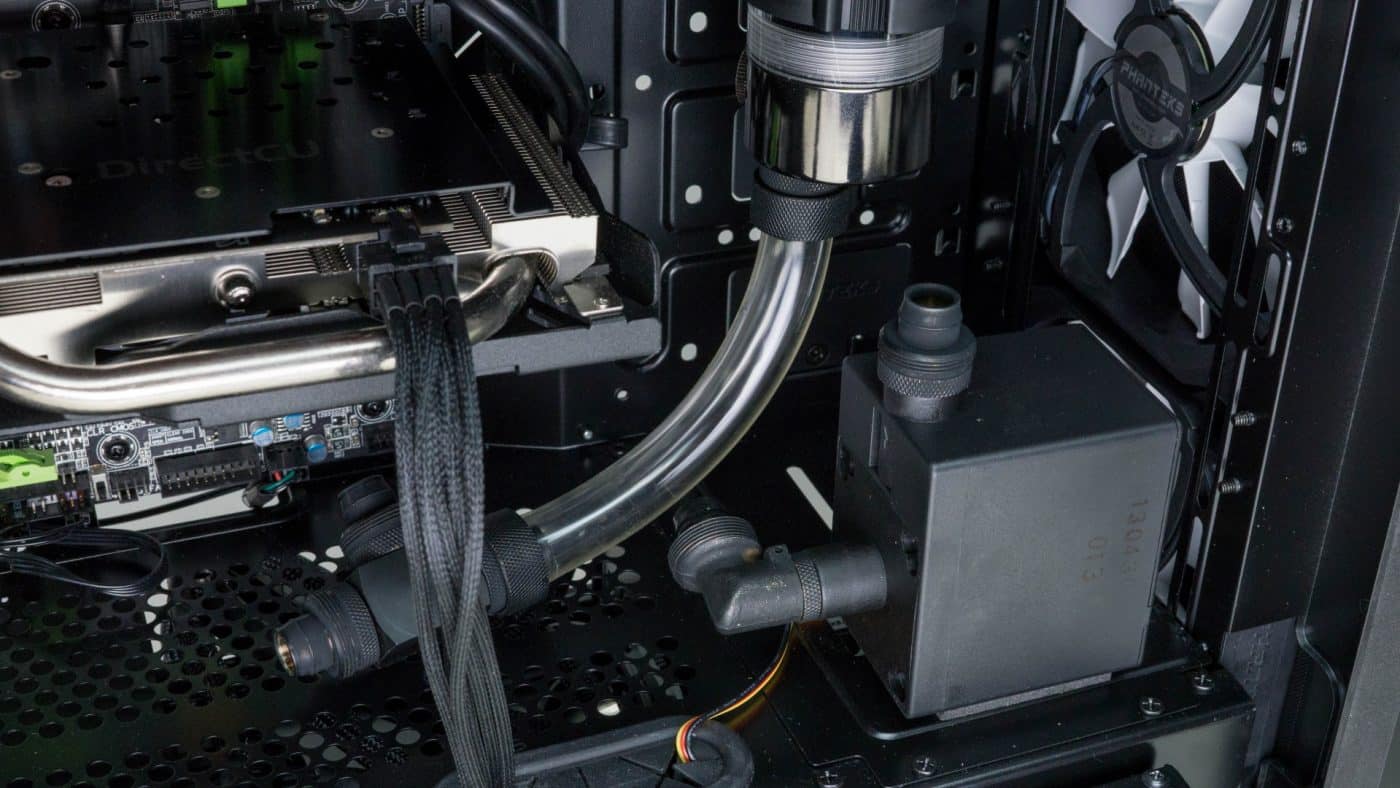
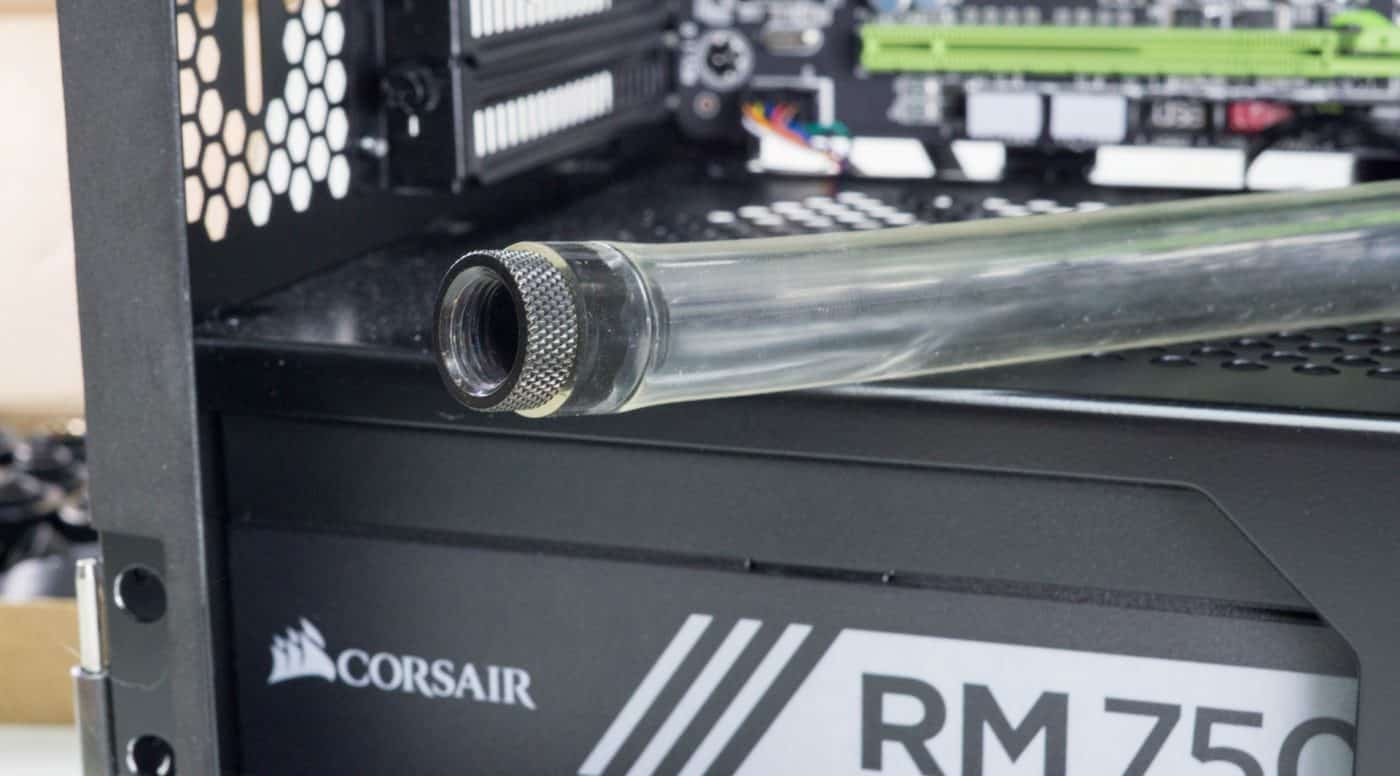
At this point go ahead and install all the fittings in the way you planned. Removing the collars from them before attaching them should make your life a little easier. Since we are putting a drain line in go ahead and build up the ‘T’ fitting with three straight compression fittings now as well.
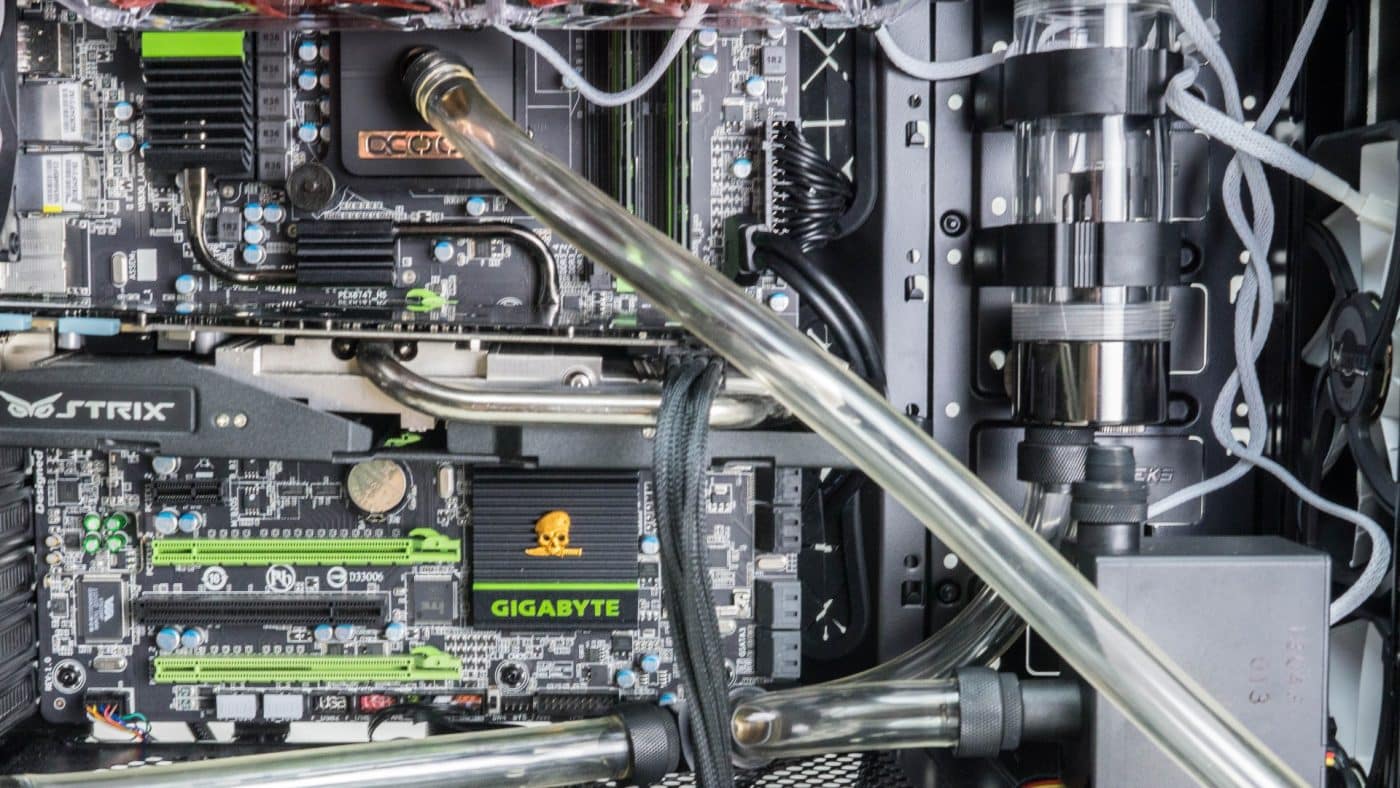
After you get all your fittings installed it’s time to make or break it, and start attaching the tubing. This is the point where you find out if any of your angle’s are going to cause a kink or perhaps whether you can even force the tubing to make a certain harsh bend at all. Of course assuming everything is set-up nicely, this should be a breeze. Don’t feel bad if you struggle though, this can be very hard to master.
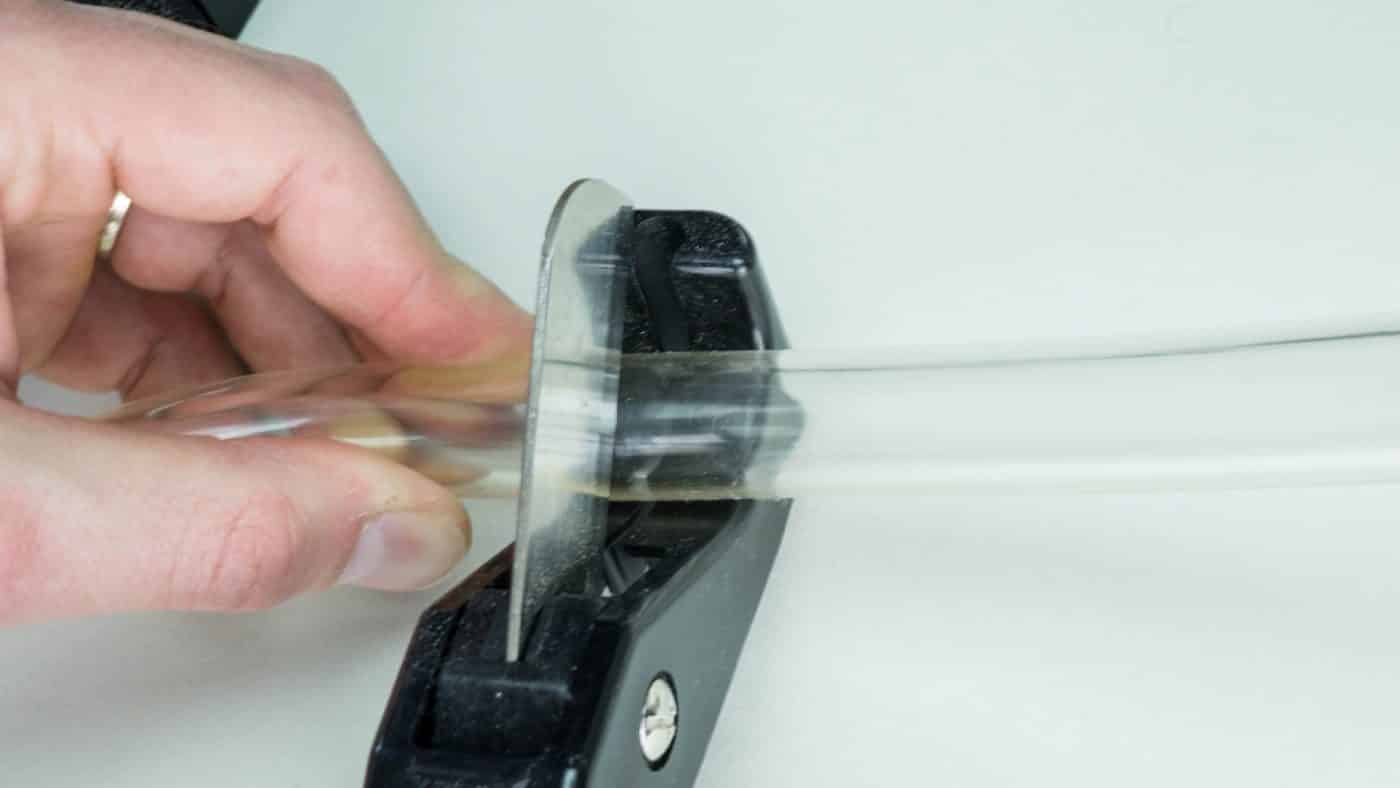
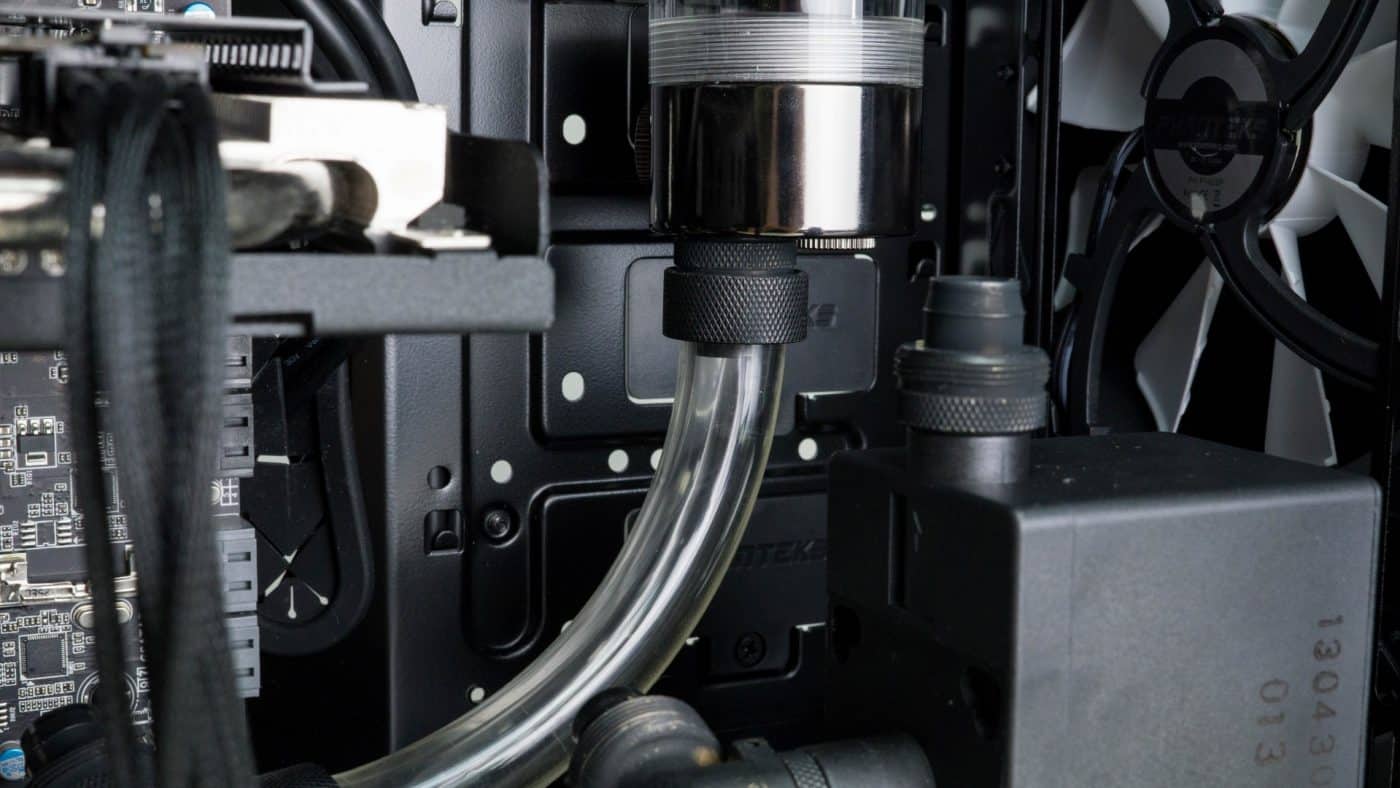
Begin with your easiest connections so you can get a good feel for it. Attach the tubing to one of the fittings you wish to connect. Slip the collar over the tubing first and push it down out of the way a few inches. Now run the tubing to the next fitting. Mark the tubing by holding it with your finger where it should touch the base of the threads on the fitting. Give yourself some extra length, about a ½ to full inch. Cut the tubing with a tube cutter if you purchased one or a pair of sharp scissors. If using scissors it is important to make sure the cut is straight or it won’t seal on the fitting properly and could leak.
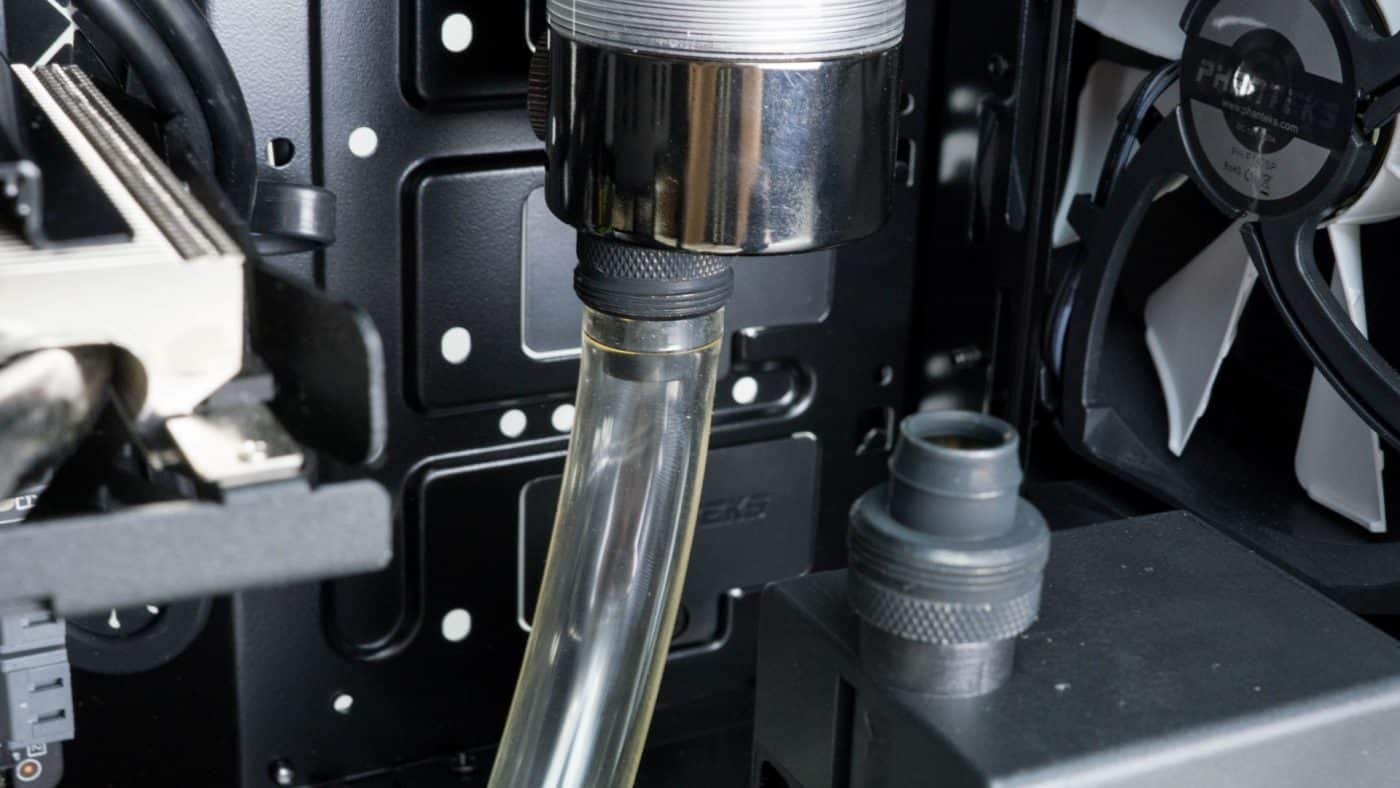
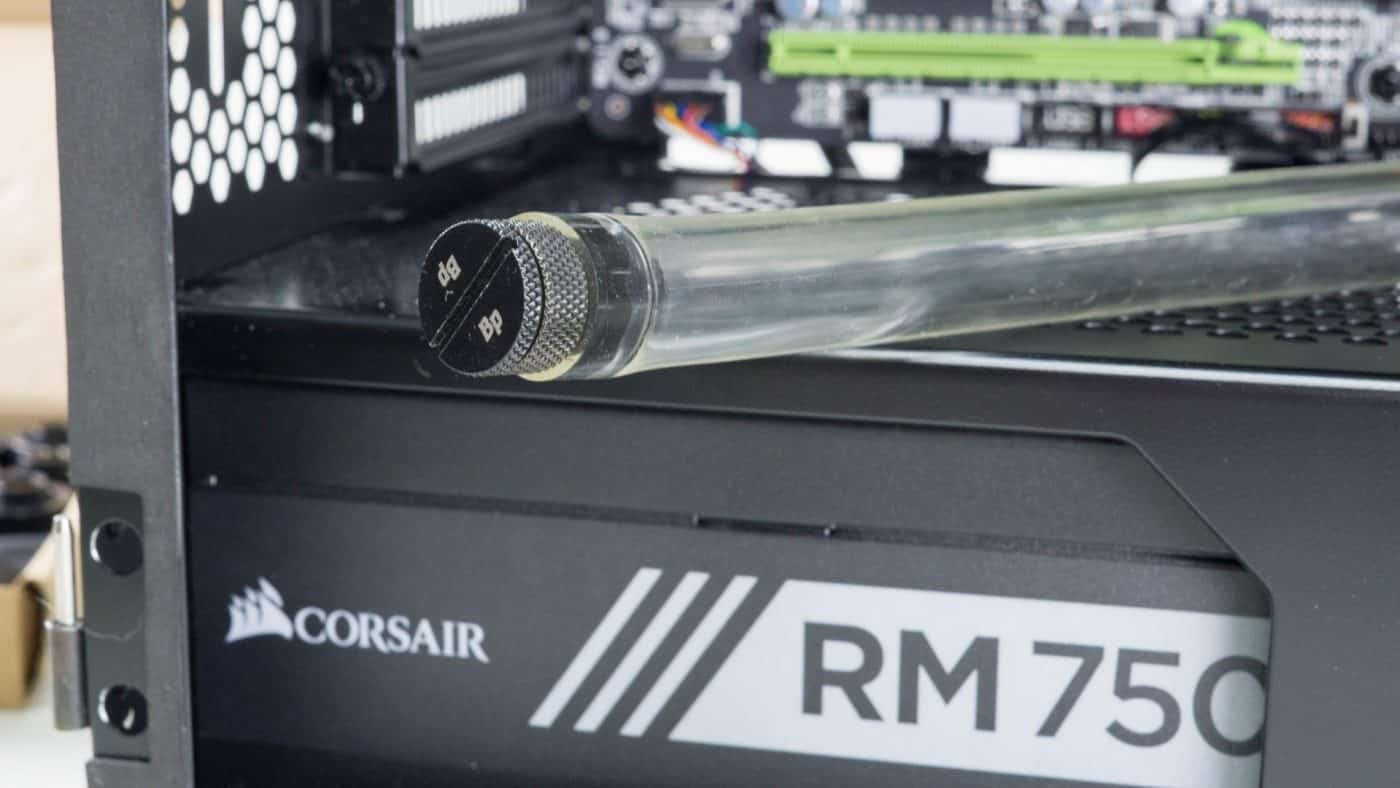
Now pull the fitting to the end and tighten them until your fingers hurt. The process will try to sort of spin the tubing, try to keep it straight. It also helps if the tubing is going straight into the fitting when you are tightening the collar. This keeps it from bunching and jamming up the fitting.
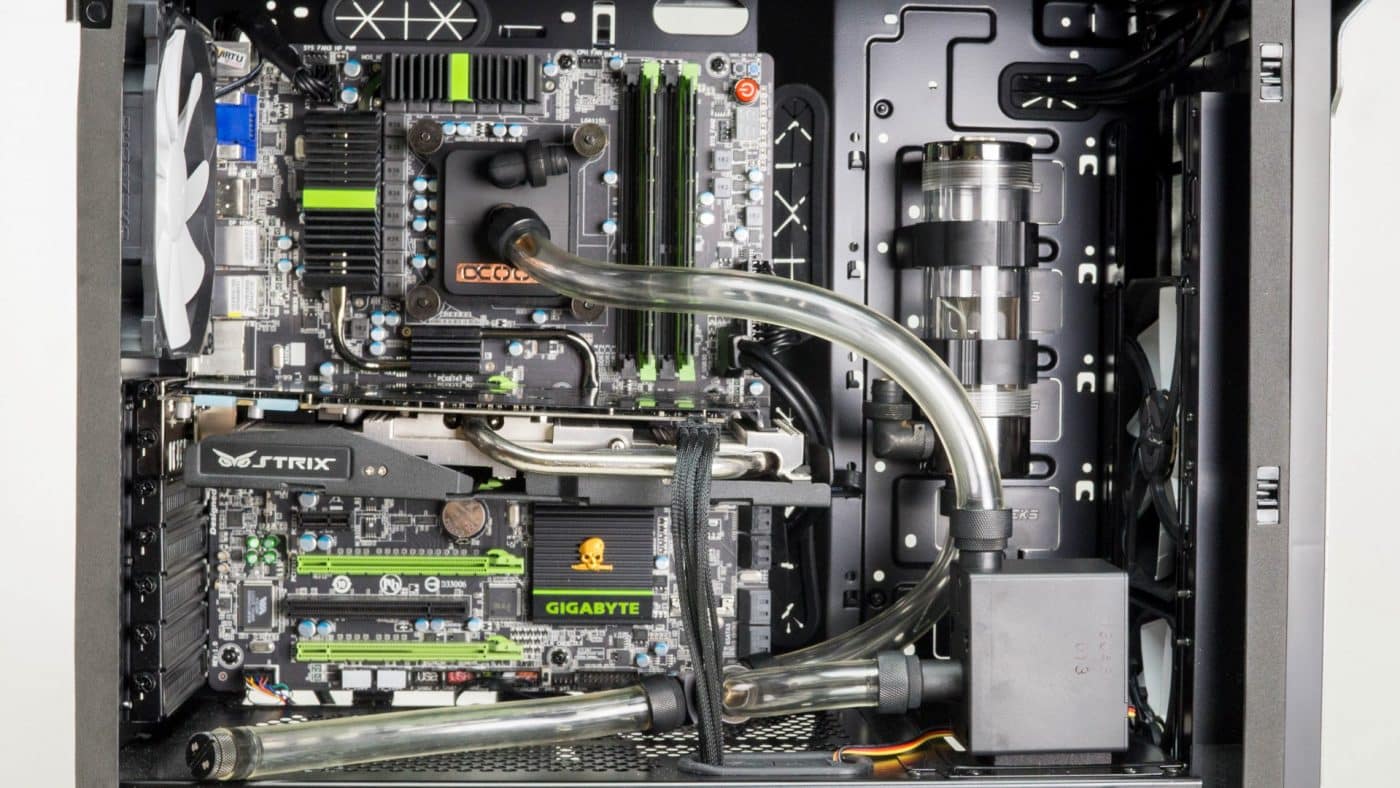
Repeat this process for all you connections. Again be prepared to have to change things around if an angle just isn’t going to work. It’s also worth keeping in mind that the fewer 90° fittings used the better as these cause additional restrictions and slow the water flow.
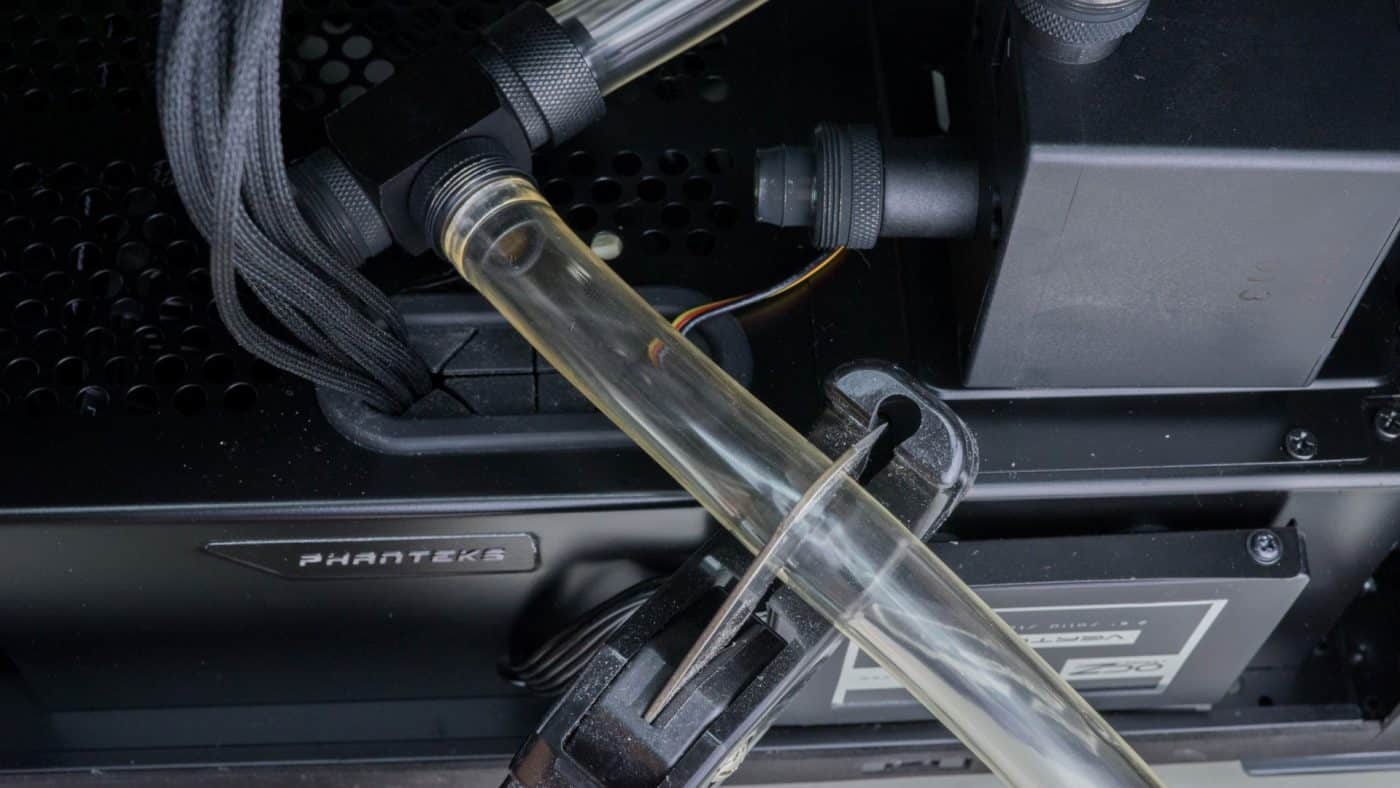
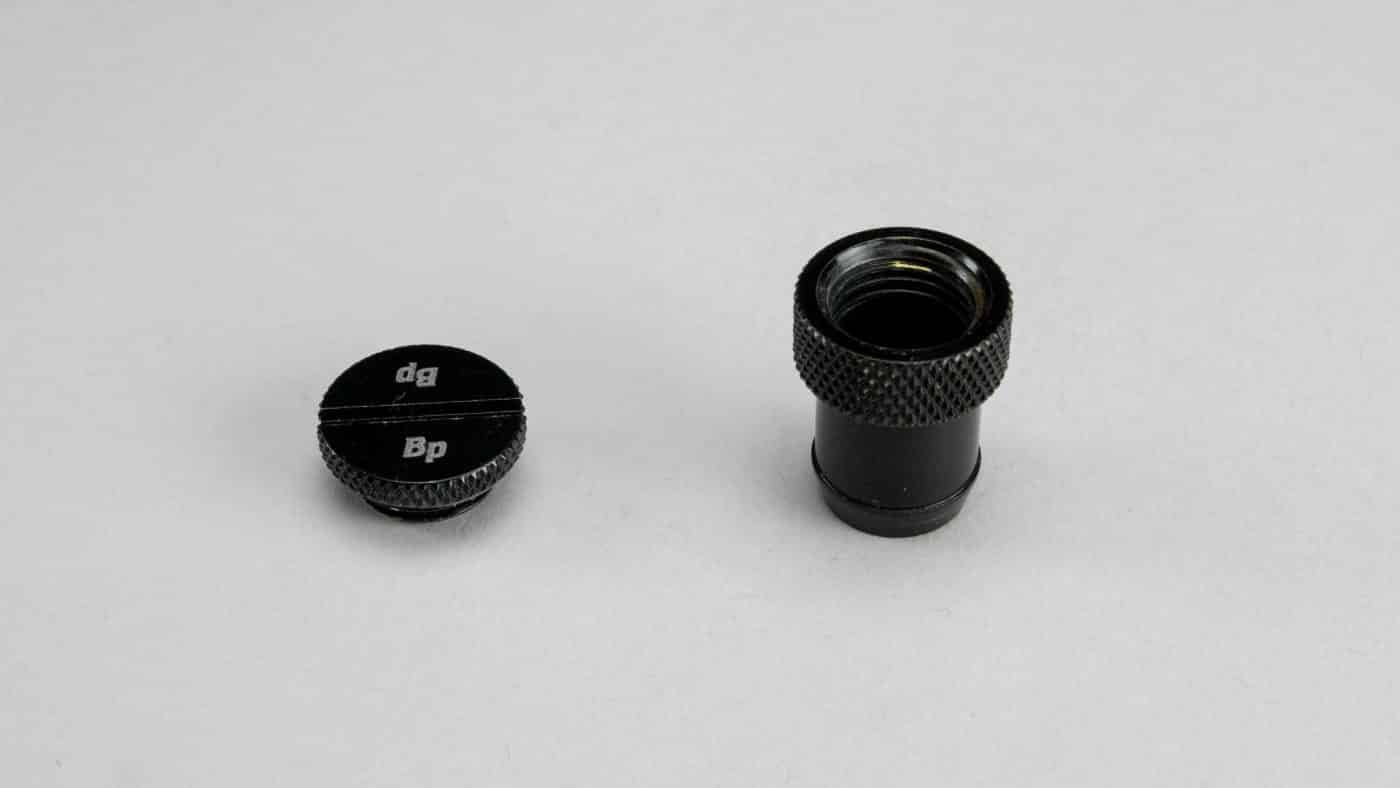
Since we are installing a drain line we of course need to close it off. There are many types of fittings designed for this, some just plug the tubing, others attach to a hole in the case and serve as a sort of port. We used one we had laying around, it simply plugs into the open end of the tubing and is secured with a zip tie.
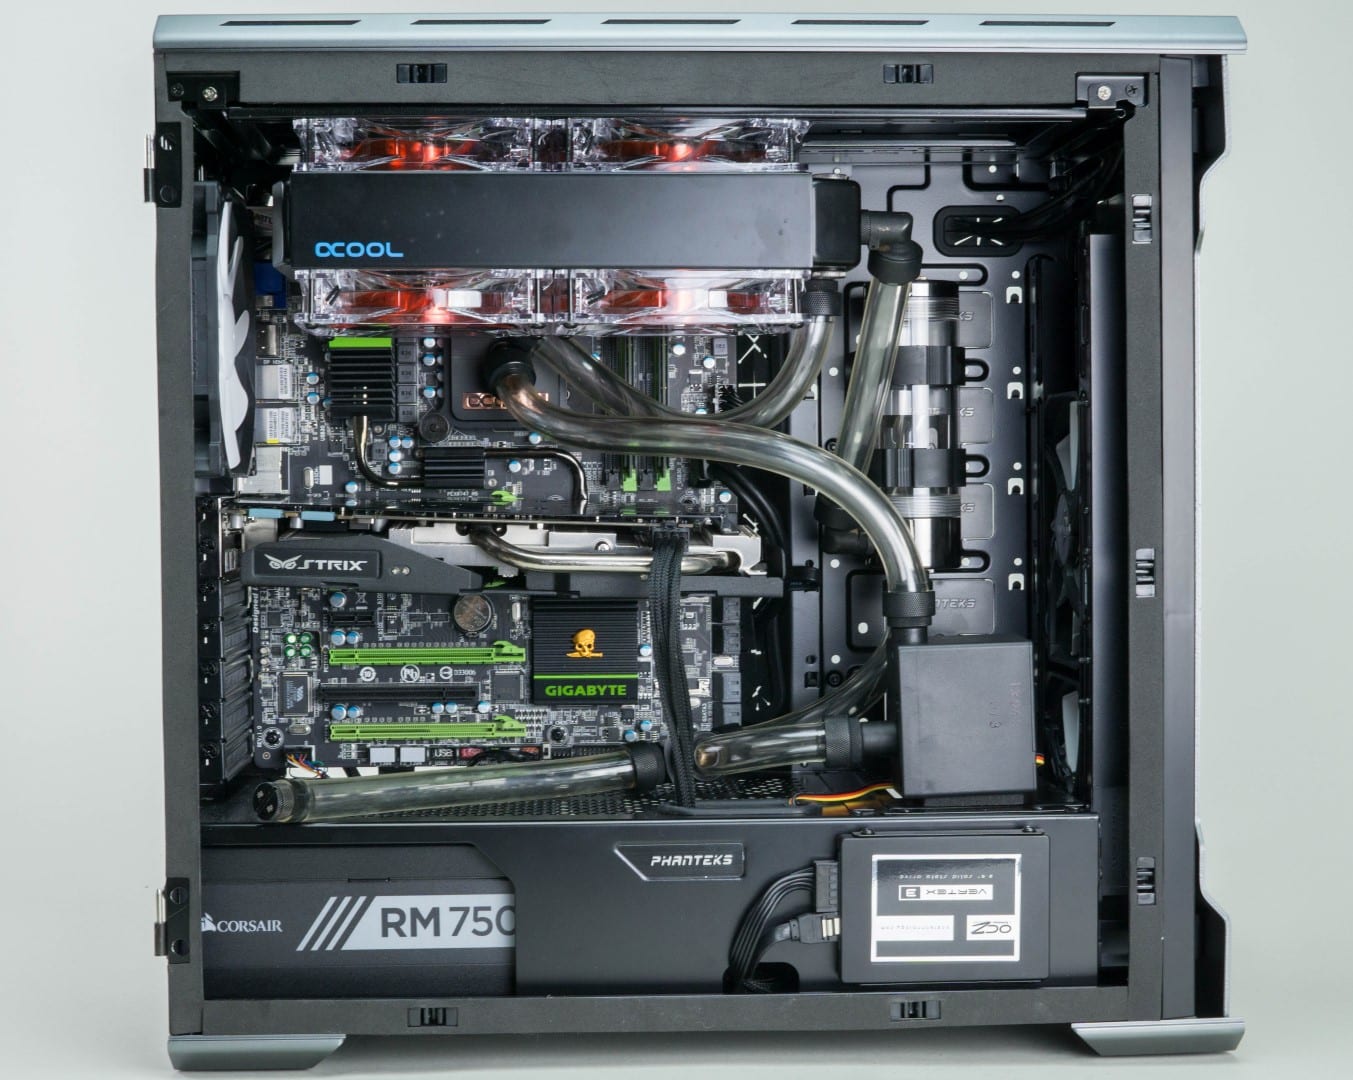
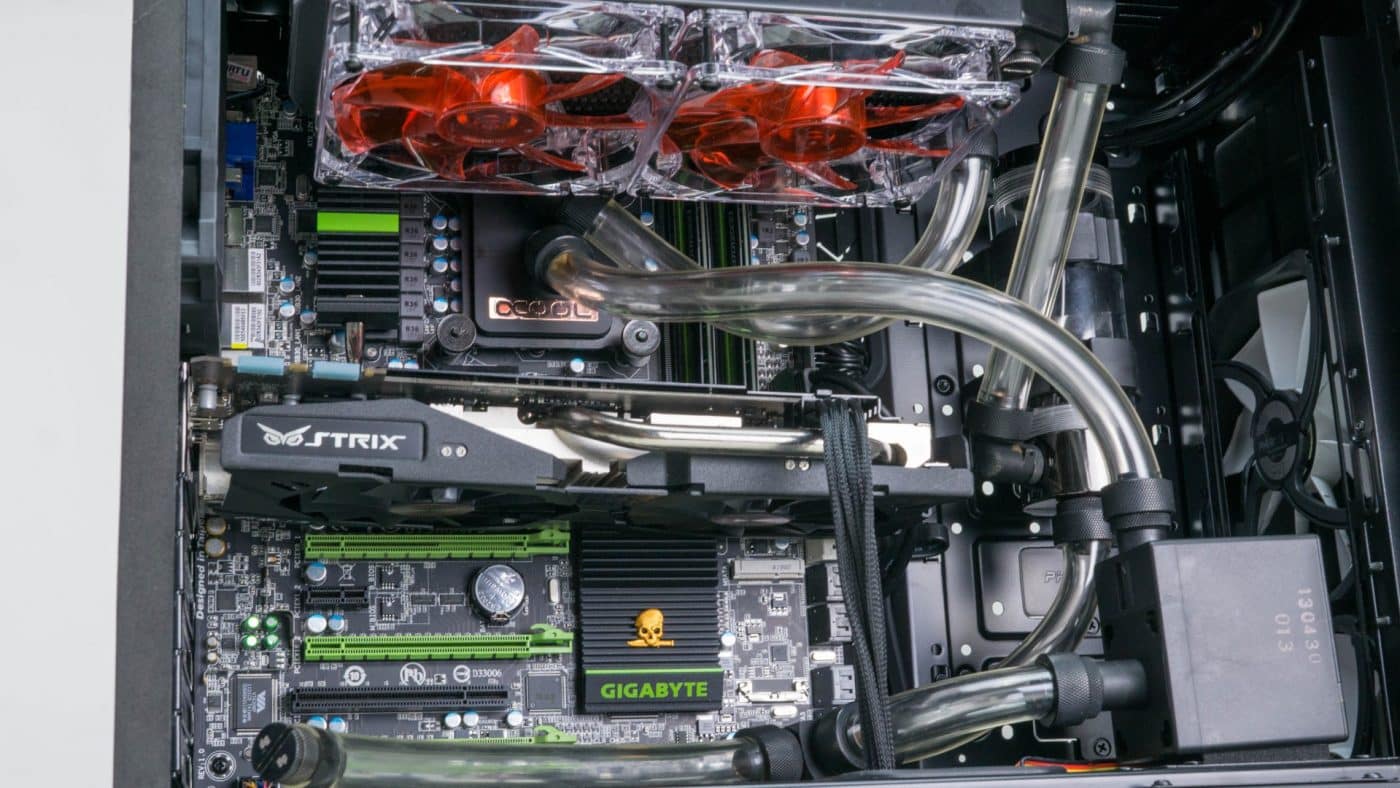
Keep making those connections until you’ve got everything hooked up and ready to go! The use of swivel fittings will really make your life easier as they will give you a wider selection of angles to use.