Installing the Reservoir
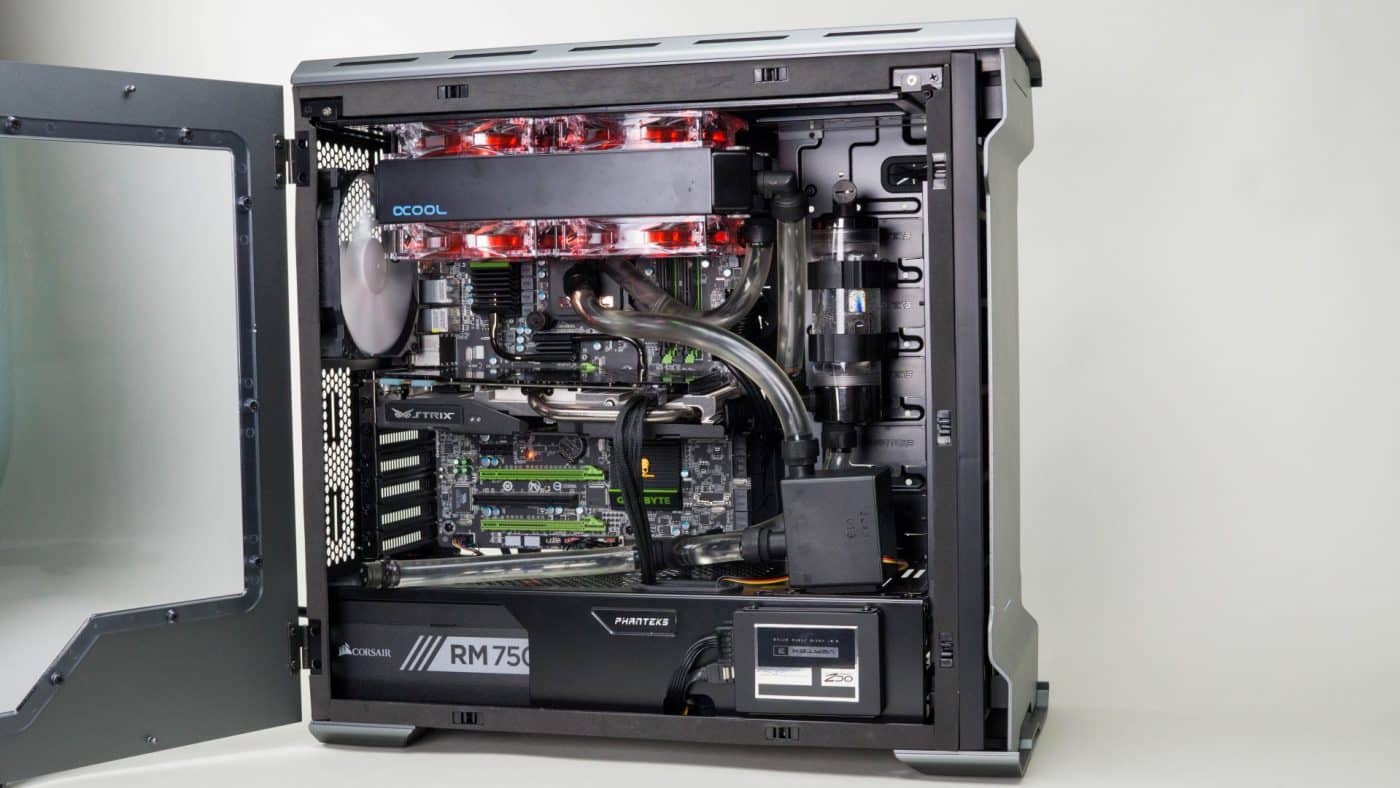
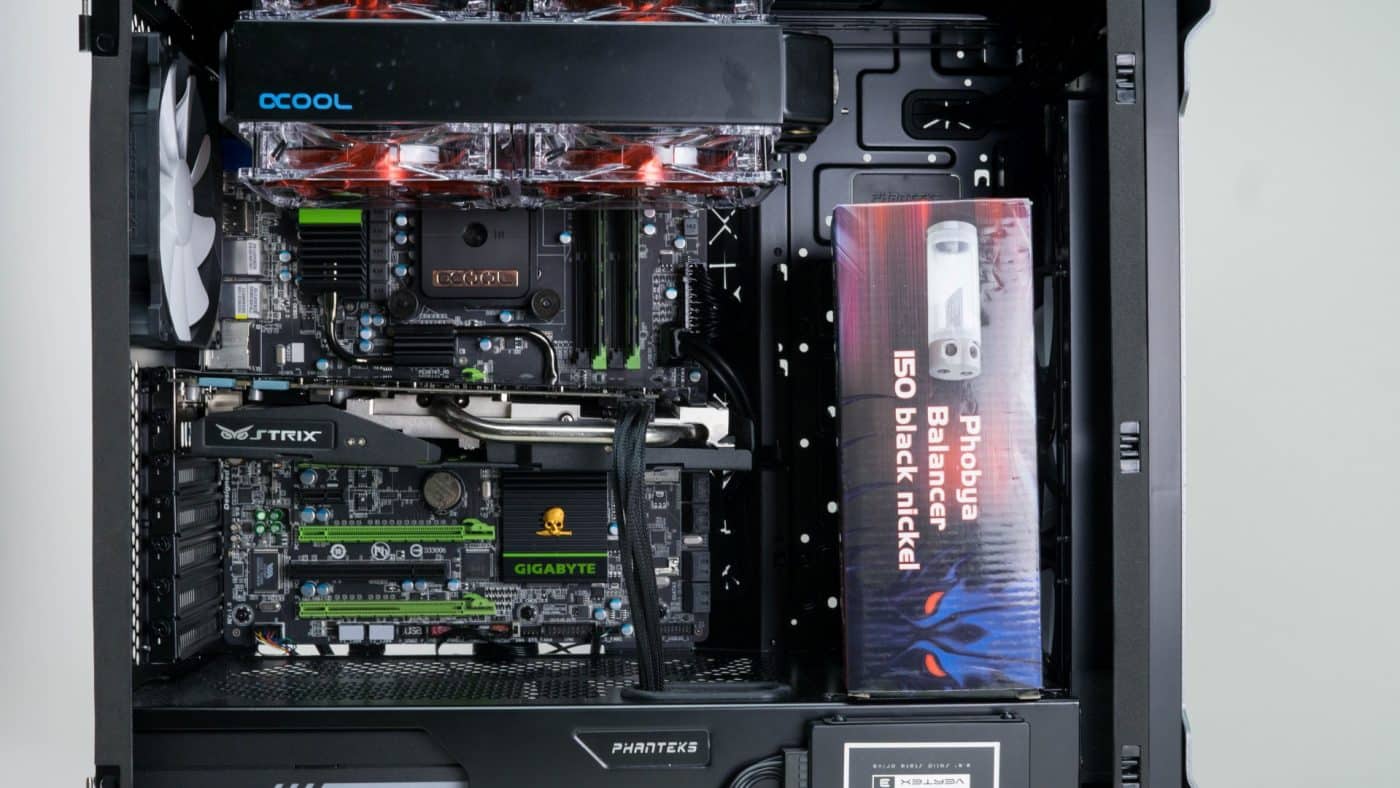
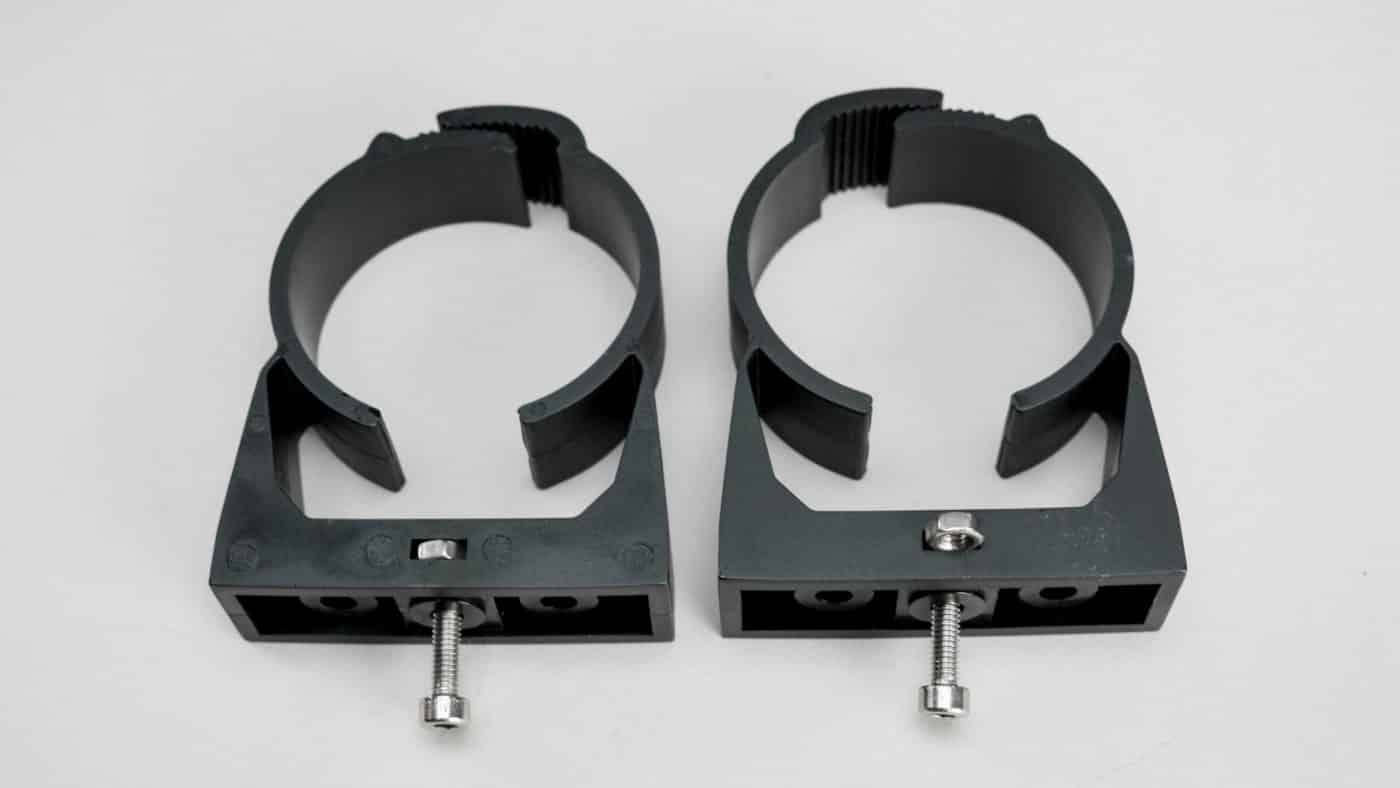
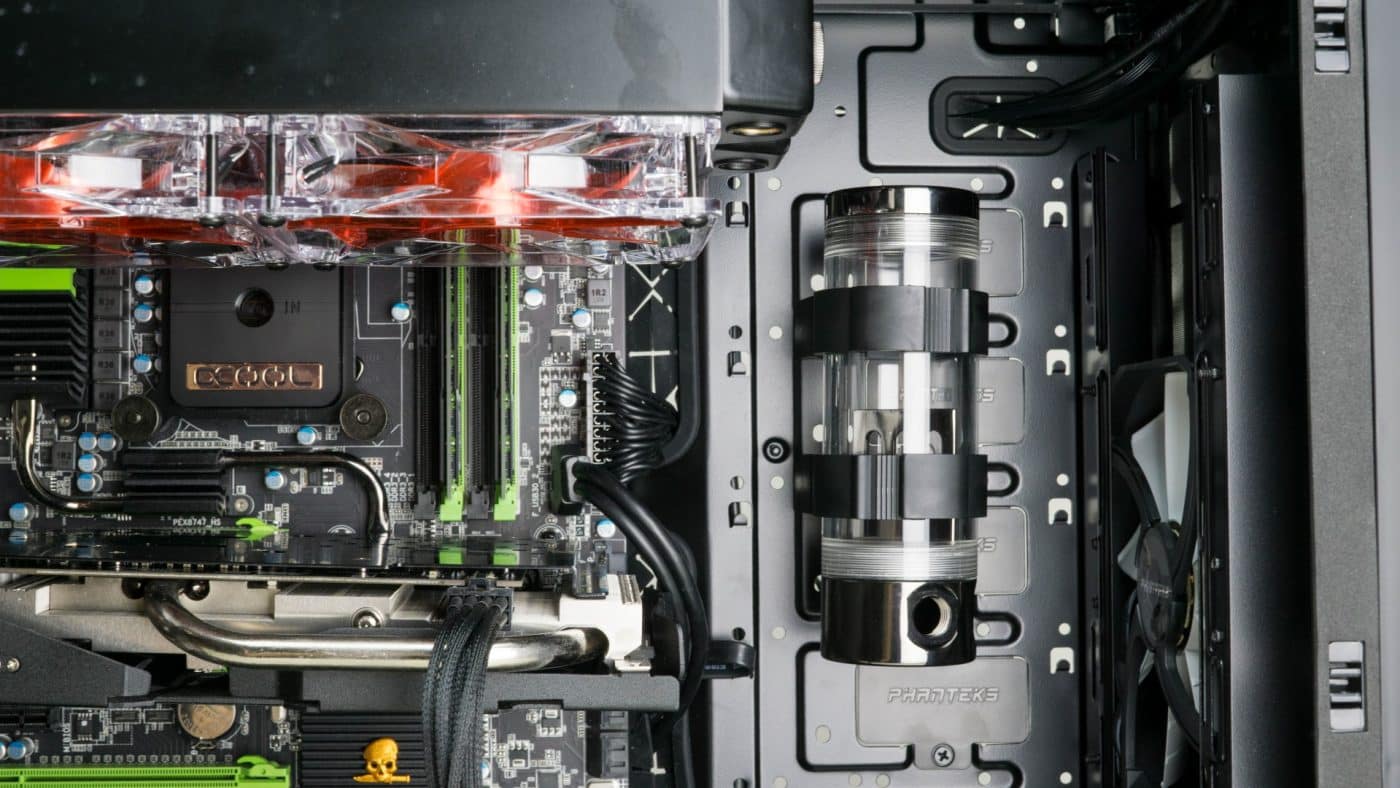
Following the radiator we want to install the reservoir. This will give us a good idea of where and how the pump must be oriented as well as how the loop will have to be routed to connect with the reservoir ports. For a reservoir we selected the Phobya Balancer 150 black nickel tube res. The finish on this res is extremely nice and it’s a bit a narrower than other 150 reservoirs we have used in the past. Included with the tube is a set of mounting clamps and G1/4 plugs to block the unused ports.
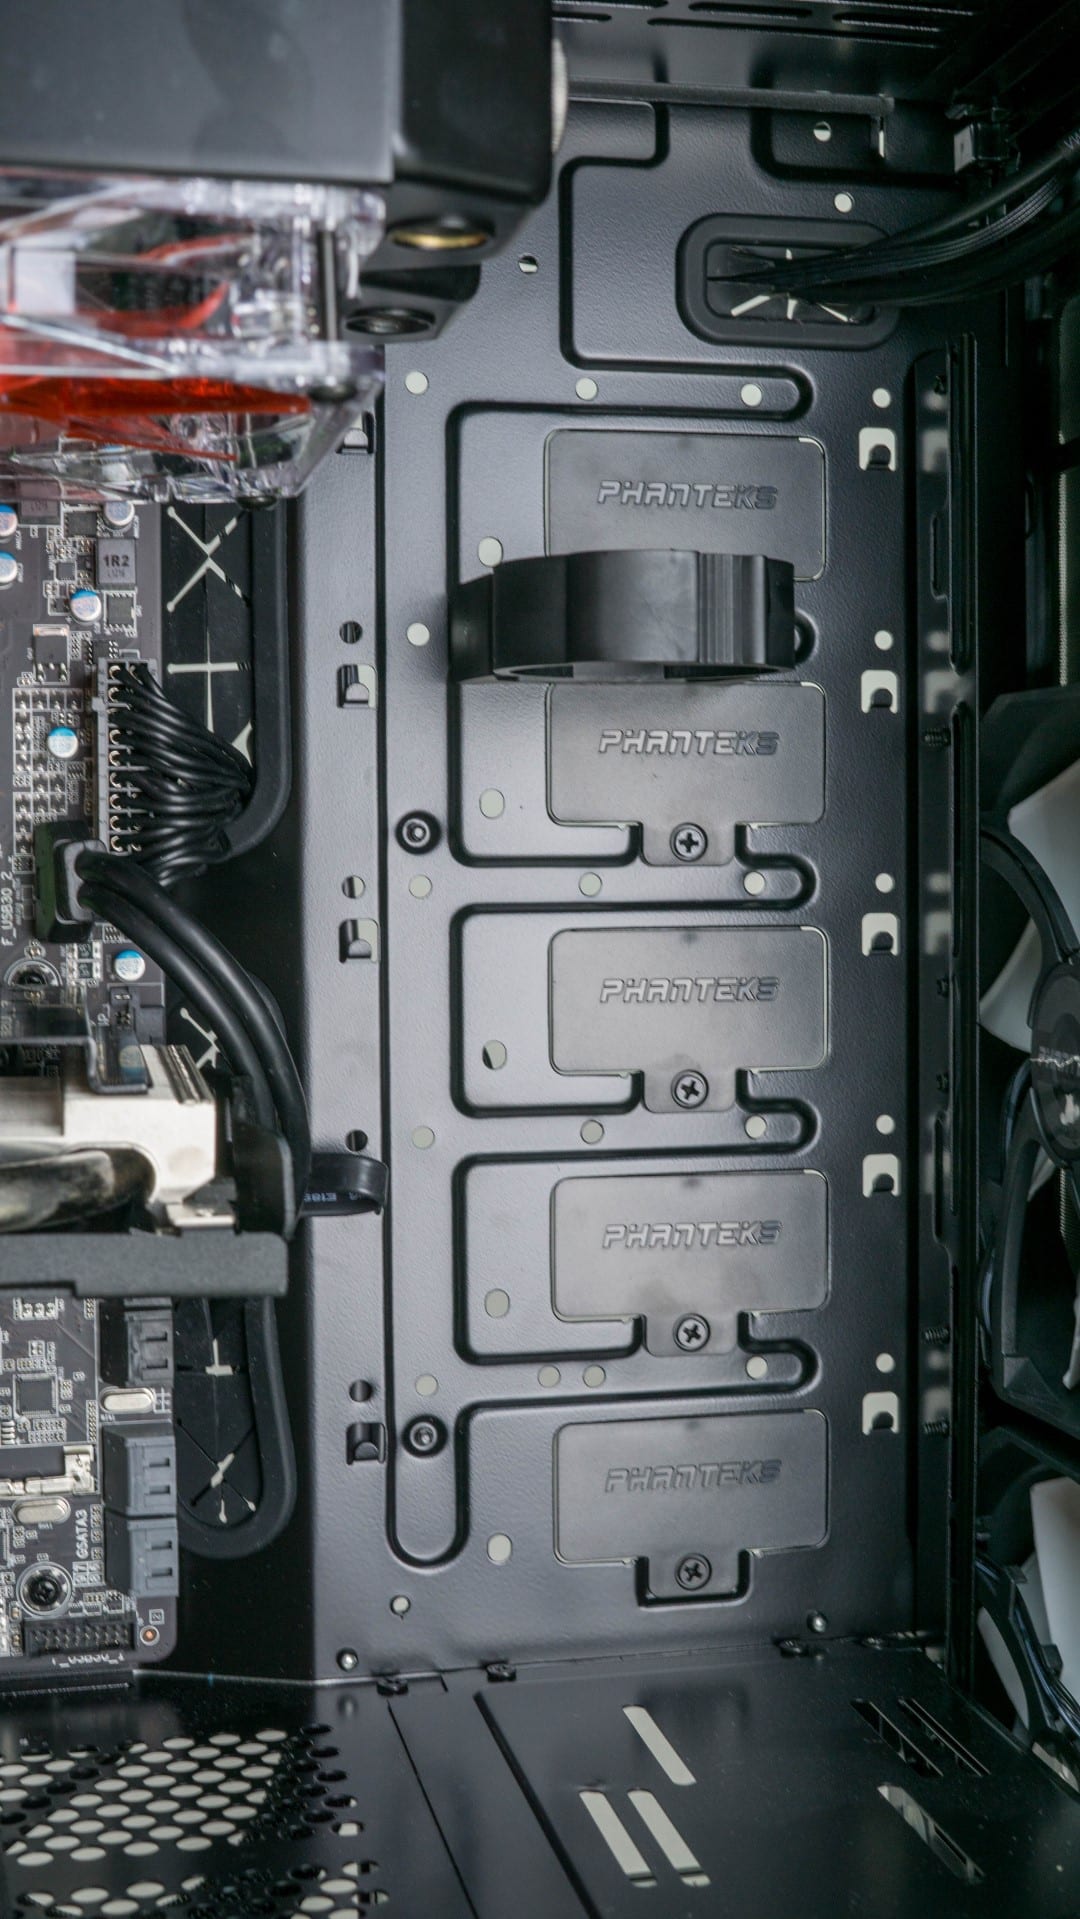
The most obvious installation location is the unused wall of our case where additional HDD brackets can be installed if desired. There, evenly spaced holes can be found where we can easily attach the clamps for the reservoir.
Sometimes you will need to create these holes for yourself if your case doesn’t have them. This can be easily done with a drill and drill bit that is just a hair larger than the screw. Use a vacuum to suck up the bits of metal as your drill creates them.
Back to installing our clamps, first insert one nut each into the space on the base of the clamp. Pass the screw through from the back of the case and attach it to the nut in the base of the clamp.
Once both clamps are loosely attached slide the res in and see how it looks. If you like the positioning you can go ahead and tighten the screw from behind the case using the included allen wrench securing the clamps in place.
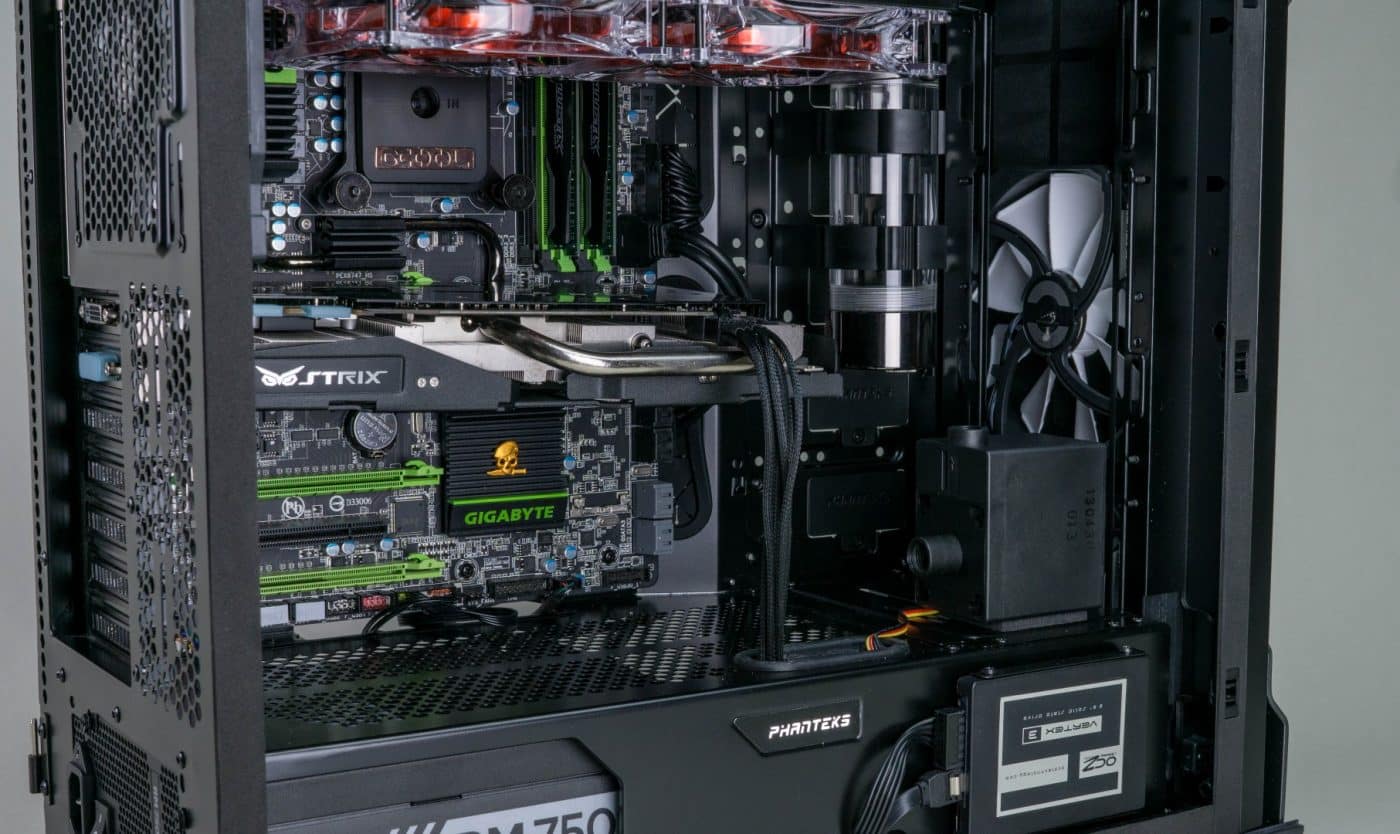
Installing the Pump
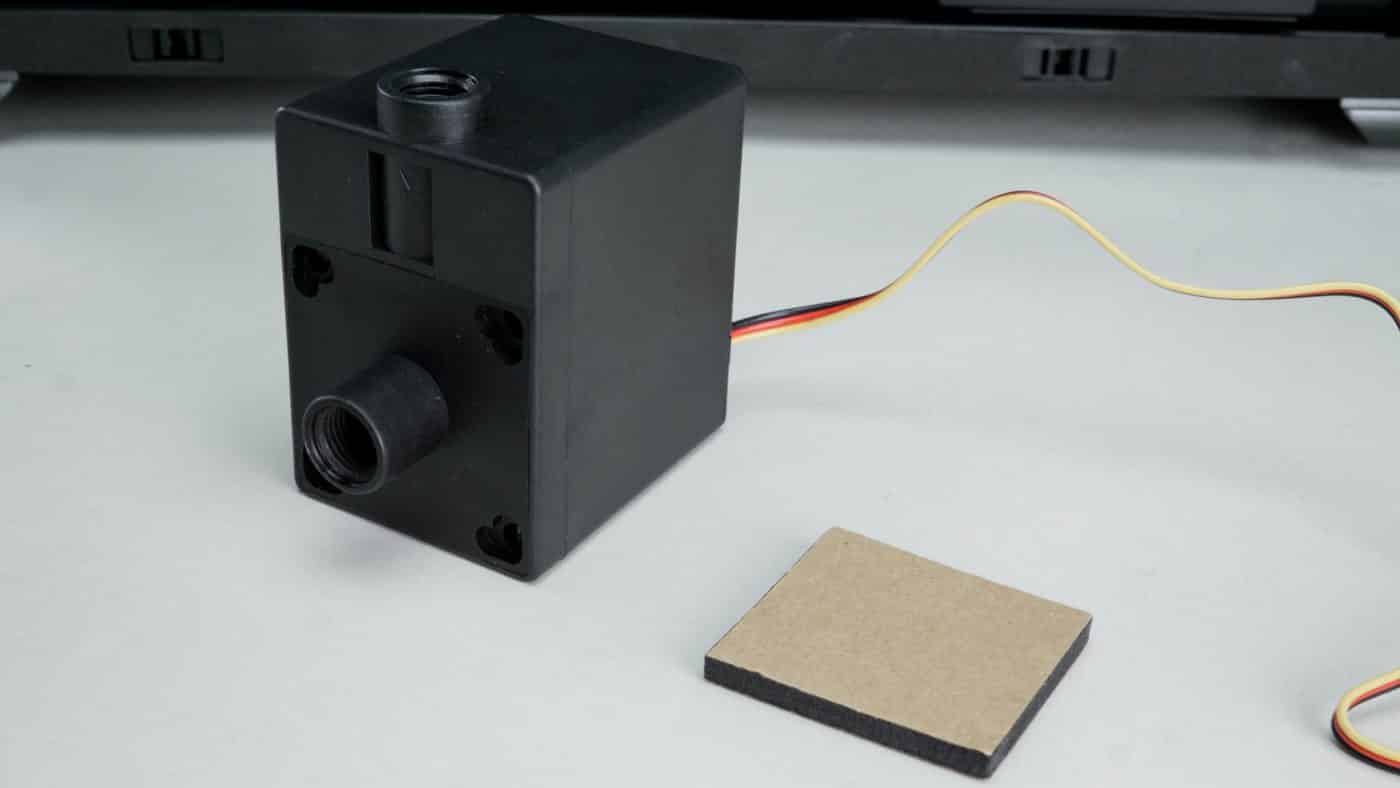
Cruising right along let’s get our pump installed. We chose a Phobya DC12-400 12 V pump. This guy should have plenty of flow for the components and kinks we’re going to throw at it. Installing the pump can actually be one of the trickier parts of your build. A lot depends on which pump you are using and whether you have an aftermarket kit. Standard pumps come with just a single inlet and outlet port. Because of this you have to route your tubing in a way that accommodates this. For instance the DC12-400 has the inlet in the front and outlet up top. Because of that we are unable to have the reservoir feed directly into the top of the pump how we would have liked. Thankfully the Evolv ATX has plenty of room right near the reservoir so we should be able to make something work.
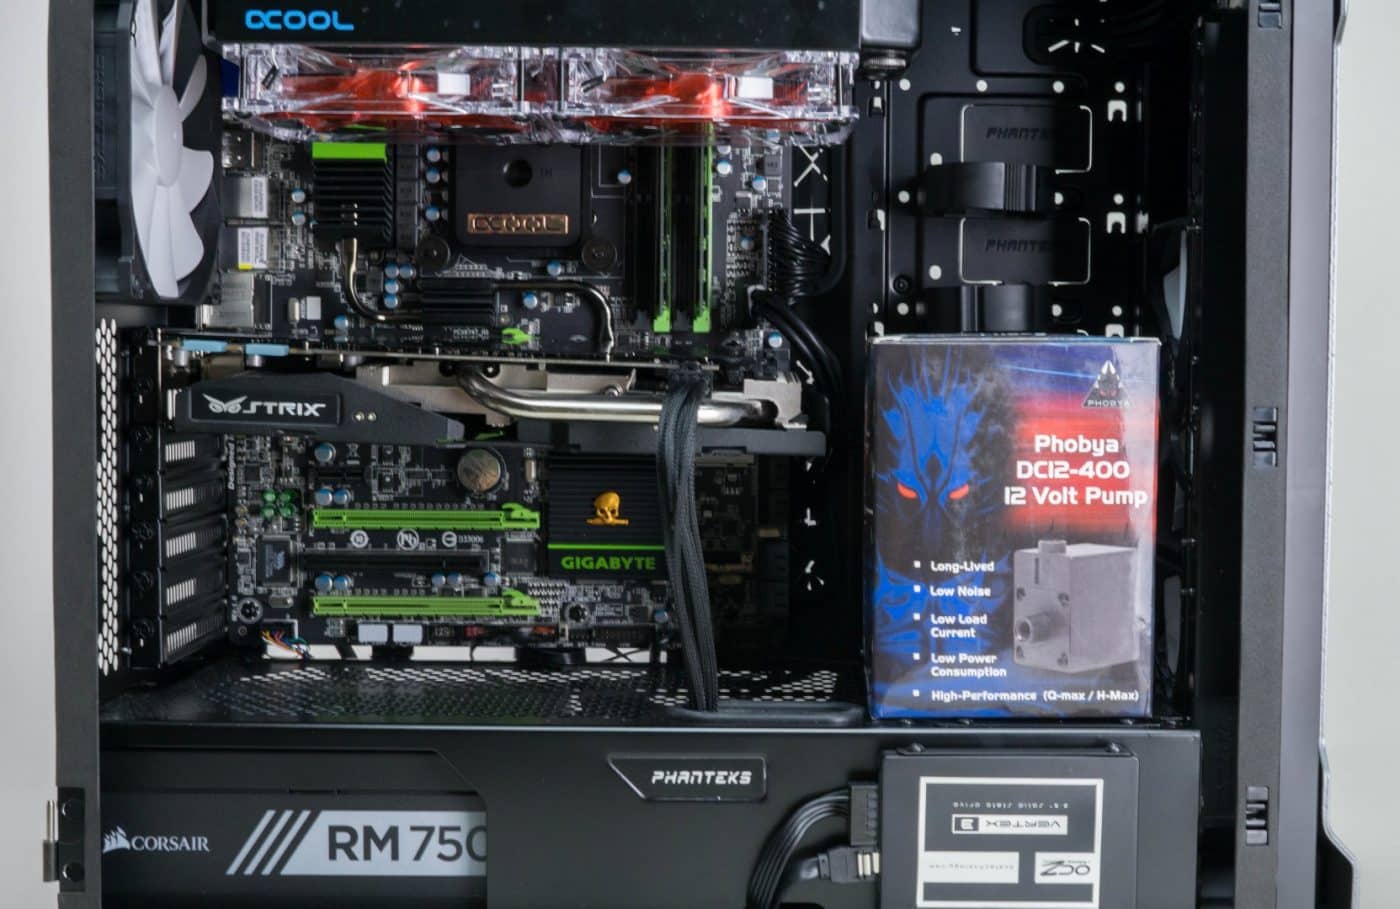
There are two ways to mount this pump. The first is with a simple foam pad which has double sided tape on both sides. The other is a set of tabs which hold the pump in place and are secured with screws. Since we are doing a multiple stage build here we went with the foam pad as it is less permanent.
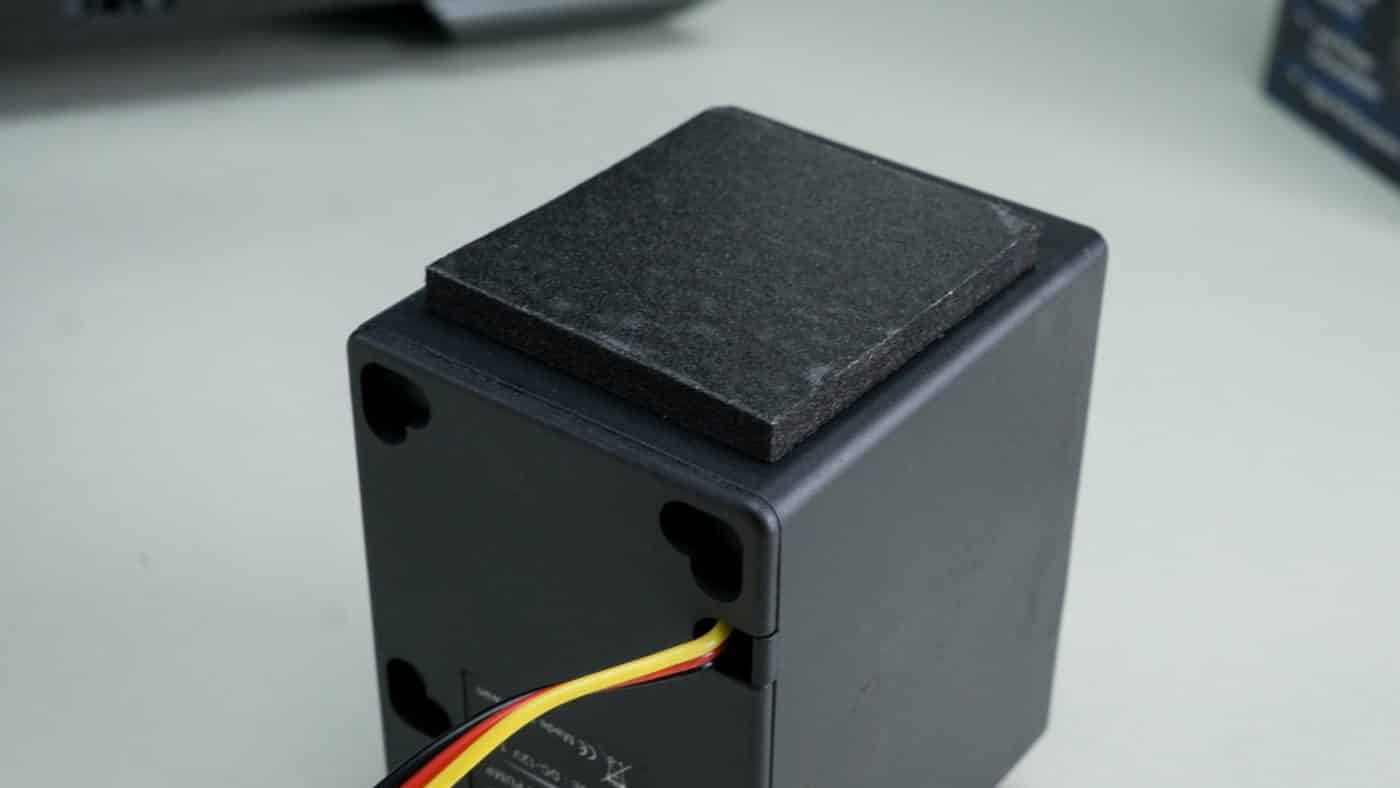
Once you get a general idea of how you wish the pump to be oriented, simply stick it to the surface in the correct position. You will also want to plug the pump into the power supply now. If the connectors don’t match I suggest getting an adapter as you will want full power straight from the power supply rather than a motherboard header if you can make it happen.