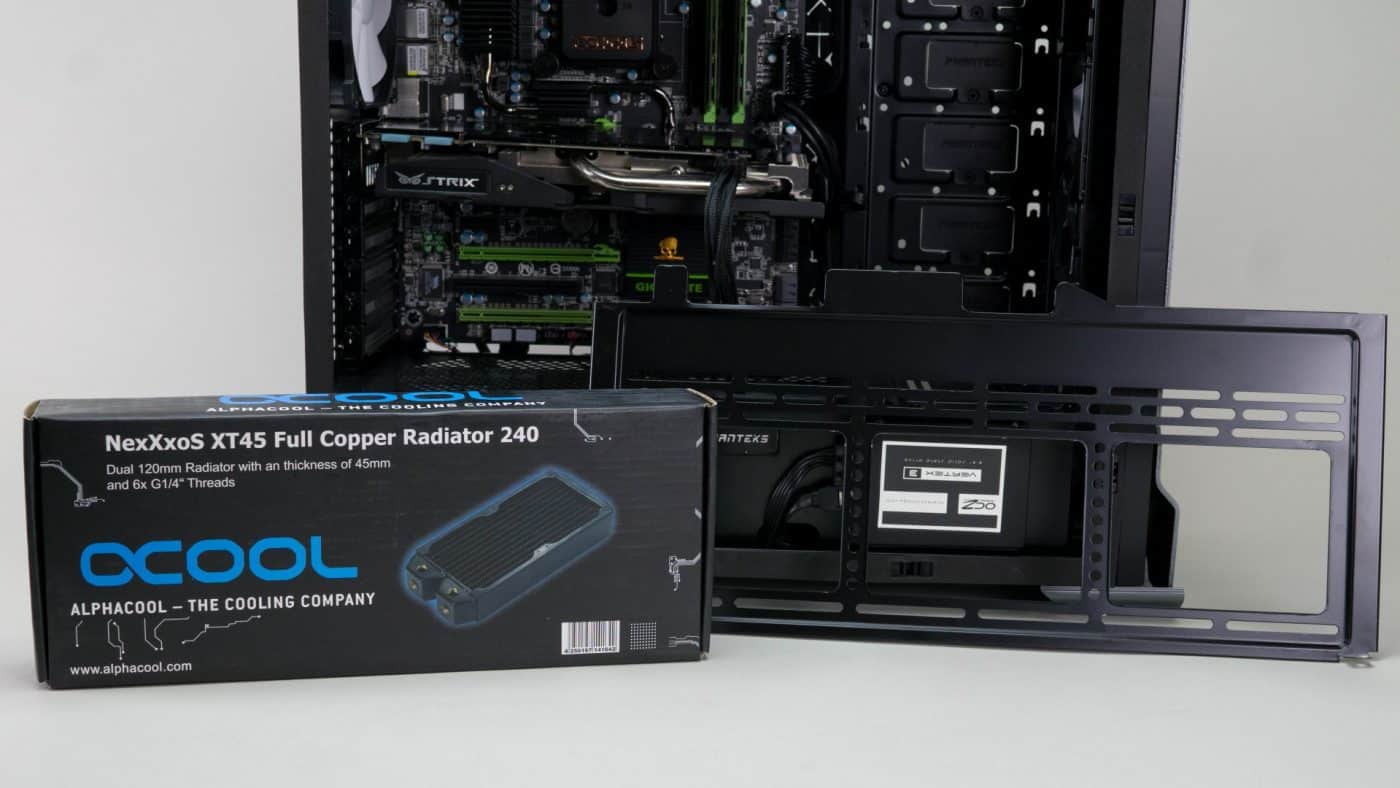
Installing the Radiator
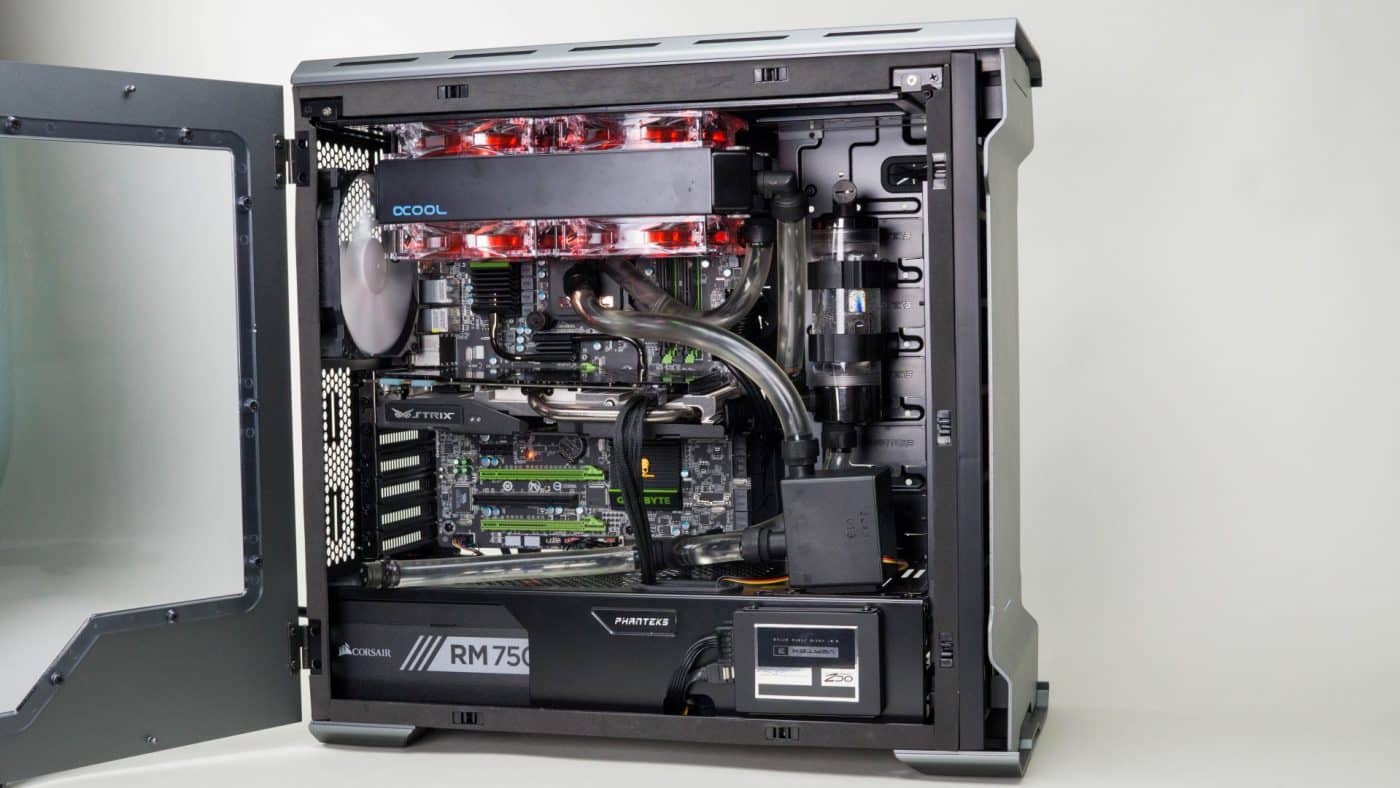
After the block we will install the radiator. Once installed the radiator will give us an idea of how much space we have left in the case to play with as well as how we are going to have to run tubing. Thanks to the genius engineer(s) at Phanteks installing the radiator is a simple process and can easily be removed again after installed to work on other parts.
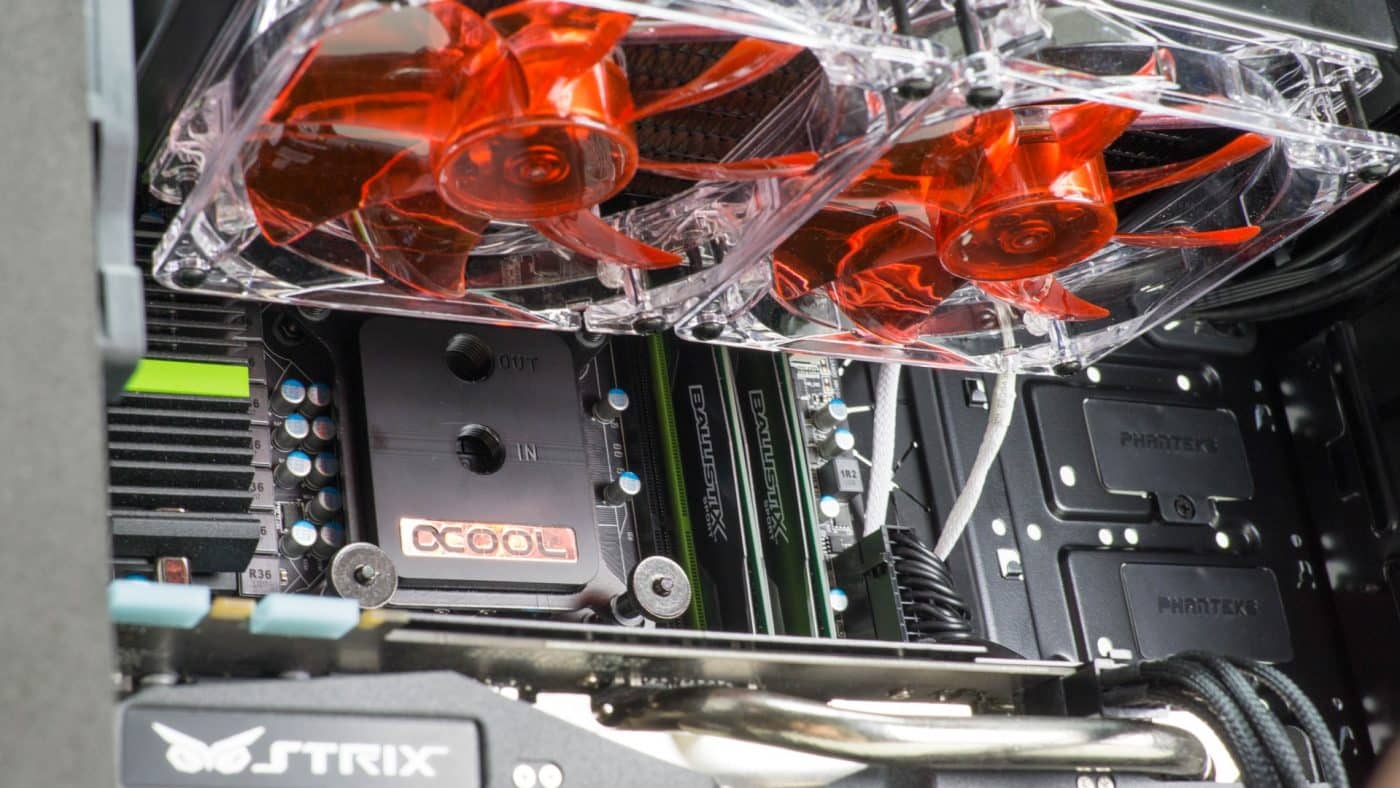
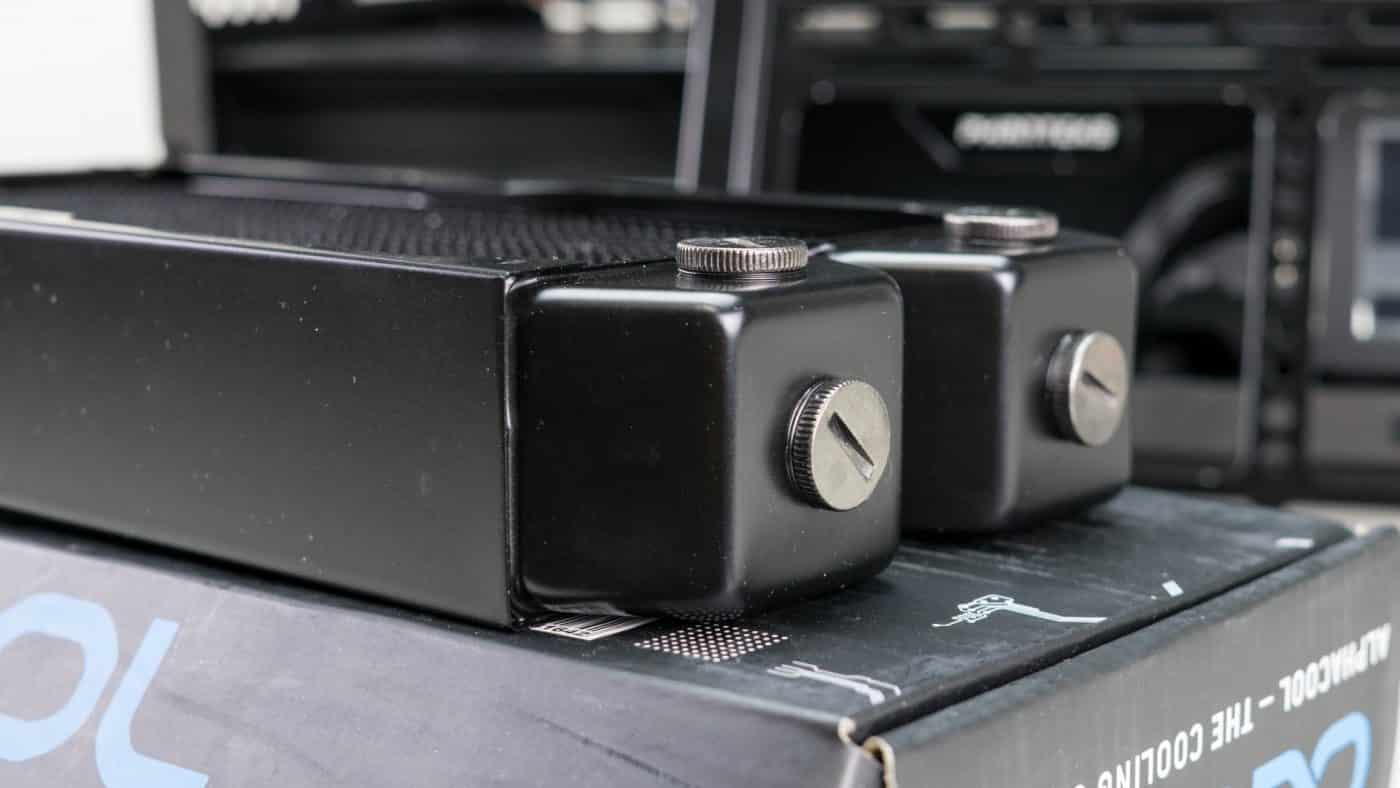
Our Alphacool NexXoS XT45 Full Copper radiator has six ports all on the chamber end of the rad. You need to plug four of them with the included G1/4 port plugs.
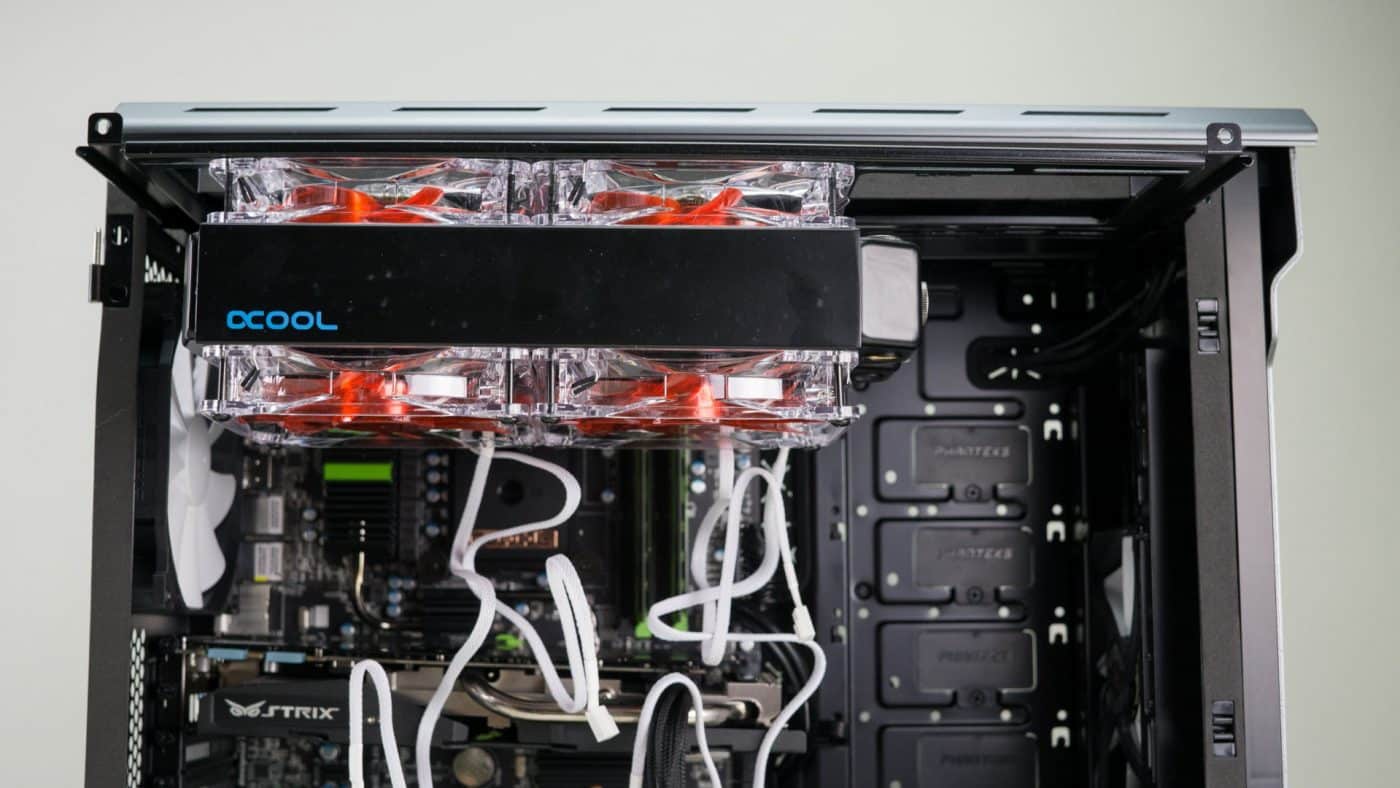
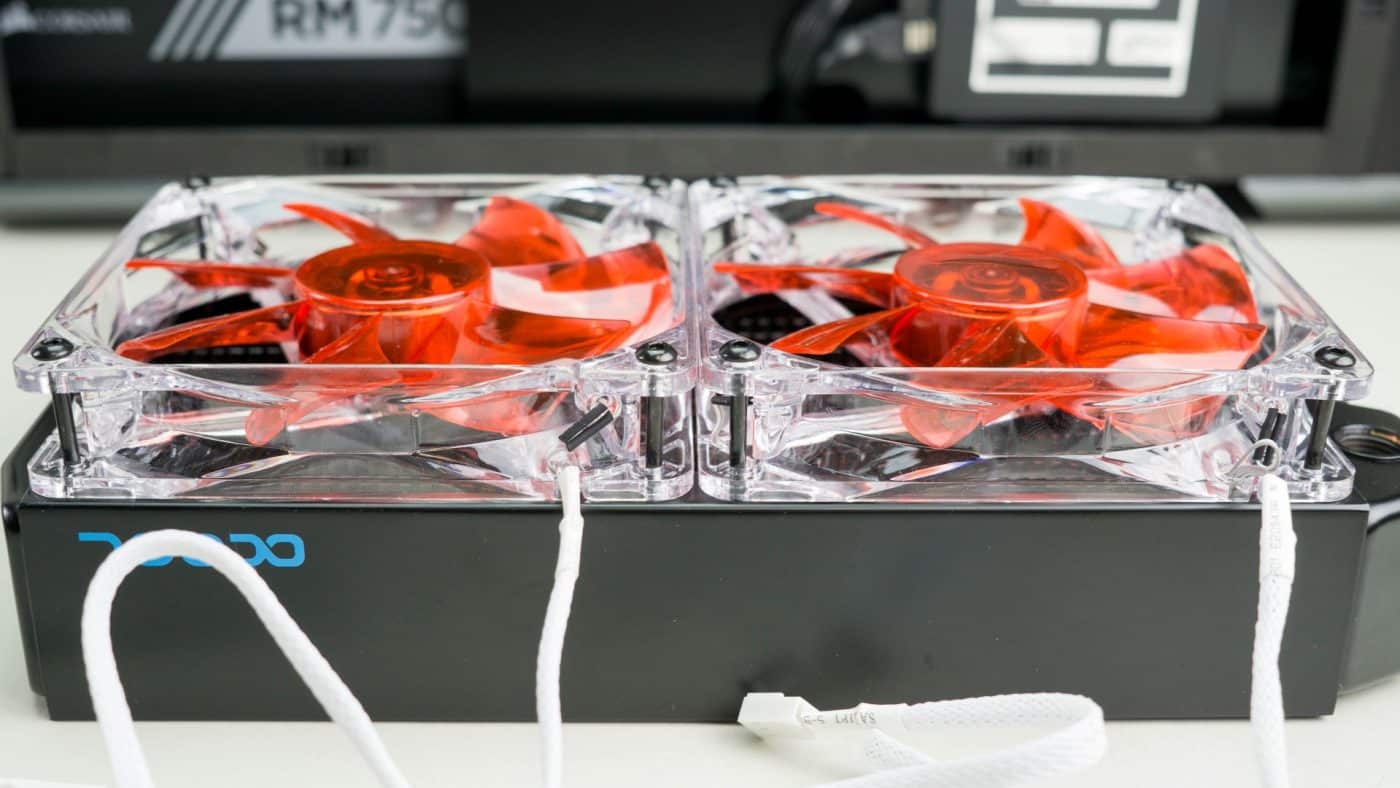
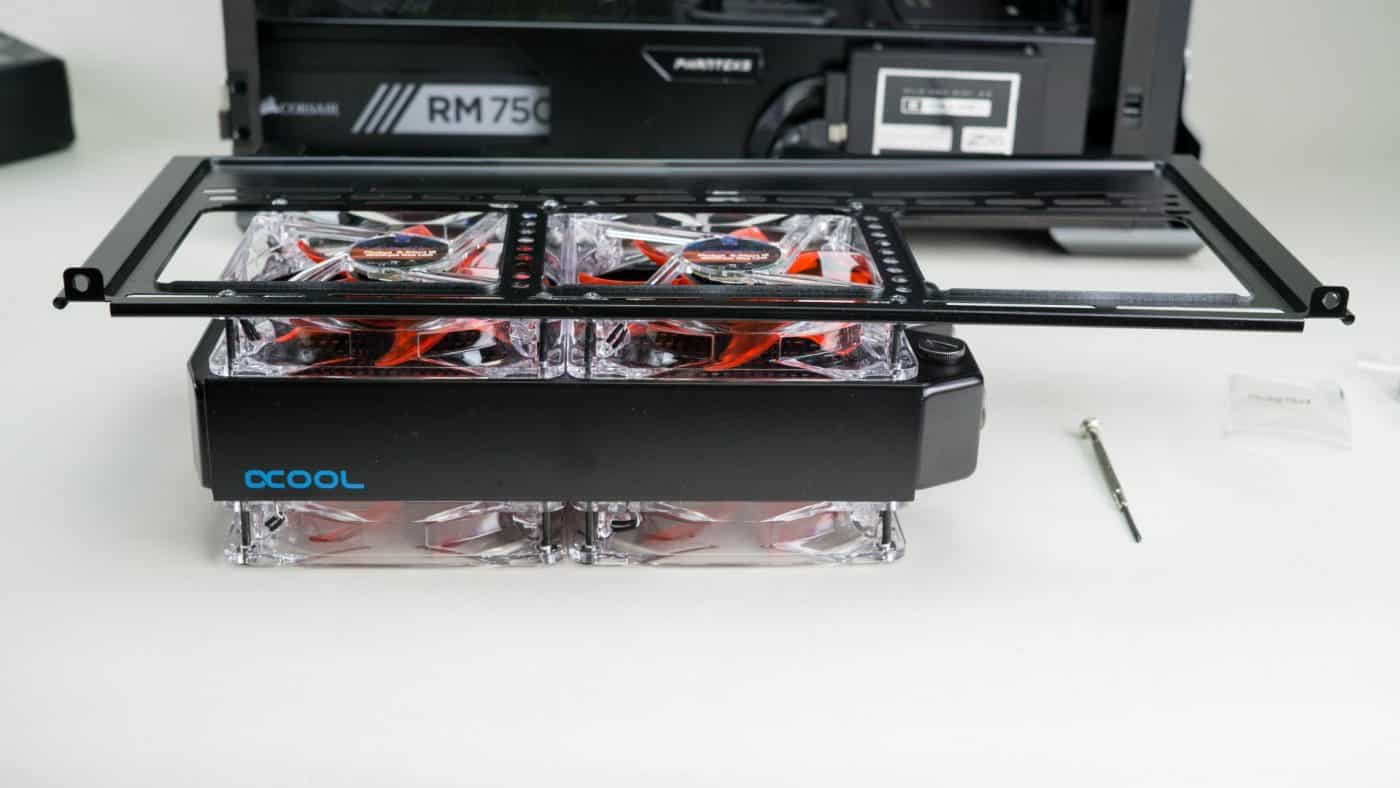
Next placing our Phobya G-Silent 120mm fans in push pull we make sure everything lines up how we like it on the removeable radiator bracket. We orient the fans so they will be blowing air from inside the case up through the radiator and out the top of the case.
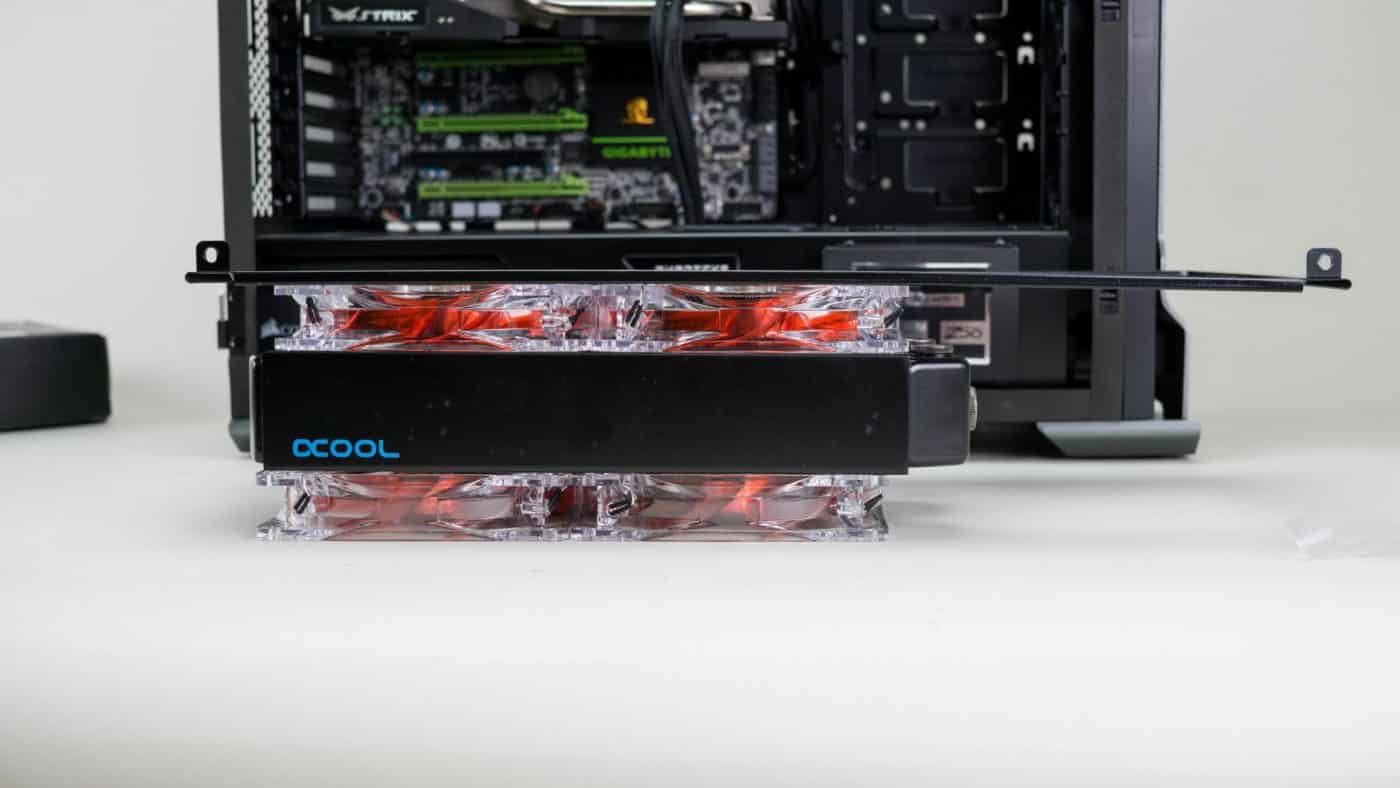
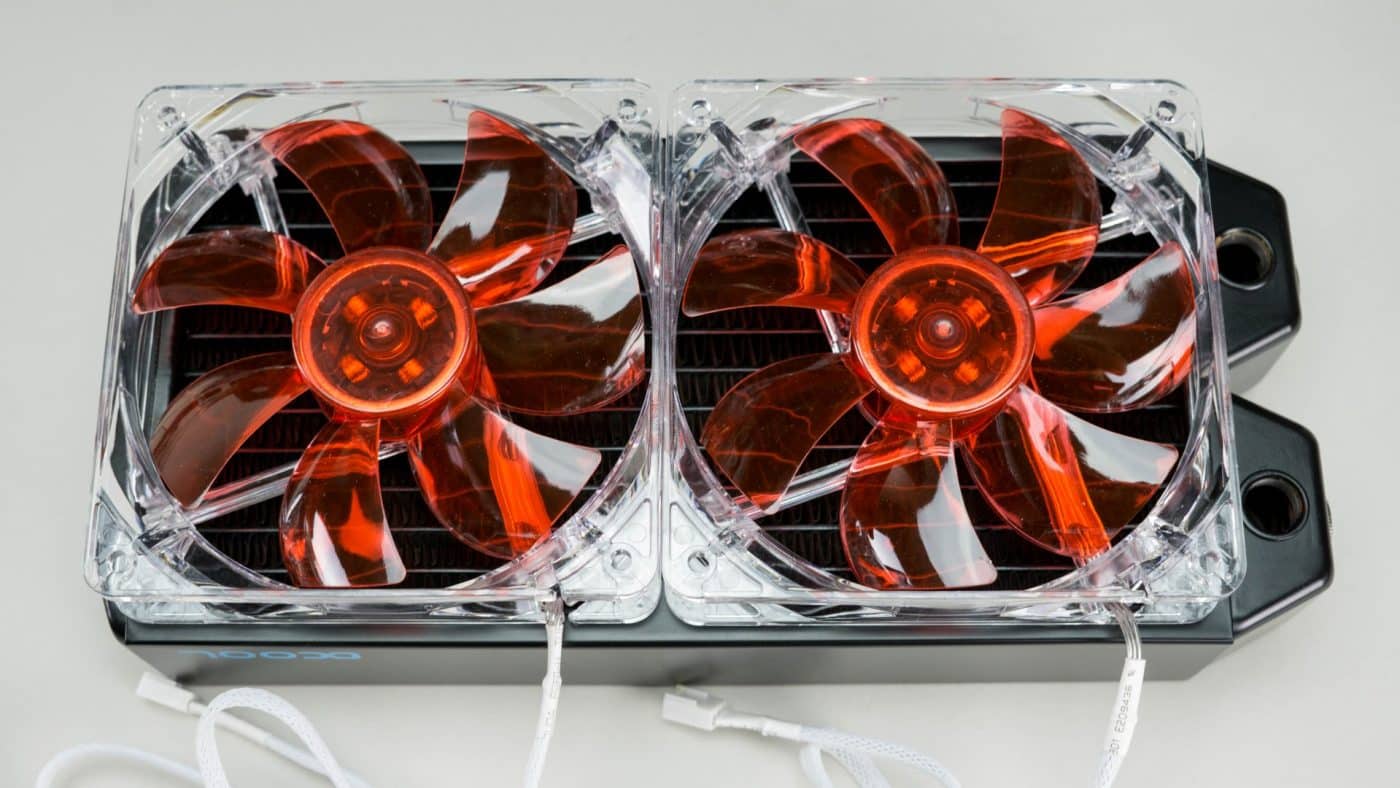
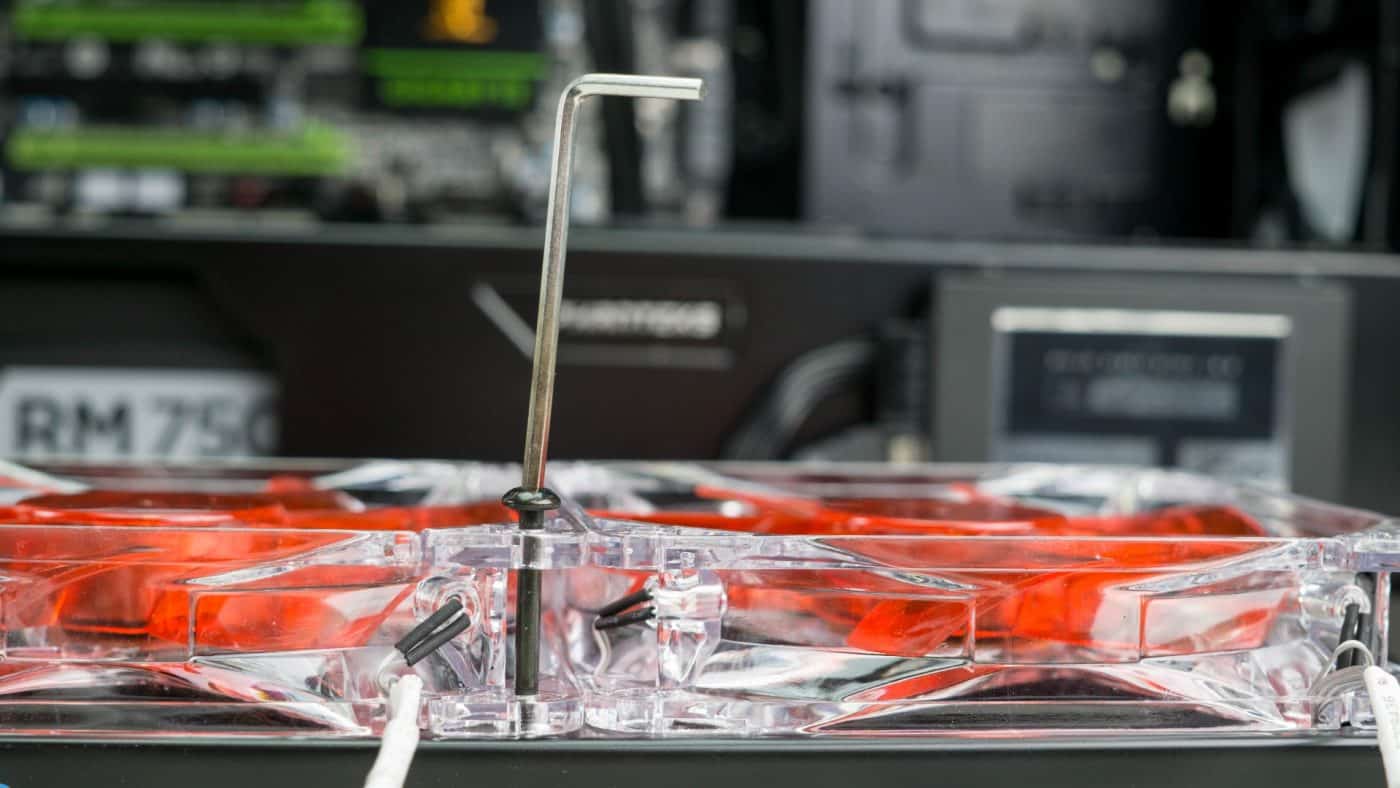
Satisfied with the orientation we select the shorter of the included screws since the metal we are attaching the fans through is so thin. Each corner of every fan is secured with the included screws and tightened with the included allen wrench.
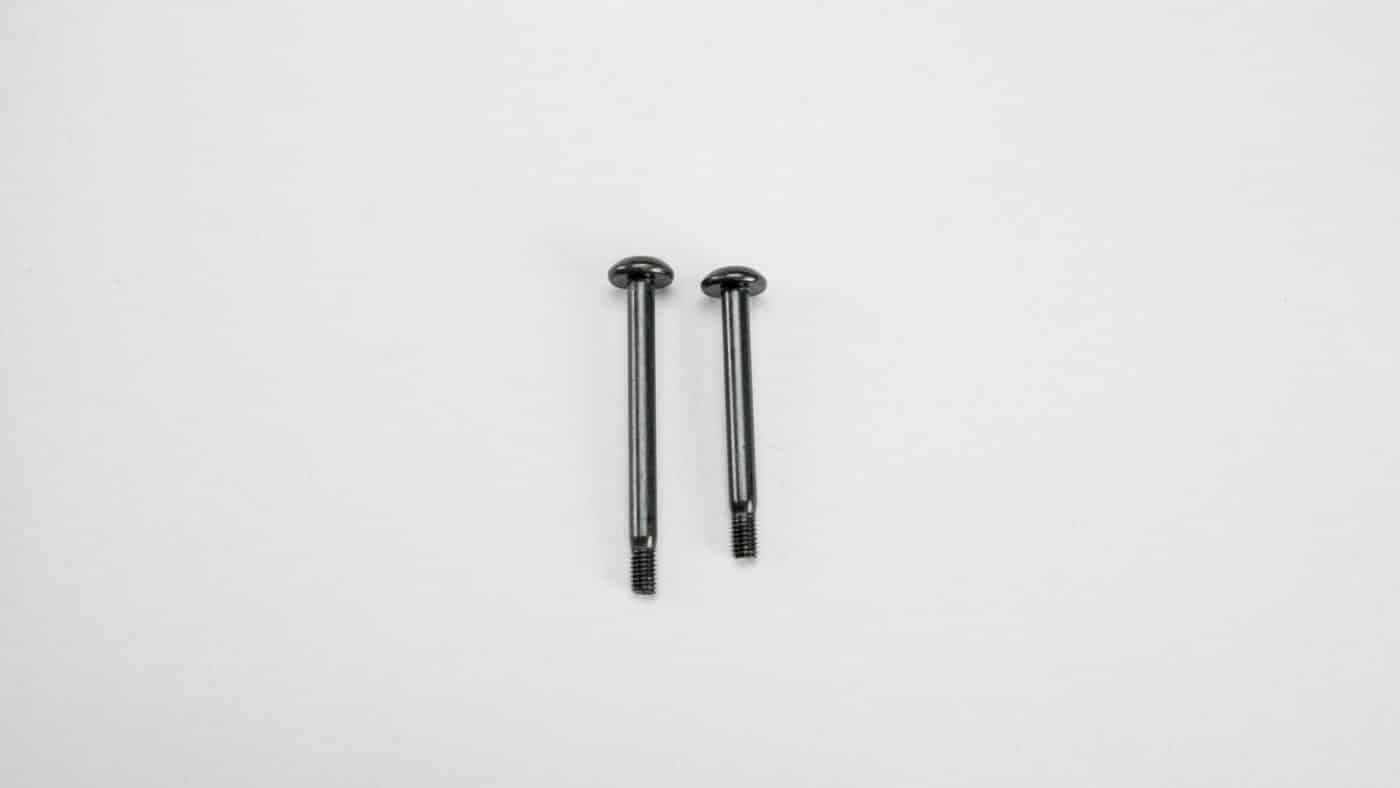
Unfortunately the radiator only came with eight of the shorter screws and the longer ones are far too long. Lucky for us we’ve done this before and have lots of extras on hand, but this is something you will want to consider if it is your first time. Similar screw can be sourced from a local hardware store cheaply, the downside is typically only a silver finish is carried.
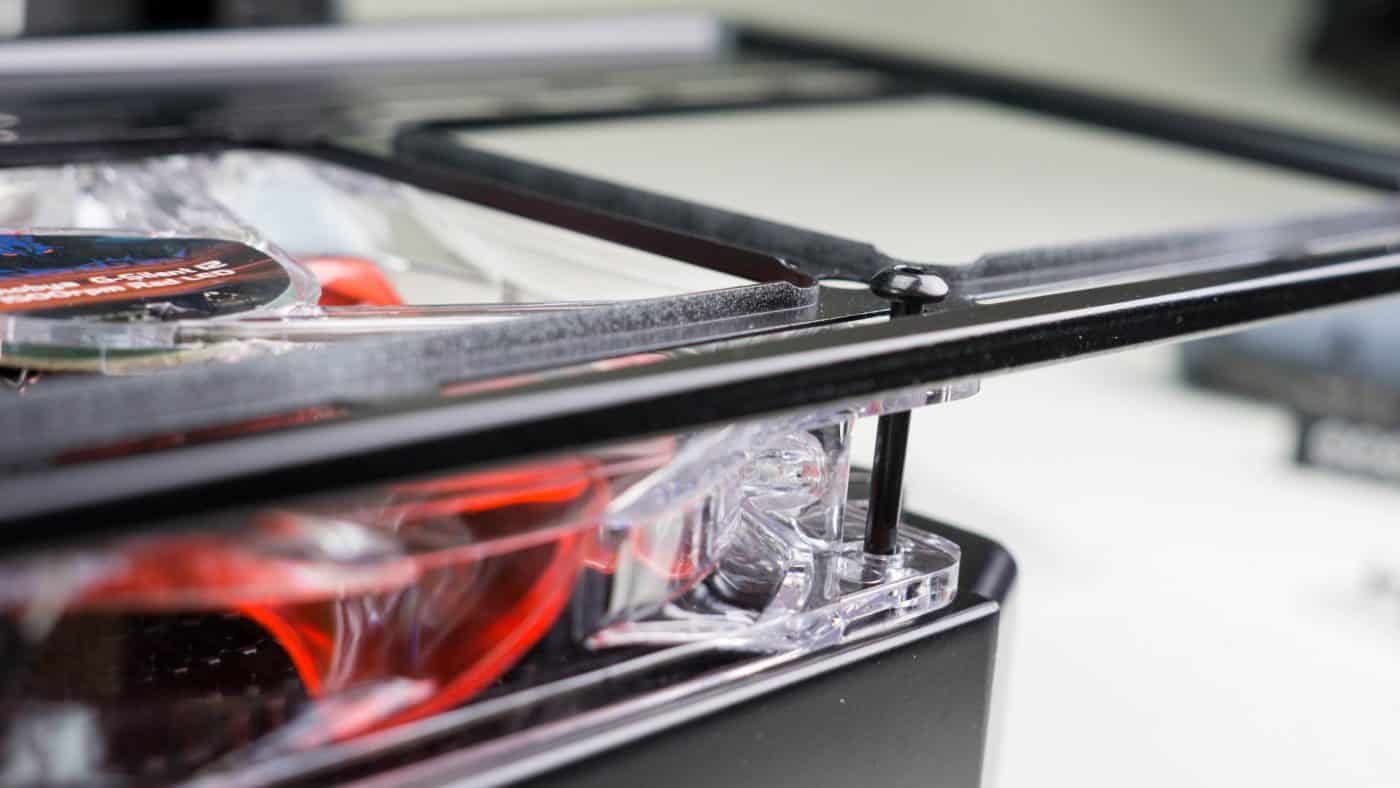
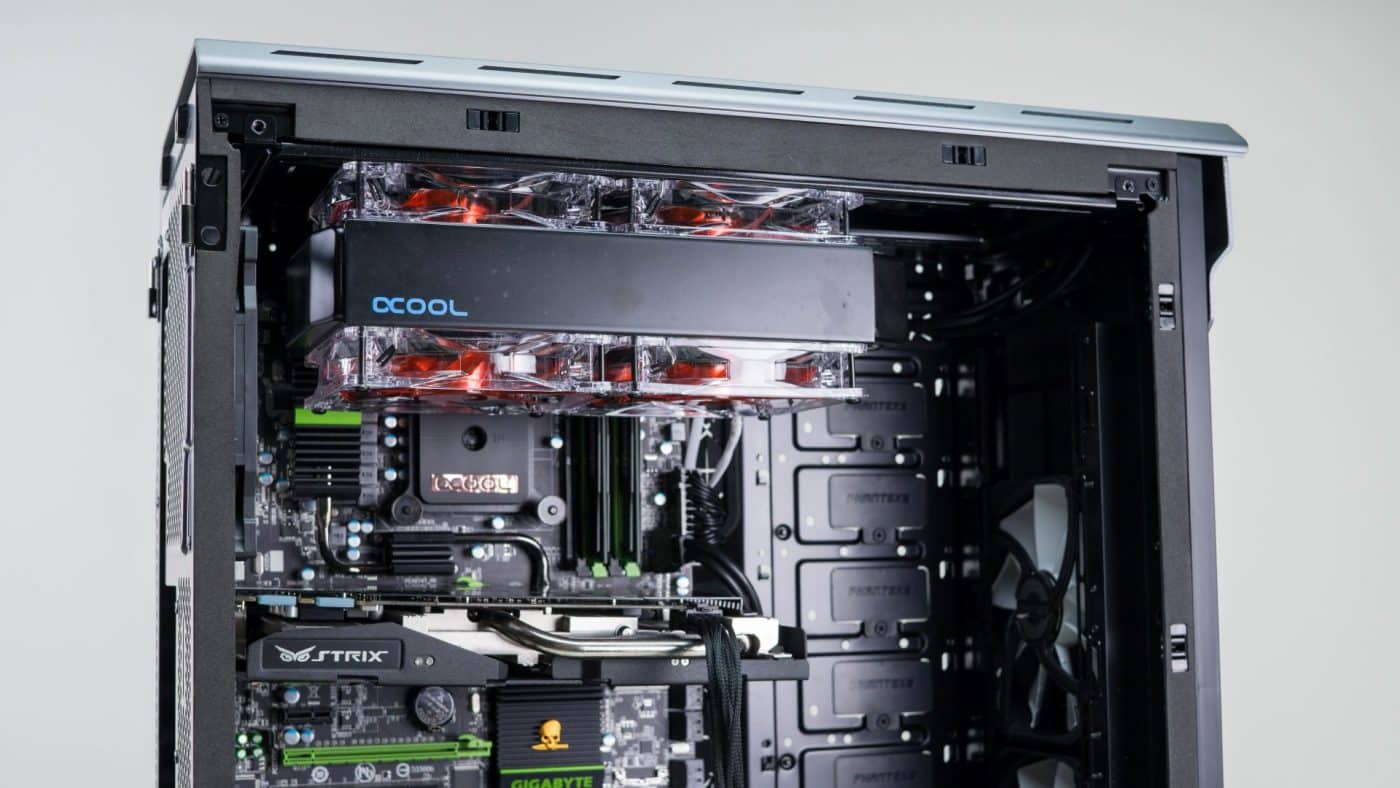
With all four fans fastened down we test fit the radiator in the top of the case. We find that although the rad assembly blocks sight of the top of the motherboard the Evolv ATX has plenty of width that will give us all the room we need behind it.