CPU Blocks
For our generic loop the heart is undeniably the CPU block. Whether you are using AMD or Intel parts most all CPU blocks with come with a mount for either. There are two things to think about when choosing a CPU block. Do you want absolute performance, a more aesthetically pleasing design, or how about a balance of both? Fortunately this matter has been very thoroughly tested and the choice is up to you. Keep in mind, if you choose to save some money on the CPU block you will be paying for it in higher temps every time you use your computer. Although a little bit older at this point, this is Stren’s CPU Water Block Roundup. It is without a doubt the most complete and comprehensive guide to CPU blocks available.
The nice part of choosing a CPU block is that while they are not all created equal, you can use any one of them without of fitment issue. For the rest of your parts you are going to have to carefully consider manufacturer dimensions in relation to both the parts and your case.
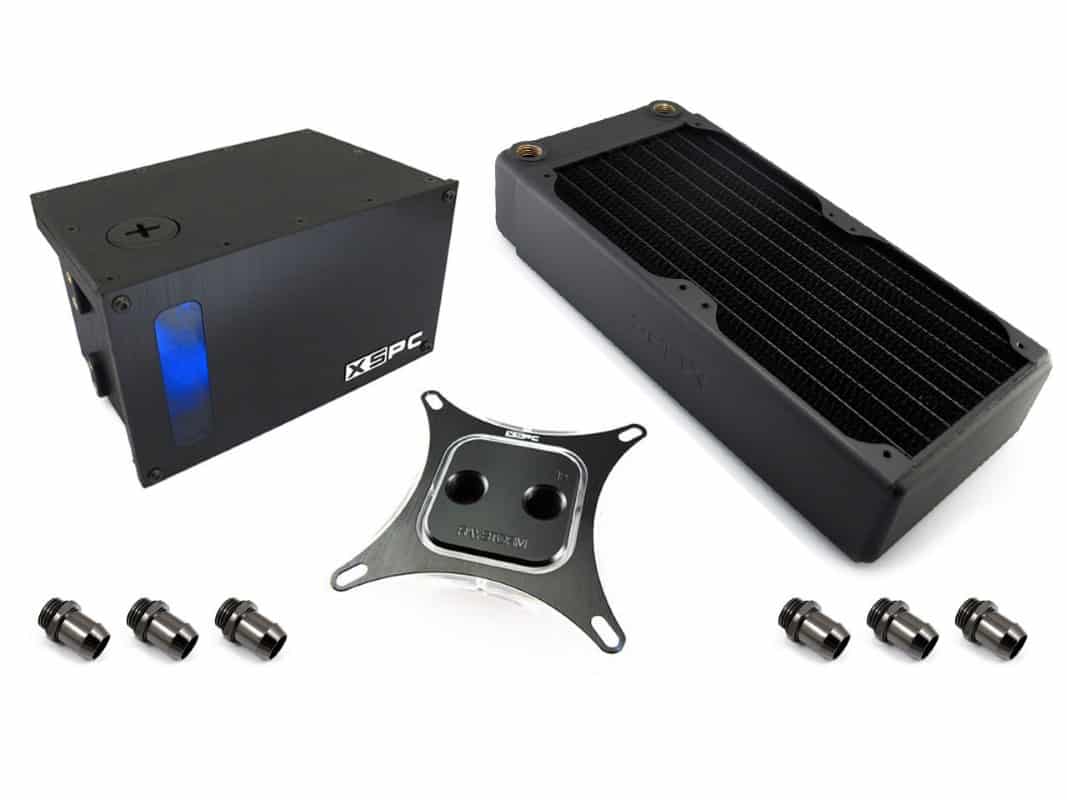
Radiators
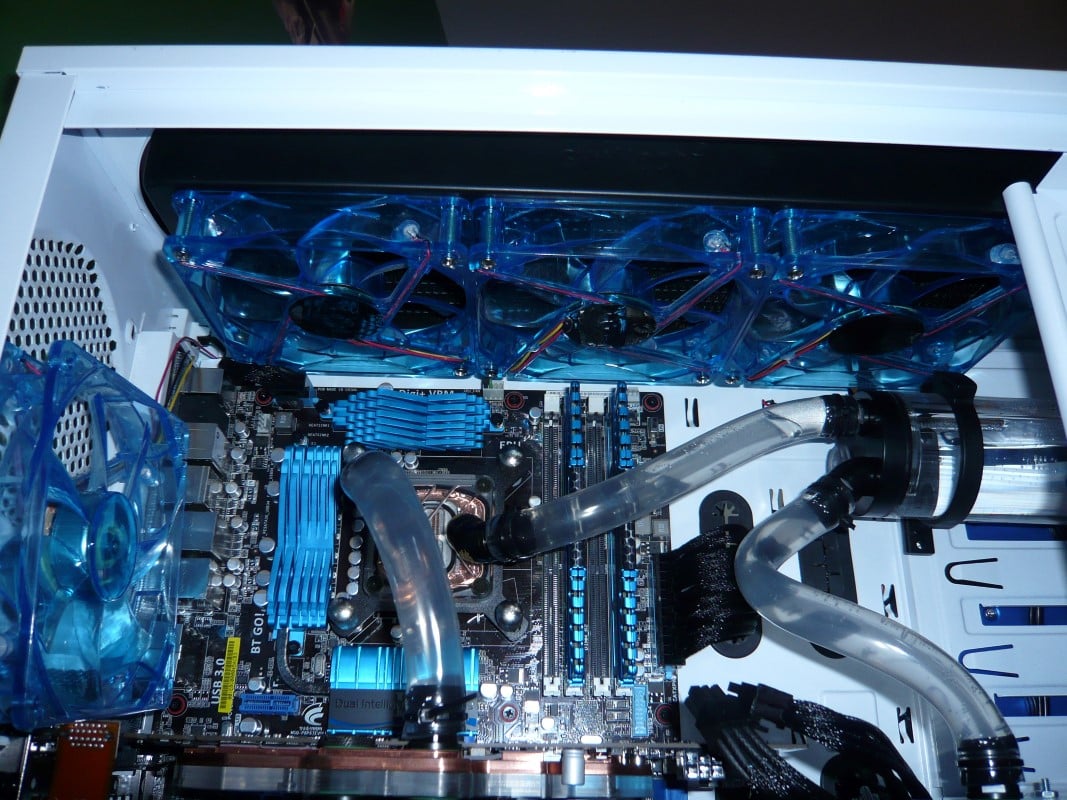
When choosing a radiator the good news is you have a whole slew of options to choose from! Both size and performance are going to be the keys to consider when choosing a radiator. Before even looking at radiators carefully measure or research how much space you actually have. Consider a couple of parameters. How much mounting space is there? This will determine the overall size of radiator you can fit. Many manufacturers actually list this on their case specs. Determine that you can fit the 240mm radiator we decided on, and that it has cutouts for proper airflow for two fans. After that you need to determine how thick of a radiator your case can handle. Remember you will need space for both the radiator and the fans. We will get into fans more specifically later, but ideally you want to run fans on both sides of the rad. Add their thickness to that of the rad for your total needed space. Since we are going to mount the rad in the top of the case also consider any space issues you will have with the motherboard. Often times motherboards and ram with large heat spreaders can get in the way here.

Finally let’s consider actual radiator performance. While they all look relatively the same there are great differences in both the design and the build of radiators that make all the difference when it comes to performance. In general there are several design factors that are generic to all rads. The first is thickness; typically thicker means more cooling potential. This is due to a larger surface area through which to dissipate heat. In general thicker rads have a lower fin per inch count as they have a taller stack of fins. This means that air will flow more freely through them and fans can be run at a slower speed for the same result. Inversely thinner radiators typically have a dense fin design to make up more surface area but need faster air flow to punch through the all the fins. So, thinner = easier more compact installation; but louder. While, thicker = more space needed for installation; but nearly silent depending on fan choice.


There are more companies selling radiators than there are options and this is where build quality affects performance. While I certainly have some go to companies that I know and trust there are some things to look for that can help you decide. The most important is what the internal structure is made of. The best radiators for the health of your loop and for performance will be all copper contact surfaces internally. Copper is one of the only metals you can fully trust not to corrode and ruin your expensive blocks and pump. Additionally copper is one of the best conductors of heat and will increase the performance of your loop. It is perfectly fine for the exterior and fins to be made of a type of steel or aluminum, but the core that makes contact with the water should always be copper.

Look around when shopping for radiators, try to find one you like with multiple G1/4 ports which will give you more installation options. A couple of my favorite brands include Swiftech and EKWB both of which I’ve found to have great build quality and performance when setup correctly. They are also on the more affordable side. My favorite hands down though is Alphacool. I have been using Alphacool’s “Full Copper” line for years and can’t think of a single complaint. They are built exceptionally well and perform amazingly. They also feature several G1/4 taps for multiple installation angles and options. And the full copper build ensures that my loop will remain healthy and I can rest easy.

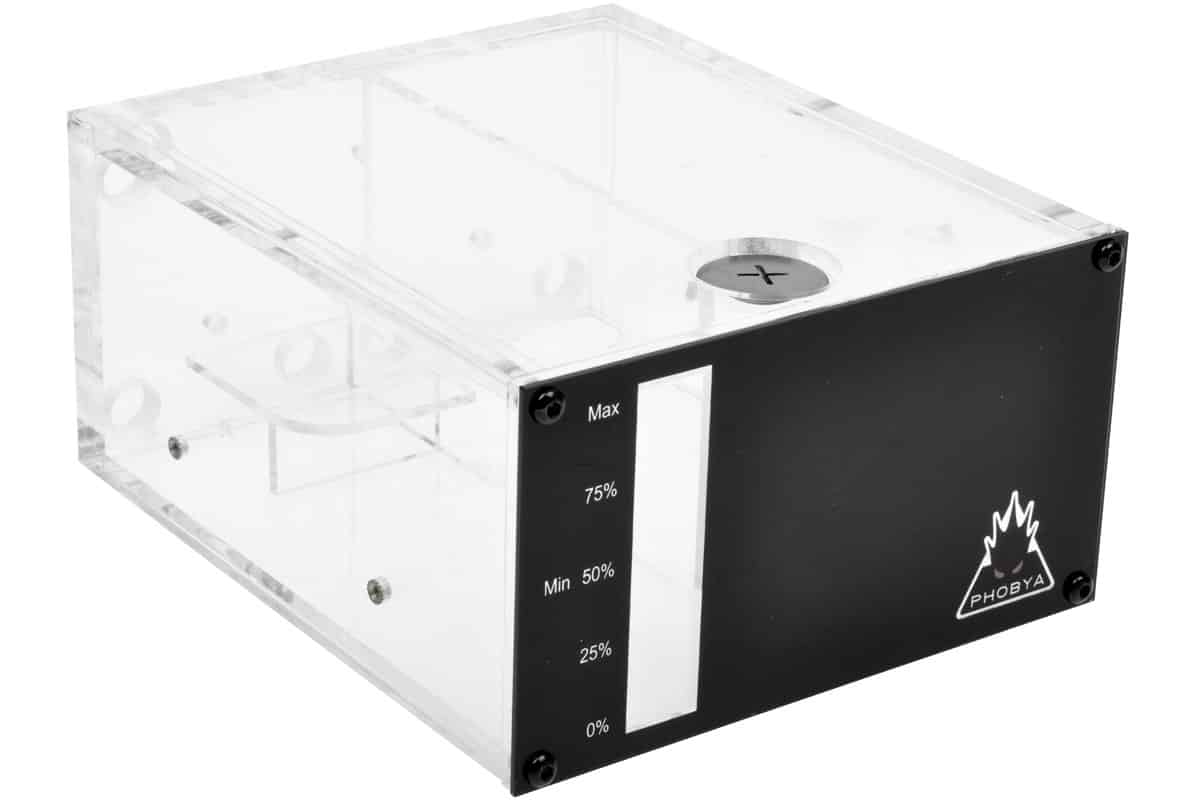
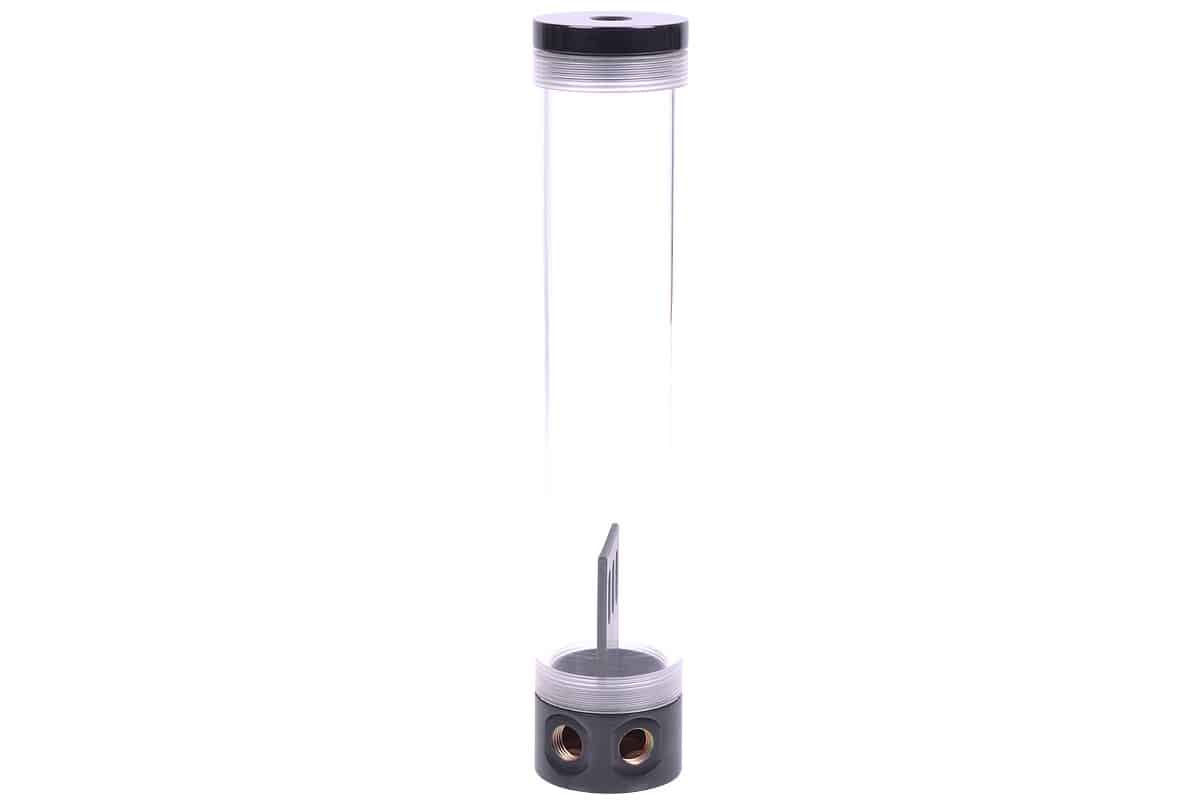
Reservoirs
As I mentioned earlier there are essentially two types of reservoirs available, tube and bay type. While yes there are definitely some more custom designs from different small scale manufacturers these are not likely to be what you are looking for for your first build due to price and availability. Currently the tube res has taken over as the most popularly used. They are simple to use, easily accessed, and if your case has window, honestly look really cool. Typically it is possible to put LED lights in them that shine from the ends and really accentuate the fluid in the loop. This is especially nice if you are using a dye or colored coolant. Tube res’ come in many different sizes and lengths. Typically length is going to be the biggest factor in what you can put in your case. Measure the area in which you will be placing the res and then add three inches to the length of the res to account for fittings and tubing. My personal favorites would be tubes from Bitspower or Phobya. Both make really solid pieces with accurate machining.
Bay reservoirs are also really easy to install maybe more so than the tube type but do not offer as much of a view of your fluid. While many of them do have large windows, the way we set up our desks often draws attention away from this. The other caveat to bay reservoirs is that the tubing connects to the back of them and typically they fill on the top. This means that you might have to pull the res forward to fill the loop which requires some extra slack in the tubing. This won’t affect performance but as was mentioned, less is more when it comes to tubing. There are both single and dual bay res’ with the dual version being the more popular. As with tube types they come as simple and as tricked out as you want to pay for.