Our Water Cooling 101 series is brought to you by our great friends at Aquatuning! Check them out for all of your water cooling needs!

Welcome to Water Cooling 101 Episode 2! If you missed Episode 1 be sure to check it out! If you’re here we are going assume that you have more than just a passing interest in water cooling and are looking to get wet yourself. During this two stage article we will cover a couple of the most important aspects of water cooling. The first part will cover designing your loop. While we understand you must be excited to get going on building, you must first take your time and carefully decide how you want your loop to connect and flow. After we’ve decided on our loop design we will go over some of the most popular parts and components for bringing your dream system to life. Let’s get started!
Loop Design
Before you can add the first fitting to your cart you must first figure out what parts of your system you want under water and exactly how it will connect together. Whether you are starting from scratch and don’t even have your case and components or you are upgrading the cooling on your current rig, the process is the same. Deciding which parts are going to need waterblocks is the first step. In today’s world with our amazing CNC machines and very talented and committed companies, the sky’s the limit for what you can water cool. First let’s lay out a few basic types of loops that make up the skeletons of all other loops.
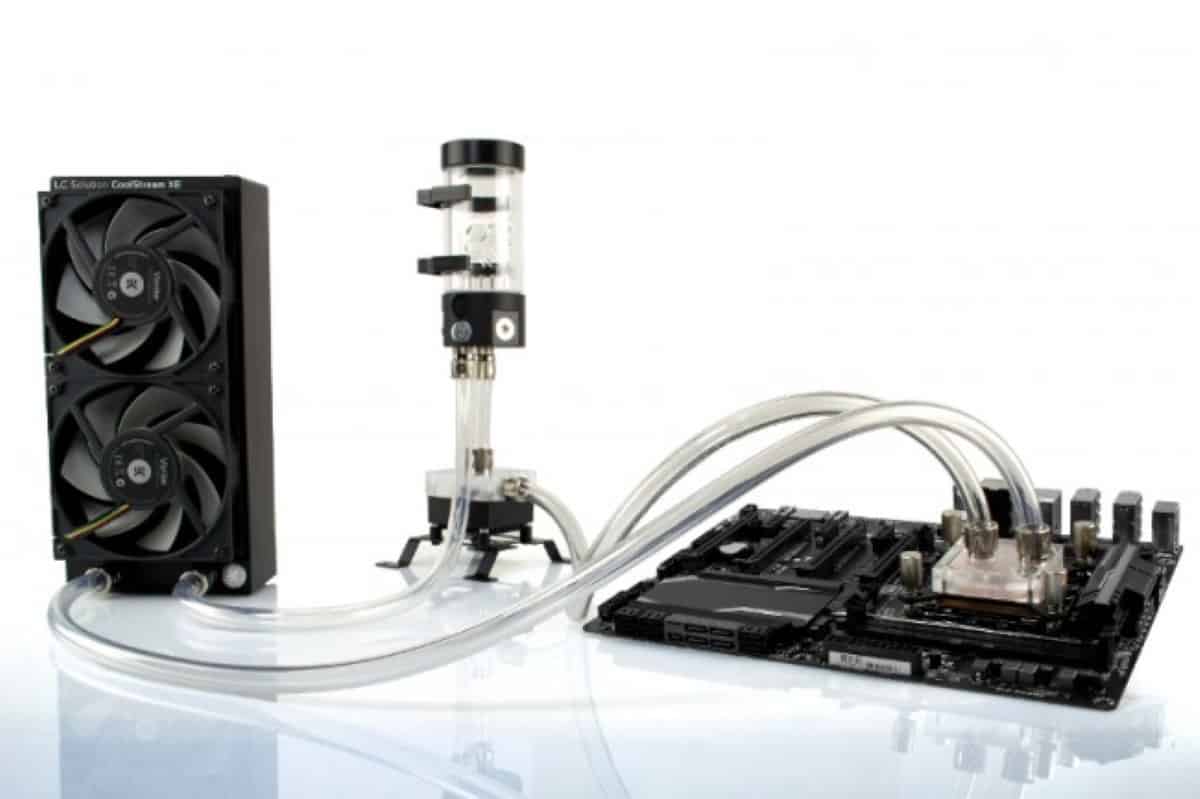
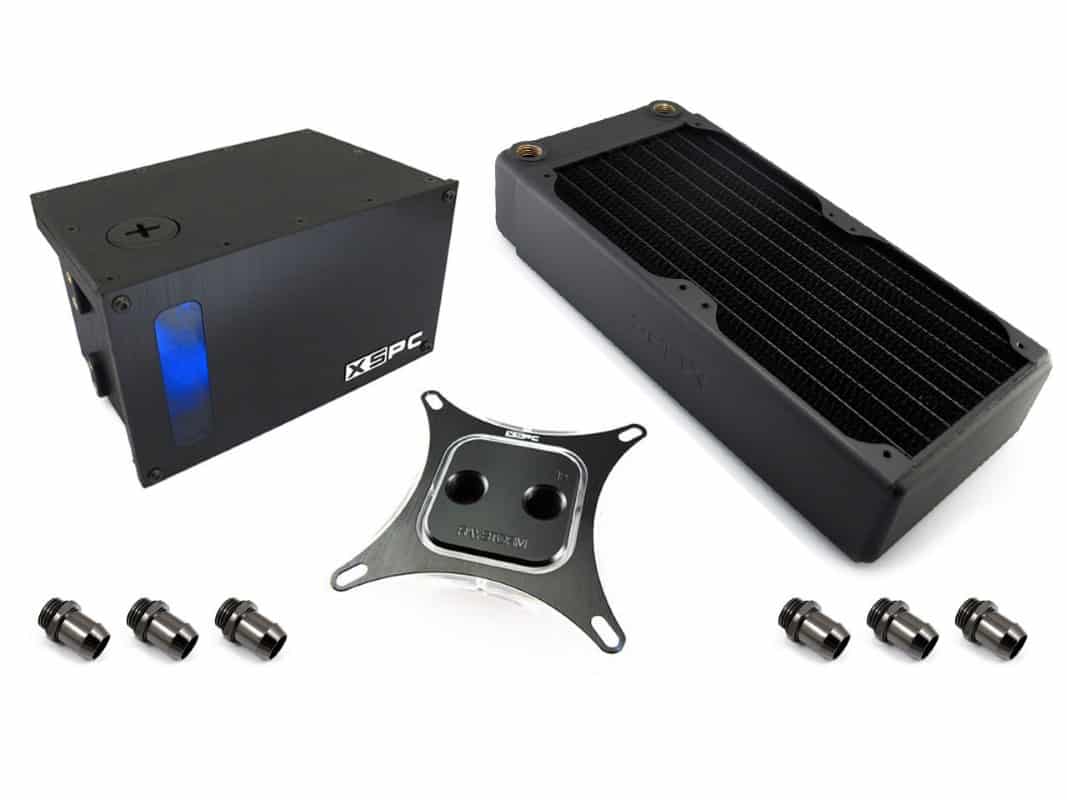
The most basic loop you can do is is a single loop with just a CPU block. This will still consist of the same basic parts that are required for all loops which are: Pump, Radiator, Reservoir, and CPU block. This is the typical place to start when water cooling for the first time for a couple of reasons. The first is that by keeping it simple you limit the amount of places where things can go wrong. Additionally it is cheaper than a more complex loop and certainly it’s faster and easier to put together. Being so simple most of the major water cooling parts companies actually offer kits in this basic layout.
After that most people would add in a GPU block to the same single loop. At the same time depending on how large of a radiator they started with they may upgrade to a larger radiator.

With both the CPU and GPU included the next step up is to add an additional radiator to increase the loops cooling capacity.
Those three loop layouts are what I would call the basic three. They are the logical steps of progression for increasing your cooling capacity while staying with a single loop. Beyond these three you will see motherboard and ram blocks added as well as systems utilizing two separate loops.
Moving back to our basic CPU block only layout we have decided on what components we will use and now we can design the loop itself. There are many options you can utilize to start sketching out your loop. I’m pretty old school so I have tons of sketches hand drawn laying around for different loop designs. But you can also use any of the many computer design applications from as basic as MS paint to SketchUp to Autodesk, whatever your preference you will need something to bring your ideas to life and test them.


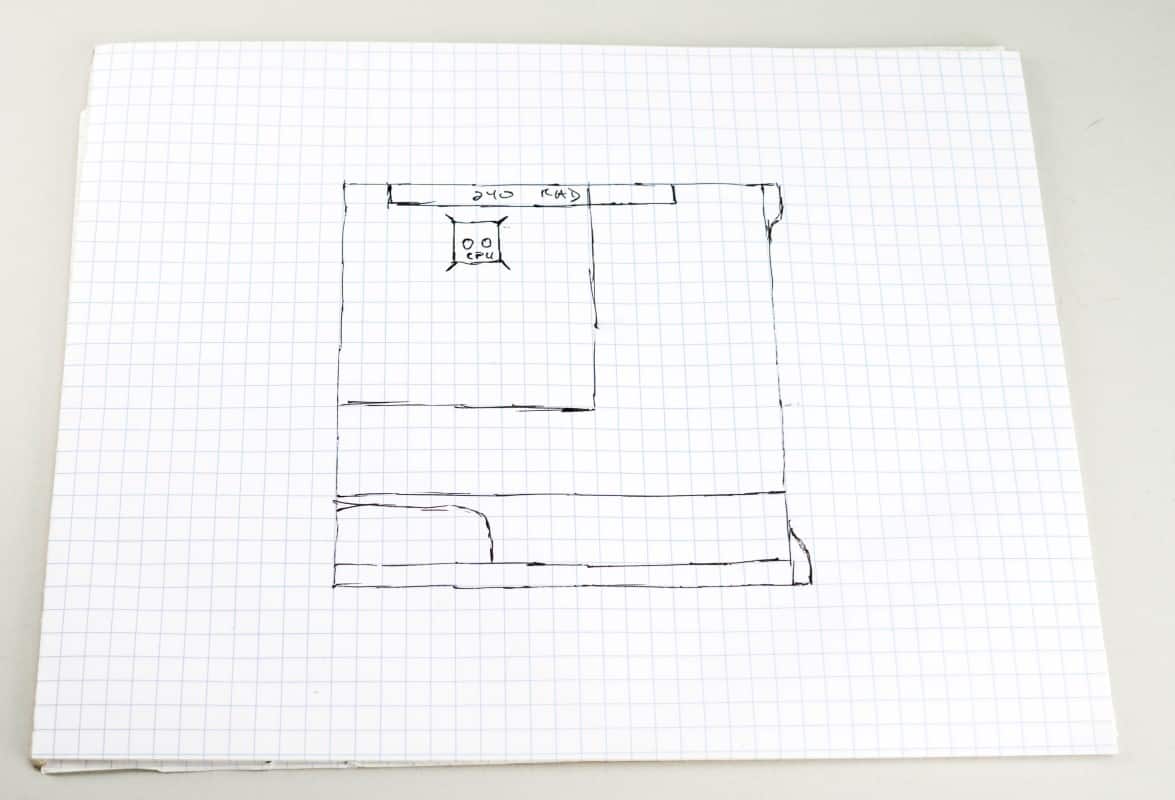
Start by drawing the the basic layout of your case. If you have it on hand it will be easier to visualize lengths and depths but can be done without by carefully checking dimensions. With the case sketched out add in your CPU block at the location of the CPU.
Now you need to decide how much radiator cooling you want to start with. This is going to be very dependent on how much space your case offers up. If you are using something water cooling friendly you should have no problem with 360mm and 480mm rads. Even most standard mid towers today are designed to easily handle up to 360mm rads. For our rig let’s begin with something smaller. Typically a CPU is paired with a decent 240mm rad. While you can get away with even a 120mm, as we see with many AiOs, you are investing a good chunk of change in this loop and don’t want the minimum performance. Going with the 240mm is going to get you good performance without taking up too much real estate. Decide where you want to mount your rad. Top, front, or bottom. Keep in mind that you will still need a place to mount the pump and reservoir. I would suggest placing it in the top of the case to keep it out of the way. Draw it into your sketchup.
Next decide which style of reservoir you would like to use. Aside from design there are two basic types, tube and bay. Bay reservoirs will always mount in the 5.25” bays in the top of your case. If you want to use one of these make sure you still have these bays, as some cases are not including them anymore. The tube type is a basic cylinder that mounts upright like a barber’s pole and can be mounted almost anywhere within your case. Whichever you choose you must keep the most important rule of water cooling in mind: The reservoir must always feed directly into the pump. Obvious fact, a water pump is designed to pump water not air. If the reservoir does not feed the pump directly there is a risk that the pump will ingest air which will cause the pump to cavitate. In this condition the water stops moving = overheated system. With that in mind my suggestion is to place the pump in the bottom front of the case or opposite the PSU (depending on case design) and the reservoir above. Adding the pump and res to the drawing you should have something like this:

Now with the number one rule in mind add in the tubing from the res to the pump with the flow traveling in that direction. From the pump make the next shortest connection. It doesn’t matter at all for cooling performance which part of the loop is connected to the next. We are simply going for aesthetic appeal and shorter runs of tubing are always better looking. Continue drawing in the tubing until the loop connects and you are satisfied with the layout.

Awesome! You’ve now sketched out your first loop and you know what your needs are. We’ve gone over some of the parts in pretty general terms but now let’s take some time to get familiar with some of the most popular parts available.