

Installing the Blocks
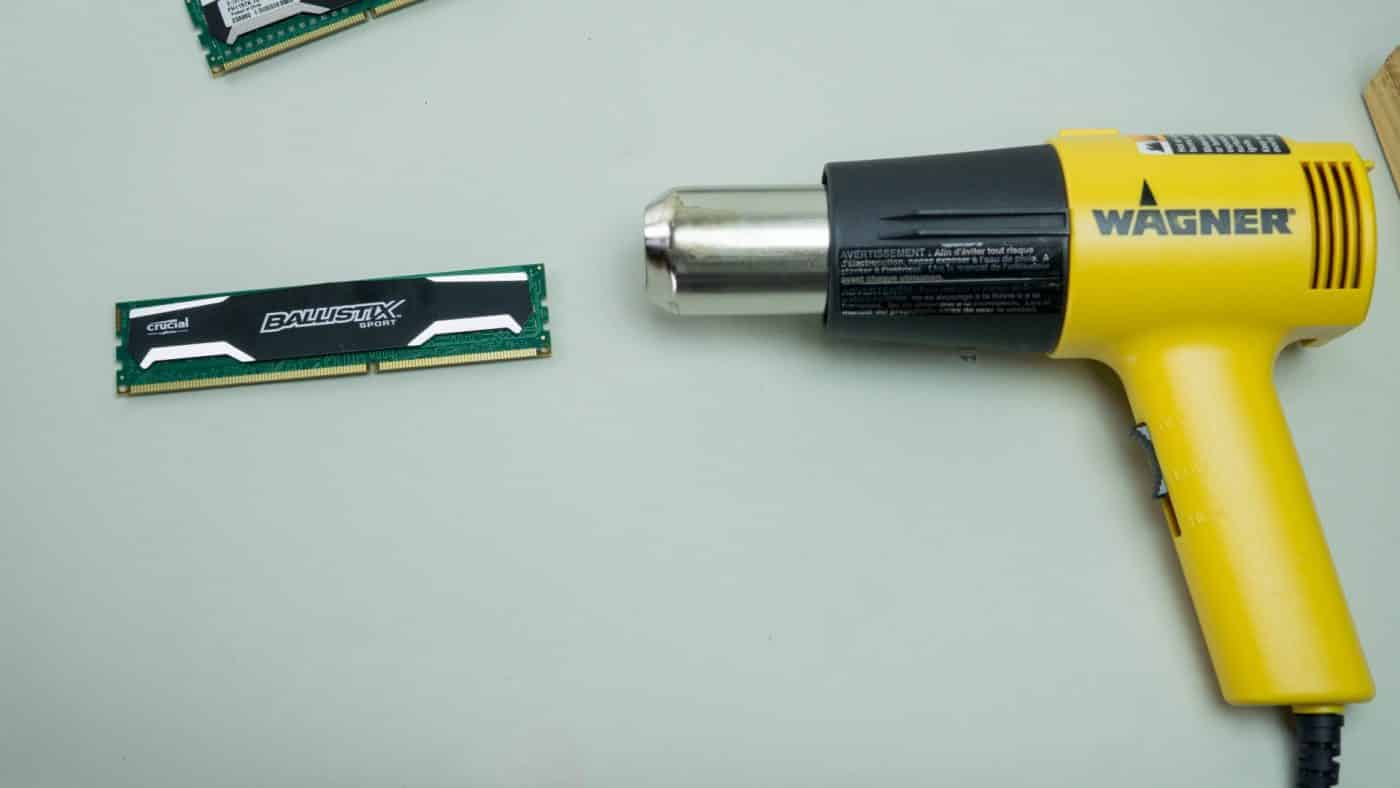
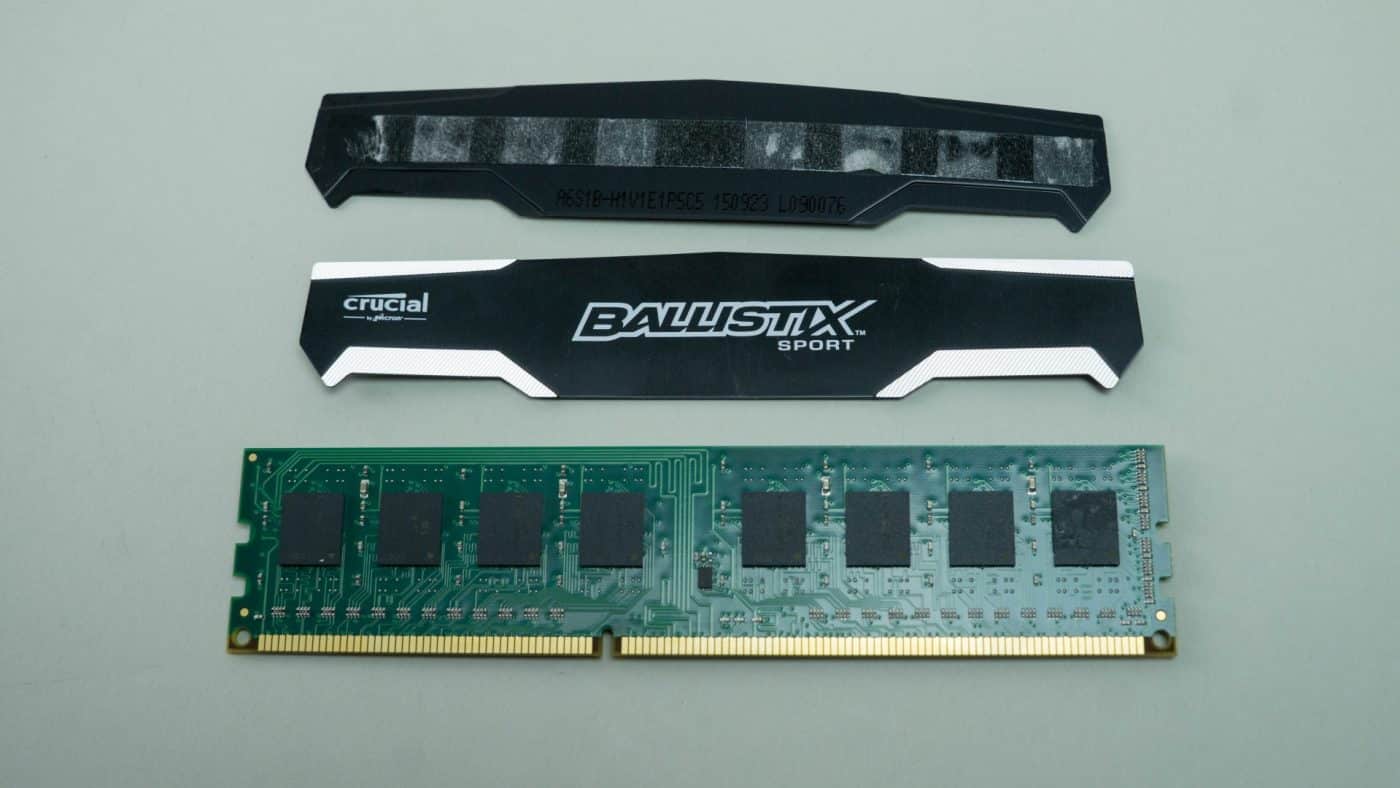
Before you can install the memory in the water blocks, you must first remove the stock heat spreaders so you have direct contact with the memory chips. There are a couple of different methods or techniques to removing these spreaders you might prefer one or the other; or one might work better than another depending on the design of the heat spreaders. Basically you are just prying the spreader from the memory chips. The spreader is held in place by a glue and you need to break this bond to get them free. Our preferred method involves a heat gun. If you don’t have one of these a blow dryer will work as well.
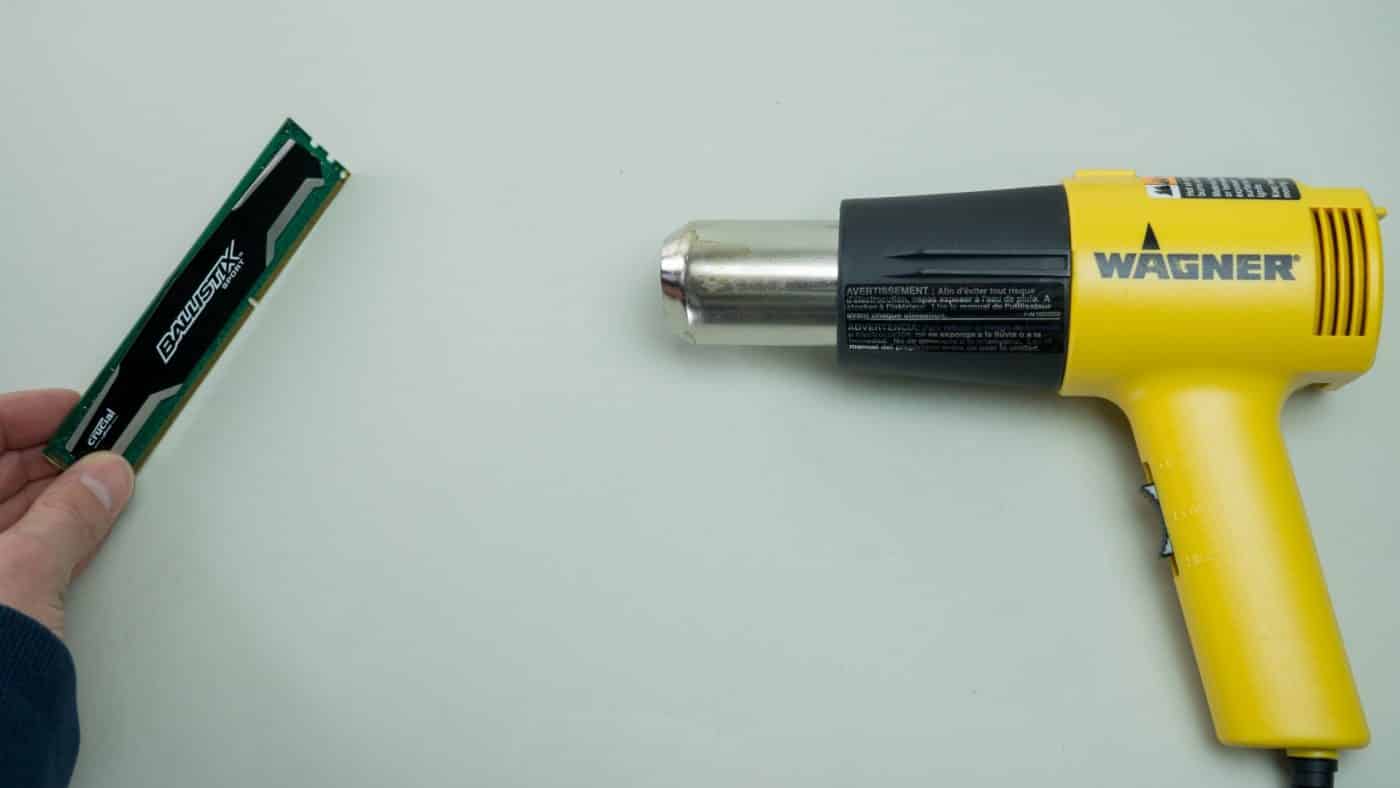
With the heat gun set to it’s lowest setting, heat one side of the DIMM at a time to encourage the glue to become more viscous. The key here is to heat the module enough that the spreader can be removed but not to overheat it as this can and will cause irreparable damage to your memory. Once the module is seems warm enough begin by prying at the spreader on one end. Essentially breaking the spreader free of the first memory chip is the key as it will come right off all the others. If you find that you are struggling to get the spreader free using your fingers, you can very carefully use a razor blade to break the bond between the glue and that first chip.
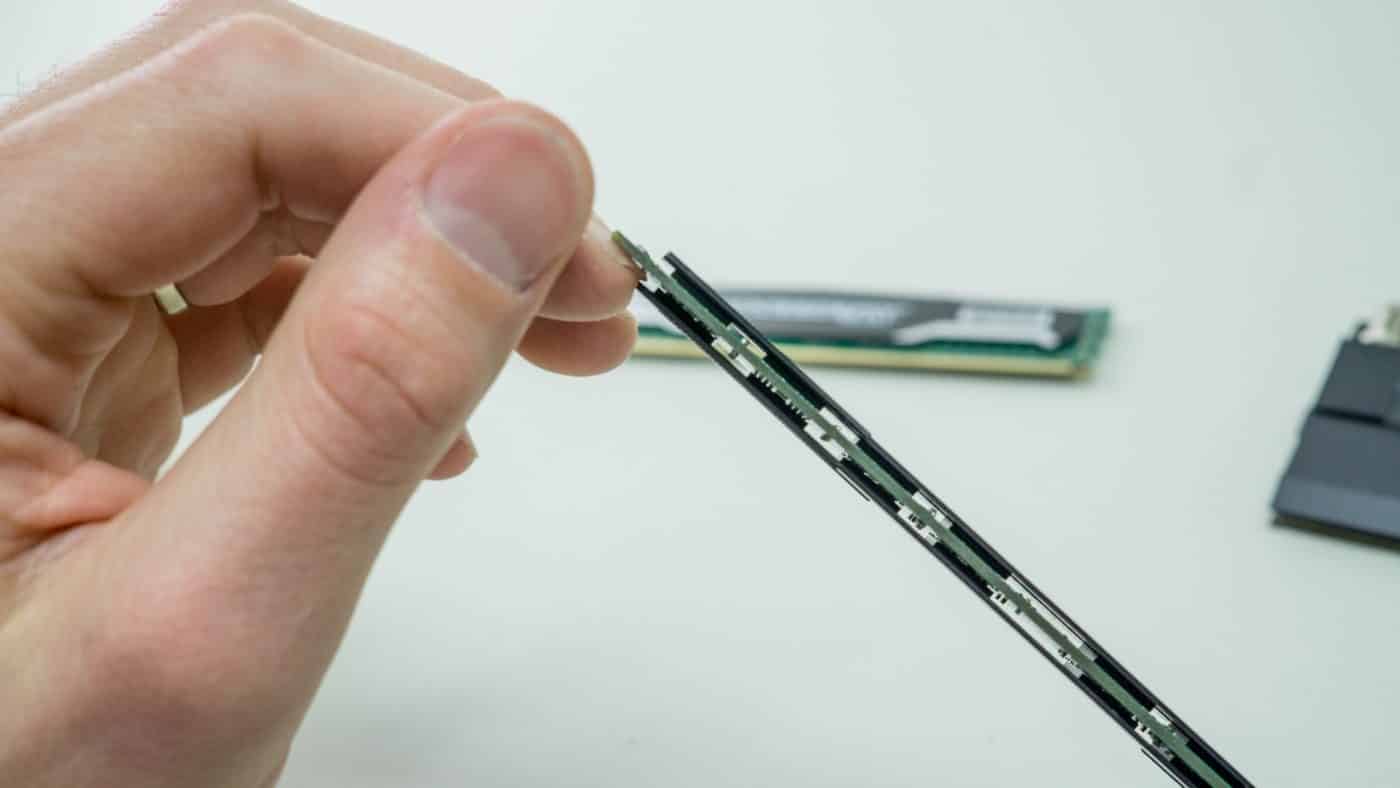
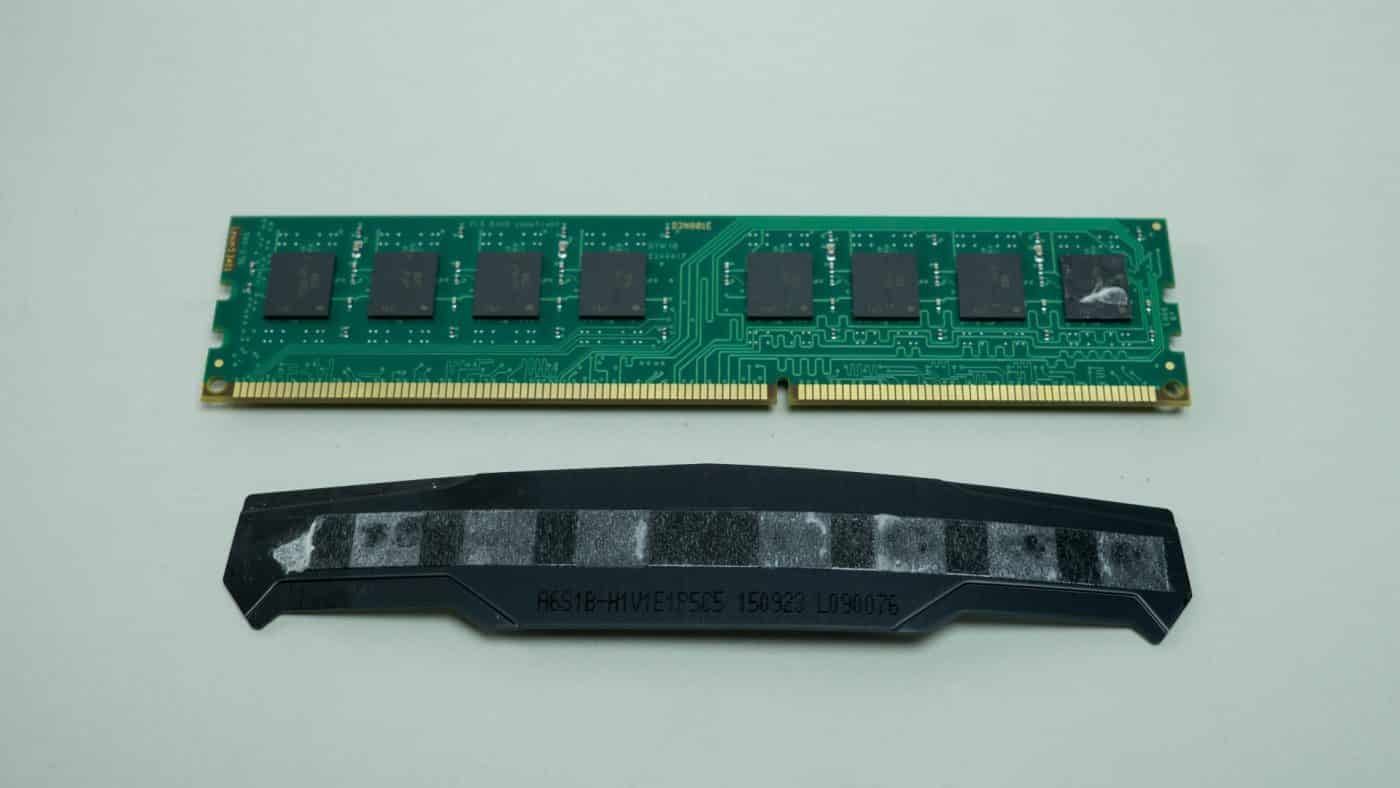
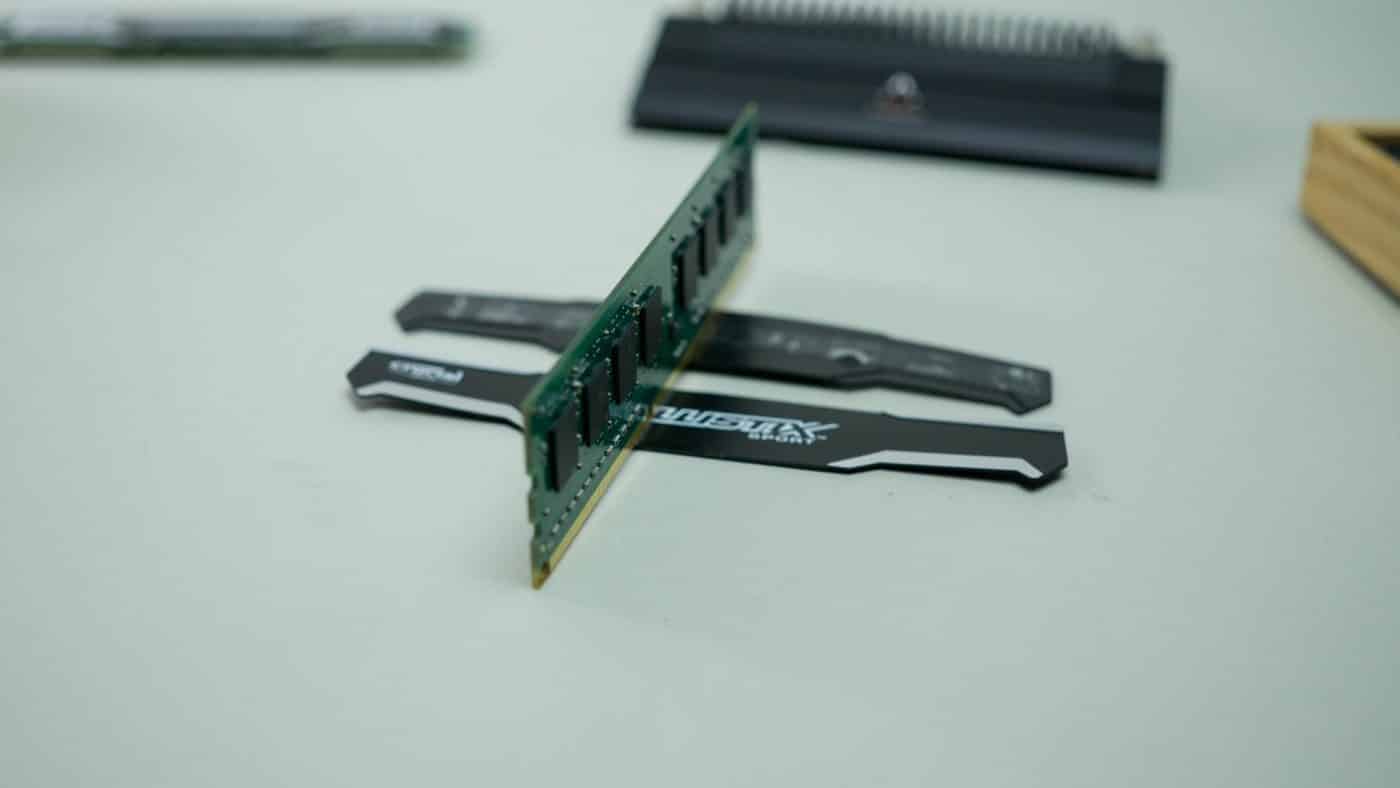
After that it is simply a matter of repeating for all the other sides, which in our case was four, two on each DIMM.

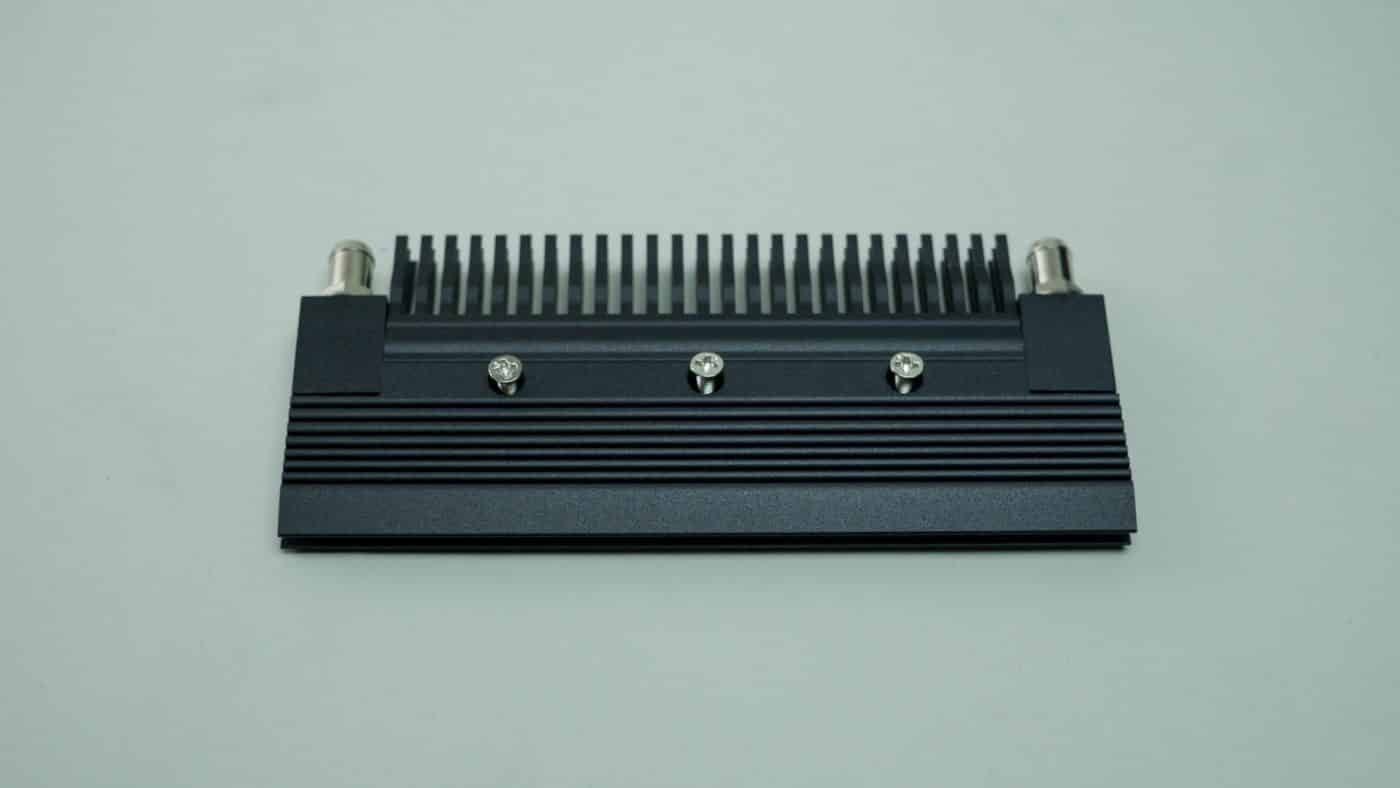
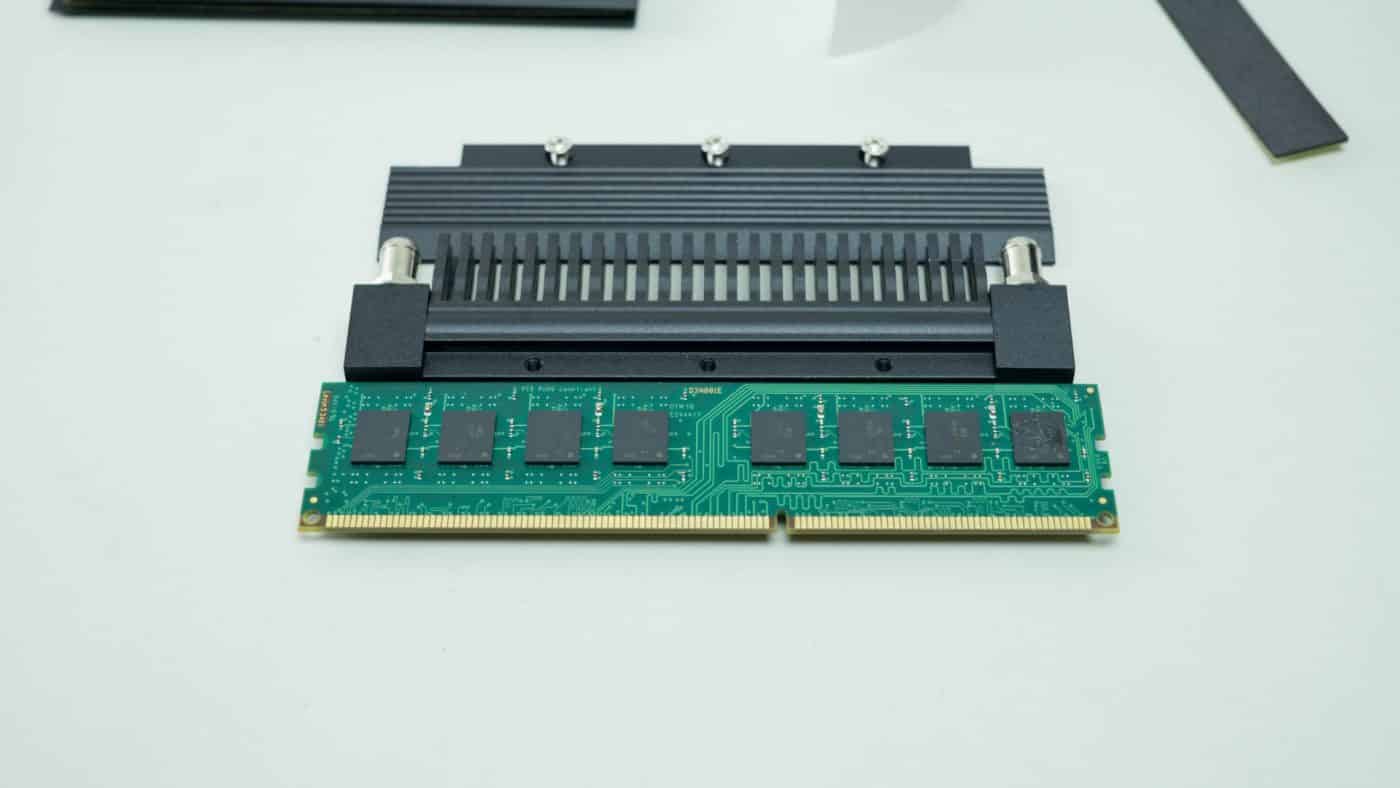
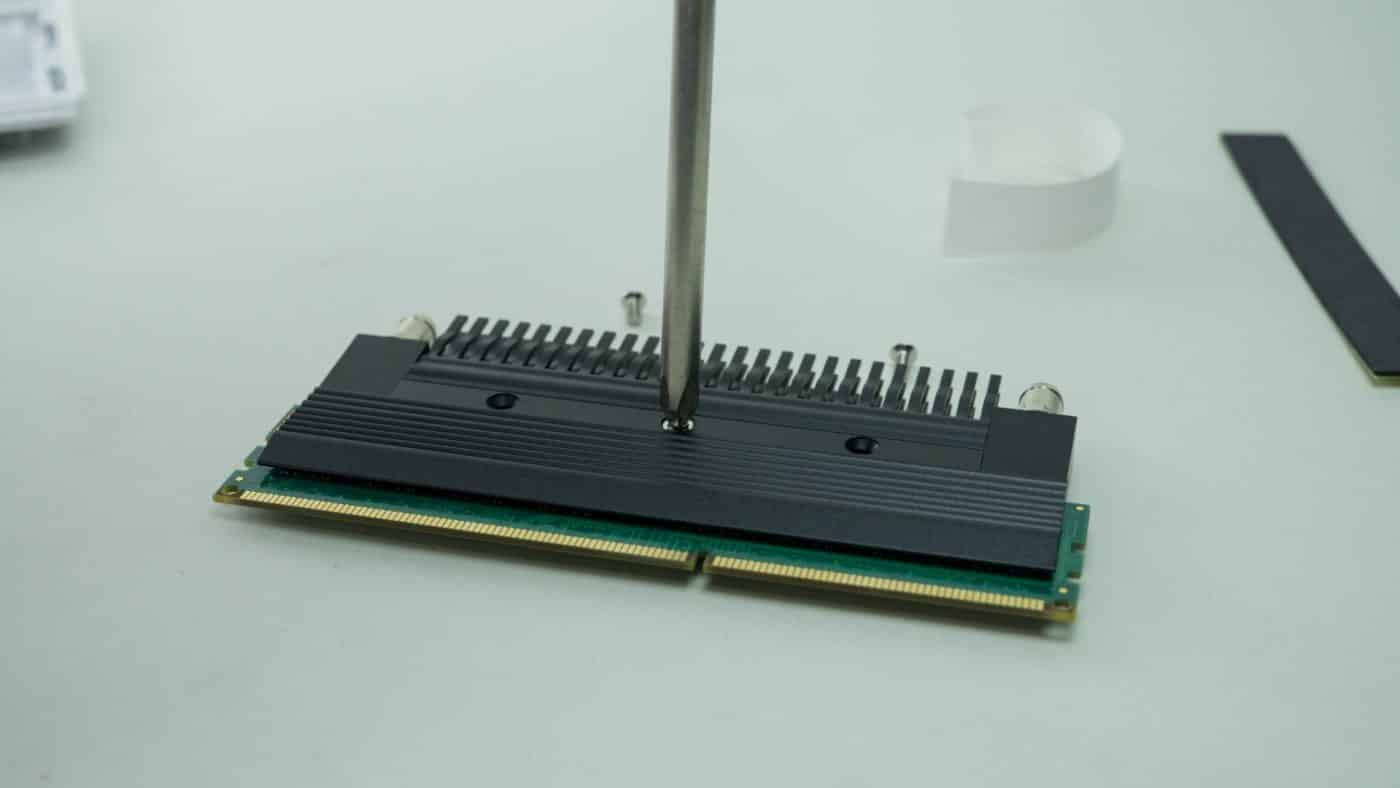
Now that we’ve done the hard part we can go ahead and install the memory sticks into the blocks. There are several different variations on water cooling blocks for memory. The most popular type consists of two pieces, one has the G1/4 ports and water channels, the other attaches to the memory and interfaces with the former. You can find this type of block from manufacturers like EK and XSPC. Of course we are using some Phobya blocks, these mount individually on each DIMM and have their own unshared ports and water channels. The nice thing is that in all the blocks, the memory mounts basically the same. Begin by unscrewing the mounting plate on the side of the block.

With the one side removed you will find a thermal pad attached to both the block and the side panel we removed. There is also a strip to be used as a spacer in the event you are using memory with chips only on one side. This can be discarded.
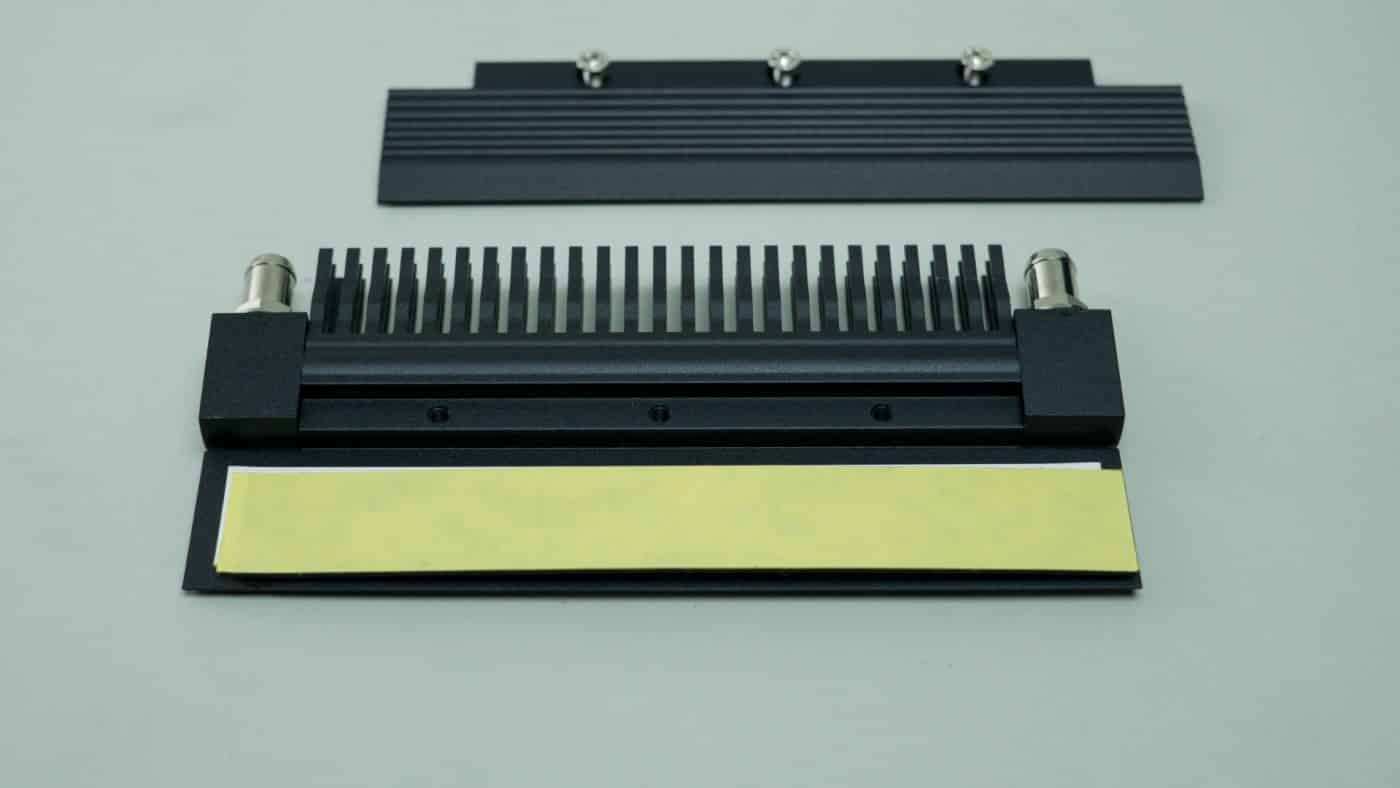
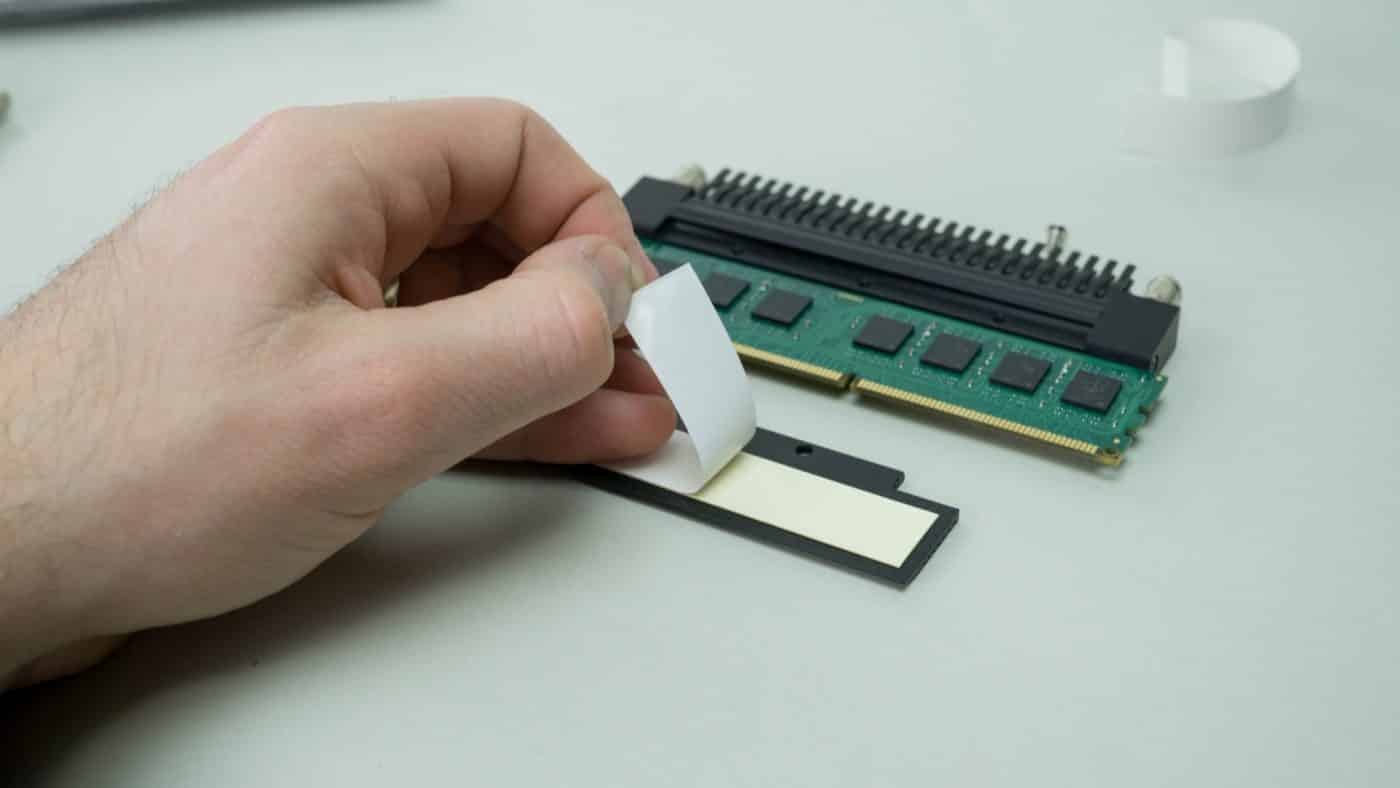
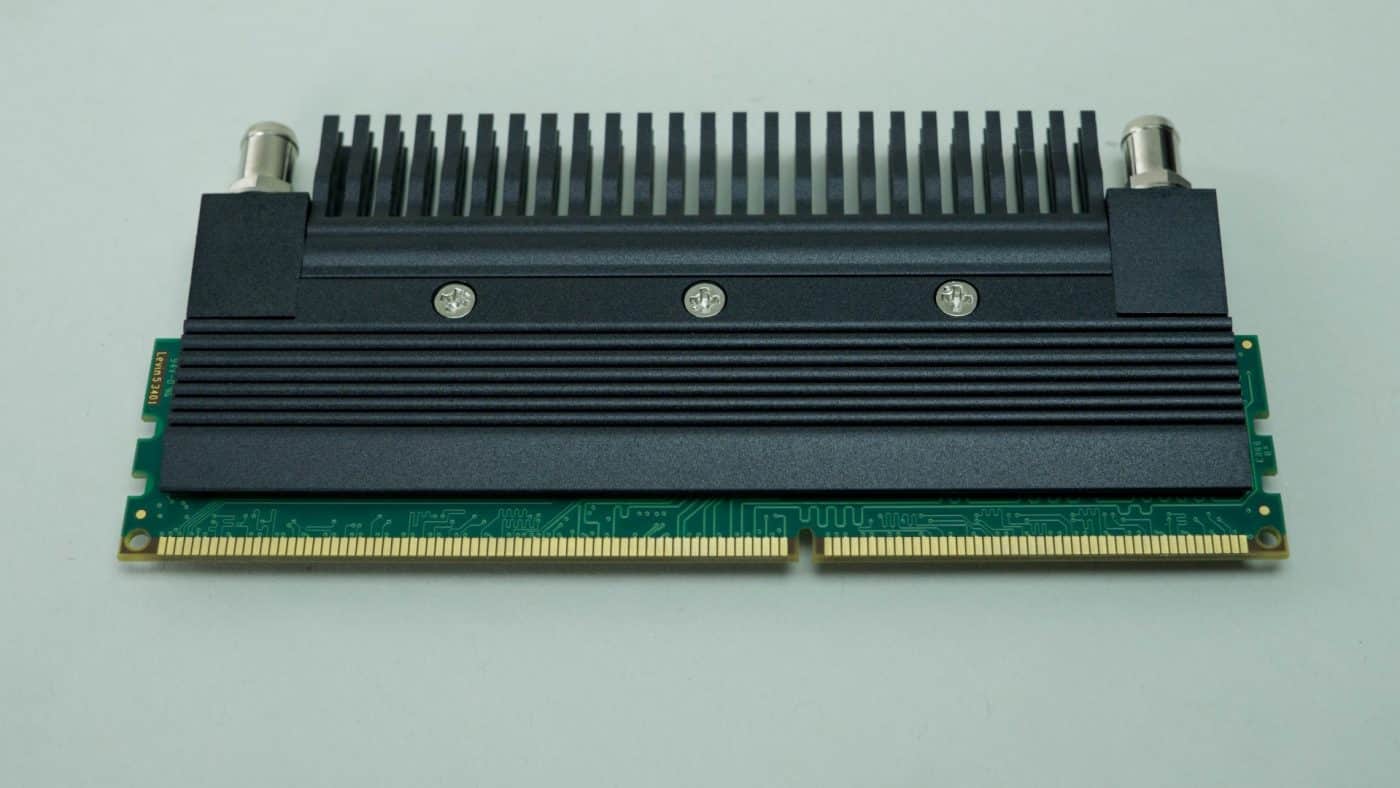
The thermal pads themselves have protective strips that need to be removed before use. With the strips removed place one of your DIMMs evenly on the thermal pad making sure to get contact with all of the memory chips.
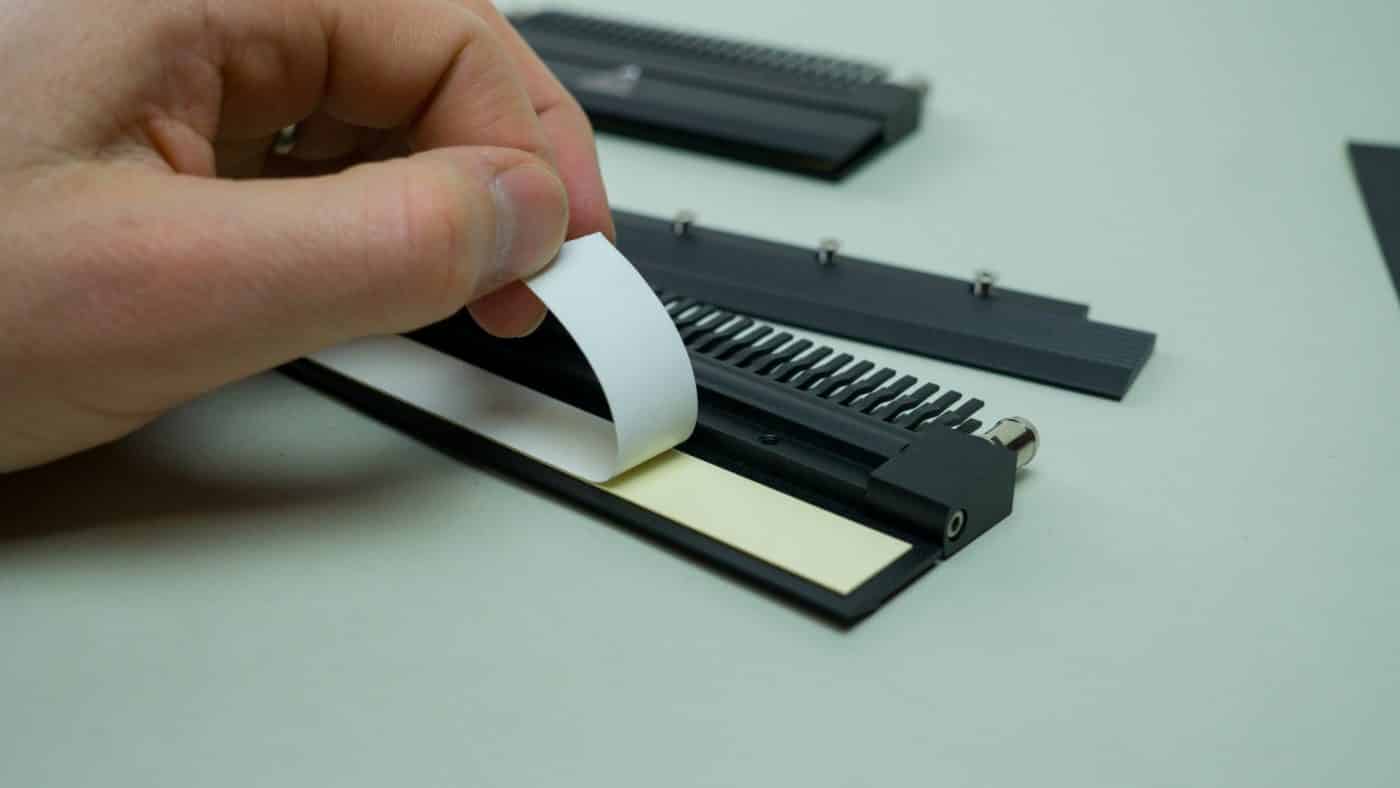
Place the side panel we removed back on the block being careful not to disturb the placement of the memory stick. Secure the panel with all three screws and you are all set with the first DIMM. Repeat these steps for the second memory stick and you are good to go.
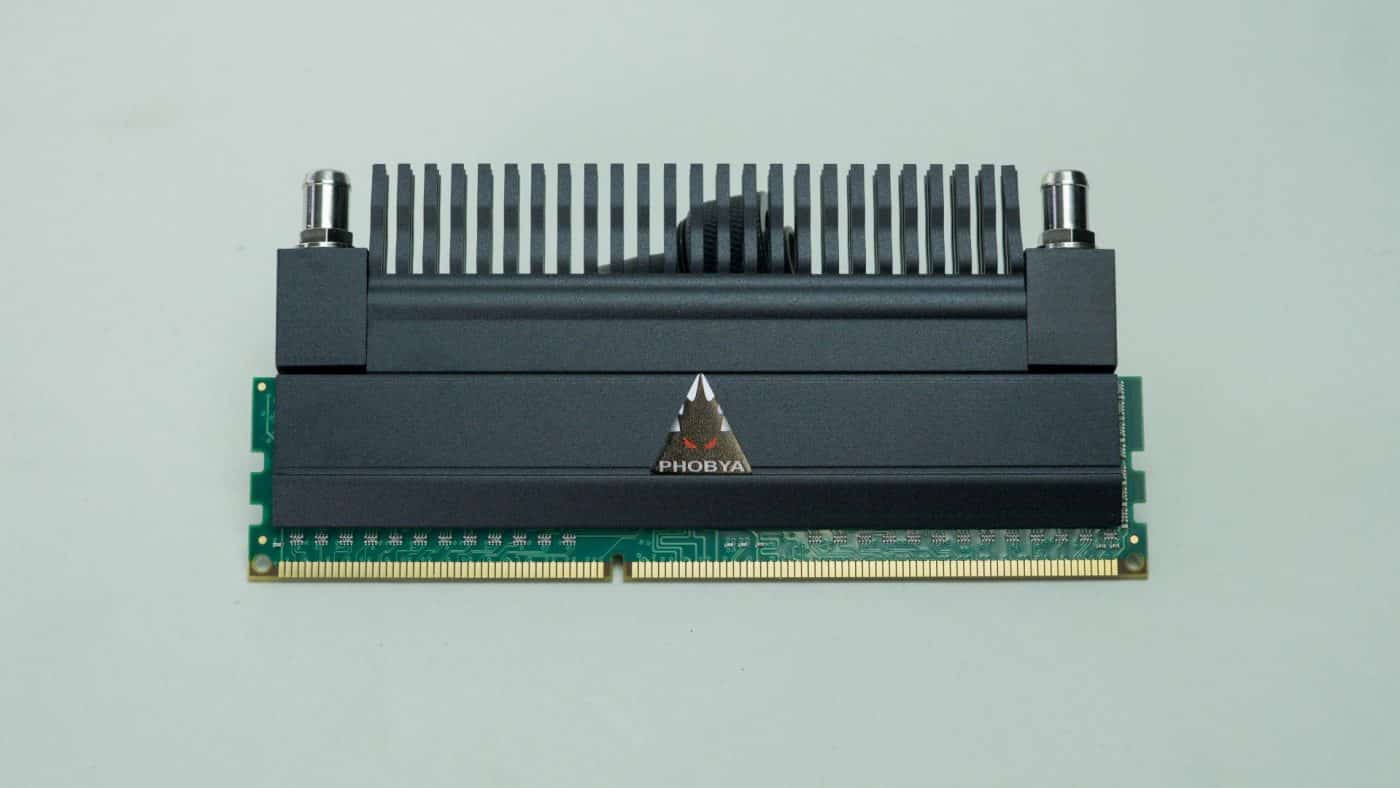
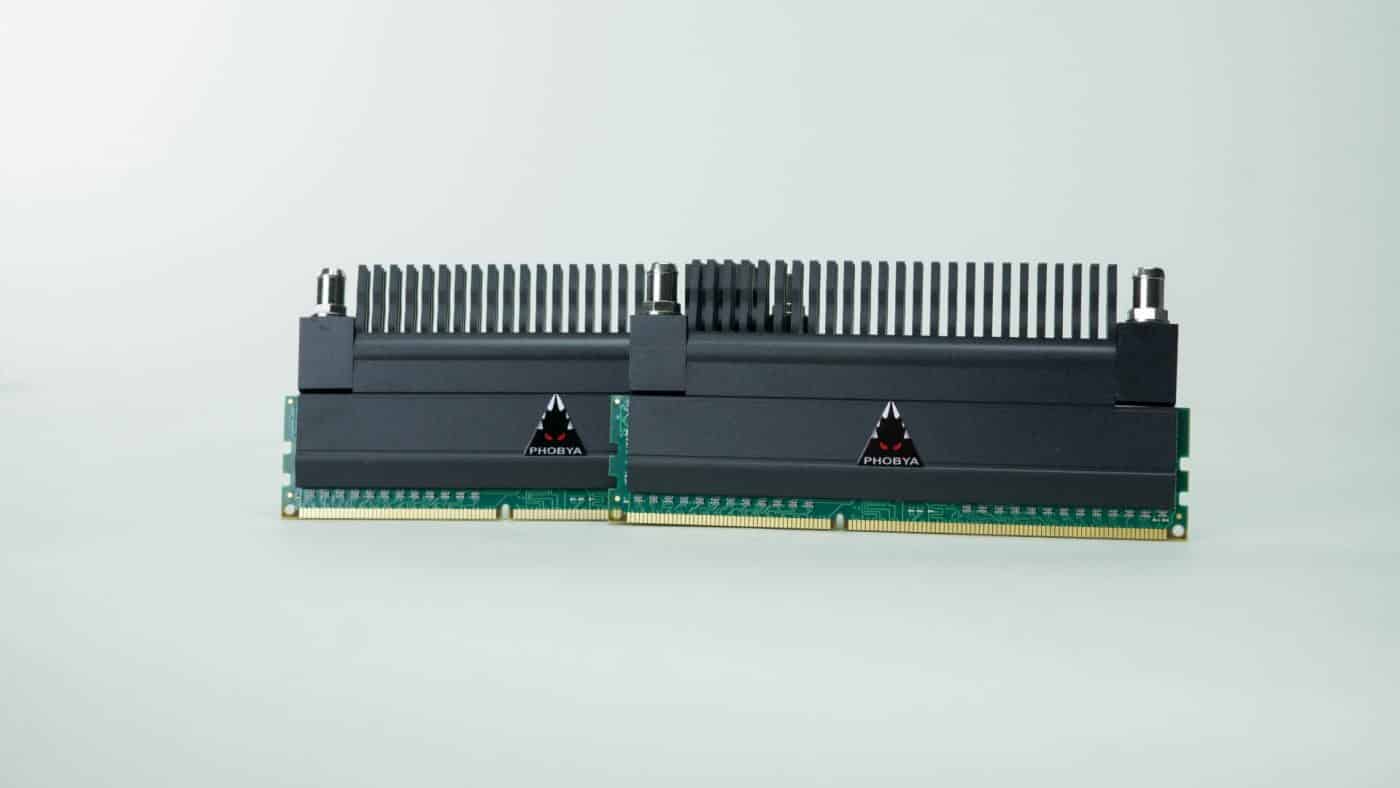
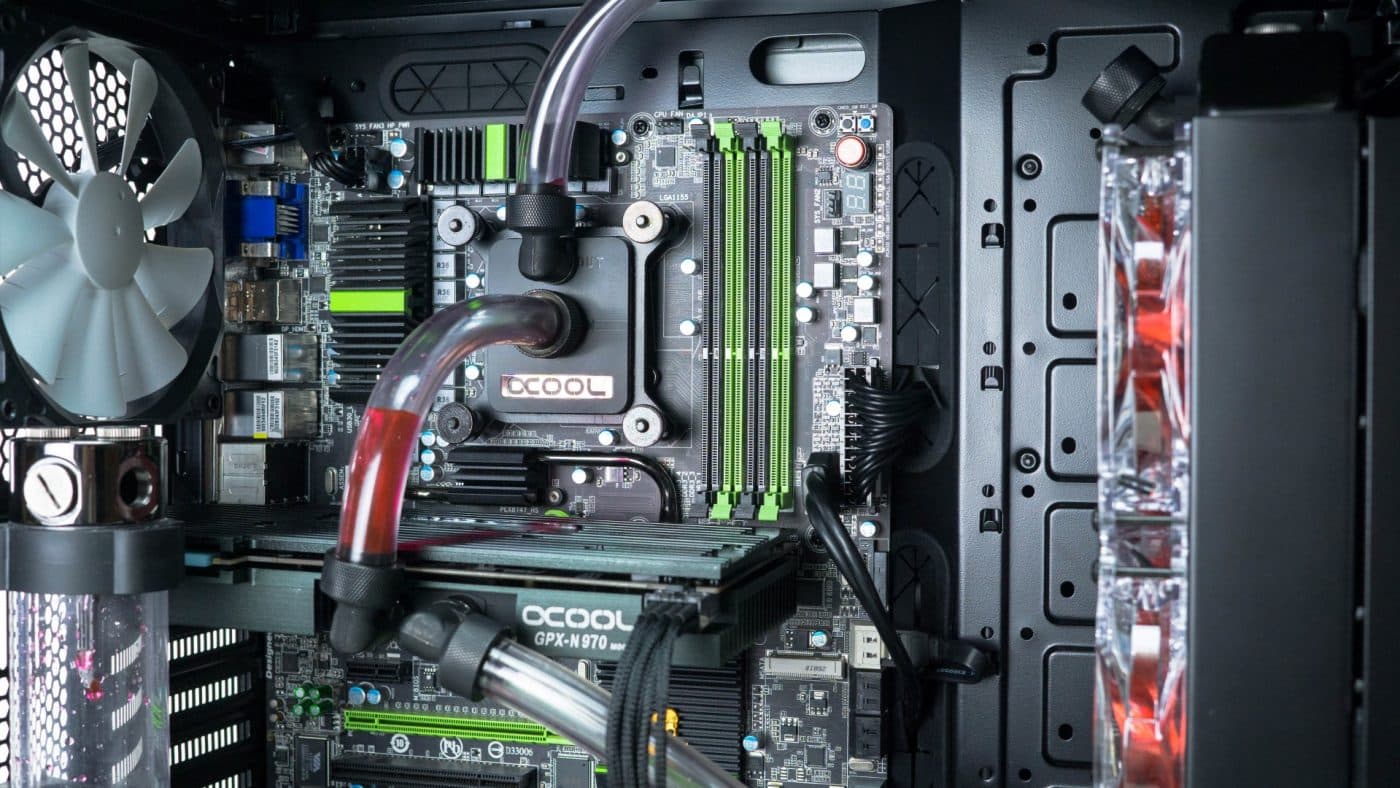
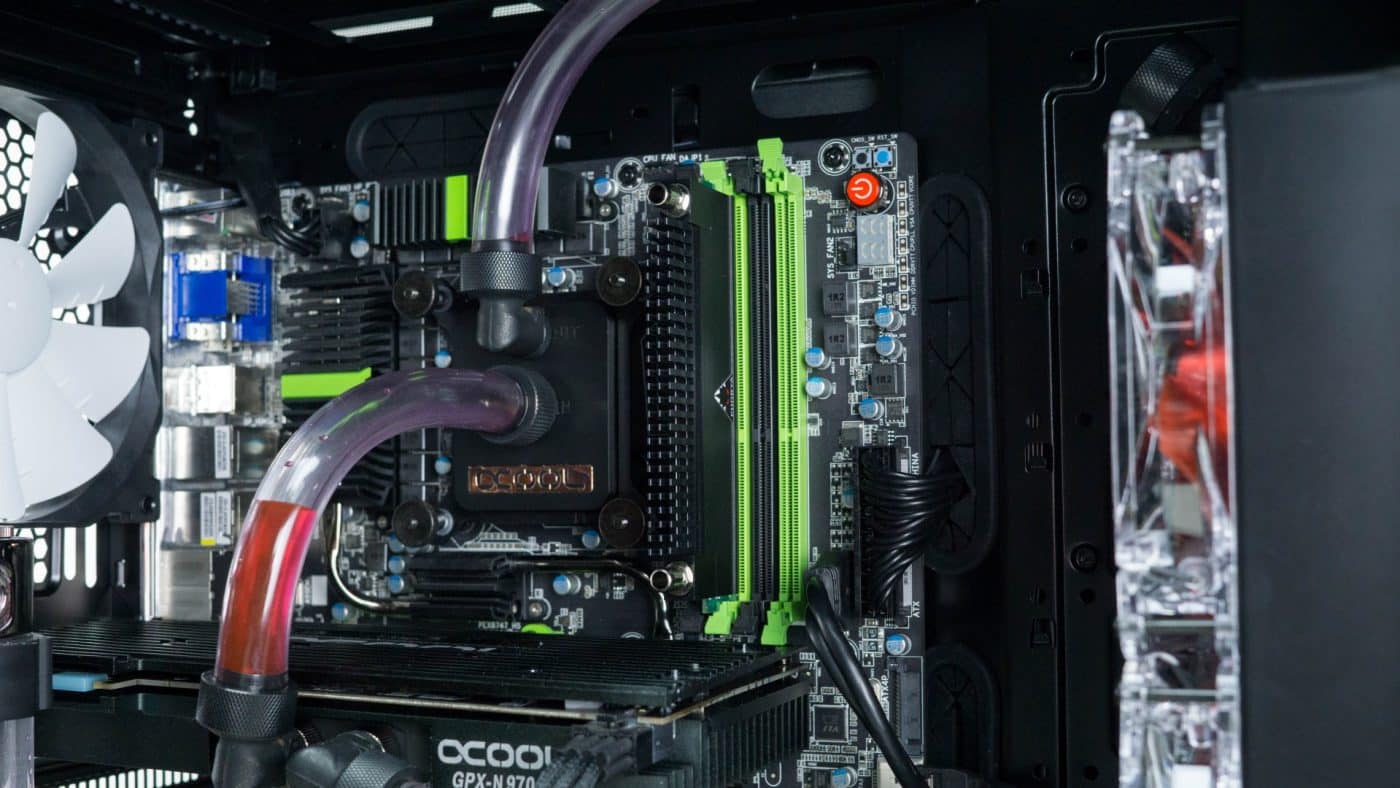
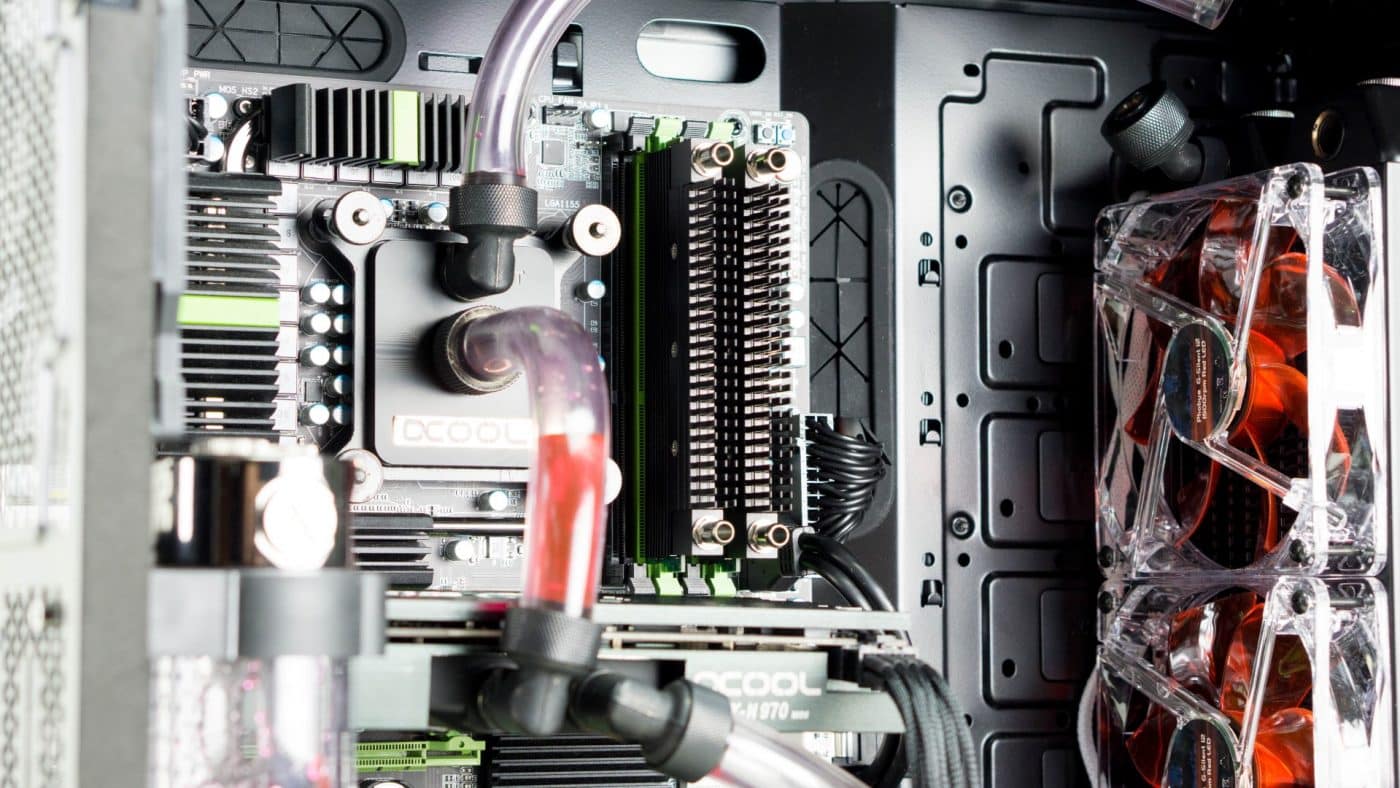
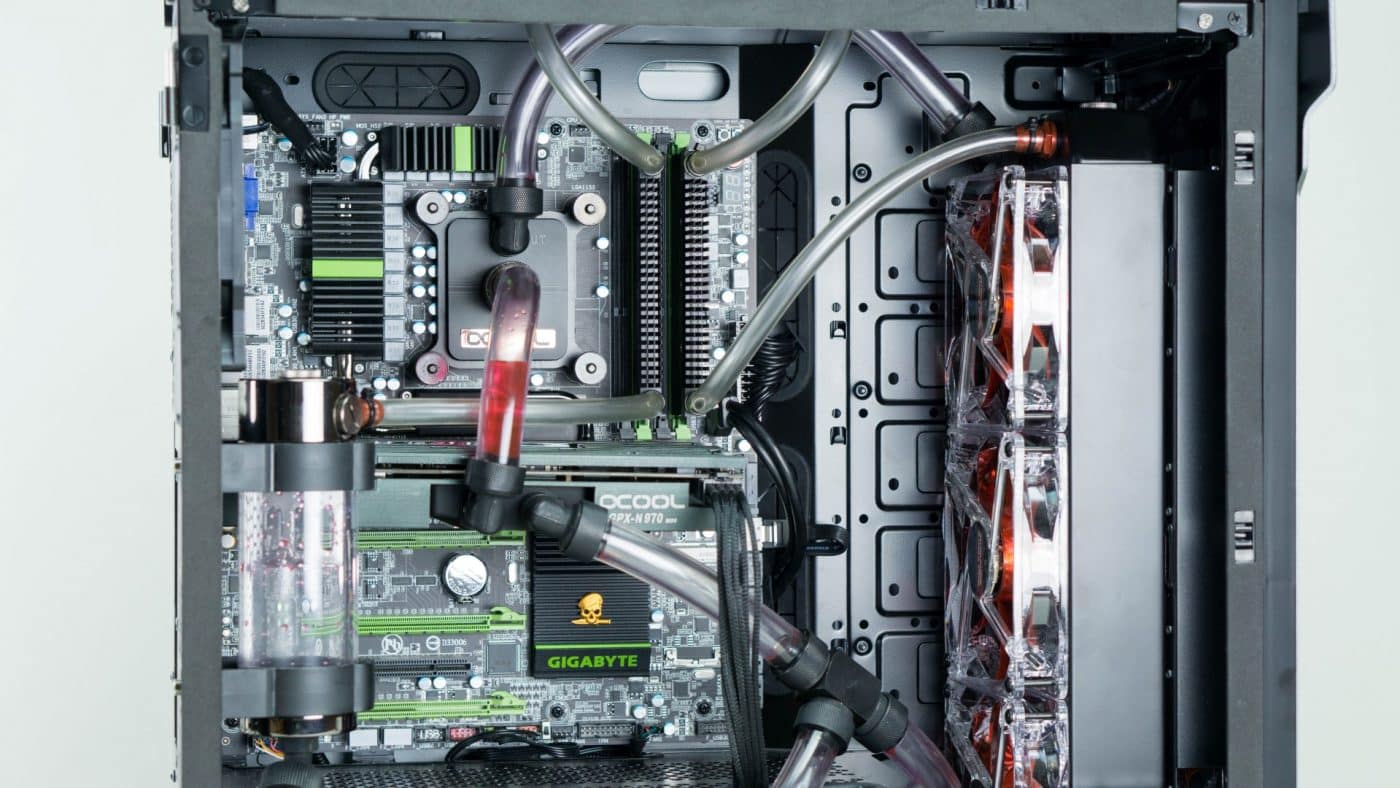
With the blocks installed on both DIMMs we can go ahead and install them back into their slots on the motherboard. Even without plumbing them with tubing they look really good on the board.
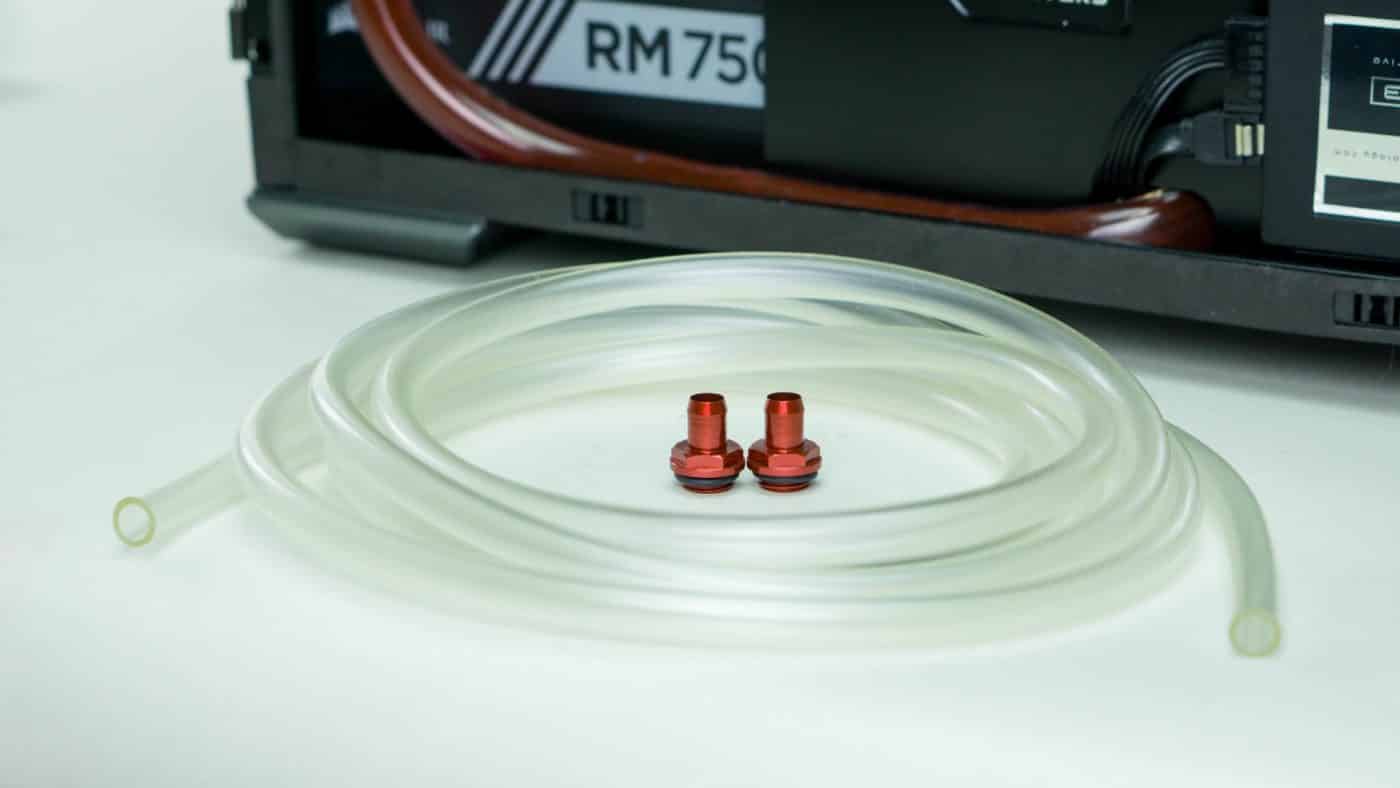
The Phobya packaging says that the ports on the memory block are 8mm so we ordered some size matching barbs and tubing that will be needed to get everything connected. The downside is that the tubing is much smaller than the tubing used in the rest of the loop and will create a much more reduced flow rate because of the restriction.
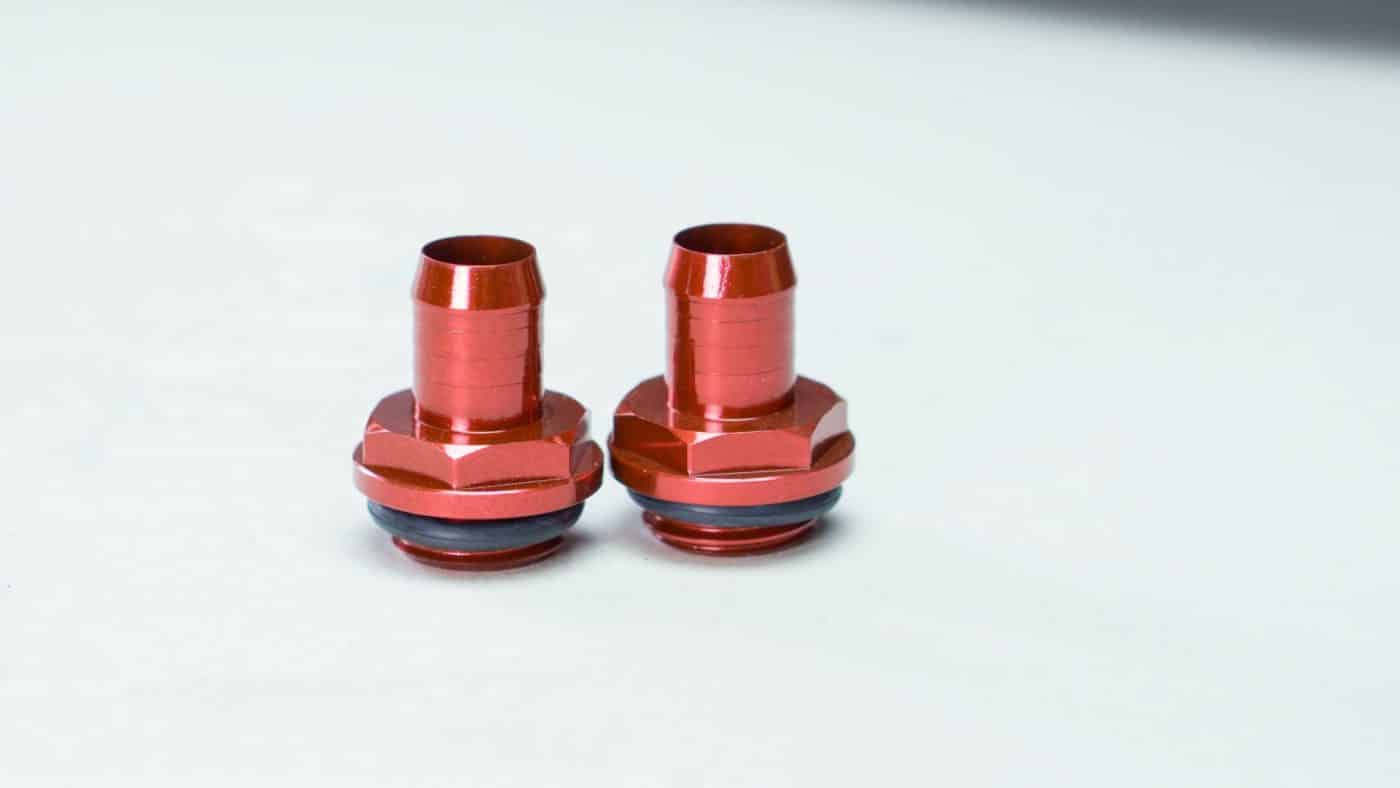
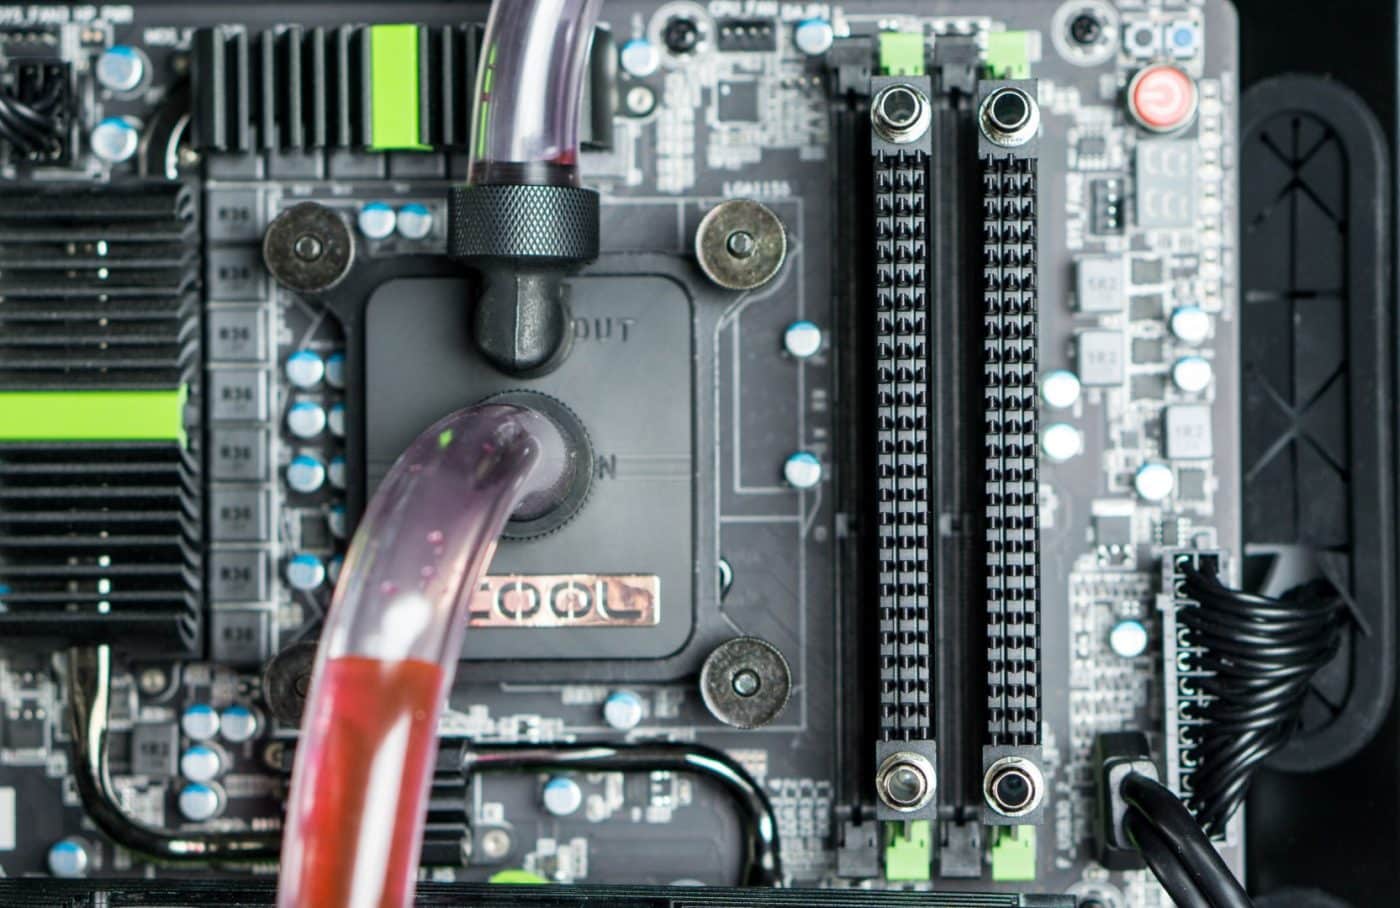
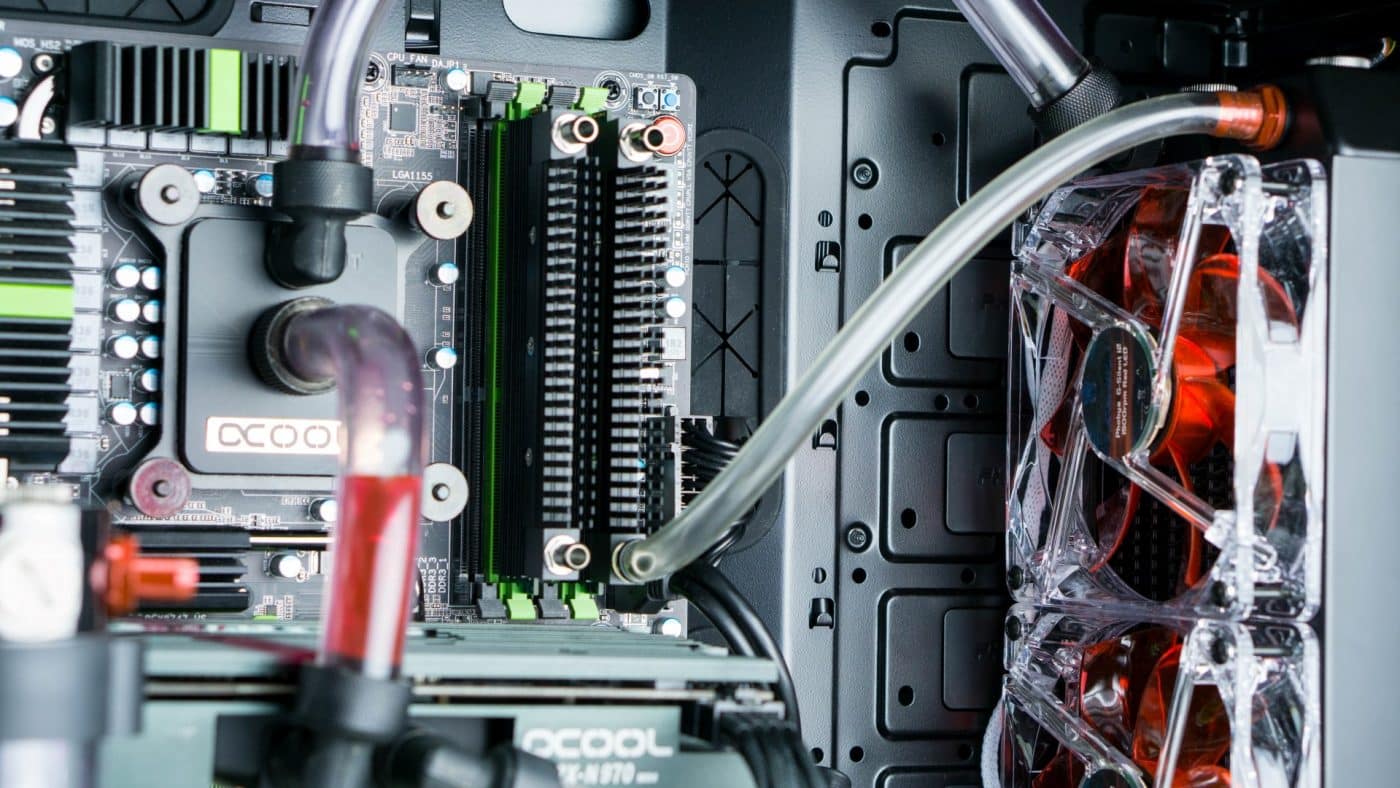
Of course we start by installing the new red barbs on the two connections before and after the memory.
Next simply start installing the tubing just the same as we’ve done in the other articles.
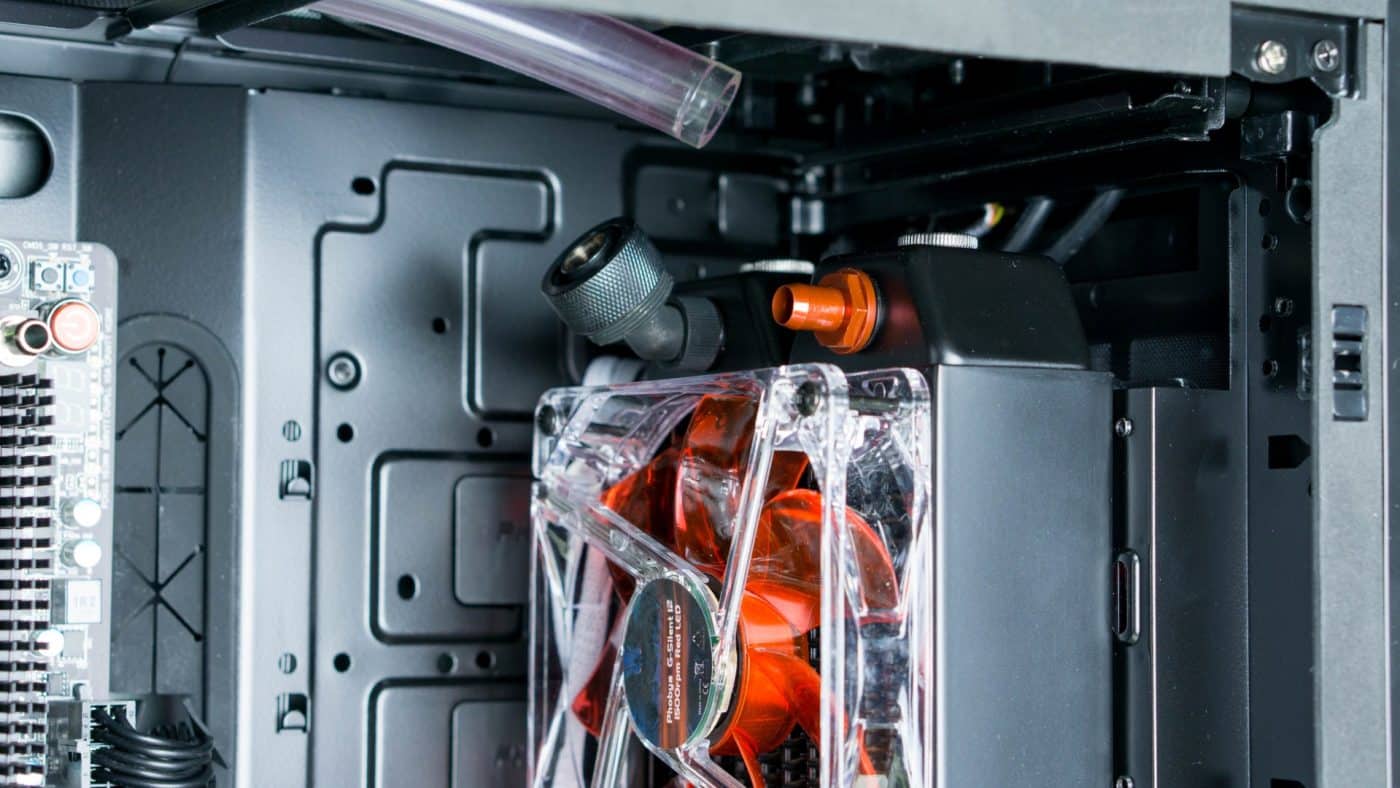
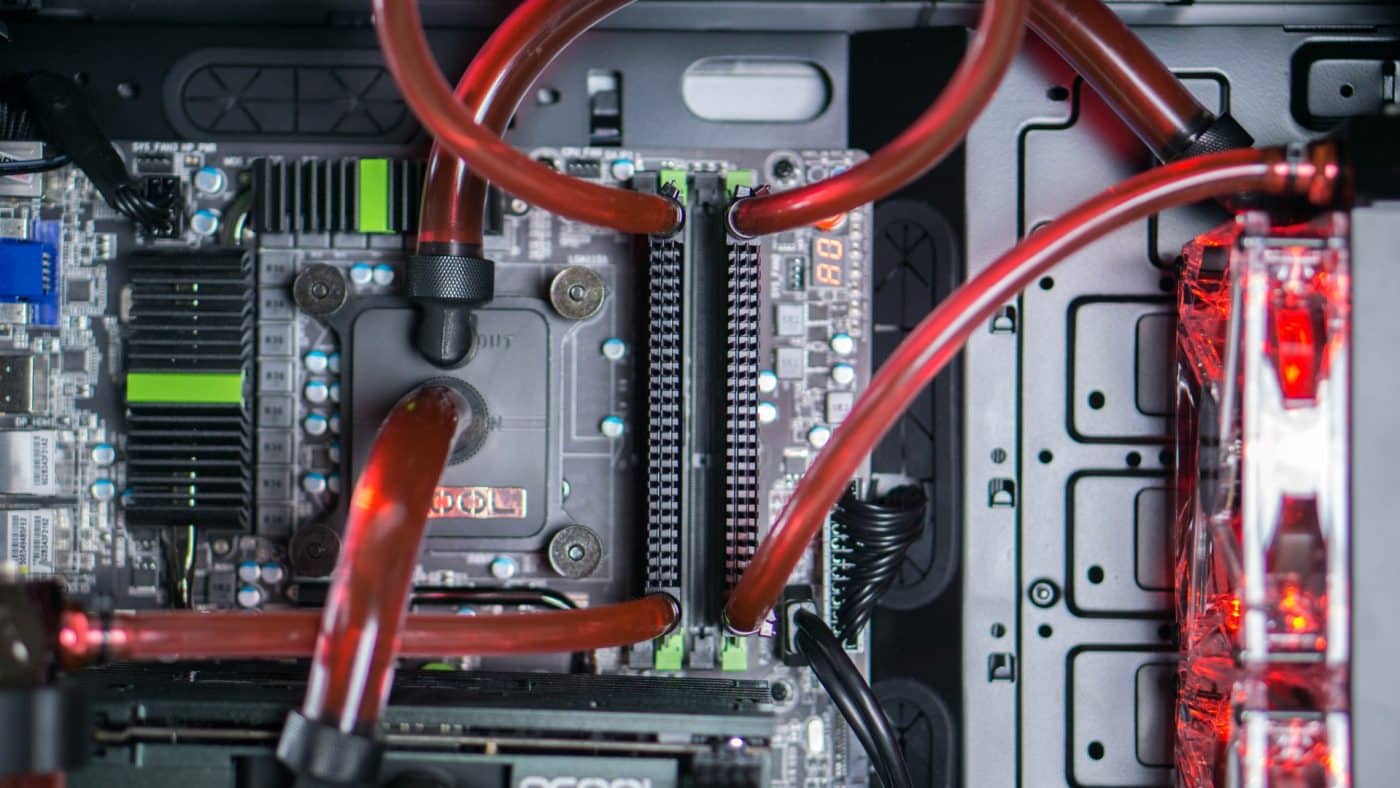
Since we have two separate blocks it is necessary to connect them together. They are separated by at most a half inch and no tubing is going to allow for a bend like that without pinching. One solution is to just use a long piece that loops out and away and bends more gradually. We ran this one up in the top of the case to try to hide it some.

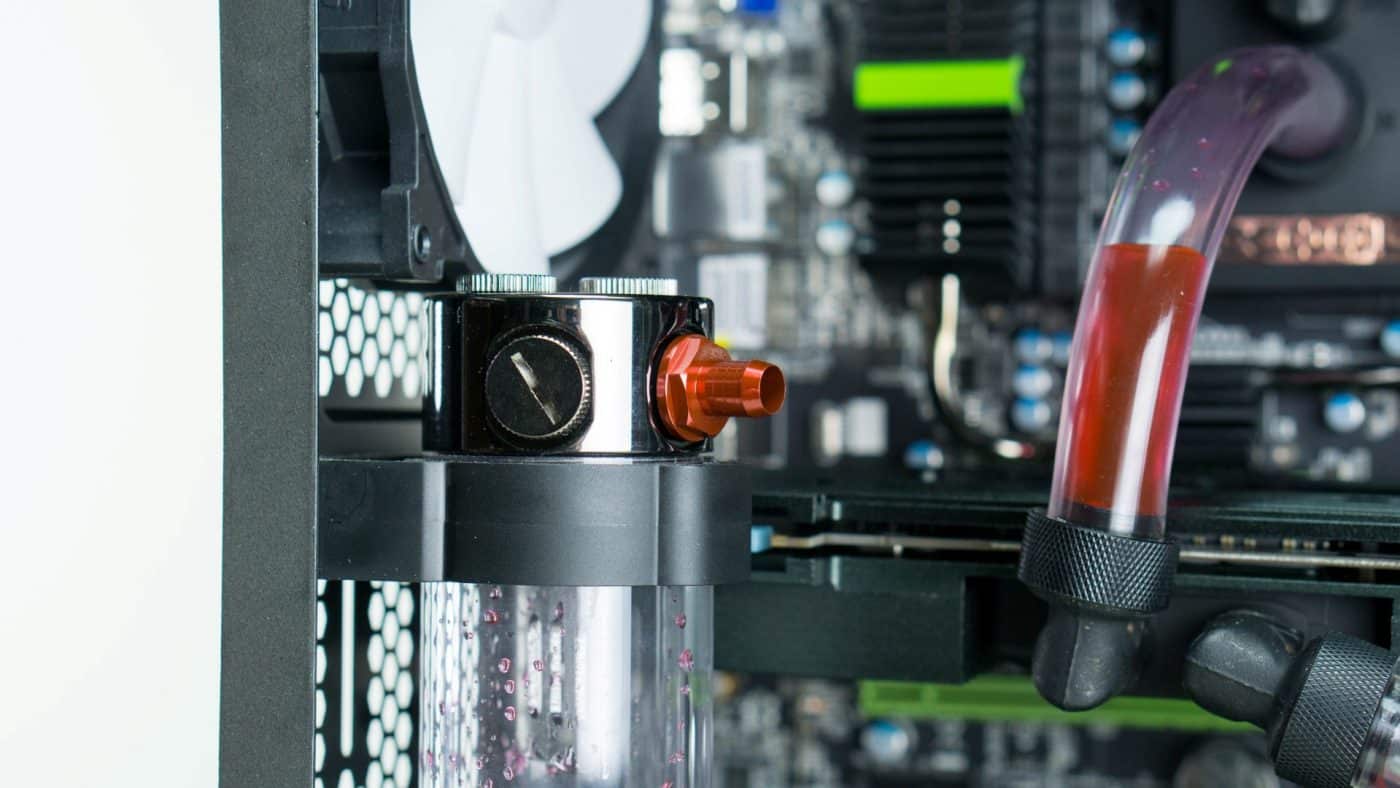
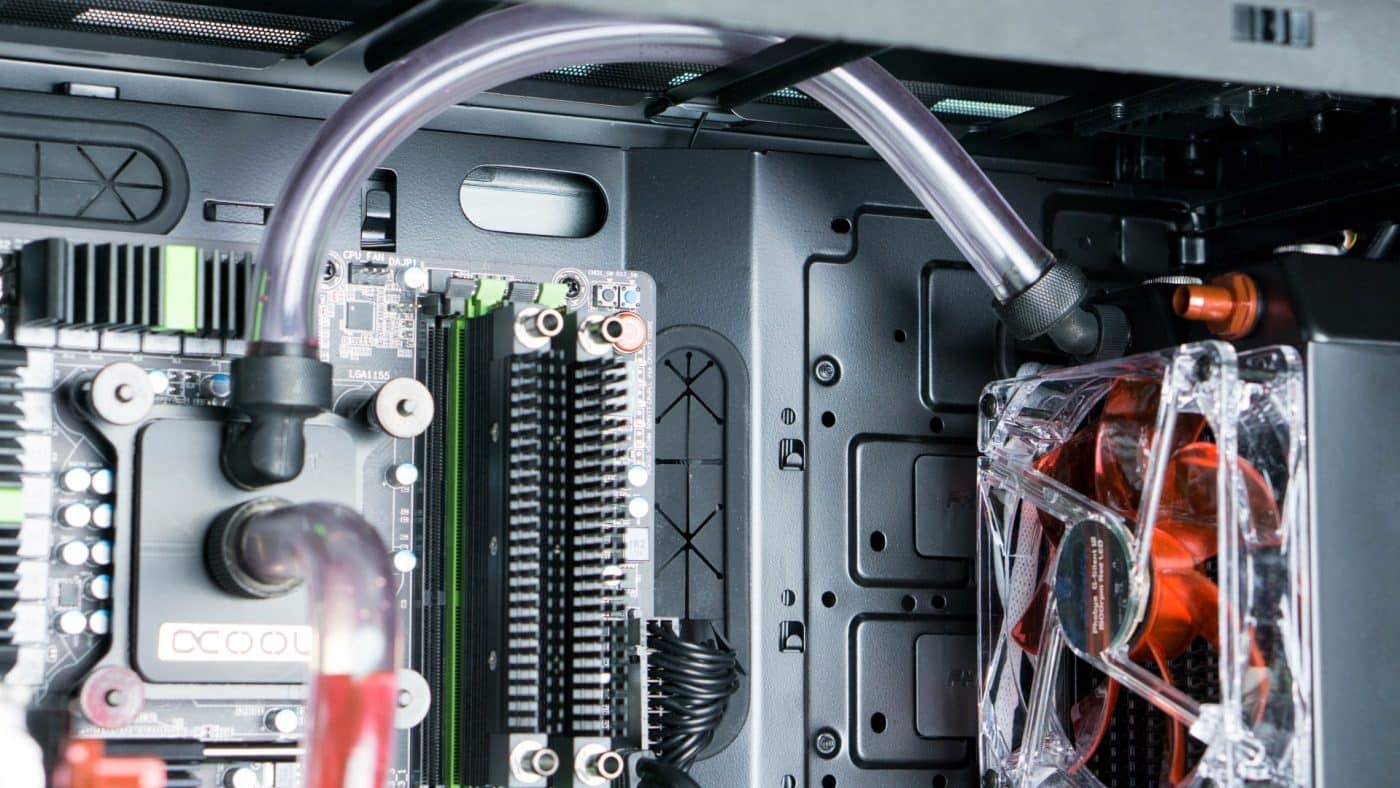
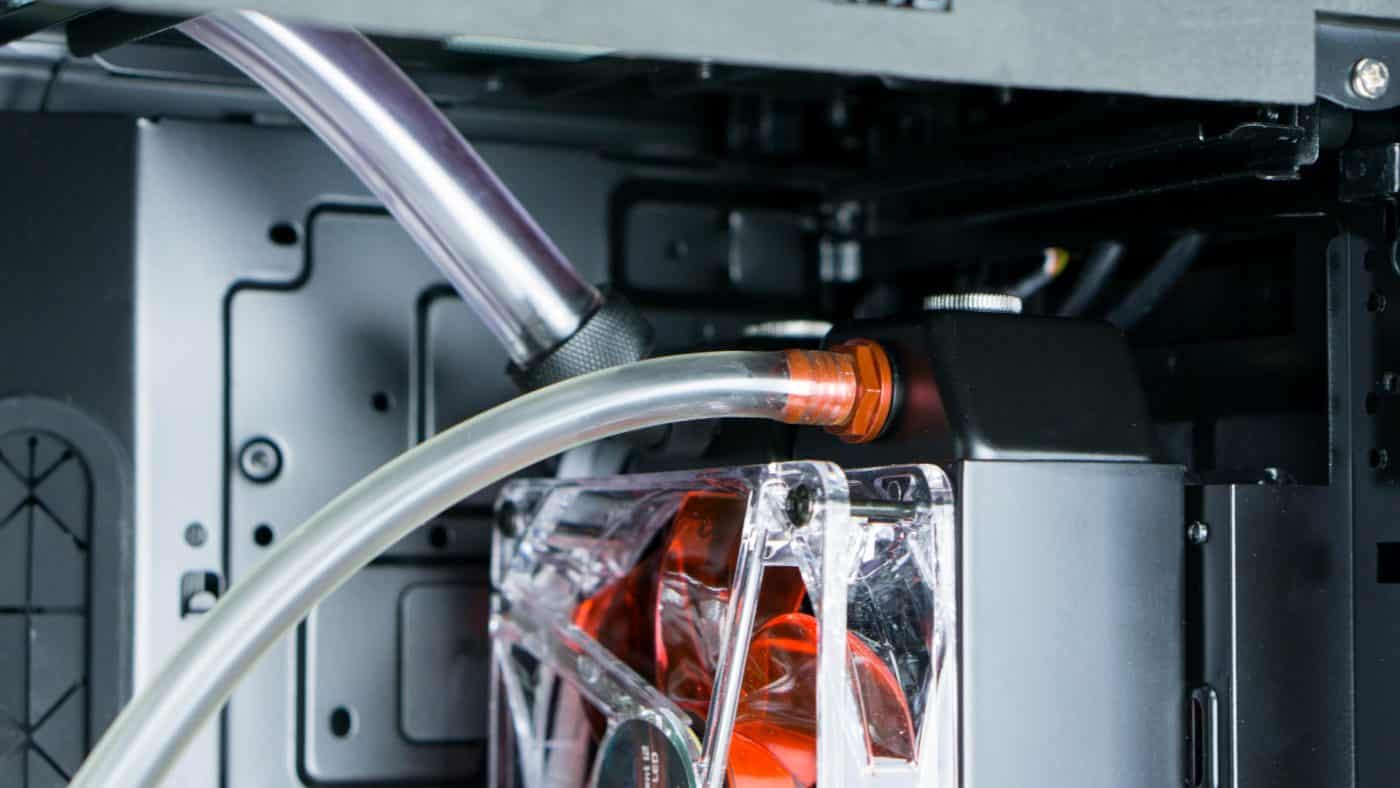
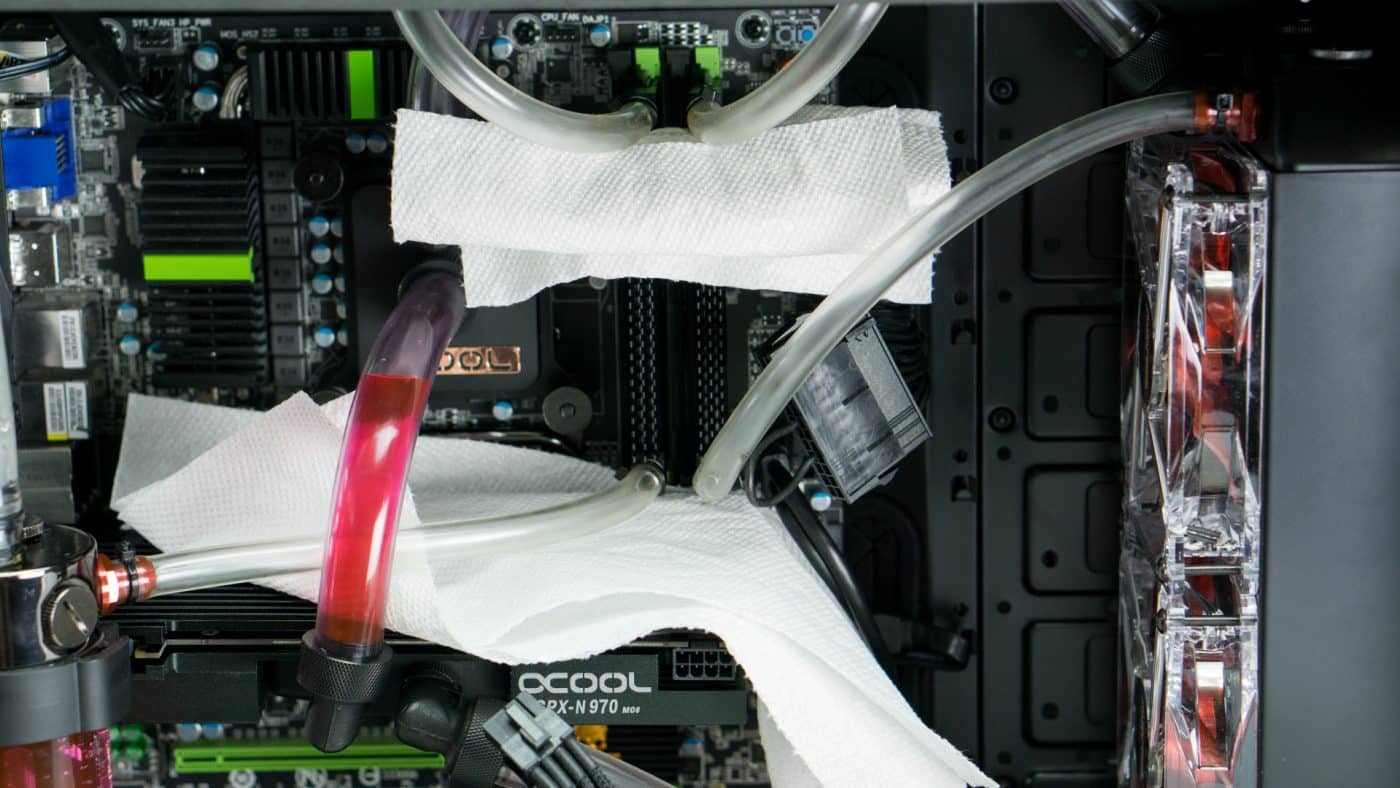
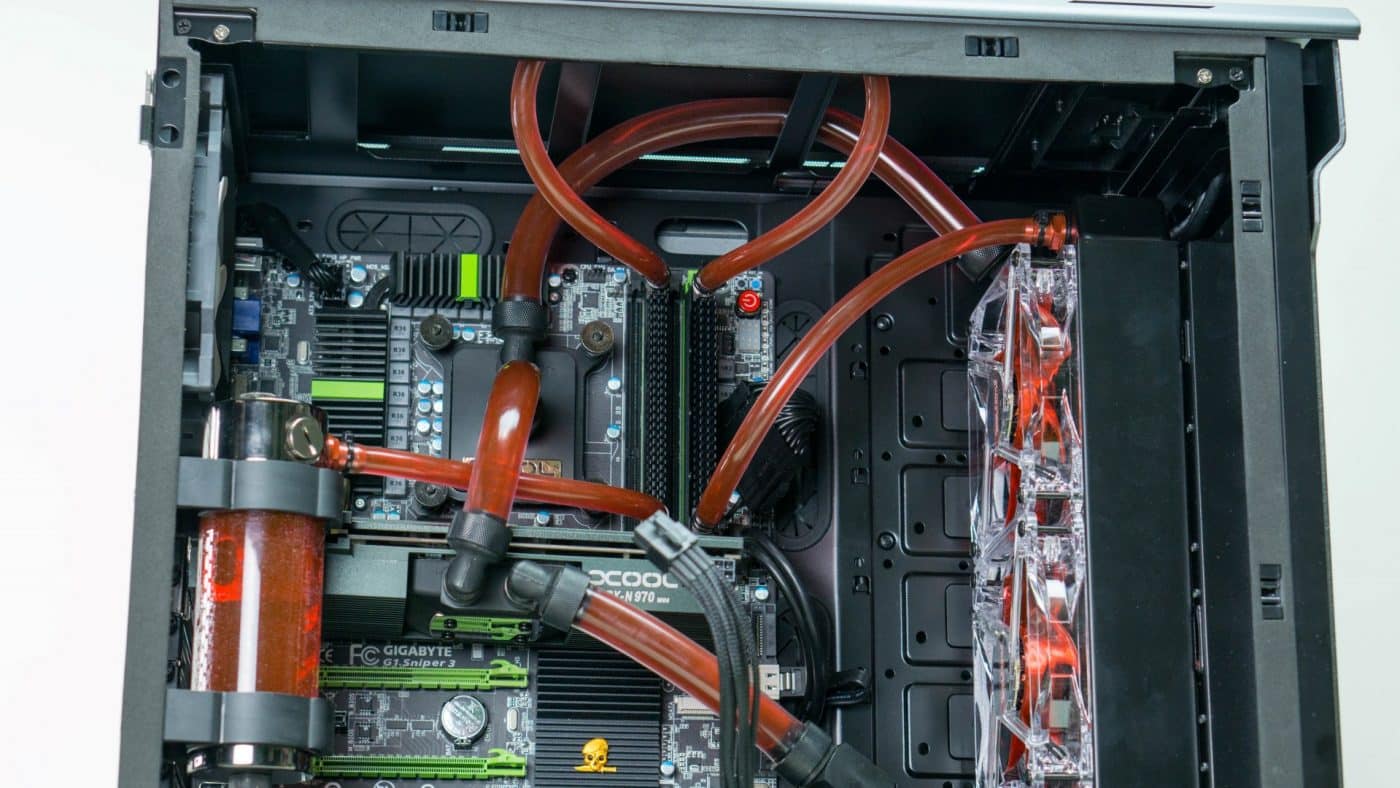
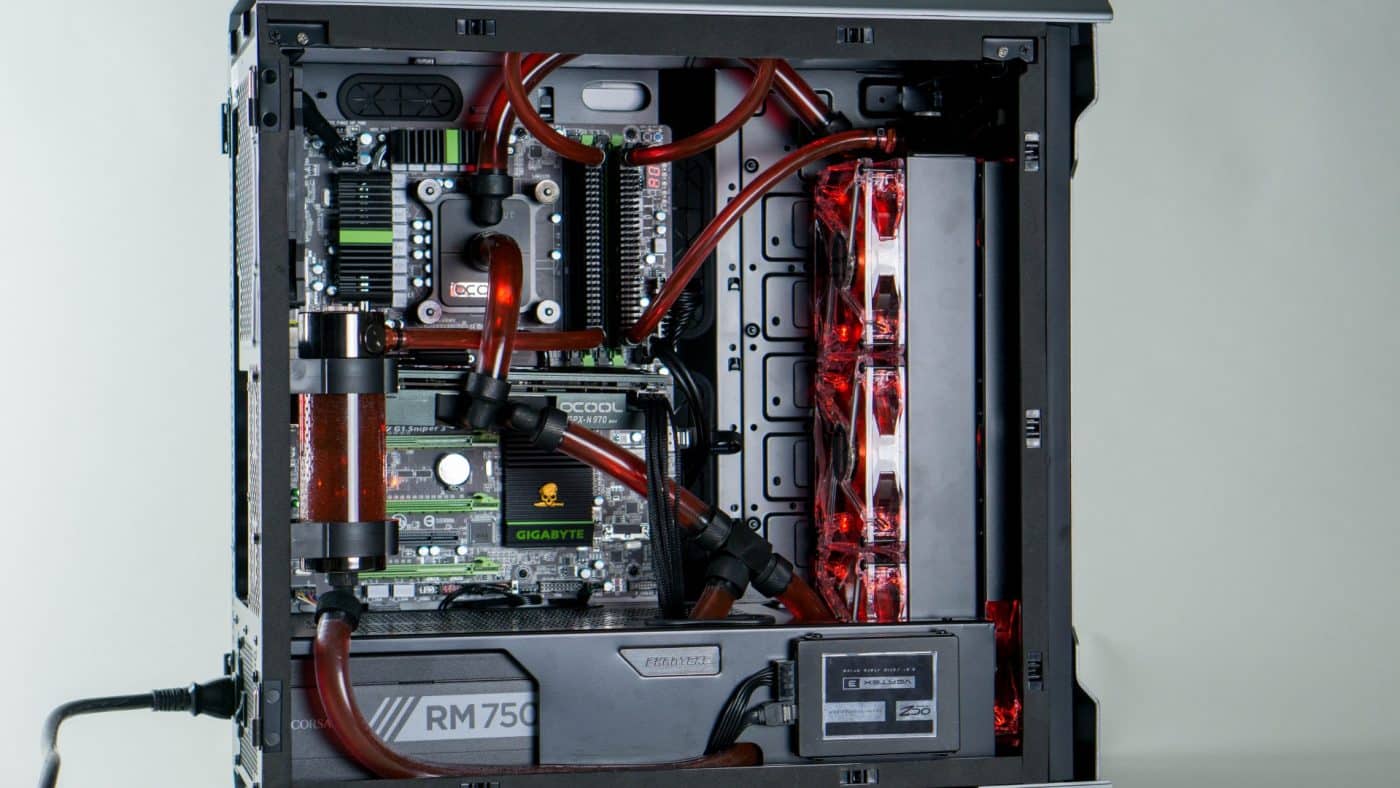
Unfortunately we found once we started running tubing that the barbs on the blocks are in fact not 8mm. They are at least a mm or more smaller than the 8mm Masterkleer tubing we purchased. For the sake of the article we went ahead and connected everything. I do not recommend this. Knowing that our tubing is sealed at the barbs on the memory blocks purely by the clamping pressure provided by our zip ties we completely expect to have some leaks. To be safe we put plenty of paper towel in the leak zones and started filling. Even with 2 and 3 zip ties clamping down on the tubing we still had leaks from almost every one of the four ports. Working quickly we were able to get the loop filled and photos taken before we caused any damage from the leaking water and dye.
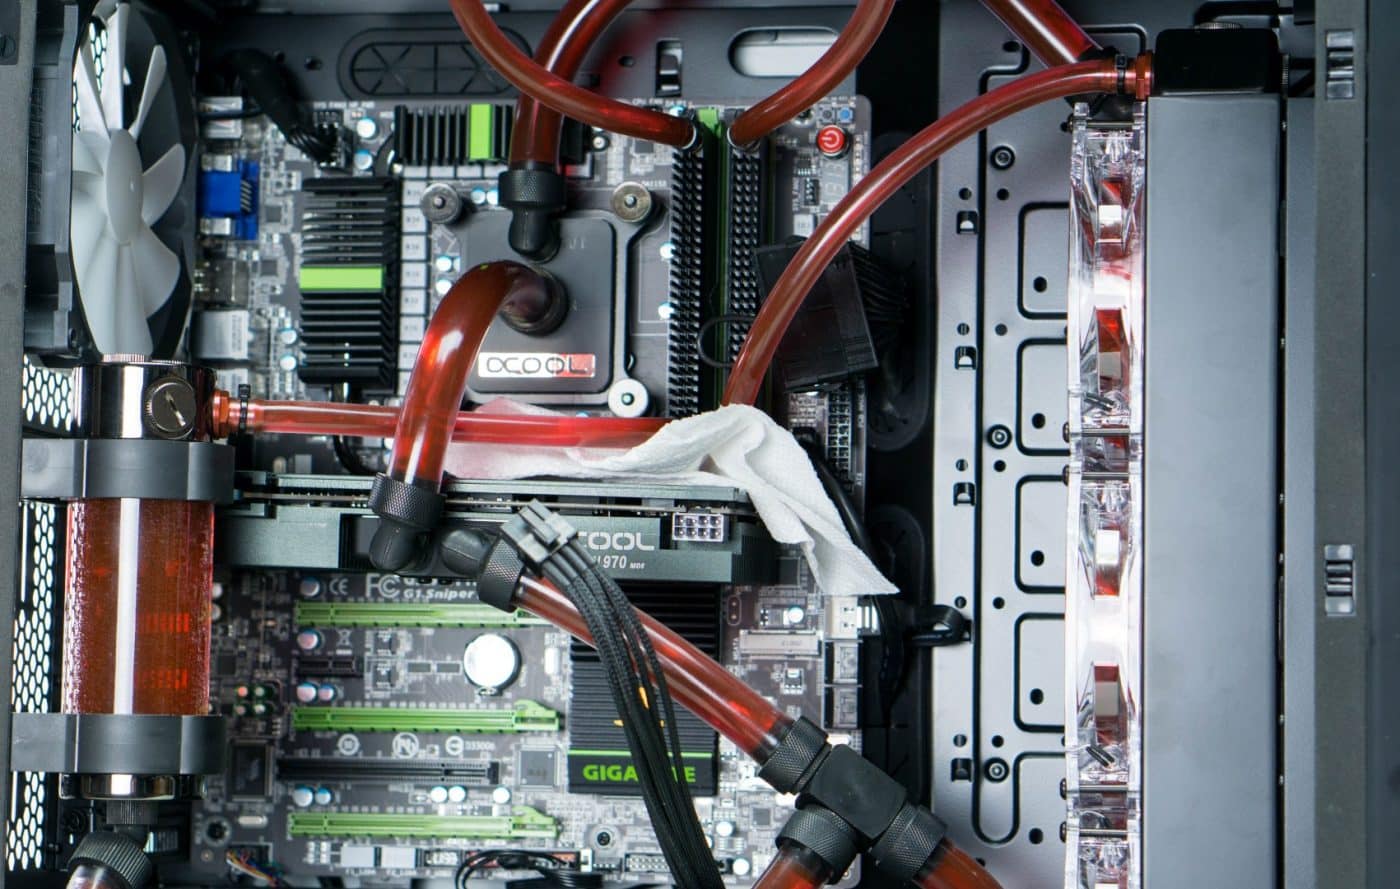
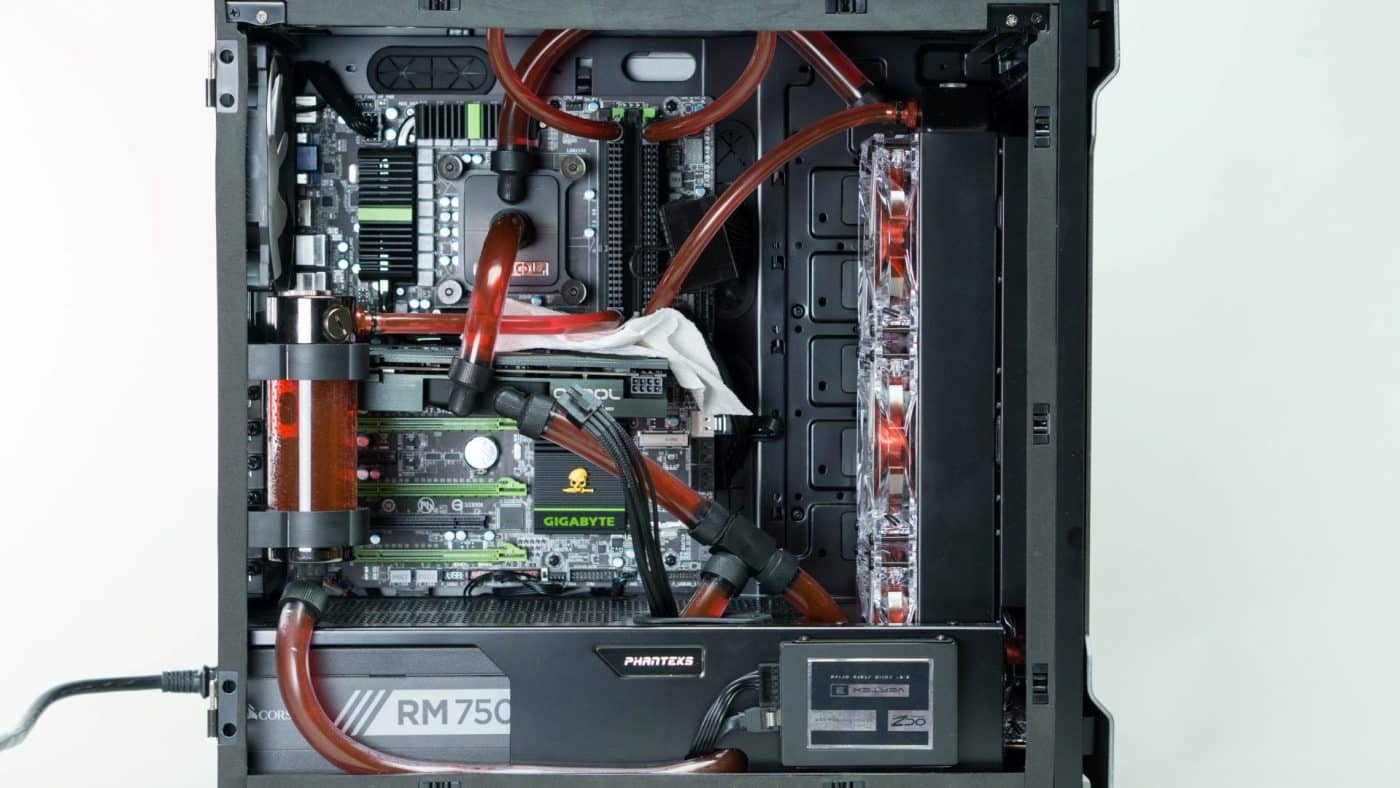
The smaller tubing creates something of an undignified mess out of the inside of the case, but it still sort of works with the nice touch of having our memory watercooled.
Typically we’ve done some testing to show what you can do with the increased cooling power from your loop. With memory it’s a little different. If we are being honest watercooling your memory is a bit superfluous. The increased cooling is not likely to allow you to increase your speeds as heat isn’t usually the factor keeping your memory speed down. It can however potentially add to the longevity of your highly overclocked memory by more efficiently removing the heat it is generating. In general though, adding memory blocks is more of an aesthetic choice that can really bring the design of your rig together.
And with that we are at the end of the first part of Episode 7 of Water Cooling 101. Memory blocks while not exactly the most performance oriented part are certainly cool and you should now have a good idea of how to install them. Remember though, most of the time when you remove those heat spreaders you are voiding the warranty on the memory.