
You’ve done it all so far, designed and built your first loop, upgraded and expanded that loop to include your GPU but still you’ve got a desire to watercool more. Well rather than building a whole new rig, there are options out there to take your watercooling to a whole new level. This is where things get sort of technically difficult and you are going to be voiding some warranties as well. After CPU and GPU blocks the next most popular would be Memory and Motherboard blocks. Both of these require you to remove the stock heat spreaders and can potentially damage parts and just as often voids your warranty. For our rig, there is no motherboard block available, instead we are going to go ahead and demonstrate how to install water blocks on your memory.
Our Water Cooling 101 series is brought to you by our great friends at Aquatuning! Check them out for all of your water cooling needs!

Getting Ready
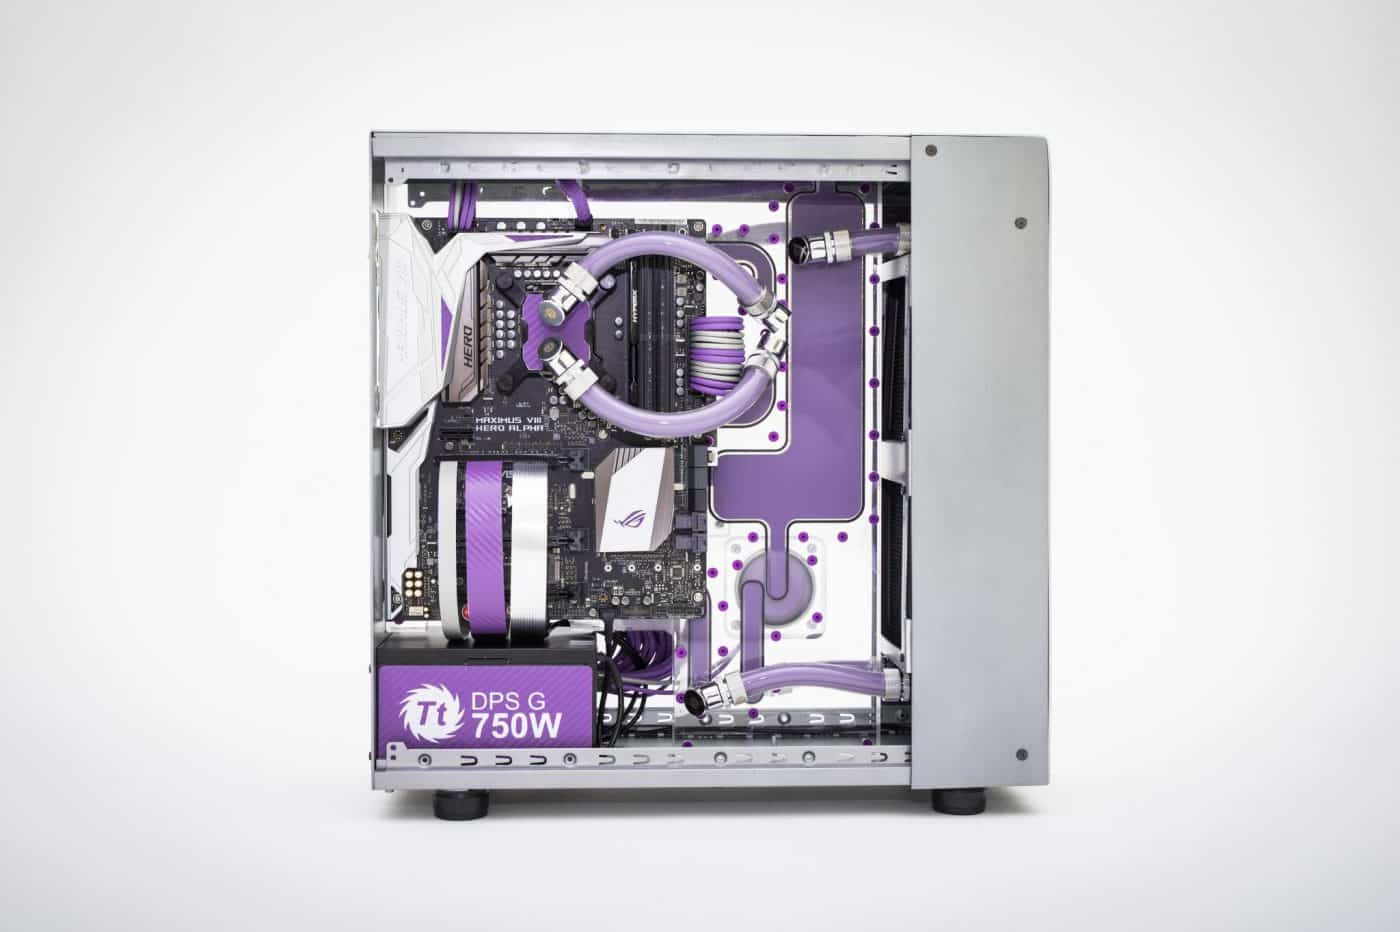
Once again we start out by breaking down the loop to allow us to add our new blocks to the system. For the purposes of this guide, we are removing the top 120mm radiator. With that rad uninstalled it gives us an unimpeded view of the area of the case we are working in. While it would be tight we certainly could have found a way to leave both rads and watercool the memory.
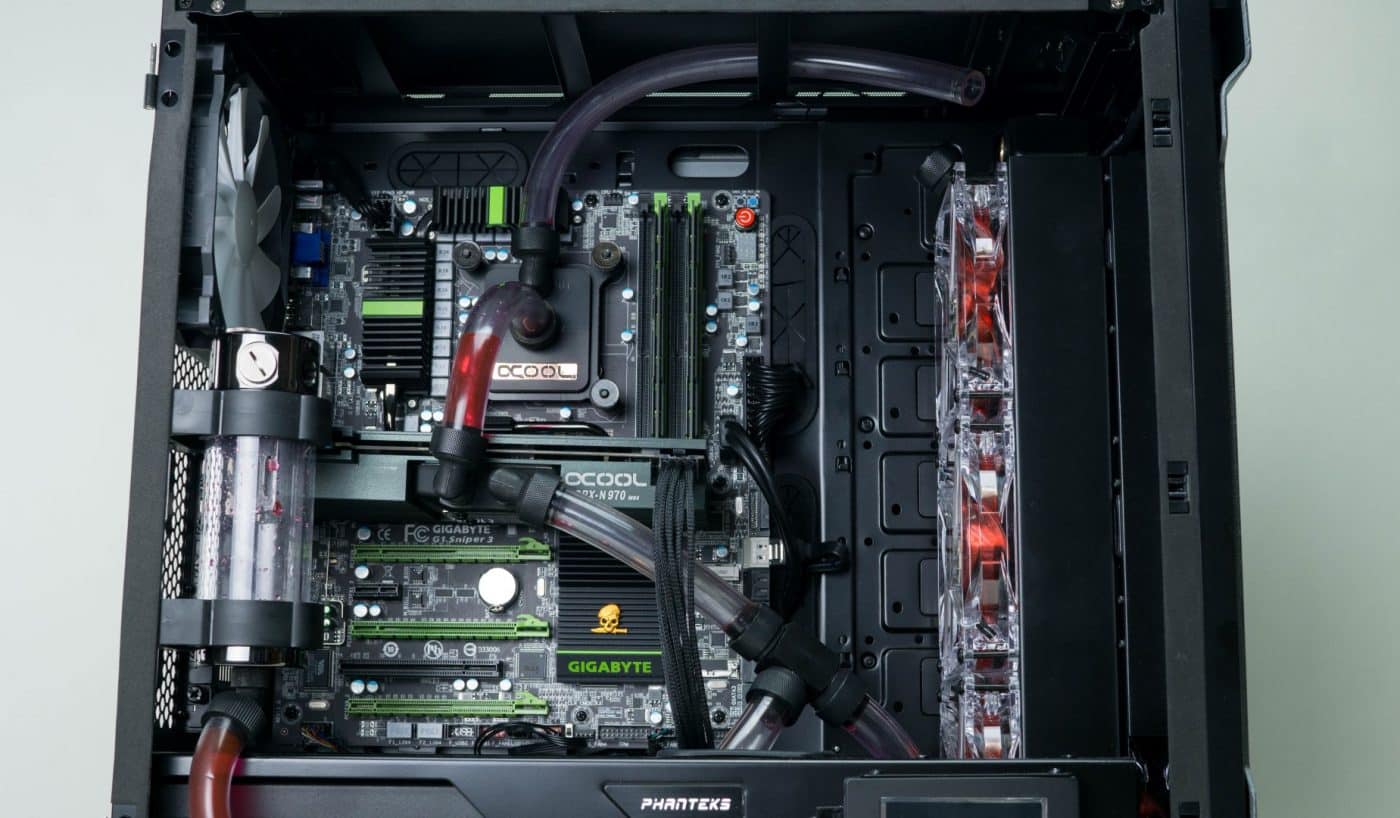
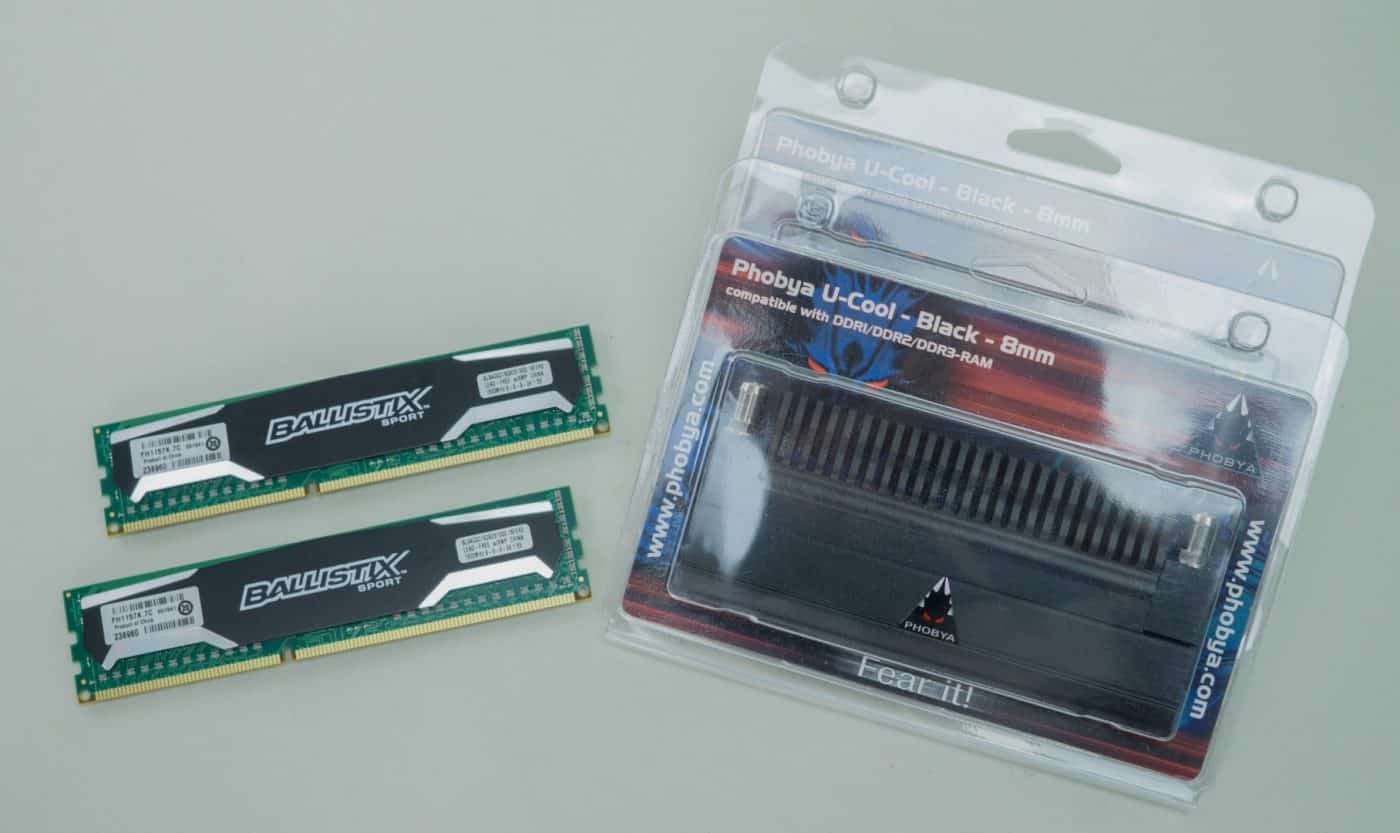
After the loop is broken down go ahead and pull your DIMMs from the slots in the motherboard. We are going to be using a pair of Phobya U-Cool Black water blocks with our Corsair Ballistix Sport memory. One nice feature of these blocks is that they can be used to cool your memory with or without watercooling connected. There is a little bit of preparation needed for installing memory blocks, let’s get right into removing the heat spreaders from the memory and applying the blocks.


One thing I appreciate about this series is that you make some mention of material composition in your write-up on choosing components, and you highlighted some radiators that are composed of good materials that won’t destroy a loop over time.
Here, however, you are showing a product whose material composition is never mentioned in your article, and upon further searching, I find that Phobya’s website makes no mention of the materials used, and the web stores I’ve found that carry this product only describe it as ‘anodized aluminum’, with nickel plated brass fittings.
I want to believe that it’s safe to assume that the water channels in these blocks are copper or brass, but if Phobya doesn’t care enough to confirm this on their own product website, why should I trust them at all?
This article was a good overview of how to install RAM blocks, and I appreciate that you told us that watercooling RAM is mainly for aesthetics. However I’m disappointed that you didn’t put the loop together in such a way that you could test it and show us your temperatures, as you did when you added a GPU block. It would’ve been interesting to see what, if any impact the added restriction had on your more critical components.
2 things I would have done differently (but using the same products):
1) Either change out the stock 1/2″ barbs (on the RAM modules) for compression fittings – looks as though the barbs can be replaced – or used (red) barbs throughout the system, for uniformity.
2) Speaking of uniformity; I would have either changed the tubing for all 3/8″, or would have continued using the 1/2″ x 3/4″, the tubing run looks funny with 2 different sizes of tubing.
Just my 2 cents