Outside of the Thermaltake Versa H34 mid-tower gaming case
This case is truly a canvas for the artist builder and Modder. A black powder coated canvas with the picture already signed by Thermaltake. The powder coating covers 100 % of the inside and out did not see any drips spots or errors in the outer coating, even in the corners where you usually find overspray or non-painted areas but there was none of that at all. This case finish is really done well.
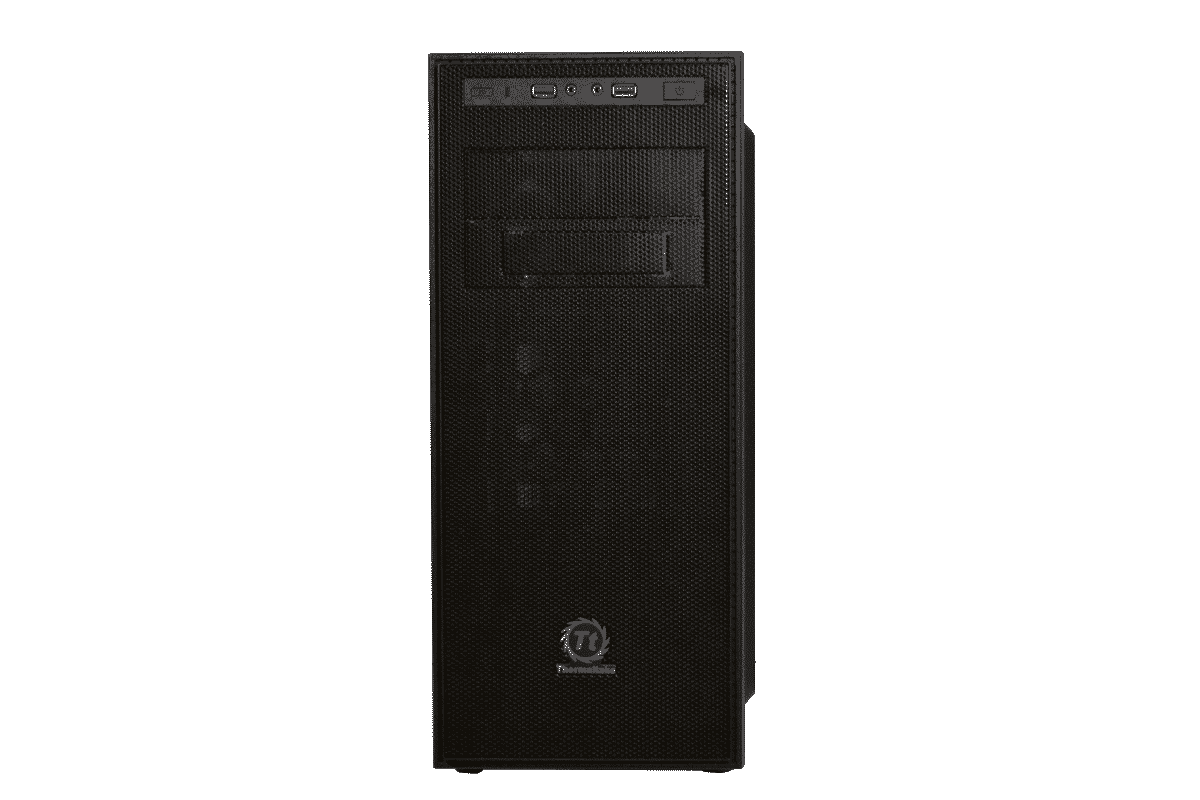
The front looks like a normal everyday case and that’s because if you want a normal everyday case you got it. But under the bezel lies some surprises that you will find really fantastic. Later on we will reveal that in the next page. The controls don’t take up much room at all and there is a big reason why that is. It’s made to conserve space for other more important things.
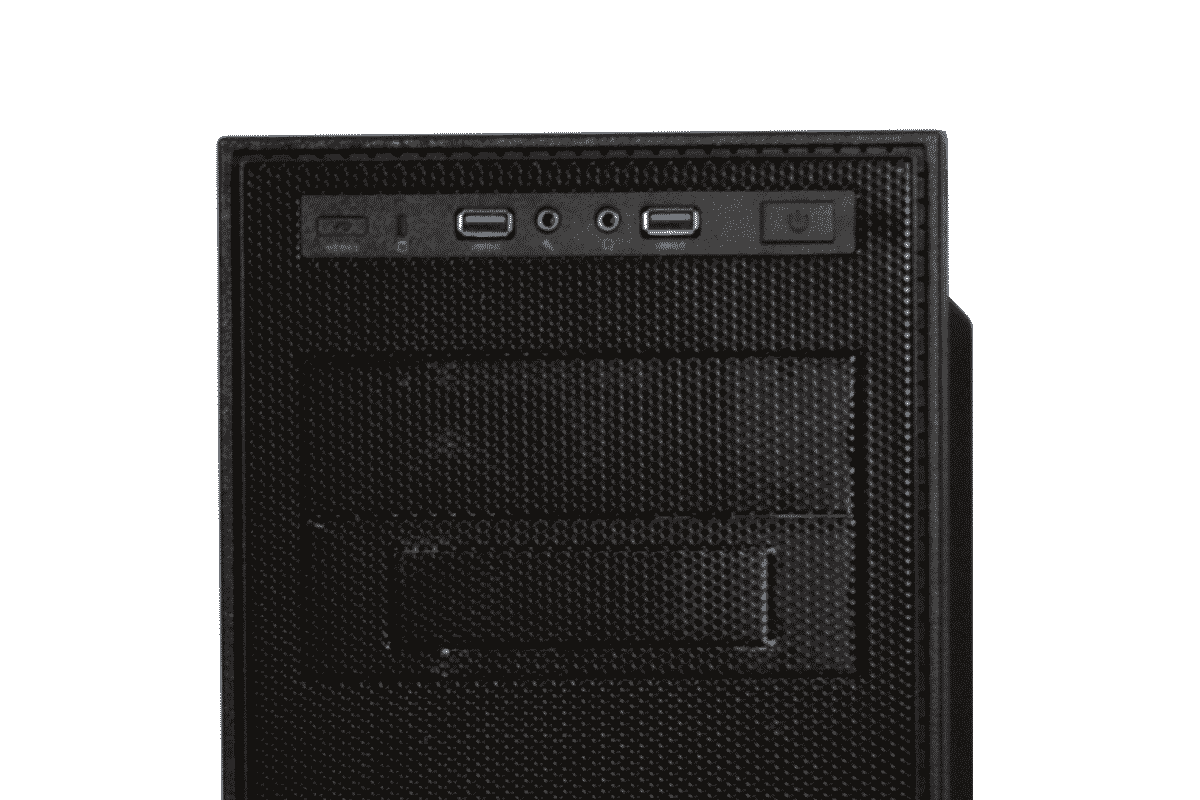
A closer look at the control panel shows from left to right, the “RESET, HDD activity indicator, then the USB 3 that are separated by the audio in and out and then the POWER button all in that area the size of a laptop optical drive but that’s all engineered like that and it’s not for cost cutting measures. it’s for the builder to get the most out of this case as you will see as you scroll down.
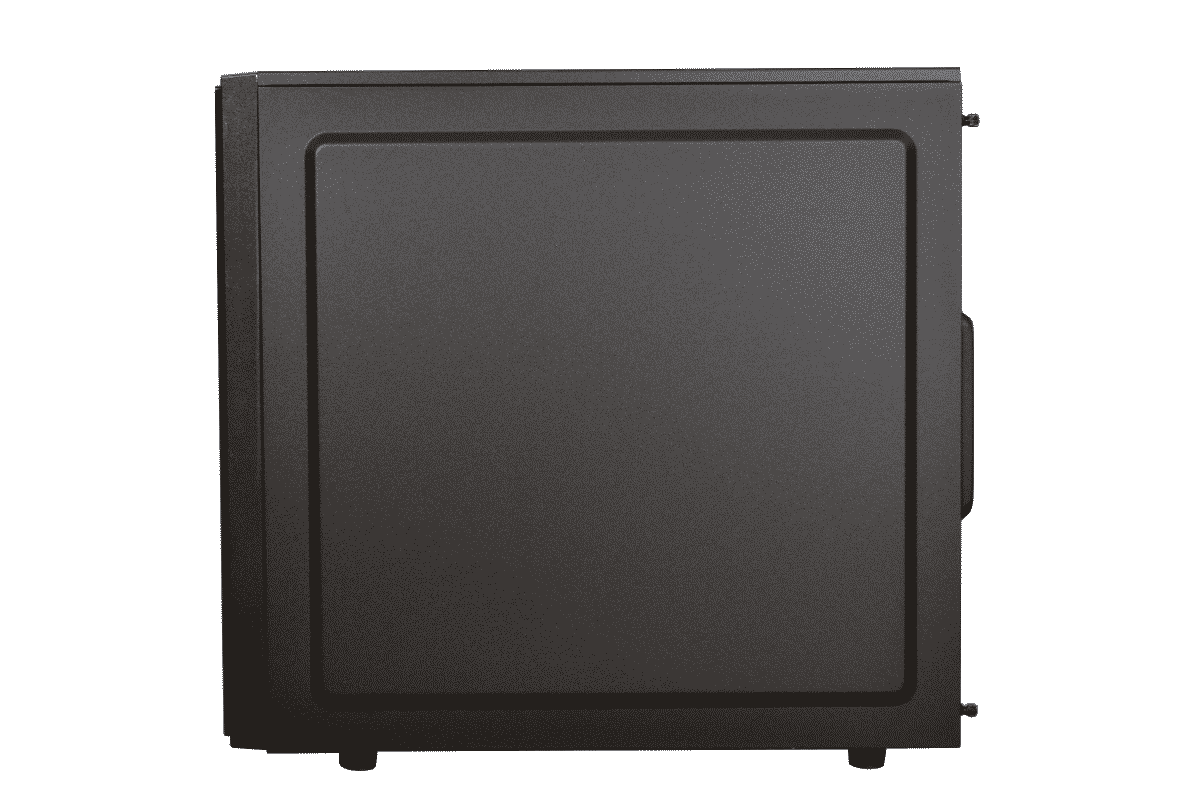
The Motherboard tray side or wire management side is very clean and very plain but the panel has that framed outcropping that makes wires fit easier and panel replacement a bit easy-breezier.
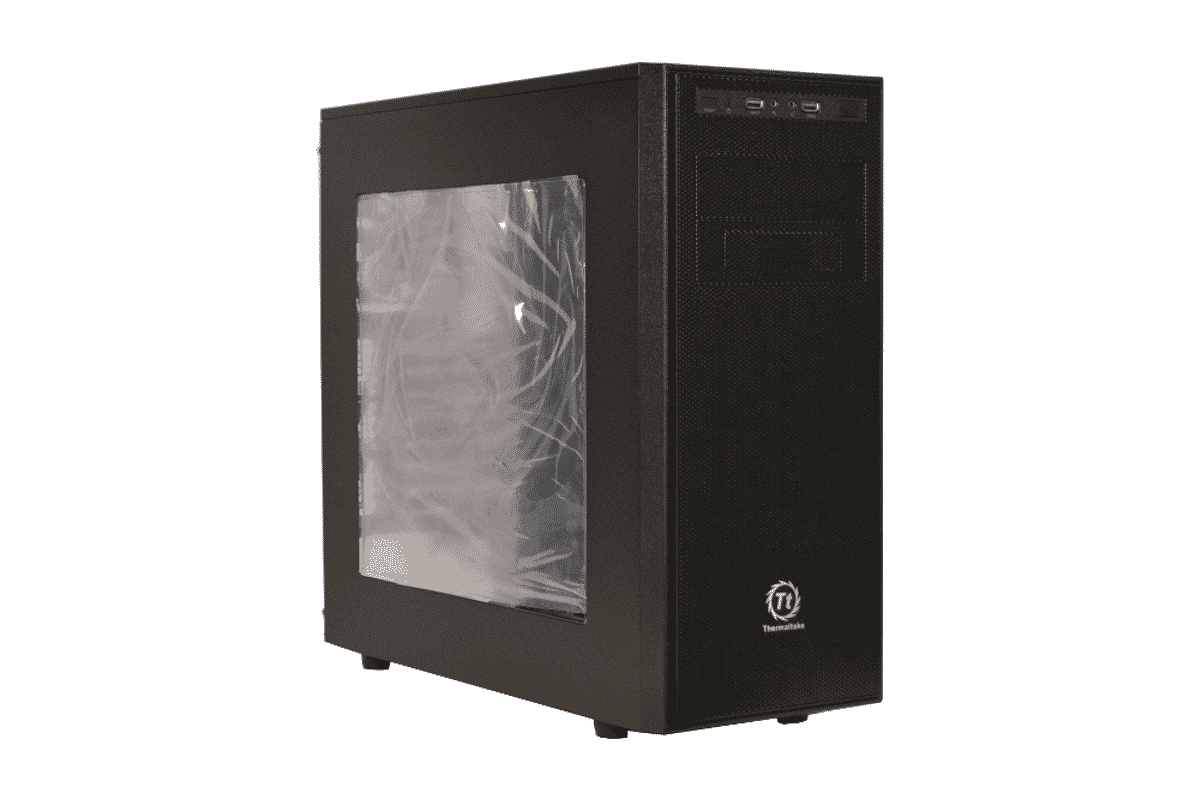
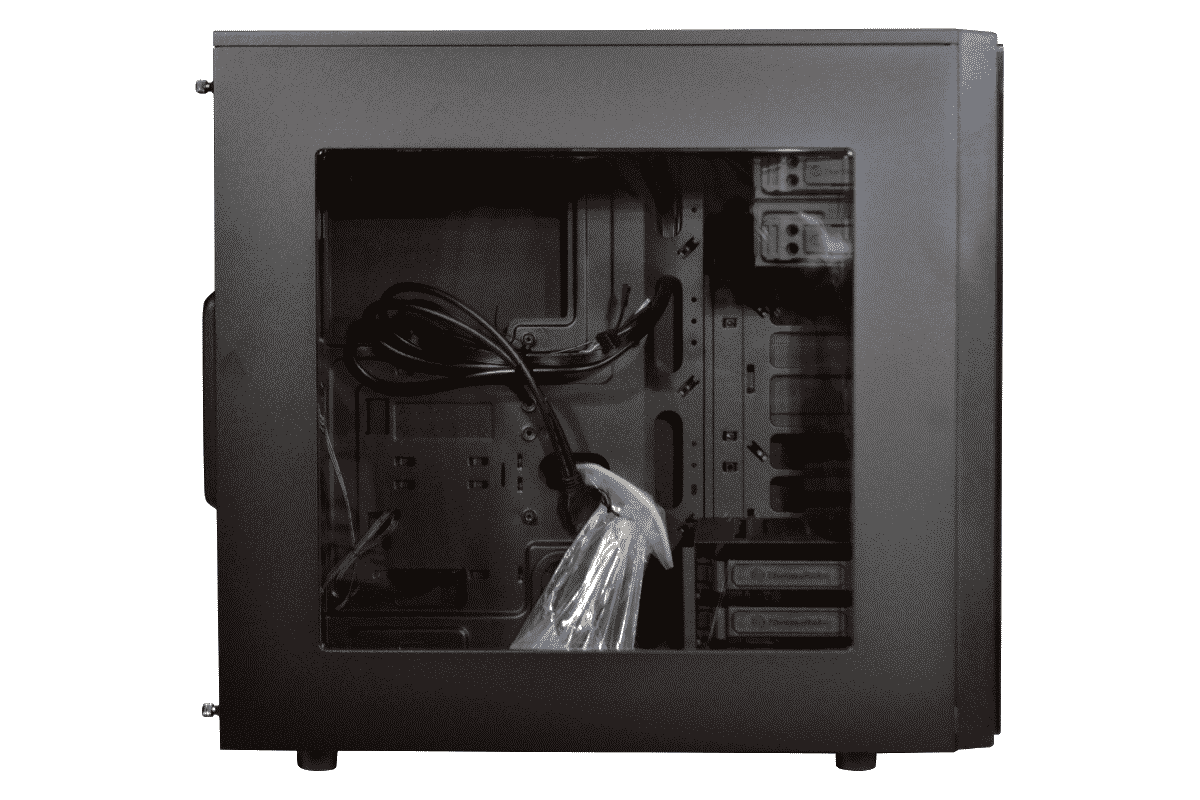
The side glass is well mounted like the back of a picture frame with metallic bent metal clips. The Acrylic is flush with the rest of the panel with a slight framing around the window edge for accent but the window is clean and clear and a good seeing a great custom build.
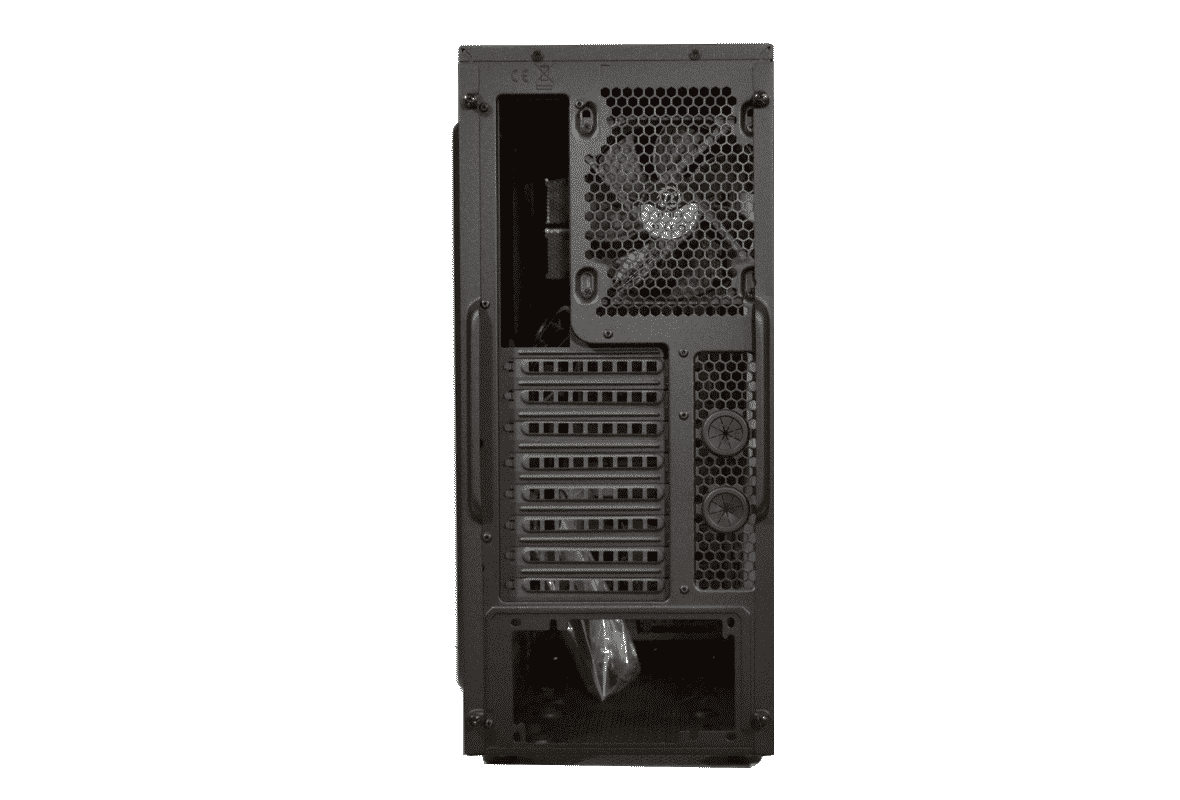
In the back there is the regular I/O shield that is JEDEC placement required, but next to it is the Thermaltake 120mm Fan that is adjustable to about a 3/4 inch or .75 inches up or down depending on the space you need for your radiator, fittings or tubing. Below that is the two water tubing plugs covered in nice rubber grommets with ventilation all around it for extra graphics card breathing. The eight PCI Slots allow for a full dual slot graphics card to be installed on the very bottom slot of your ATX Motherboard and have the extra slot at the bottom that some cases don’t have.
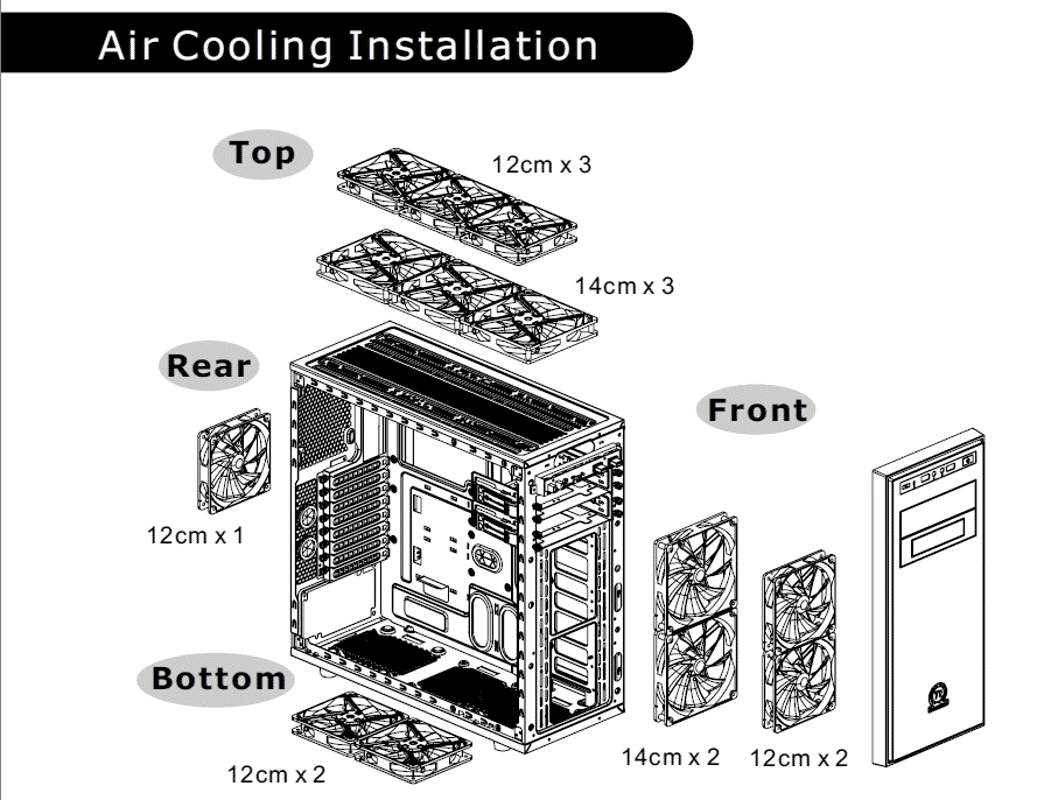
This is the top of the Thermaltake Versa H34 ATX Mid-Tower gaming case. The left side shows the clothes dryer type filter that has a magnetic strip lining the inside bottom for holding in place. Don’t worry that gluing you see going around the edging of the filter looks bad in the picture but it photographs that way. Your eyes will never see it unless you shine a light on it just the right way at the right angle. The right side of the photo shows the multiple ways that a radiator or fan can be installed to the top of the case.
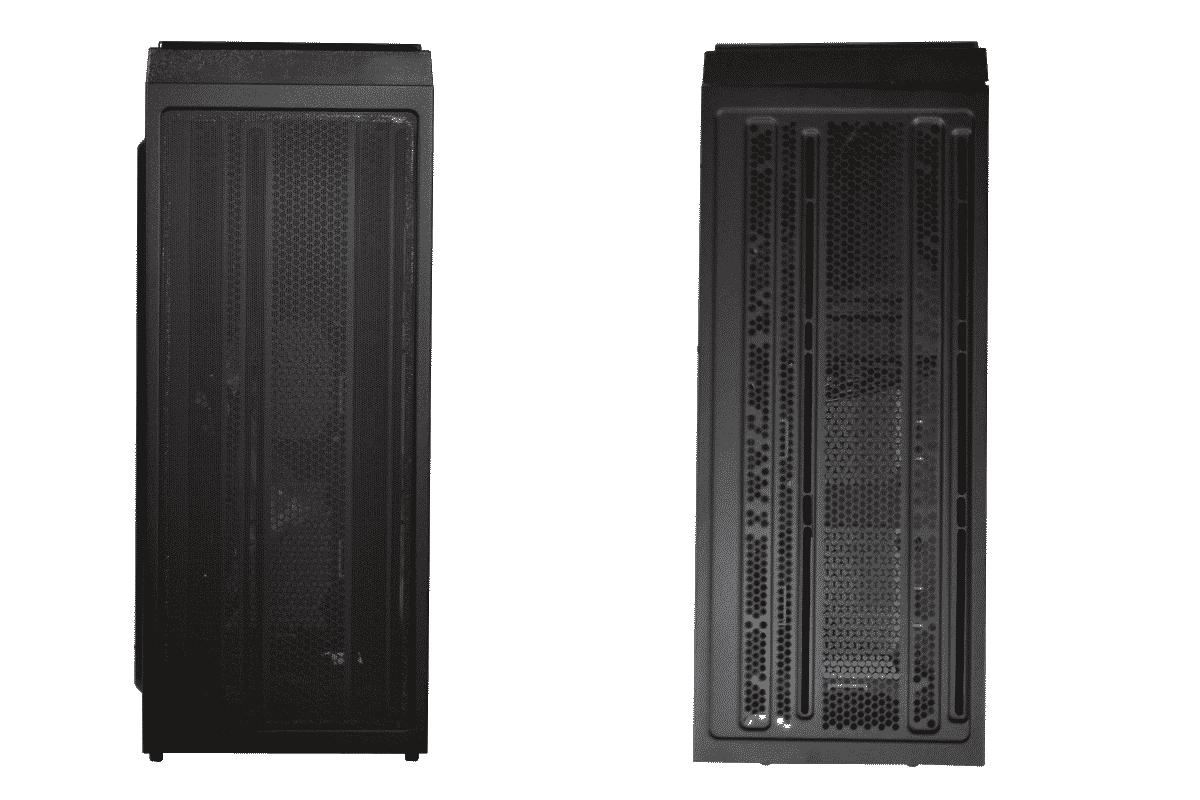

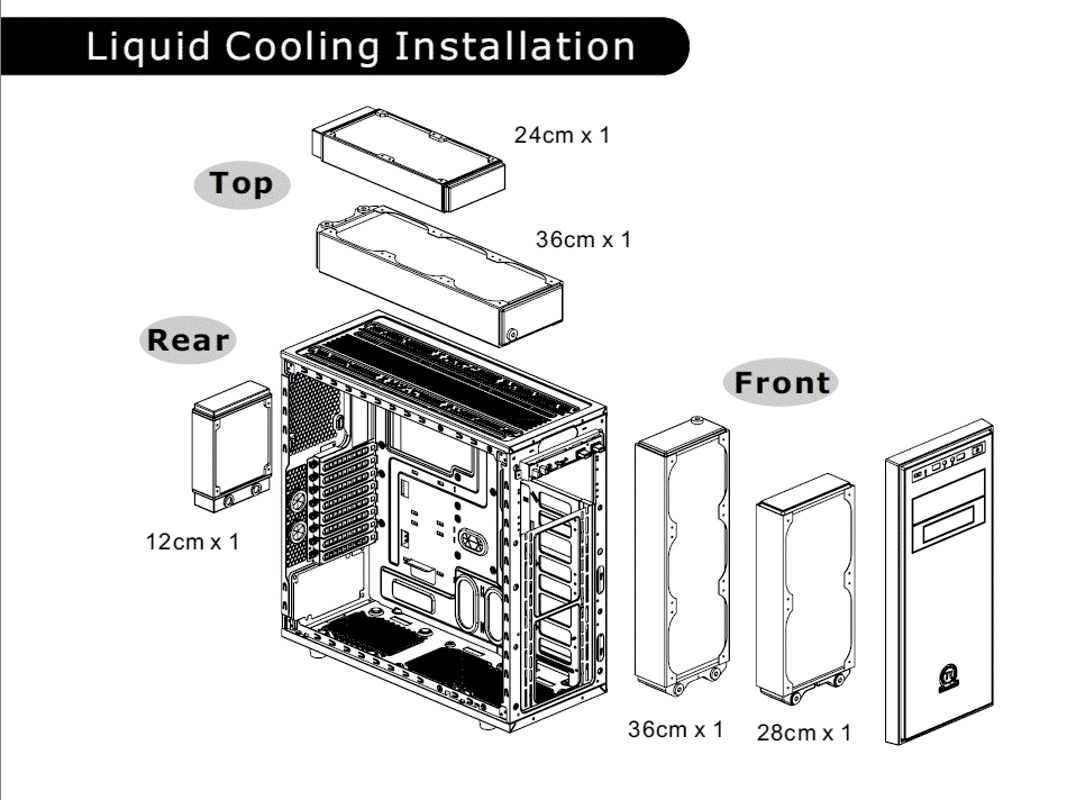
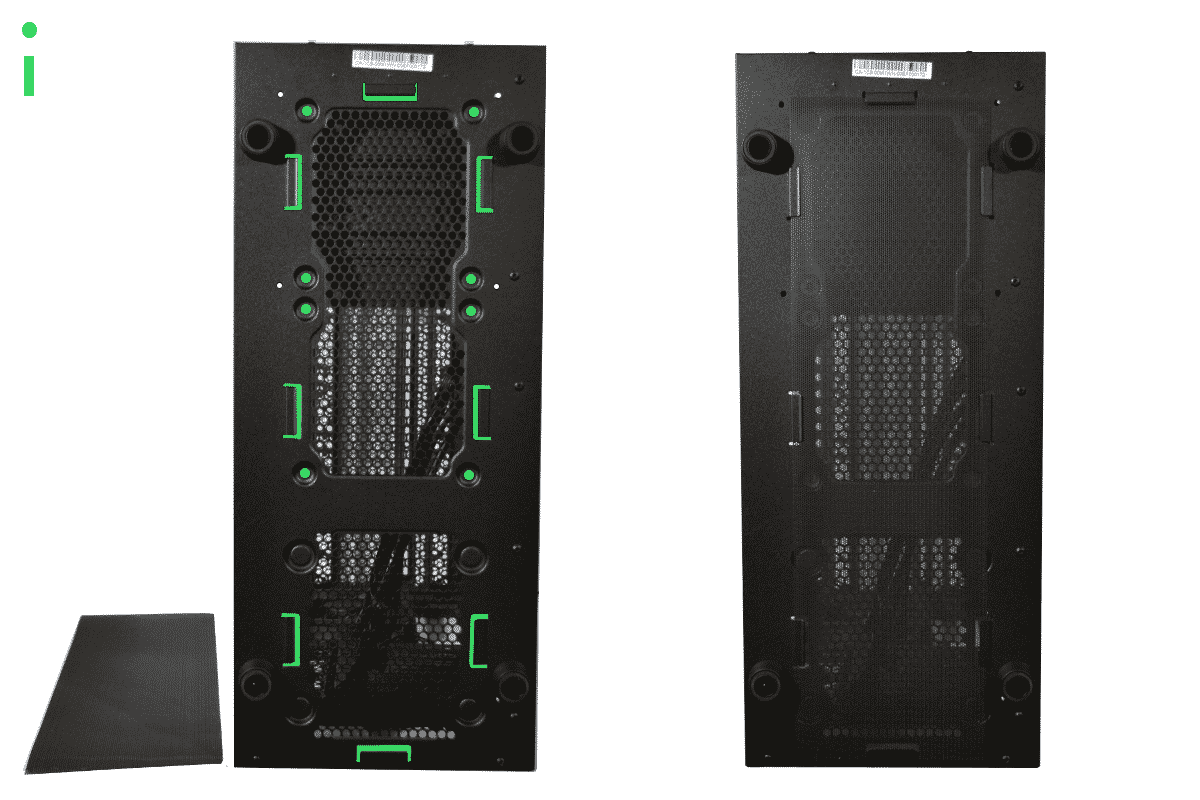
The underbelly of the Thermaltake Versa H34 is covered by another vent that is the same consistency that you find in your home clothes dryer slot but this one is mounted by working it gently around the edges until it’s under every one of the green colored folds. The green is added by us there just for making it easier to see also where there is the added holes for the bottom 120 or 240 mm sized radiator in the bottom front. This case is made for water-cooling all over. There is no doubt to that at all. The most obvious note here is that the filter screen is not magnetic and must be fitted carefully into the pre-cut slots for installation.