A Look Inside
Getting inside the Core X71 is quite easy as all of the side panels have thumbscrews on them. They are the thumbscrews that will actually stay on the side panel so you don’t have to worry about loosing them. After taken the side panels off we can see that the case is designed with two different compartments.
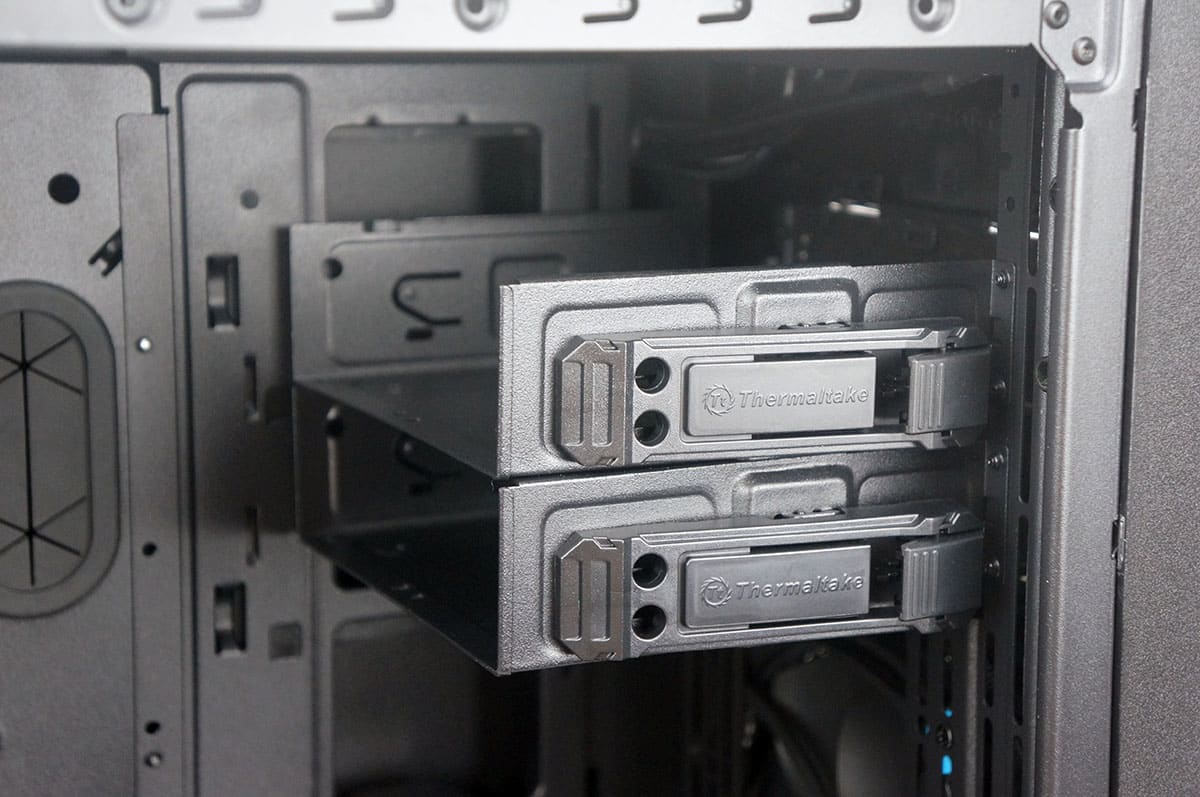
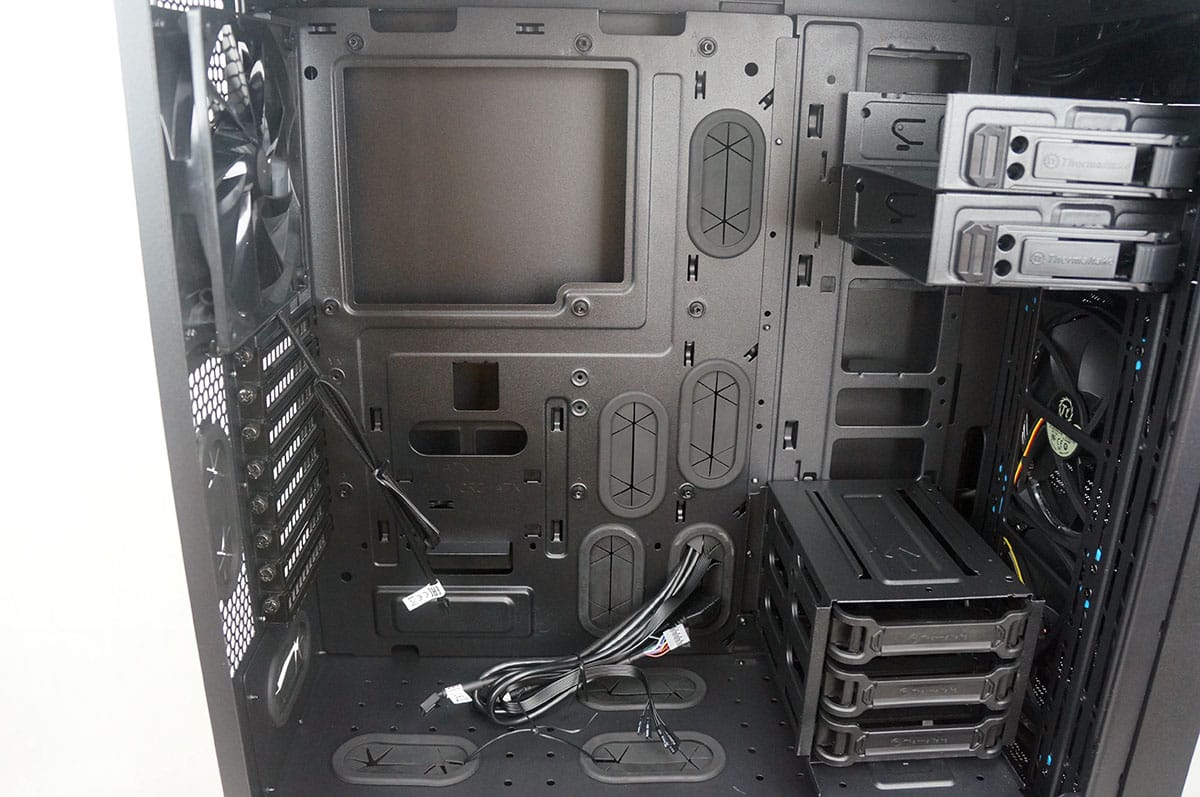
We are going to start at the front of the case where you will find the two 5.25-inch drive bays. These drive bays use a tool-less locking system. Keep in mind if you don’t want to use this locking system it can be completely removed. If you are not using optical drives these bays can actually be used for hard drives. Each bay can support either two 2.5-inch hard drives or a single 3.5-inch hard drive. Don’t need them for optical drivers or hard drives? Well you can completely remove them from the case as well.
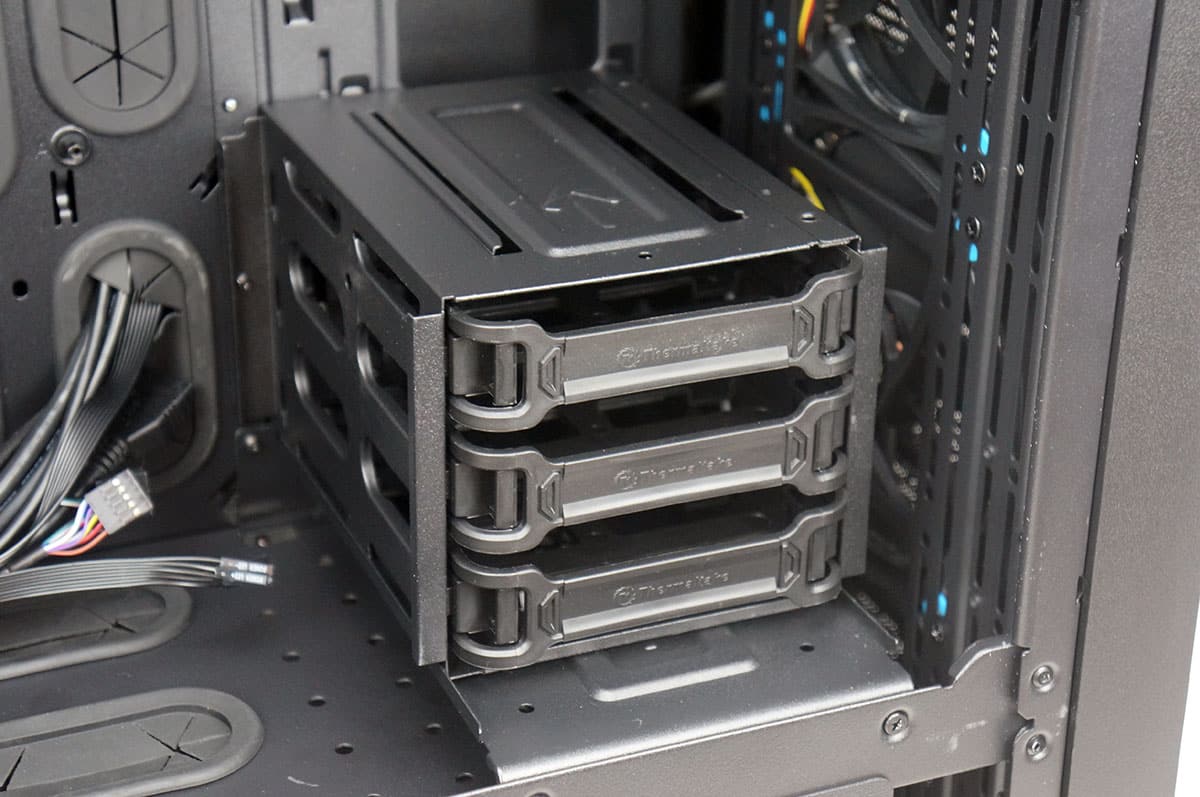
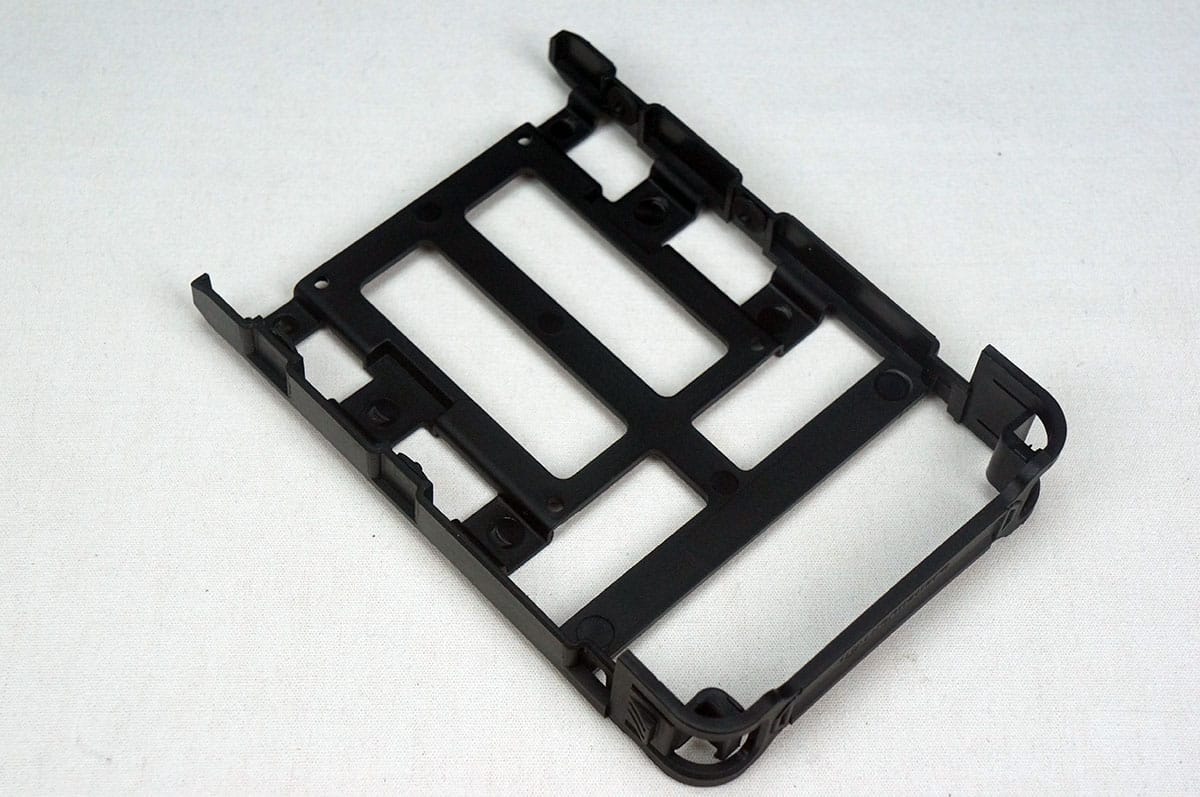
Moving down we have the hard drive cage. This hard drive cage features three removable trays. Each one of the trays support both 2.5-inch and 3.5-inch hard drives. This tray can be completely removed from the case, you can move it up a space or you can actually move it to the bottom of the case as well.
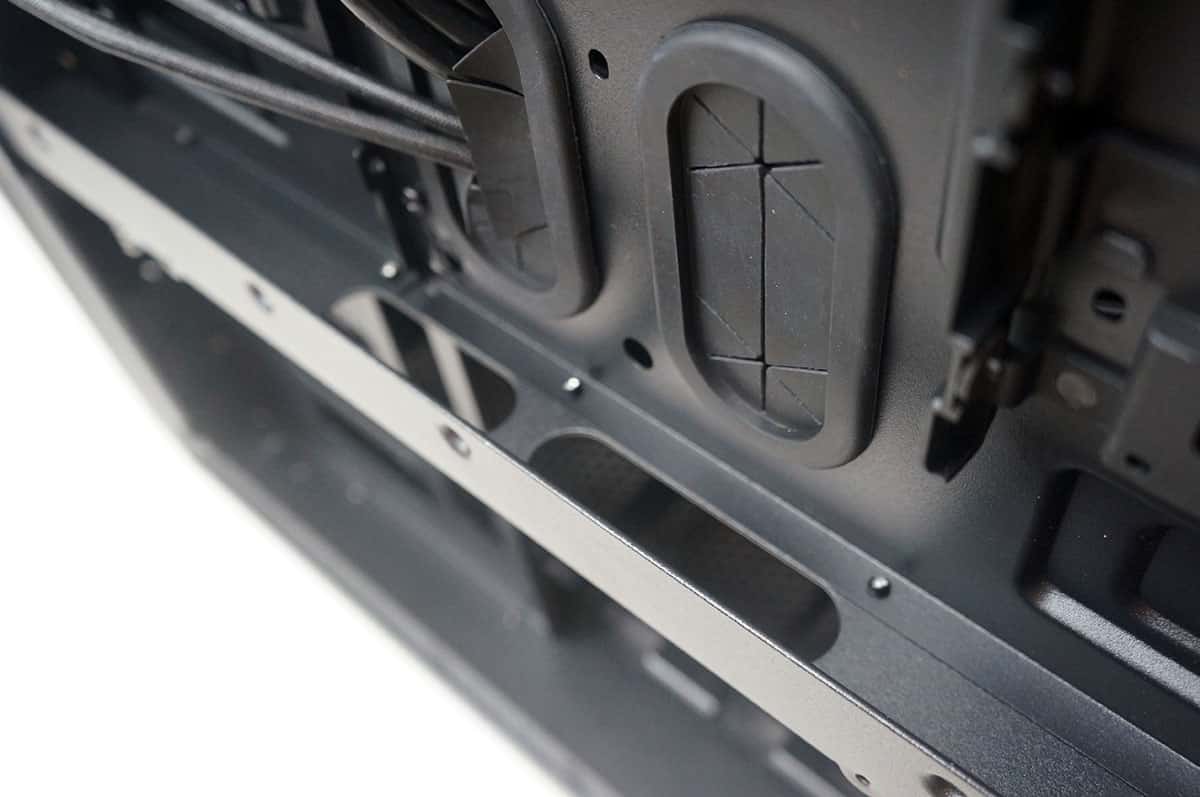
The Core X71 support ATX motherboards and as you can see there is a lot of room for routing your cables. There are a total of 13 cable routing holes in the main compartment of the case, most of which have the rubber inserts installed so you won’t rip or tear your cables. On the motherboard tray you will find a very large CPU cutout too, which will allow you to install and aftermarket CPU cooler without having to remove your motherboard from the case.
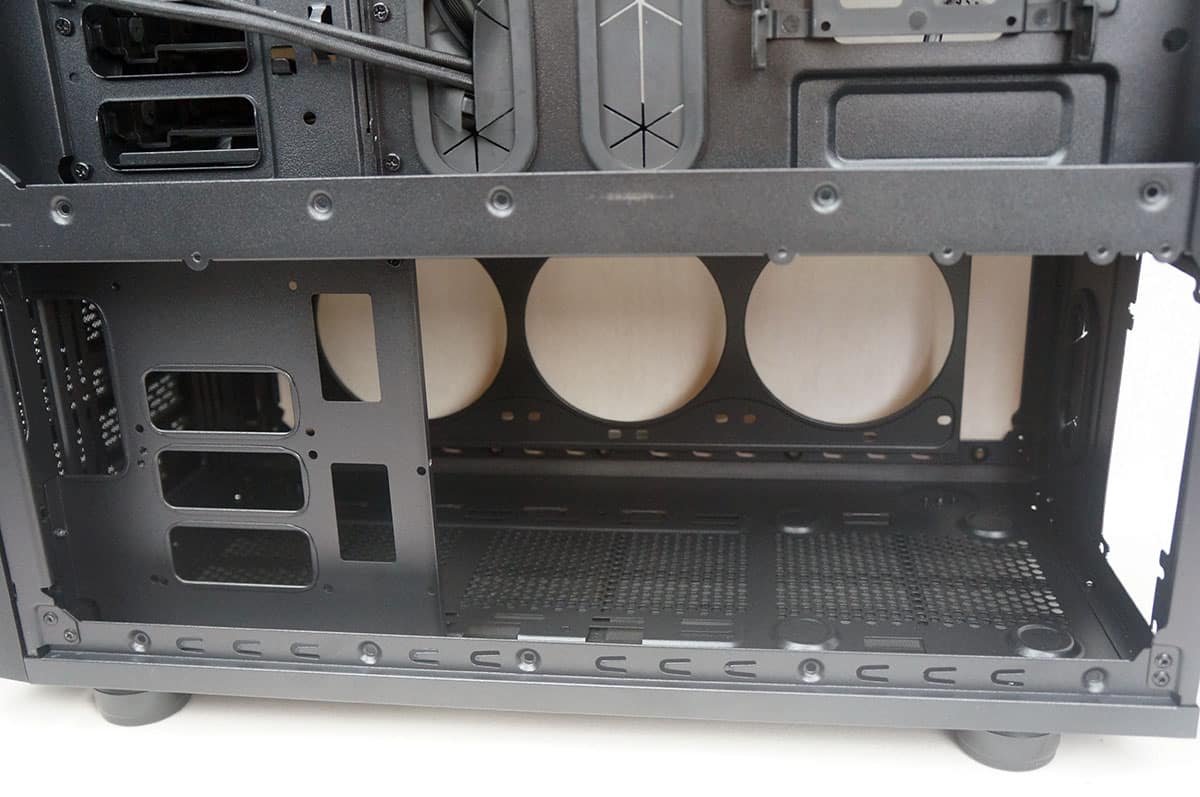
Moving down to the bottom section of the case the first thing that you see is a large cooling bracket. This cooling bracket can support three 120 mm fans or two 140 mm fans as well as water cooling radiators up to 360 mm. Like most things in this case the cooling bracket can be completely removed from the case if you don’t plan on using it. You can also move it to the other side of the case.
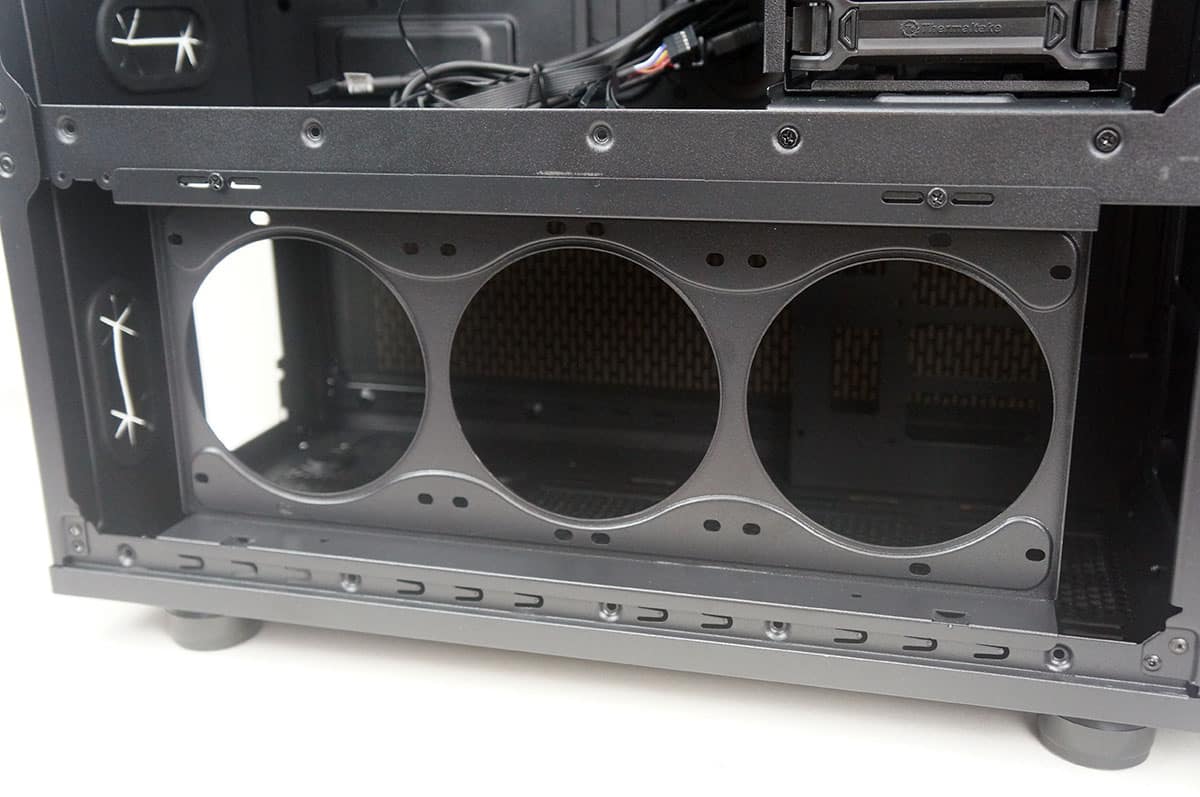
The bottom of the case can also house a full-size ATX power supply. Keep in mind if you remove the cooling bracket you can also move the hard drive cage down here.
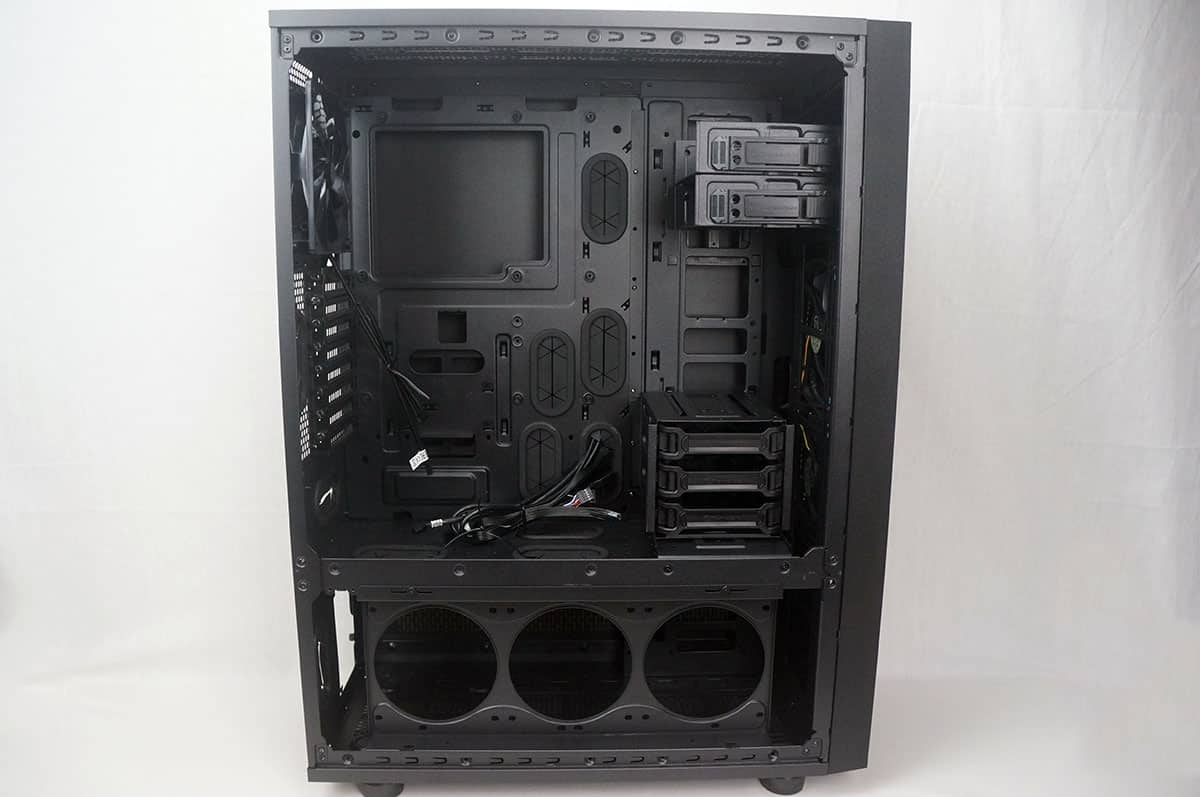
Taking the opposite side panels off the case we can see how the rest of the case is set up. On the backside of the motherboard tray you will find two hard drive trays, these are the same trays that are used in the hard drive cage, so they support both 2.5-inch and 3.5-inch hard drives. These can be easily removed so you can install your hard drives. There is actually a third placement here as well so you can use one of the trays from the hard drive cage if you want.

There are routing holes between the top and bottom compartments which will allow you to easily route your power supply cables up to your motherboard and other components.
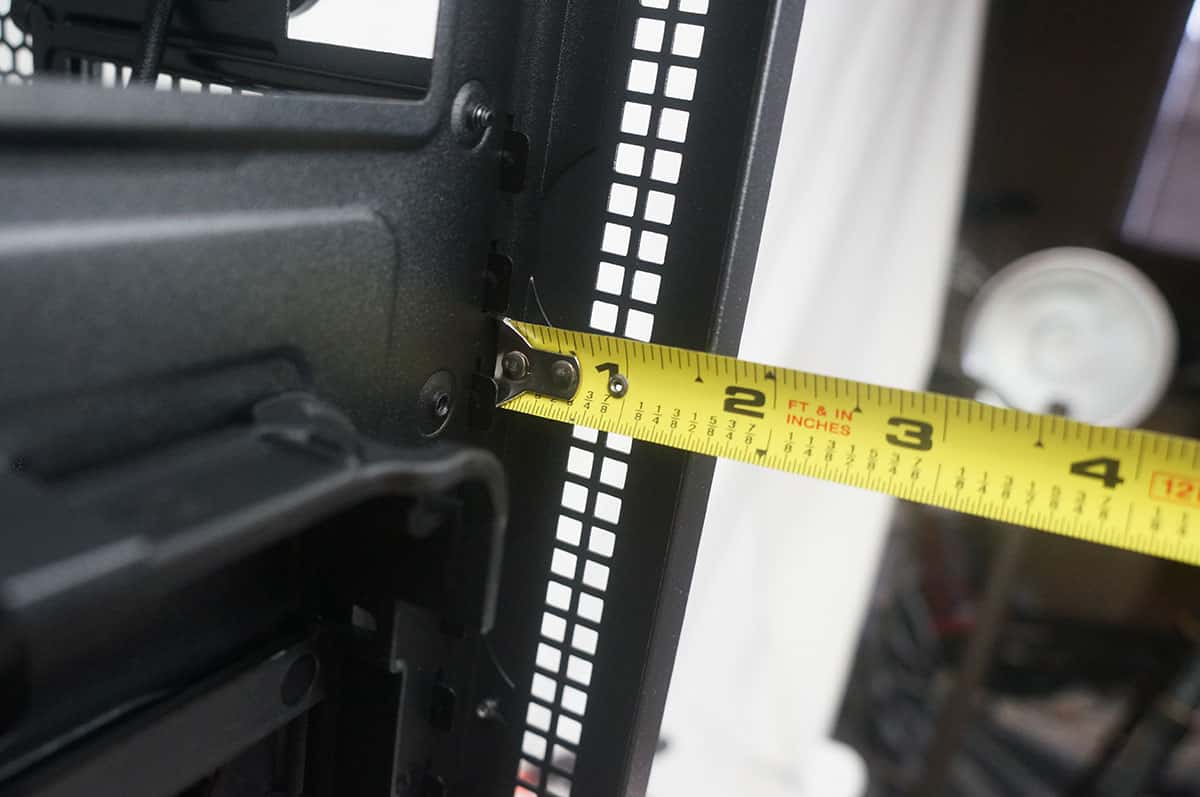
Talking about cable routing there is a good inch and a half of space between the back of the motherboard tray and the back of the case so you should have no problem routing cables.