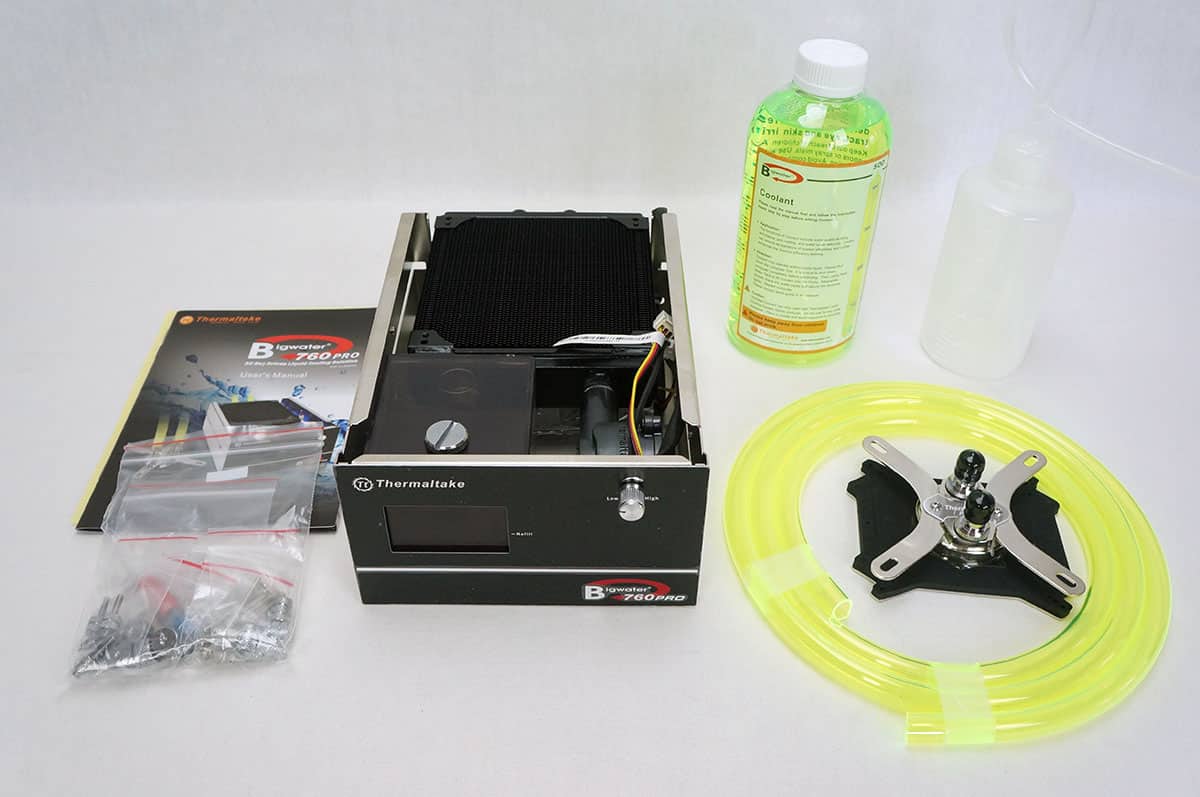
Installation
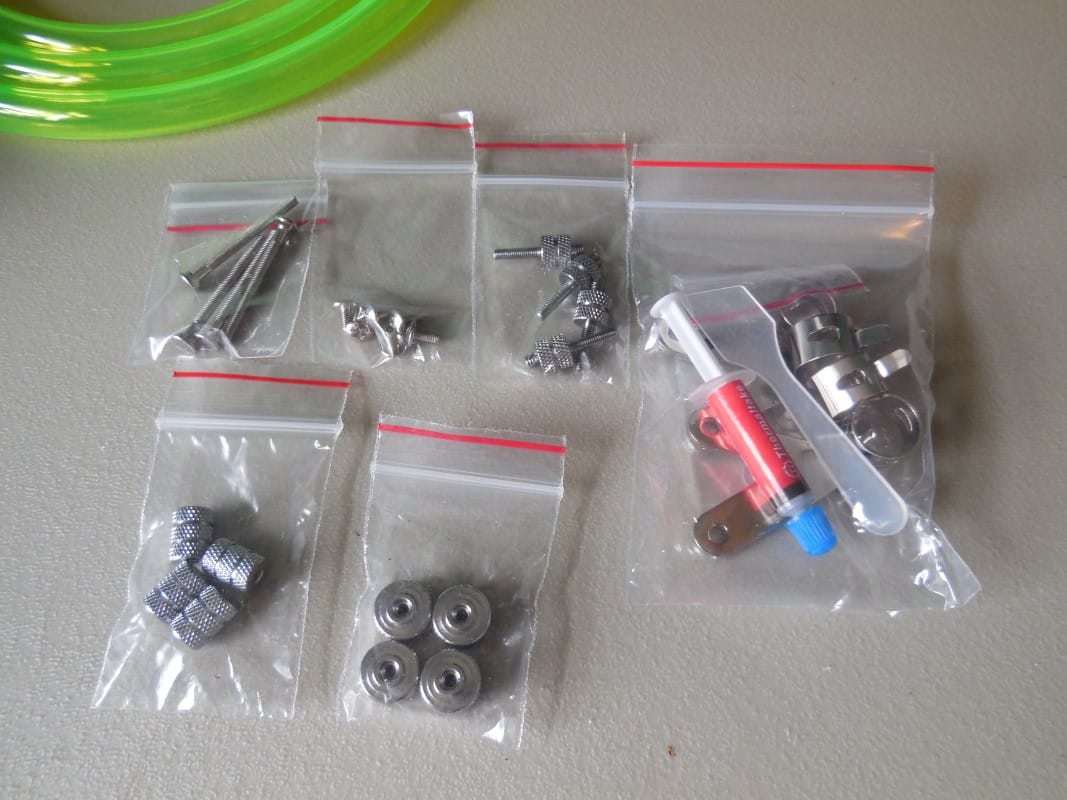
We begin our installation by removing all the small bags of parts and finding the correct ones for our socket. In the manual you will find on the 5th page a full listing of all the parts as well as images of each part. Knowing that we are installing this kit on a socket 1155 board, we set aside the Socket 2011 screws and the AMD mounting clips and included allen wrench.
Next we take universal back plate and push out the foam from the holes we will need as noted in the manual. Also for our socket we take out the middle piece of foam.
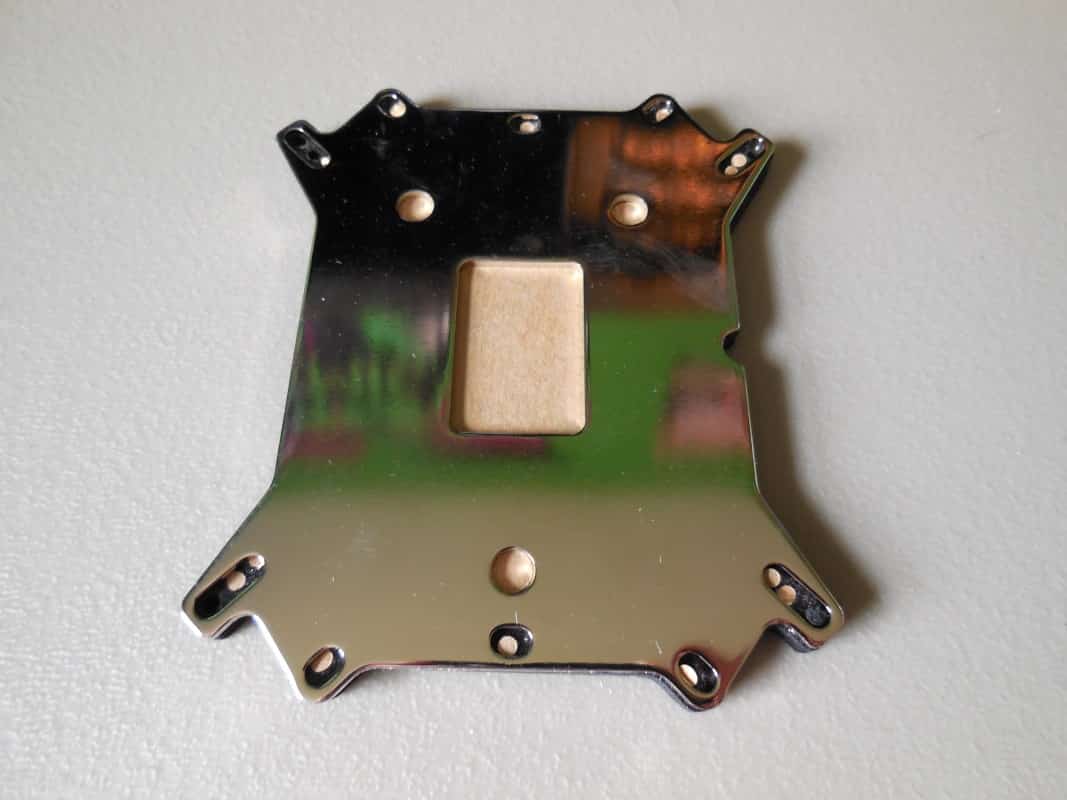
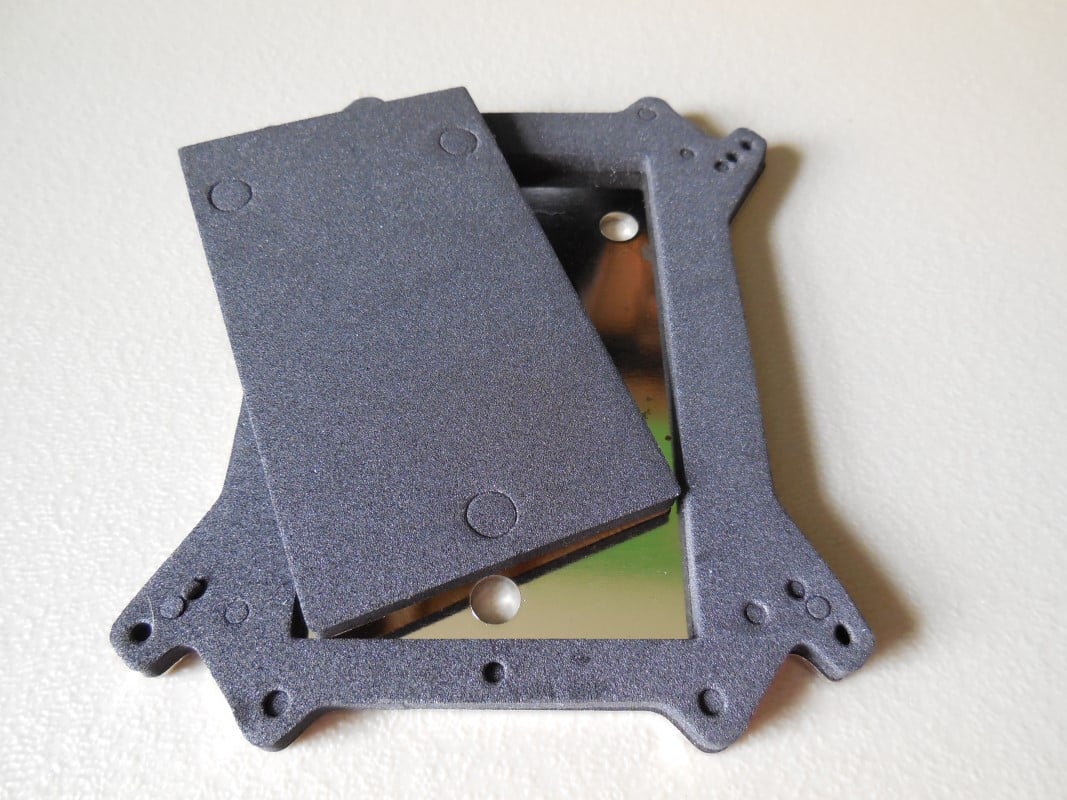
With the backplate ready align it with the holes on the back side of the motherboard, keep it in place with one hand. With the plate correctly aligned insert one of the long screws through each hole. With the screws installed they will hold the plate loosely where it needs to be.

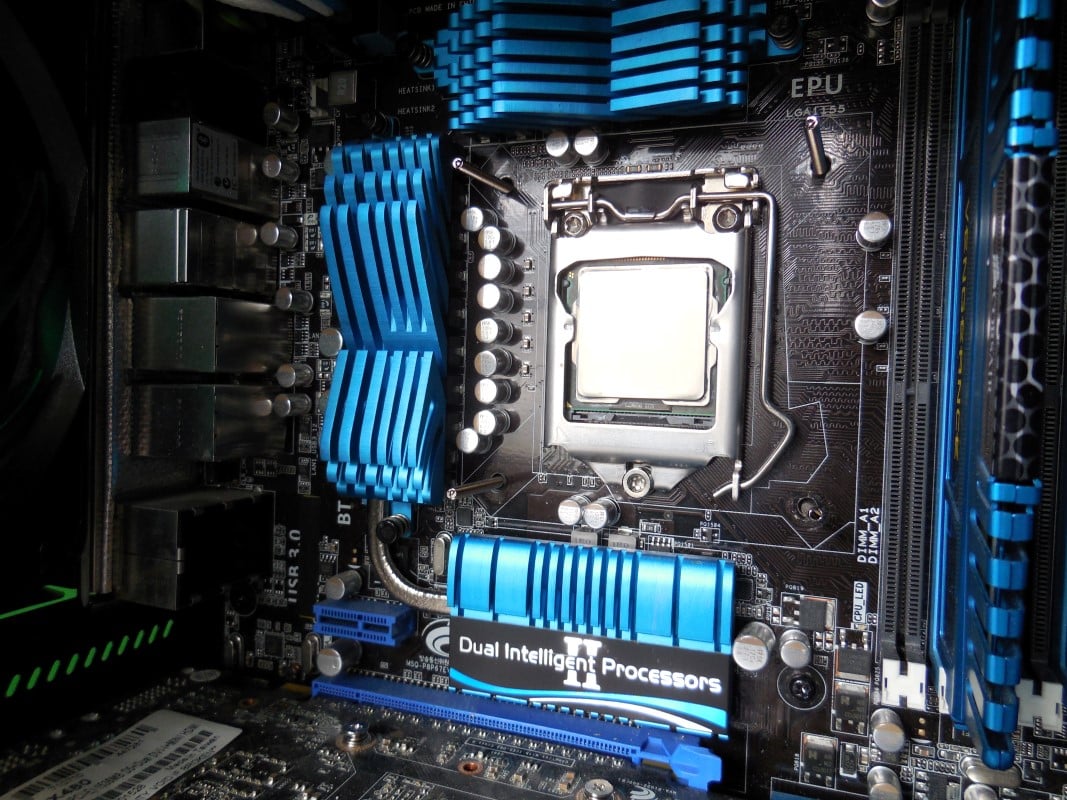
One by one thread onto the long screws the “plastic studs” (ours were metal). These are slightly longer than the nuts that go on top with three rings of grips compared to one consistent one. They should be tightened as firmly as you can with your fingers. No tools are needed here as over tightening could cause damage.
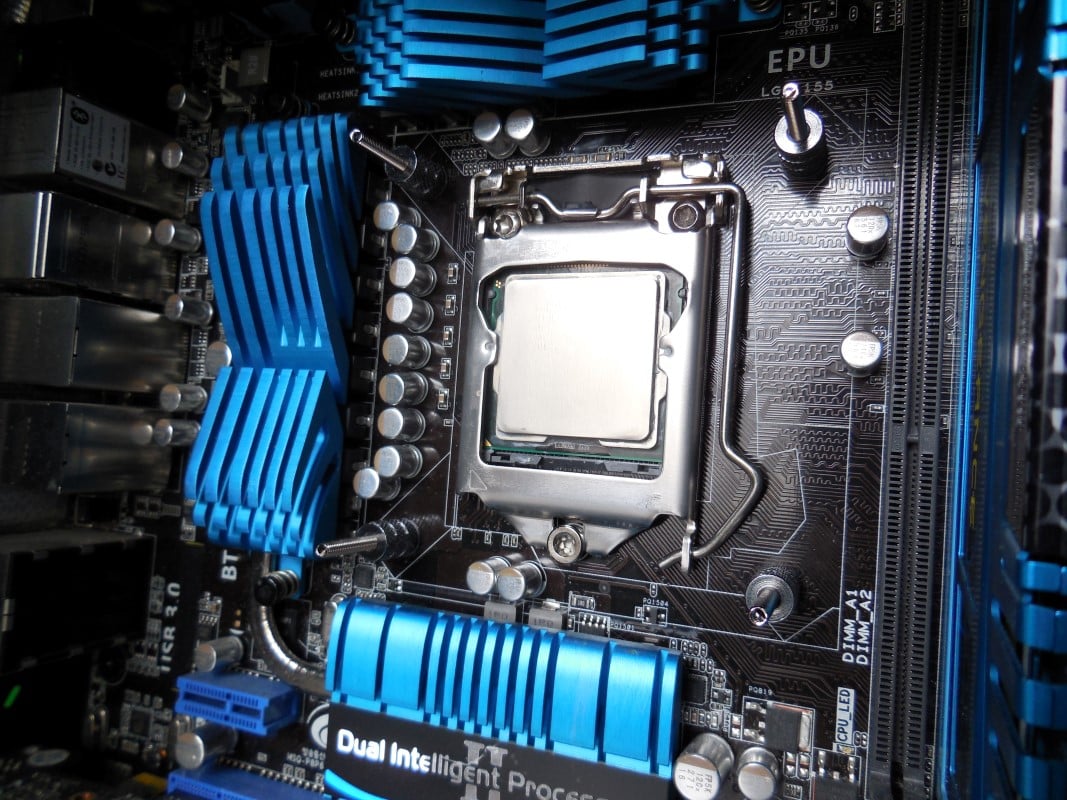
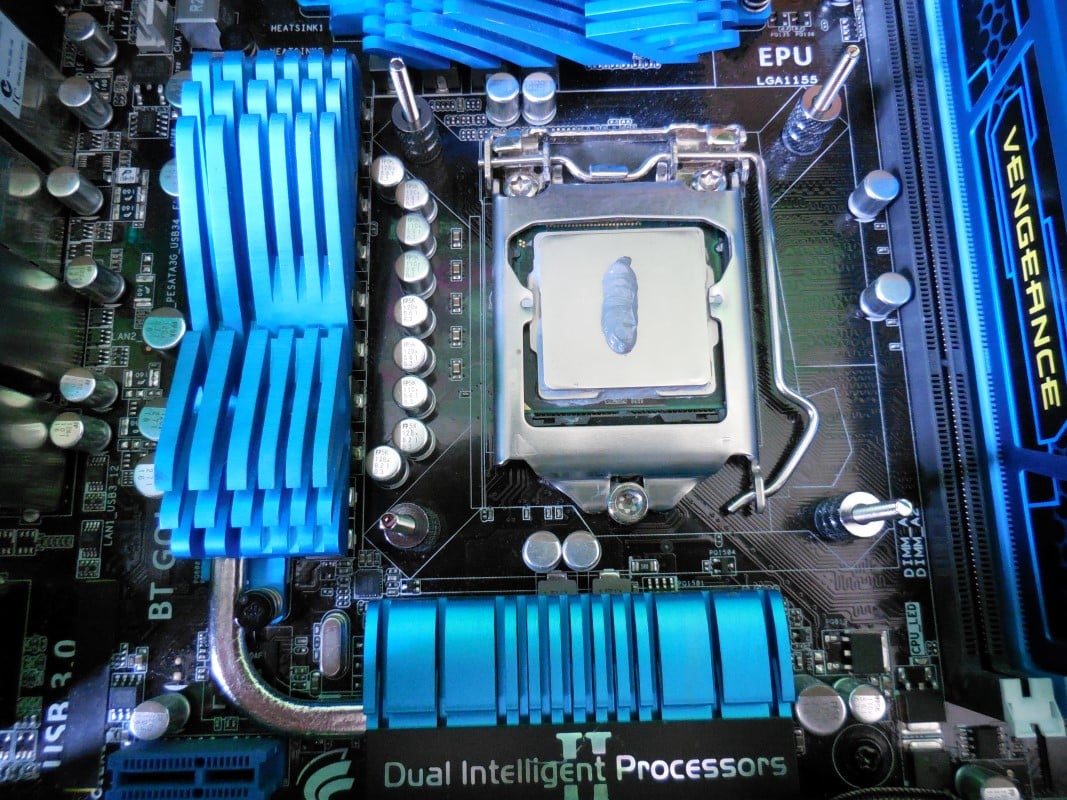
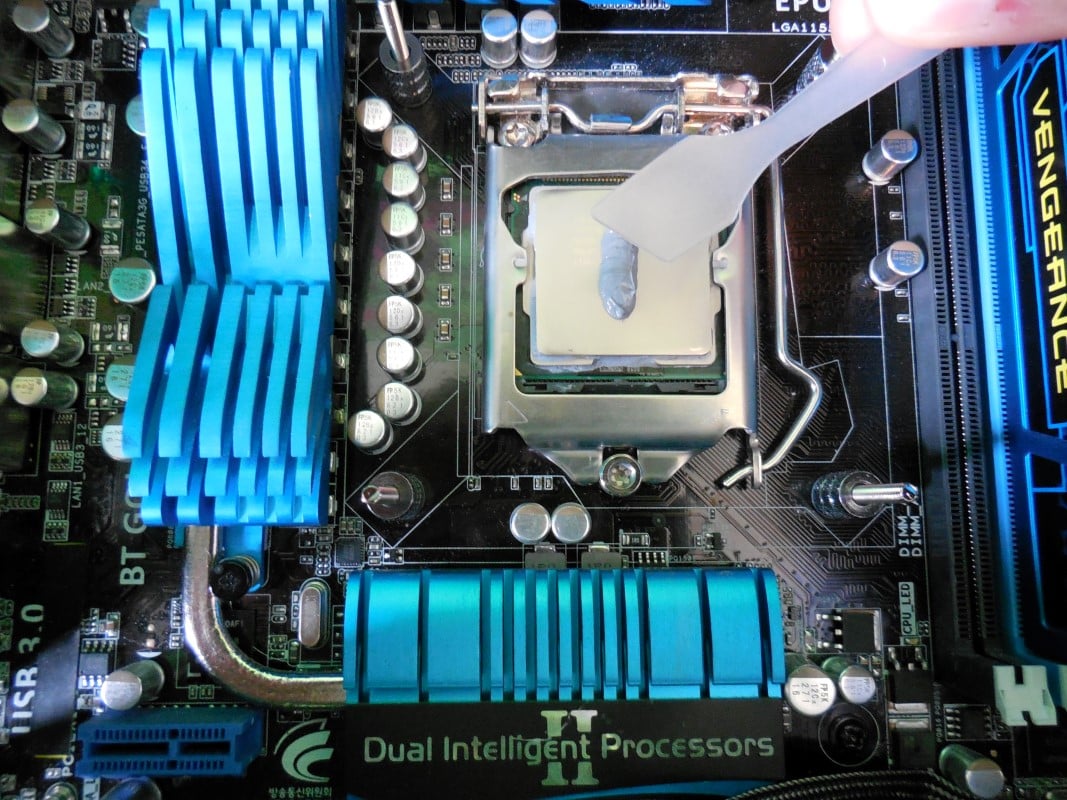
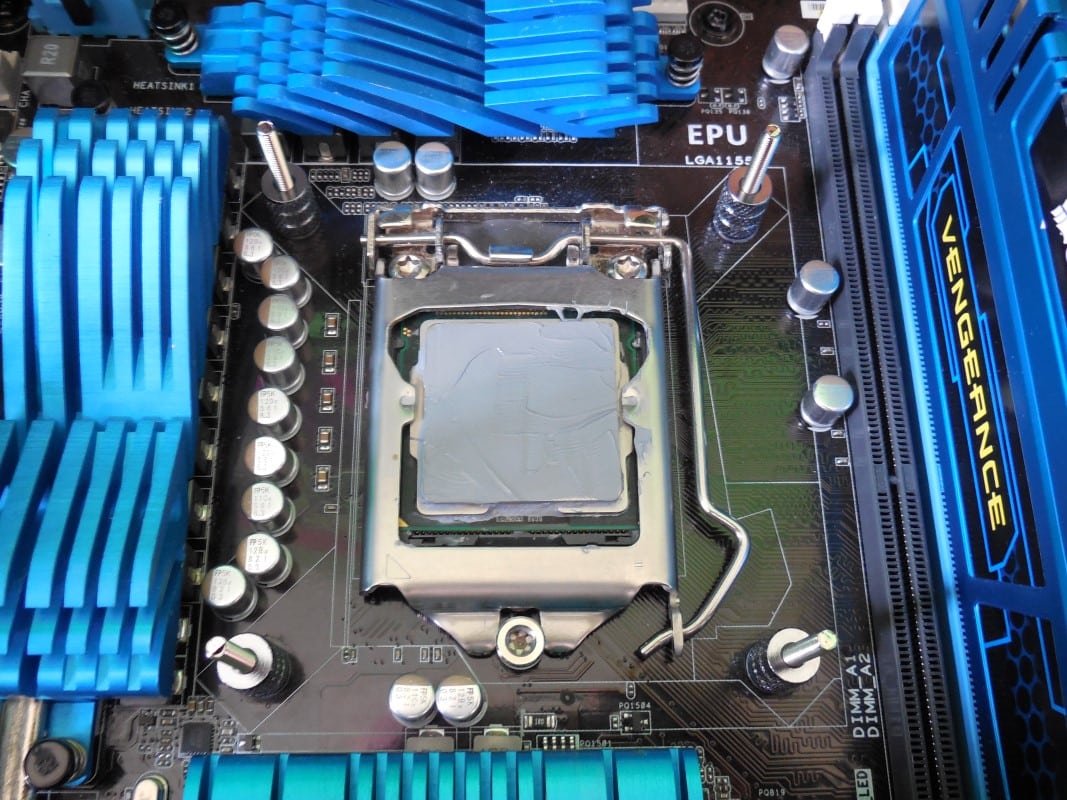
Following along with the manual we are now going to apply some of the included thermal paste. We start out with good amount down the center of the chip. Using the included spreader we do as the manual advises and spread the paste out evenly on the whole surface of our CPU.
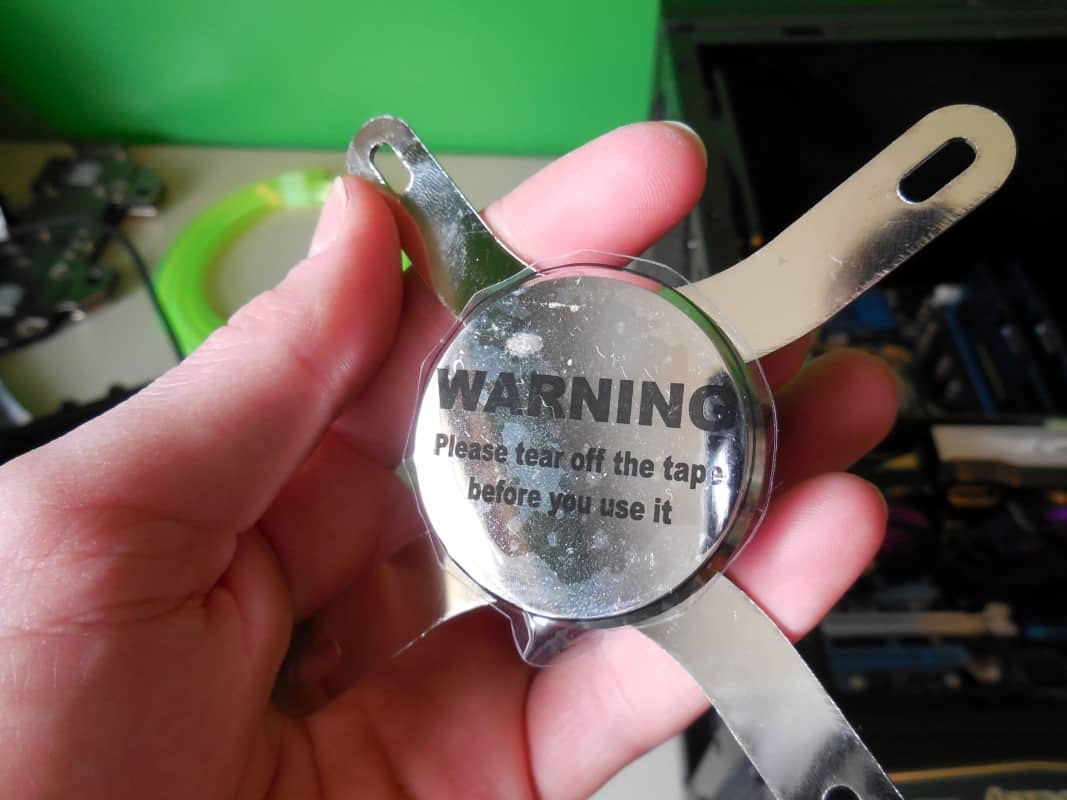
Before installing the CPU block, make sure to remove the protective tape adhered to the base.
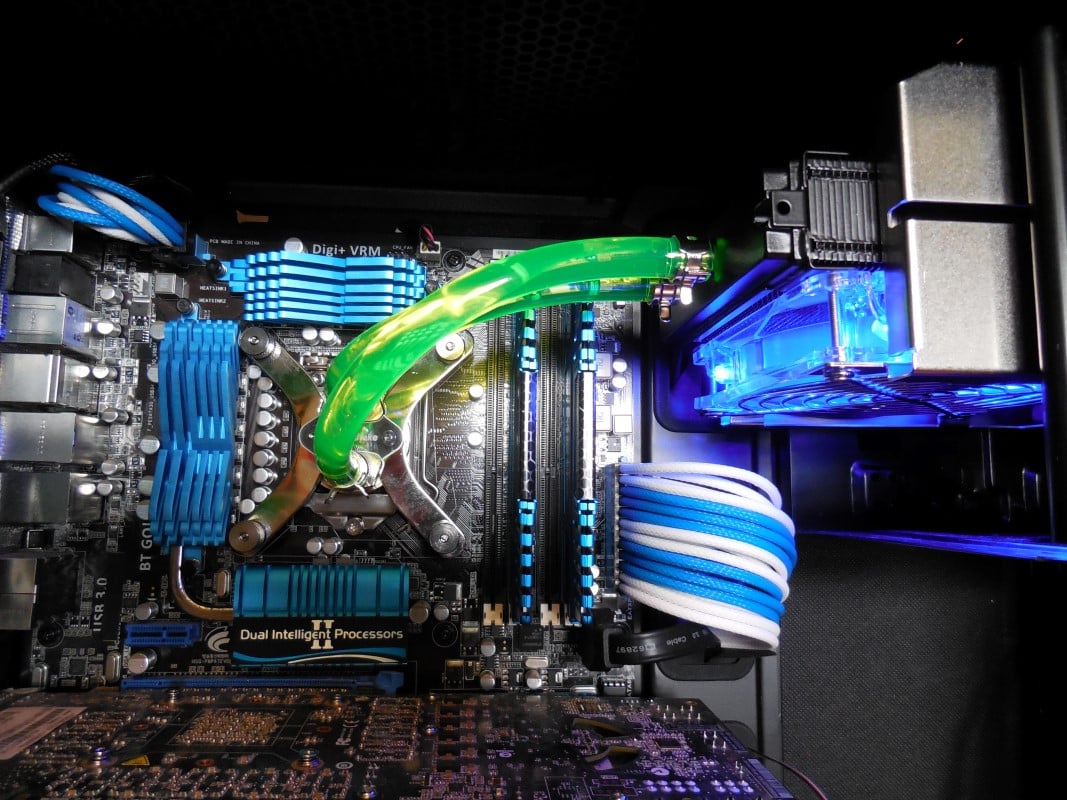
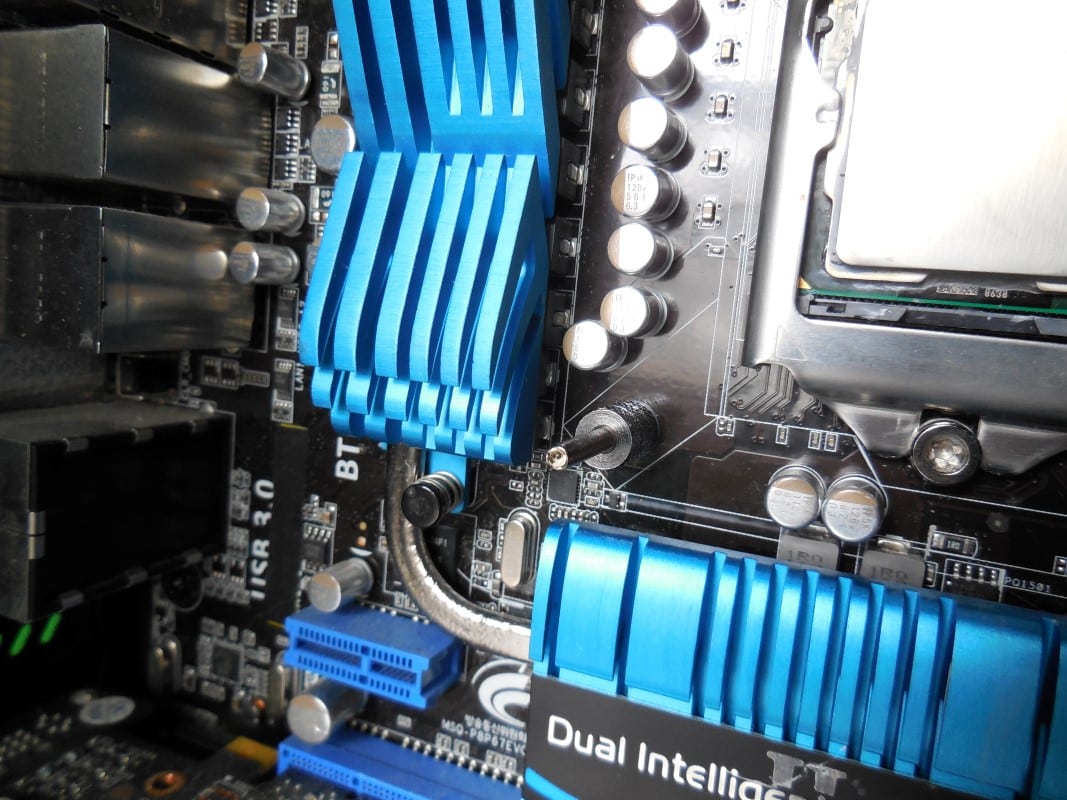
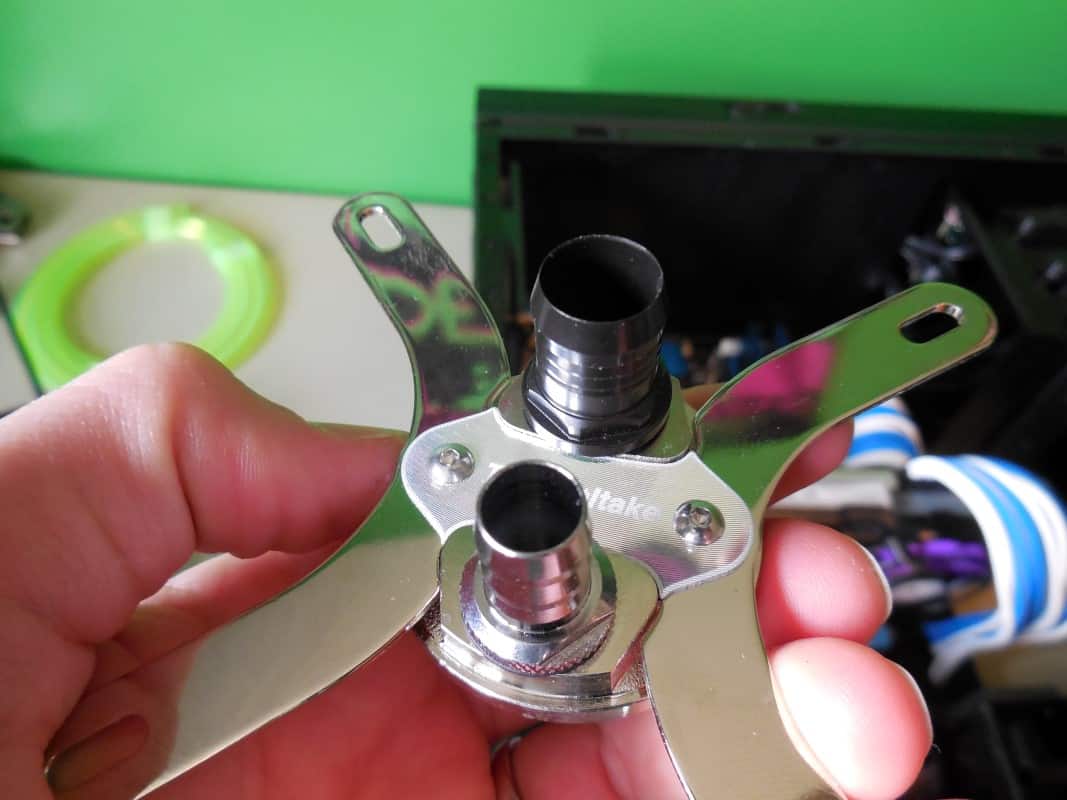
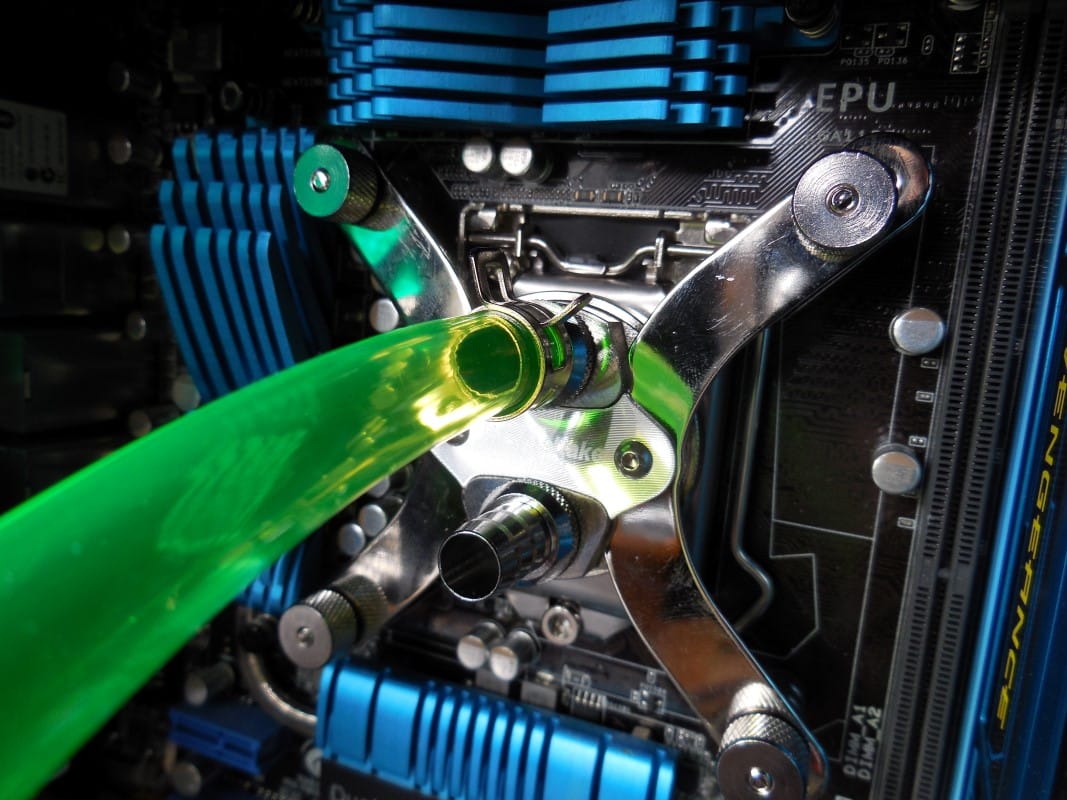
As mentioned and importantly the CPU is taped with G1/4 holes. This gives you the freedom to swap your barbs out if you choose. For example here is a ½ inch Bitspower barb changed out for one of the Thermaltake ⅜” barbs. An odd thing we discovered when we took the barb off was a substance that looks like rust, but is likely dried coolant (presumably from testing) on the inside of the block visible through the port

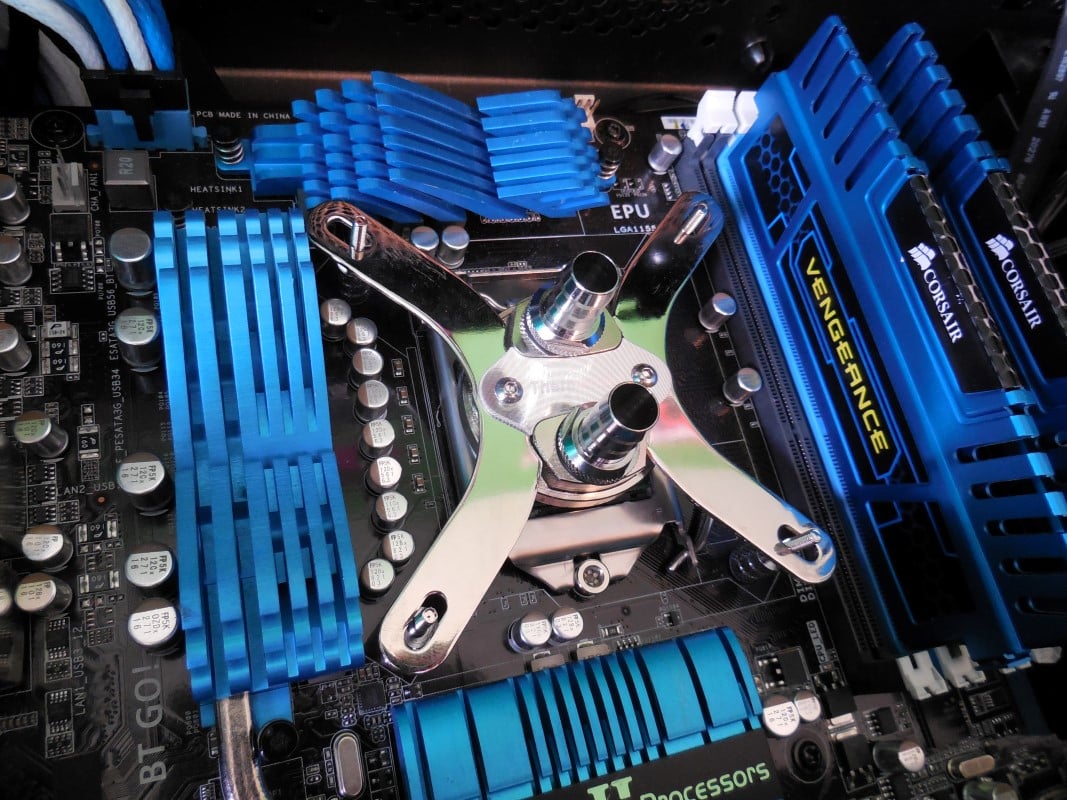
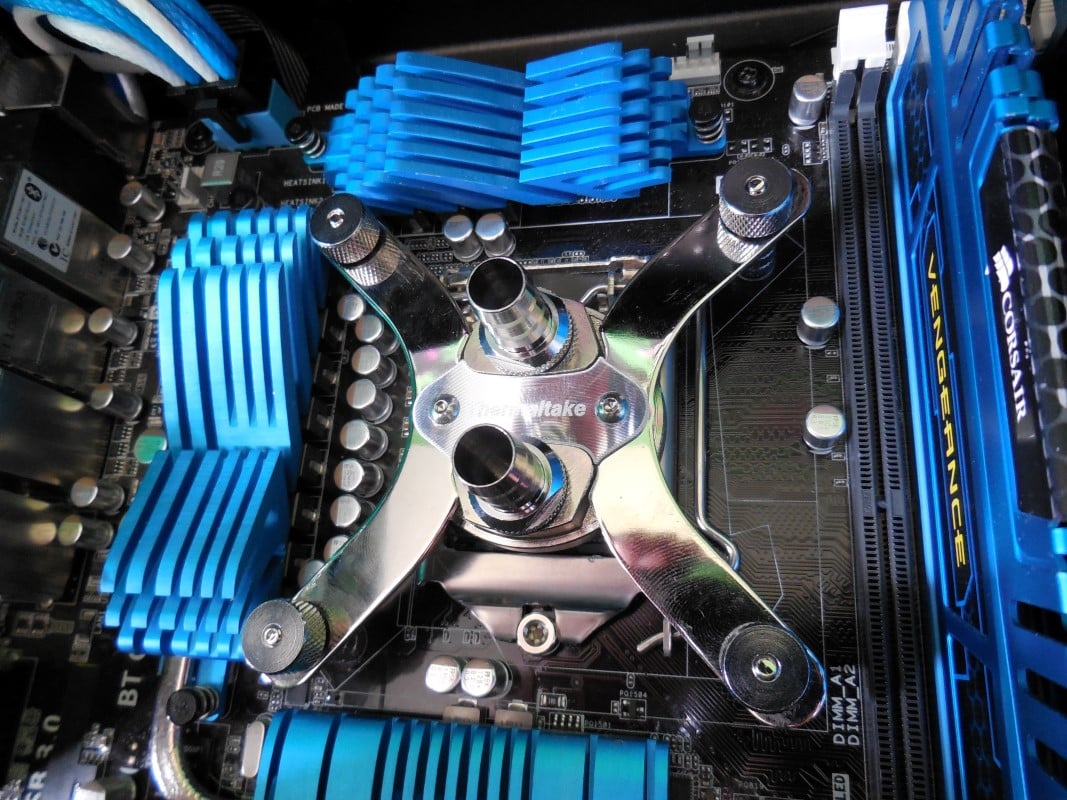
With the factory barbs reattached we install the CPU block onto the cpu. Using even pressure simply press firmly into place and hold. With the block in place secure it using the other set of nuts. The clips will flex down as you tighten the nuts, we recommend stopping when the threads reach the top of the nut and are flush across the surface. This seemed to be a good solid mount, but not over tightened.
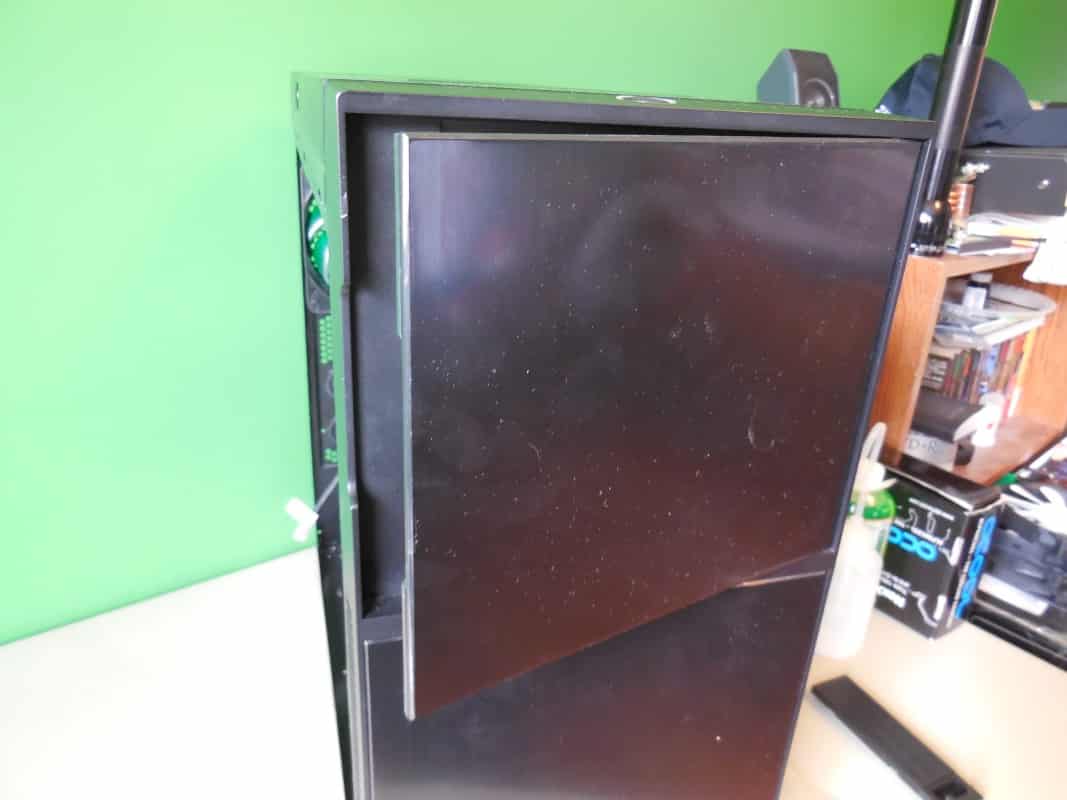
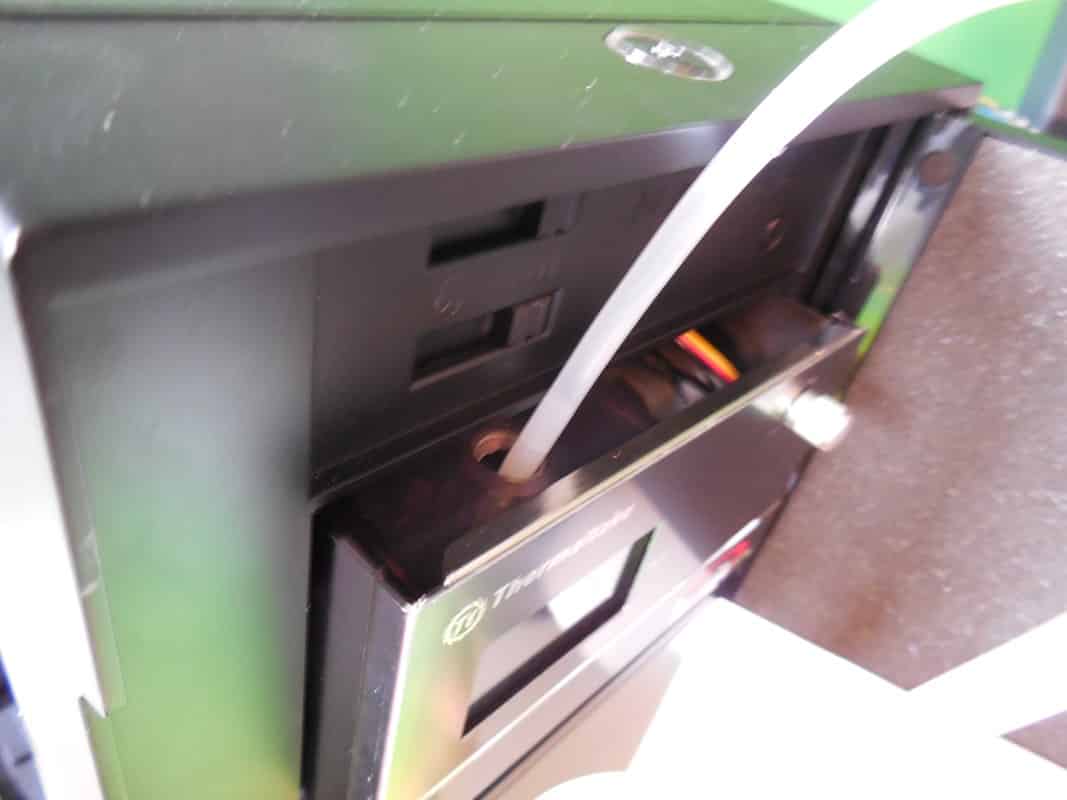
Now that the CPU block is fully installed you will want to install the main cooling unit into your 5.25” drive bays. Consider a couple of things when choosing where to install it. Number one, the fan draws air from the bottom and pushes it through the radiator. If you mount the unit with little to no clearance on the bottom you risk choking the fan. Secondly the fill port is on the top of the unit. This is not problem if you leave enough slack in the lines to pull out the unit one to two inches. The best case scenario would be to have one or more space(s) below and the same above. At this point one potential problem came to light. If you have a case with a door, it will not likely be able to close due to the fan speed control knob.


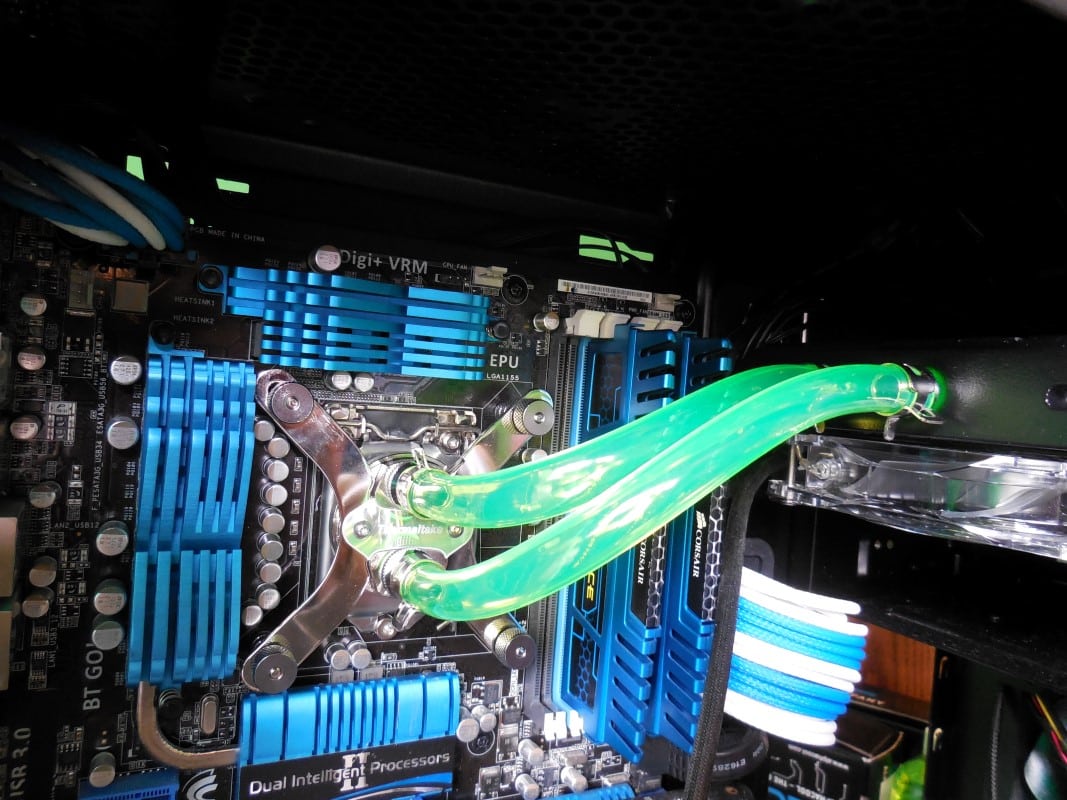
Installing the cooling unit was extremely simple, with it locked into place, it’s time to attach the tubing. The best way to install tubing is to attach one end of the whole coil to one of your barbs (CPU in our case) and then run it to the next barb (radiator here) and cut it to length. To attach the hose to the barb you will want to use a hose clip to secure them in place. Simply slide the clip over the end of the hose prior to attaching it to the first barb. Using a pair of pliers squeeze the clip together, slide it over the barb and release. Once you’ve cut the tube to length repeat on the other end. And repeat the entire procedure for the other tube.

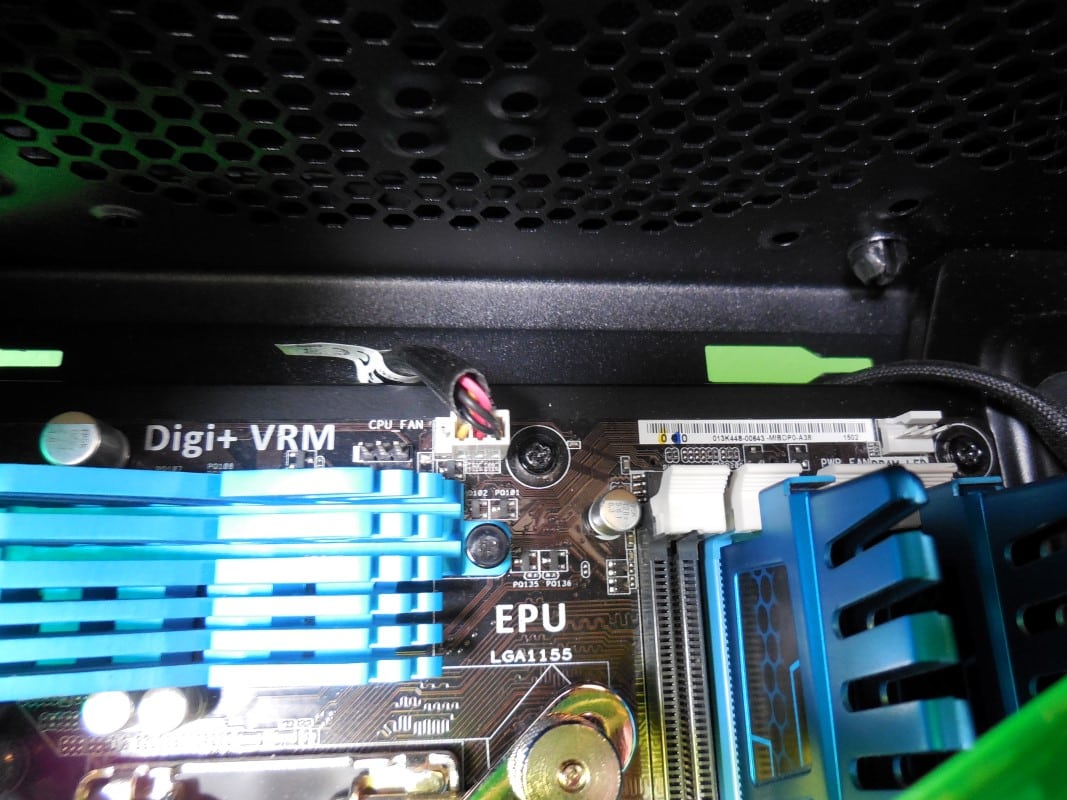
The only steps left are to attach the three pin to your motherboard, and fill the reservoir.
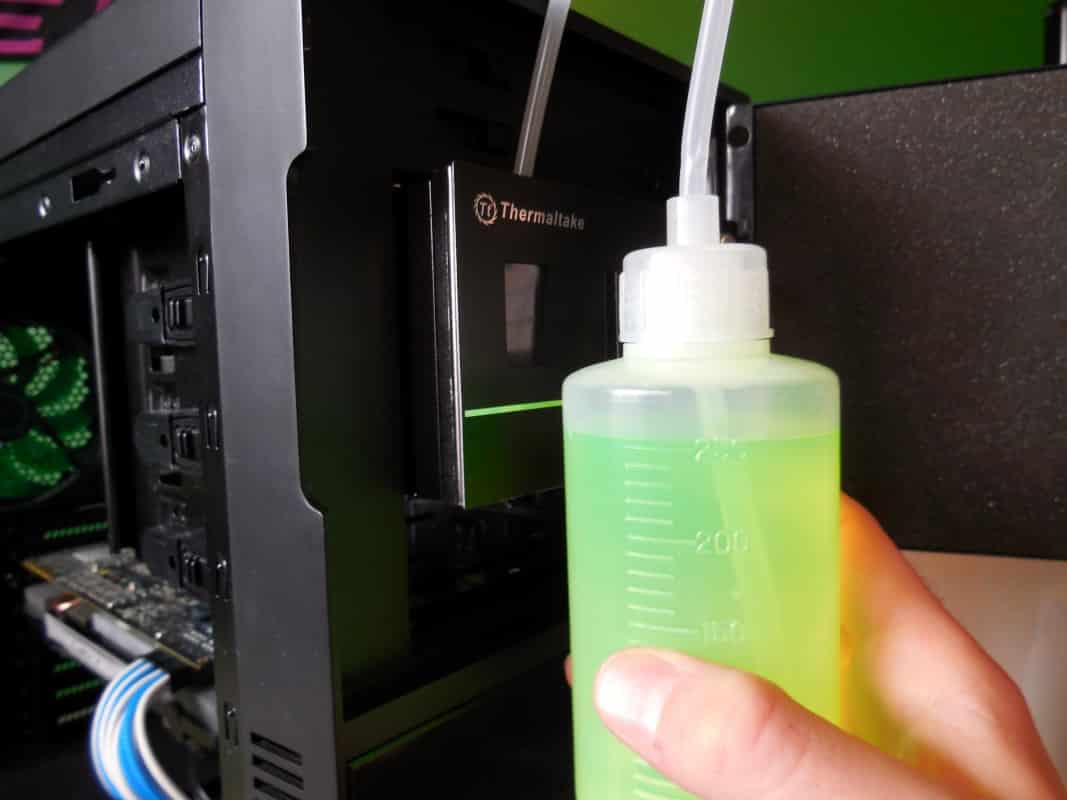
To fill the reservoir start by filling your squeeze bottle with coolant. Pay attention to what you are doing with the coolant. There are quite a few warnings on the label. Essentially you do not want any exposure to this particular coolant at all. With the squeeze bottle filled remove the plug from the reservoir and fill with coolant. Once full replace the plug on the fill port. You will need to repeat the procedure shortly after you’ve run the pump for the first time. There will be air in loop that needs to be purged. When the level in the reservoir drops turn the system off and refill.

The installation is now complete. You will want to put some paper towel over your expensive components prior to turning the unit on the first time. It is possible to have a leak that could cause serious damage. With your paper towel in place simply turn on the machine and let it run. Look closely for any drips coming from the barbs. If you have no leaks, then congratulations, you’ve successfully watercooled your PC!