SilverStone has introduced a few new economy cases that have been hitting the market at just about the same time this early; first quarter 2015. These new econoline cases are not all just from SilverStone but from many other high octane case companies. Here is a quote from the SilverStone website on the Precision Series PS11-Q and the PS11-W.
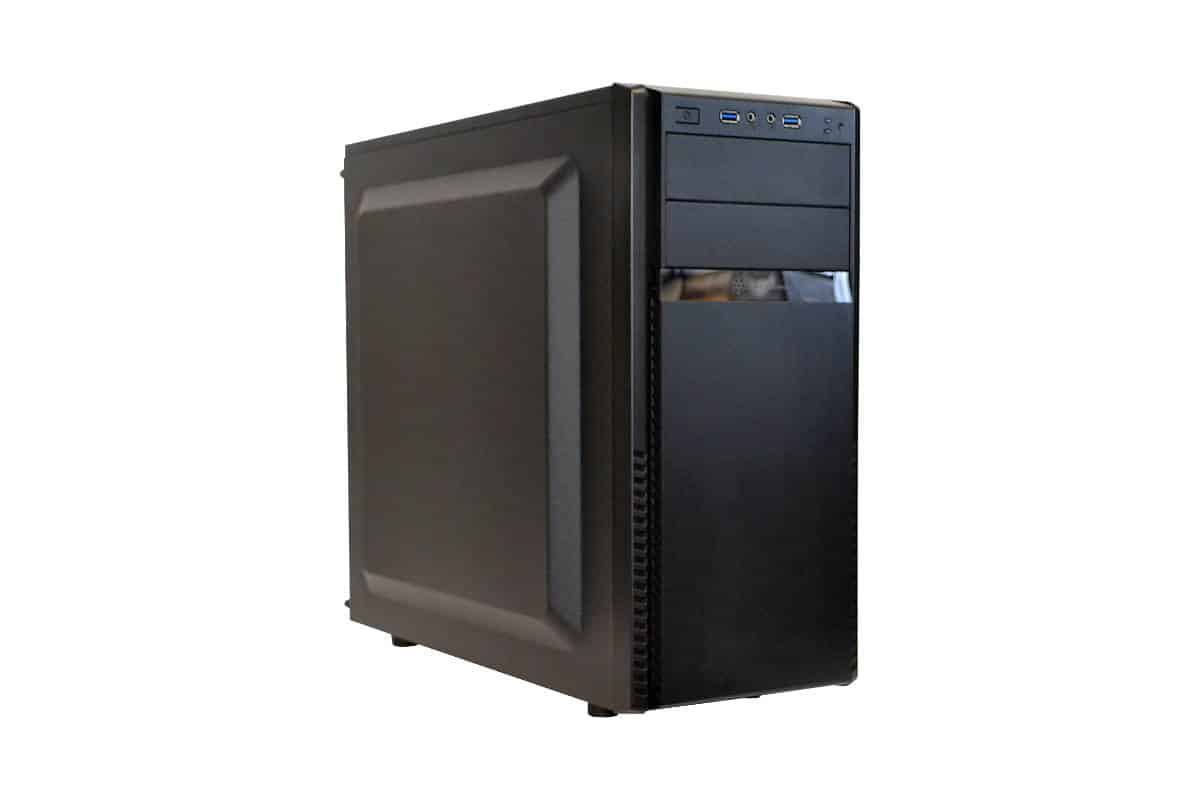
“To meet enthusiasts’ expectations for a versatile entry-level case, SilverStone created the Precision PS11 ATX tower case with no compromise in style or in quality. By adopting the bottom-PSU-mount design, the PS11 has flexible storage options and a wide range of support for nearly all components. Despite affordable prices, it still retains outstanding and practical features such as Superspeed USB 3.0 ports, space for high performance graphics cards, and support for various cooling configurations. The PS11 comes in two versions, one with side window and a mesh front panel for high cooling performance, while the other one has sound absorbing foam and indirect front-side intake vents for quiet operation.”
As a person that has tested this case I wouldn’t quite use the words “no compromise” in the discription of the case theme above. Actually by the fitting of the panels and the lightweight nature of this cases steal frame and the plastic it is the very epitome of compromise.
Take for example instead of two 140mm fans in front, there is only one 120mm fan instead. Is that a compromise? There is no back exhaust fan which has been a staple with every case I have ever seen until now. Is that a compromise? Is the length of the (Mic/Headphone) front panel wire being too short a compromise? Or has the words on the box been compromised? The word “INTRODUCTUON” as printed on both of the boxes that I got from SilverStone were both spelled in the very same way. Is that a compromise?
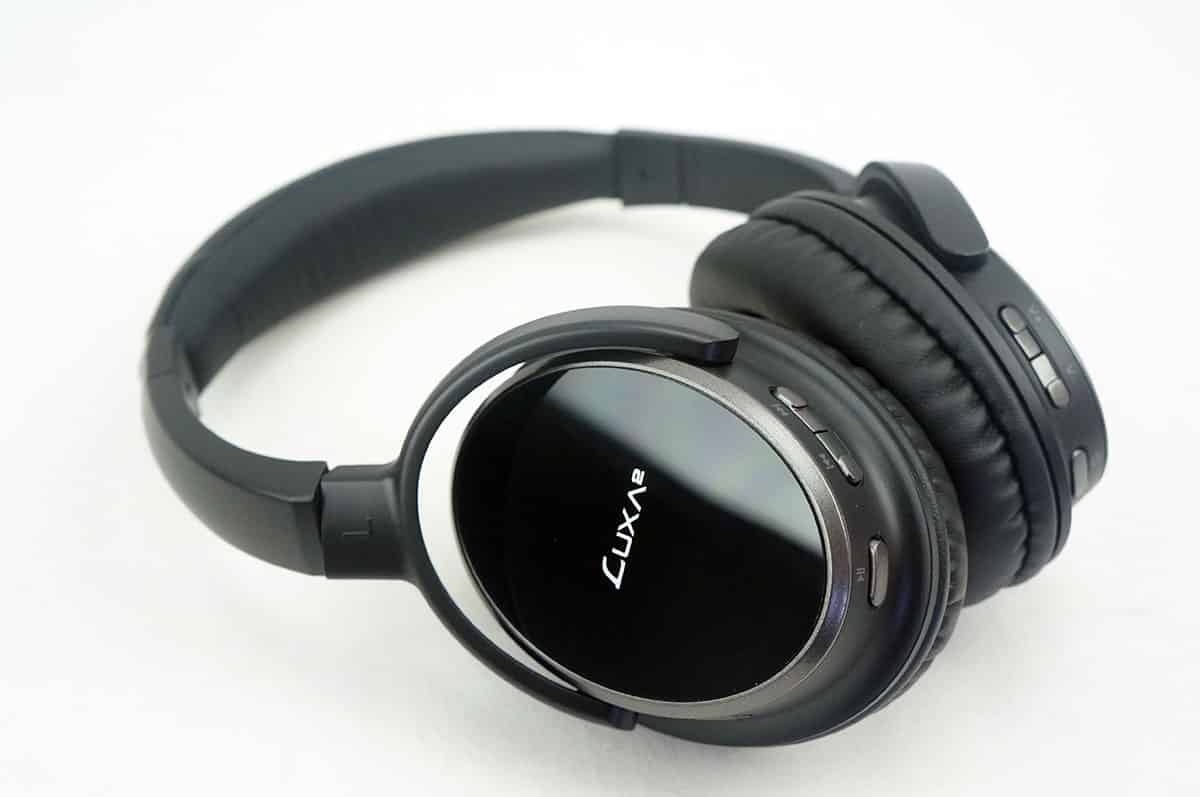
Okay lets stop accentuating the negatives, because there are some good parts as well. For the compromises you do make you get a nice looking case that has a really nice mirrored finish emblem two fully autonomous USB 3.0 Ports and some small amount of foam on the inside of the panels to keep them from vibrating to the heartbeat of your hard drives for $50.00. The engineering is really neat as the whole top panel can be completely removed to easily build inside. Don’t worry, there are no mention of the 10 screws that hold the top cover on, in the manual, but if you are fortunate enough to have read this review or you figured out on your own why they used Phillips head screws to hold the top panel instead of rivets, then you can remove them quickly and effortlessly and replace the top back on after the build is completed. If you remove the top, building in it at this point is as easy as any case I have ever built in or easier. There is no window on the Q version, so you don’t have to be a virtuoso at cable management; except for the routing that darned HD AUDIO cable which should not be a problem if you plan on building a Micro-ATX board into this case. At that point it’s the perfect length exactly to the micrometer. If you are going to use a standard ATX form factor motherboard you may need to buy an extension for the HD Audio header, that is, if you plan to use the header that is usually located low down on the bottom back of the ATX sized motherboard under the graphics card as most usually are you will encounter some difficulty. If the header is above the graphics card then you are golden. There is plenty of room for my 160mm tall fat air cooling solution that costs more than the case itself, but it fits with the proverbial top down without any problems at all. As I installed everything I could to the board first before fastening the motherboard into place.