Installation
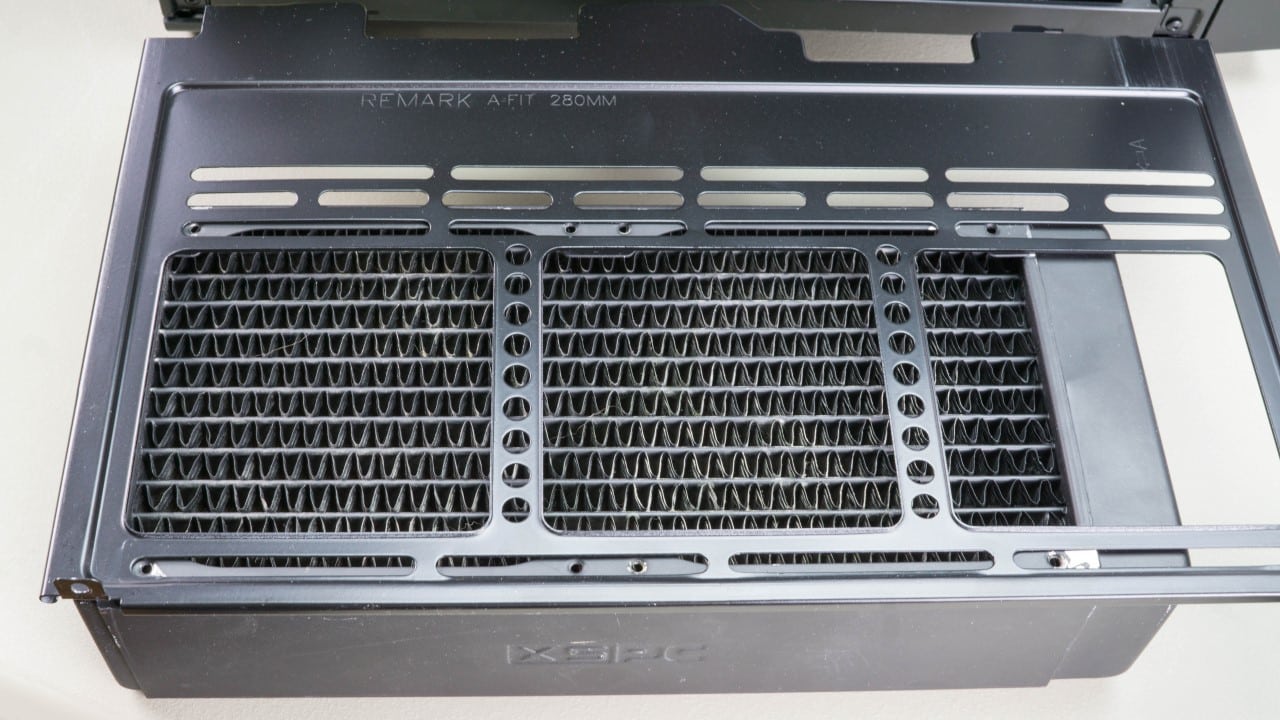
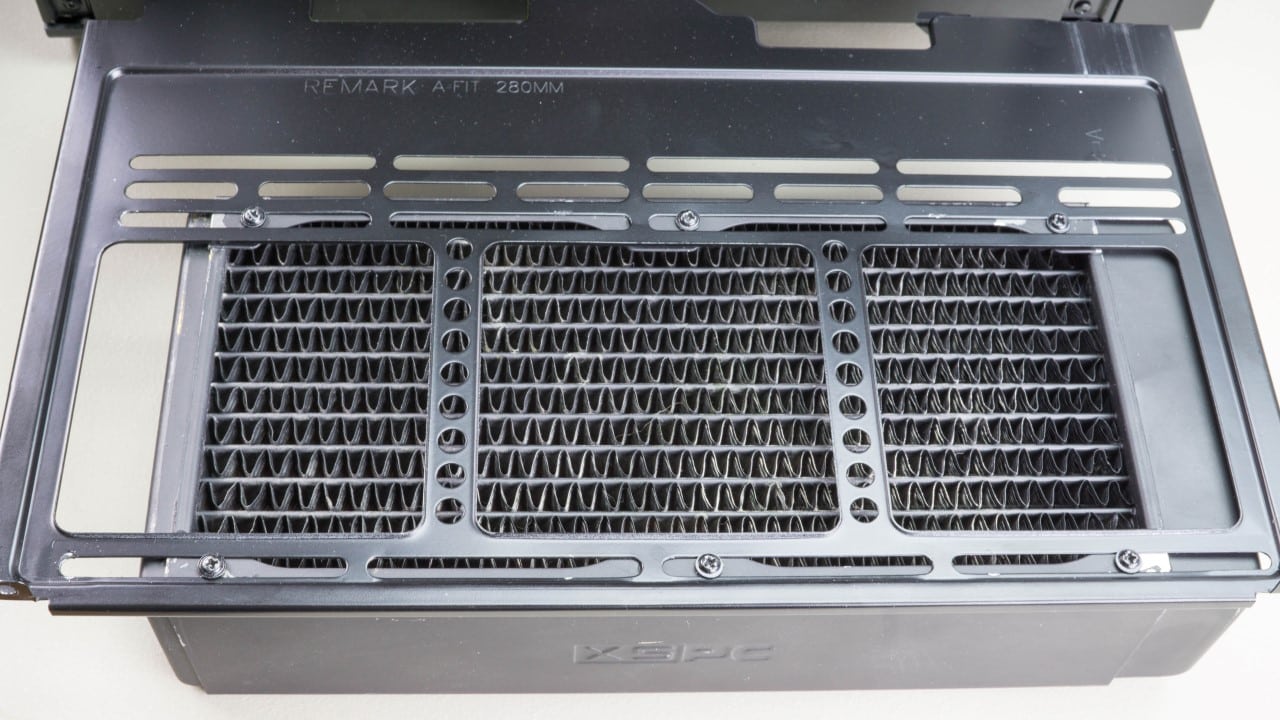
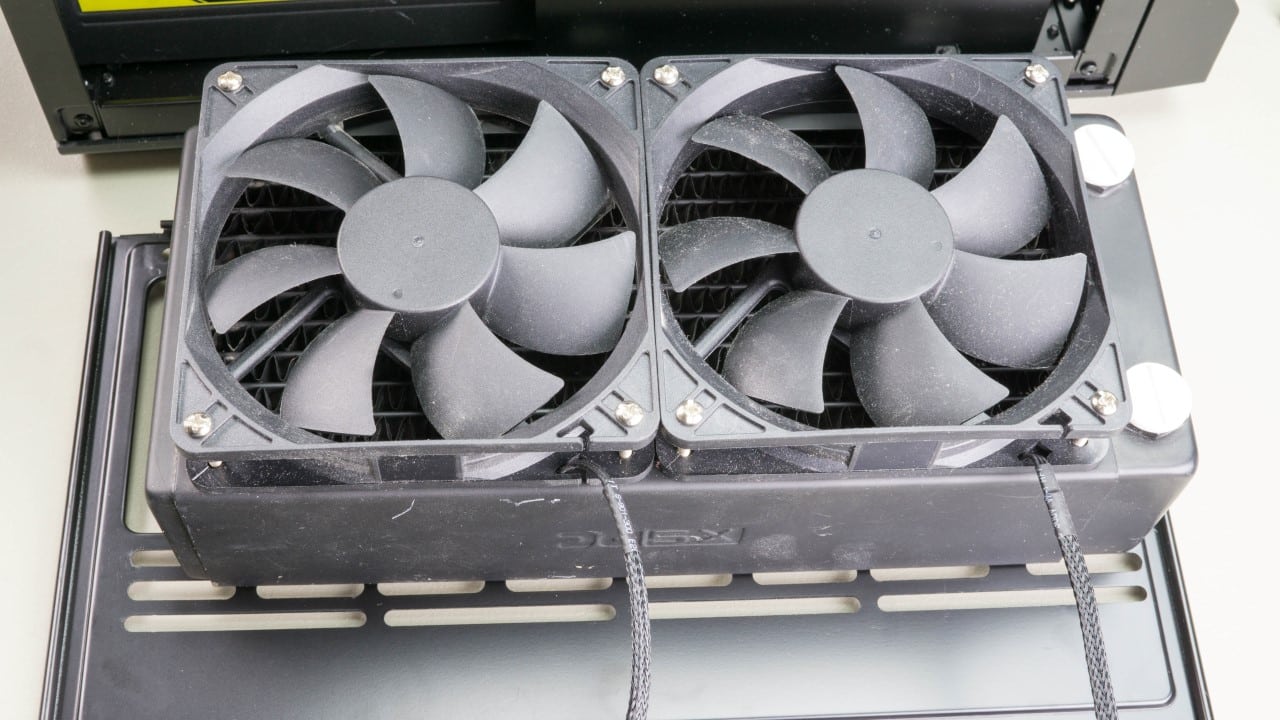
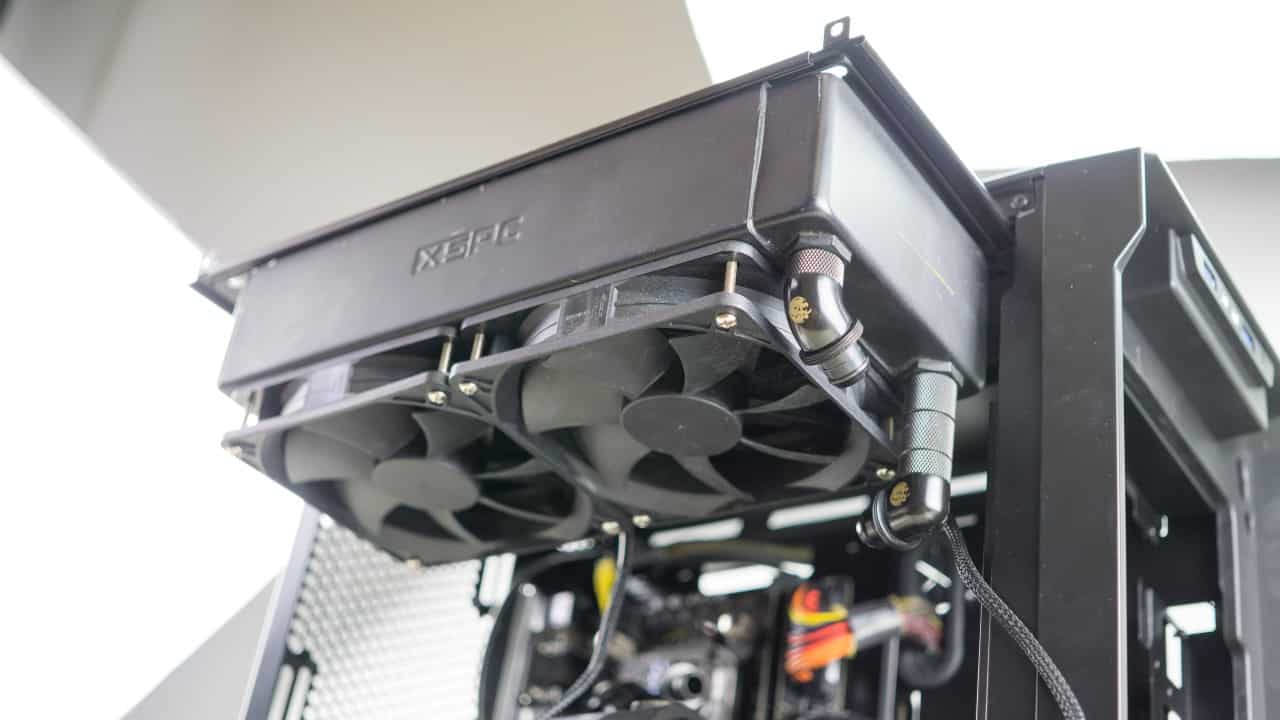
The next thing we want to do is attach the radiator to the removable bracket that holds it in the top of the case. We had originally planned to install an Alphacool 280mm rad in the top and an XSPC RX 240mm rad in the front of the case. Unfortunately we found that the two rads are far to thick for this case to be used together. Instead we went with just the 240 which will go in the top. There is only space to install fans on one side so we chose to go with push fans installed on the bottom of the rad. Securing the rad to the plate was easy as there are slots allowing for multiple install positions. We settled with the rad pushed all the way forward and secured it with six screws.
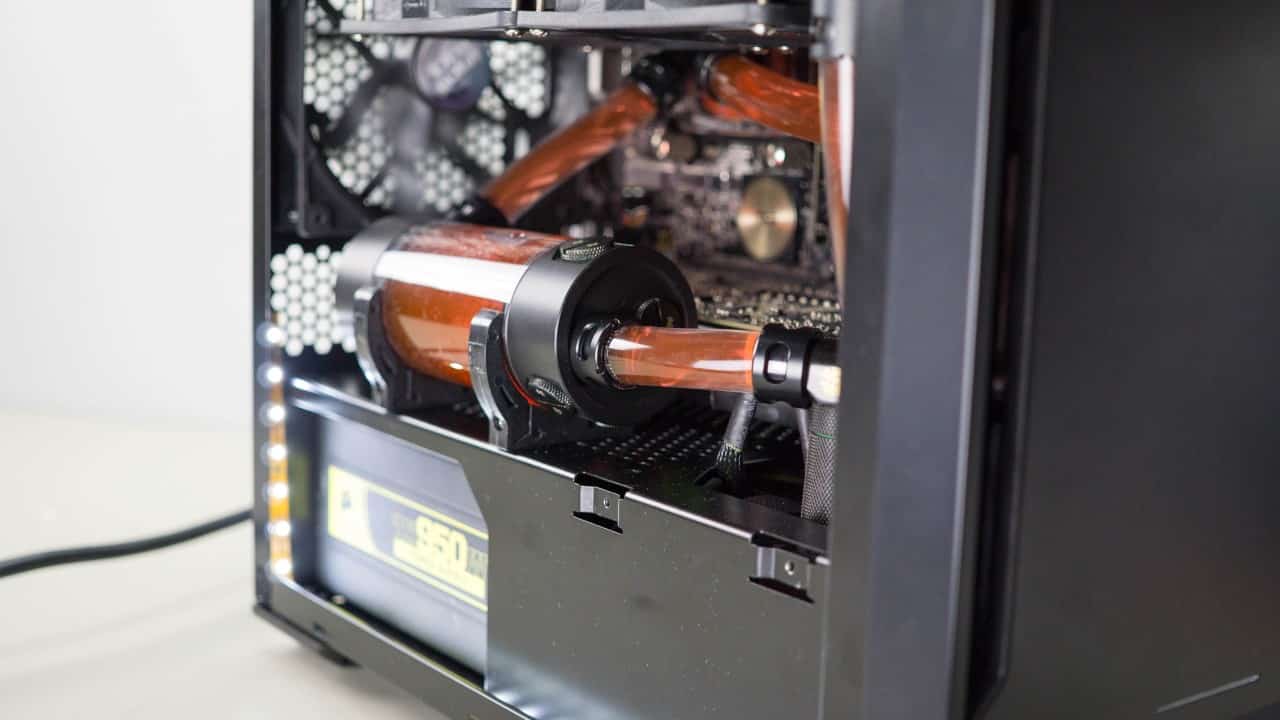
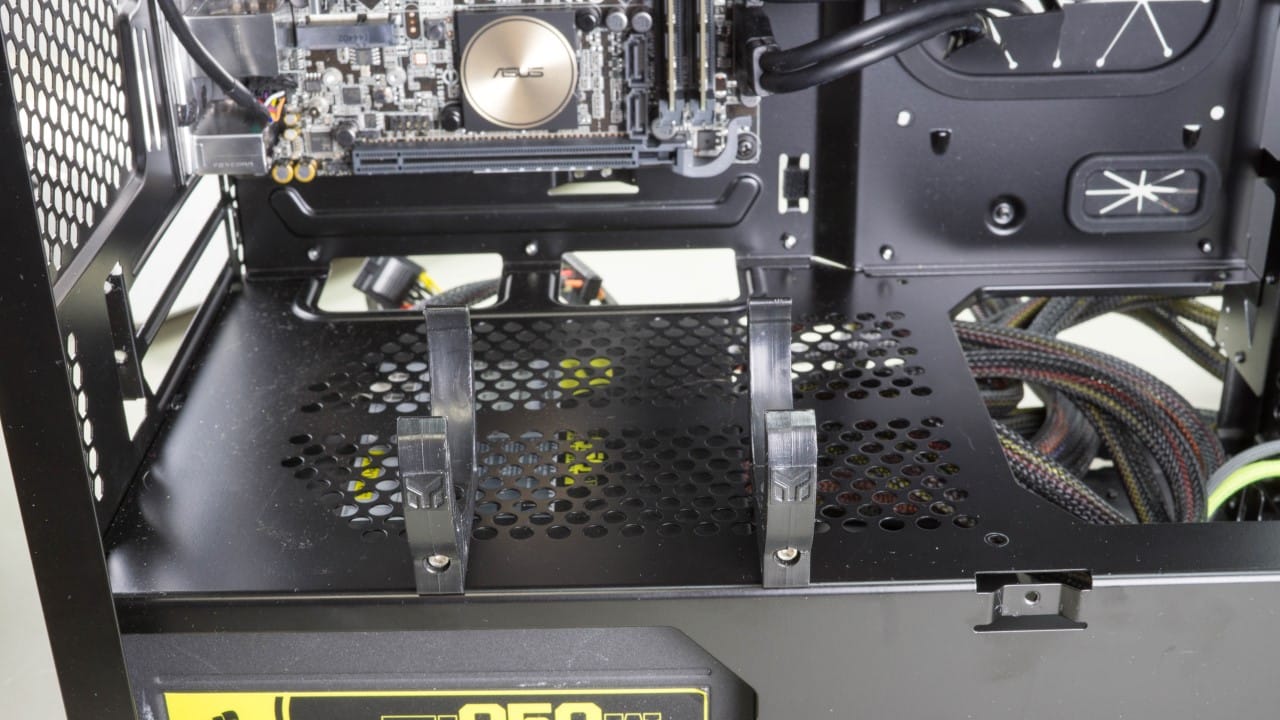
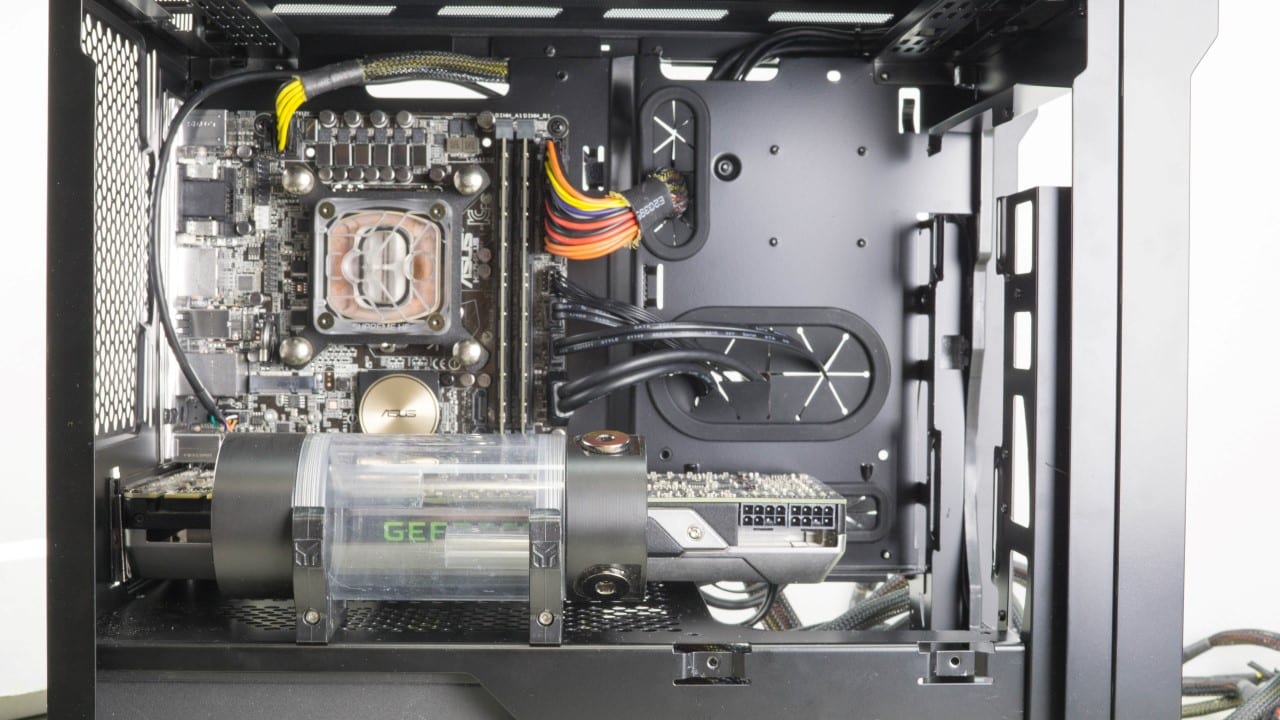
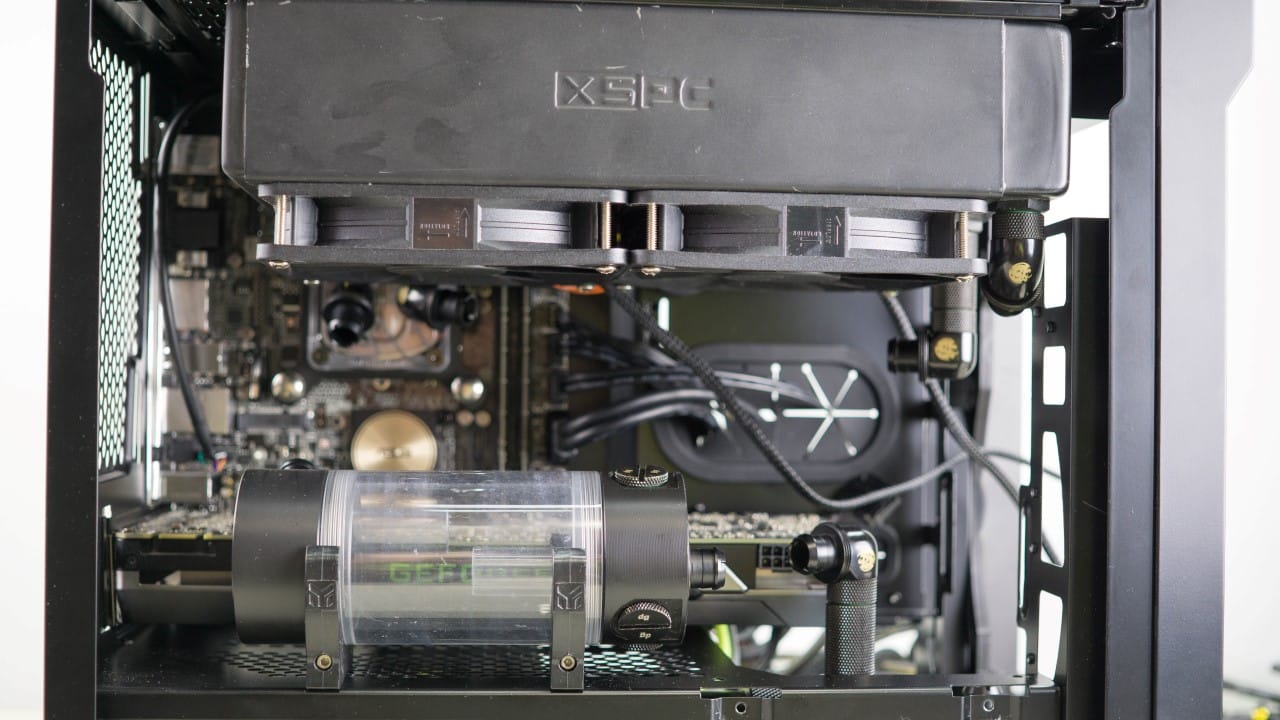
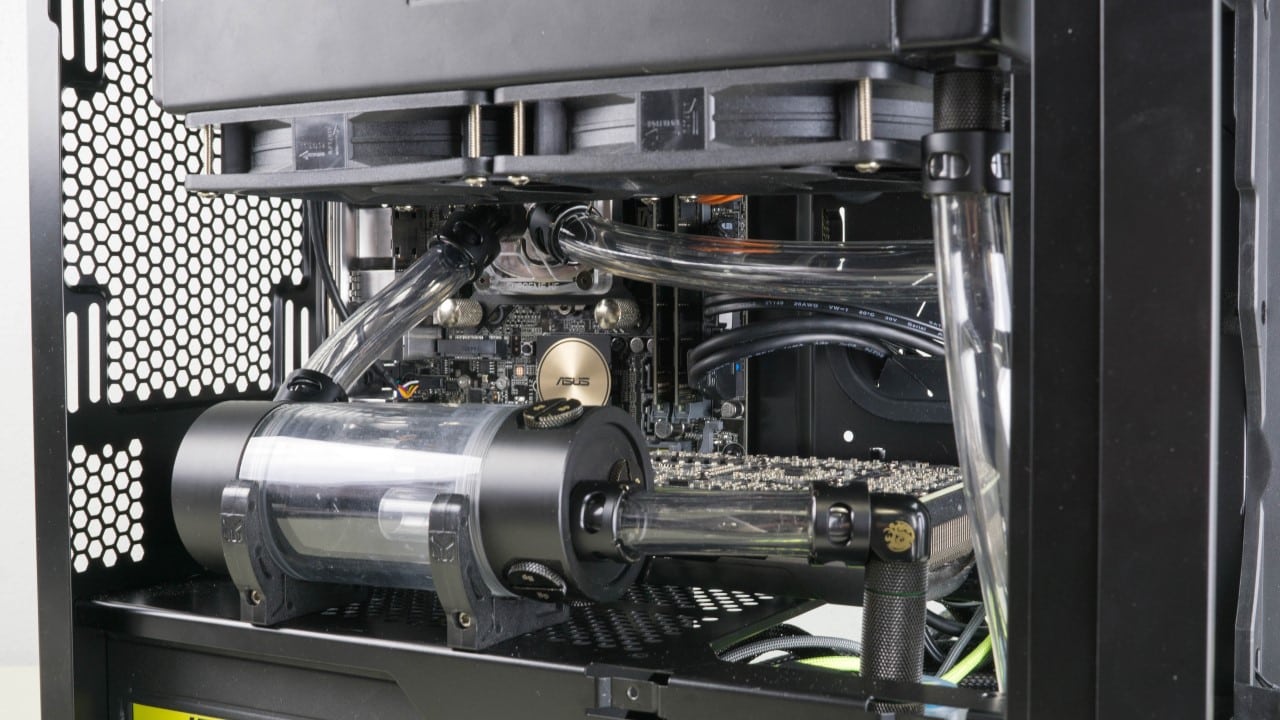
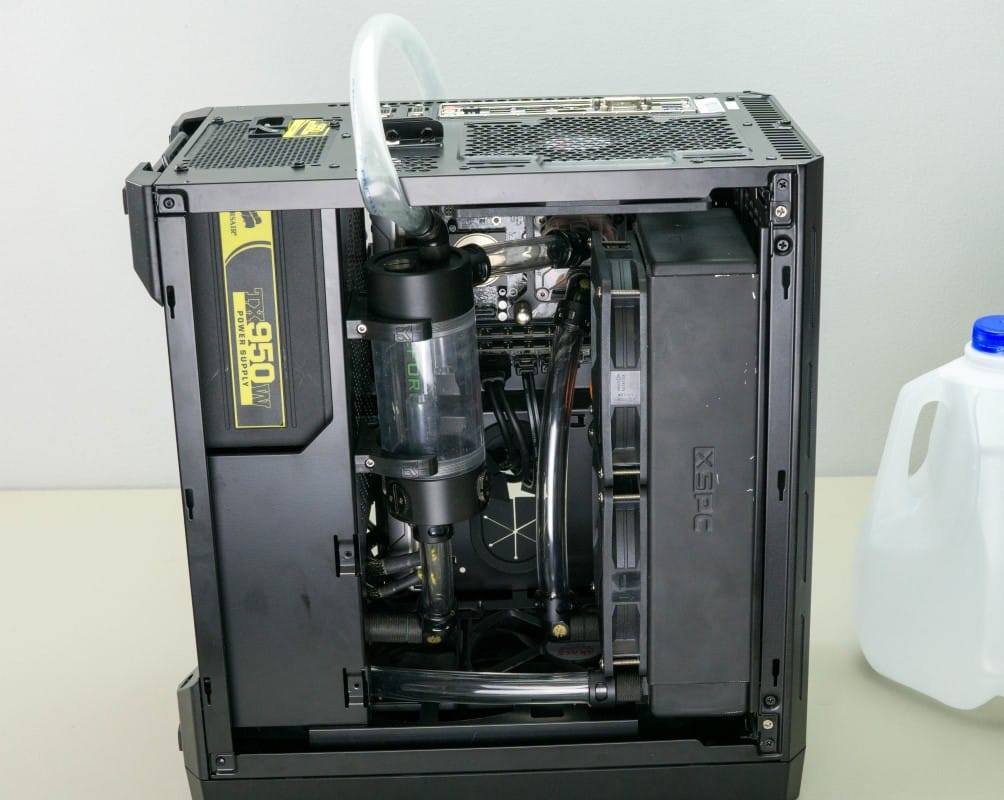
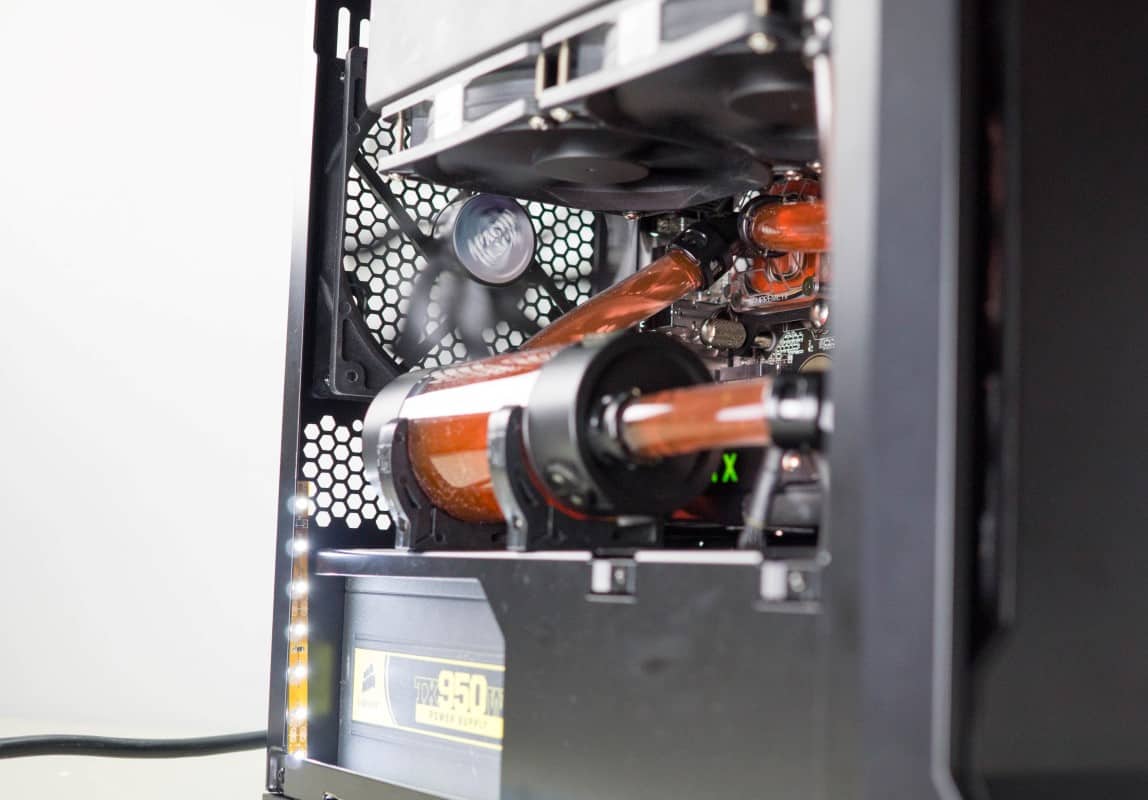
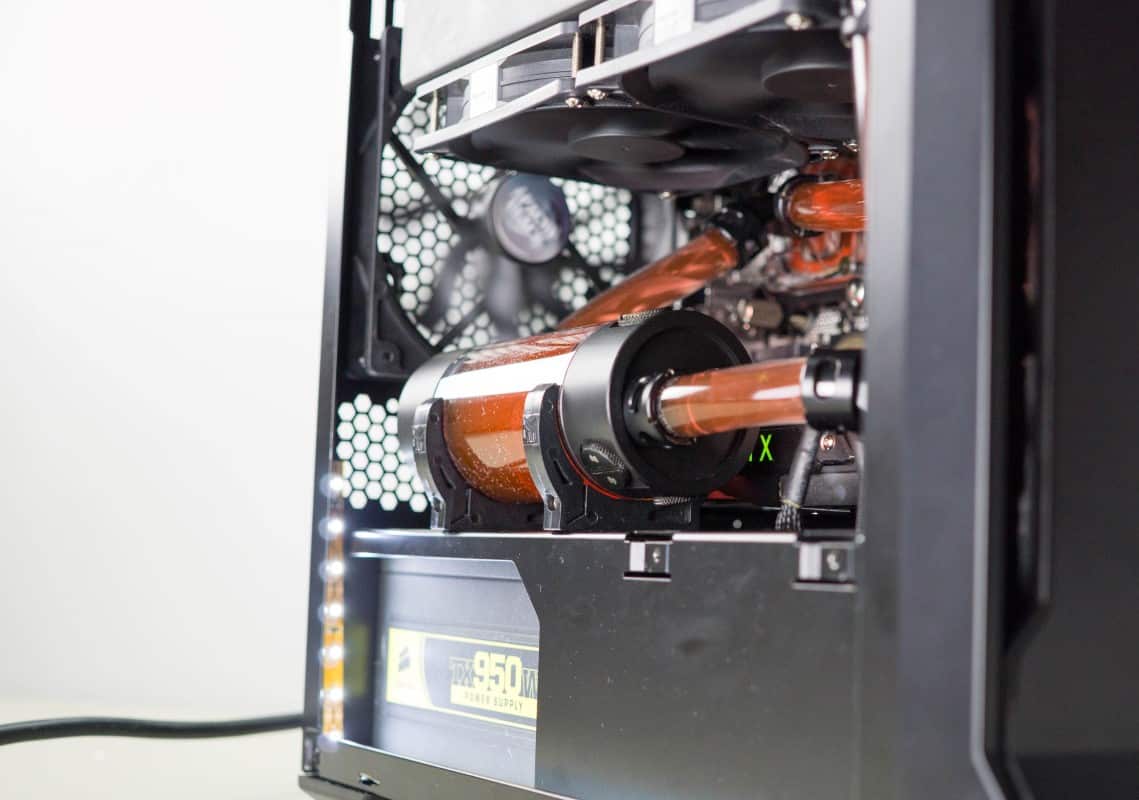
After much contemplation we decided to install our EK tube reservoir on the mid plate horizontally right in front of the window. This is bound to prove to be tricky to get the loop bled of air later, but I really like the layout with the res here. Installing the brackets was easy enough with all the vent holes drilled in the midplate providing many screw holes.
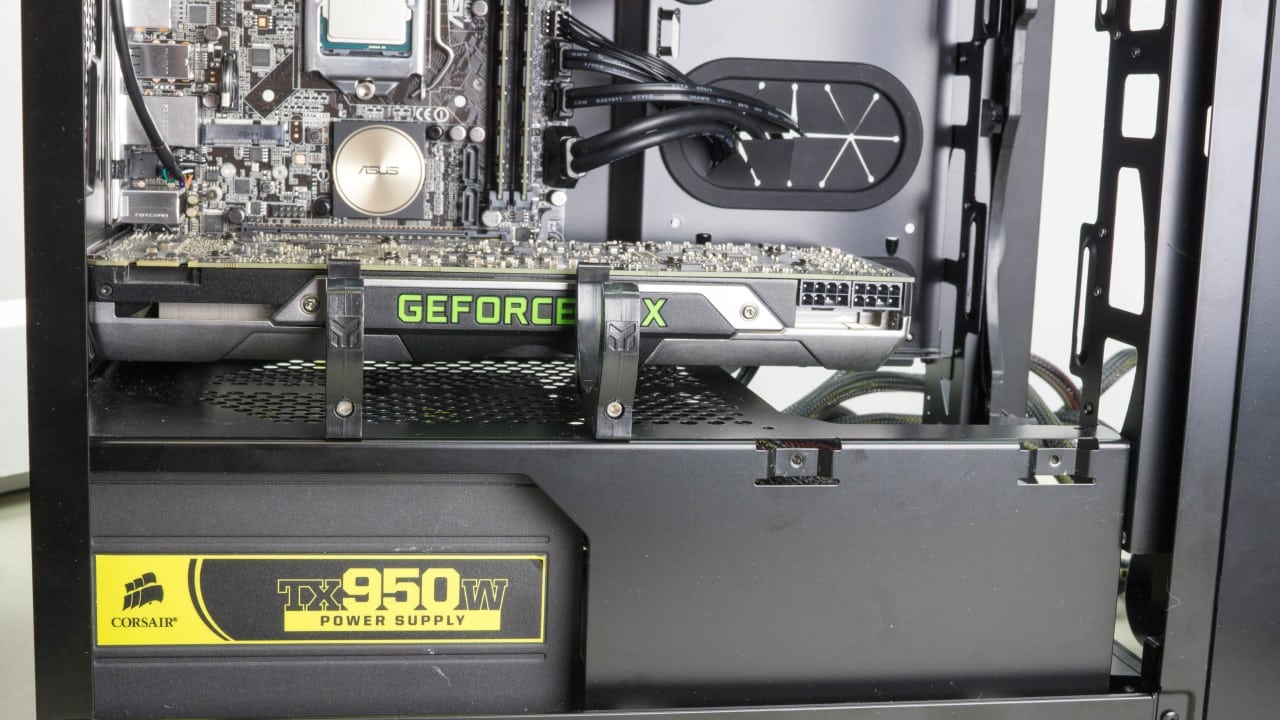
Before going further, we installed our EVGA GTX 690. Unfortunately we simply do have enough radiator surface going into the case to include it in the loop. It will have to remain air cooled.
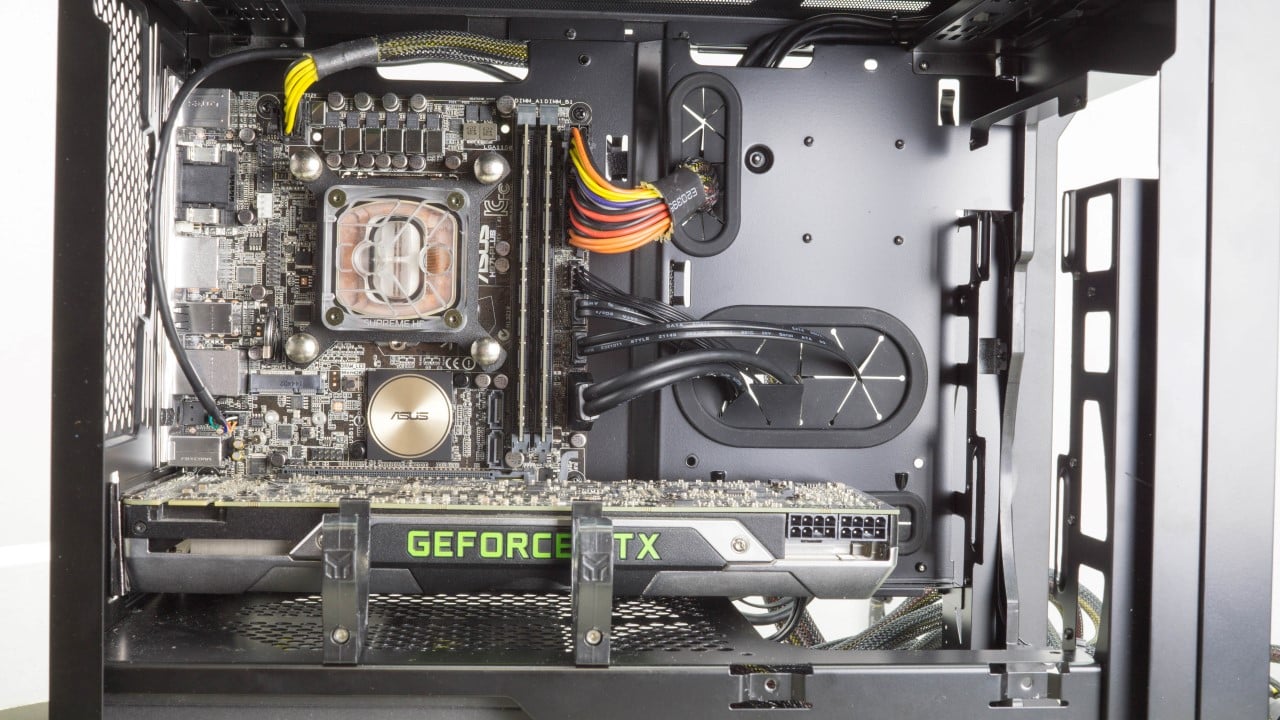
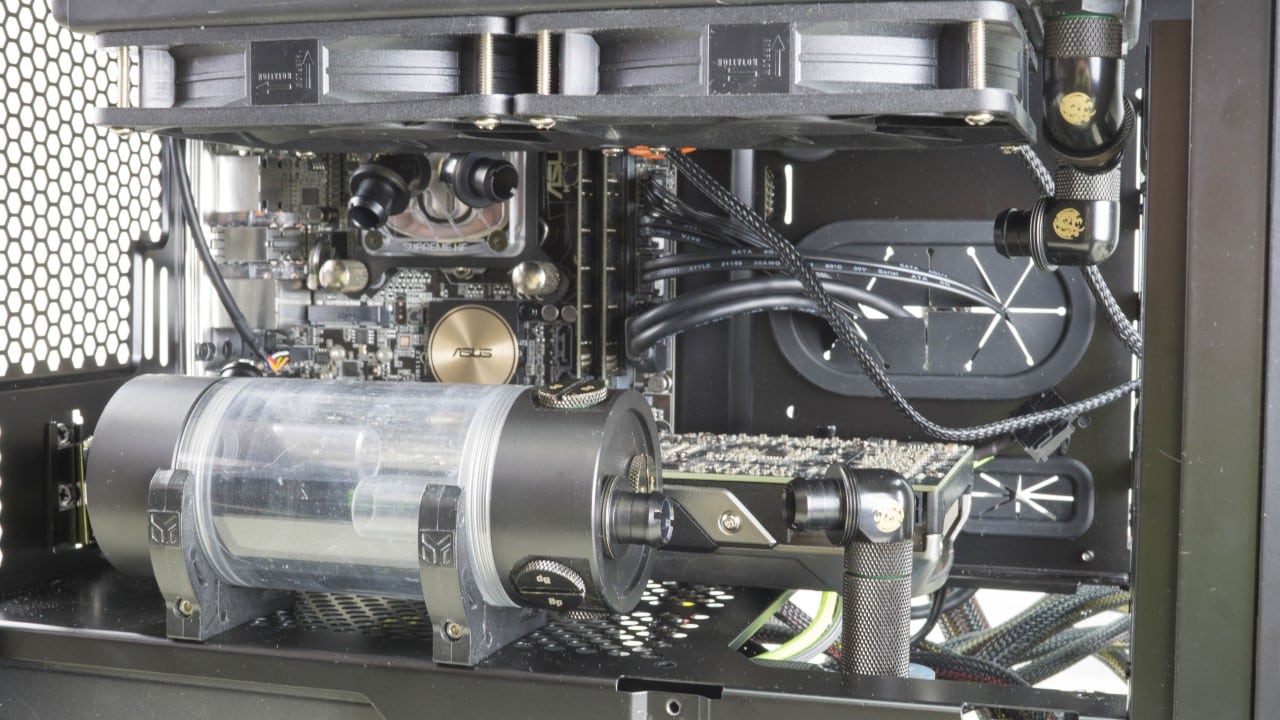
Moving forward we install our EK CPU block. This was very simple thanks in part to the generous cut out in the motherboard tray. When you’re watercooling be sure to continually test fit your parts to ensure your layout will work.
With the block installed we set our pump into the bottom of the case and started installing fittings. Getting your fittings lined up correctly is crucial to an easy and leak free installation of the tubing. The radiator bracket allows us to test and retest without the radiator actually getting in the way. Once we were sure that we liked the way the fittings were set up, the pump was secured to the bottom of the case using more of the pre drilled venting.
Our ½” ID x ¾” OD diameter tubing was big but thanks again to the radiator bracket it wasn’t very hard to get installed. Just start by connecting one end of the tubing to a fitting and cut at the fitting it leads to.
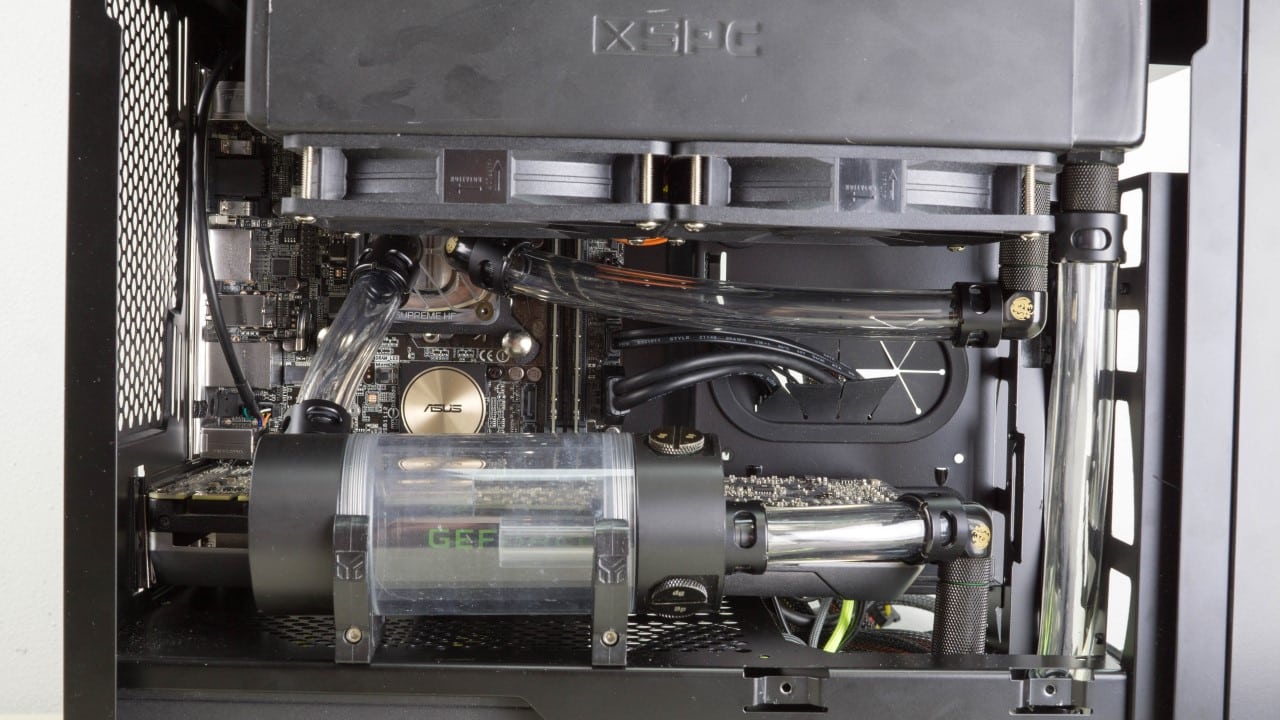
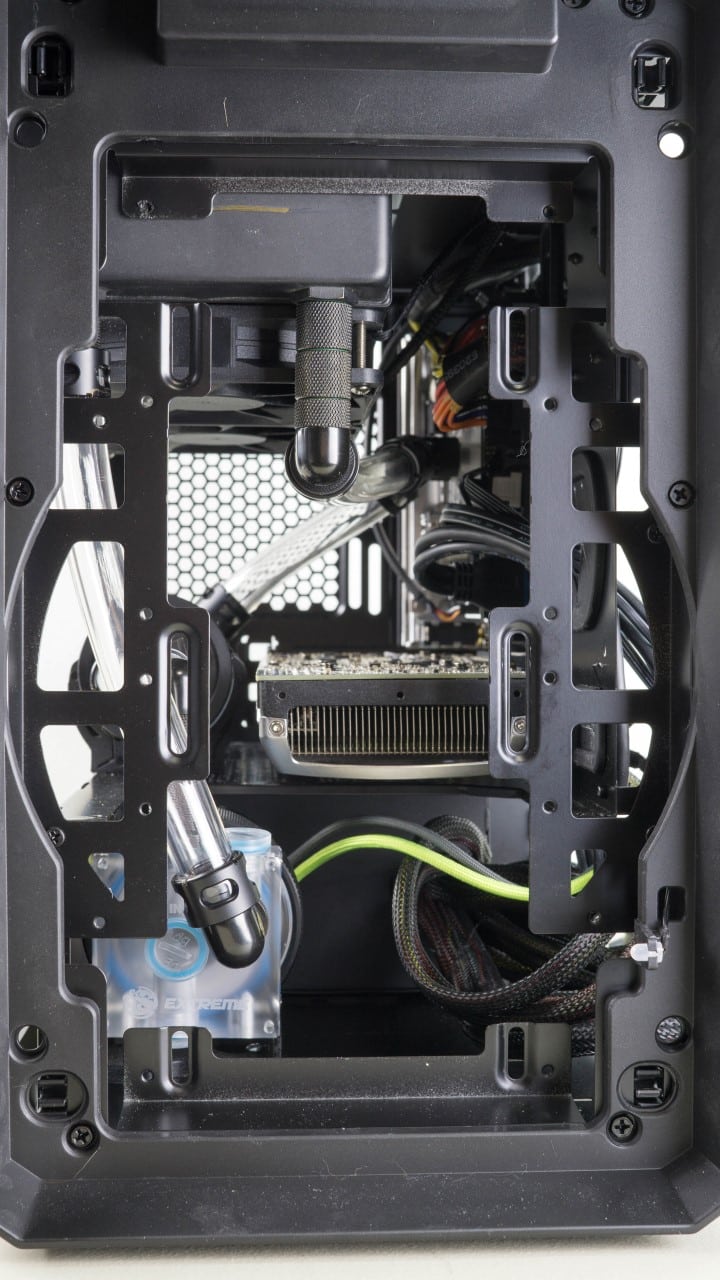
An important design feature of the radiator bracket is the offset it provides in the top of the case. There is actually still a ton of space between the rad and the motherboard behind it.
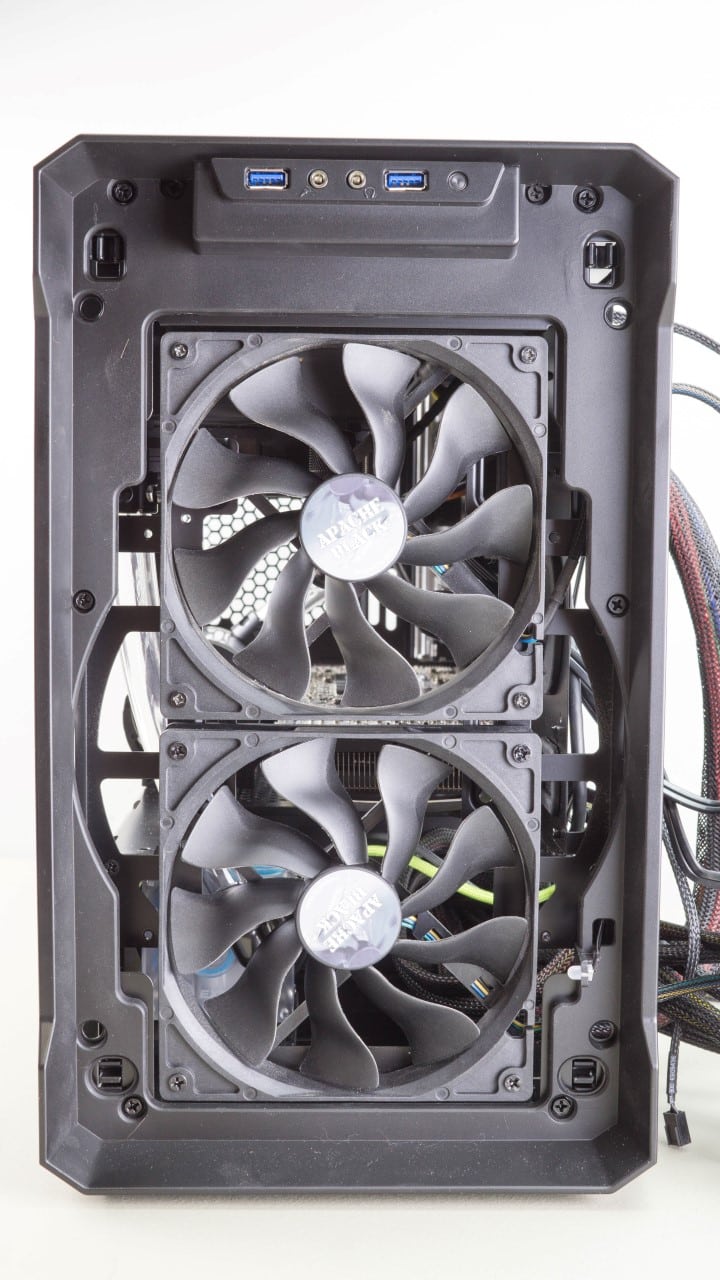
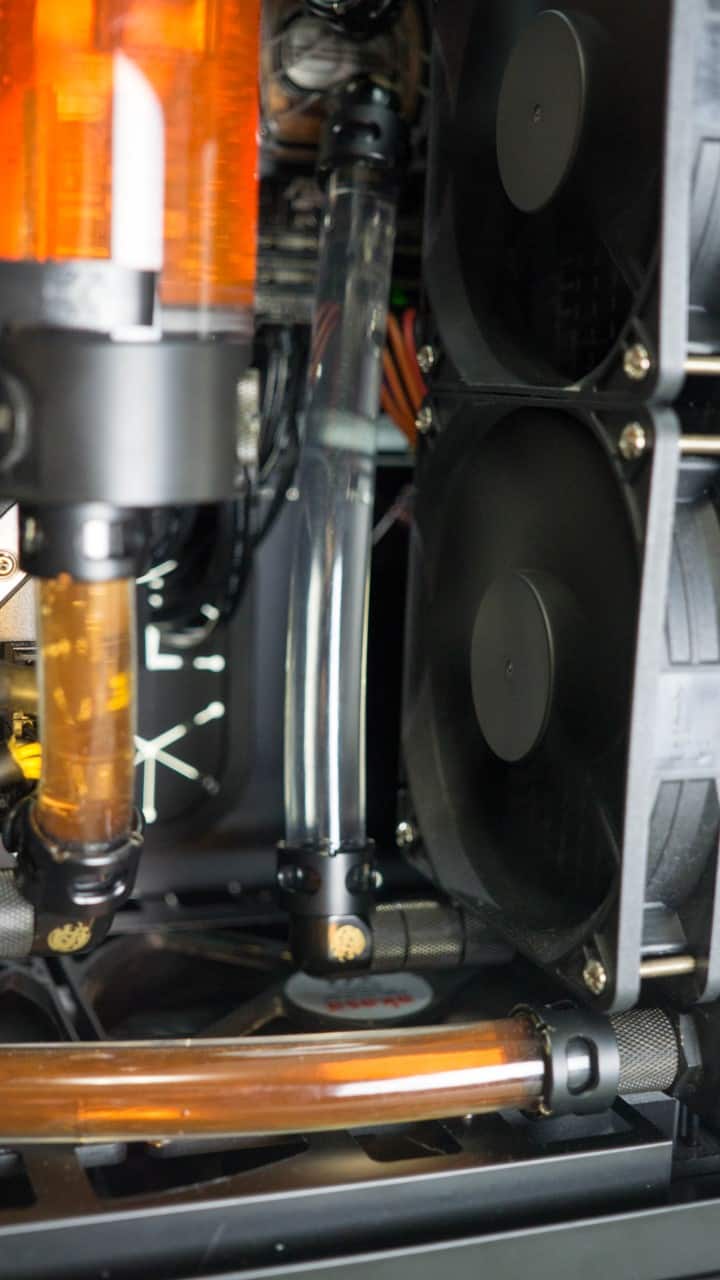
Once I was satisfied with the tubing I installed a pair of Akasa Apache Black 140mm fans in the front of the case to maximize airflow. An additional Apache was also placed in the rear exhaust position.

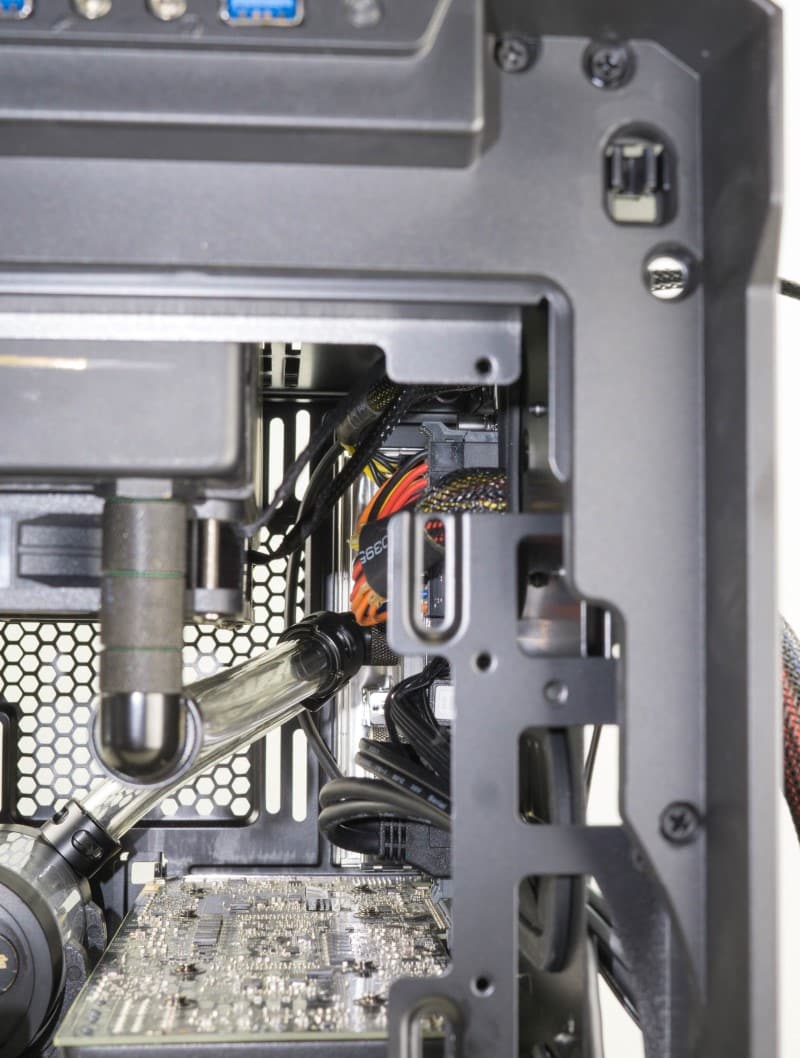
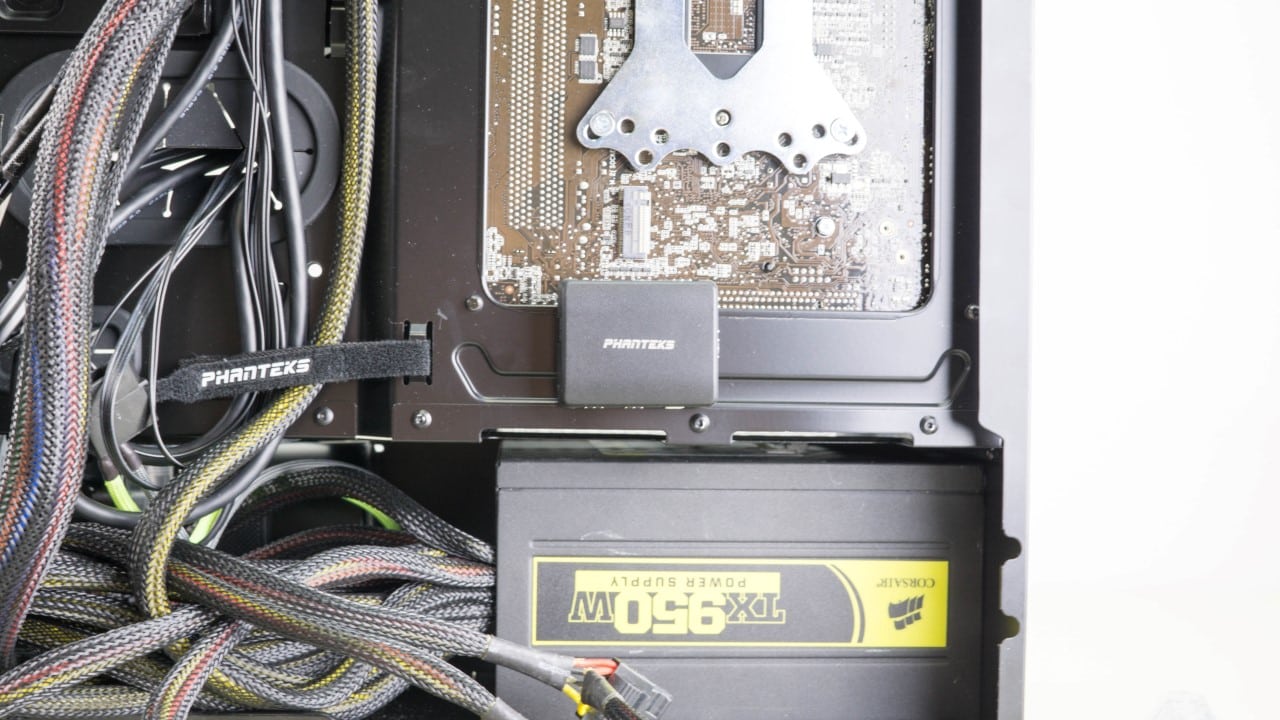
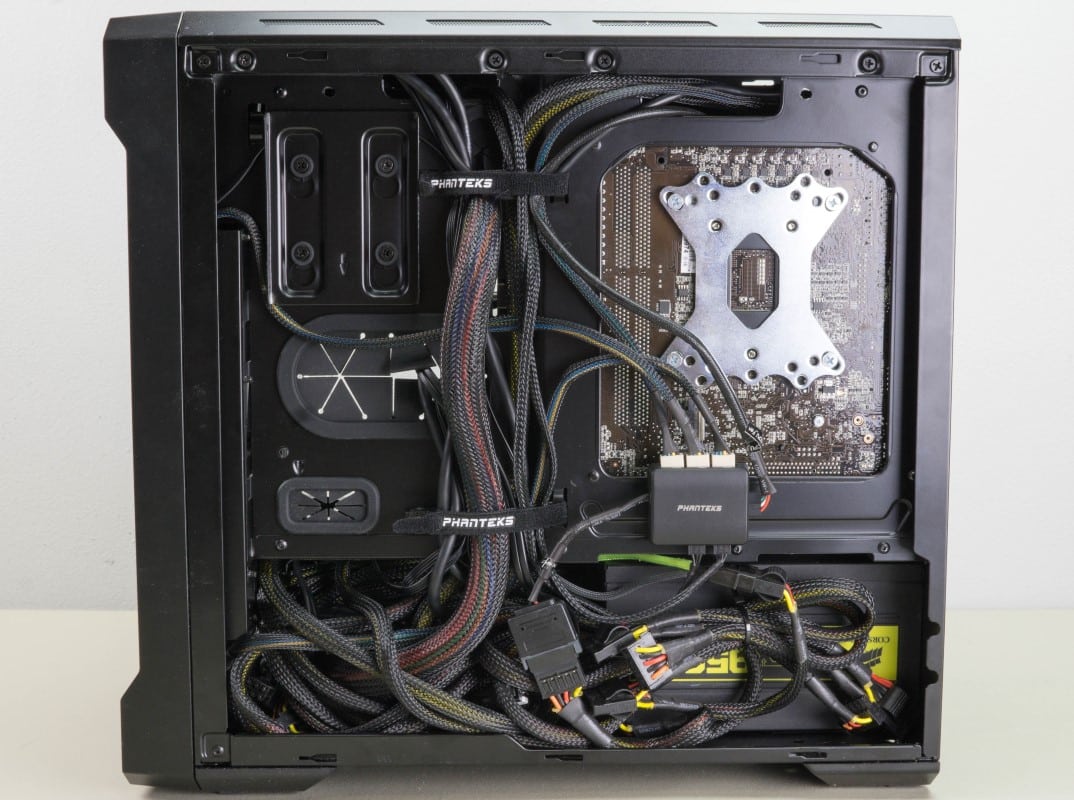
Since the Evolv ITX does not come with a fan hub or 5.25” bays we had to install a hub of our own. We just happen to have one from a previous review. This was screwed into the mounting location behind the motherboard and all of our fans were attached. While there is not a ton of room left over, we were still able to tuck all of our non modular cables away neatly.
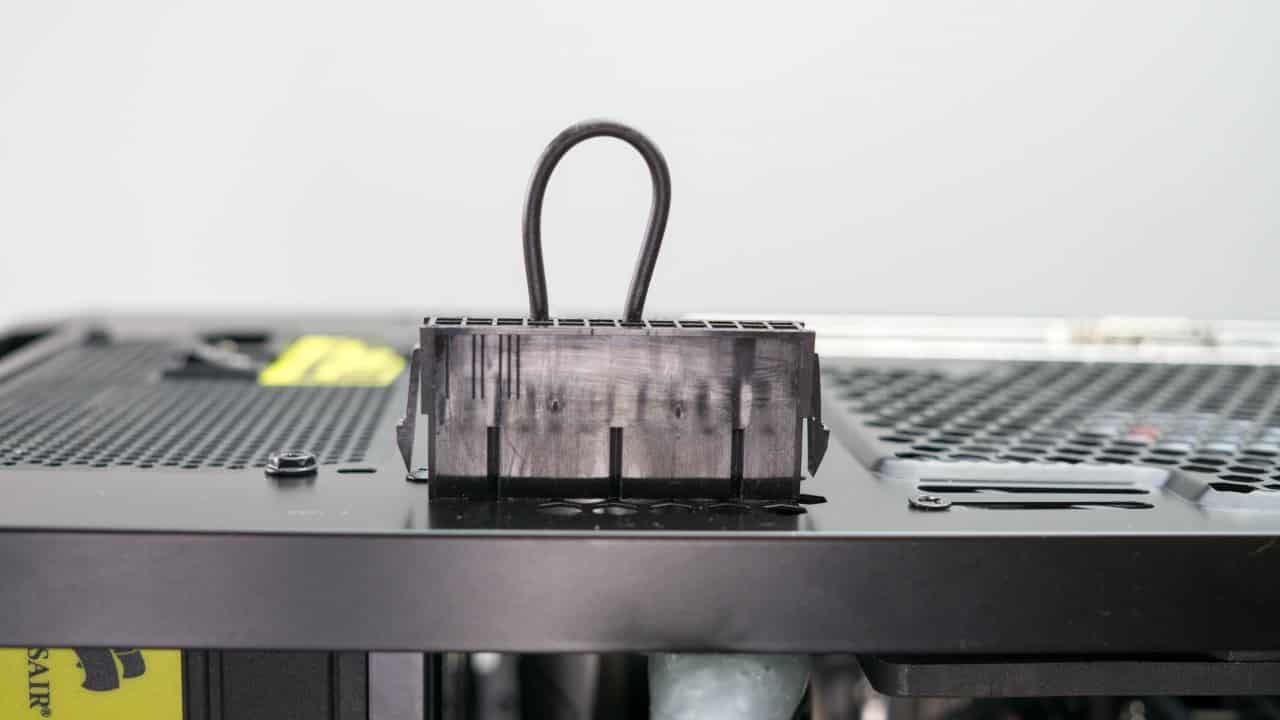
With all the components installed it’s time to fill the loop. The first thing you will want to do is attach a jumper to the 24pin cable. This will allow you to start the pump without powering the motherboard and other water sensitive components.
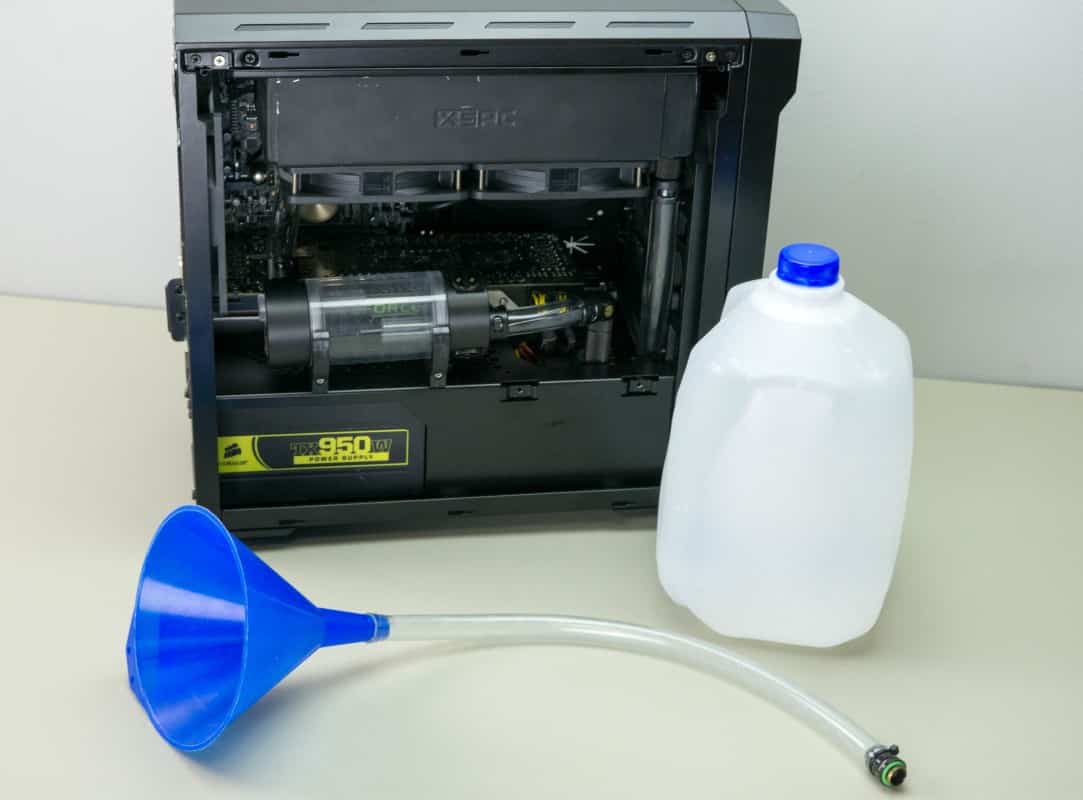
With our setup we found it was easiest to tilt the case forward onto the front panel. Not only does this let gravity pull water into the res and loop, but it also ensures the pump is fed easily from the res. We then attached our fill tube to the reservoir and started filling. It took a little while and lots of switching the pump on and off, but we finally got the loop filled and bled.

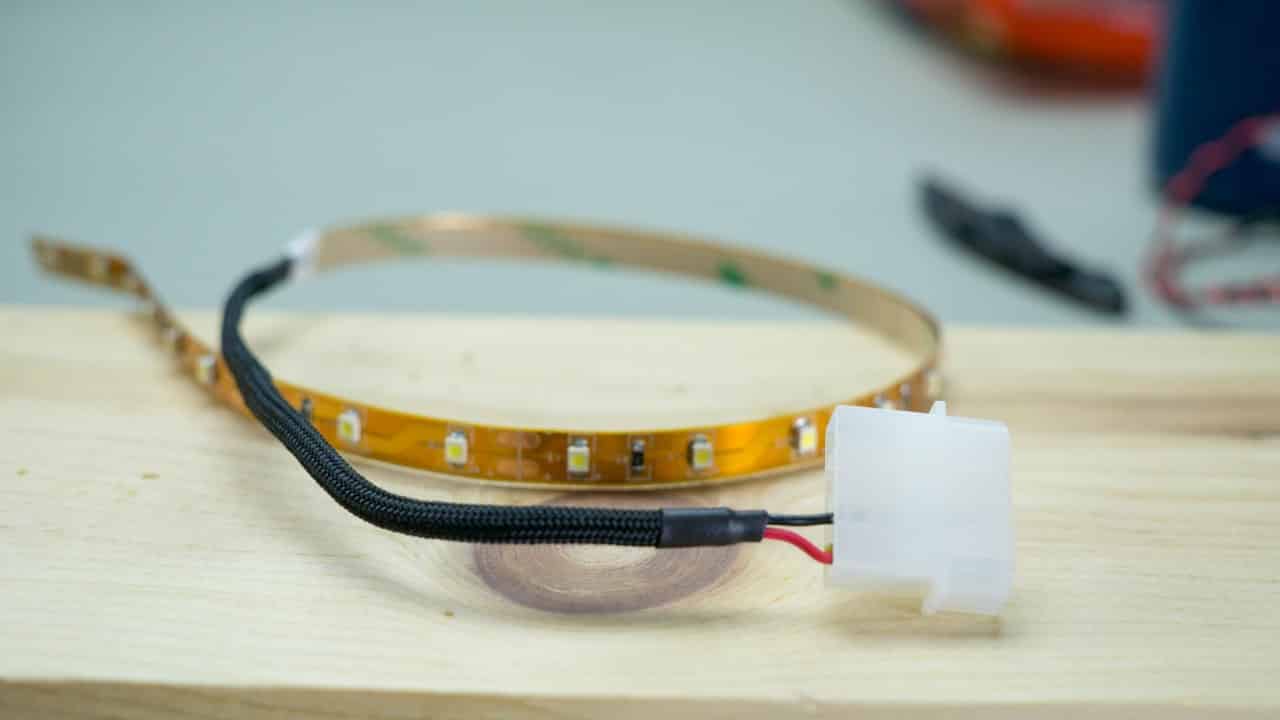
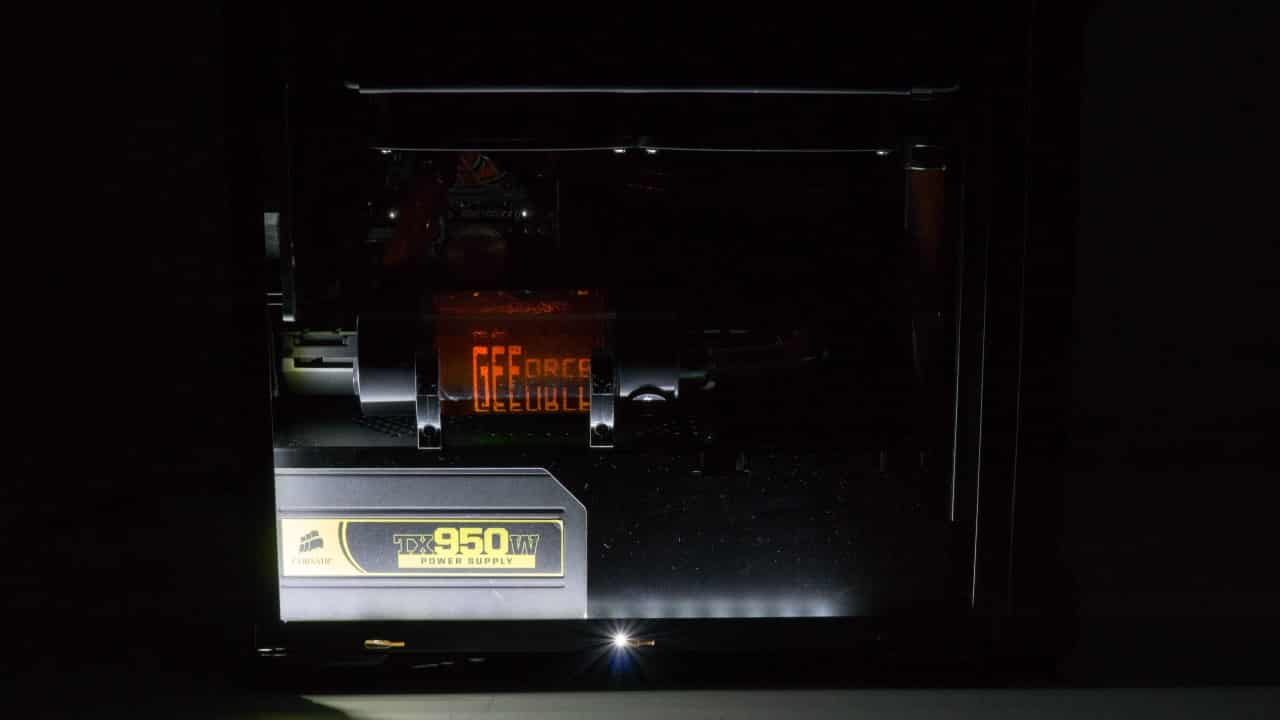
While filling the loop I couldn’t help but notice how little light there was in the filled up little case. So I put together a short LED light strip and installed it in the front of the case.
It also seemed to be begging for a nice accent color so some orange dye was added to the loop.
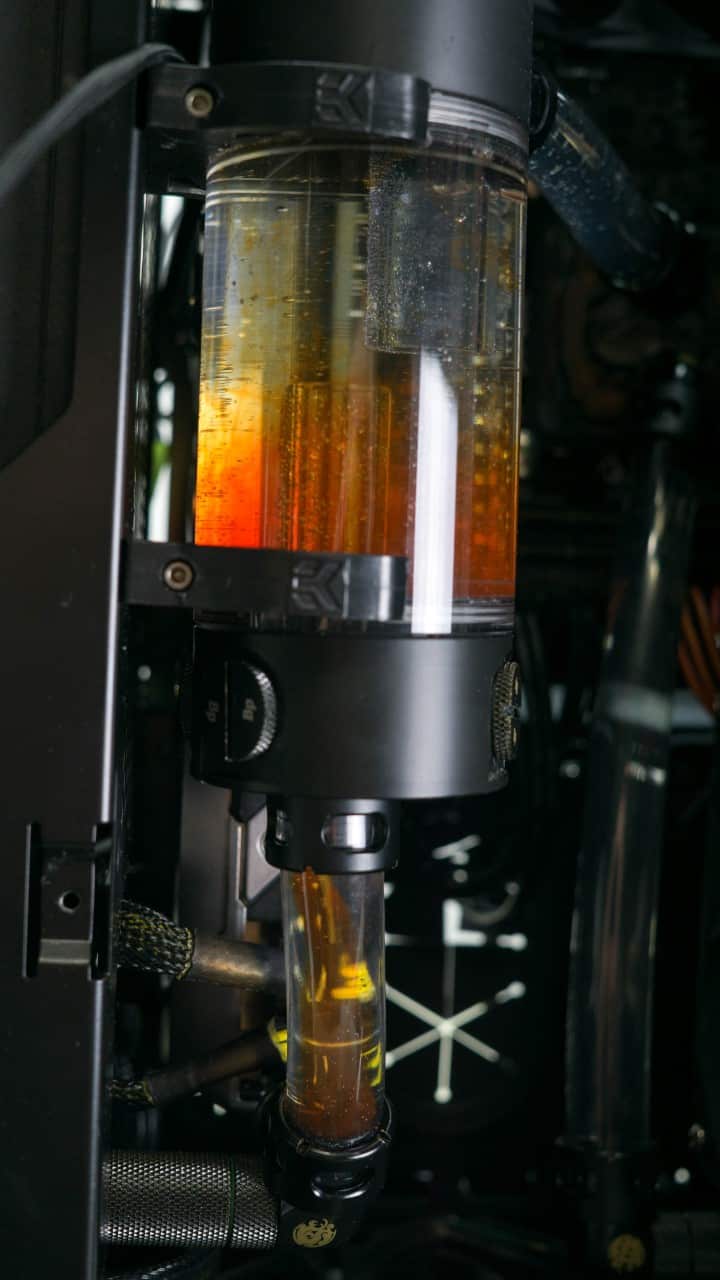
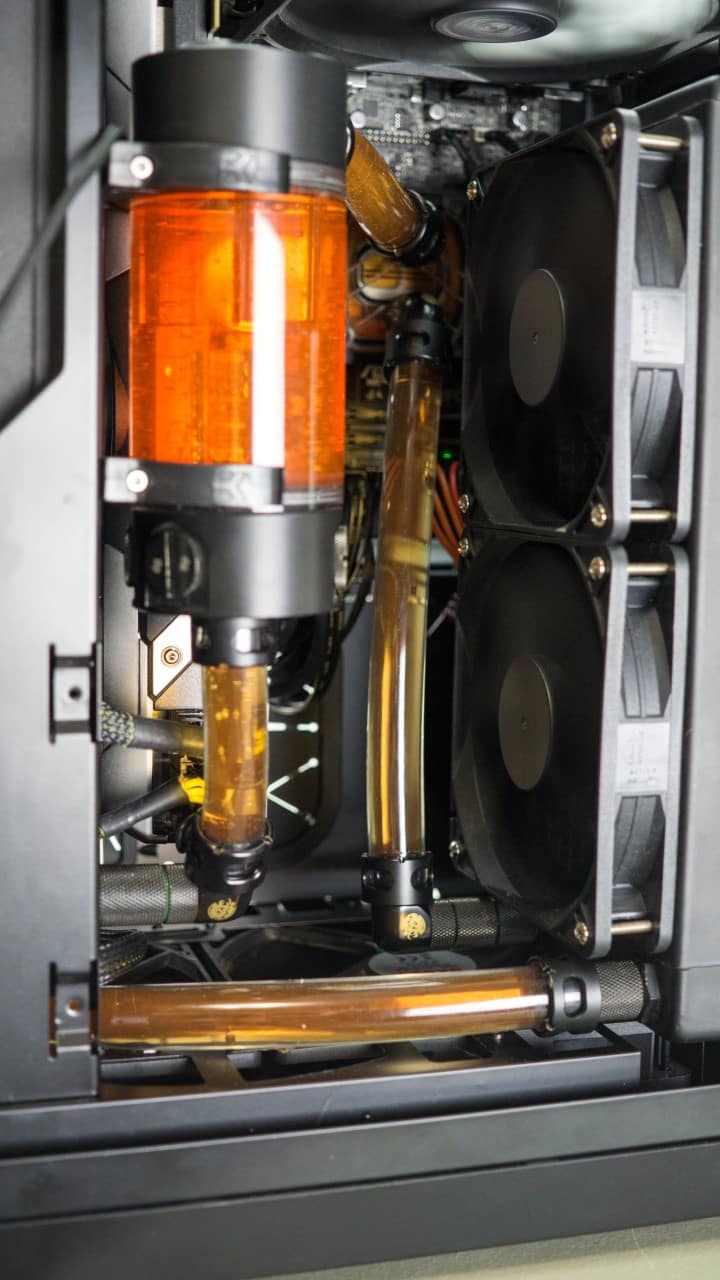
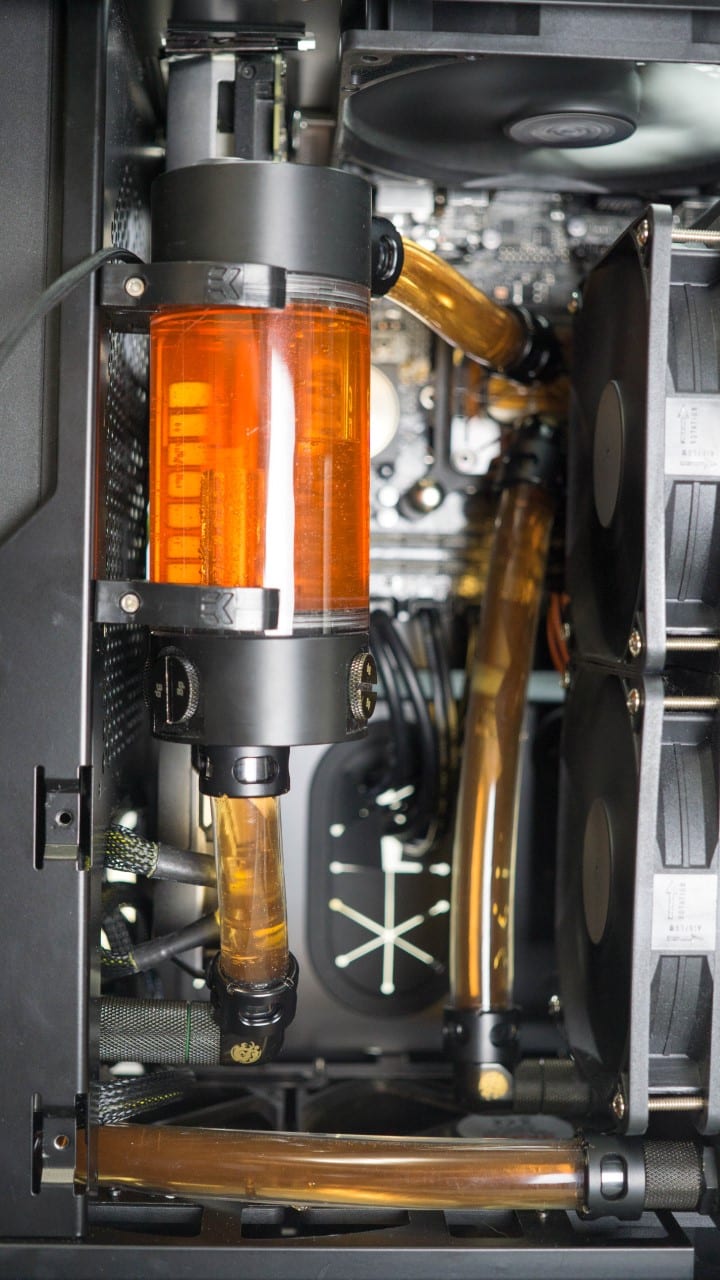
The color wasn’t quite as vivid as I had hoped so some red was added to bring it to a shade or two deeper orange.
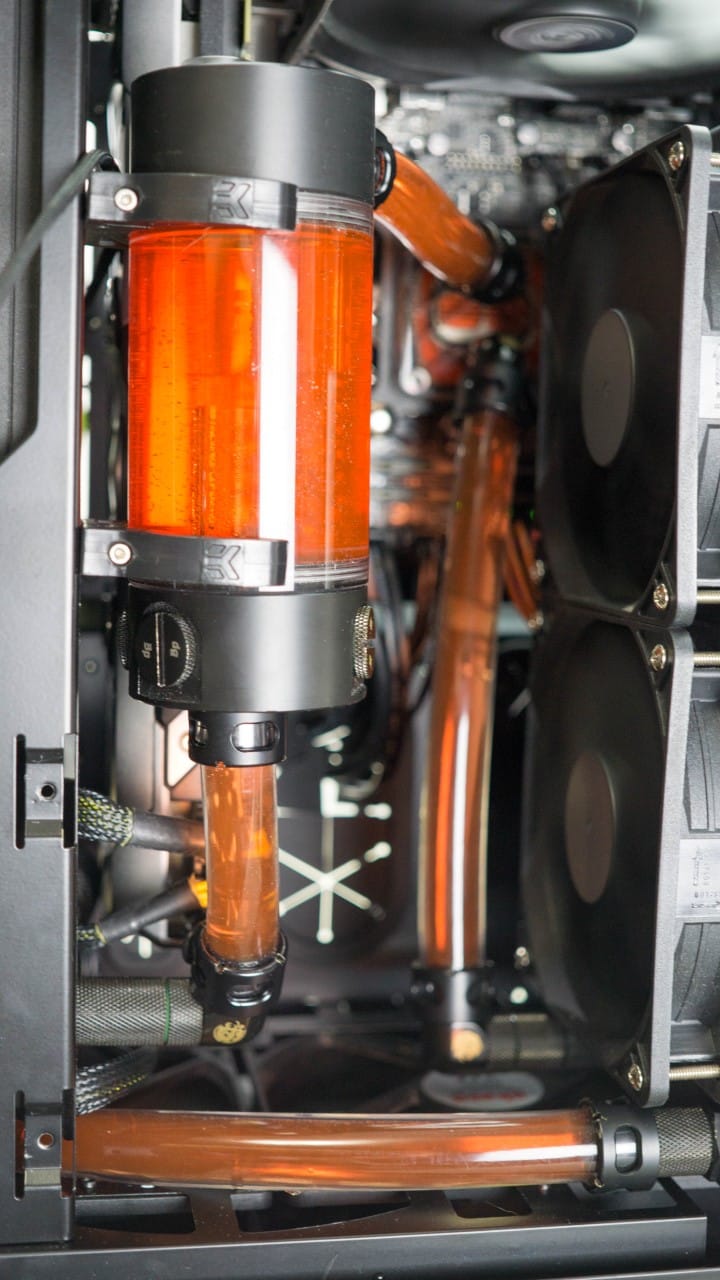
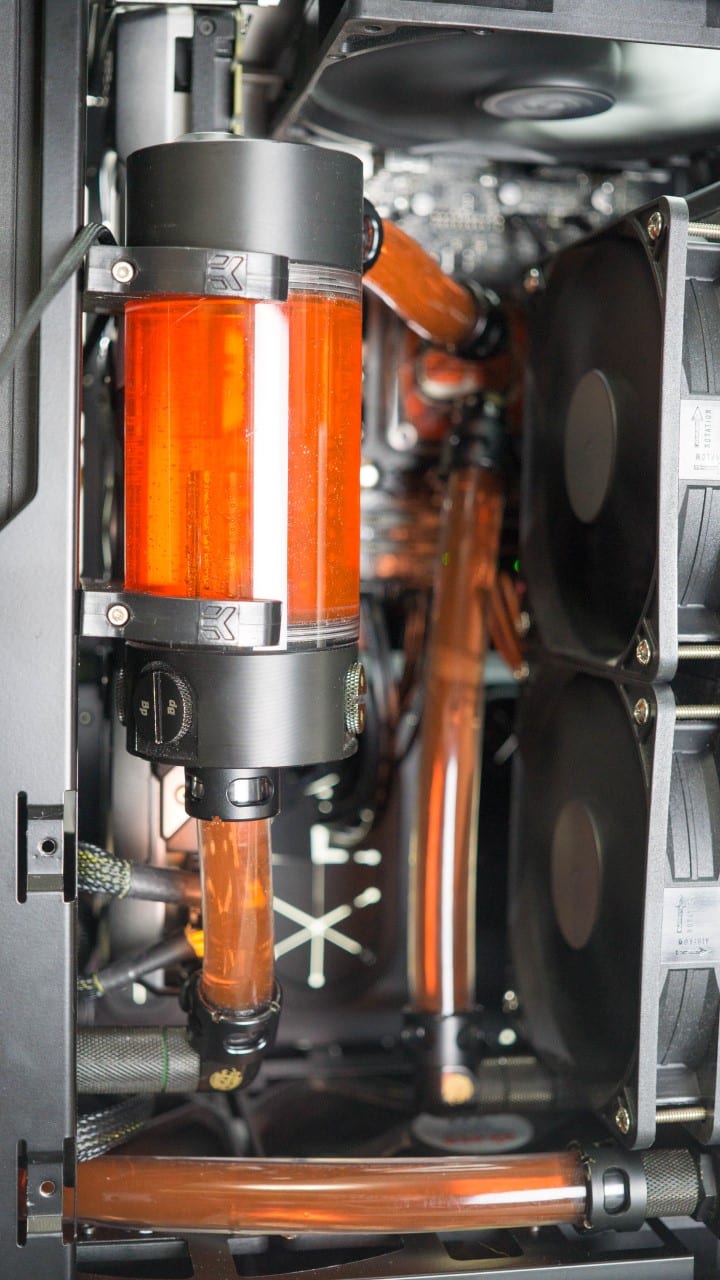
Satisfied with the color for of the water I correctly oriented the case and took some more photos.

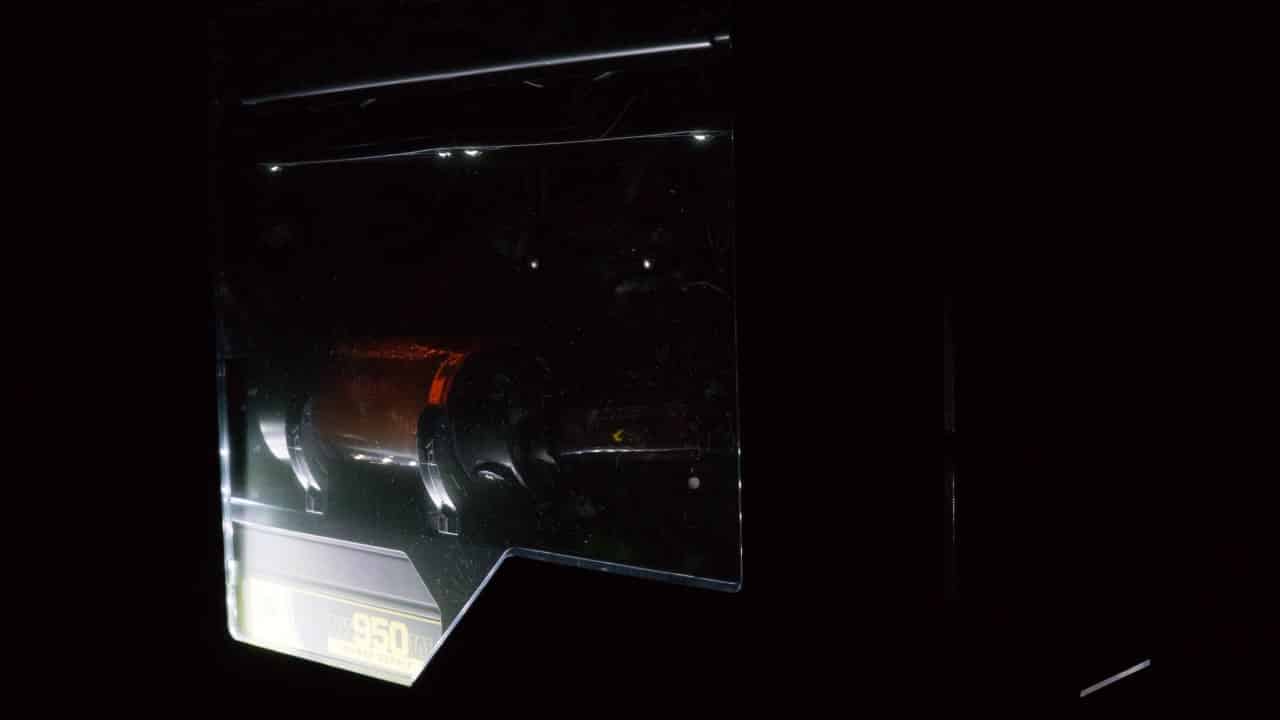
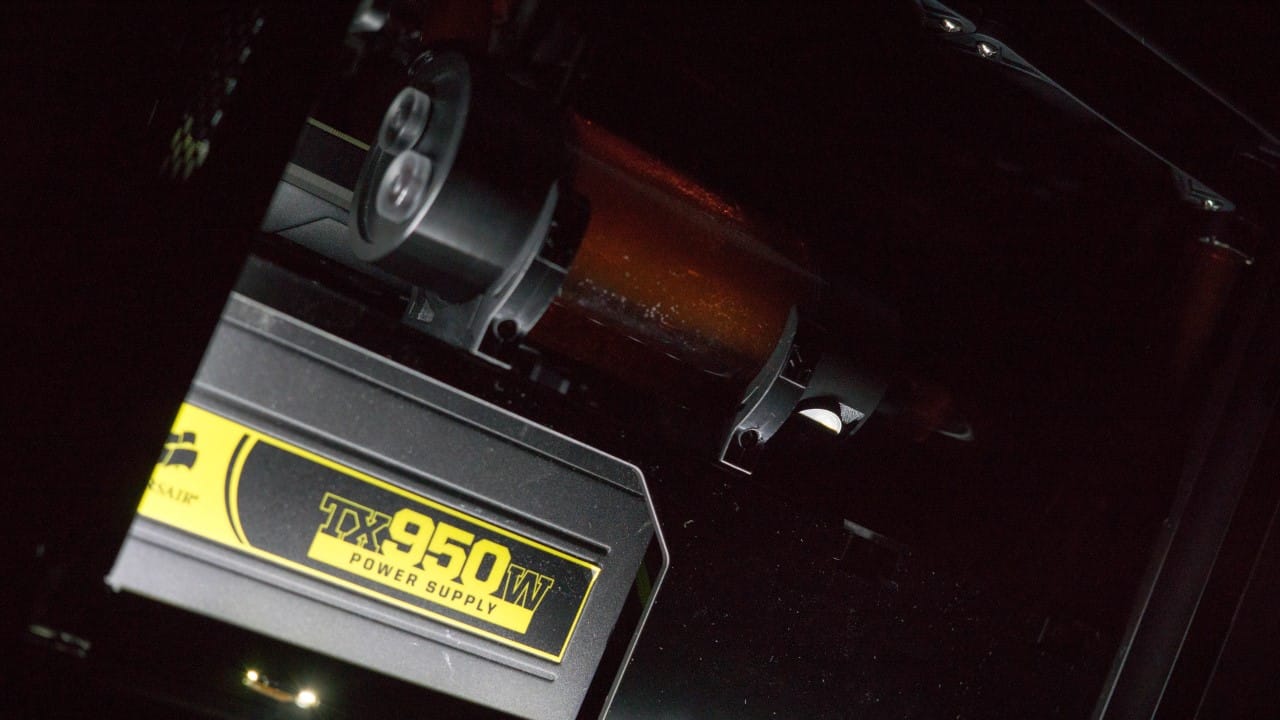
And what build would be complete without night shots.


Thanks Derrick for this extension article of this unique little chassis from Phanteks; but I’m left wondering how the temps compare (air vs water), obviously the CPU temps would be better than air, but what of the temps inside the chassis?
Also; were you able to install a drain line into the system; while the best scenario would be to have one off the pump, the only other choice would be off the top-side of the EKWB reservoir.
I too know how difficult it is trying to fit (2) thick radiators into a smaller form factor chassis, as I tried (in vain) to fit RX 240 + an XTX 240 rads into a Corsair Air 540.
Again thanks for the journey.
Thanks for reading Brechan and thanks for the comments!
I had thought about doing some temperature monitoring but concluded that the data would be almost irrelevant to other users. I suppose it would be somewhat useful to have a general idea of the temps to expect but unless your configuration was nearly identical to my own, the results could vary wildly. I will however work on getting you some internal readings of the watercooled version shortly.
I did not install a drain line simply because I usually don’t. If I had wanted to, I could have easily put one on the line out of the pump going into the rad.
I wholeheartedly agree about big rads in little cases; kinda just not meant to be. I might do some additional modding to make it work for me, but the obvious choice would be to simply get some thinner rads.
I do have to say in spite of the difficulties that I had, this was really no harder to install in than a full size chassis, I am very fond this case!
Looks great! Any indication yet as to when it will be available in the US?
Word from Phanteks is that it should be out at the end of the month for $69.99!
Well then, I guess this will be an exercise in patience since my parts are all showing up today and I have no case to put them in. Looks like it will be worth the wait though.
Jirv311, I am in same the same boat. I have just received all of my water-cooling parts in preparations for this case. My current case will not fit it all without substantial modding to the case.
Just hold out a little bit longer guys! Great case at a good price.
Brechan here are some temperature readings I took with a standard infrared thermometer:
Idle
Exhaust – 32.22°C
Internal – 36.1° C
Load (Valley Benchmark)
Exhaust – 35.56°C
Internal – 44.4°C
CPU(avg.) @ 4.2ghz – 58°C
GPU(avg.) – 83.5°C
Available now!