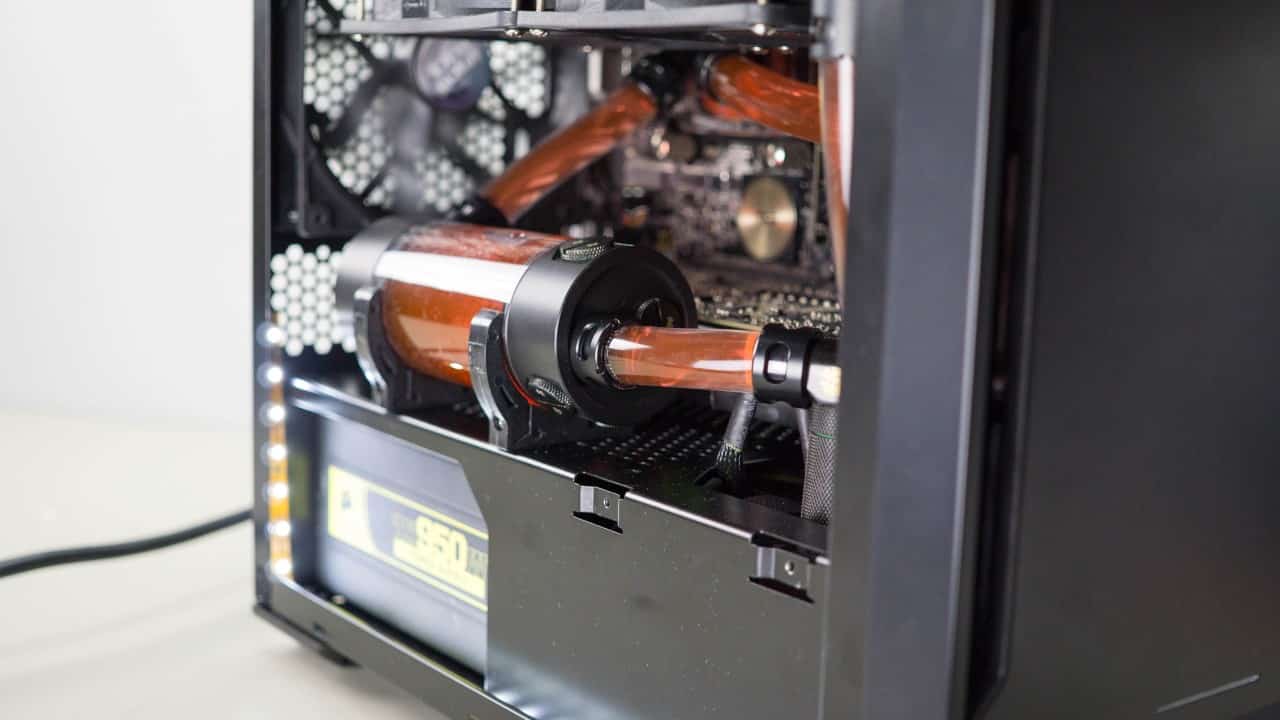
After my recent review of the Phanteks Enthoo Evolv ITX I felt that I wasn’t quite done with the review. What good is a case designed for watercooling with all air cooling installed? And aside from that travesty, I felt that in order to properly test Phanteks’ made for watercooling mini-ITX case I should actually do a proper install. With that in mind follow along with this guide as I install a full custom loop in the Enthoo Evolv ITX.
Preparation
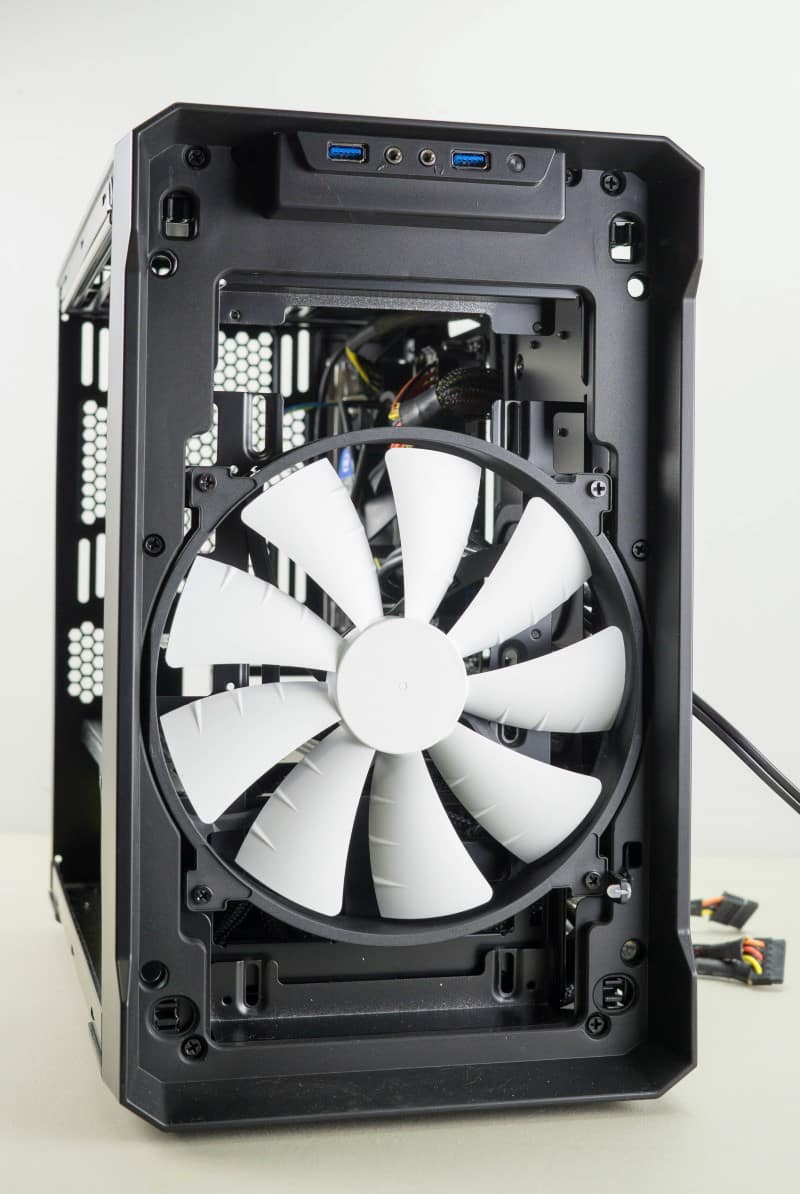
Before we can install any watercooling components we need to remove some of the out of the box parts. Begin by removing the front panel and fan filter. This will give us access to remove the front fan. Taking out the four screws and unplugging the connector from the motherboard allows us to easily pull the fan straight out.
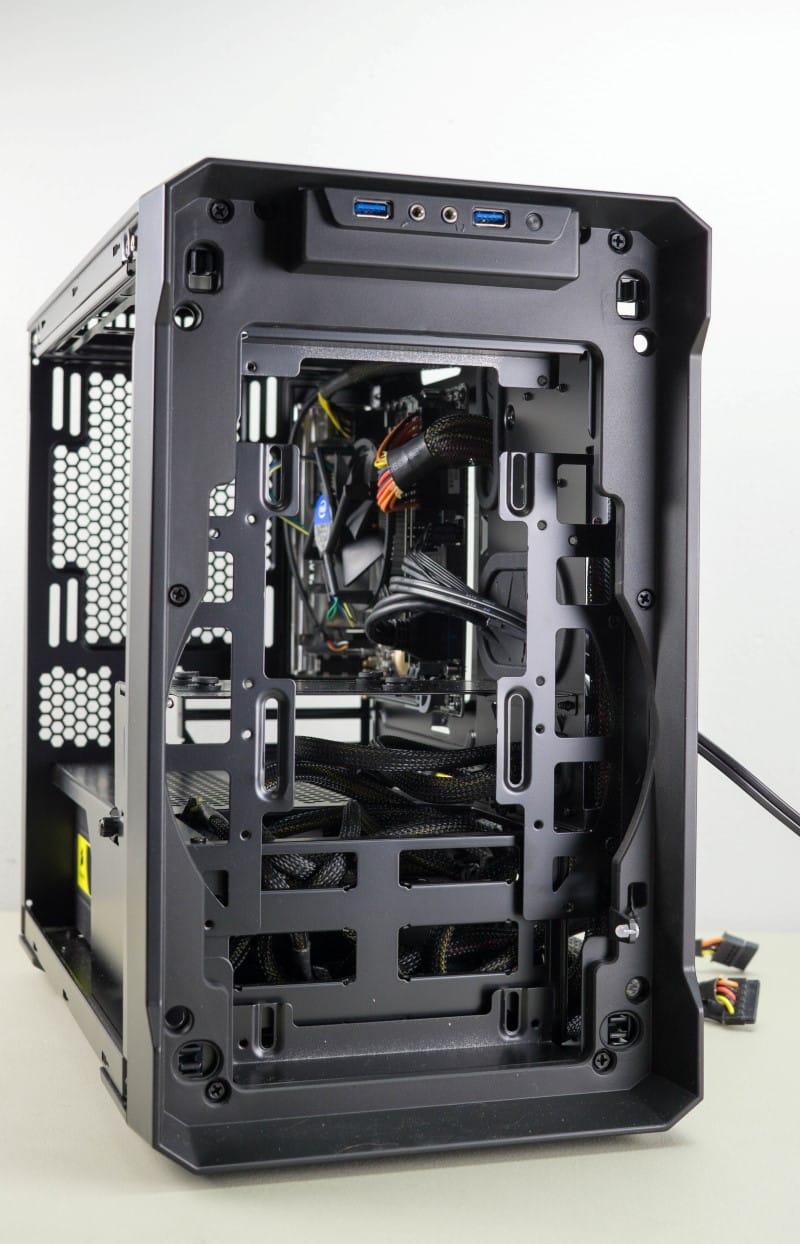
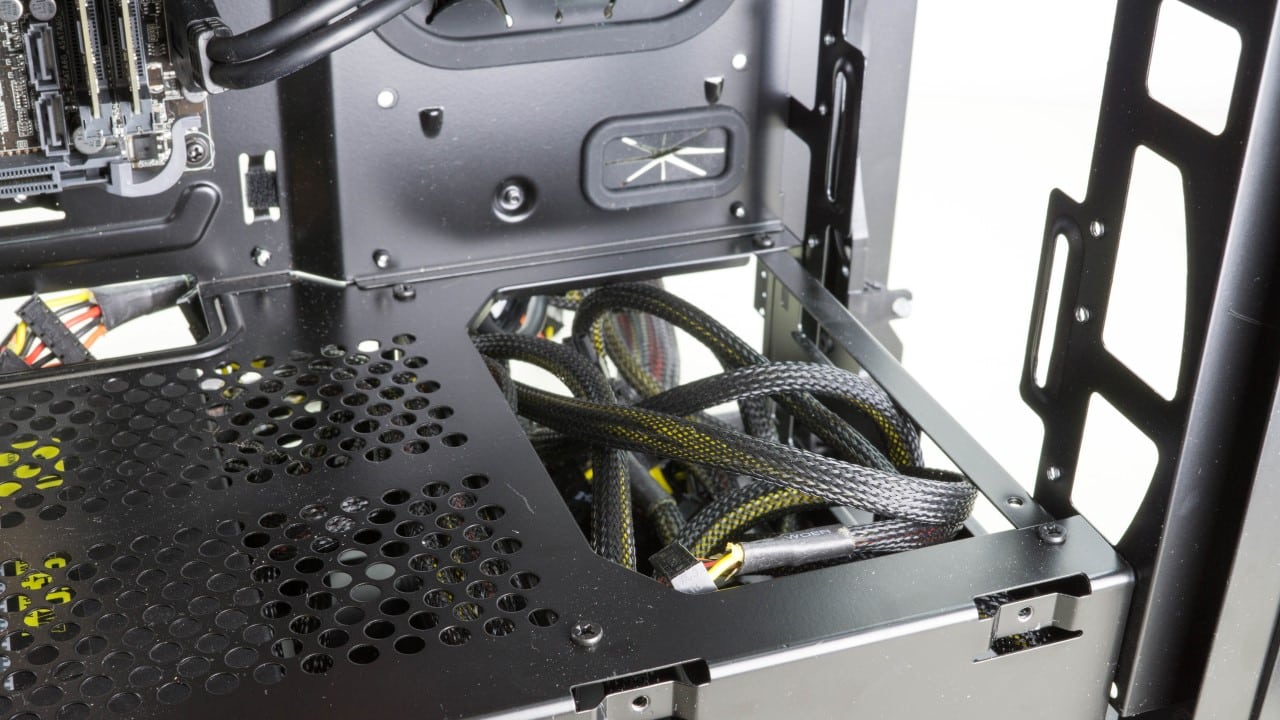
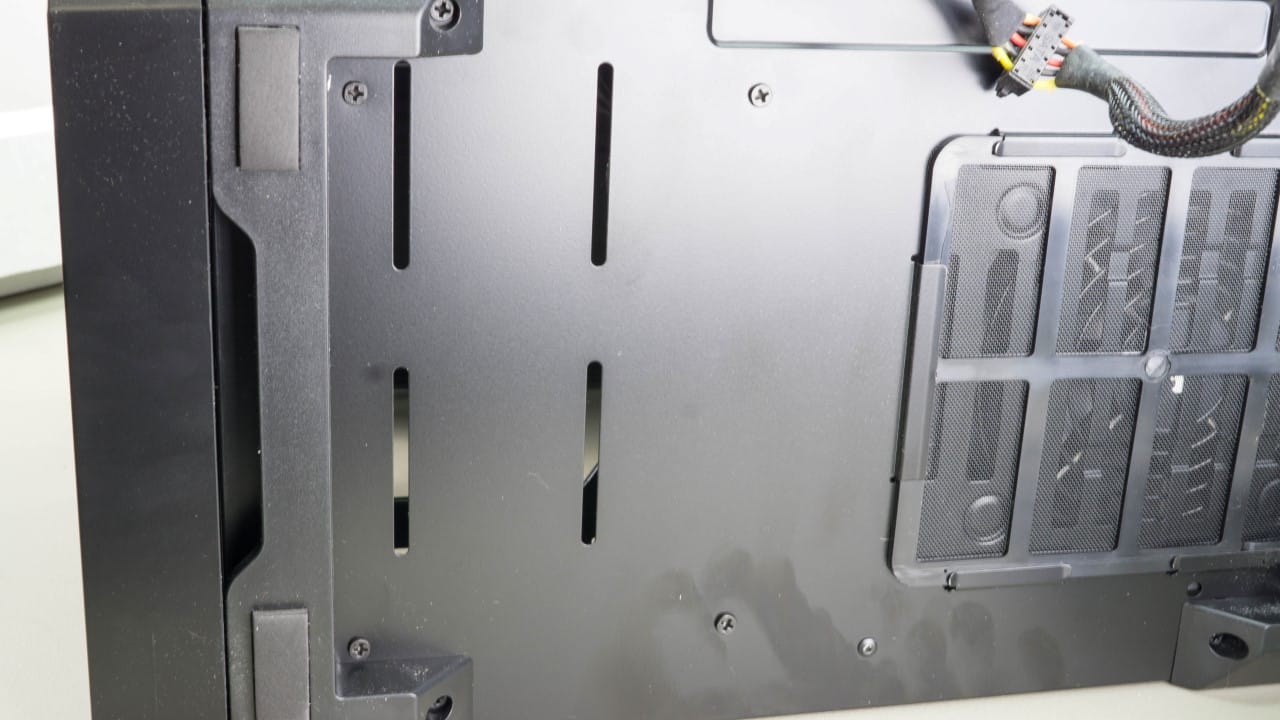
Next we are going to remove the GPU cover box. While it is actually a location that you could possibly install your pump, we are not going to use it. It is held on by two thumb screws from the back panel side. We also want to remove the HDD cage from the bottom of the case. This is secured with eight screws that must be removed. With those two parts removed that is all the prep we will be doing to get the case ready.


Thanks Derrick for this extension article of this unique little chassis from Phanteks; but I’m left wondering how the temps compare (air vs water), obviously the CPU temps would be better than air, but what of the temps inside the chassis?
Also; were you able to install a drain line into the system; while the best scenario would be to have one off the pump, the only other choice would be off the top-side of the EKWB reservoir.
I too know how difficult it is trying to fit (2) thick radiators into a smaller form factor chassis, as I tried (in vain) to fit RX 240 + an XTX 240 rads into a Corsair Air 540.
Again thanks for the journey.
Thanks for reading Brechan and thanks for the comments!
I had thought about doing some temperature monitoring but concluded that the data would be almost irrelevant to other users. I suppose it would be somewhat useful to have a general idea of the temps to expect but unless your configuration was nearly identical to my own, the results could vary wildly. I will however work on getting you some internal readings of the watercooled version shortly.
I did not install a drain line simply because I usually don’t. If I had wanted to, I could have easily put one on the line out of the pump going into the rad.
I wholeheartedly agree about big rads in little cases; kinda just not meant to be. I might do some additional modding to make it work for me, but the obvious choice would be to simply get some thinner rads.
I do have to say in spite of the difficulties that I had, this was really no harder to install in than a full size chassis, I am very fond this case!
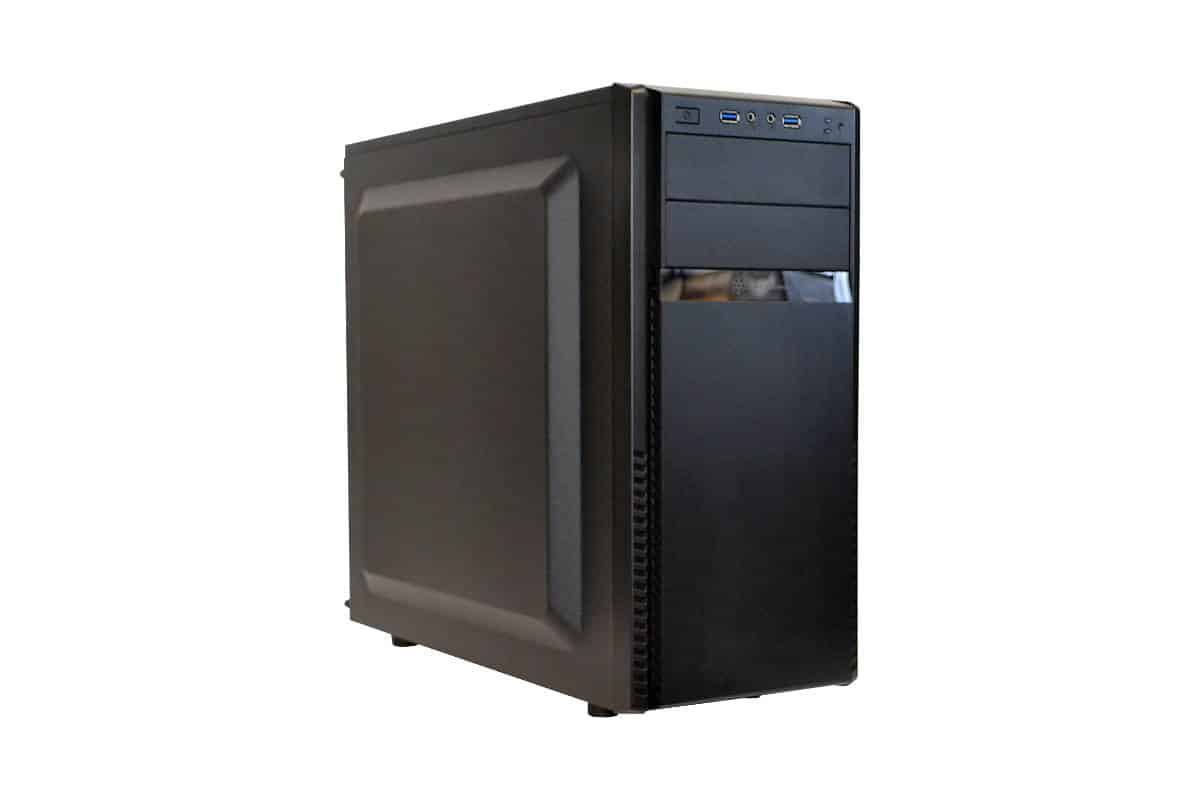
Looks great! Any indication yet as to when it will be available in the US?
Word from Phanteks is that it should be out at the end of the month for $69.99!
Well then, I guess this will be an exercise in patience since my parts are all showing up today and I have no case to put them in. Looks like it will be worth the wait though.
Jirv311, I am in same the same boat. I have just received all of my water-cooling parts in preparations for this case. My current case will not fit it all without substantial modding to the case.
Just hold out a little bit longer guys! Great case at a good price.
Brechan here are some temperature readings I took with a standard infrared thermometer:
Idle
Exhaust – 32.22°C
Internal – 36.1° C
Load (Valley Benchmark)
Exhaust – 35.56°C
Internal – 44.4°C
CPU(avg.) @ 4.2ghz – 58°C
GPU(avg.) – 83.5°C
Available now!