Installation
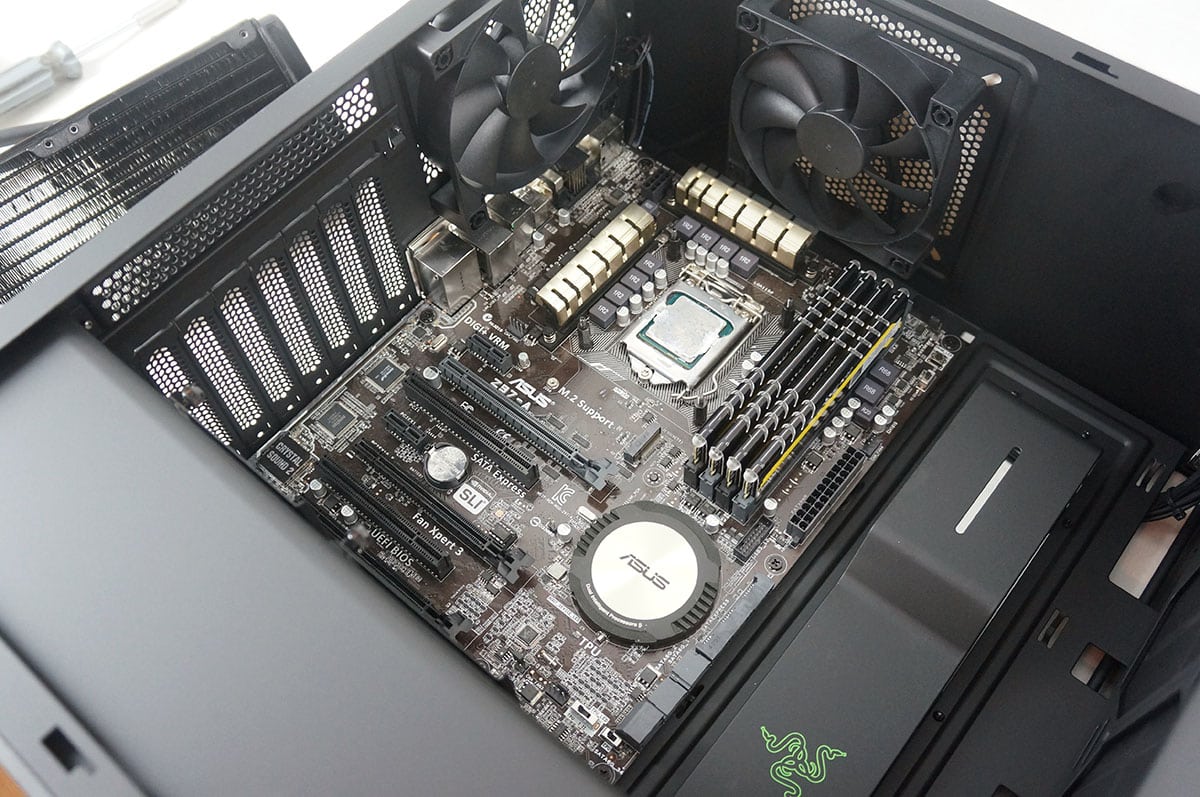
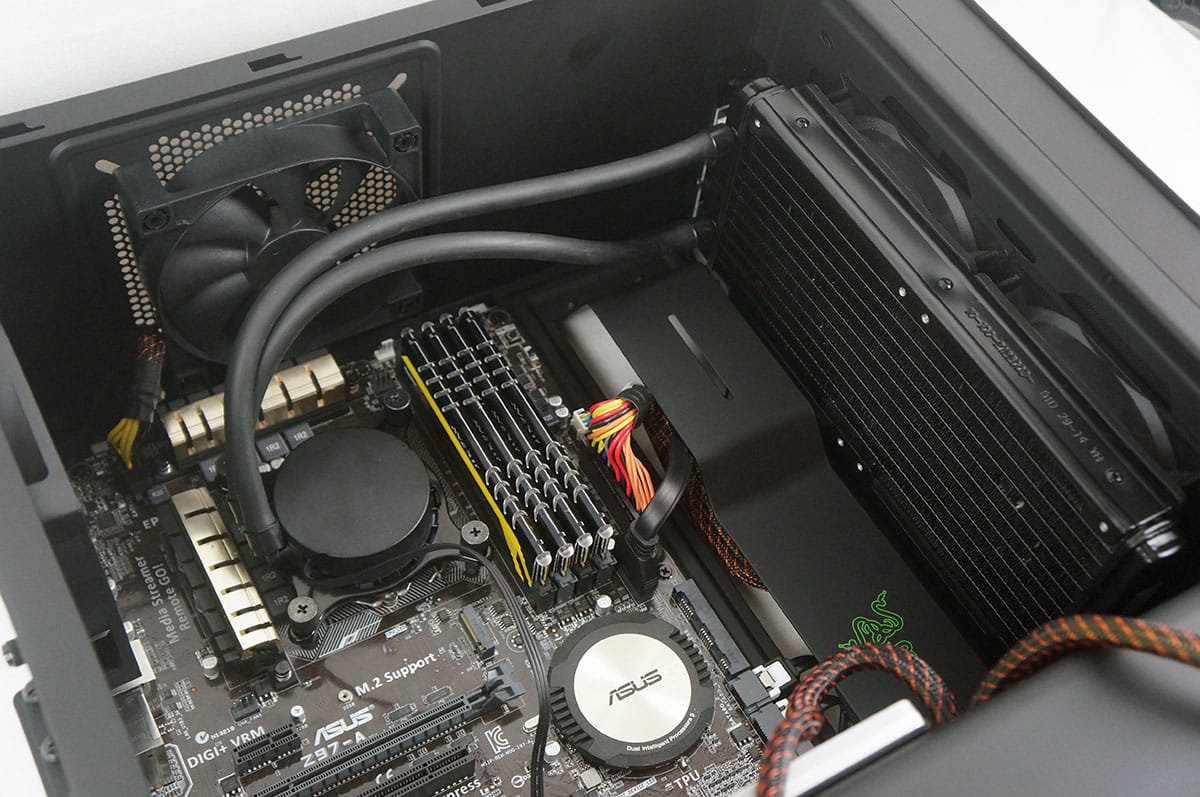
To start off with installation we will be installing our motherboard. It fit in the case extremely easy and there was more than enough room inside to easily secure it.
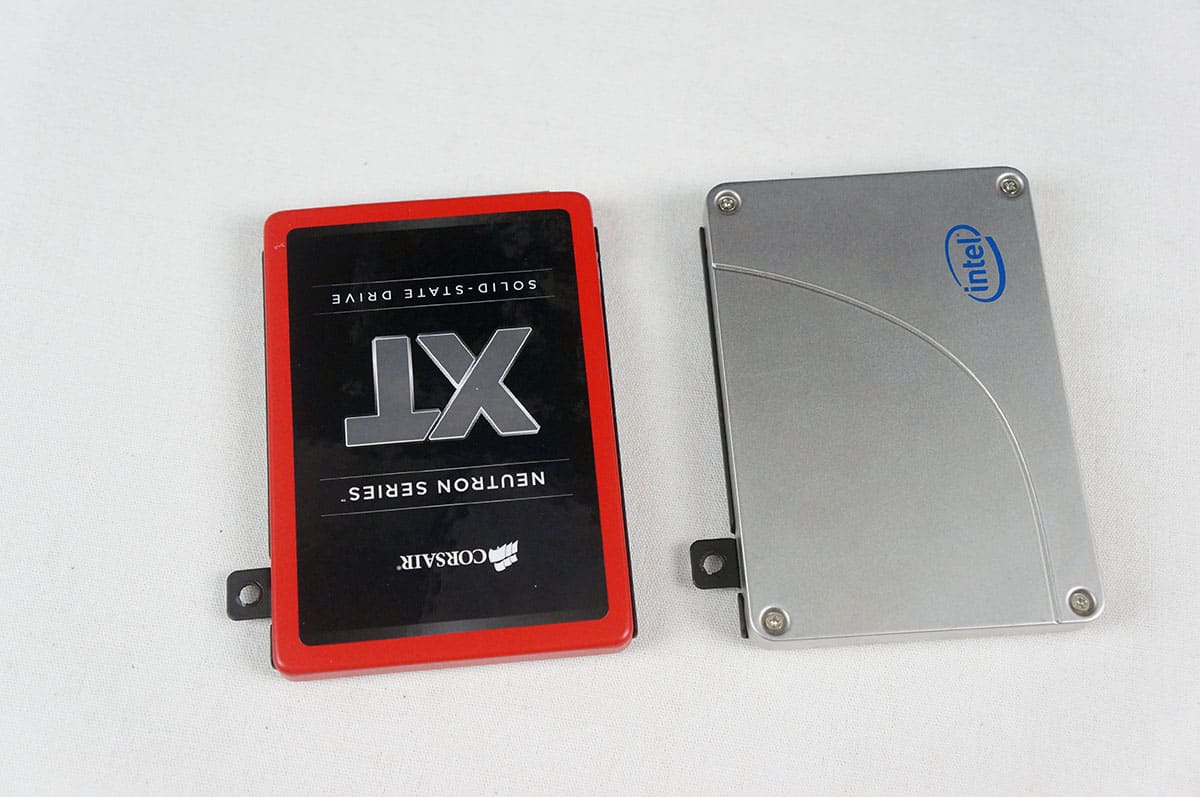
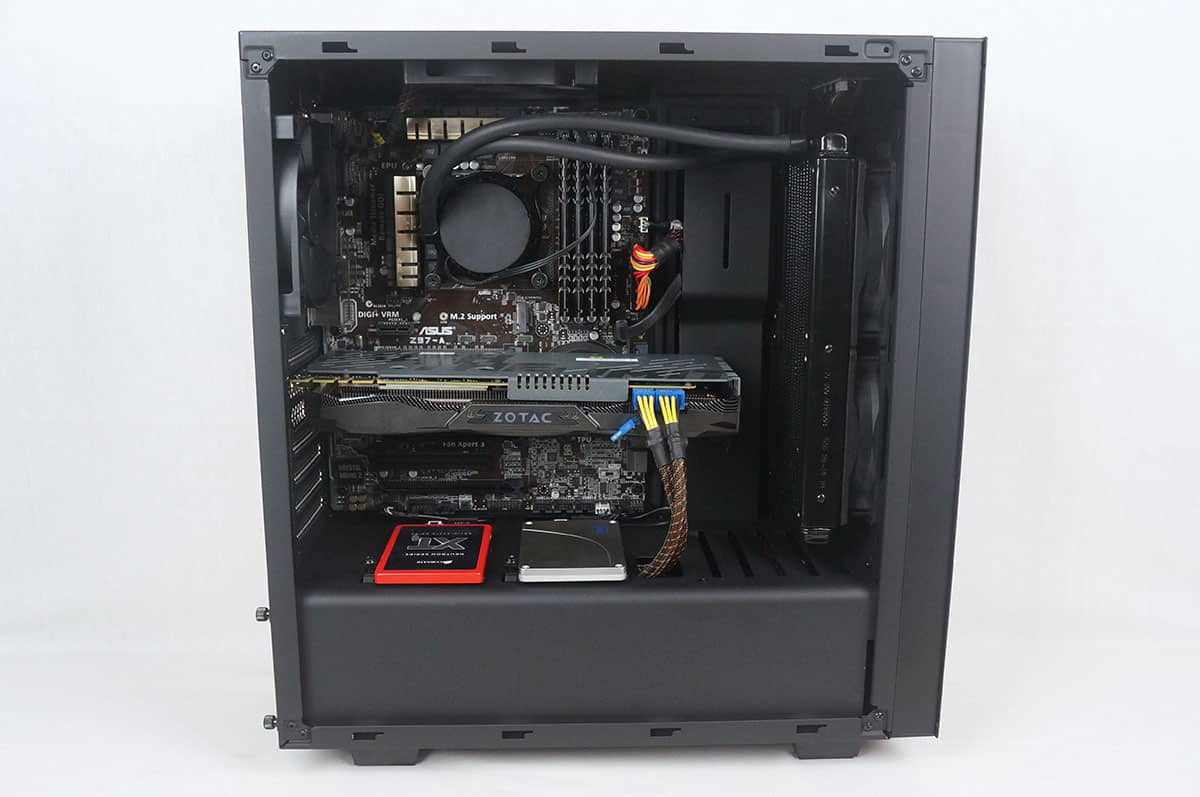
Next is our hard drives. We will be installing two solid state drives. These are easily installed in the two 2.5-inch hard drive mounts outside of the case.
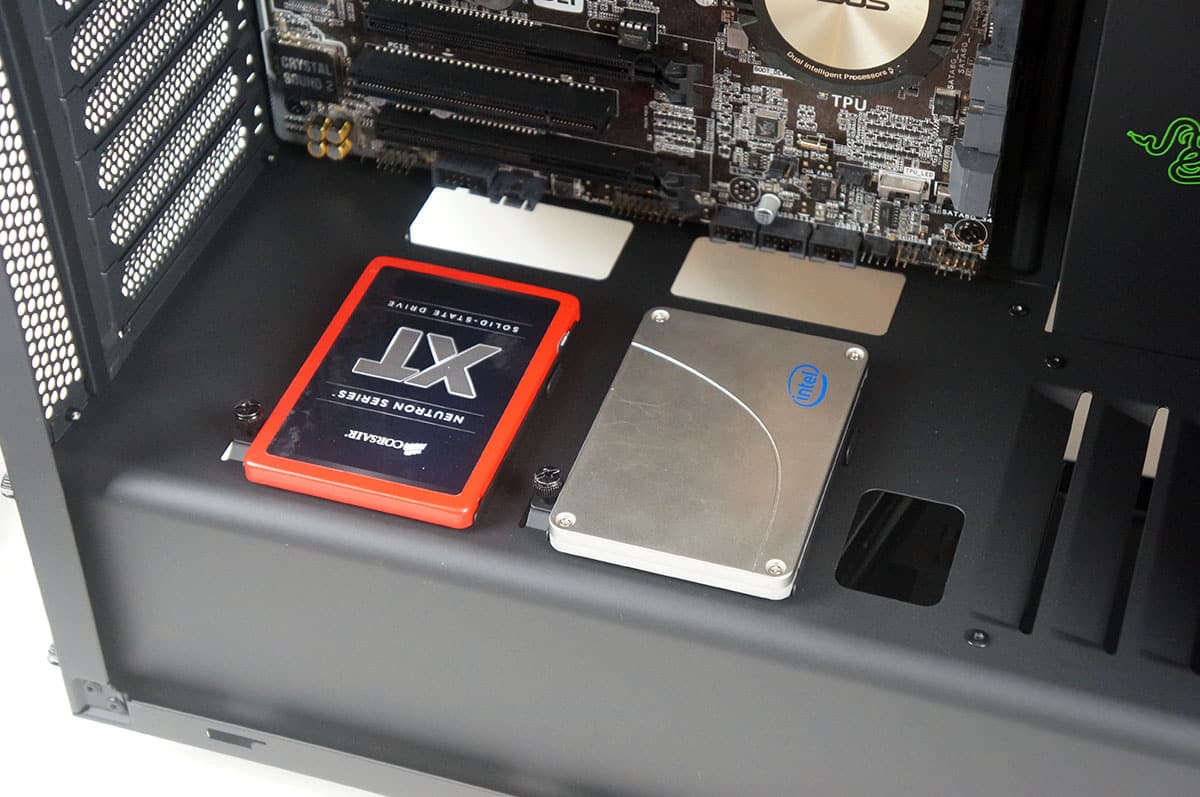
Once installed on the mounts they can be reinstalled in the case with ease.
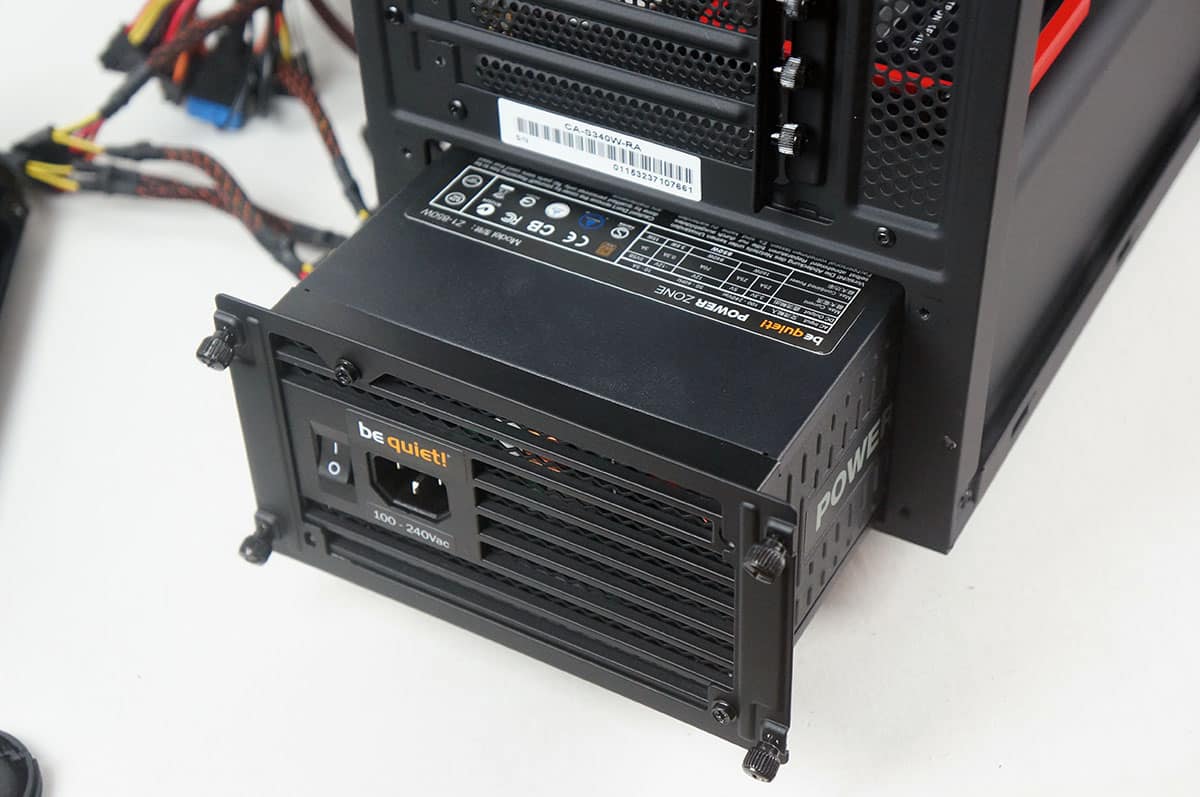
The power supply gets installed in the back of the case. There is a bracket that comes off that you install on the back of your power supply. Then you simply slide the power supply into the back of the case.
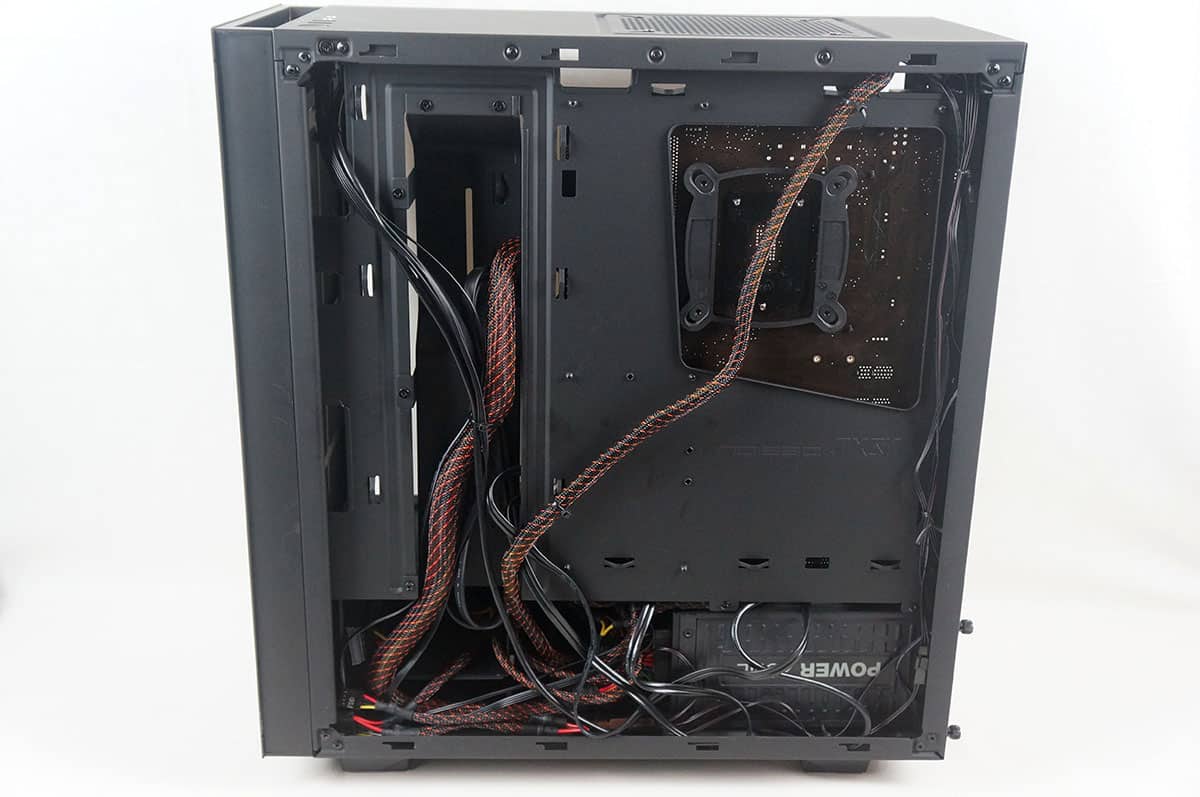
With the power supply installed it is time to run most of our cables. Here is the back side of the case all wired up. You can see how the middle groove really helped out with keeping things nice and clean.
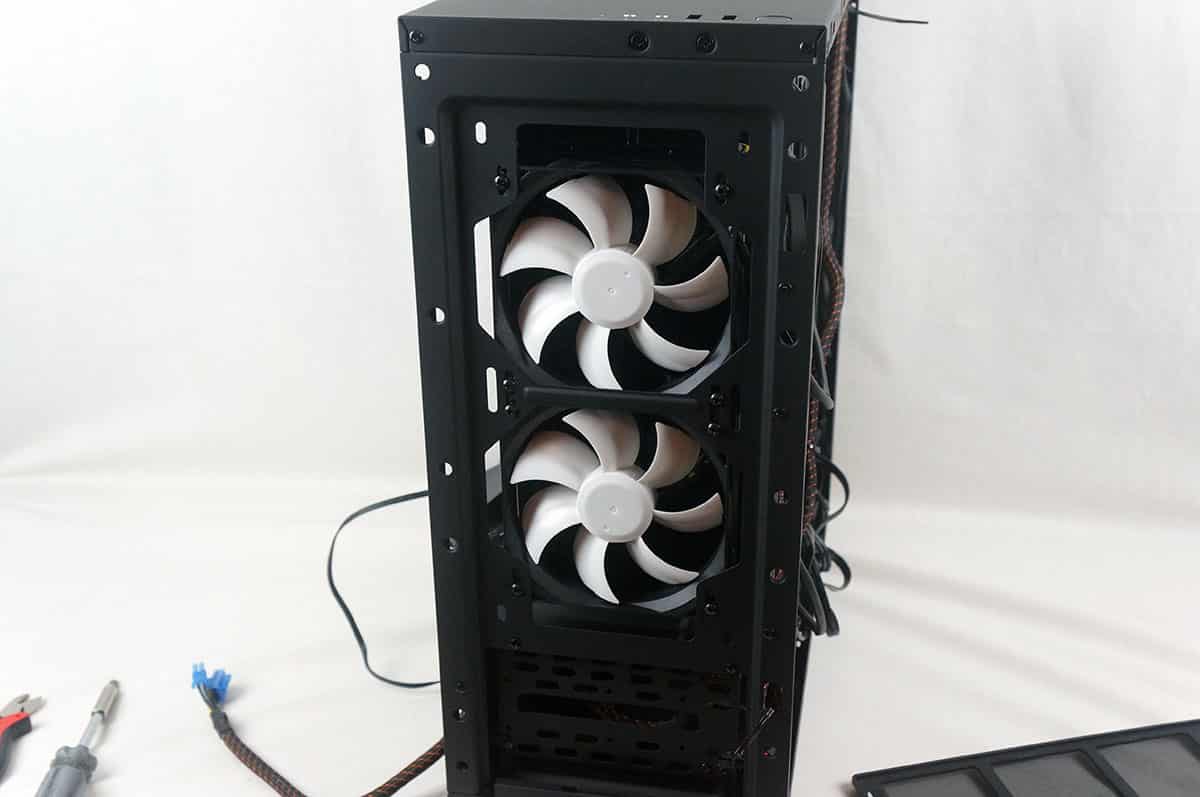
With the front of the case off I went ahead and installed a 240 mm all-in-one liquid CPU cooler. The holes lined up perfect and installation only took a few minutes.
The last thing to do would be to install our graphics card and run the rest of the cables. After everything is done you can see we have a very clean build!
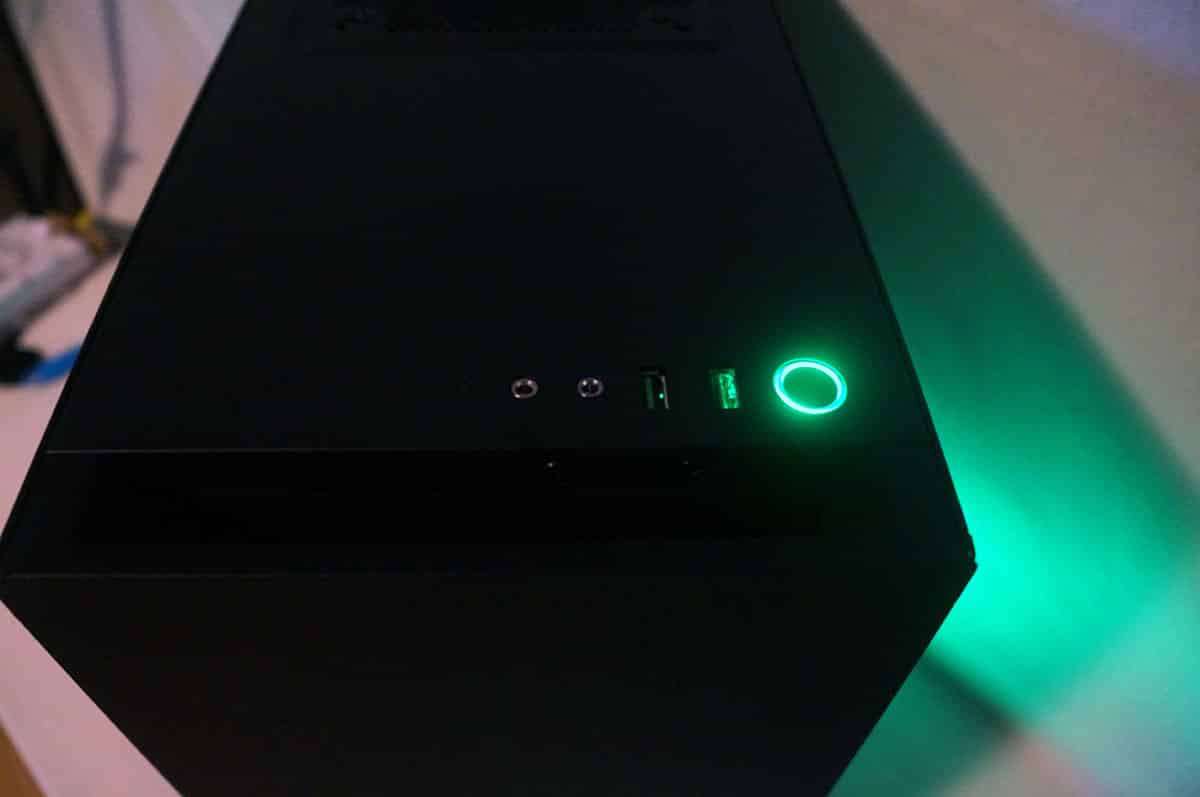
Here are some shots of the case all lit up!