Installation
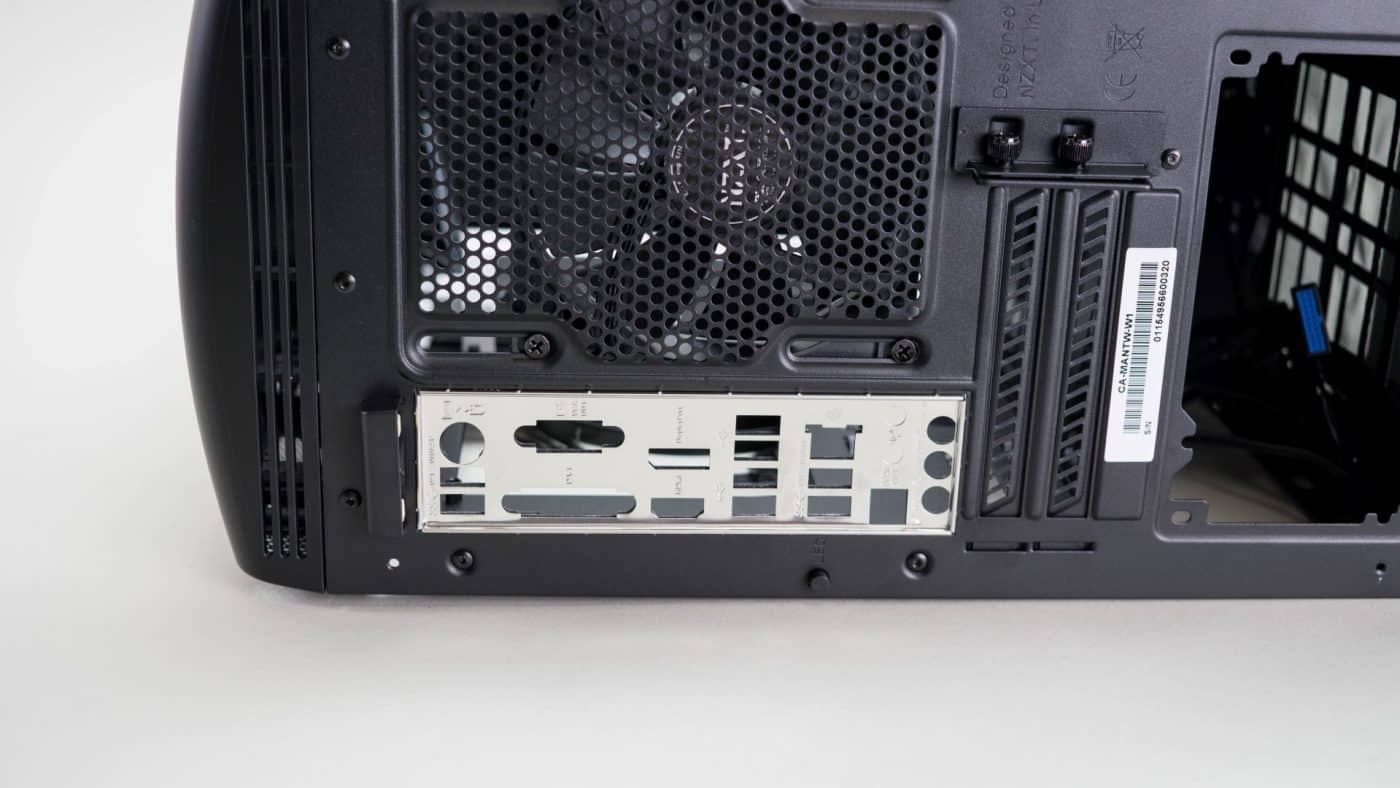
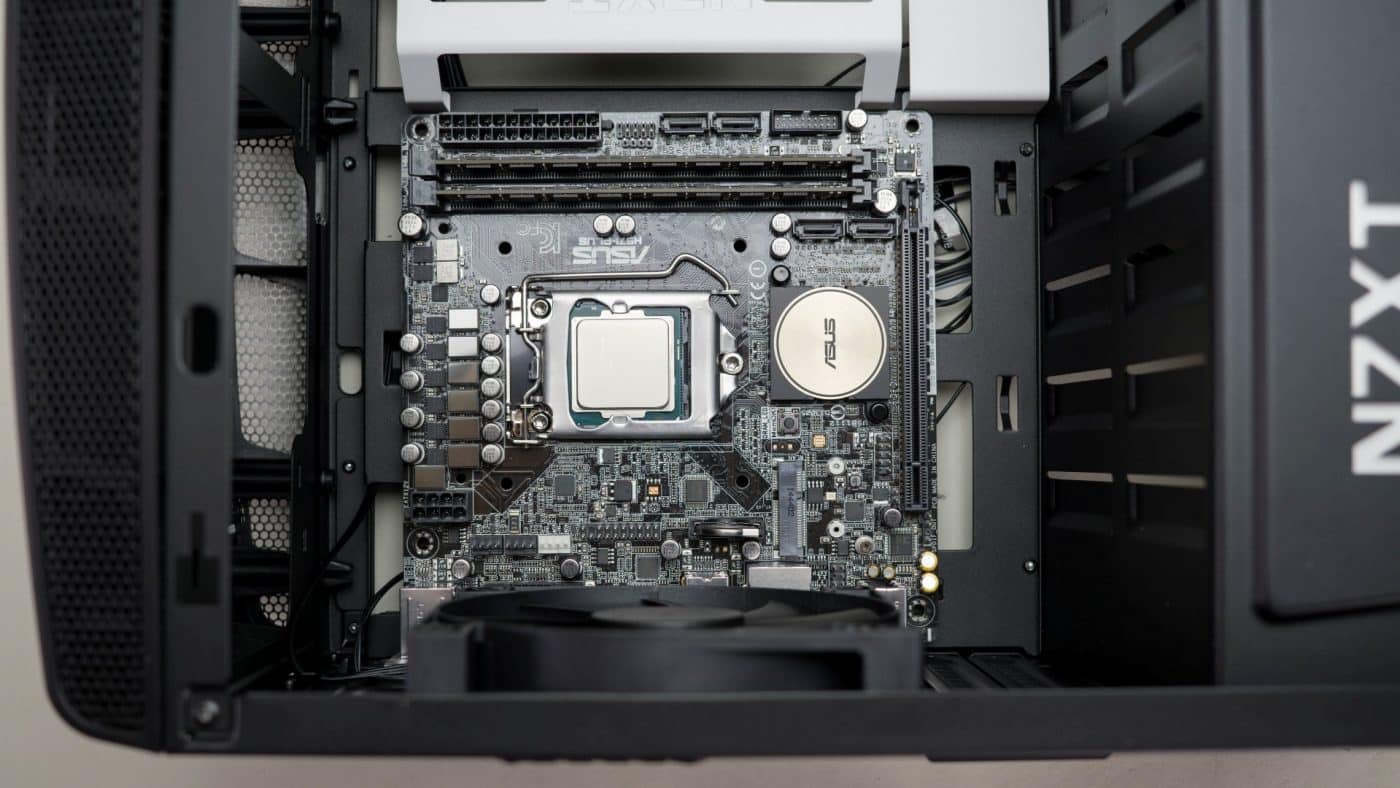
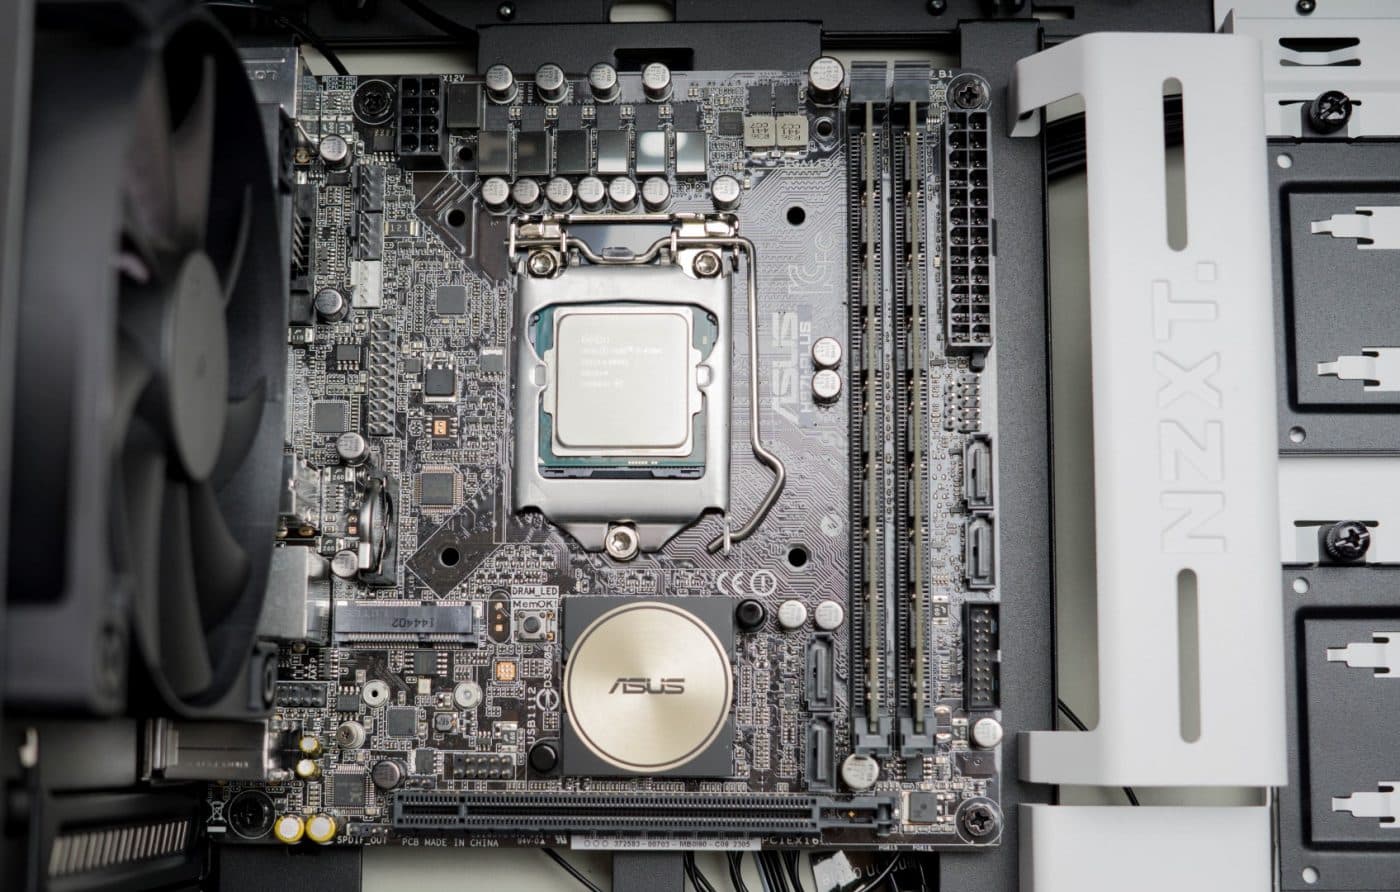
We begin our installation like any other, throw the I/O shield in place and install the motherboard. The I/O shield included with our ASUS motherboard is pretty padded like a lot of them these days. This combined with the tight tolerances that the stand-offs are set at, made for a really tight MB install. I would have like to see the stand-offs that go into the MB holes and hold it in place used. At any rate we got the board installed and ready to go.
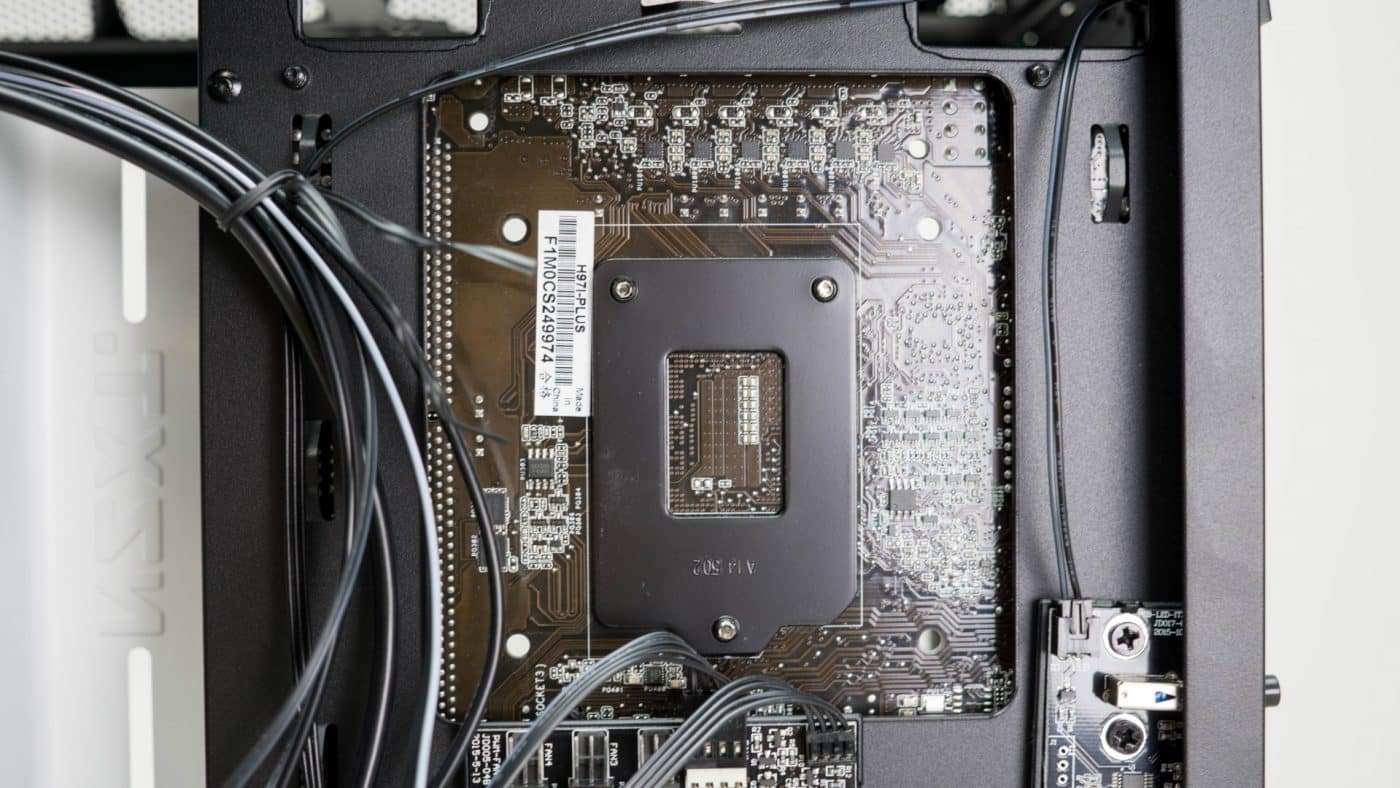
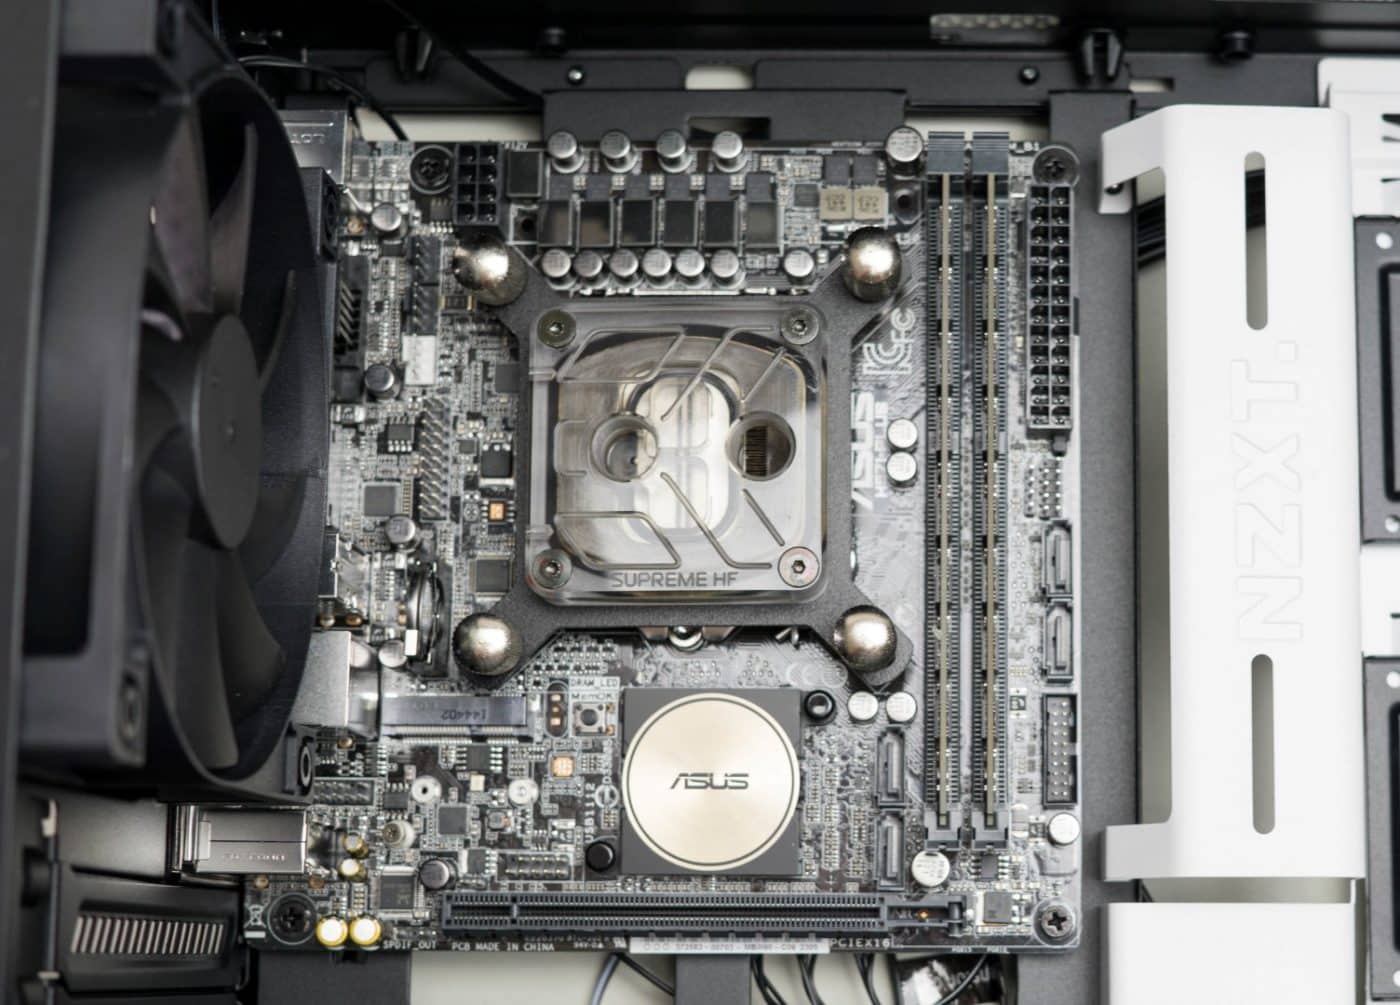
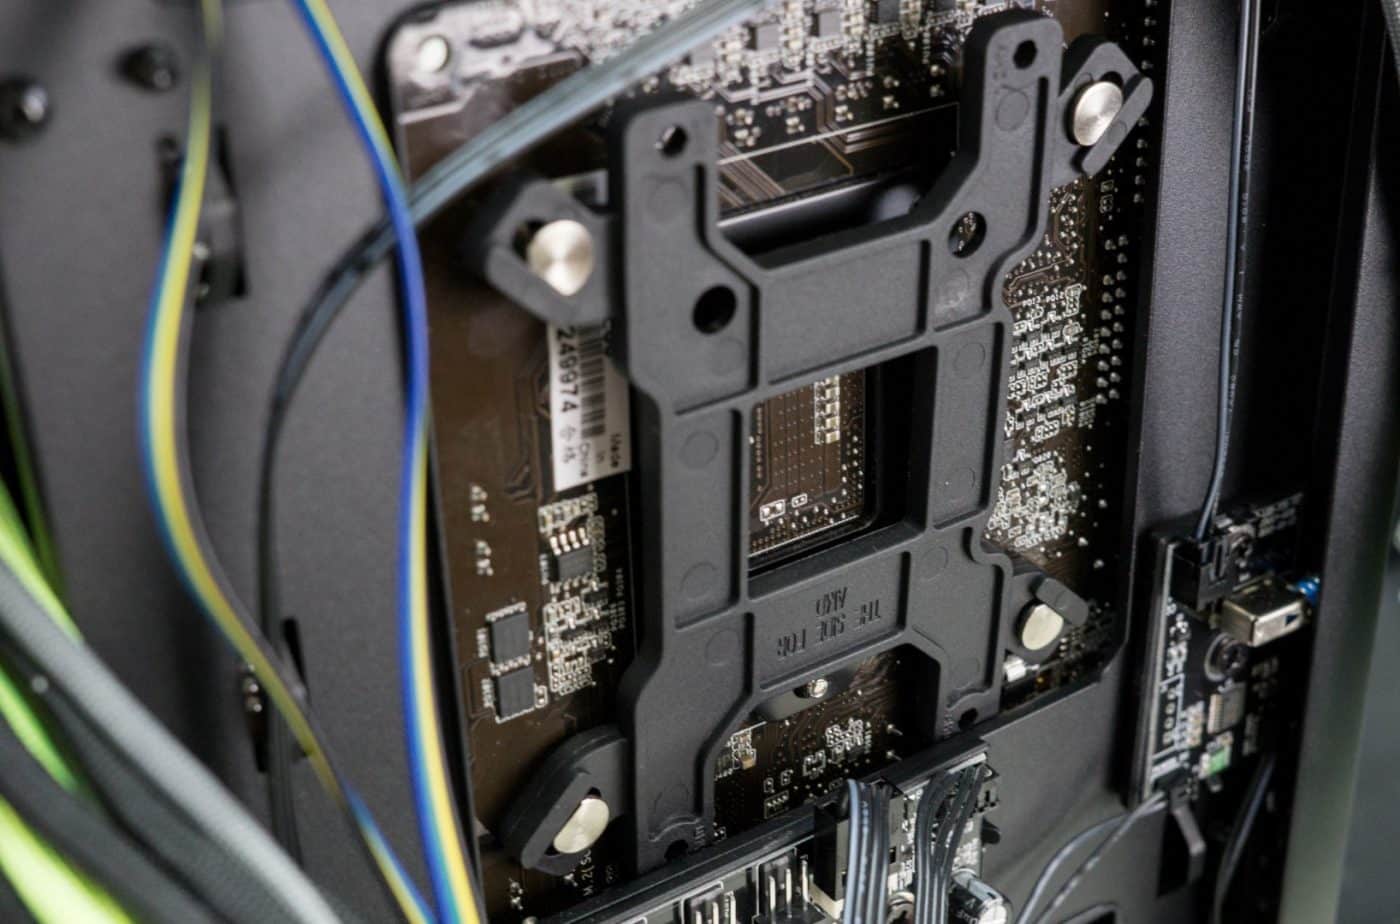
Next we want to install the backplate for our CPU block. The initial plan is to watercool the Manta to really see what it can handle. Unfortunately we find that we just don’t have the space for the water cooling equipment we have on hand, but we’ll get into that more later in the review. The EK backplate just clears the bottom edge of the cut out and we’re able to install the block.
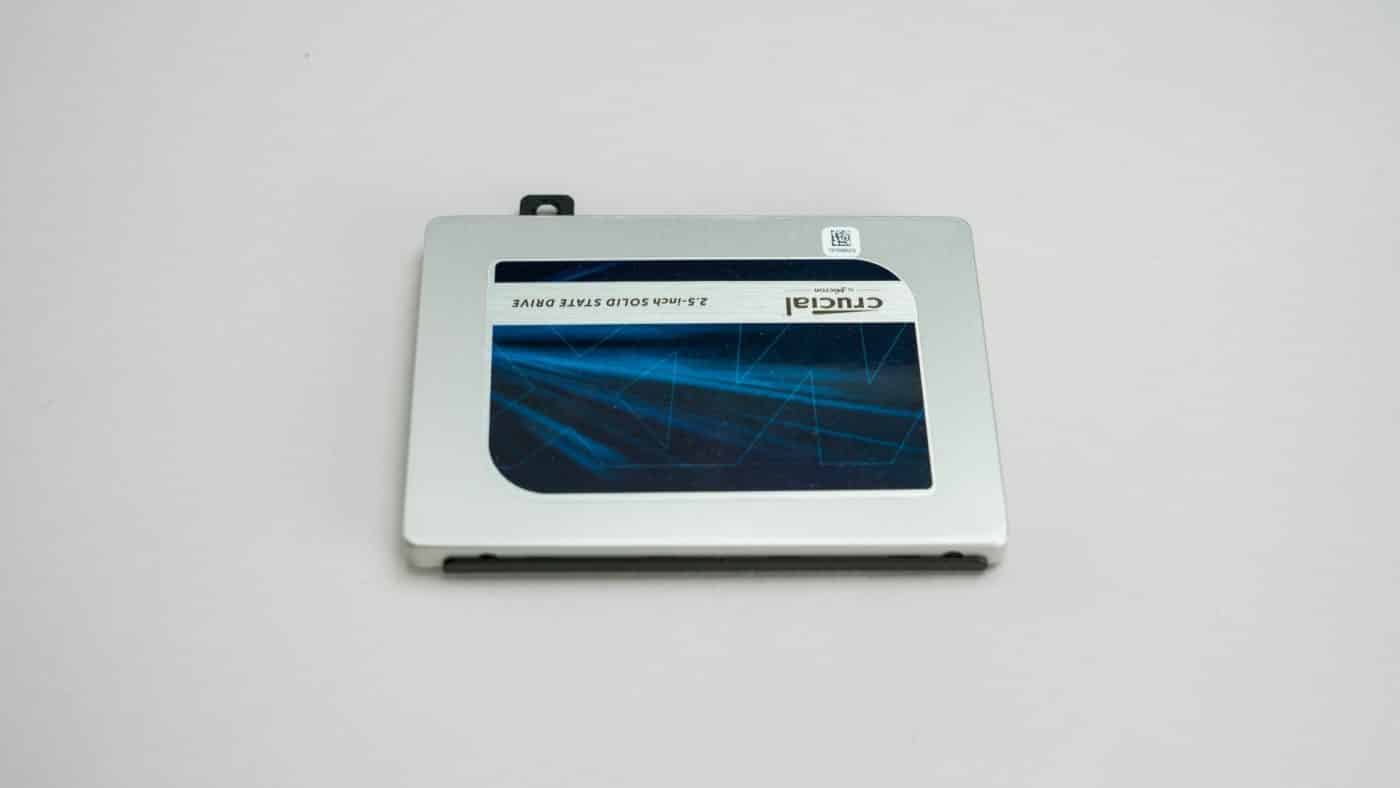
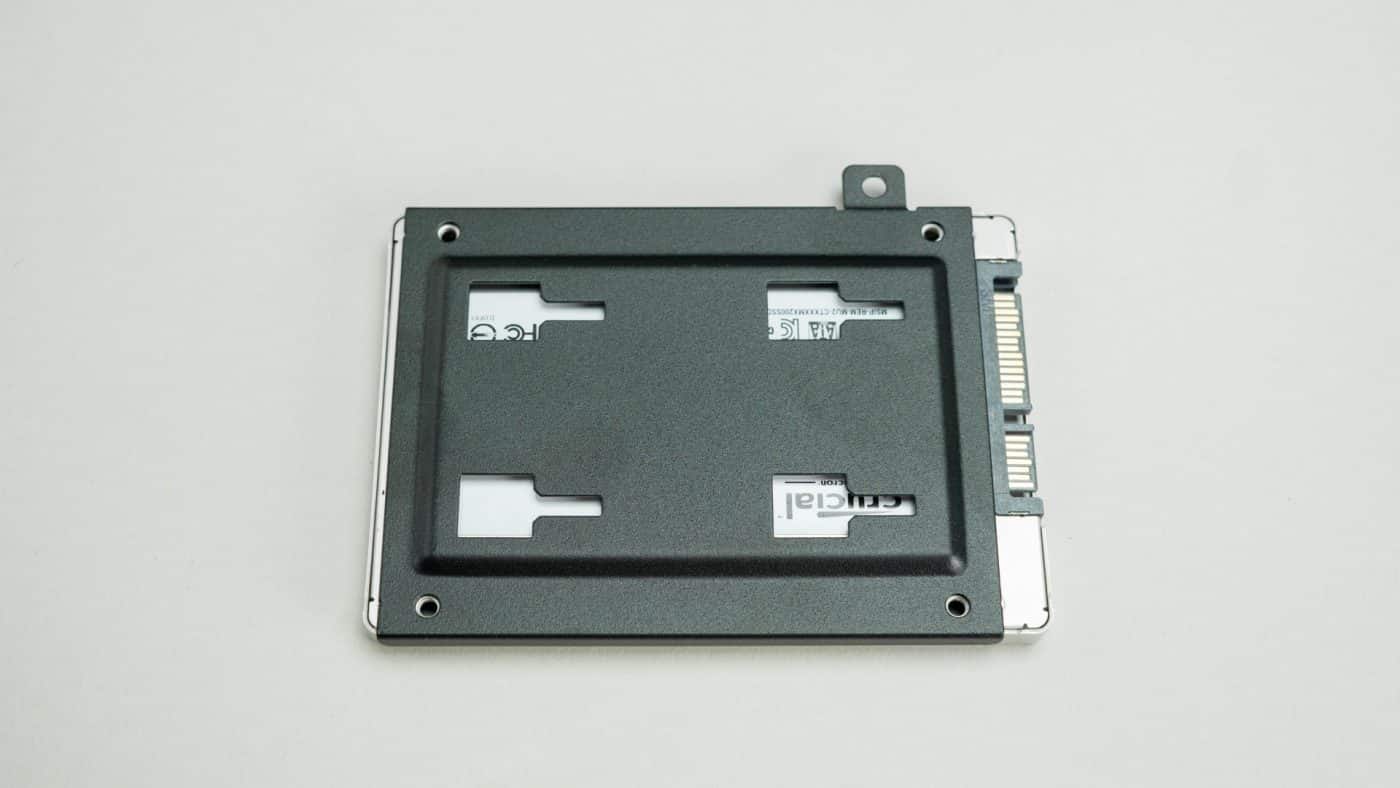
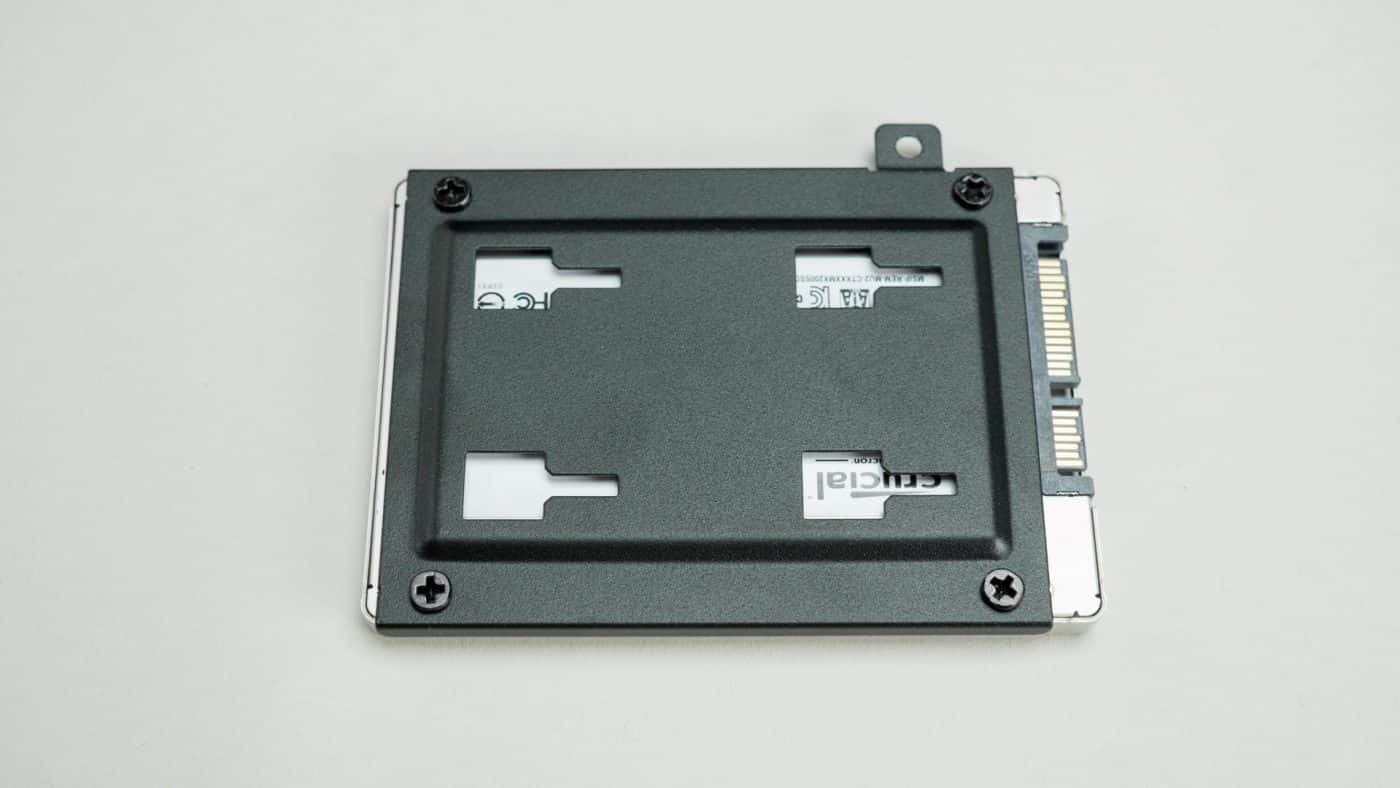
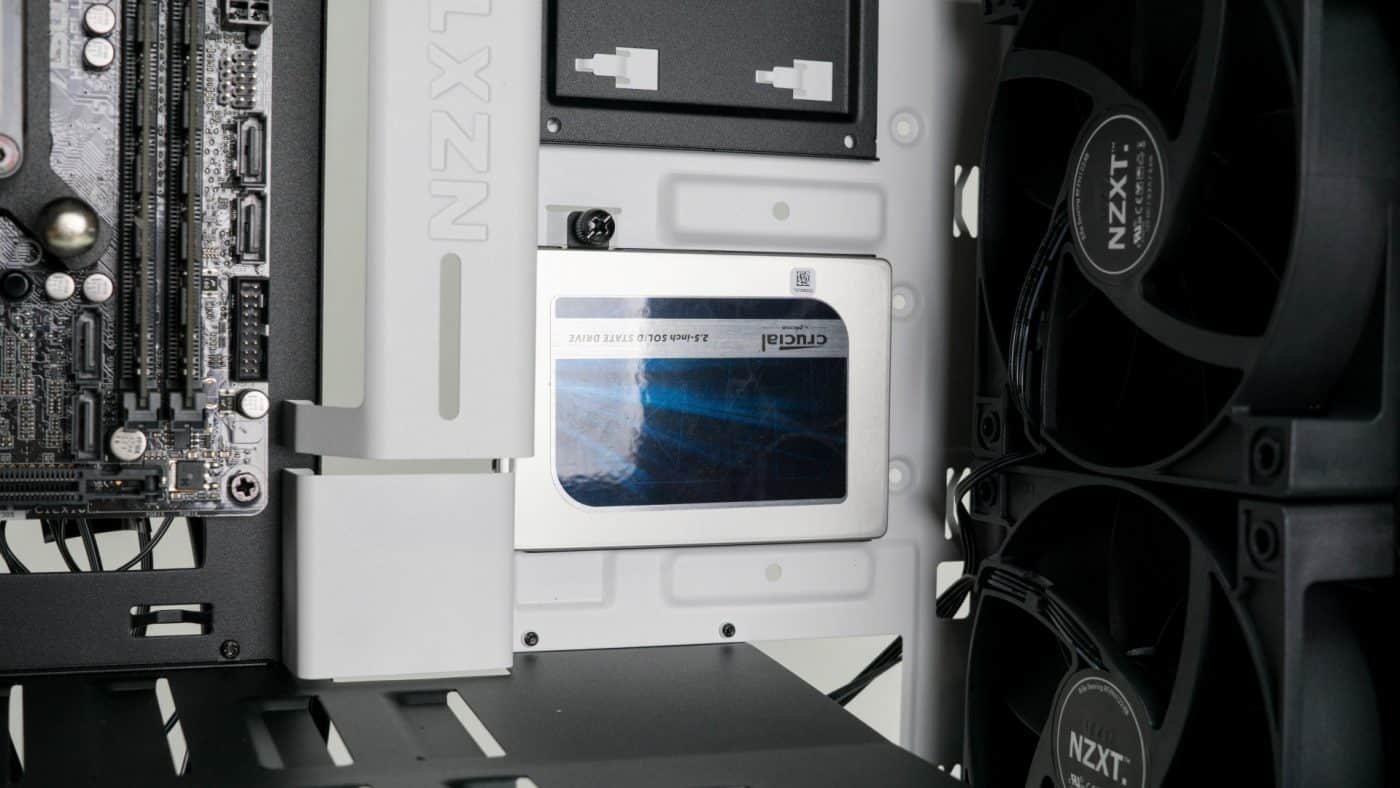
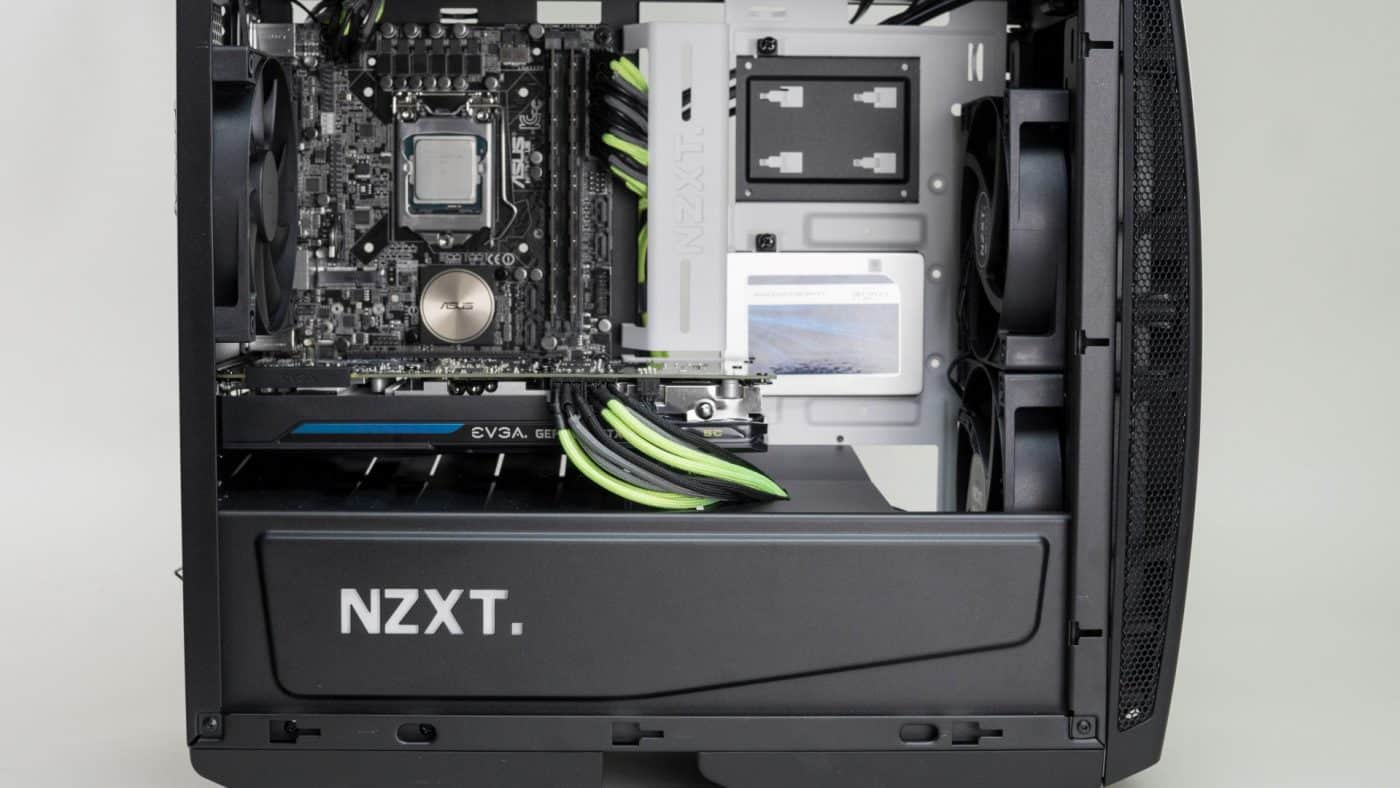
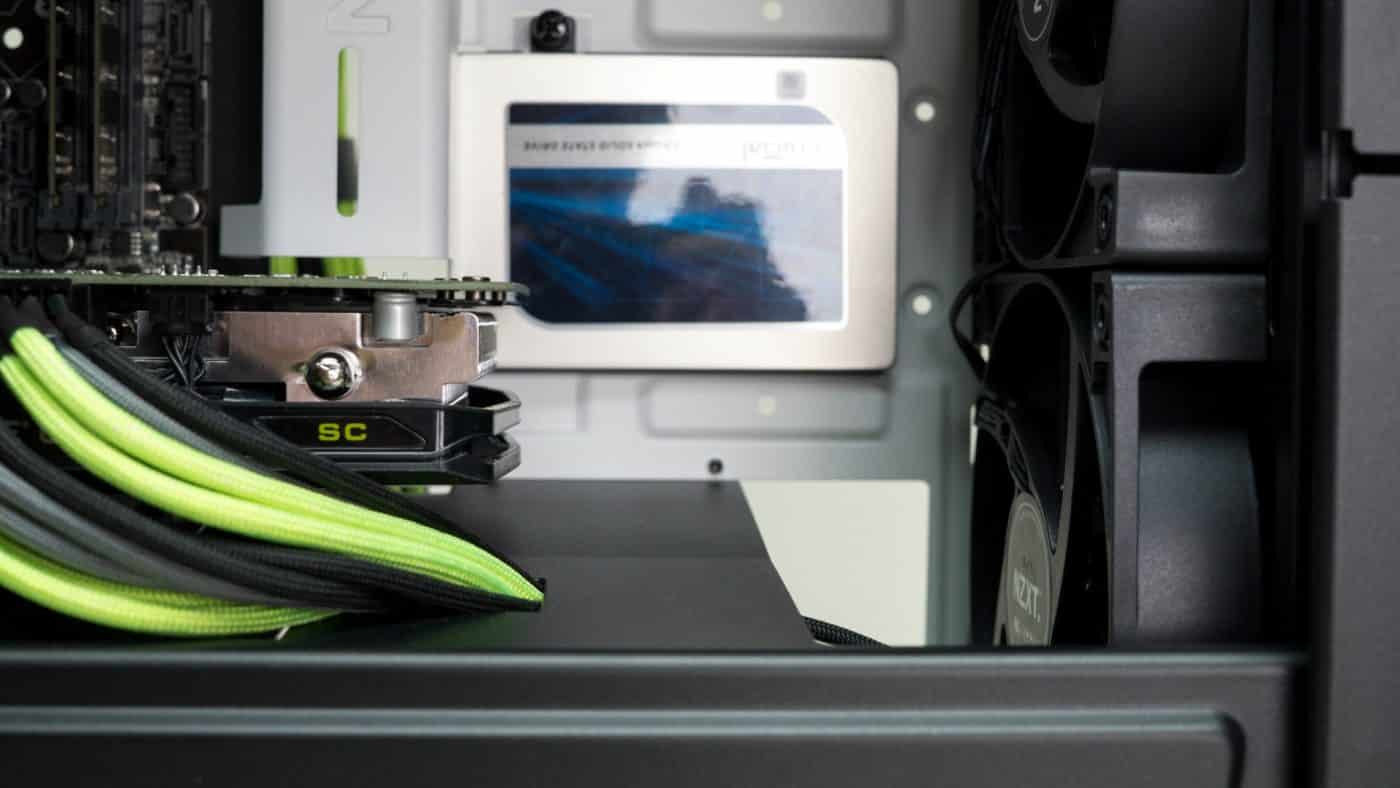
Moving on we set up our Crucial SSD on one of the mounts. This is as easy as it gets, the drive fits snuggly in the cage and screws right in. Slide the drive into place and secure with the thumb screw.

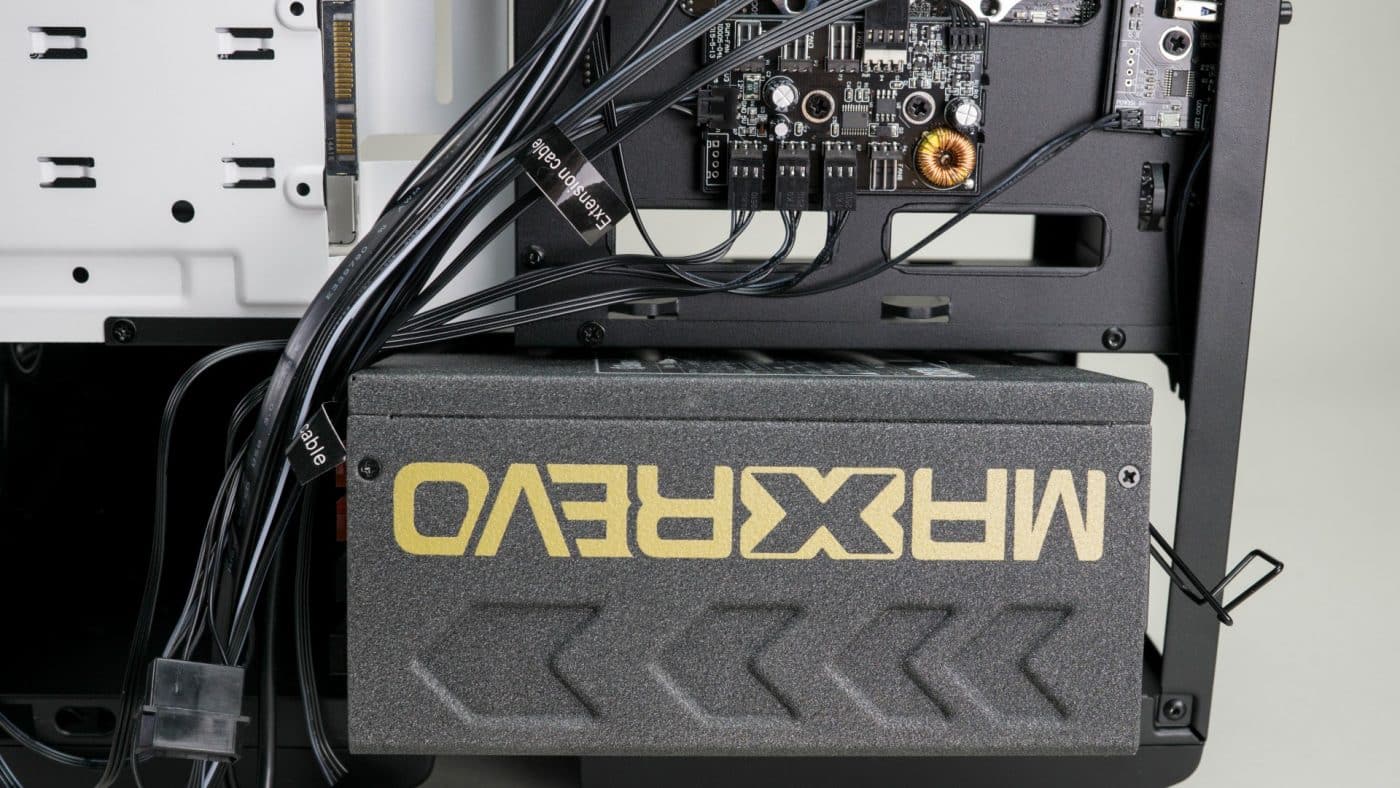
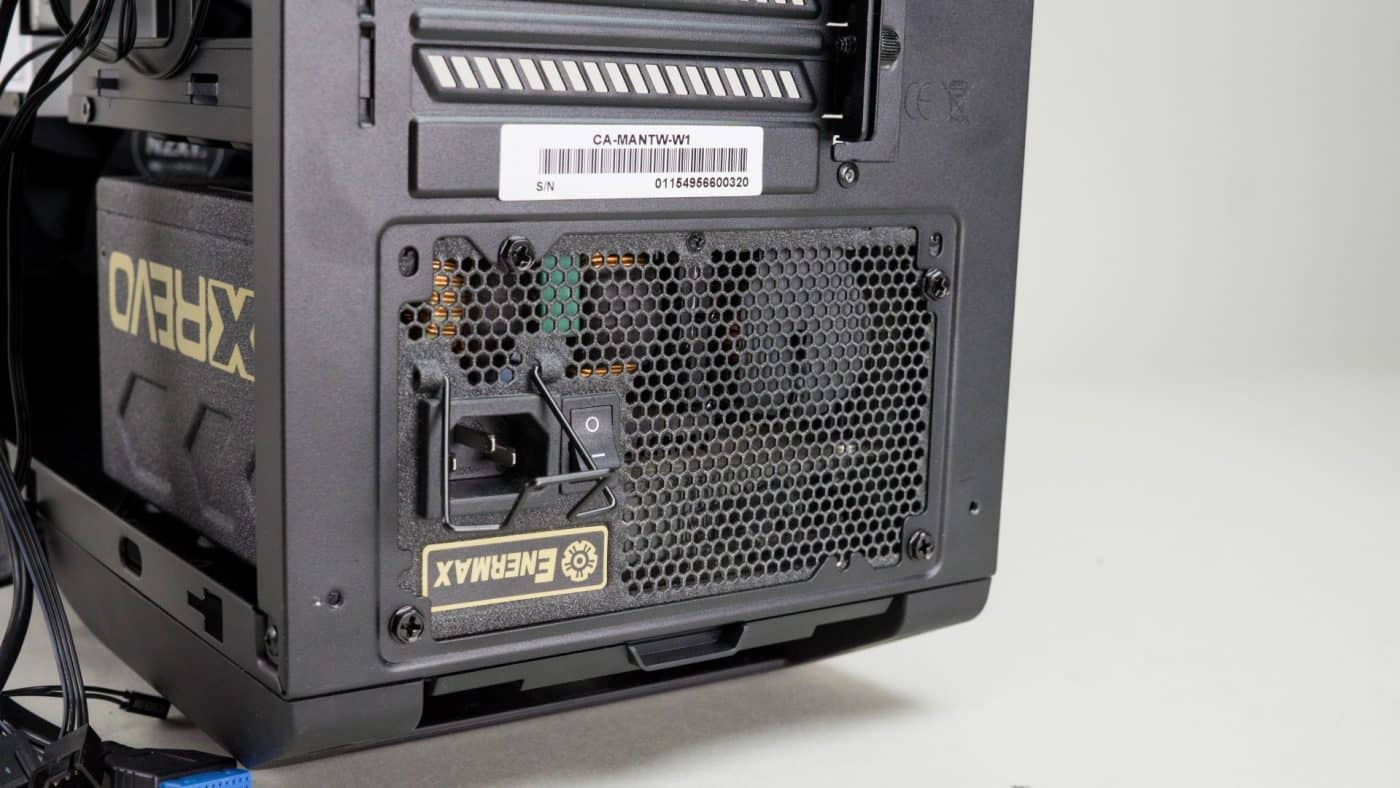
Next we install our PSU. Ours is an Enermax MaxRevo 1350 and it’s not small. The biggest benefit is that it is fully modular and has more than enough power for this system and then some. It also shows how well the Manta will handle a large PSU. Thanks to a brilliant bit of angled steel on the back edge of the PSU shroud, the unit slides right in. Although it’s quite long there is still a good amount of space for cables and other parts.

At this point we decided we better test fit our D5 water pump and it is obvious immediately that it isn’t going to work. Knowing we are going to need a lot of space for cables, there just isn’t room. Not only is there not room with the fans configured as they are, but we want to stick an XSPC RX240 56mm thick radiator in the front of the case. That means losing even more room under the shroud. For now we are stumped. Although we fully intend to revisit water cooling the Manta, for the time being it has to be placed on the back burner.
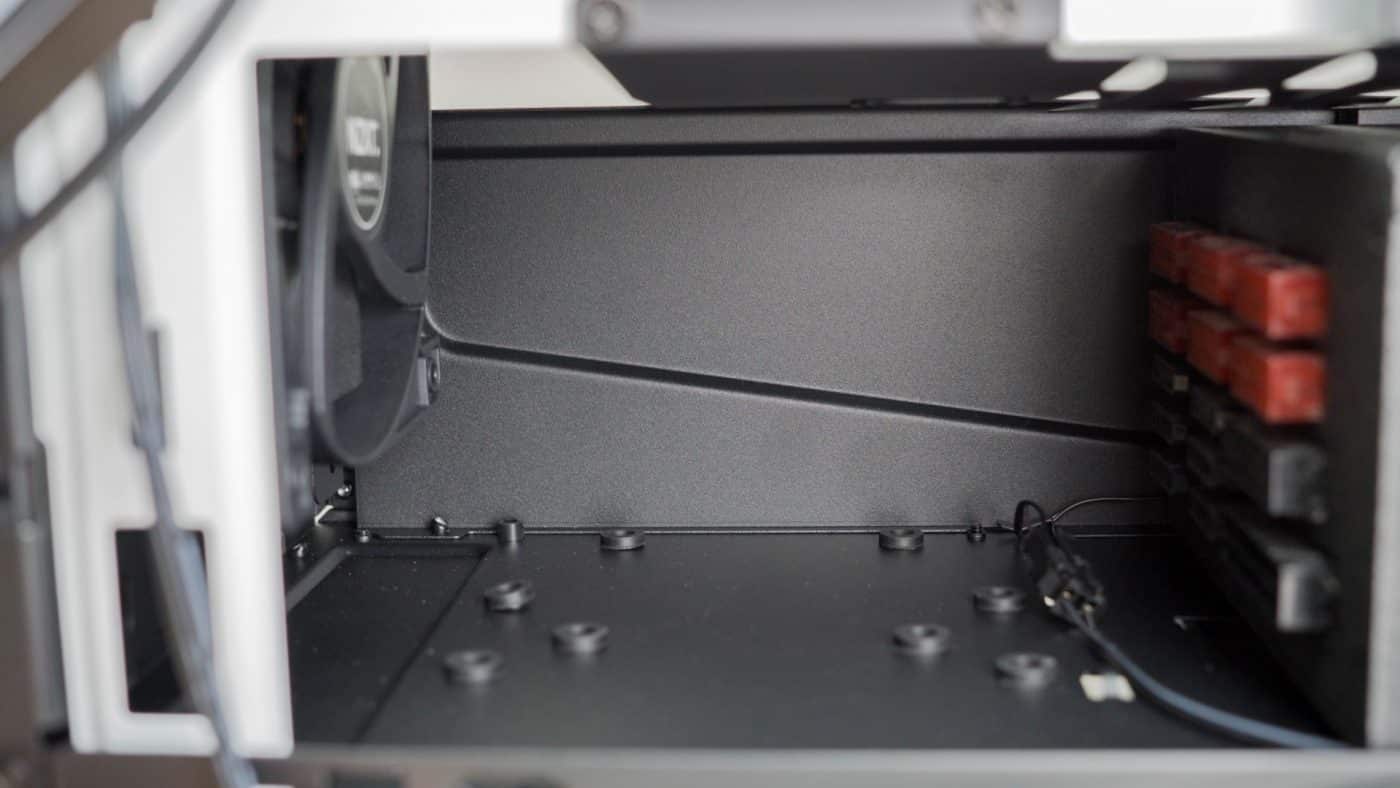
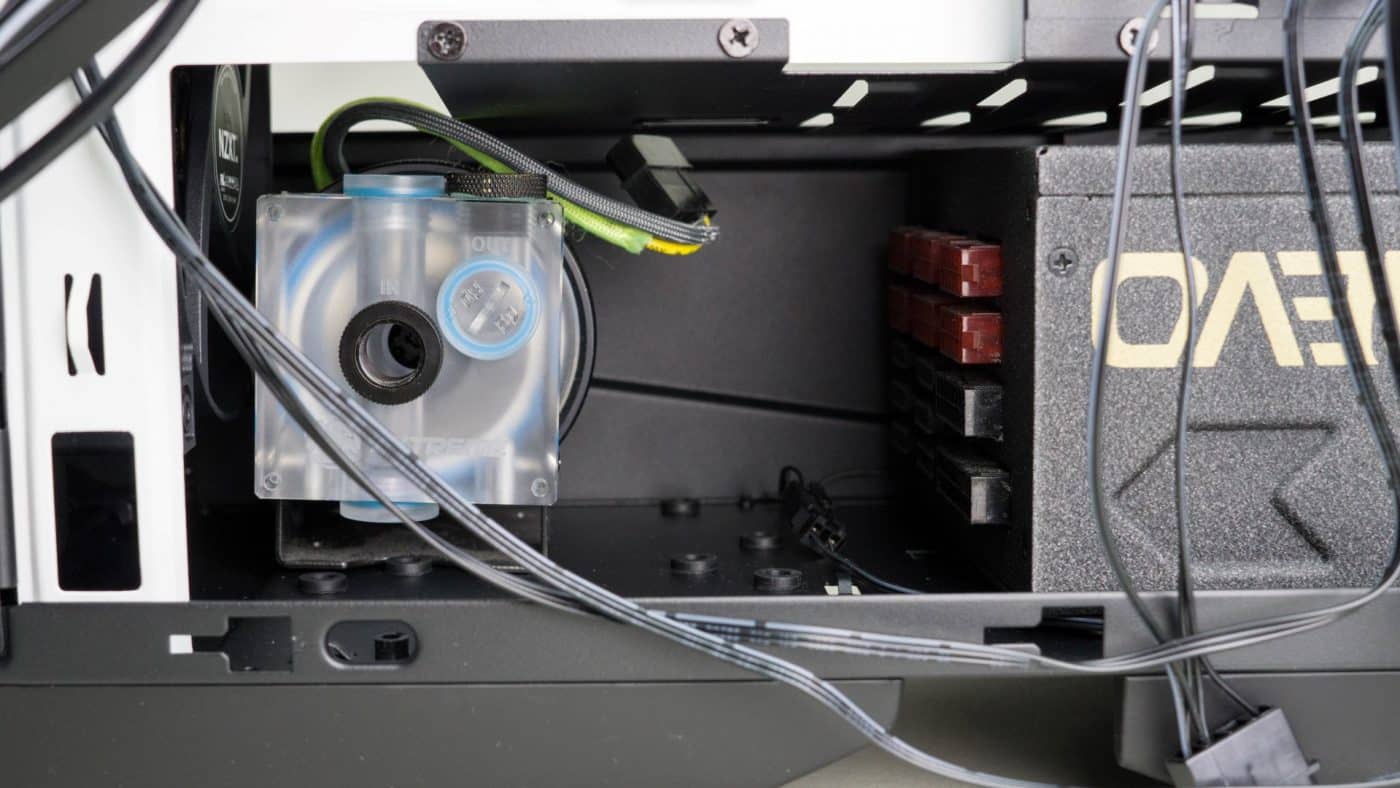
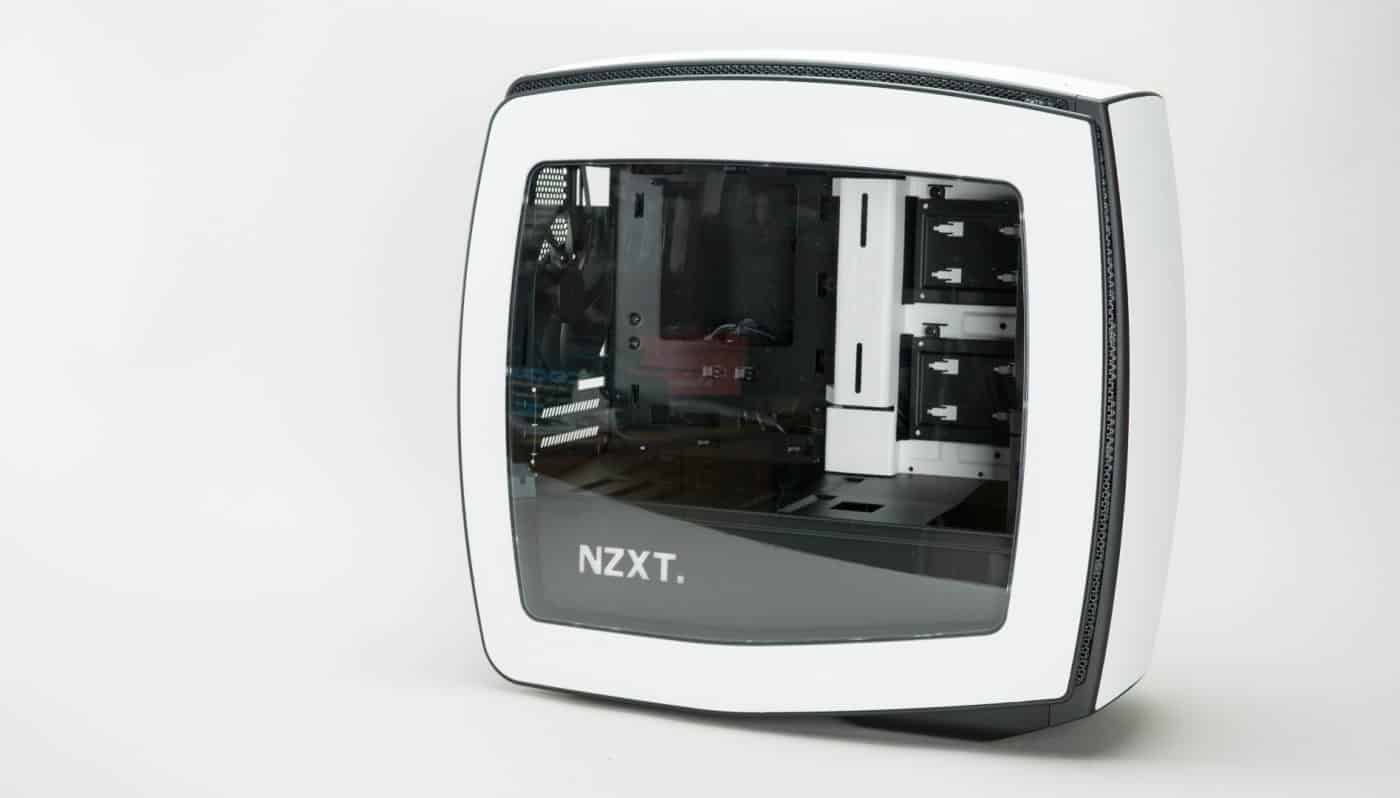
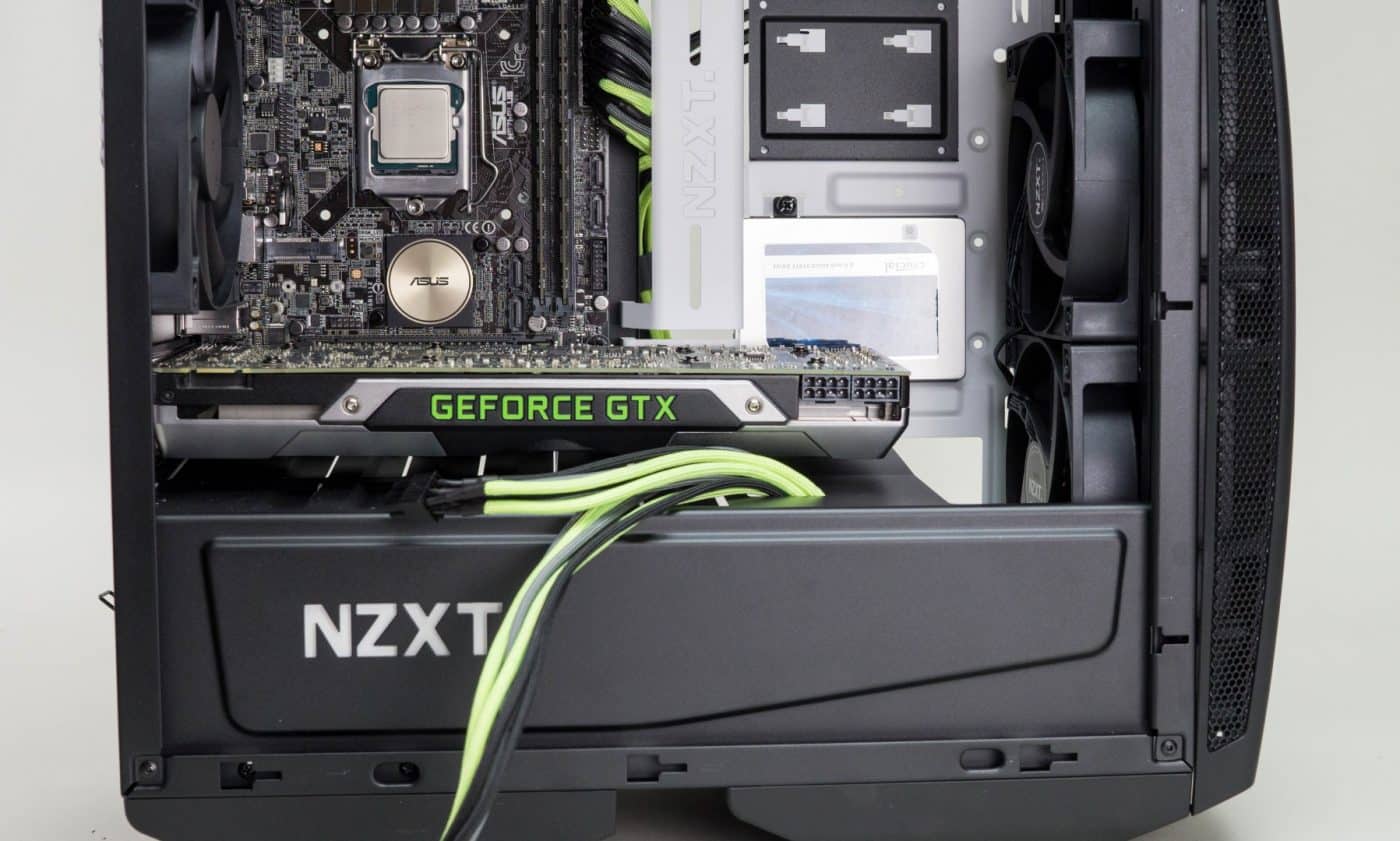
Before correcting our CPU cooling situation we decide to test fit some GPU’s just in case there is room in the main compartment. We put in both a GTX 690 and a GTX 970. Both fit just fine, with room to spare even, but not room on the shroud for a D5 pump with a GPU installed.
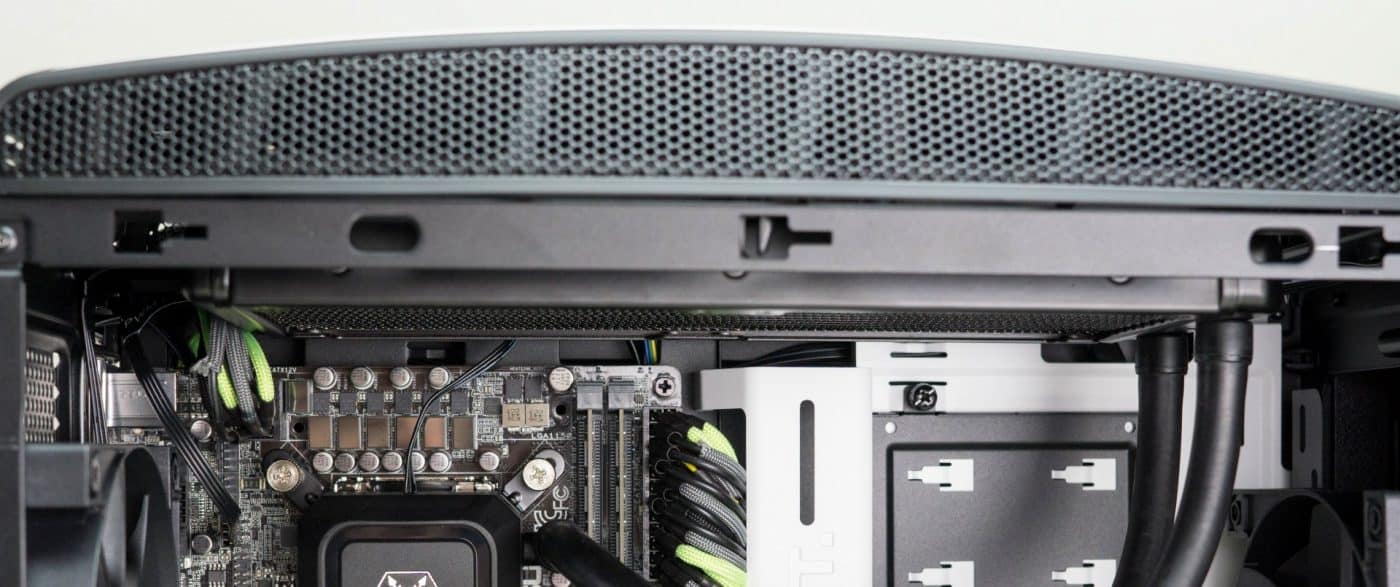
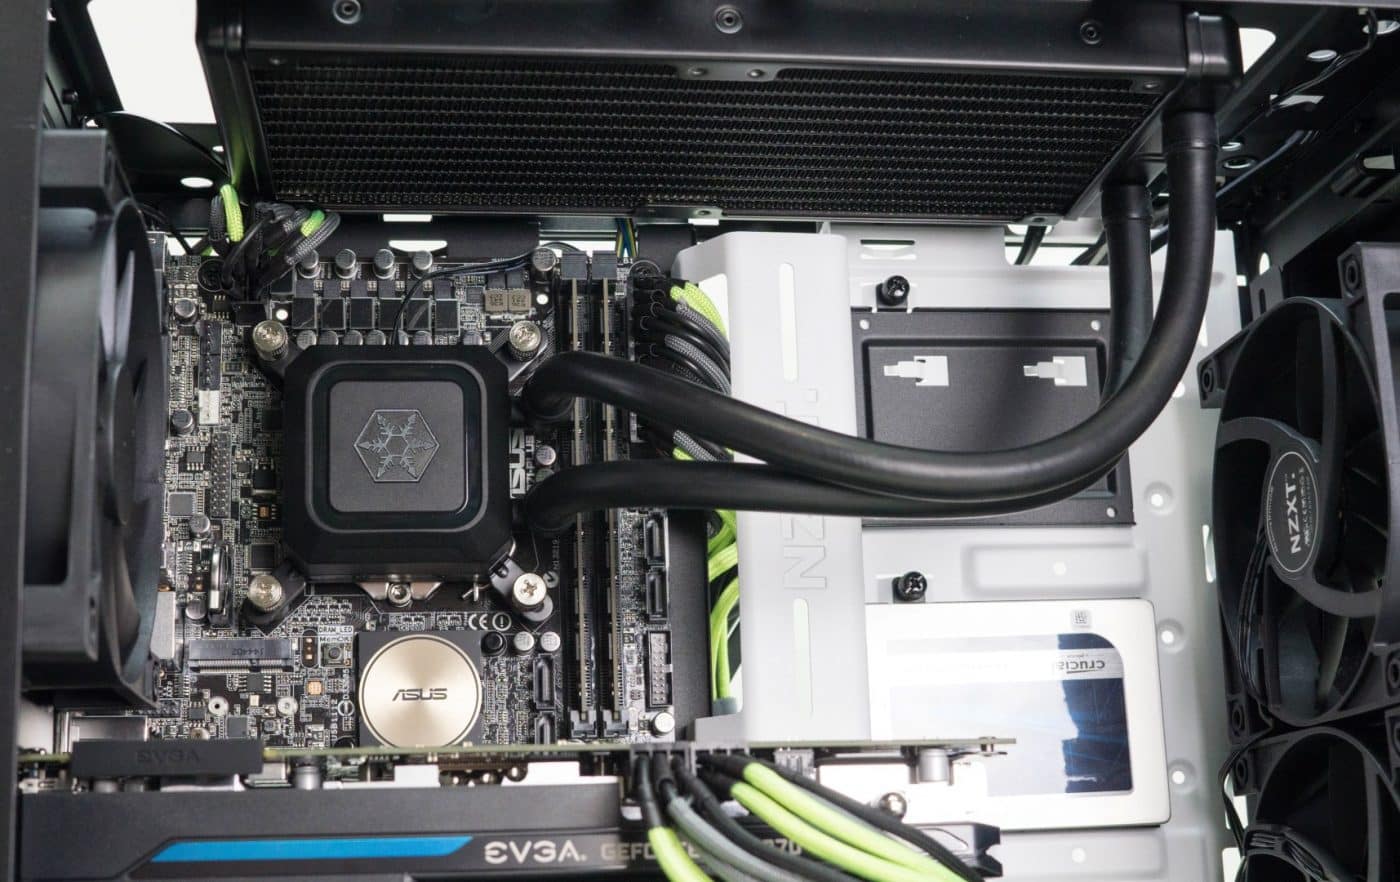
Back to our CPU we decide to go with a Silverstone TD02-Slim that we recently tested and really liked. It’s a decent cooler with a very small footprint. In fact according to Silverstone’s website the rad and fans together are only 37mm thick. We try to run them in push pull, two skinny fans mounted in the bottom of the rad, and two up top under the top panel. This plan fails as well. The top of the channel cover prevents anything thicker than 35mm from fitting in the top of the case, and it means business. There was no making it work.
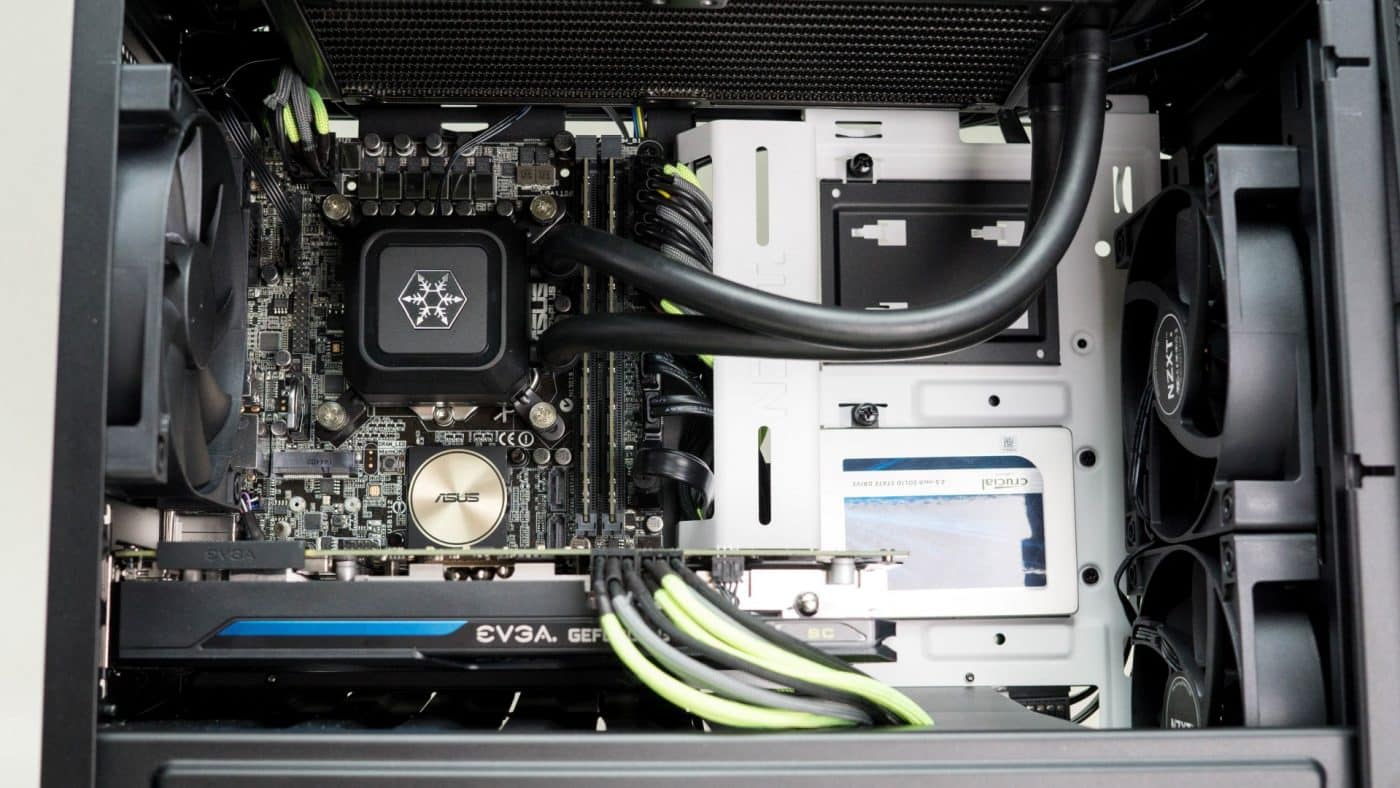
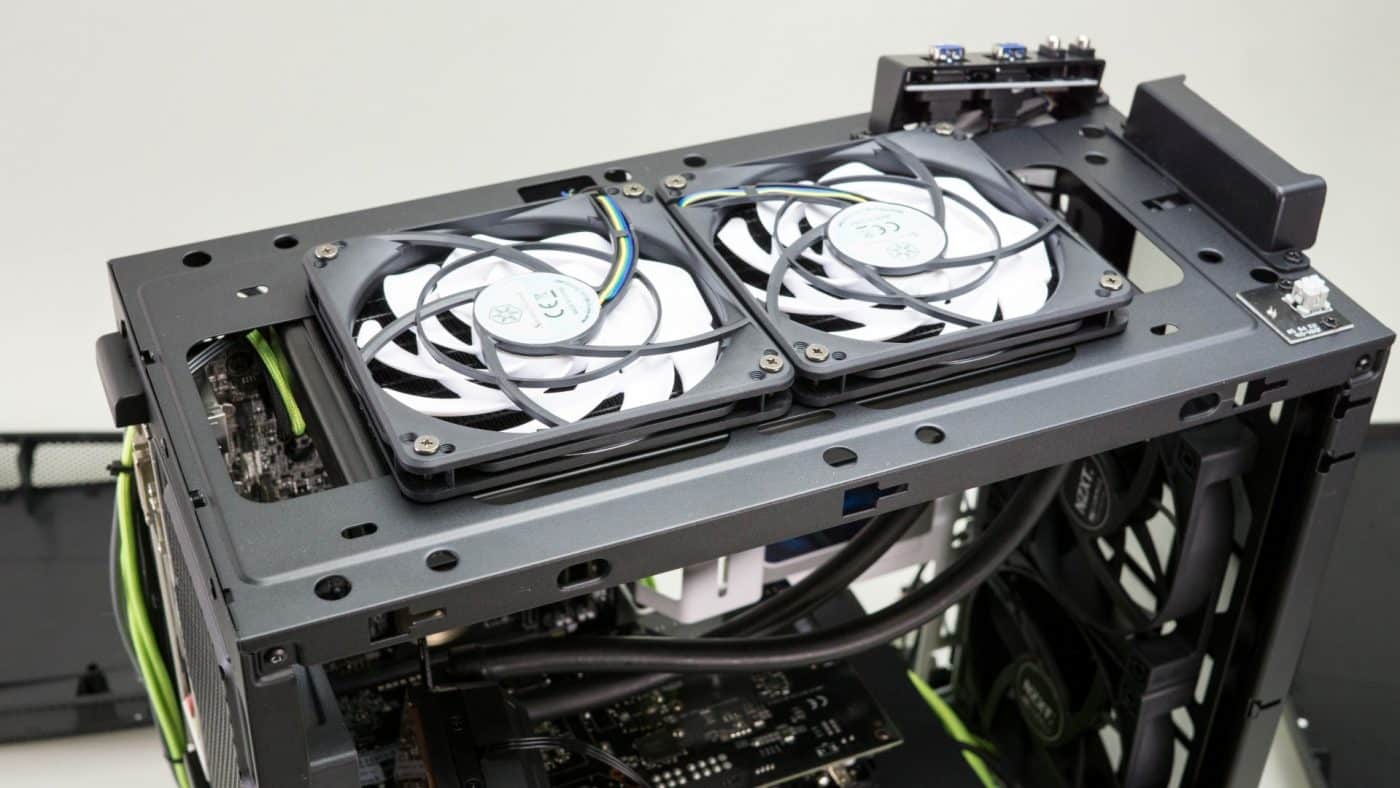
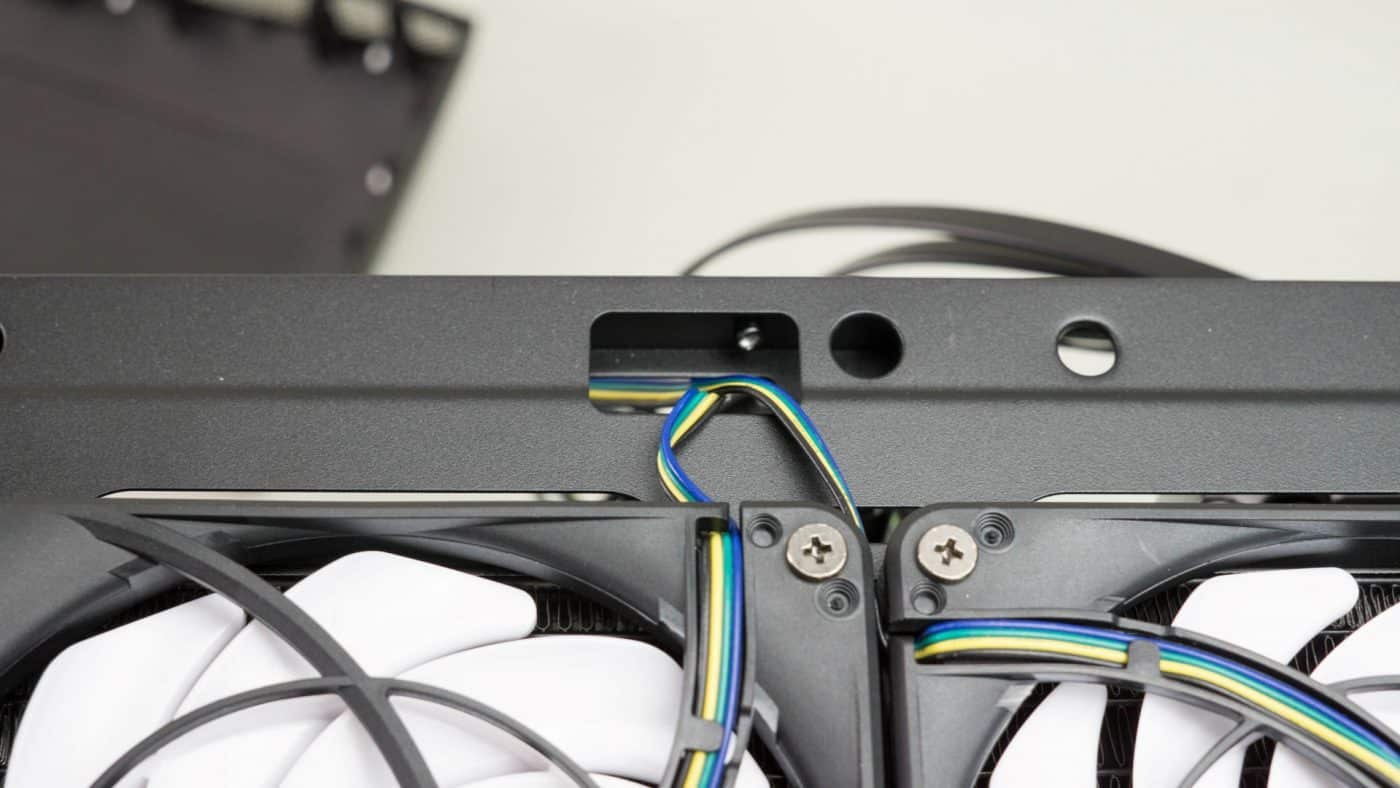
Instead we opt to run the fans on the top of the case pulling air through the radiator from the inside. This was quite easy, the fans installed into the radiator without a hitch and there is a nice cutout for routing wires to the back panel right in the top. We didn’t even need an extension or splitter, we ran the fan wires straight to the fan hub.
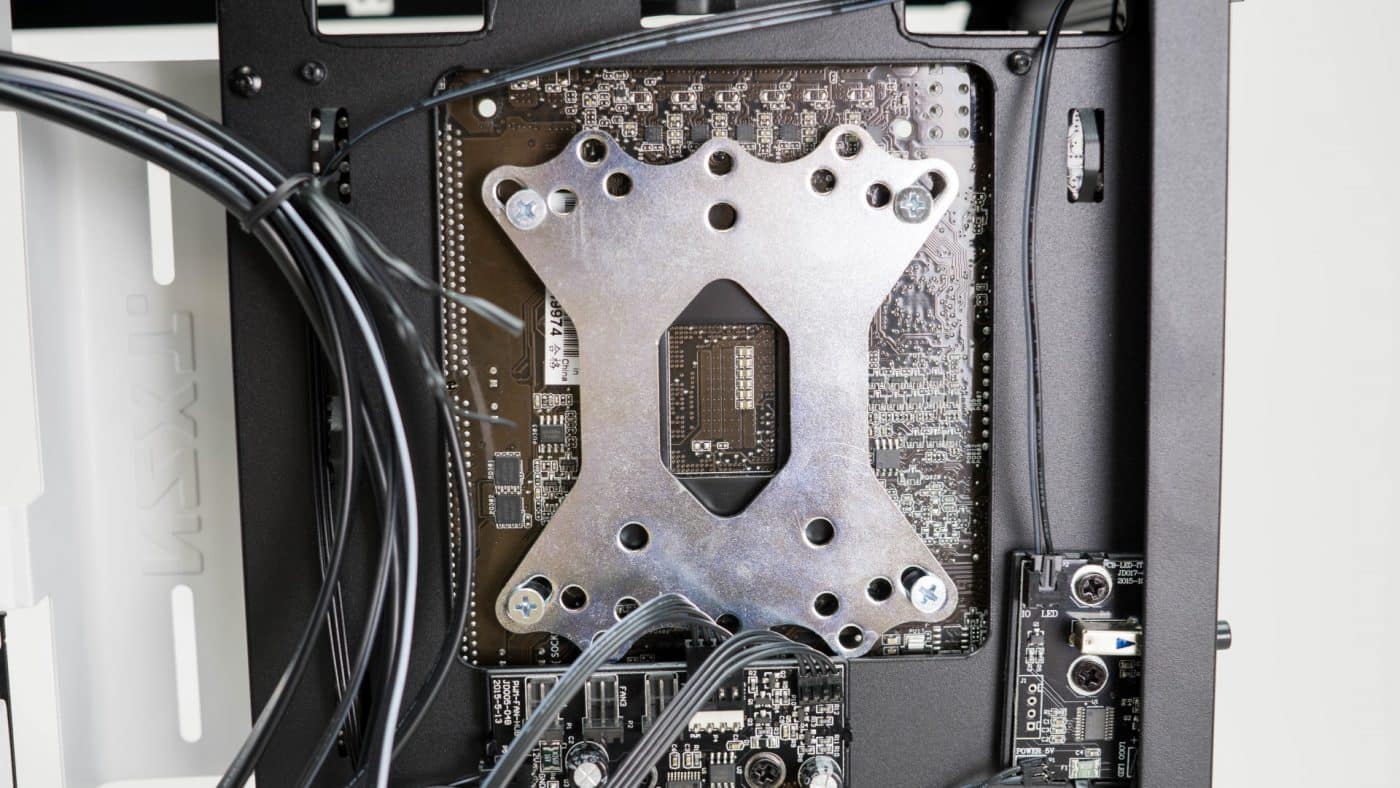
Switching to the Silverstone cooler means a different backplate will be needed. Regrettably we found another fit issue here. The backplate couldn’t get past the bottom edge of the cut out. Before pulling the motherboard, we decided to try flexing the panel a little and we lucked out. The panel flexed just enough to allow the backplate to sneak past it.
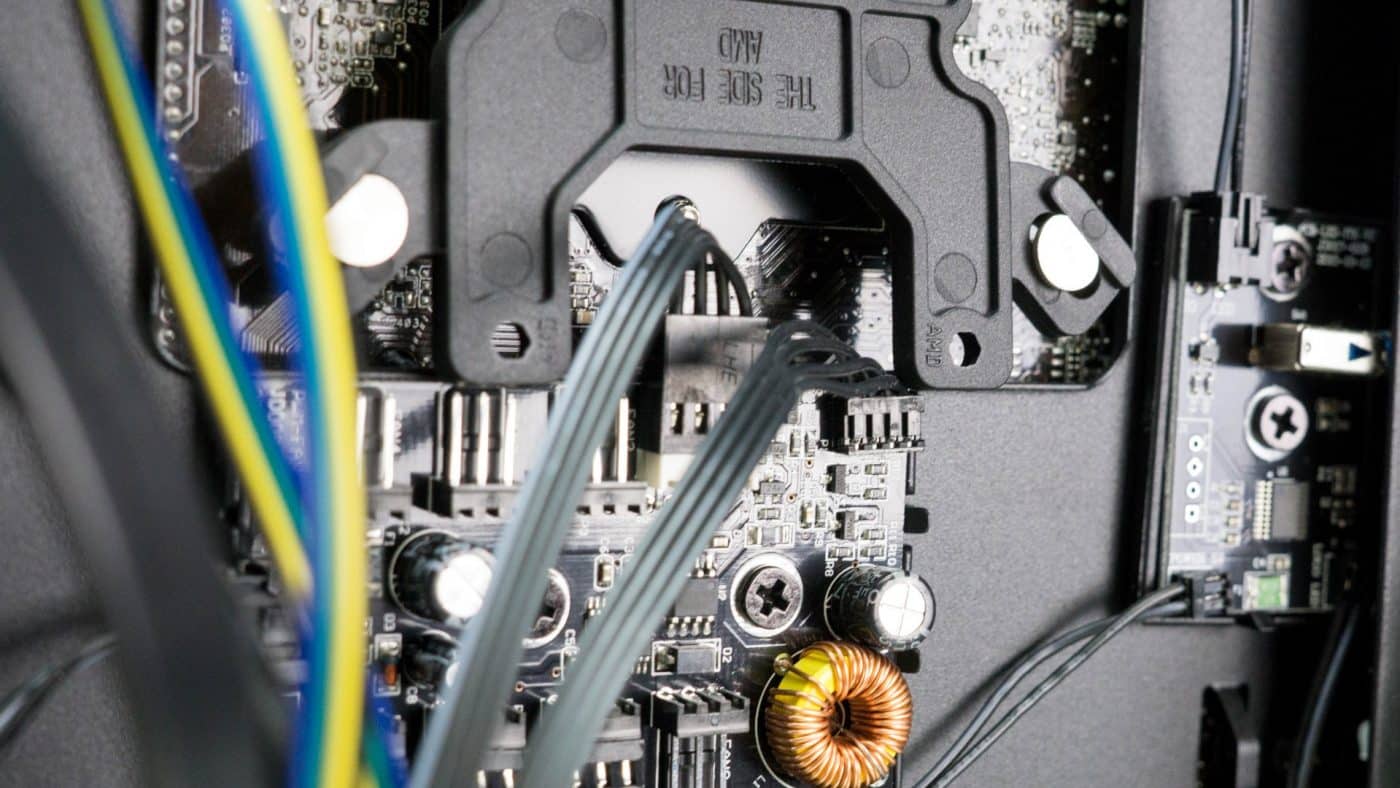
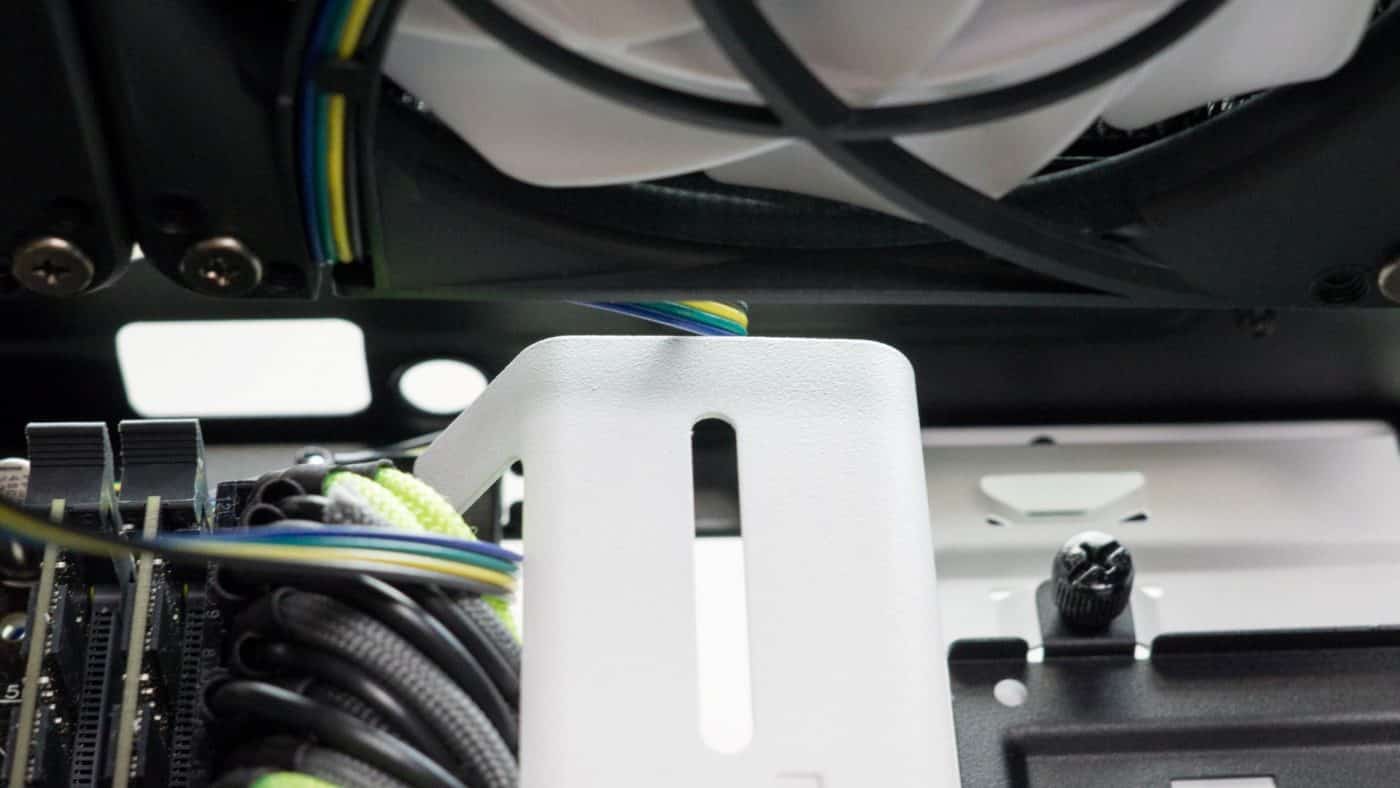
From there we has no trouble passing our cables through the various pass throughs and getting all of our electrical connections secure. One thing I didn’t really like was the clearance of the channel cover and the 24pin. Perhaps on a different motherboard this wouldn’t have been an issue, but with ours I was forced to bend the cables at a harsh angle. Not only is it a lot of pressure on the cables against the steel edge of the cover, it makes our slightly aging individually sleeved cables look worse than normal.
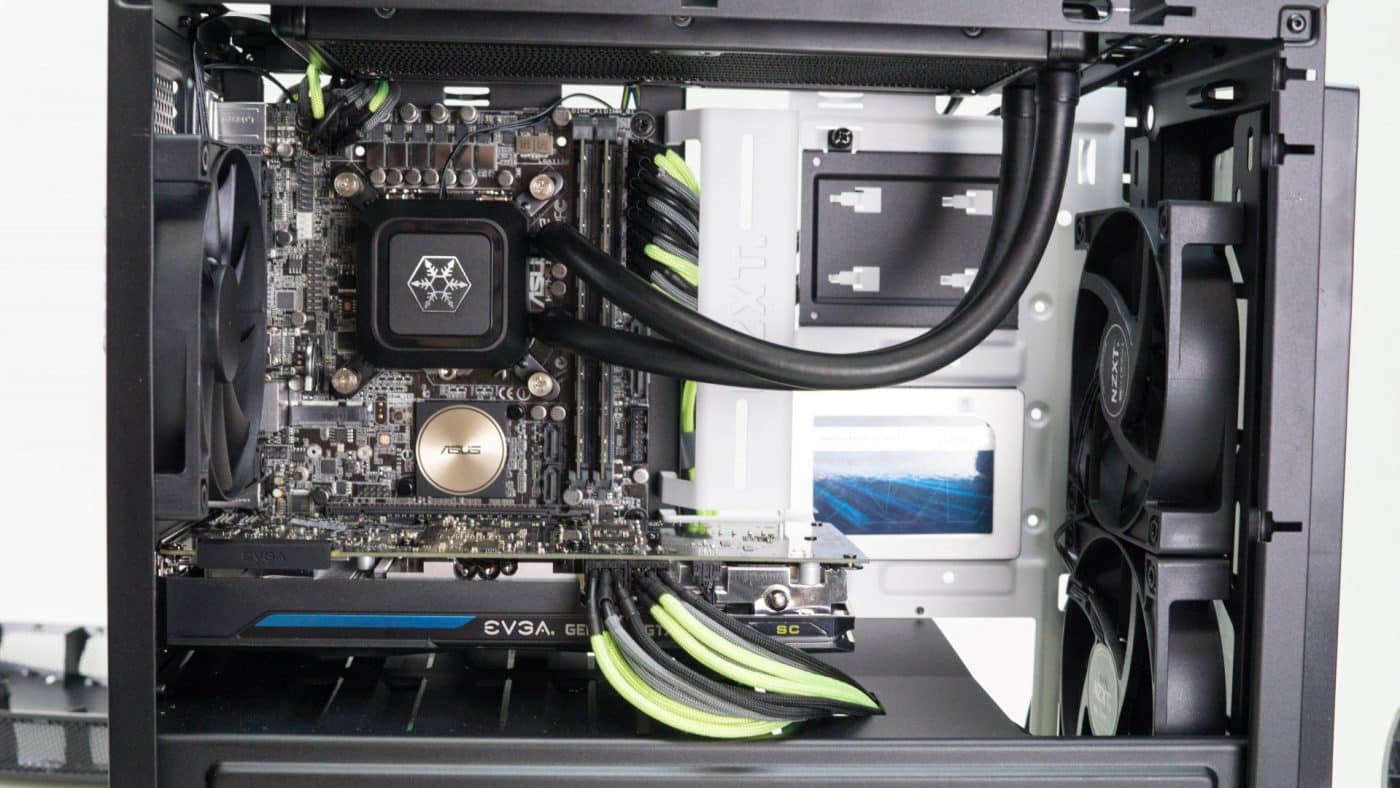
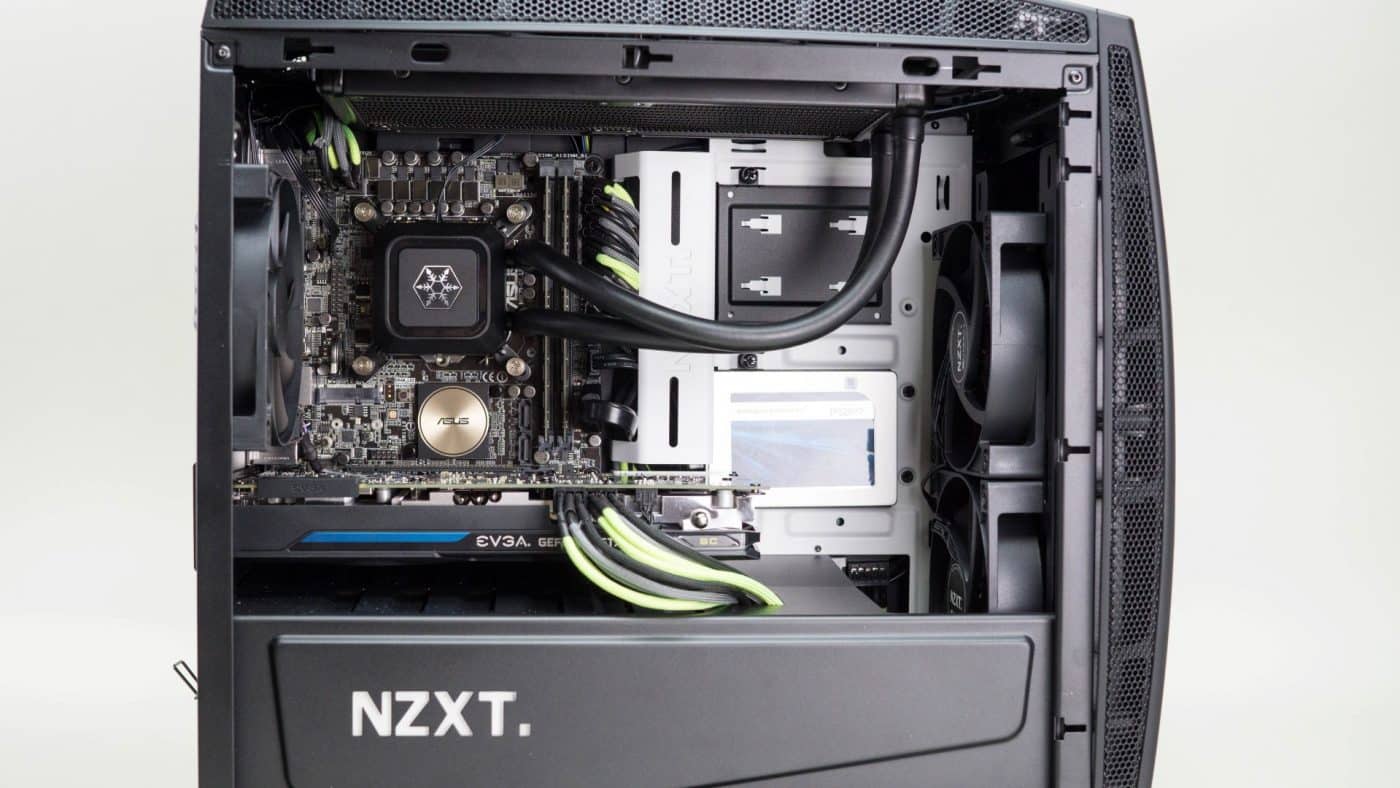
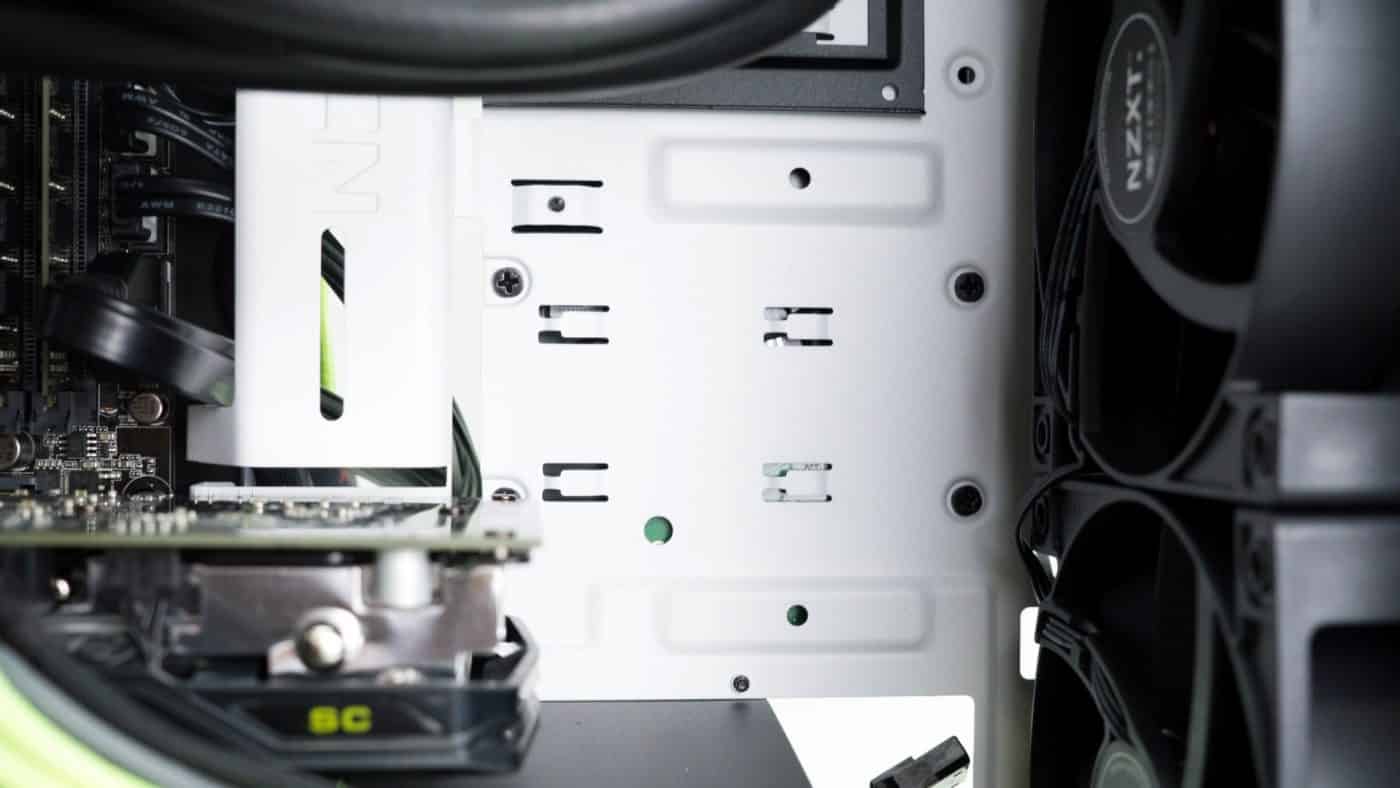
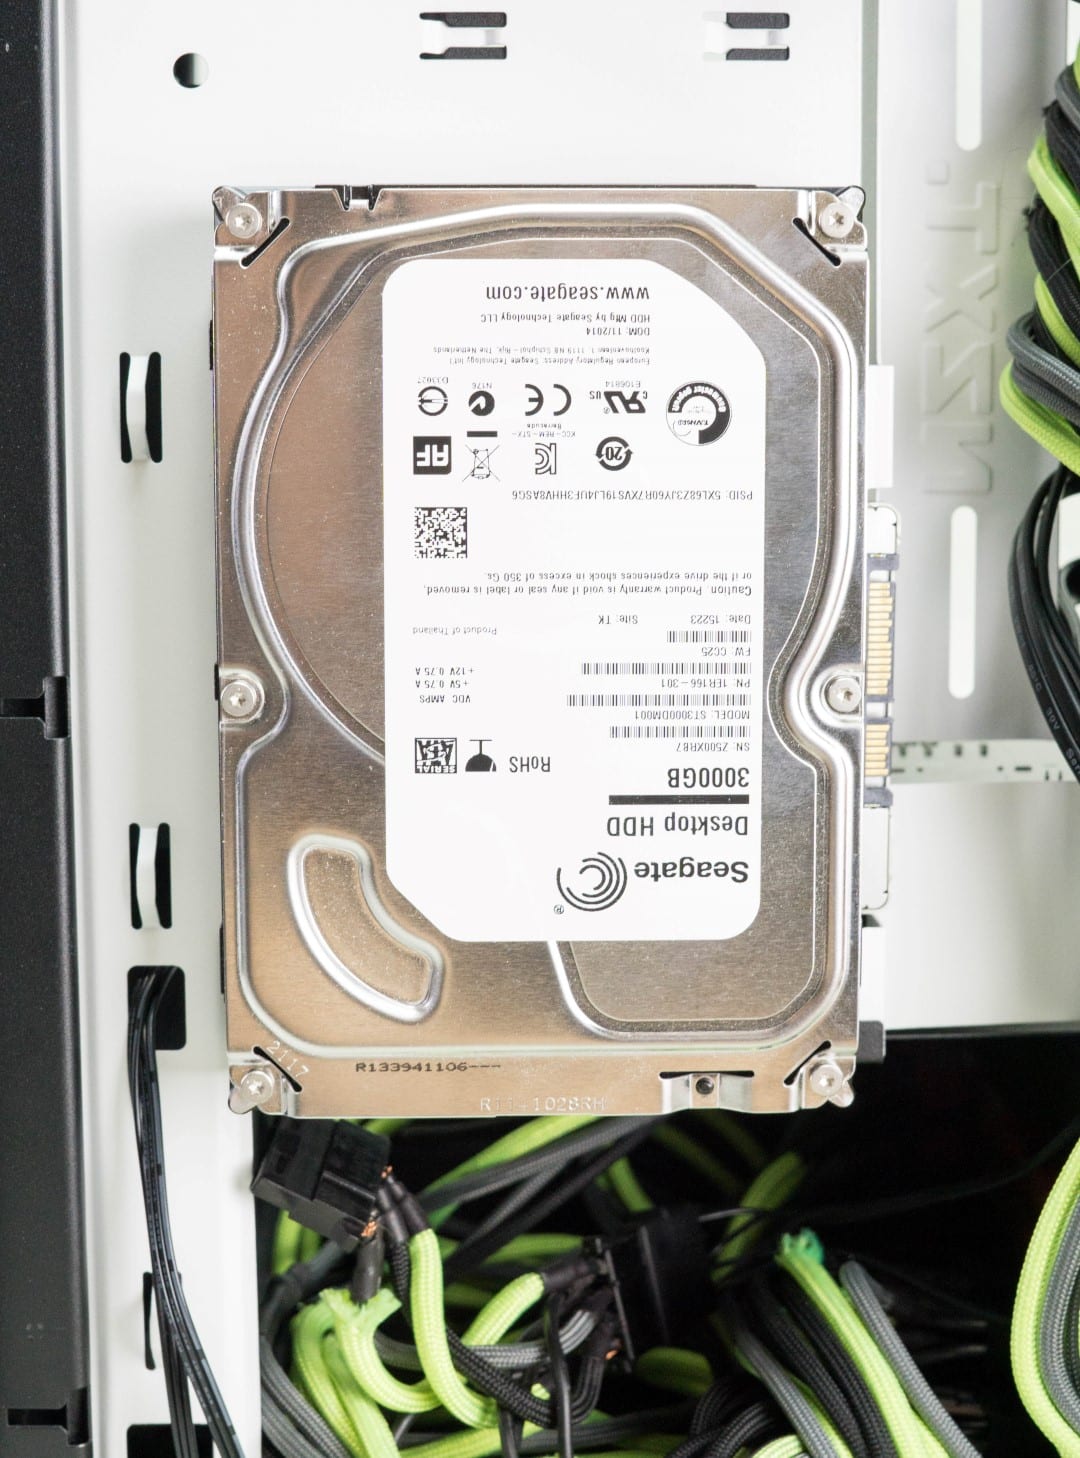
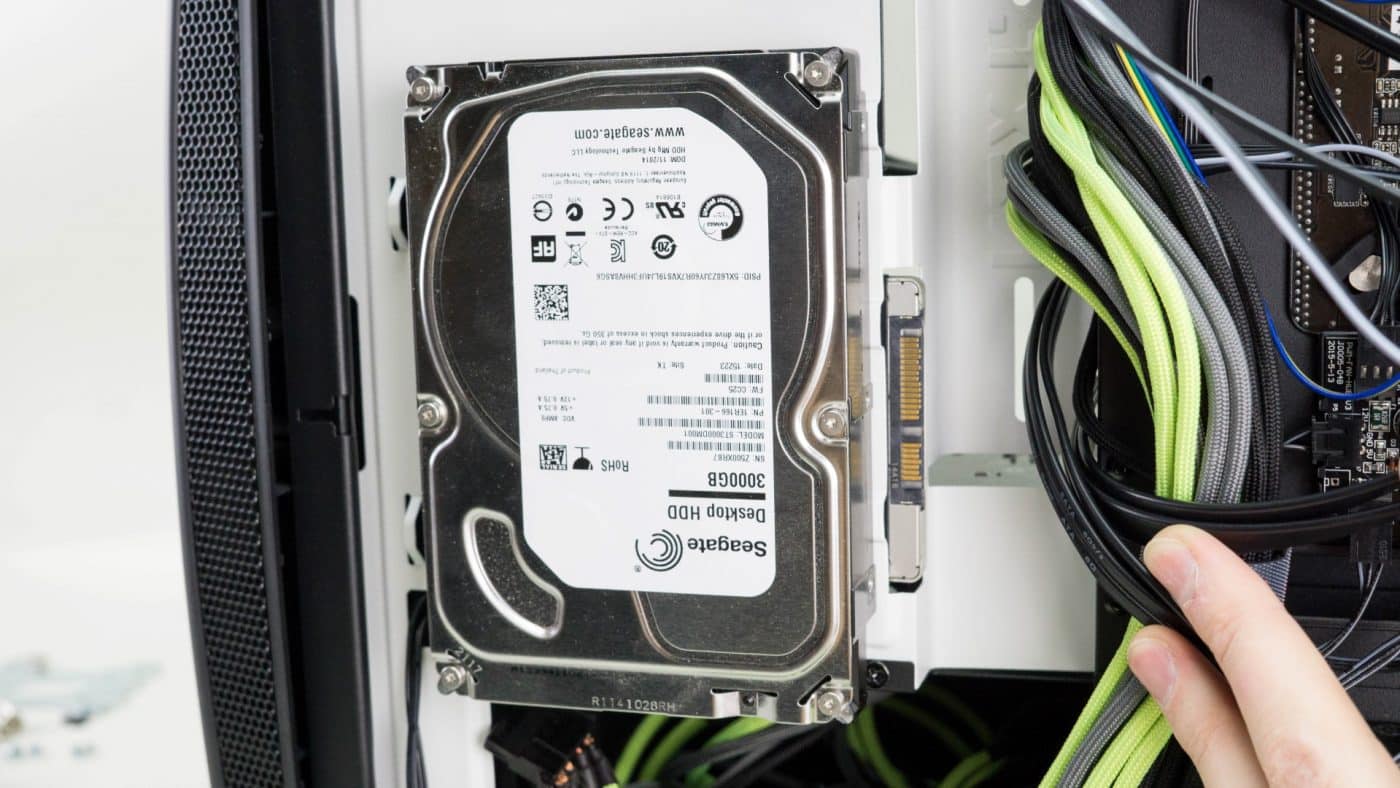
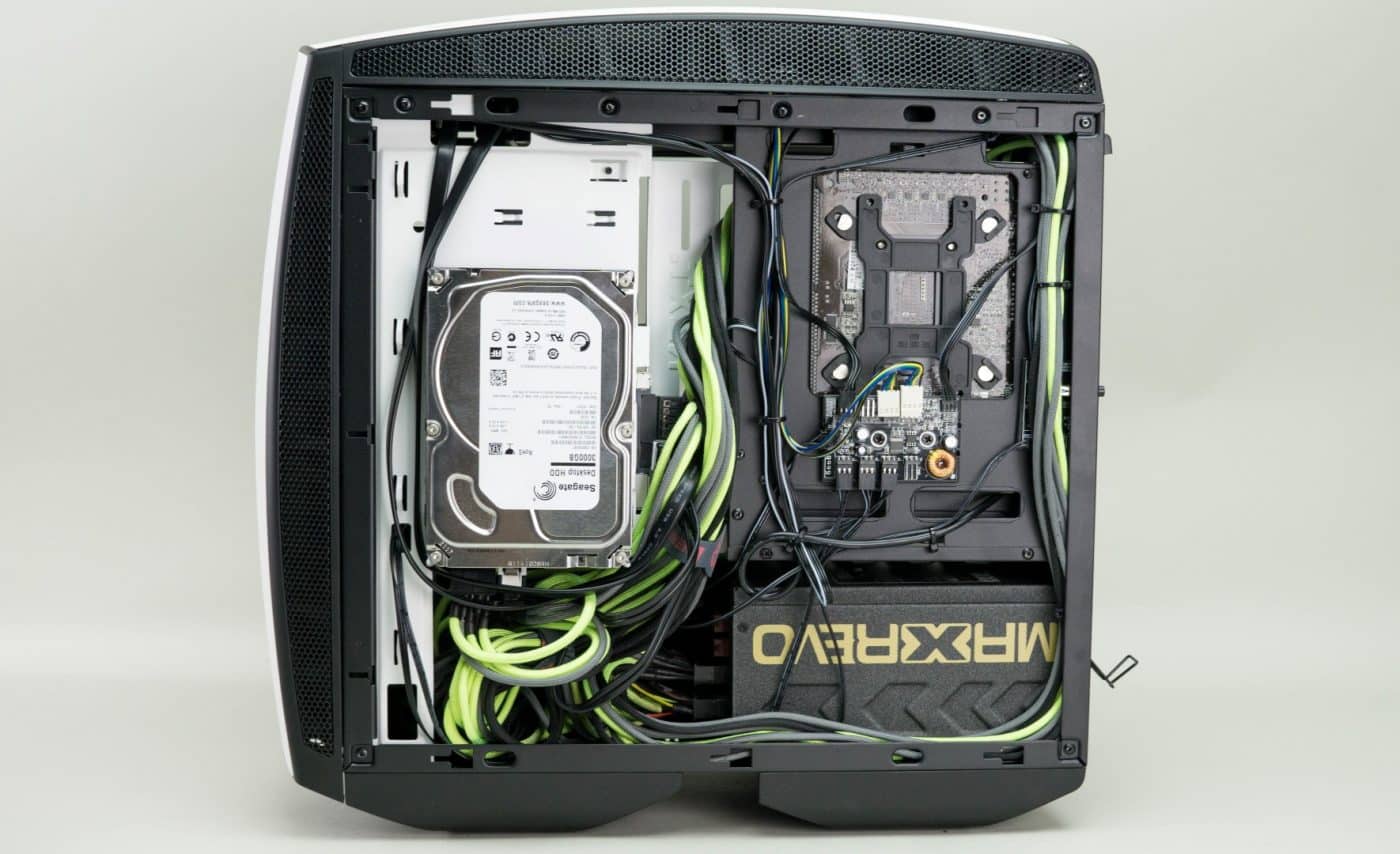
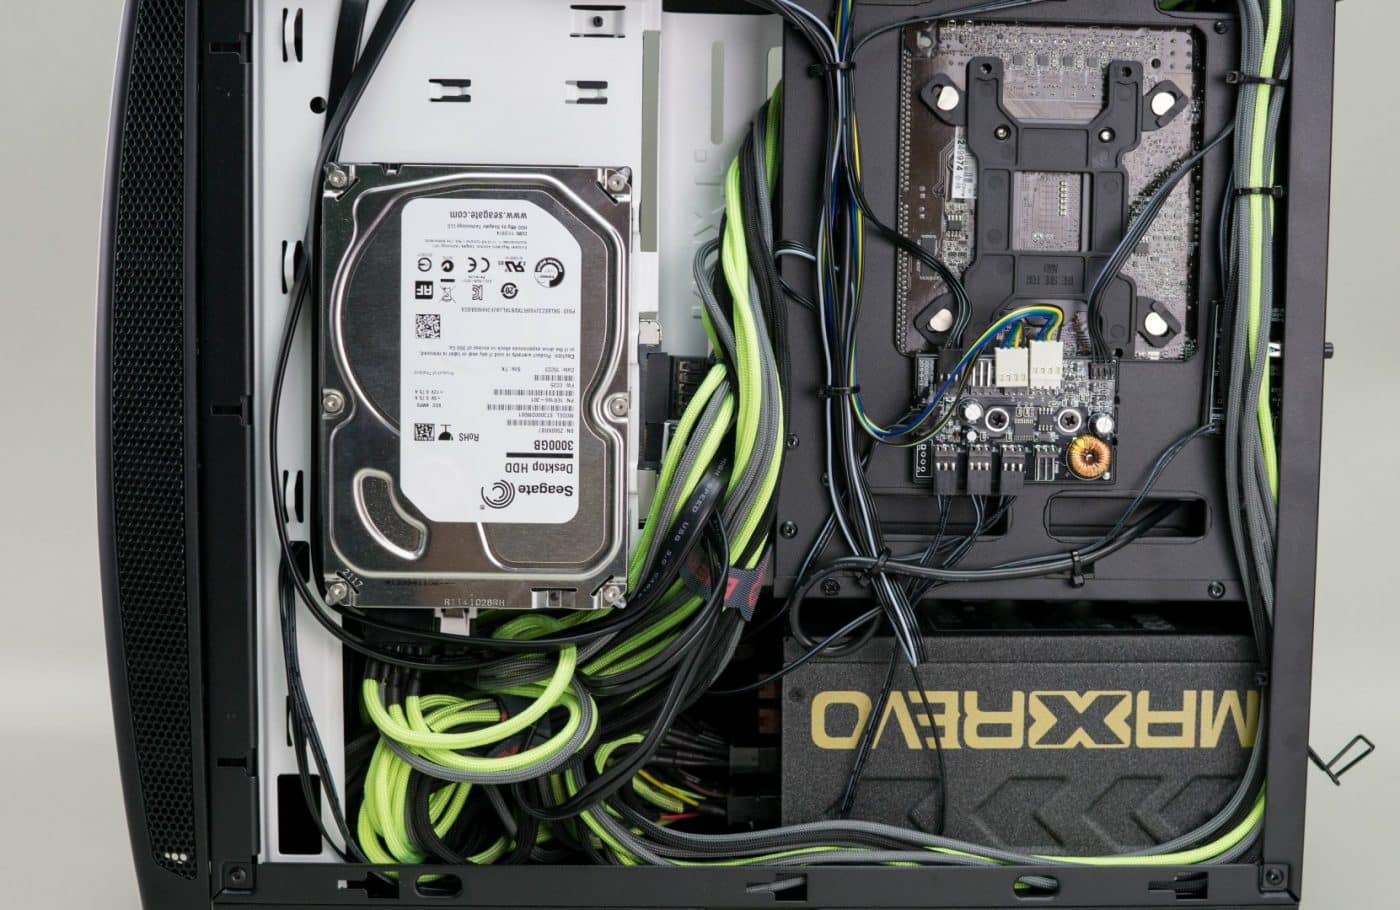
Taking advantage of the back panel mounting space we installed our 3TB 3.5” drive vertically, securing it from behind the SSD mounting location. Surprisingly the way the drives line up looks fantastic and they are really easy to connect as well.
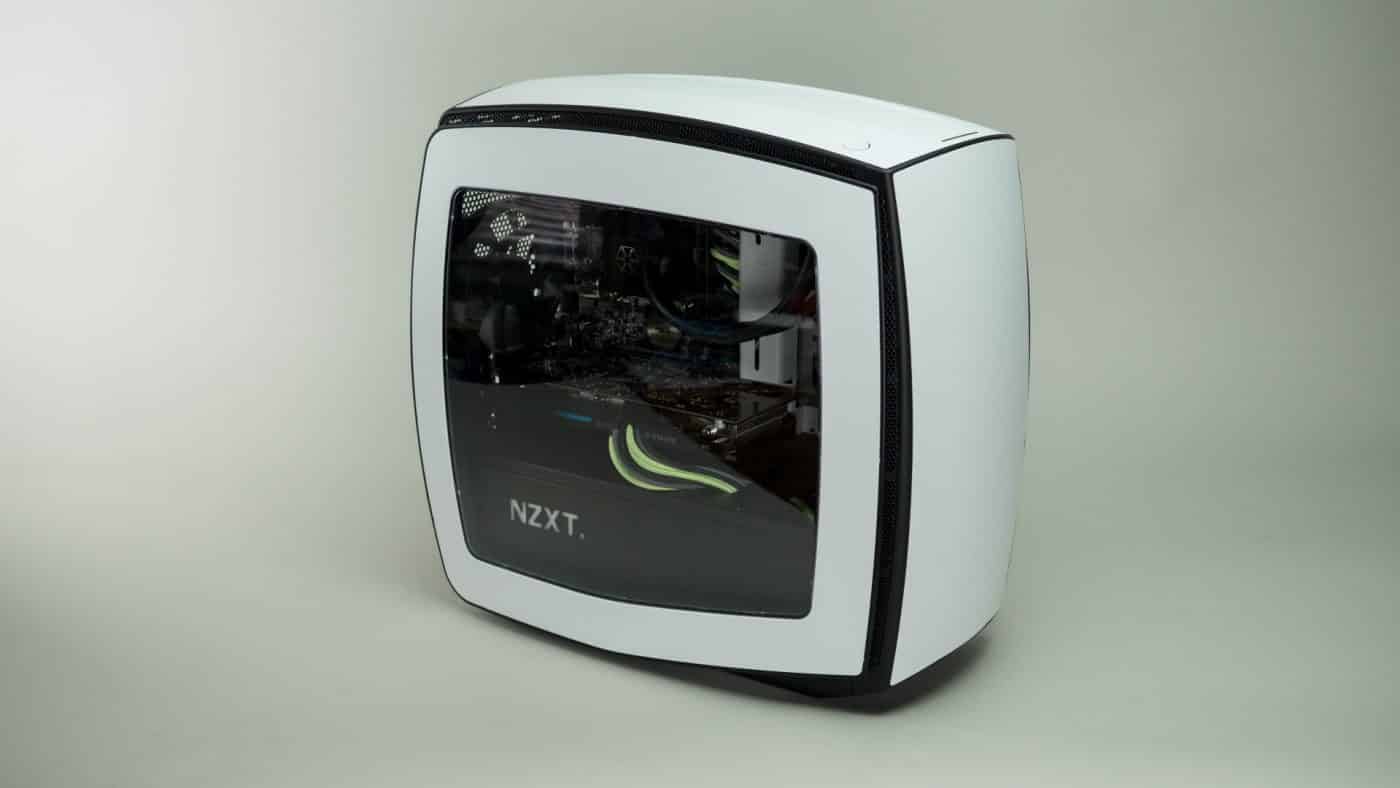
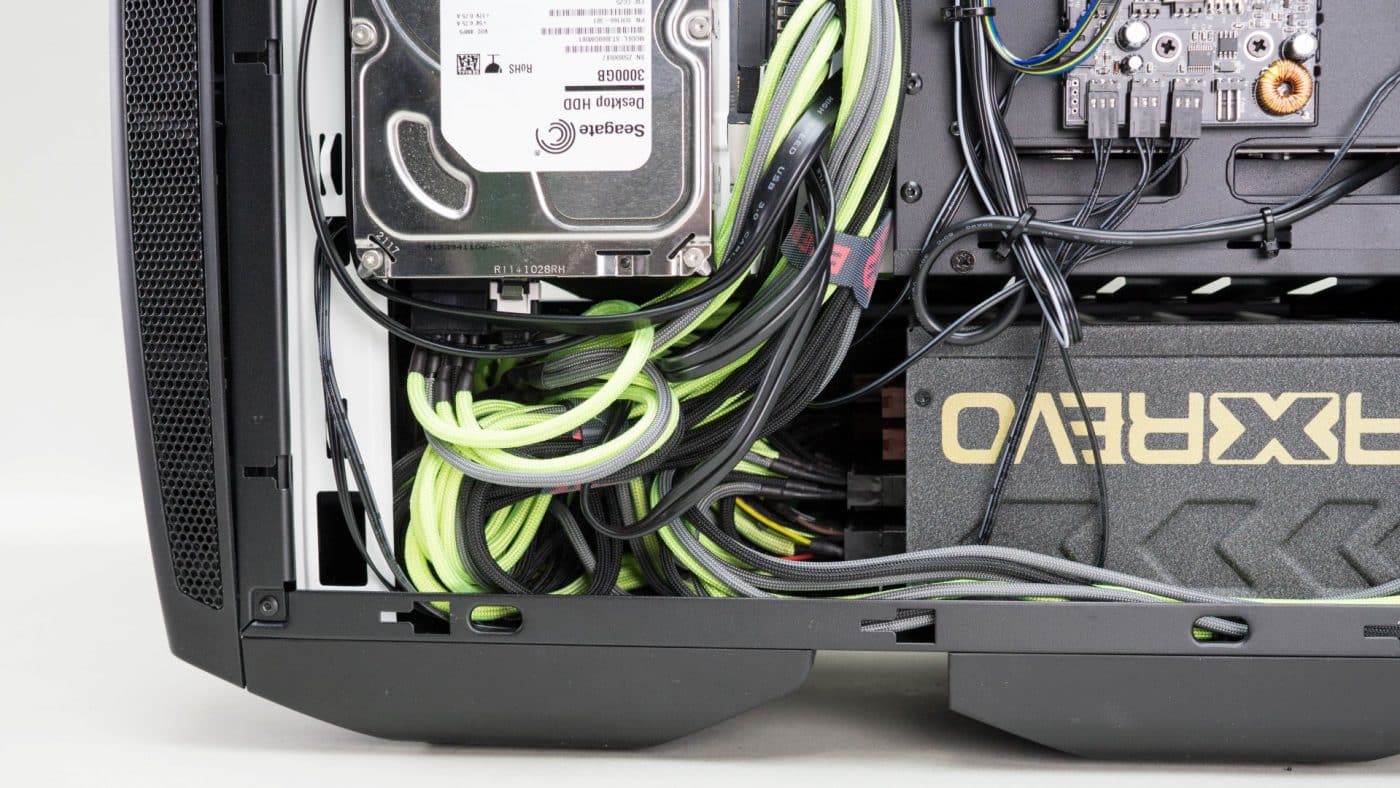
With all of our connections made, now we have the task of attempting to make it all look pretty and fit with the panel on. In many SFF cases this is where things start to get really tricky. Especially when working with bulky custom sleeved cables like we have here. Thanks to some really well placed cable tie off points and the strategic use of zip ties, I feel we were able to easily take things from messy and disgusting to nice and tidy. Although the extra space at the end of the PSU is a regular rat’s nest of wiring.
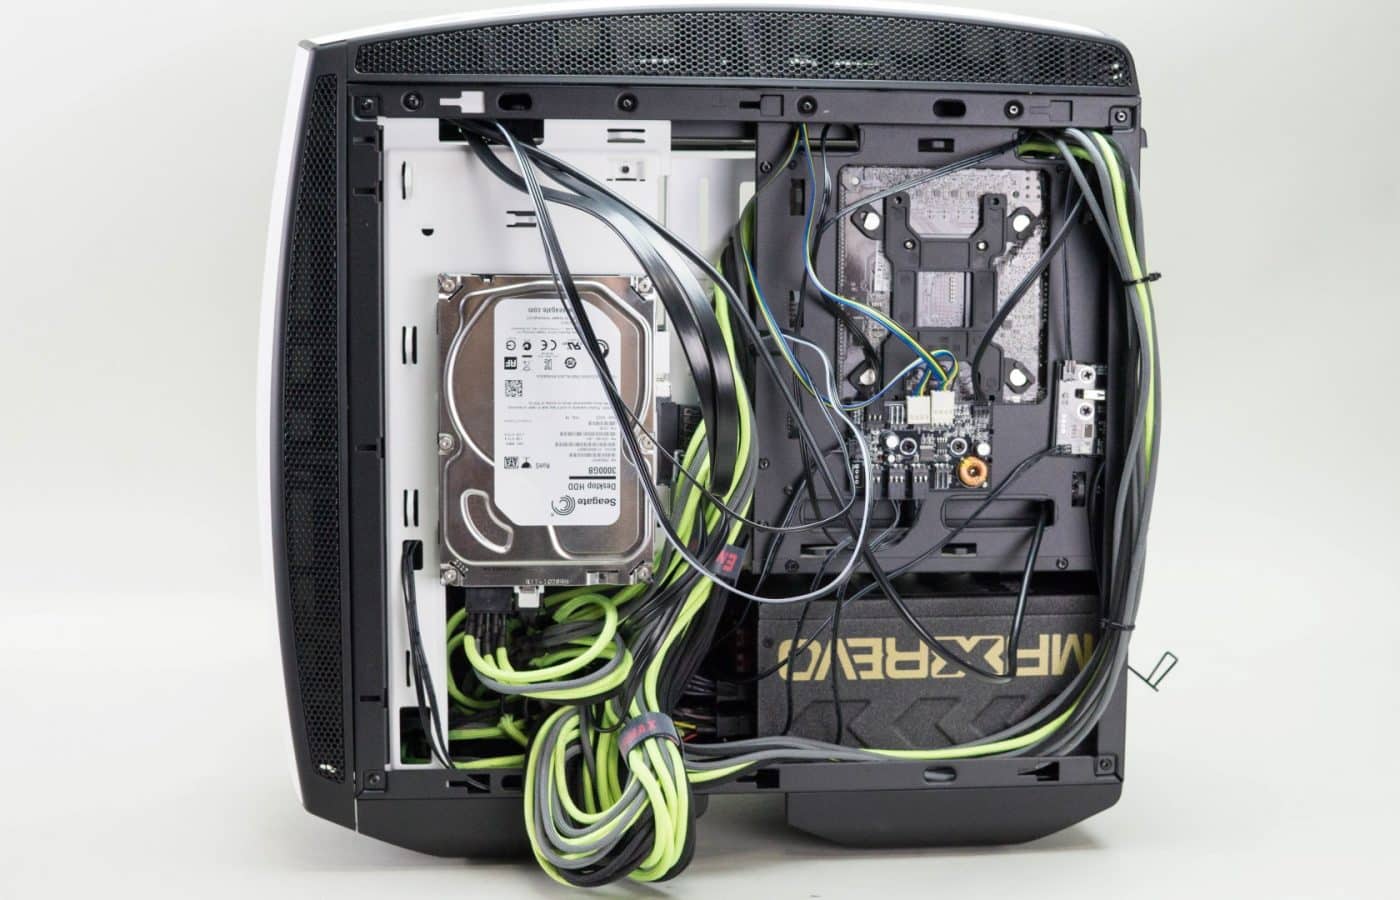
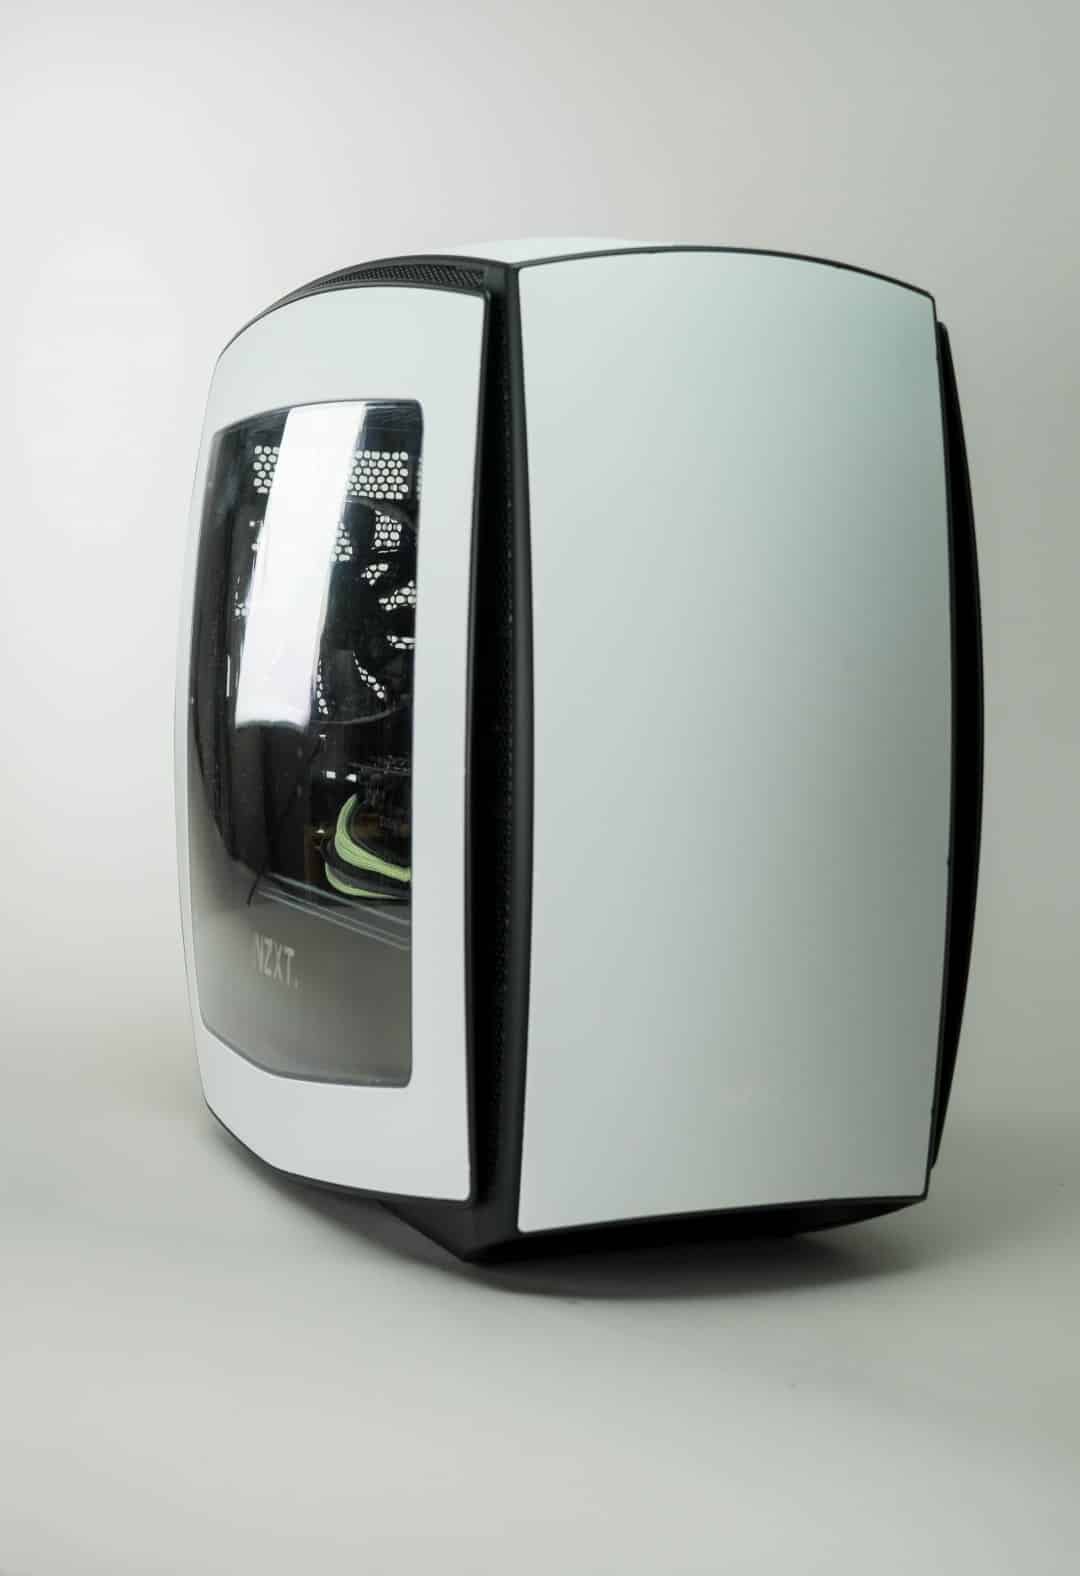
Overall I feel we were able to successfully build up a clean case with a little bit less cooling power than we’d originally hoped to achieve. As was mentioned we still fully intend to bring you a water cooled version of this build, unfortunately some new gear is going to have to be acquired to make that happen. It’s unfortunate as the case seems quite spacious, we expected an easy go at the water cooling.