Installation
We will be installing the NH-U9B SE2 on our X79 system. The NH-U9B actually does not ship with socket 2011 mounting hardware, but if you contact Noctua that will happily send you out the NM-I2011 mounting kit that you see below.
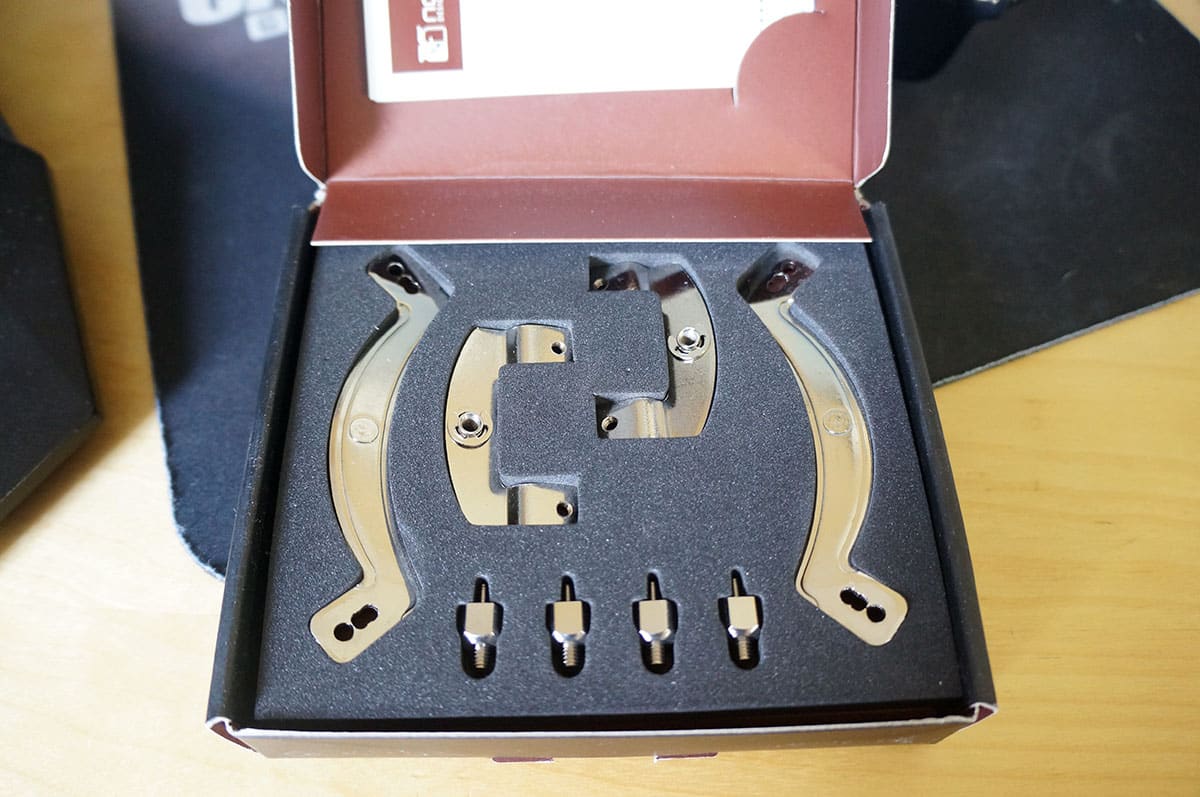
The first thing you are going to want to do is install the mounting brackets on each side of the NH-U9B heatsink.

Next install the first set of mounting screws to the LGA 2011 socket, but sure to make sure they are tight.

Now it is time to install the secure the left and right mounting brackets to the socket. This is easily done and can be done without a screwdriver, but I would suggest using a screwdriver to make sure each bracket is secure.

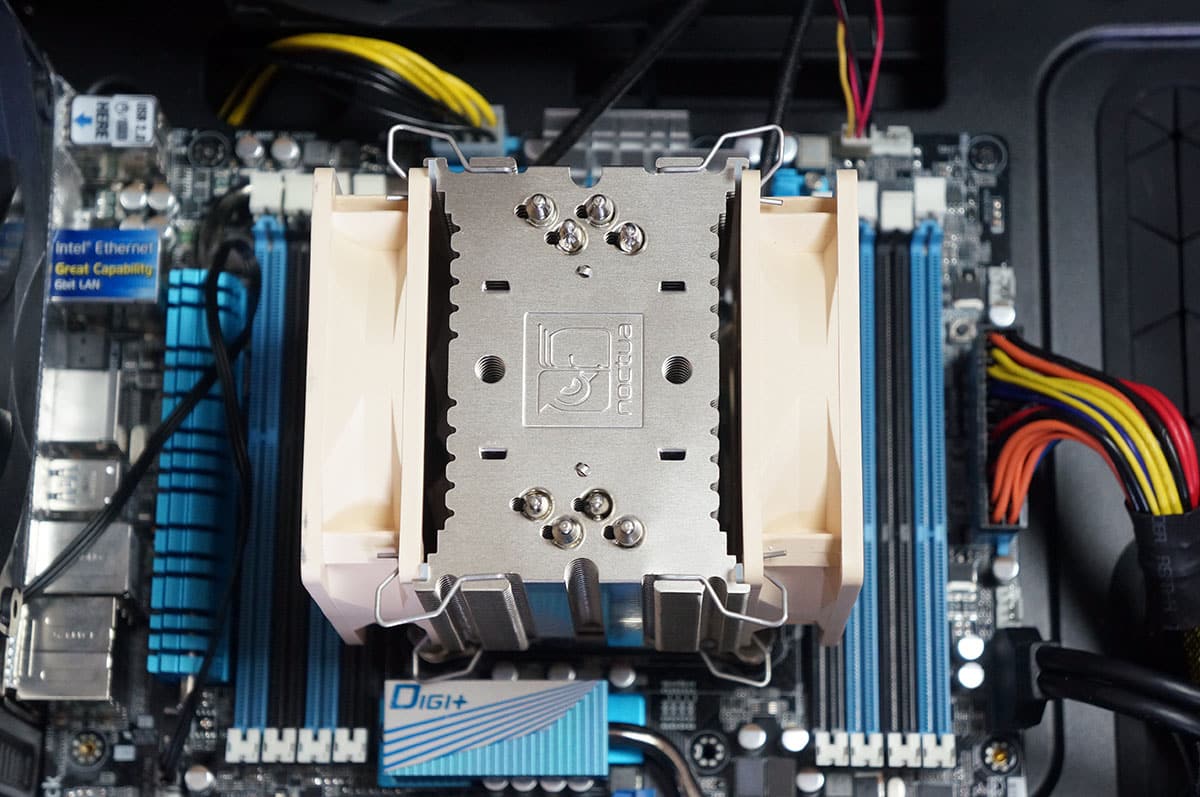
Apply the included thermal paste and place the heatsink on top of your CPU and secure it with the mounting screws that you previous attached to the heatsink. You may also want to install the anti-vibration strips to each side of the heatsink.

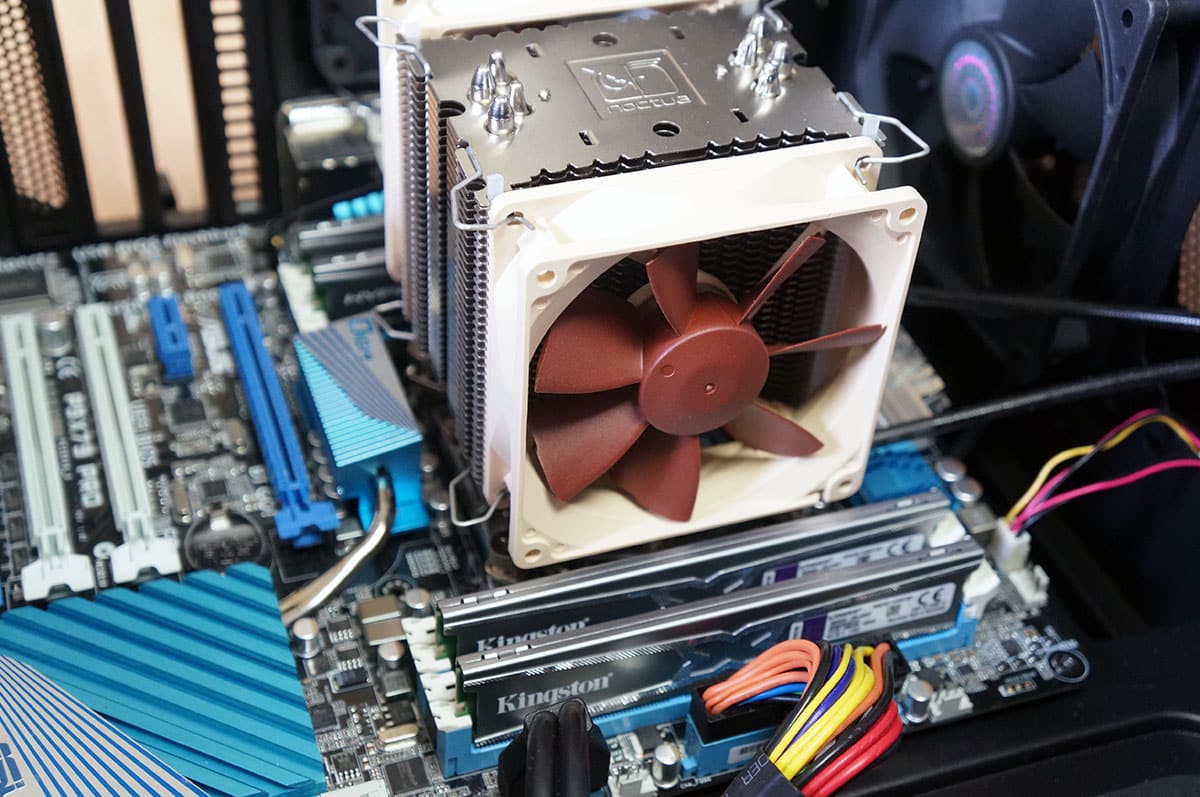
The fans are easily attached on each side of the heatsink by using the included fan clips. When you are finished your cooler should look much like ours below.
For those wondering about memory clearance there were no issues on the first set of dual channel slots on socket 2011. Now if I had a full set of memory with normal heat spreaders I would be fine, but if I had larger heatspreaders there might have been a clearance issue.