Installation
Like all of their latest coolers Noctua makes it quite easy for you to install the NH-D9L in your system. We will be installing on the LGA2011 socket, which makes it even easier for us. First install the four bolts on the LGA2011 socket like you see in the below picture.
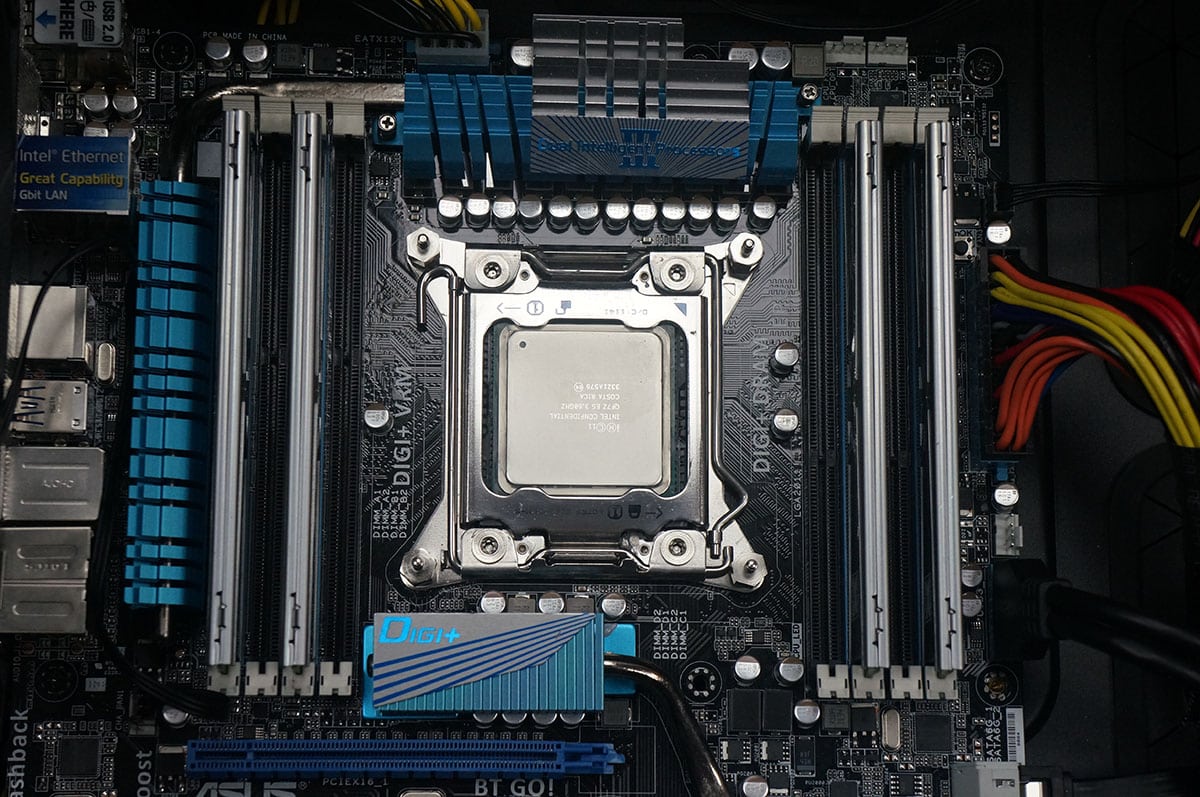
Next go ahead and install the mounting bar, they are secured by four thumbscrews. Now I have my mounting bars orientated so the cooling fan will push out the back of my system. If I had them in a vertical position the would set the fan to blow out the top of my system.

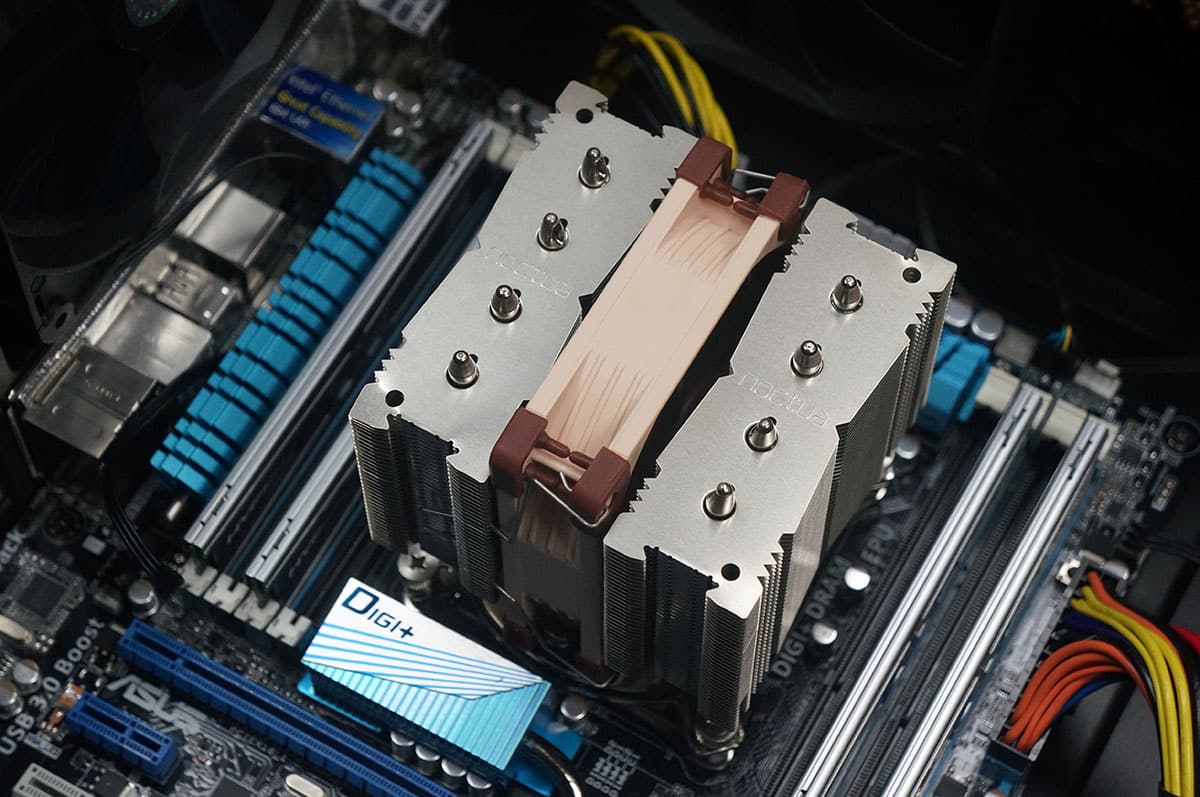
Remove the fan from the heatsink and place the heatsink on your CPU lining up the mounting points with the points on the mounting bar. Now secure the heatsink with the screws that are built into the mounting system.

Finally go ahead and put the fan back into the center of the cooler and secure it with the included fan clips. As you can see we are completely clear of all RAM on each side of the CPU. Noctua actually does include an extra set of fan clips if you happen to want to add another fan.