

Installation
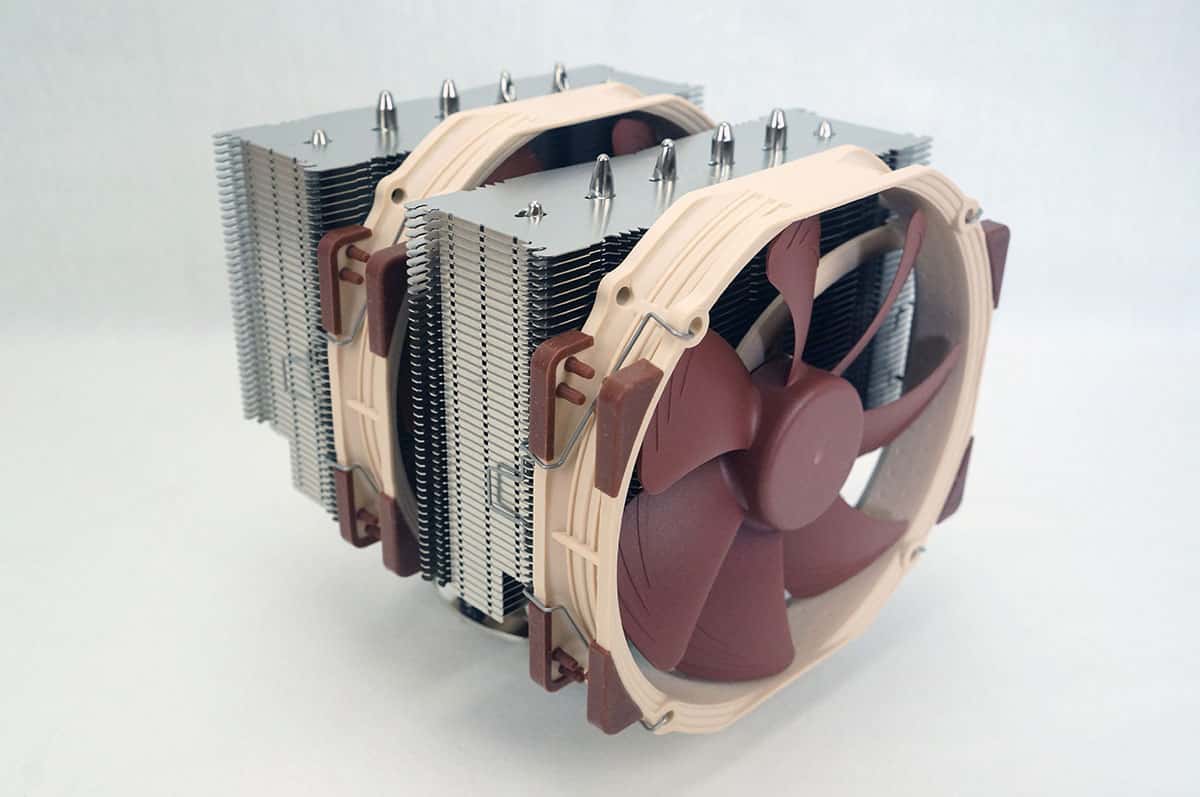
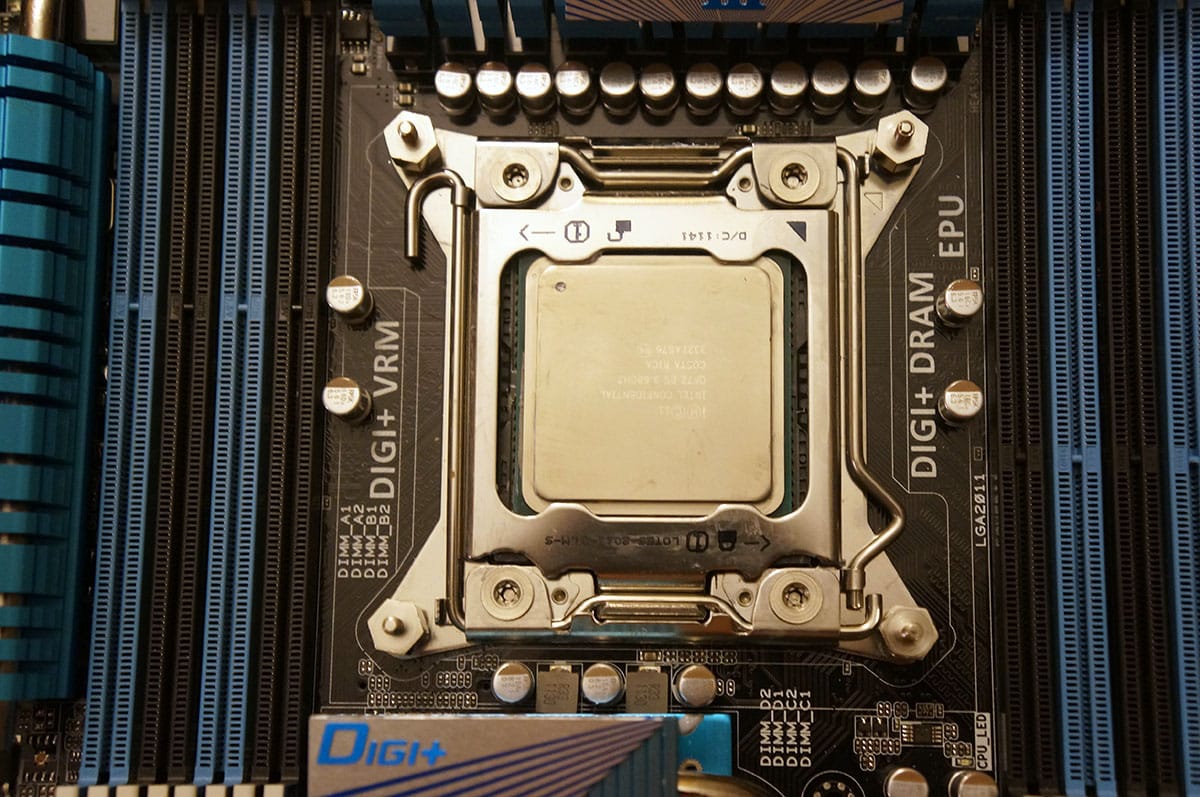
The NH-D15 is compatible with all current and quite a few past AMD and Intel CPU sockets. We will be installing the NH-D15 in our Intel X79 system, which has the LGA2011 socket. The first thing you are going to want to do is install the four mounting bolts into the LGA2011 socket as shown below.
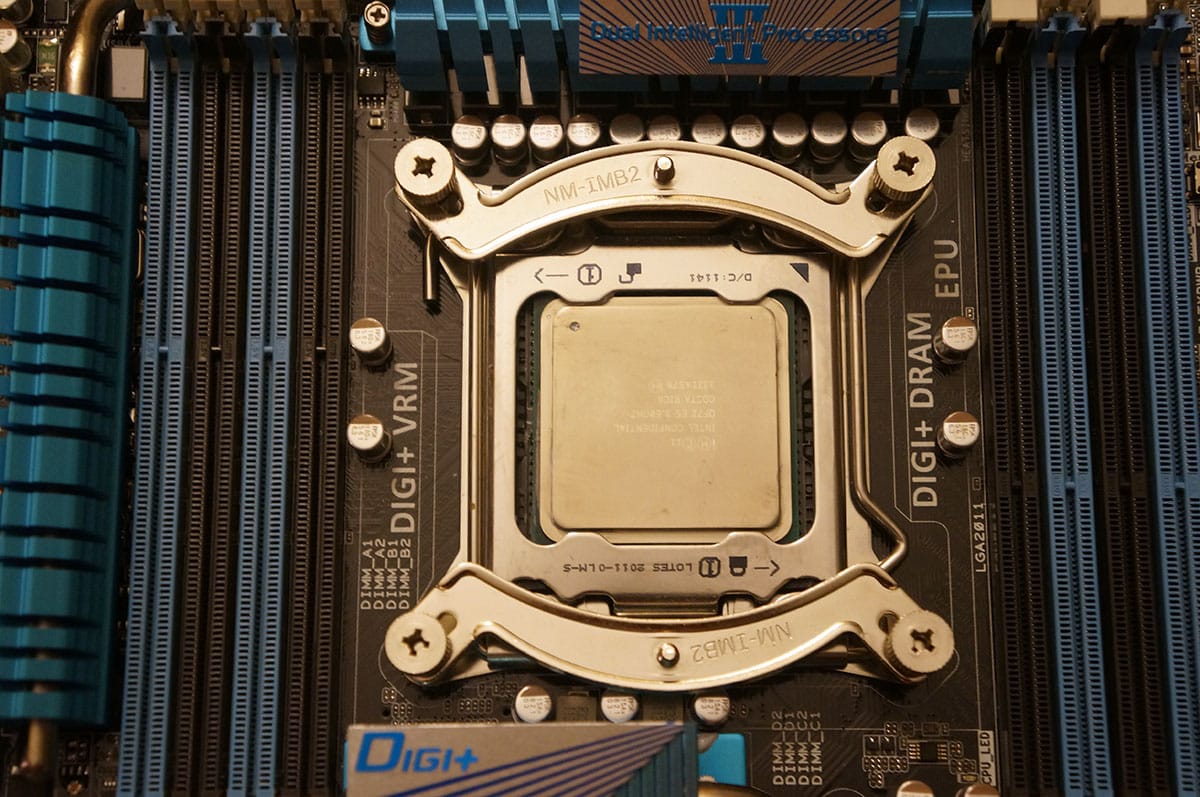
Next place and install the mounting bars. You want to make sure the curved sides of the mounting bars are pointing outwards. Depending on how you want the cooler oriented you can either install them like you see below or orientated vertically. The way I have them orientated will be if you want the cooler to exhaust out the back of the case.
Now just apply the included thermal paste and remove the center fan from cooler. Place this cooler on the CPU and secure it on both sides with the SecuFirm2 mounting system. Noctua does include a large screwdriver to get this done.

Once you have the heatsink secured to your CPU reinstall both fans and you are ready to go. You can install the secondary fan either on the front or on the back of the cooler. You can even install a third fan if you wish.

Now when it comes to clearance for your memory modules our memory just fits. If you have memory with larger heatspreaders you may run into some clearance issues.
