Installation
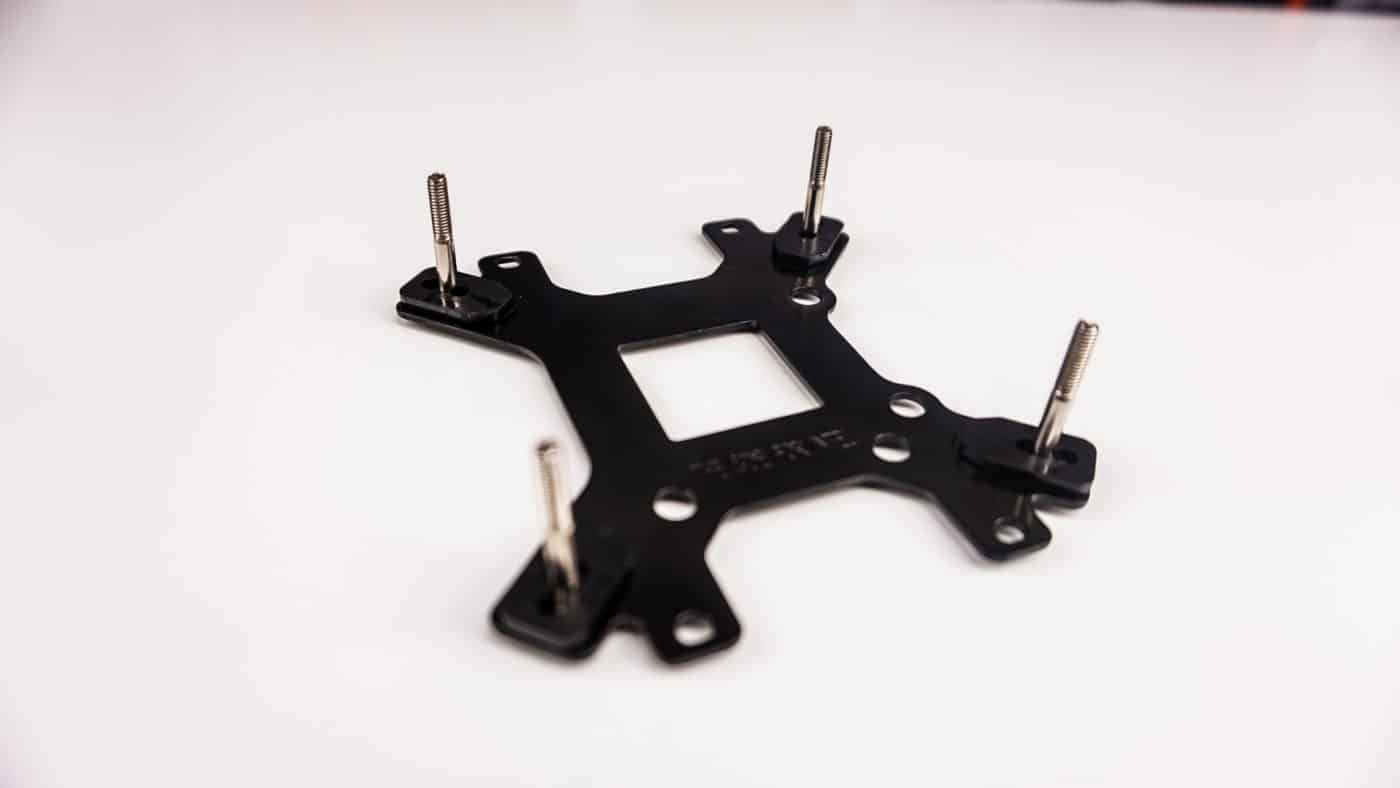
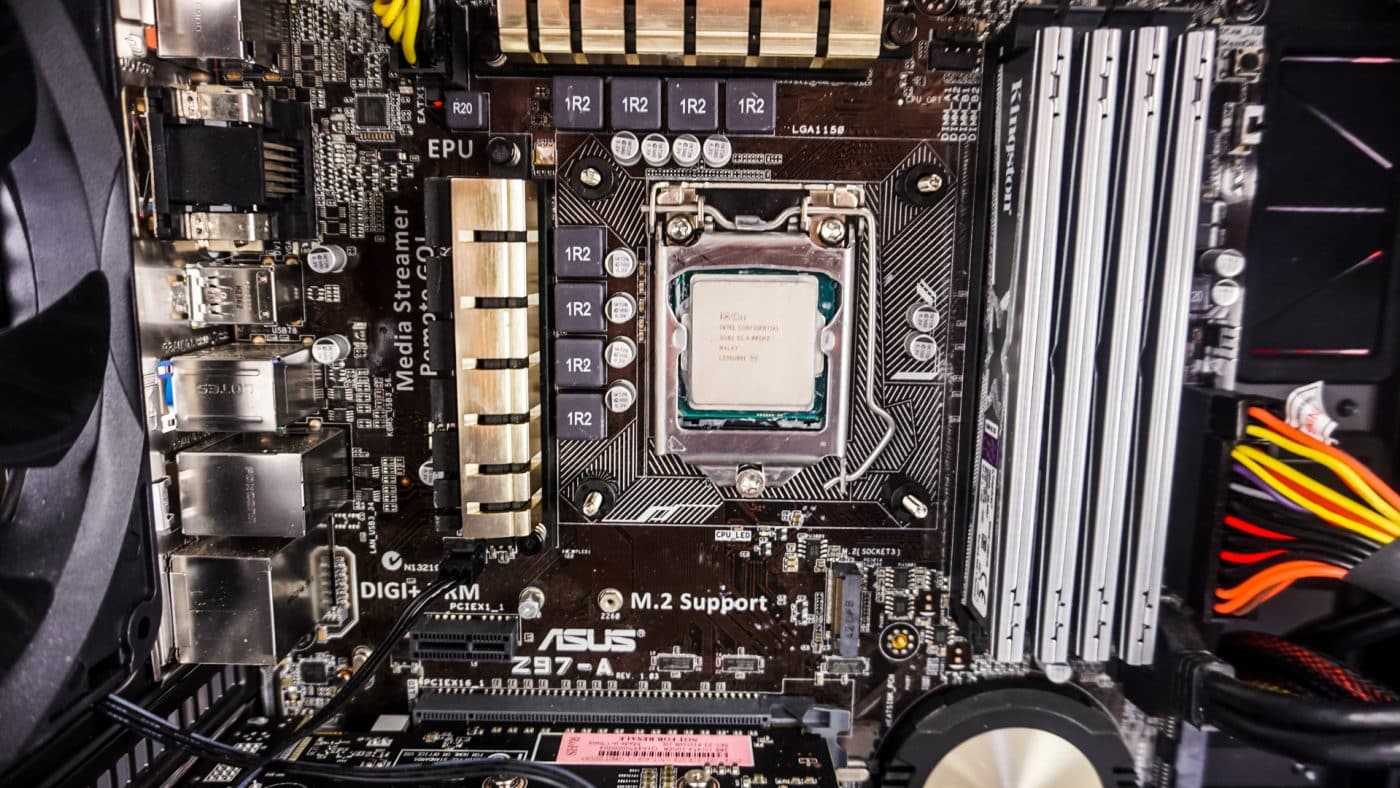
Getting the LEPA NEOllusion installed is pretty easy. Since we are installing on our Z97 system we will make use of the included backplate. First you need to take the included screws and press them through the backplate as you see in the below photo. There are specific holes for each socket type, so be sure to check the manual to see which fits your socket. The middle hole is for LGA115x, which we are using.
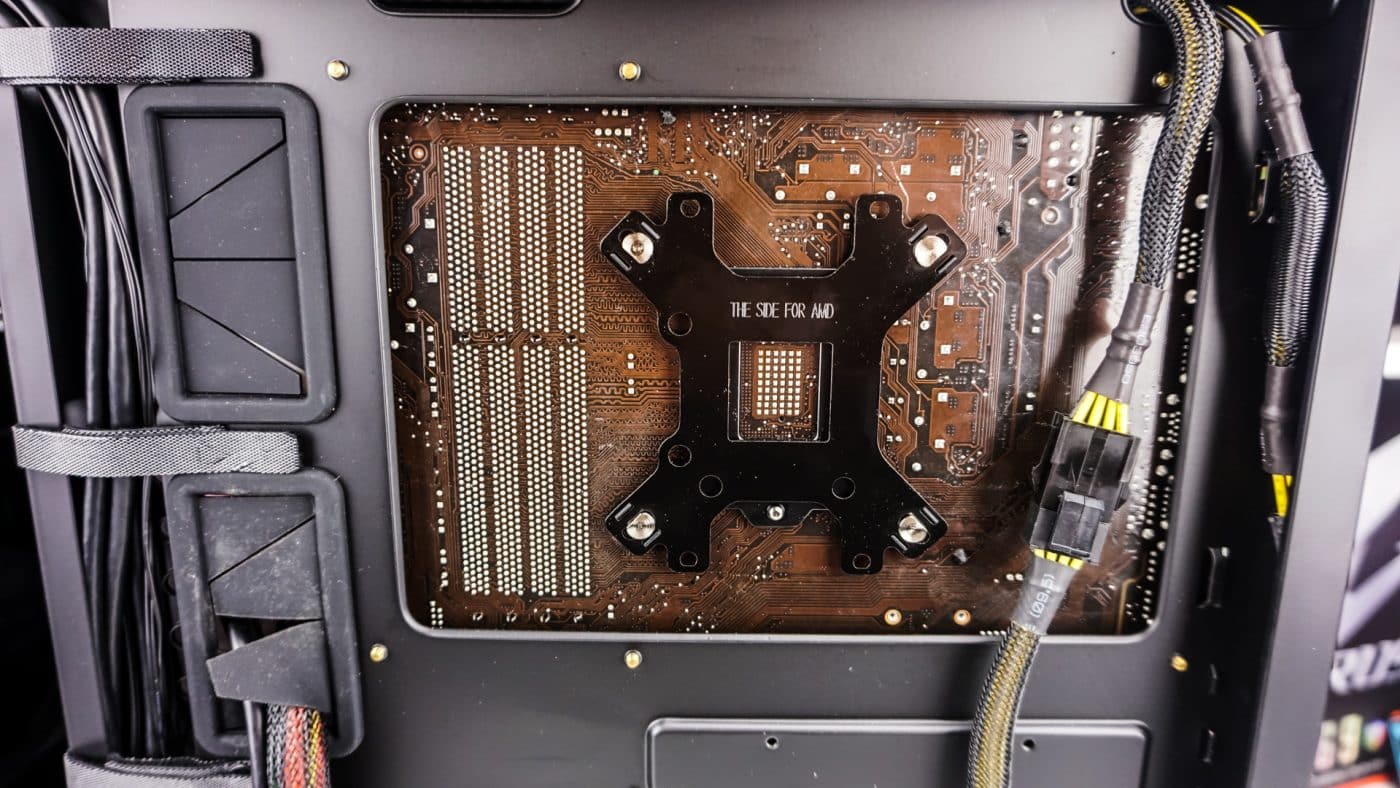
Take the backplate with the screws attached and press it on to the back of your motherboard threading the screws through the holes in the board. On the opposite side take the plastic spacers and attached them to the screws. This will keep the backplate in place.
Now it is time to install the mounting bars. If you want the cooler to be vertical with the fan blowing out to the back of your PC then install the bars vertically as you see in the photo below. The mounting bars are held into place with large thumbscrews.
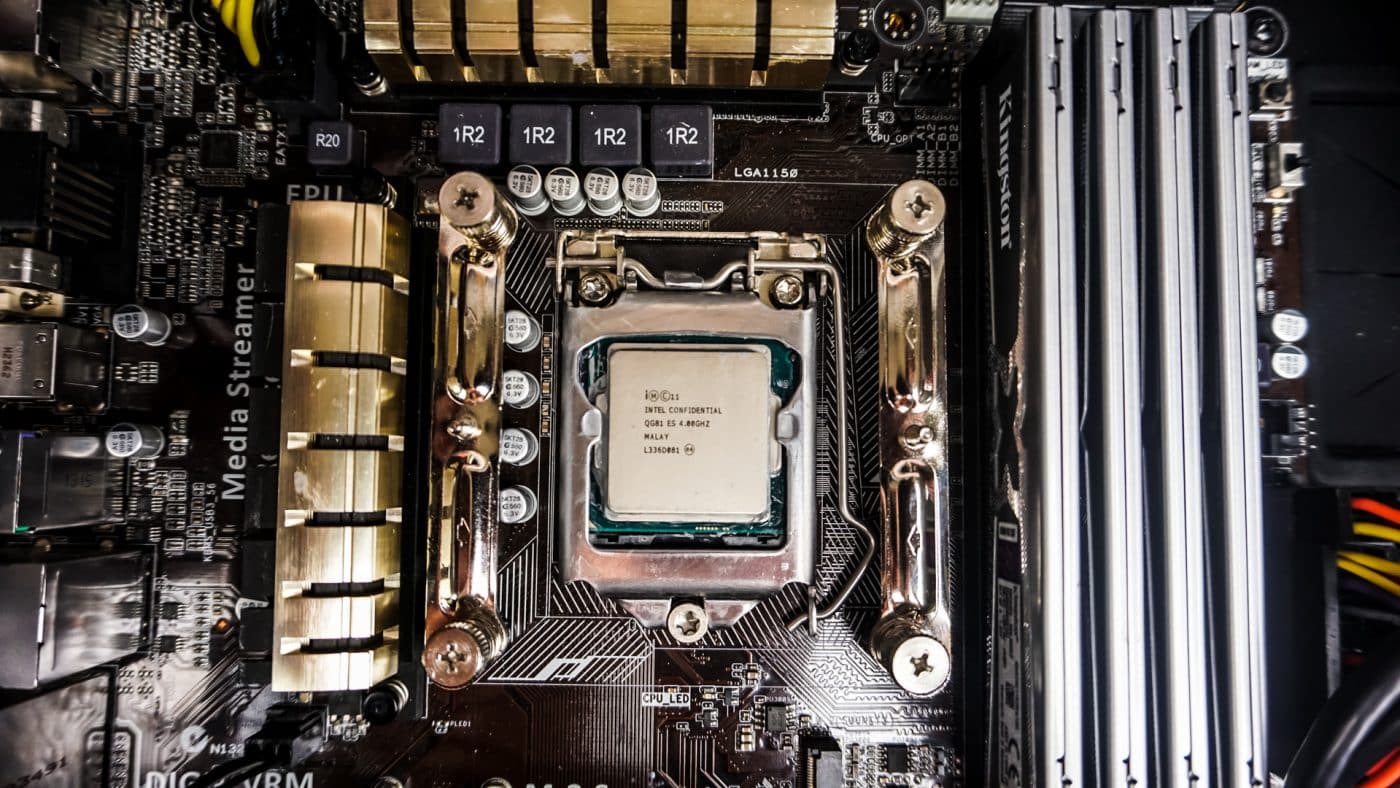
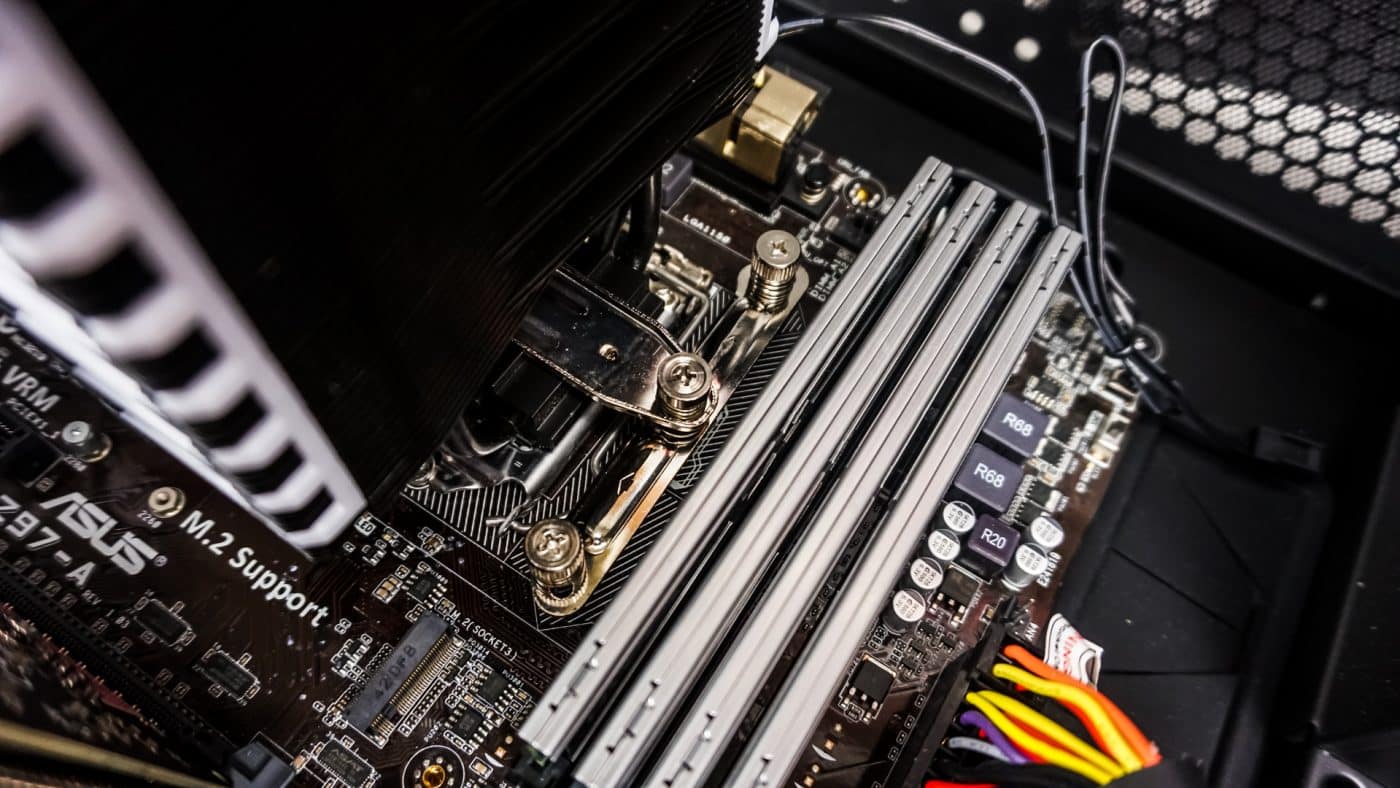
Apply the included thermal paste to your CPU. Remove the fan from the cooler and install the mounting bar across the base of the cooler. Then very carefully place the cooler on your CPU lining up the pegs in the mounting bars with the openings in the horizontal mounting bar on the cooler. Then secure the cooler by tightening the screws.
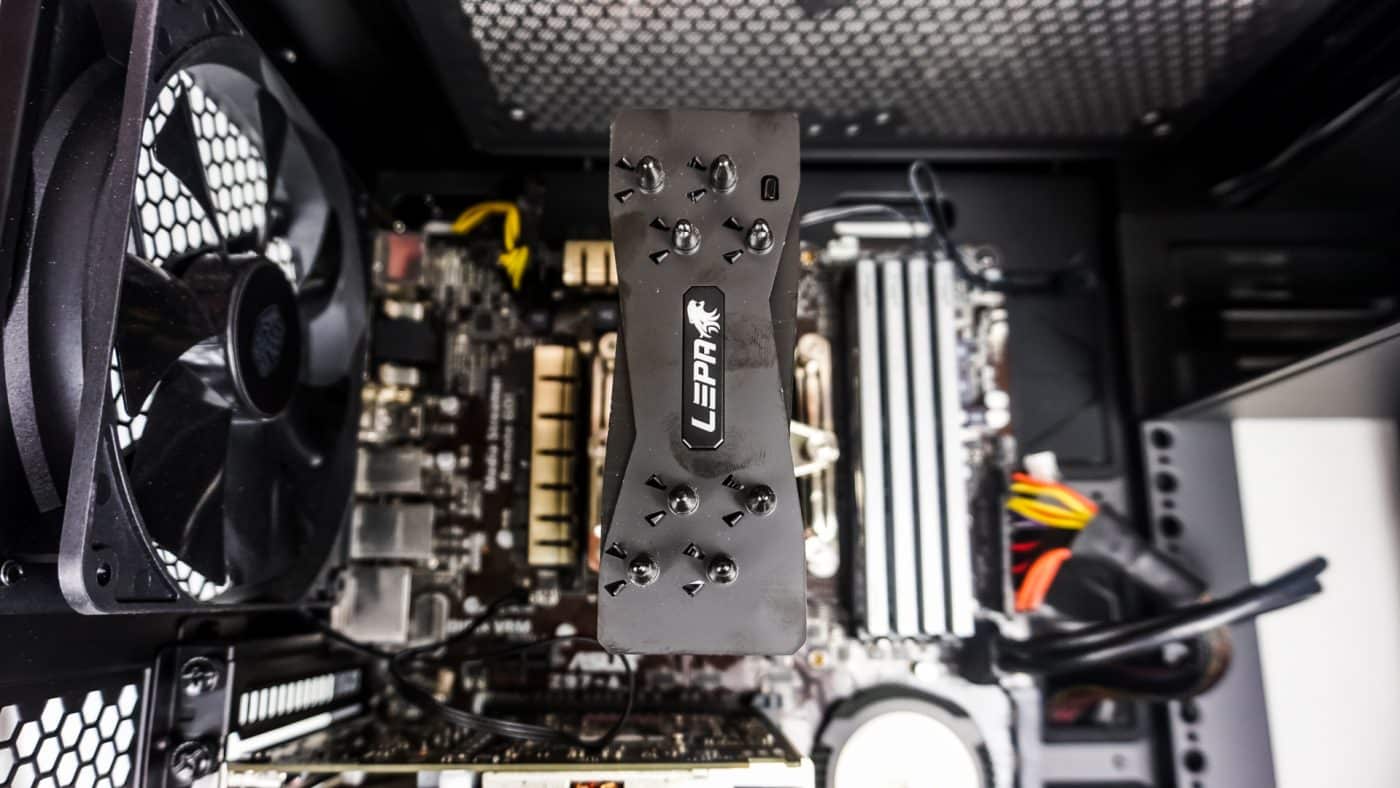
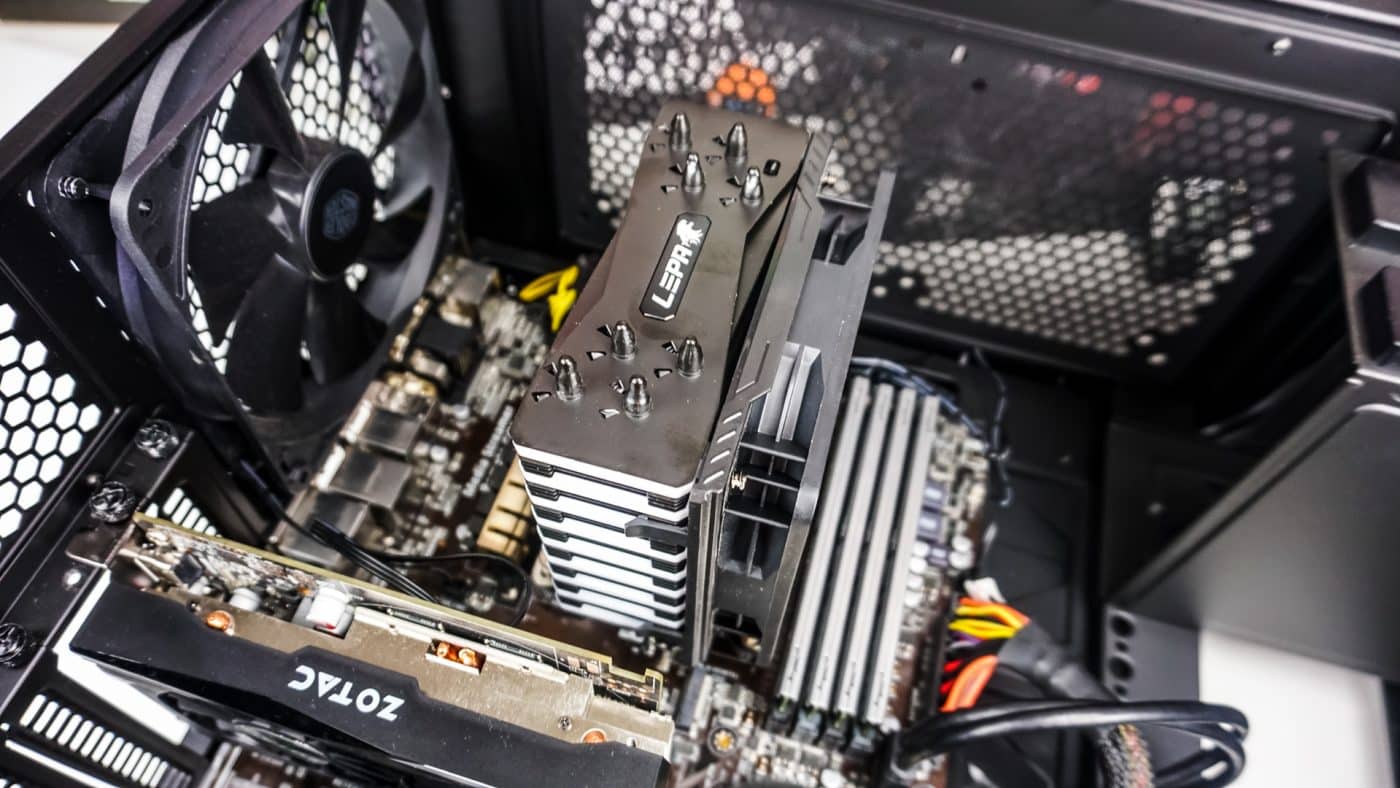
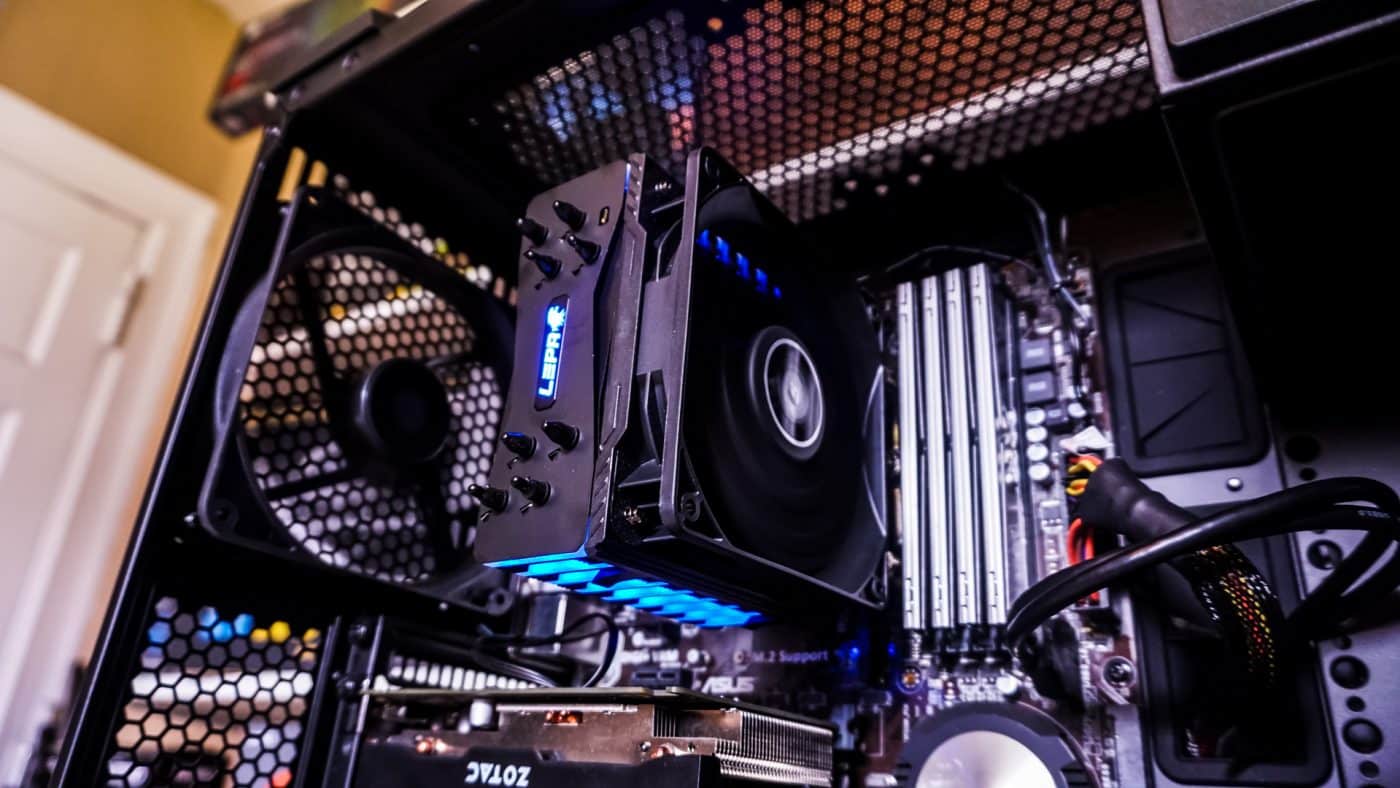
The last thing you are going to want to do is reinstall the fan and connect it to your motherboard as well as connect the 3-pin header to either a header on your motherboard on your power supply. The 3-pin header is what powered the RGB LEDs on the cooler. With everything installed you can see we have no clearance issues at all.