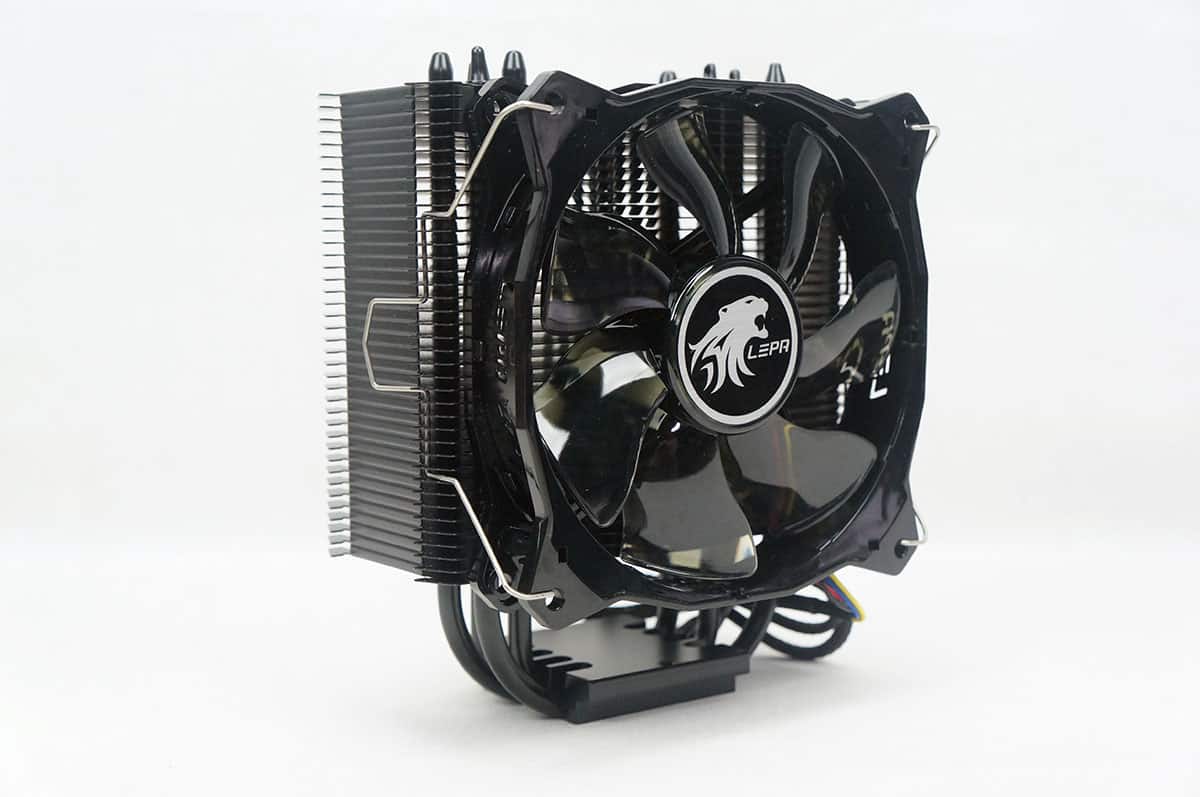
Installation
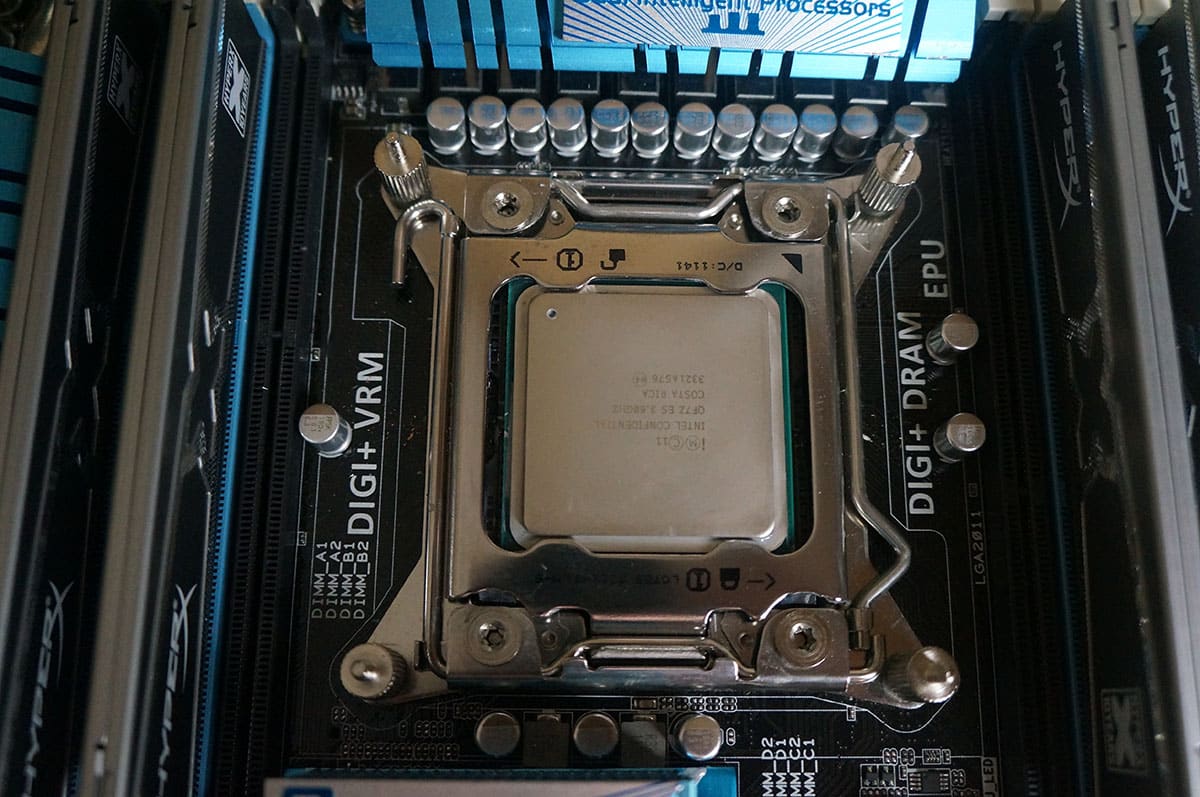
We will be installing the LEPA LV12 into our X79 system that makes use of the LGA2011 socket. So to start off install the four mounting screws on the LGA2011 socket as you see below.
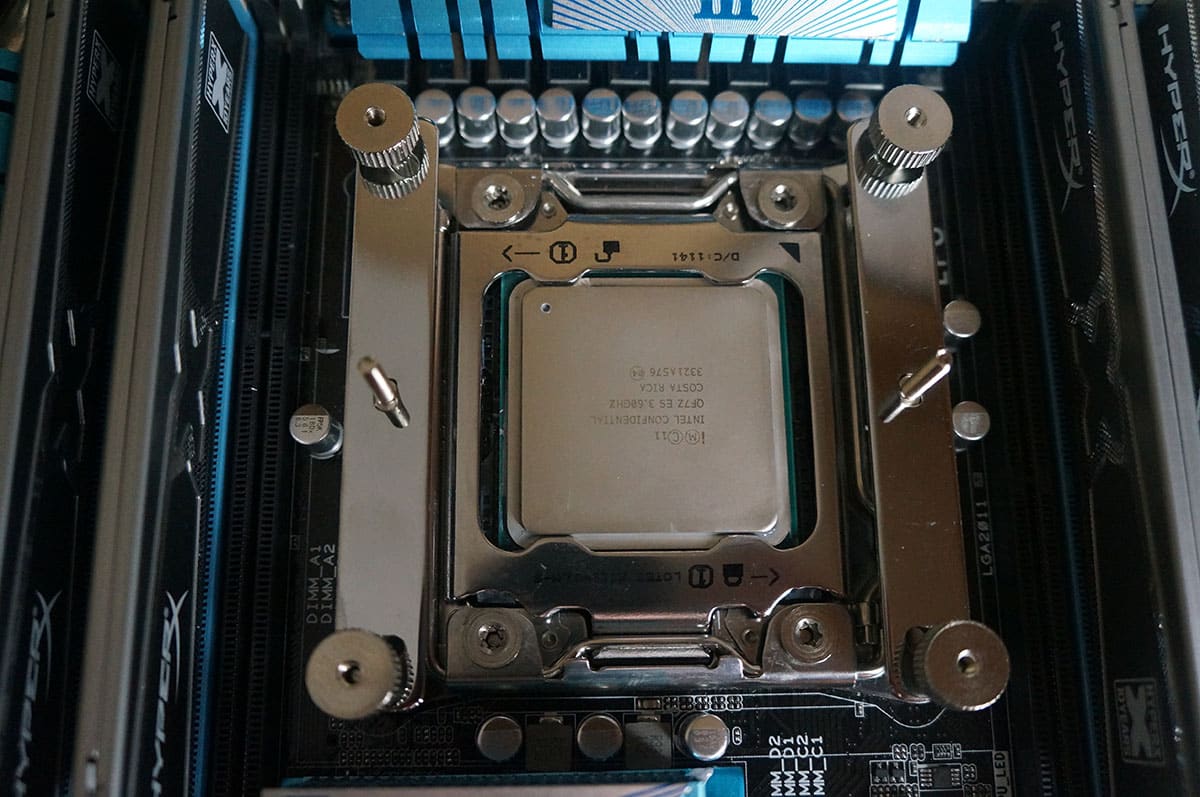
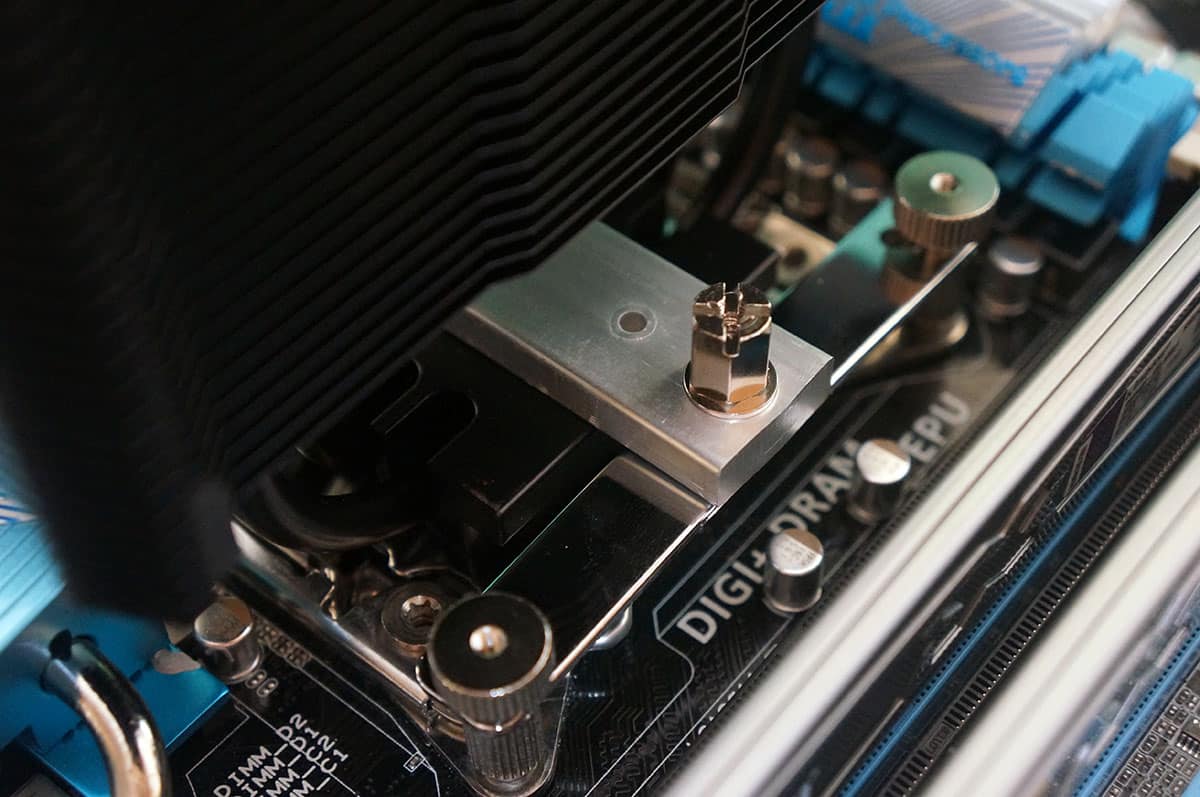
Next you will need to attach the Intel mounting brackets. This is easily done by placing them on top of mounting screws and then securing them with a set of thumbscrews.
Apply the included thermal paste to the CPU and then place the mounting bar under the CPU socket as you see below.
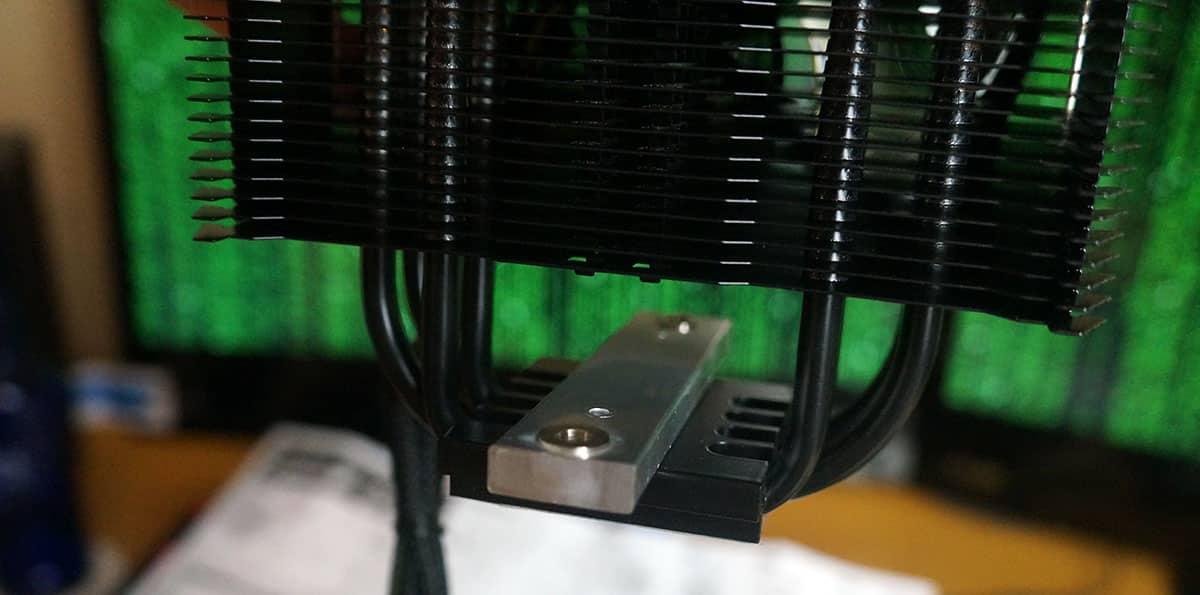
Now place the heatsink on top of your CPU by lining up the openings in the mounting bar with the pegs in the mounting brackets. Once they are lined up you secure the heatsink with a set of screws. Tighten them and you are good to go.
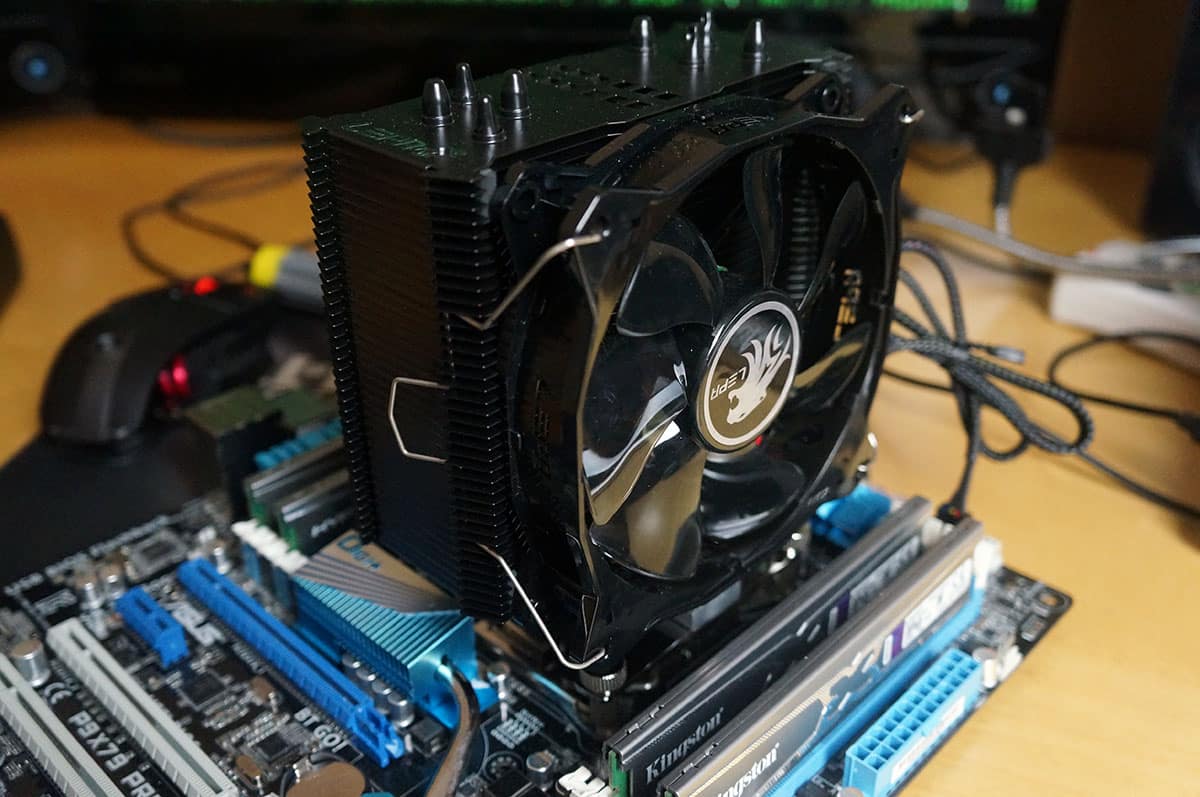
If you did remove the fan to install the heatsink you can go ahead and reinstall it now. With the LV12 installed, even with the fan you can see that there is more than enough room for our memory.